
MORE HANDBOOKS ARE ON THEIR WAY! We will let you know when they get here.
×


popeye the sailor
-
Posts
16,007 -
Joined
-
Last visited
Content Type
Profiles
Forums
Gallery
Events
Everything posted by popeye the sailor
-
 ....and you had to make your own blocks too.........boy, this kit is really taking you on a fantastic journey! very useful though.........now you know how to make them. the hold downs look great.......your really doing a great job......you doing swell!
 -
really nice find Greg! looks like you have quite a bit to do..........gonna look sweet look'in forward in seeing more
-
not much going on this week.........I have been under the weather. who would have though I'd get a cold this soon...........not like I sleep with my feel hang'in out the winda!! I have done a few things though.......glued the wing halves together and paint.....I'll post pictures later. I'm still waiting for the decals........I ordered them from France. 1001 model kits........has anyone used them before? well errand time........but first, my son Kevin is going to show me where HobbyTown moved to. I tried to find them one day and couldn't .......don't know Londonderry that well. I've got paints in mind, but who knows
-
Enzo Ferrari by CDW - Tamiya - 1:12 Scale - PLASTIC
popeye the sailor replied to CDW's topic in Non-ship/categorised builds
looks like a really detailed kit........ready to follow when your ready to start -
the boogie looks awesome Danny........very detailed and nicely done! I saw the holes in the outer wheel parts and right away, I thought alignment ( I've got 'em in one one of my projects too). the main boogie for the drive wheels is going to be immense. great job so far
-
looks really good Jo
-
great job so far Kevin............the winch looks superb........and the mod for the rudder chains certainly solves your problem. looks really good
- 337 replies
-
- 4
-

-
- finished
- mountfleet models
- (and 1 more)
-
catching up with your progress since I last looked in Yves........I must say that this is one outstanding model! major kudos with the stand and the wiring on this beast........top notch workmanship all the extras you've put into her is really paying off........very impressive!
-
they have this at oldmodelkits.com sorry I haven't been 'round.....copped a nasty cold during my work week getting back up to speed though...I feel better the pad looks super........and yea........if there was some PE involved, it would enhance it greatly. there used to be a big push for these missile models.......cripe, between Aurora, Revell, Monogram and Strombecker, there were quite a few kits. are you going to make a base for it? a sheet of 1/16 or 1/8 plastic should do the trick
-
I went through a space stage when I was young.........had the capsule and the LEM. later buying the kit that had them both........they could be done docked together. I had to do a report on the moon landing at school......got in big trouble when I failed to produce it when it was due. long story { my parents were brought into it }........ended up with a poor grade and I still had to do it. not a happy time haven't heard of the company.......is it a fairly new release?
-
look'in forward to your return!
-
great looking collection
-
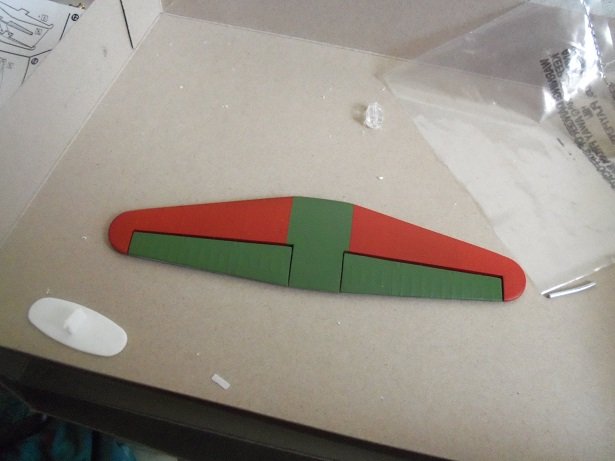
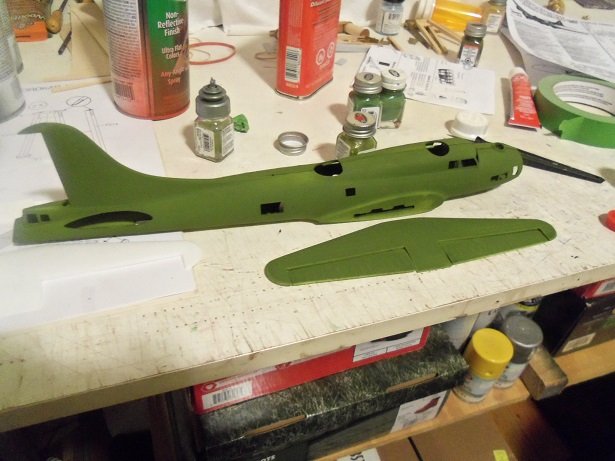
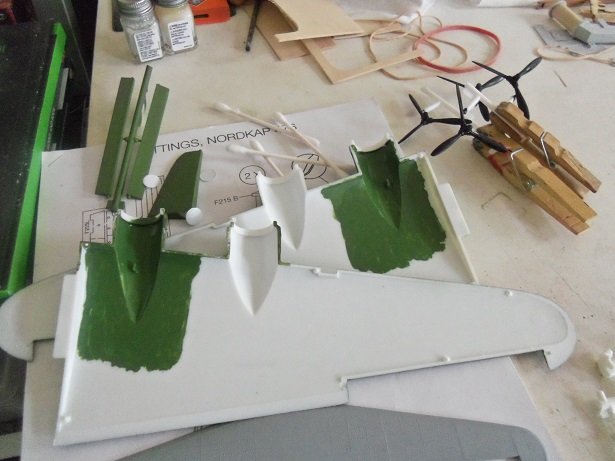
after posting this......I looked in my camera. I knew I had done a bit more to her. I had finished the painting of the stabilizer wing(s). they are now complete........ the deicing panels are now painted...........I need to do the wings and rudder.
- 153 replies
-
- 10
-
-
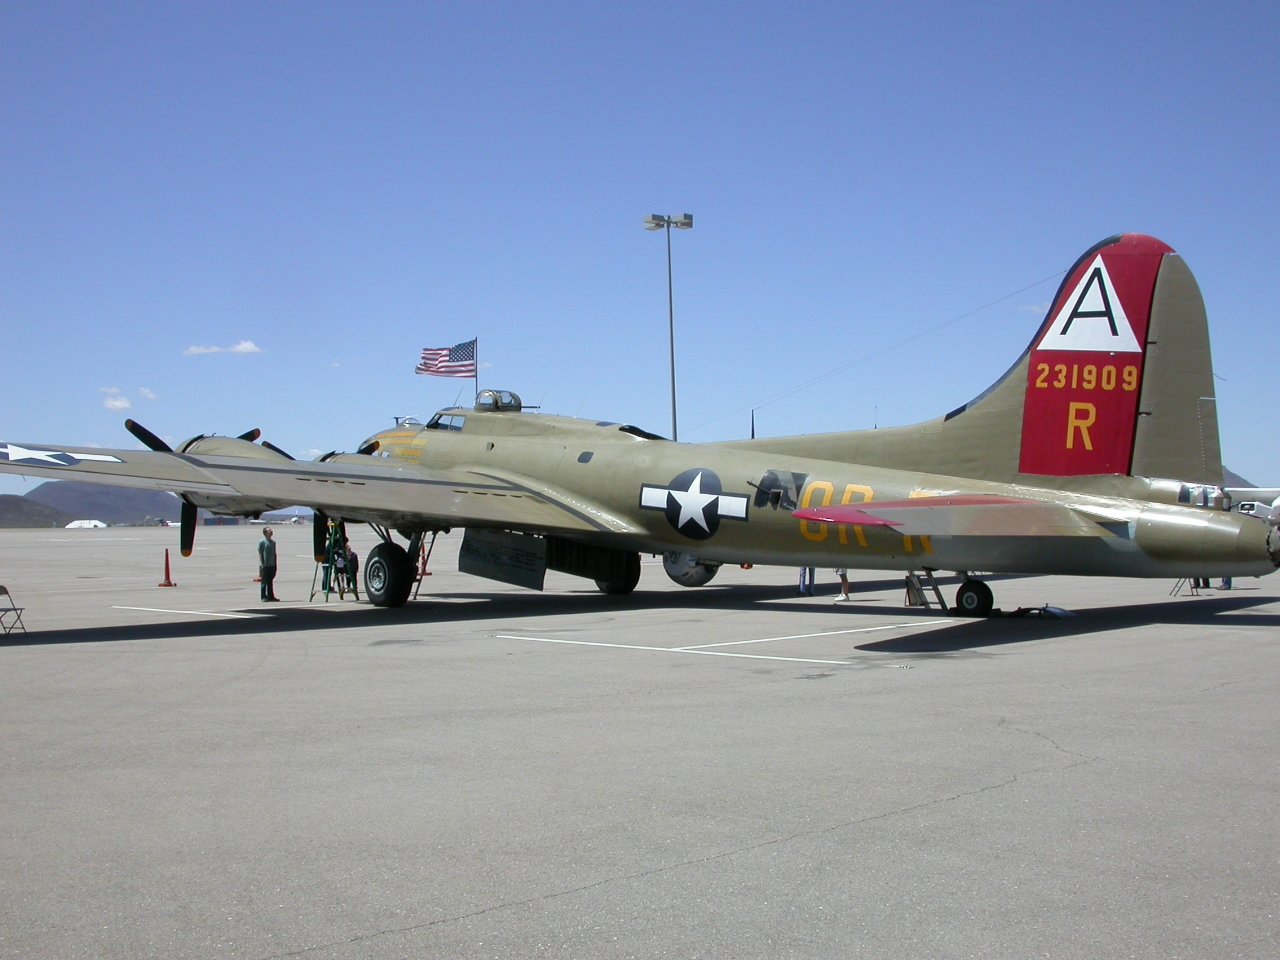
I got some interesting news about the Nine O Nine.........the plane that the Collins Foundation flew, was not the original 9 0 9. the original 9 0 9 was built in 1943, and after the war, was delivered to kingsman Arizona, where it was eventually scrapped. a fellow modeler friend on mine at work told me about all this.........he is quite heavy into aircraft. I looked into this new revelation, and this is what I found........wiki is very quick to add the updated info about the plane's demise. Nine-O-Nine - Wikipedia
-
OMG Lou........too funny I clicked on some of the pages in the first link........the last one had me rolling on the floor! I never could Mark........not rationally anyway
-
great start Kevin........I've seen that kit around love the colors too!
-
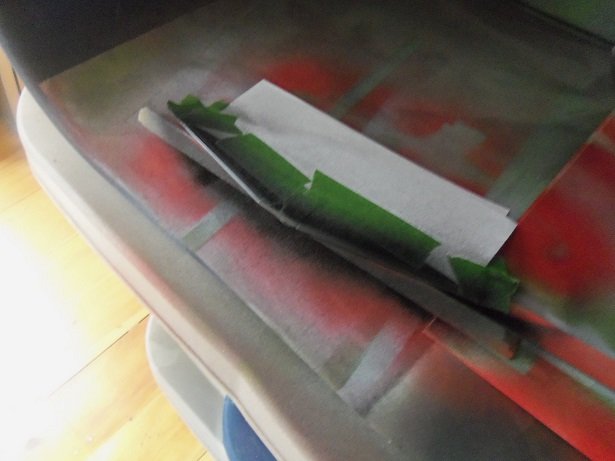
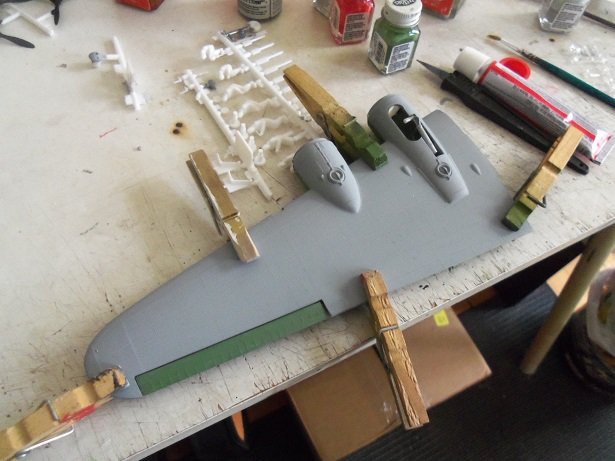
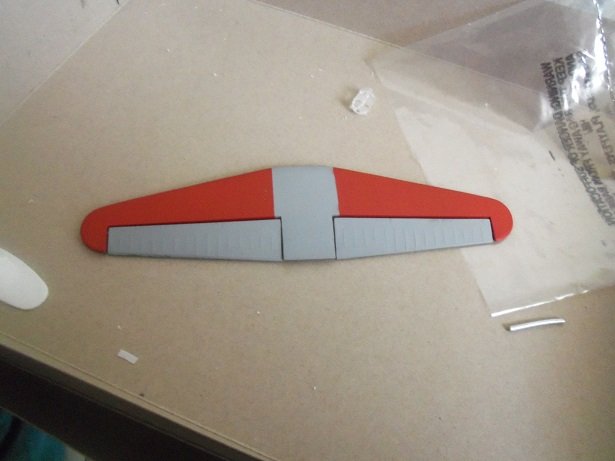
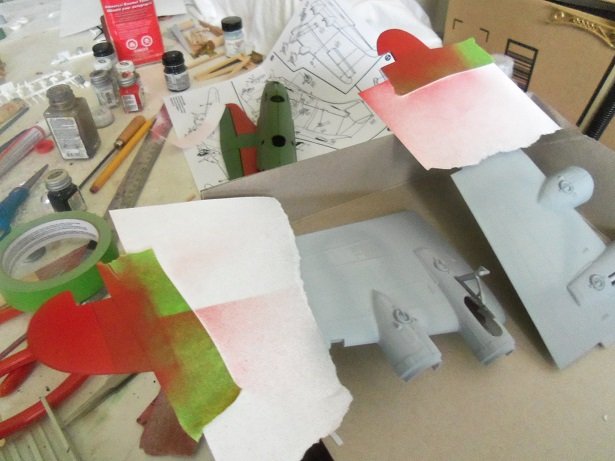
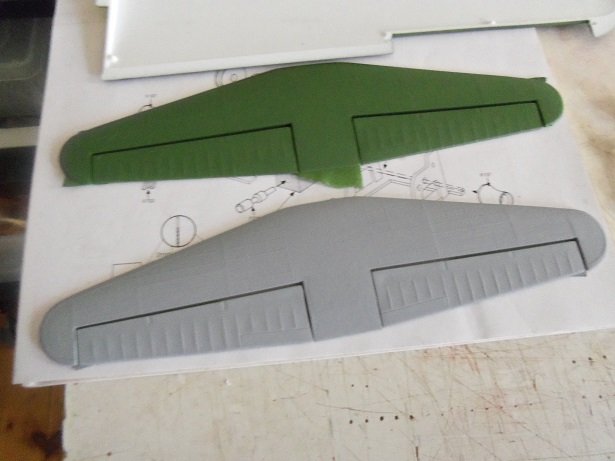
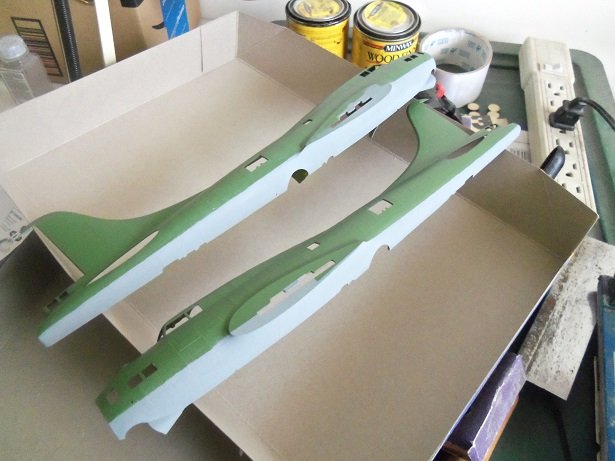
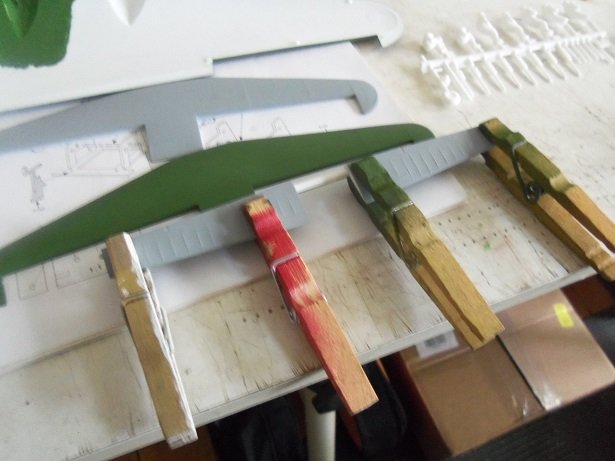
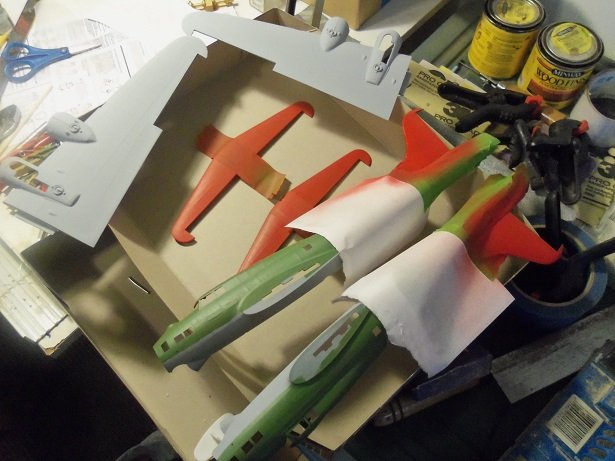
....a few more additions on the paint. frankly, I might as well shot myself in the foot........it might have been more productive getting my bearings on the orientation of the wing flaps, I tried to correct them with a brush.......it might have worked, but I used the paint that was used for the airbrush {of course it's too thin for this}. I only did one of the flaps - green side........ it can be seen through the green, that terrible sheen........the paint is persistent, just to be mean..........I should have known this, the scry bowl foreseen I did one of the gray sides, just to be stupid. though not shown here....it does look cool though in between all this, I was working on the fuselage, making progress to get it to close up the gaps. the stabilizer wing(s) are fairing better than the rest of the plane.........the only thing left is the black on the leading edges. <------top <------bottom the gray was sprayed on the flaps.......the green will be next, once they are dry enough. then the process was begun to add the red wing tips, top and bottom. yes.......this is a very colorful plane. masking the wing halves up was easy enough. one must be mindful of the dreaded over spray though...it's one of Murphy's best weapons. they sprayed fine........but then I noticed the faint over spray on the side of the outer nacelle the gray and green muddled with red was a very unwelcome sight. tearing away some of the paper I used for masking, a spritz was all that was needed to erase away the red tint. first the gray......... then the green...........care was taken not to ruin the walkways. you can tell where I had to hit them. I should think myself lucky that it wasn't any worse. I thought back through the numerous planes I've built..........I don't recall going to the extreme that I am with this one. I've done camo before, but most of them were done freehand. should look really neat when I'm done
- 153 replies
-
- 14
-
-
you mean this Ron... Boeing YB-40 Flying Fortress - Wikipedia these are one of the variants.........there were even some that were converted to transport carriers - C 108's. I wonder if there is a kit out on this variant........would make a great looking model I never knew there was a manual out on planes either......surprised me to find it
-
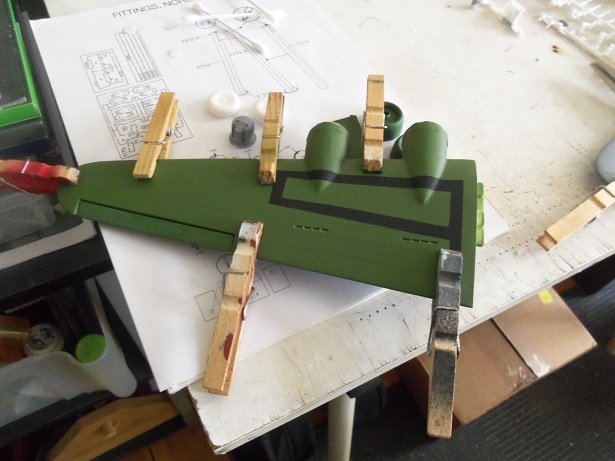
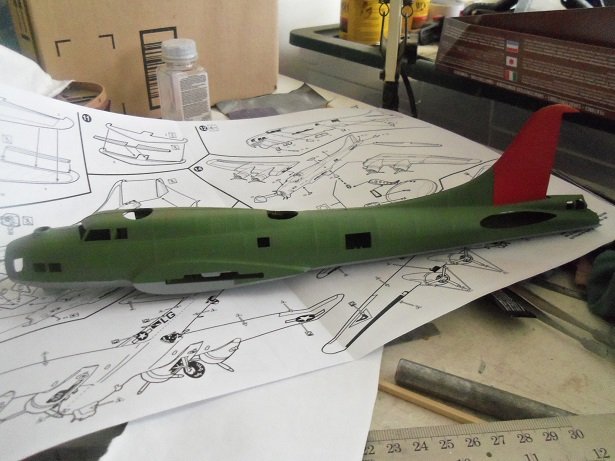
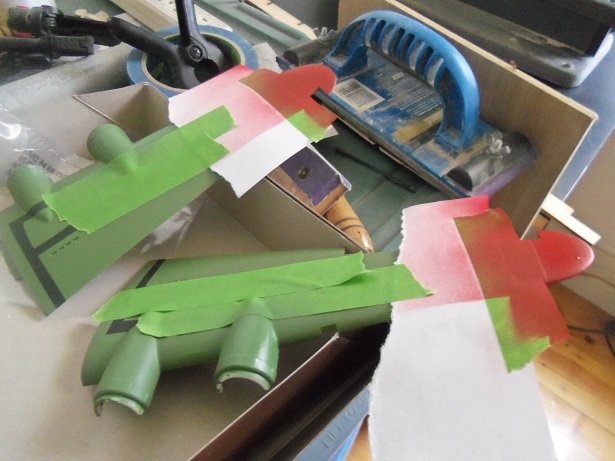
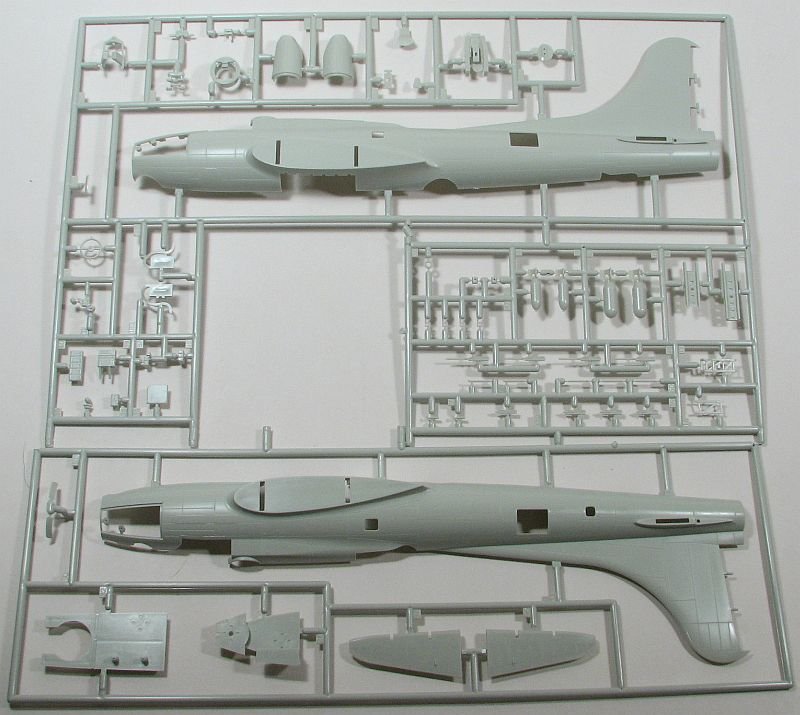
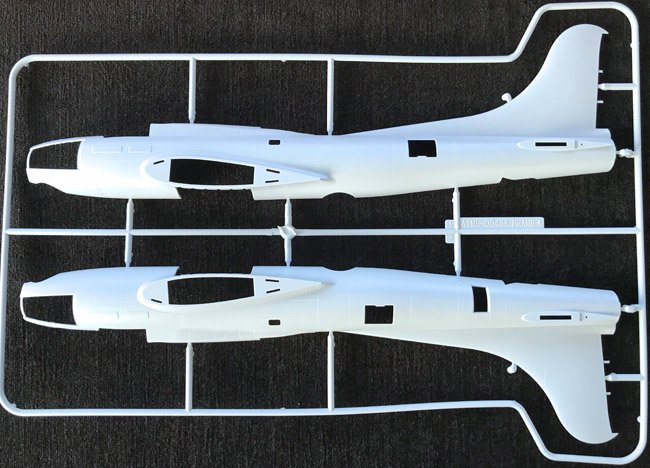
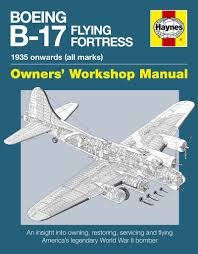
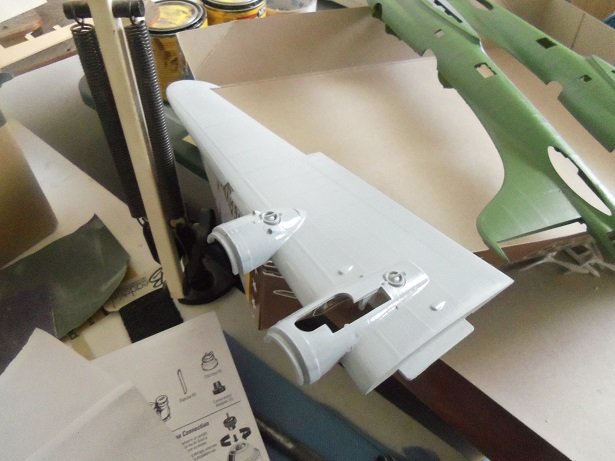
thanks Lou.........yet another goof I'm ashamed to say.........I painted the wing flaps upside down I was going to say the heck with it and paint both sides green, but looking at the pictures again, I can't. so, I'm in the process of correcting it. not real pleased with the way they have the wing gears.......very hard not to get glue on the gear tabs while cementing on the hold downs. not a big deal, since I plan on having the wheels up. one thing I did notice too, is that the B 17 doesn't have as much of a rudder crown, as this kit has. if I had a revell kit, I could compare.......but looking at the real aircraft, there is just enough of a crown to allow for the upper rudder attachment. the kit has the crown arching across the whole upper rudder surface the kit is like this..... ...spans the upper surface of the rudder. as I mentioned, there are 15 variants of this airship. perhaps one of them has this shape. a quick look through internet pictures show that not all kits are designed like this. Revell is normal.....this is a 1:48 kit Airfix does too.......this is 1:72.. at this scale though, some don't even go there........Academy has the rudder molded on the tail. it's a split hair kind of thing, I guess........it boils down to kits having their inaccuracies. to some it might not matter.......but for those who want an authentic model, this might not be the kit for them. rest assured gents...there is a manual out there you know........this is probably a decent book to have. it likely has the most detail oriented pictures, one will ever find
-
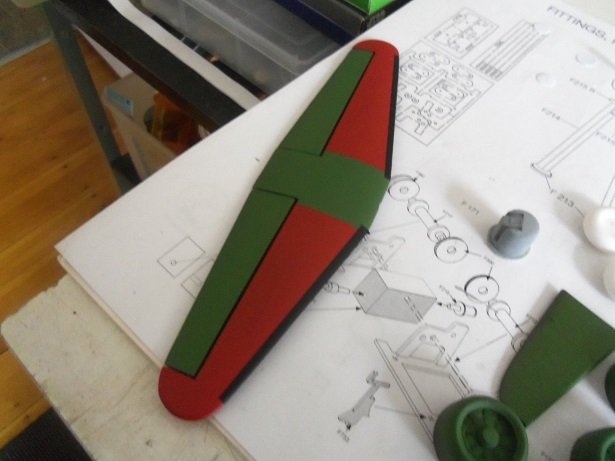
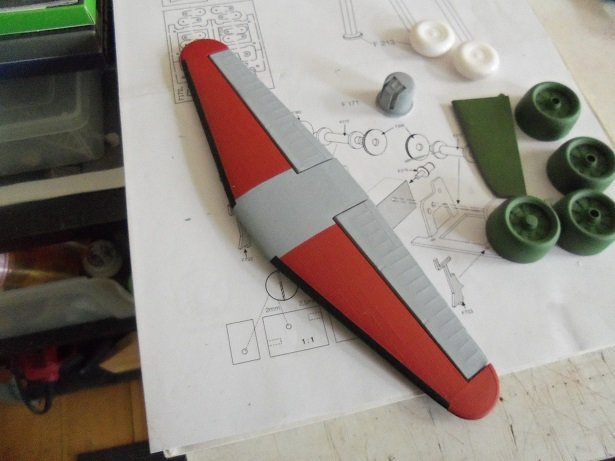
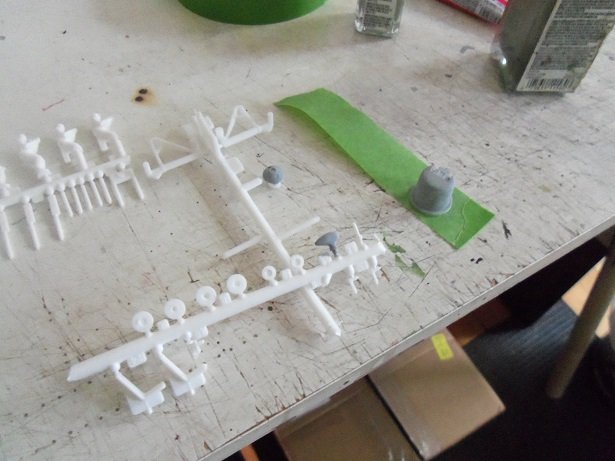
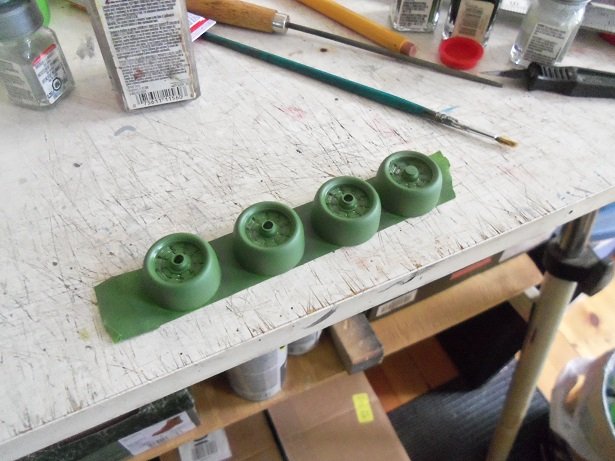
interesting story Ron. the B 17 has several gun placements.......only a couple more places where a gun could be placed. there were 15 variants of this aircraft. more painting today.......I started the day with the Ghost gray. first the stabilizer underside... ...then the underbelly....... the belly paint was supposed to curve upward at the tail and follow along the stabilizer, but I decided to keep it simple. the under wings was next. the paint is still a little wet. some parts will be done with a brush........the small stuff.....I made sure I got where the wheel wells are. other small parts were being done as well....... .........and also some assembly for parts that are ready. as for the cowls.......I decided to go without underbelly paint on them. I still need to paint the engine detail. now.......ya gotta have at least one revelation in any given project, or it wouldn't be normal. I was unsure how the red played into the mix, so I browsed through pictures I have of the plane. at first I though that only the top surface of the stabilizer was painted.......and only a portion at best. I was surprised to find that the complete top surface.........as well as the complete bottom surface was painted red...only the flaps bore the green and gray. I saw how much of the rudder was painted and masked it up. the stabilizer was done {again}......as well. after some minor touch ups.........only the flat black is left to do....and the turbo chargers. I did notice that there will be a few gaps I'll need to take care of when the fuselage is finally joined together. more to come soon. thanks for look'in in and the likes

- 153 replies
-
- 11
-
-
that's right Sam....it's not a race nice work on the yard! looks good
-
hi Harley.....wonderful progress since I last looked in your paint work and use of PE is awesome.......lots of real nice detail!