


popeye the sailor
-
Posts
16,007 -
Joined
-
Last visited
Content Type
Profiles
Forums
Gallery
Events
Everything posted by popeye the sailor
-

OcCre San Francisco Cable Car by bogeygolpher
popeye the sailor replied to bogeygolpher's topic in Completed non-ship models
if you don't have a display base for it, Model Expo is running a sale on Ocre kits....they show a base to display the model. -
look'in good !
-
great look'in models........camo looks sweet!
-
congrats Chris! very nice finish..........glad to hear the first outing was a success! building a model has it's pride........but building a 1:1 model and taking her out to enjoy beyond, has to hold a special sense of accomplishment! as a young lad, I used to enjoy rowing around the lake at my uncle's camp............I am soooooo envious! the decals is small potatoes........you can only see one side at a time
-
your off to a good start........the instrument panel looks really good
-
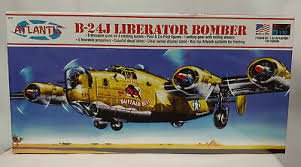
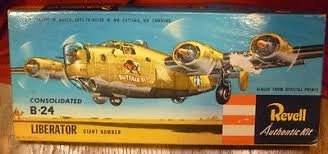
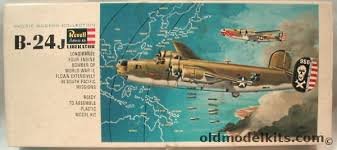
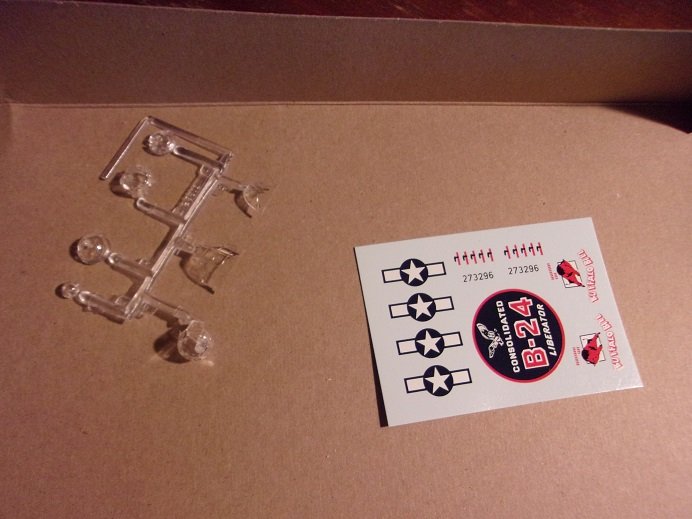
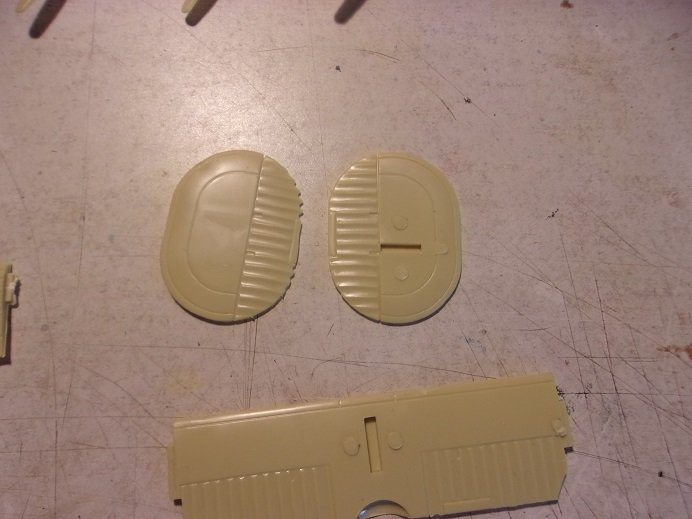
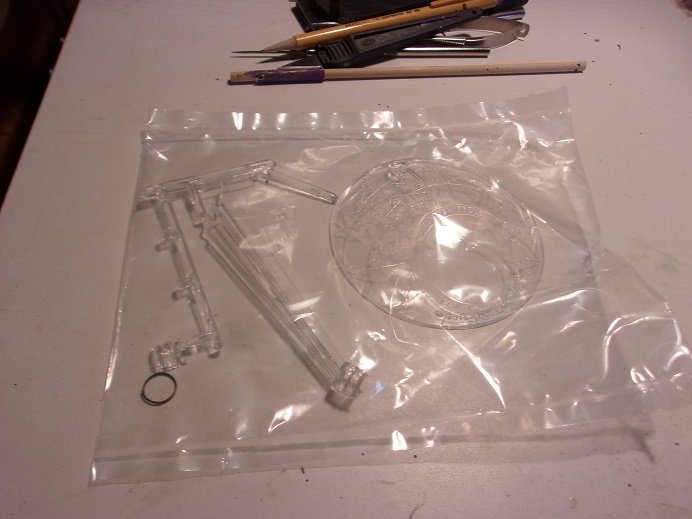
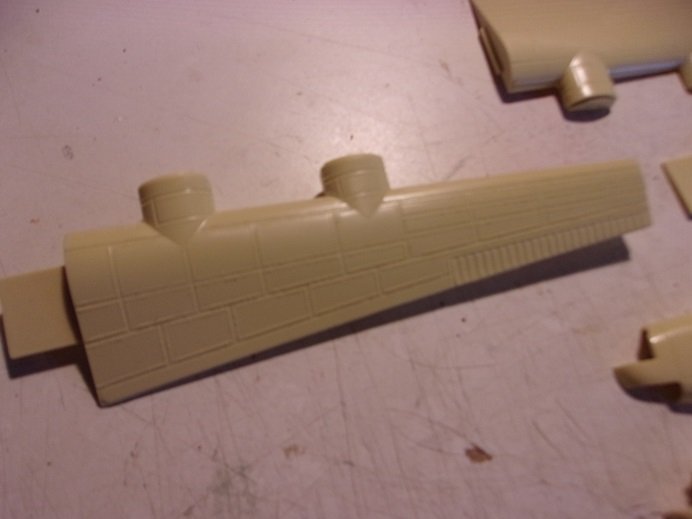
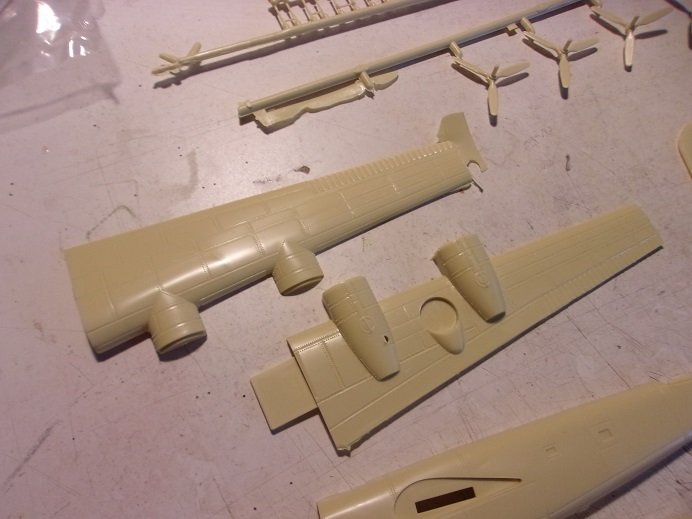
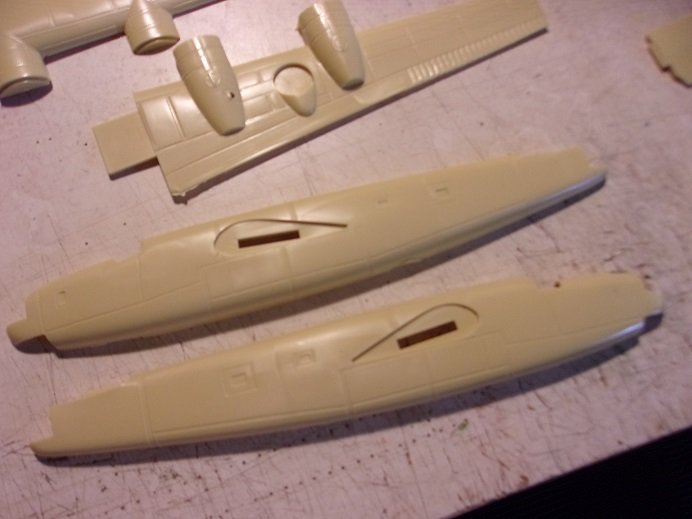
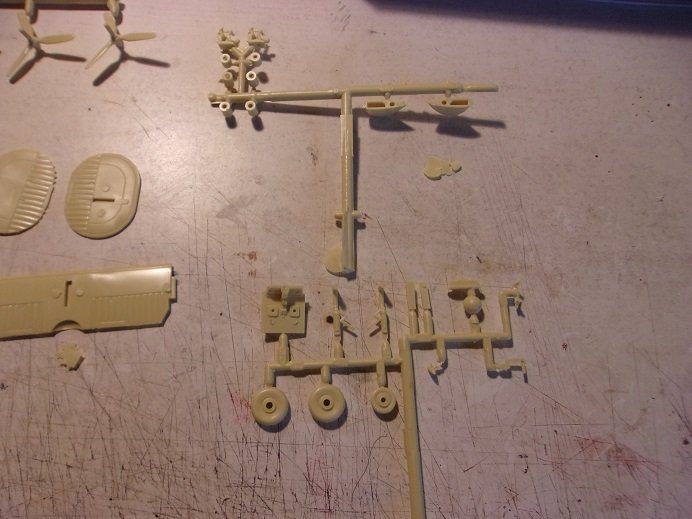
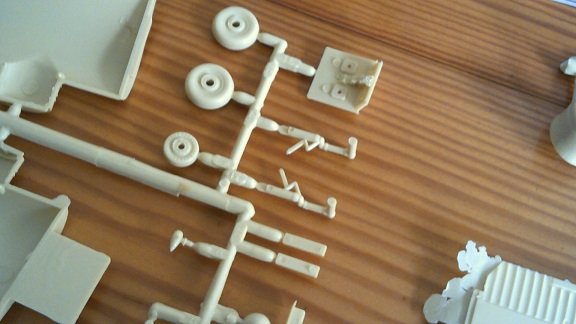
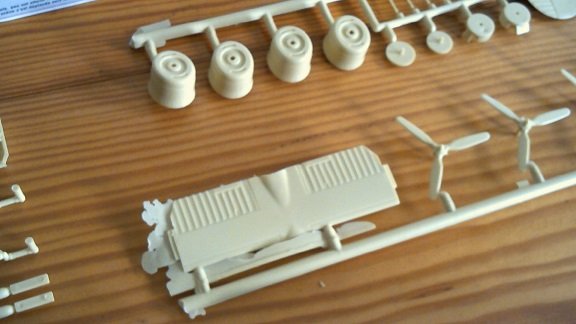
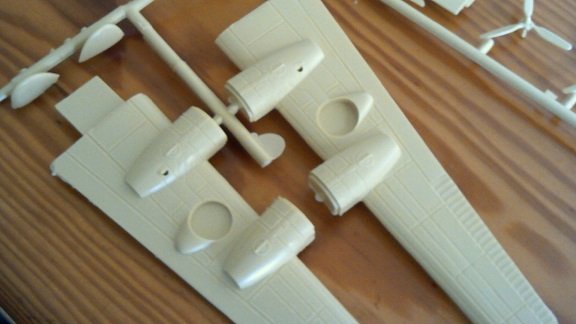
as most know, I've been doing some remodeling to the 'ole hobby room. most of it is done now.....just got to get the particulars in place. it's been a while since I had a plane in the works, so I though I'd drag one of these Atlantis kits out and play with it. the Atlantis kit is actually an old Revell kit, dating back as early as 1954. the kit went through a series of reboxing and retooling through the years........the second not notably in the early 60's. Atlantis began reproducing the kit in 2019, as well as other older Revell kits. there were different variants of the kit this one is the Pacific kit....I built it once upon a time the old by gone days of kits.........when oddball scales were the most prevalent. one still might see them, but now a days streamlined to the normal scales.....1:32, 1:48, 1:72........and so on. this streamlining made it easier to tool new kits, and for aftermarket manufacturers to produce upgrades and photo etch embellishments, adding the extra detailing that modelers desired. now.......back in the early days of the plastic kit, rivets and panel lines weren't the norm, leaving the kit as a blank slate, for modelers to work with. as time went on, the manufacturers heard the complaints and began adding these bits of detail to their model kits. in some instances, the molded panel lines did cause some alarm......detail though that could have been added to the kit was left out. this kit is no exception. two thing I find with this kit, is the rivet detail is too 'loud'.......the wing riveting sticks out like a sore thumb, but oddly enough, doesn't replicate over the entire model. the fuselage is mostly barren of the rivet detail and only bears the panel lines. certain detail is left out.......such as bomb bay doors and landing gear flaps, creating it more of a challenge to some, to add extra detail. the scale size is another obstacle...being a 1:92 scale kit, there is a much slimmer chance that aftermarket has produced anything for it. one never knows though the one big draw to a model for most, is authenticity. sadly, this model fell flat from the get go.........there is no such plane as Buffalo bill.....the serial number doesn't jive either. for me as a younger modeler, this really didn't matter.......I'd just slap it together and pay no mind to the validity of the subject. modeling taste has changed through the years.........and mine along with it. older kits also suffer from use........the molds that Atlantis has must be quite old. flash is a huge problem with this model, although others may not be as bad. it can change from run to run in the production of kits. one flaw I see with it, is the injection pressure......it seemed to be out of calibration. you can also see the injection pin marks......yea, gotta clean up some of the parts. I still plan to build the model.......I'm gonna change up the subject a bit though. this is a good model to use as a second installment for a KG 200 collection as I mentioned, back when I built the Wulfe Hound, there were many different planes captured and flown by the KG 200. the B 17 was the most prolific plane used.......the B 24 seems to be the second in capture rate, although it wasn't used as much as the B 17. the first B 24 to have been captured, was known as the 'Blonde Bomber II', B 24D-1-CO, 41-23659, after it landed in Sicily, in 1943. there was also # 42-52106, 'Sunshine' B 24H-5-FO.......there are a few more. the kit also supplies a really neat stand. the model can be posed in any angle by a socket and ball construction....should be neat. I've cleaned up one of the wings due to the amount of flash and odd molding. the plastic is very soft, so when trimming the parts, I need to be careful. not really impressed with how the landing gear is done.......I wish the gear panels were open. the tire is exposed, so I might just put the tire in the well and do away with the rest. the plane is in flight if I use the stand {very good chance I will}. there was some camo.......even a mission that involved planes that were painted black {operation carpetbagger}......decals might be an issue. these are some pictures I took of the kit earlier with another camera......just thought I'd add them. I have a kit of a B 25 Mitchel........and Atlantis also put out the 'Pacific Raiders' kit as well { keeping an eye out for that kit}. in short......I wouldn't suggest these kits to an experienced modeler....they aren't worth the effort if you want a good representative of the plane. there are many better kits out there. but if you like to experiment and bash, they would be a good candidate. I'll have more when I start to get more into it

- 70 replies
-
- 16
-

-
the Br549 part is a comical jab at the old TV show "Hee Haw" the 'empty arms hotel' look'in very nice.......shaping up to be a very nice rescue
-
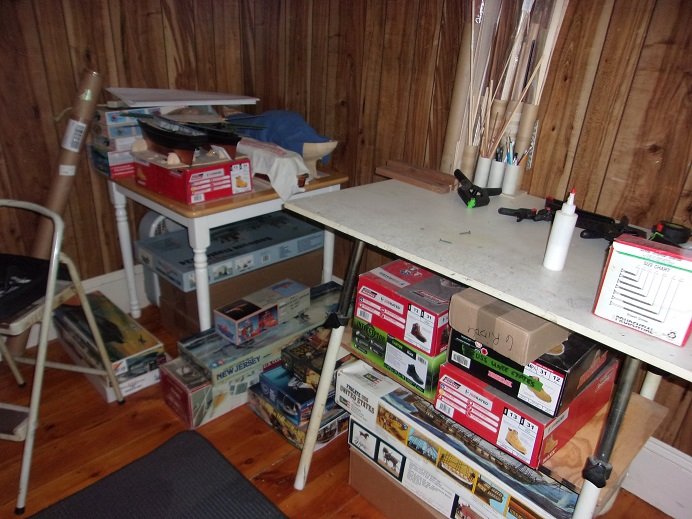
I dunno Craig.........if you saw that shelf right now, you might want to run the other way! my 'active' projects outnumber the stash......I fit 13 in the shelf, and that's not all of them. of course, there are a couple that I'm just toying with, just so I don't lose my train of though with them. the room is almost done, except for one snag...........the little table is leaving. my younger son wants it........we're getting his table, so the one we have is taking it's place. it's longer and much higher, so I'll have a lot more space to work with the landlord has been having stuff done to the house, so things have been hectic here.........we've had our first heat wave too.......which adds to the situation. I finally ordered a couple of crane lamps. I may set them both up on table black, to make it more user friendly. no pictures yet.........I hope to get back underway soon thanks for your kind comments and waiting.
-
I have to apologize.......I forgot you were building this one what you did on this scale of a kit is truly amazing! the model looks fantastic.....a real testament of your skill
-
your not shy with the PE.....that's a good thing you must feel like your in Gulliver's world, when pin heads are larger than some of the parts your working with but it's fun, and your doing a fine job........glad I tuned in!
-
I looked in scalemates.......no dice I have the Nichimo 1:500 Shokaku and the Hasegawa 1:450 U.S.S. Missouri...not so concerned about the Missouri, more on the Shokaku. sounds like a good idea to try..........at present, I have issues with the printer to straighten out.
- 127 replies
-
- 4
-
-
- Akitsushima
- Pit Road
- (and 2 more)
-
great preemptive strike! .....most folks get the case after the model is finished! it's a super idea though.......keeps the dust off between breaks of insanity. really nice job thus far......really like how she looks
-
I've got two kits that are in the boat as your project here.........both sets of instructions are in Japanese. do you have a solution for it? I have a friend that was stationed in Japan.....even married while he was there I have an IJN aircraft carrier that is going to be hard to paint, not knowing what colors to use...I've yet to do research......I'm hoping my friend can help me. thanks to Lou........I have a variety of IJN colors....I just hope I have the right ones
- 127 replies
-
- 5
-

-
-
- Akitsushima
- Pit Road
- (and 2 more)
-
don't feel bad Craig........I work from very few reference books as well. I depend mostly on pictures and stuff from the net. the one big bugger of it all, is that a lot of the pictures are black n white. she's look'in really good........you did a great job! this one is sort of on my bucket list, since most of the ships I've done in the past are American warships.......next to nothing on other nationalities. very good idea concerning the rigging.......I was never good with it. look'in forward seeing her finished!
- 168 replies
-
- 6
-
-
- Scharnhorst
- Flyhawk
- (and 1 more)
-
just be careful of what you dream........I drempt that I made some progress on one of my models...found out this morning that it was a bust! during my research of the PT boat, I read that tenders were used to move them over large distances, so these types of vessels were very important and performed a lot of different functions. getting somewhere near normal here........the hobby room is almost functional
- 127 replies
-
- 3
-
-
- Akitsushima
- Pit Road
- (and 2 more)
-
really superb job Greg love the contrasts of grays on the structures.......nice blending! awesome addition to your collection
-
really interesting subject Craig......there are so many that hardly see the light of day ....and as with any subject, you'll find that there are many rabbit holes you can go down........ pull'in up a chair my friend
- 127 replies
-
- 3
-
-
- Akitsushima
- Pit Road
- (and 2 more)
-
not enough of a focus on this era of warship........and in resin no less should be child's play for you since you seem to use a lot of CA in your projects. I've heard that regular model cements doesn't work well for resin.......I've used it on what little resin I've used and it didn't seem to make a difference. should be a sweet look'in model in your capable hands
- 53 replies
-
- 5
-
-
- photo etch
- resin
- (and 3 more)
-
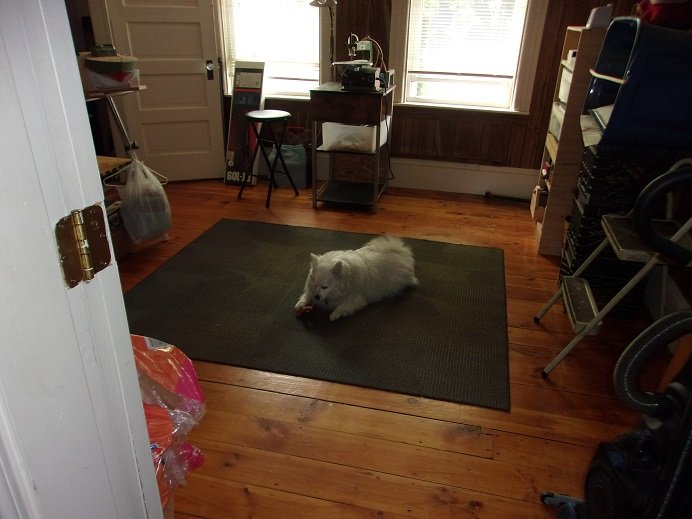
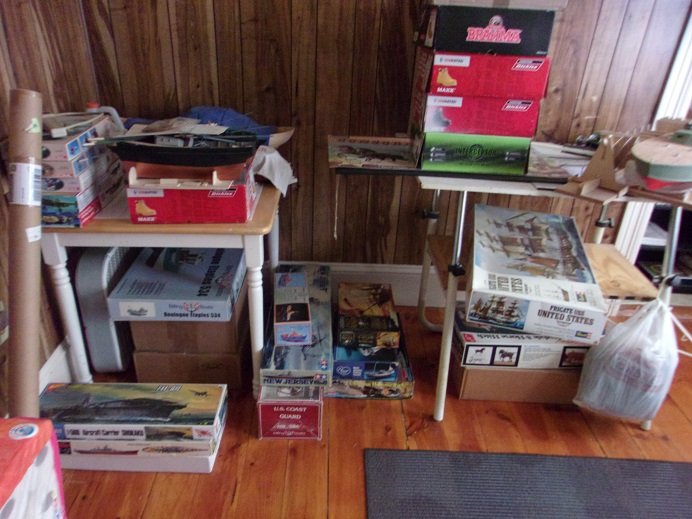
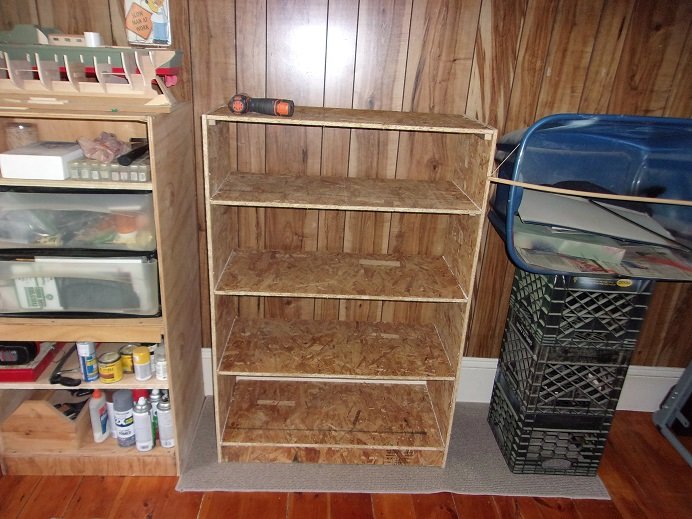
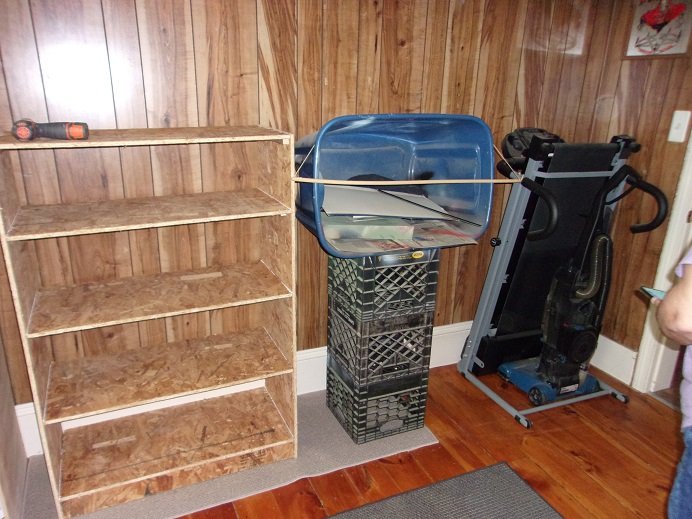
I know this is still a bit off track, but the end is near I didn't get to do any work on the model, nor any other model, but it has given me some ideas with how I want the room to look. yesterday was clean out the closets day. we took a break and got food for Gibbs.....the admiral got him a couple of his favorite treats. where did he take it...........why, he made himself at home in the new room! by the end of the day, the closet transfer was finished.......except for the shipyard. I had an idea not to toss all the kits in the closet, but I might since the 'berth' idea seems so logical. all the active projects will become centralized.......not in this closet, that closet, or out in the hallway. in the meantime, more of the stash has been added to the clutter. today.......was the start on the 'berth' idea. we've thrown out a lot of stuff we've been hanging onto.......there still more to go my son had brought me some sheets.......best described as sawdust board........or chipboard. really not ideal stuff to work with, but then again......I don't need something that's permanent......if it does, fine.....if not I can simply break it up and get rid of it. it's 4' X 32" X16"......I may choose to build another I'm still working on trying to get the treadmill out of here ......I still have the room for another though. I will do my best to be up and running by the time my work week is done. from time to time, folks have asked just how many projects I have in the works. if the Berth does what it's supposed to, you'll get a good idea the next time you see it I did get a table cleared off....small wonders
-
I just finished catching up Valeriy........and I must say that I'm in awe! such fine metal work........you do some very detailed work definitely museum quality
-
I saw something similar at Harbor Freight......I put it on my Christmas list a couple of years ago. what I found under the tree was a metal work station { I call it table black {Game of thrones pun} it's a nice table........Immune to termites ....but the light that comes with it isn't too good. I ordered a crane light for it.
- 51 replies
-
- 2
-
-
- laughing whale
- maine lobster boat
- (and 1 more)
-
hey there BigDad. I answered part of your question on my log........S4 runs along the deck where the structures go. do take care in how you trim them, as I don't think that the instructions are right. S1 are for the sheer stringers and S2 are for the chine stringers. be sure to label them so you don't mix them up. you will have to fit them so they join the bow stem....sloppy fit there...... your is probably like mine......die cut.........too bad the parts weren't laser cut......they might fit better. I also tried not to cement the bulkheads to the build board........you will need to. all those tabs get cut off afterwards anyway. follow diagram #1 which shows a the hull frame and a cut away view. I do agree with you though.......the instructions could be better, but then again, most kits aren't. Mike has a lot of really neat aftermarket for his.......Shapeways has a lot!
-
these bit were probably the most fun I had with this model........I used bamboo skewers. there are four different diameters that I used. good not to used the ply parts.......usually the laser cutting causes ply separation, and then it's a repair job really look'in good
-
Billing Boats has Nav lights that have the red and green colored plastic pieces......you just slide them inside. I use them, but I've never lit them. she coming along super.......the hull came out fantastic! really like your work space.........I've got just the place for that 'wrap around' look {I just moved rooms with our bedroom}..... there's a nice piece of counter top in the cellar......but I'm afraid that I'd give the landlord a coronary she's look'in great! can't wait to see what goes along with that radiator
- 51 replies
-
- 1
-
-
- laughing whale
- maine lobster boat
- (and 1 more)

