HOLIDAY DONATION DRIVE - SUPPORT MSW - DO YOUR PART TO KEEP THIS GREAT FORUM GOING! (78 donations so far out of 49,000 members - C'mon guys!)
×


popeye the sailor
-
Posts
16,007 -
Joined
-
Last visited
Content Type
Profiles
Forums
Gallery
Events
Everything posted by popeye the sailor
-
 thanks Dragzz..........I might have done just that :D too late for an update...I'll try to get it up tomorrow
 -
thank you Bindy the Crow's nests are a pain to scratch build...just round railed tops. I have one done......one more to go. you'll see them soon .......they won't be perfect, but for a first attempt, they'll do. thanks for the good word and looking in
-
one good thing about it......it's soft wood, it'll sand quick. it's all in the shaping
-
it's always the quiet ones.........isn't it :D
-
outstanding work Gil museums and art galleries are hungry for work like this!
-
thanks Dragzz and Senior...thanks for the good word and looking it thanks Marty.....actually, the mast problem is minor......I'm sure there is a simple solution for it. I'll get a couple of pictures to give everyone an idea of what the problem is. I think the holes for the mast and the hole for the canopy {on the lower aft deck}, are laser cut too close together. looking at the plans......there is some rake, but not that much. the camera is on the charge at the moment. it's a bit awkward, because I am in the middle of scratch building the crow's nests..........they're a pain in the backside too! thanks for looking in and the good word
-
no rush.....take your time
-
hi Ed........I think your talking about the Holiday boats.....but that's OK. congratz to the women's hockey team.......I forget who won ..I don't follow it.....sorry
-
Robbyn........I thought your comment was very funny.......I wish there was a 'really like' button! made me think of the movie '12 monkeys' so true.........it would be a boring build without them I'll keep that in mind Sjors...such a kind gesture! is Anja going to add them In?
-
wishing you the best, and a speedy recovery......take care, and will look forward in seeing an update when your feeling better
-
I can see a subtle difference Daniel, in how everything looks. you did very well with the reno but, I do have to ask why.......I thought you did a splendid job on this originally was it because you did a refinement on the replacement parts?
-
thanks Mobbsie.........I already talk to myself ........the admiral is getting tired of saying "What???? :D How to win, over reasoning with one's self that's easy........you gotta take command.......you gotta take control of the conversation...........I AM!!!!! then your inner self will say "OK, then I guess it's your turn to make the mistake!" :D thoughts for assertiveness you think to yourself......"who am I?" your inner self will say......."your the boss." you ask your inner self......"....and who are you?" your inner self will say......"I'm nothing." .......so you think to yourself and come to the conclusion, that your the boss over nothing
-
thanks all for the kind comments! only got a little done yesterday........driveway is clear now, and getting a wash with rain today....crap! yepper Augie......I got ideas flowing all through me too late though....brain's already scrambled ! thanks! thanks John........other than the minor set back....it's great to be on a beaten path thanks Piet! it's in the alignment of the two holes for the Mizzen mast......if I get a chance, I'll post a picture before I mast her the mast leans wayyyyyyyy back....a bit too much. the hole in the main deck and the hole in the lower aft deck......they are pre punched {I didn't have to scratch either part - main deck and aft deck platforms}. same with the hole for the canopy. the Gothenborg is lanteen rigged...and it doesn't have as much rake as this one........I have a gameplan! you know........you could do a crow's nest.........have a guy up there on the look-out, and a couple of others on the deck scratch'in their heads :D :D remember........never underestimate the mind of a lunatic.....the power of suggestion is too great! thanks Patrick.........no, no time machine......it's all selective, just like my hearing {just ask the admiral} it is said that the one who has all the toys, wins..........but I think you have to have all the models first.......to use them on I didn't buy the tool though, thought I'd cut out the middle man! :D :D {he who packs lightly, moves faster}
-
the parts look pretty good........gee bud......they look better than the original ones your almost back to where you were......looking very good!
-
you mean a traveler........right? sweet job with the ratlines Mobbsie......I'll be up to that soon enough great!!!
- 1,279 replies
-
- 1
-

-
- agamemnon
- caldercraft
- (and 1 more)
-
with the way things are going Henry.......you might be right! this winter is really a bummer! nice work on the cannons
-
glad to see your back at it.......sweet looking anchors
-
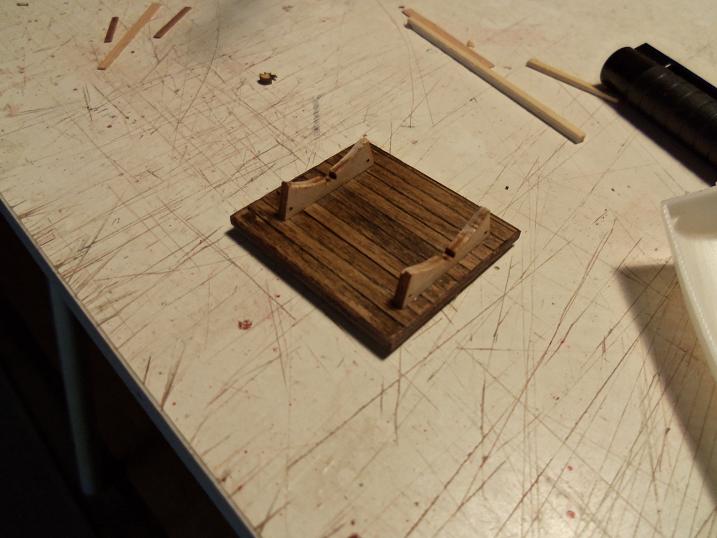
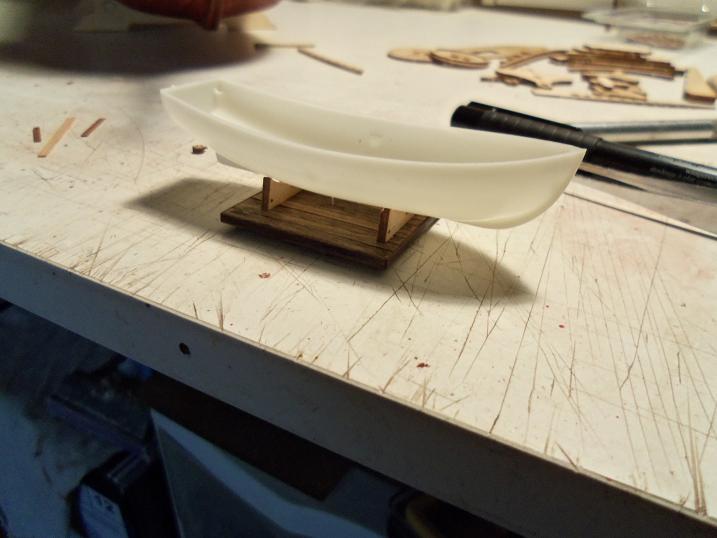
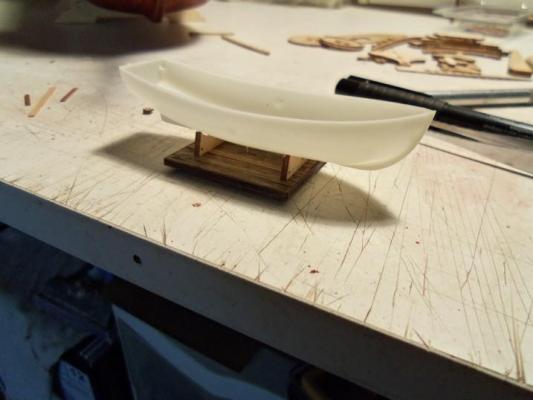
I hope I have enough blocks for all this rigging........ eegadds, flipping that sheet over was quite an eye opener I also wanted to mention that the life boat is not going to look like that.......there's a plan in the works for it
-
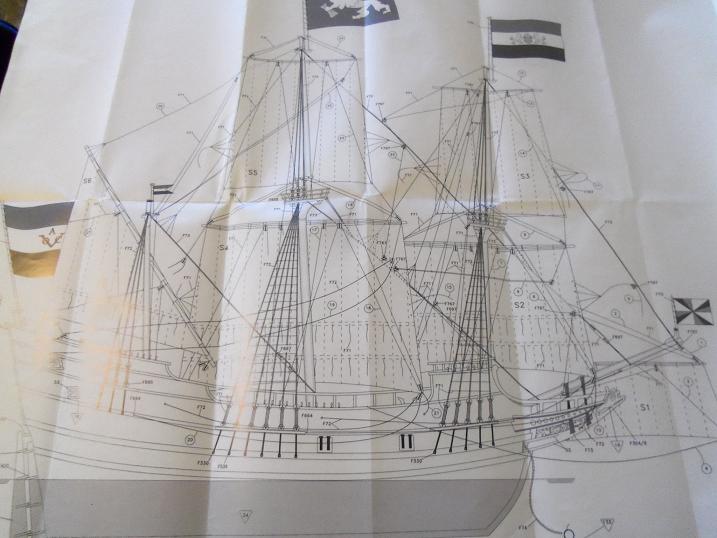
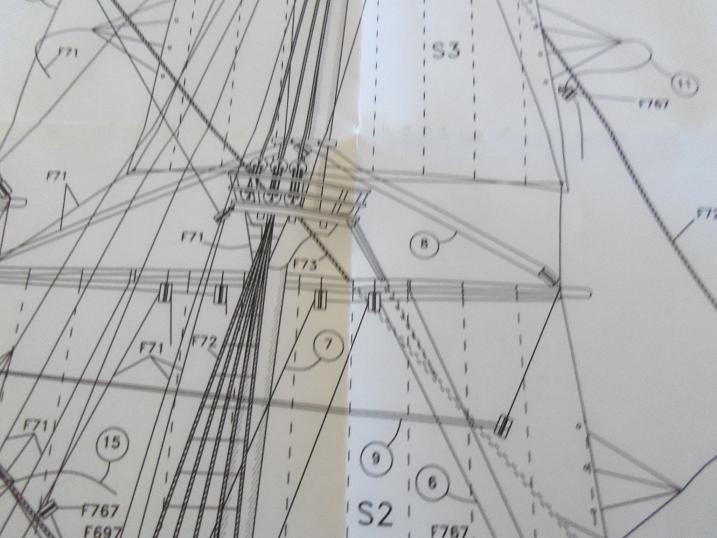
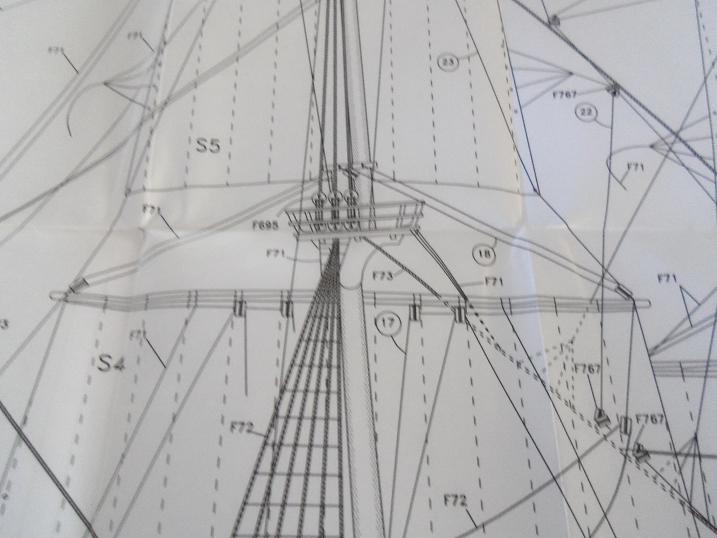
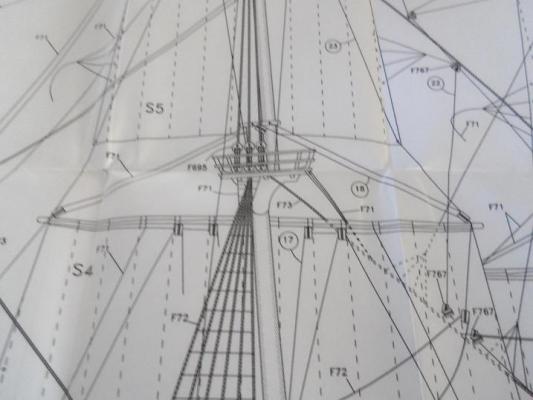
hee.........hee......thanks Sjors..........WHOAaaa...baby!! I have two of them! I thought it was only done on the foremast......but there's one on the main mast too. the plans show it......that was where I got my initial thought. but looking at the rigging sheet........my, what a tangled web we'll weave! note the rake on the Mizzen mast........it's a part of the problem I mentioned earlier. the way the decks are set up, there's too much rake. I have to fix that a close up of the fore mast shows the crow's feet tethered from the crow's nest to the lower fore stay and here is the main mast the bases for the crow's nests....I can use......they have all the holes I'll need for the rigging, but I'll need to scratch build the rest.....I think I'm going to do them next you might want to add the C.F.'s in Sjors.....................sorry Anja


-
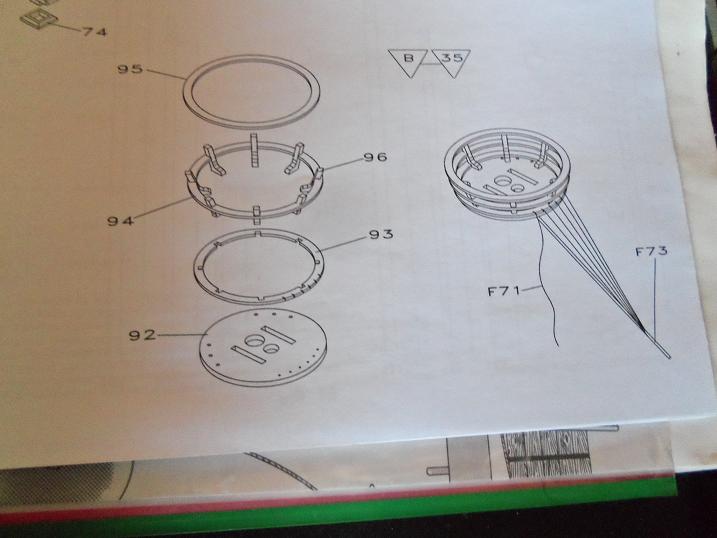
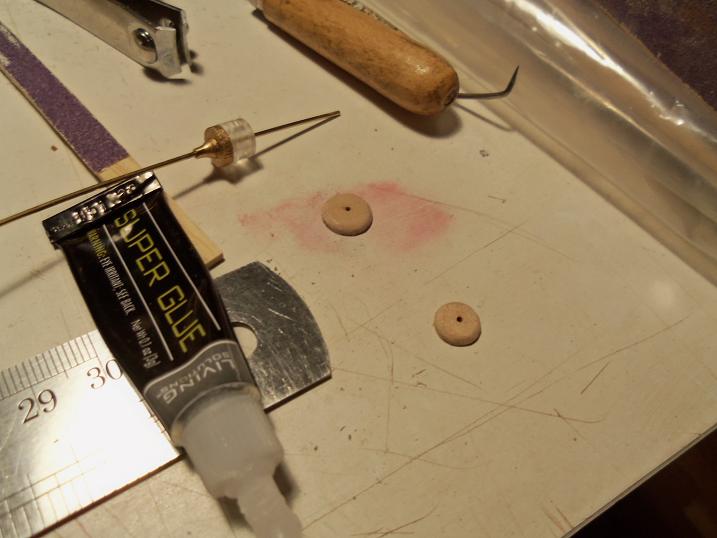
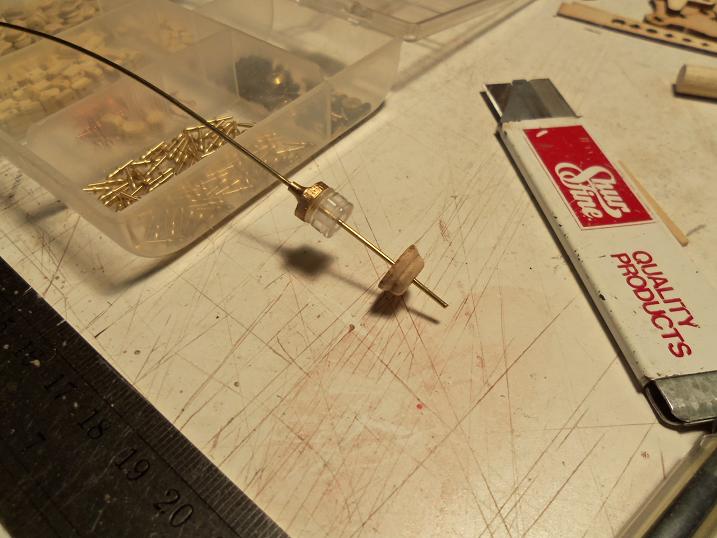
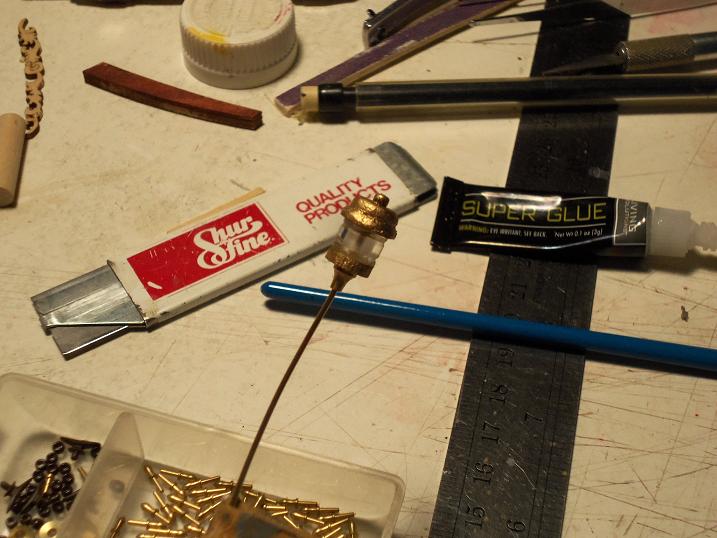
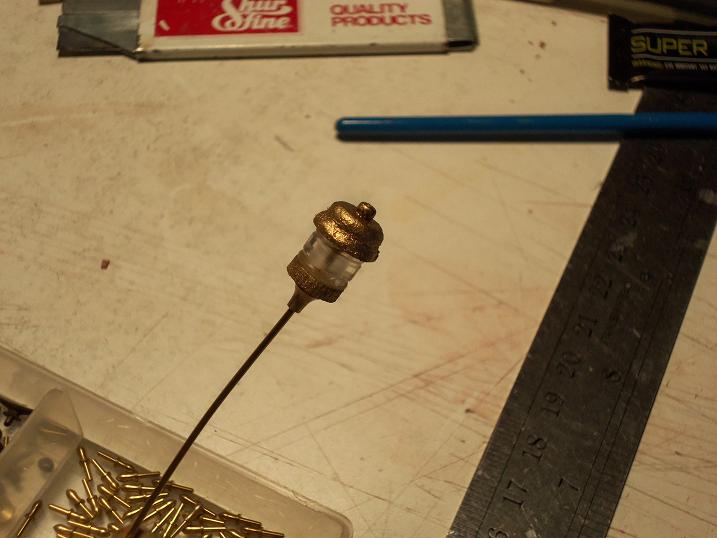
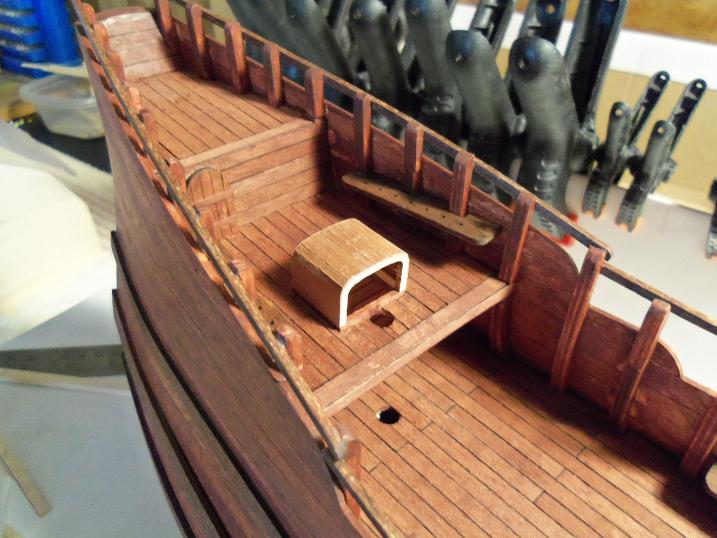
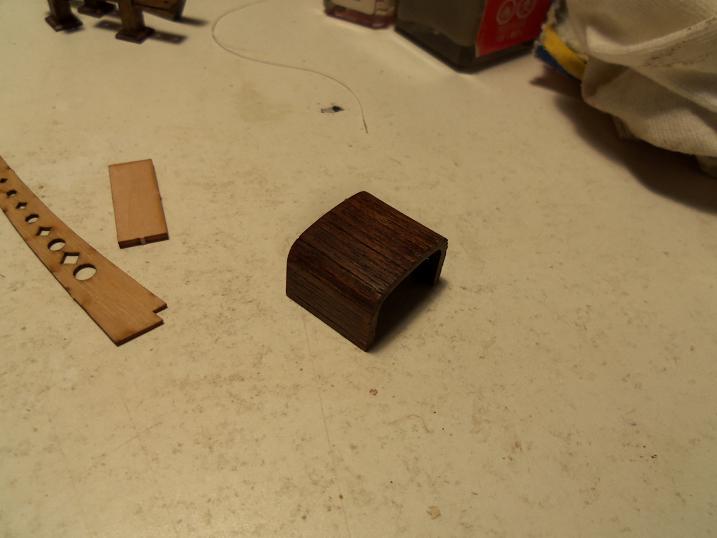
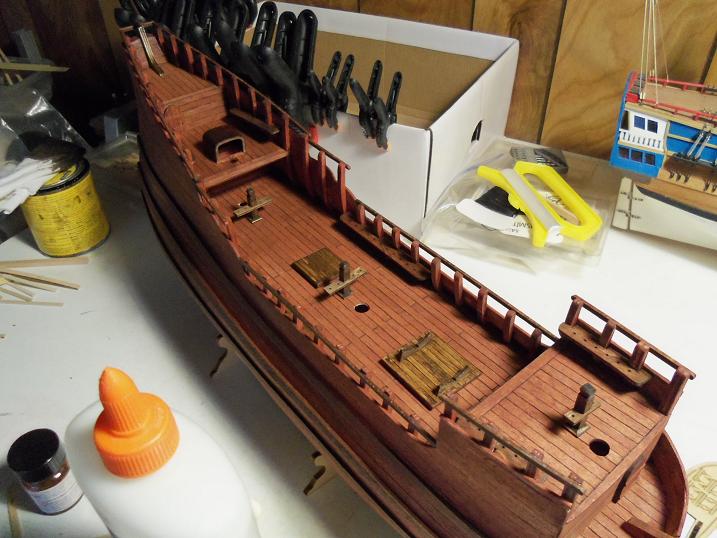
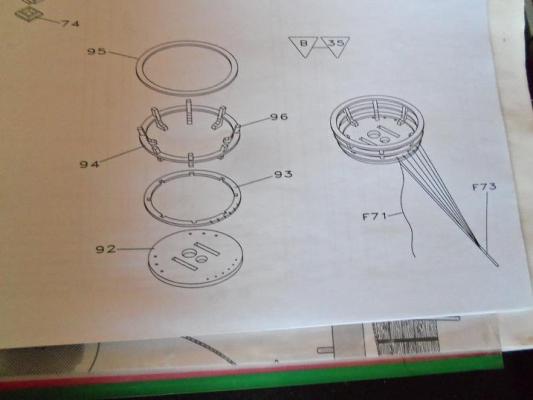
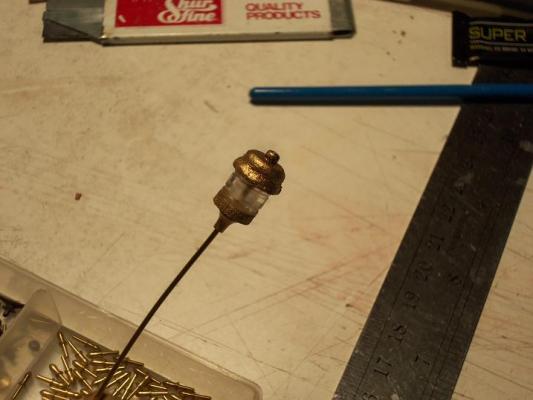
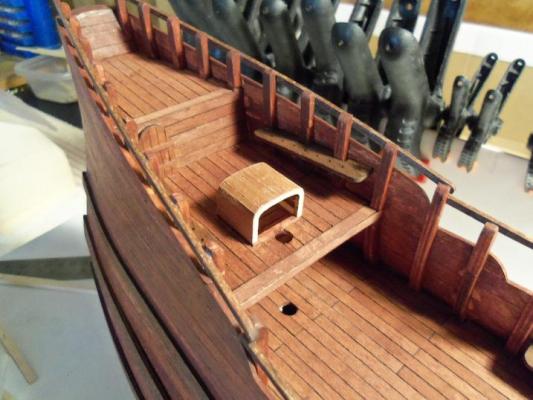
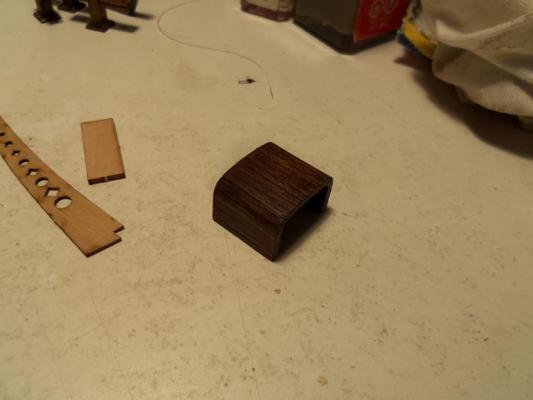
I did find a small problem though......I put the masts in place, and found that the Mizzen mast interferes with the canopy. the holes for it give it too much rake. I can do a couple of things here.....since the holes for either of them are already punched out.....I either need to alter the axis of the Mizzen mast, or notch out the canopy. as it is, I feel there is too much rake on the mast. as I think up a way to do this.....I settled on doing something else for the moment. the lantern for the stern is on this page, so I played with this. the lantern is made up of about six parts.....some of these parts are wood. you have the brass rod, brass bottom cap........then there is a wood base for the clear plastic lense part to sit on. two additional wood parts sit on the top, sandwiching the plastic piece in. I couldn't figure out or find the top piece, so I used a perrel bead.....worked just as well I should have rounded off the bottom piece, but I didn't.........but I did do it to the two upper pieces. I painted these parts gold. these pieces were glued together and then painted as a whole.....gold. after the perrel was pushed on there, the end of the rod was snipped off and filed flat.....it too was painted.


-
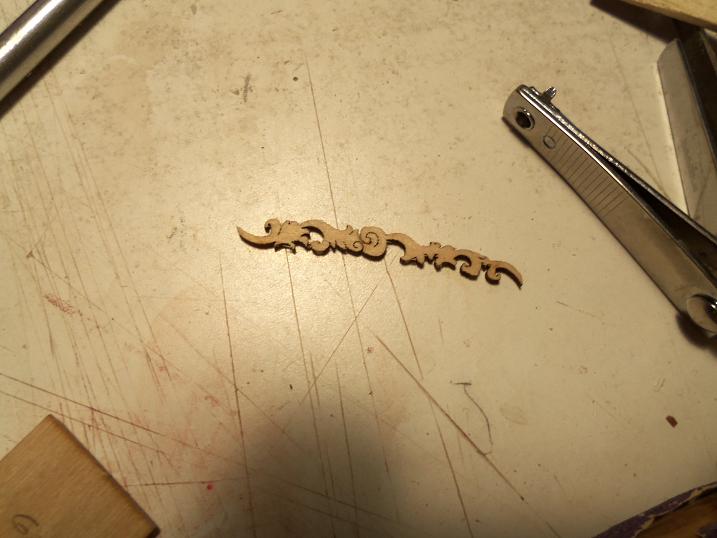
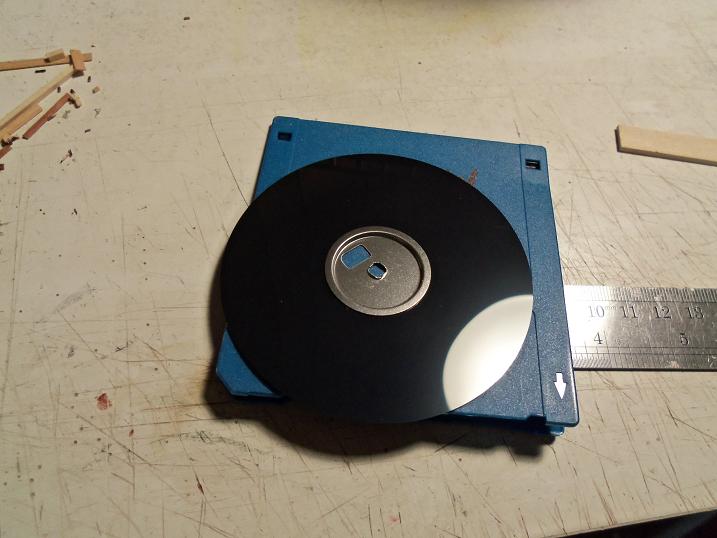
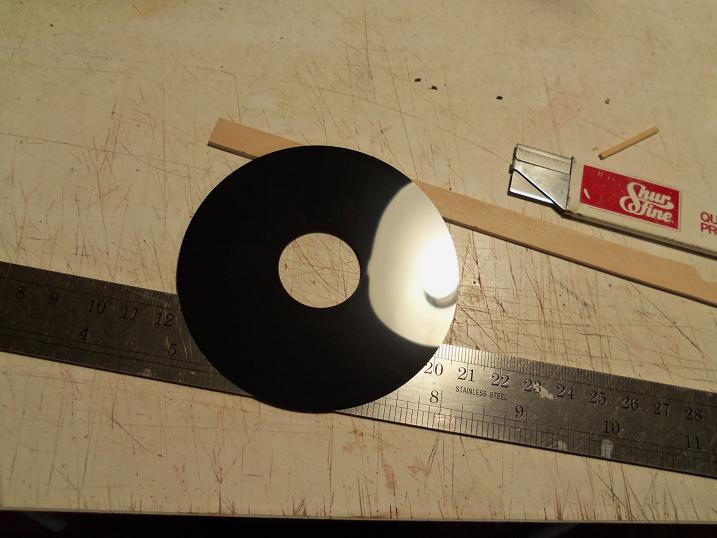
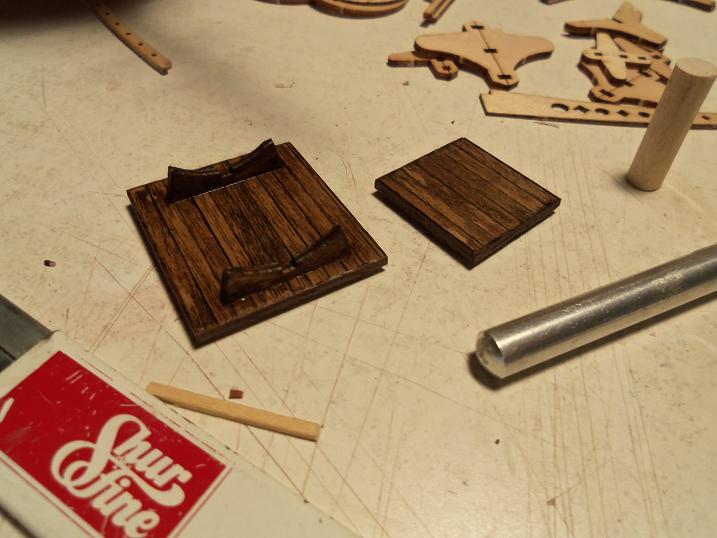
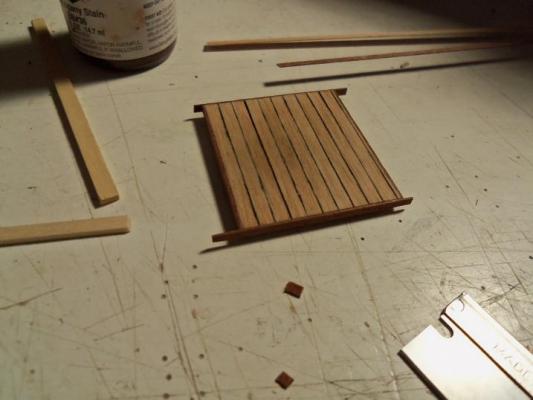
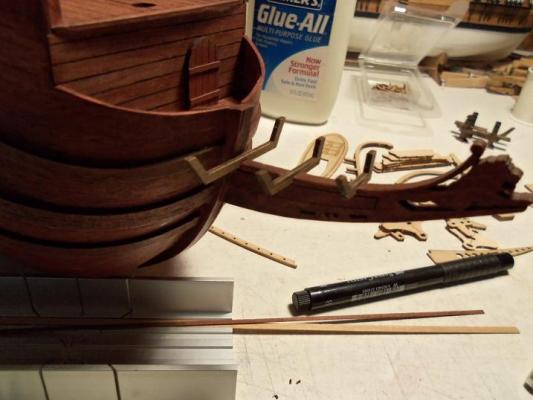
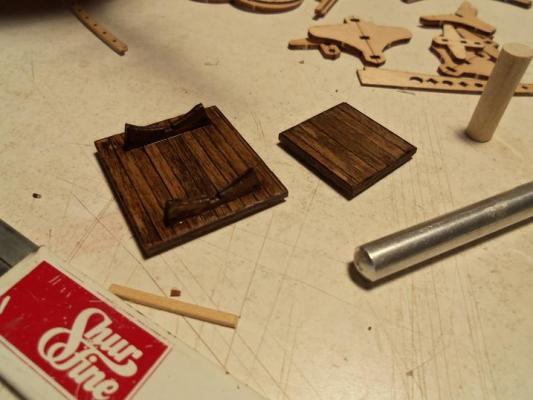
I was looking in the instructions Mobbsie, and what do you know........I have crow's feet too! must be from these gosh-darn boot I always wear no, but really...... I need to do them too......it's all good! to continue with the build.......I got that canopy finished and stained. I must have gotten some glue on the outside......I had a couple of faint blotches, so I touched it up. I sanded it before I did the touch-up......I kinda liked the way it looked.....I might do a re sand to lighten it up again. more was done to the holds, bordering around them with mahogany, and then staining them later. the trailing board frames were cemented in place......darned instructions don't show you where to put them exactly......my best guestimate. I also need to take that piece out I put back in.......I have this bit of ornamentation to put in it's place. to continue with the forward hold, the cradle parts that holds the life boat were cemented in place. I should have waited and stained it as a whole. I got this idea from Peter Visser {thanks Peter}......since this kit does not have cutouts for gun ports and windows.....I find the need to improvise. thanks to you, I think I can pull off the windows. luckily, I'm glad I didn't throw away all my old floppy discs both holds are finished now......just about ready to go I did a dry fit of the parts so far........


-
welcome back John
-
sessions at the tanning salon don't take that long Augie
- 2,191 replies
-
- 2
-
-
- confederacy
- Model Shipways
- (and 1 more)