
HOLIDAY DONATION DRIVE - SUPPORT MSW - DO YOUR PART TO KEEP THIS GREAT FORUM GOING! (Only 51 donations so far out of 49,000 members - C'mon guys!)
×


popeye the sailor
-
Posts
16,007 -
Joined
-
Last visited
Content Type
Profiles
Forums
Gallery
Events
Everything posted by popeye the sailor
-
 you've really put a lot of fine detail into the rigging.......some of the tackle is simply a work of art. great job Gil!
 -
great start to the build Nils. is that P.E. your using for the fittings?.......doors and such
- 222 replies
-
- 1
-

-
- gorch fock
- barque
- (and 2 more)
-
any small update is a good update Patrick........it's always the finishing touches that are the tiniest....but they are the most important!
- 299 replies
-
- 2
-
-
- niagara
- model shipways
- (and 1 more)
-
she looks great Patrick! the rigging really fills her out nicely........congratz !
-
good to see some sawdust.......looks really nice. I'm ready for spring......
-
is this a build you've already completed, or is this you next build? I wouldn't miss it for the world!
-
beautifully done Sherry.....you've done a superb job thus far!
-
now you did it........you were supposed to spring it on her later when you needed them :D the sails look great! I hope you made her an honorary member of your shipyard they are going to look super on the ship :)
-
coming along quite well Popjack.......looking sweet!
-
thanks dragzz!
-
looking mighty fine Dragzz!
-
thanks Augie.......missing parts.......no problem! just shuffle them around a little! thanks John......I wanted to keep the base.....it will just make it easier. I'll get it straightened out anything for you Sjors....has Anja changed her mind about the feet? :D thanks for the good word thank you Mark thanks Daniel......they are part of the outer hull paint work.......now, all I have to do is get up the nerve to do the rest thanks for the good word
-
What can you tell me about this ship?
popeye the sailor replied to damoncoker's topic in Wood ship model kits
this is a scratch built model, that comes from the estate of the late Hal Ewing. I'm not too keen on the MSW lore, but he was friends with J.Hatch......they belonged to the same club together {he might have see it}. from what I've read, the model is only a few years old. it is based on an actual ship, but the name is his moniker. the hull is made of hard wood. this is about all the info I could see on it, although I did get a copy of a picture of one of Hal's dioramas {with permission} it's not of the ship in question.....but you might see some resemblance of his work.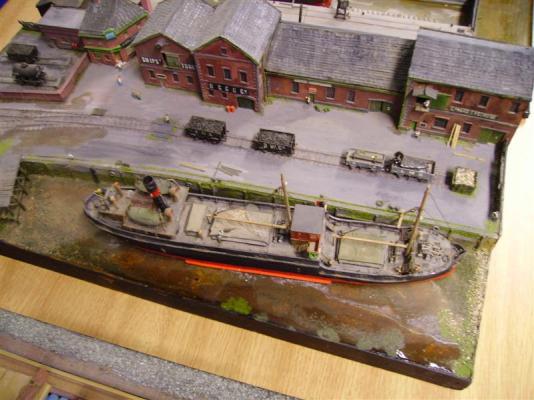
-
you've made the first step........and many more beyond. I see you finishing this fine ship
-
good to see your up and about.......back issues can be a real pain {a bit of a pun, but they are not funny!} I don't sit as much as I used to either.......kind of the same problem, but I get restless. my table is high......so I stand. I wish you well, and I hope to see you back at the table soon!
- 237 replies
-
- 1
-
-
- cutty sark
- revell
- (and 2 more)
-
thank you Patrick and Lawrence......once I do what I need to do with the exterior work, I can give her the flat sealer and get these parts on the ship, where they belong. thanks for the good word thanks Bob......i had made the adjustment to the starboard front.......the new railing made it look better, but it made the port side stand out a bit. I'll get it right yet thanks for the good word
-
love the video Daniel......I can see why you enjoy it so much! I would have to see a lot more, before I was to try one though sorry to see the ship go back in dry dock......but every modeler knows that there are the risks involved......it's all part of the hobby. you'll have her fixed up in no time thank you for that wonderful video
-
Cutty Sark by NenadM
popeye the sailor replied to NenadM's topic in - Build logs for subjects built 1851 - 1900
I thought that was what you were going to do........replank. get your bulwarks in order before you commit though- 4,152 replies
-
- 1
-
-
- cutty sark
- tehnodidakta
- (and 1 more)
-
now that's a ship shape shop Michael.........the beauty is in knowing where everything is. glad your making progress again
-
I'm sorry to hear that Piet........I wish you well and my thoughts will be with you. sounds like your in good hands......just do as they say and rest easy. finish the sub {supercollosalstupedous build, by the way}, and then turn to the VOC.........a happy and busy mind can conquer all!
-
you are most welcome Nils........thanks for showing how this beautiful model was built you've got some great skills and an eye for detail!
