Supplies of the Ship Modeler's Handbook are running out. Get your copy NOW before they are gone! Click on photo to order.
×


glbarlow
-
Posts
4,035 -
Joined
-
Last visited
Content Type
Profiles
Forums
Gallery
Events
Everything posted by glbarlow
-
 Sure, I’ll take a few and post them
 -
All the blocks look great, very well made. I guess you have a point, so okay....🙂
-
I don't see much of a taper as those planks go towards the bow?
-
I told James I'm just going to use his photos, I can't top his work. Plus I'm outsourcing the cannon to Derek 😄
-
Quoins is what they are called and they would have a handle - with such tiny guns I'm not sure how essential that is. In my view not having the handle but including the quoin is fine, it's also a nice touch if you included them, either works.. It's also likely they are necessary to have in order to adjust the elevation. My view on gun elevation is what looks best with it sitting in the gun port. But check them all before finishing. The gun ports may vary in height based on the curve of the deck. You're photo looks fine - I think as long as they aren't pointed below 90 degrees whatever looks good and fits the gun port works. The ship the cannons are aiming at is probably level with the ship they are on, so...... You're painting is nice and precise - always an important point.
- 436 replies
-
- 2
-

-
- vanguard models
- alert
- (and 1 more)
-
An 18/0 brush for these small touch ups is your friend.
- 436 replies
-
- 2
-
-
- vanguard models
- alert
- (and 1 more)
-
Your deck fittings are superb, really nice work. Those small details may not show on their own but collectively they add a great deal of professionalism to the overall look. They help make it all come alive. Like Derek I’ll be stealing, I mean adapting many of these to Flirt when I get to her. Well done!
- 436 replies
-
- 4
-
-
- vanguard models
- alert
- (and 1 more)
-
Not sure about all the harsh judgements and concerns about accuracy, seems silly. It’s a movie. They used the USS Bainbridge because it was available for filming. It’s a 98 minute streaming movie, of course there is CGI involved. I read the book recently, it was not as good as the movie. The movie is an exceptionally well told tale about leadership under extreme pressure, if you missed that point I suggest you watch it again.
-
It’s a streaming movie, there aren’t going to be any DVDs. Do they still make those. Movies made for streaming services won’t appear on network TV, not how it works.
-
I’ll of course start a build log when the time comes but a few first look observations: -It arrived just a few after being shipped, no delays with UPS -the shipping sleeve is thick and sturdy, no dents from crossing the Atlantic. - more bubble wrap inside the kit box preventing anything from sliding around -everything inside in multiple sealed plastic bags grouped by instructions and plan, strip wood, boxes for the pear wood blocks, which look extremely sharp, detailed, and well made. -The lasered parts look soo much better than any kit I’ve ever seen. And of course everything is boxwood. I don’t know how many of the 18 Master shipwright Editions are left, I highly recommend getting one.
-
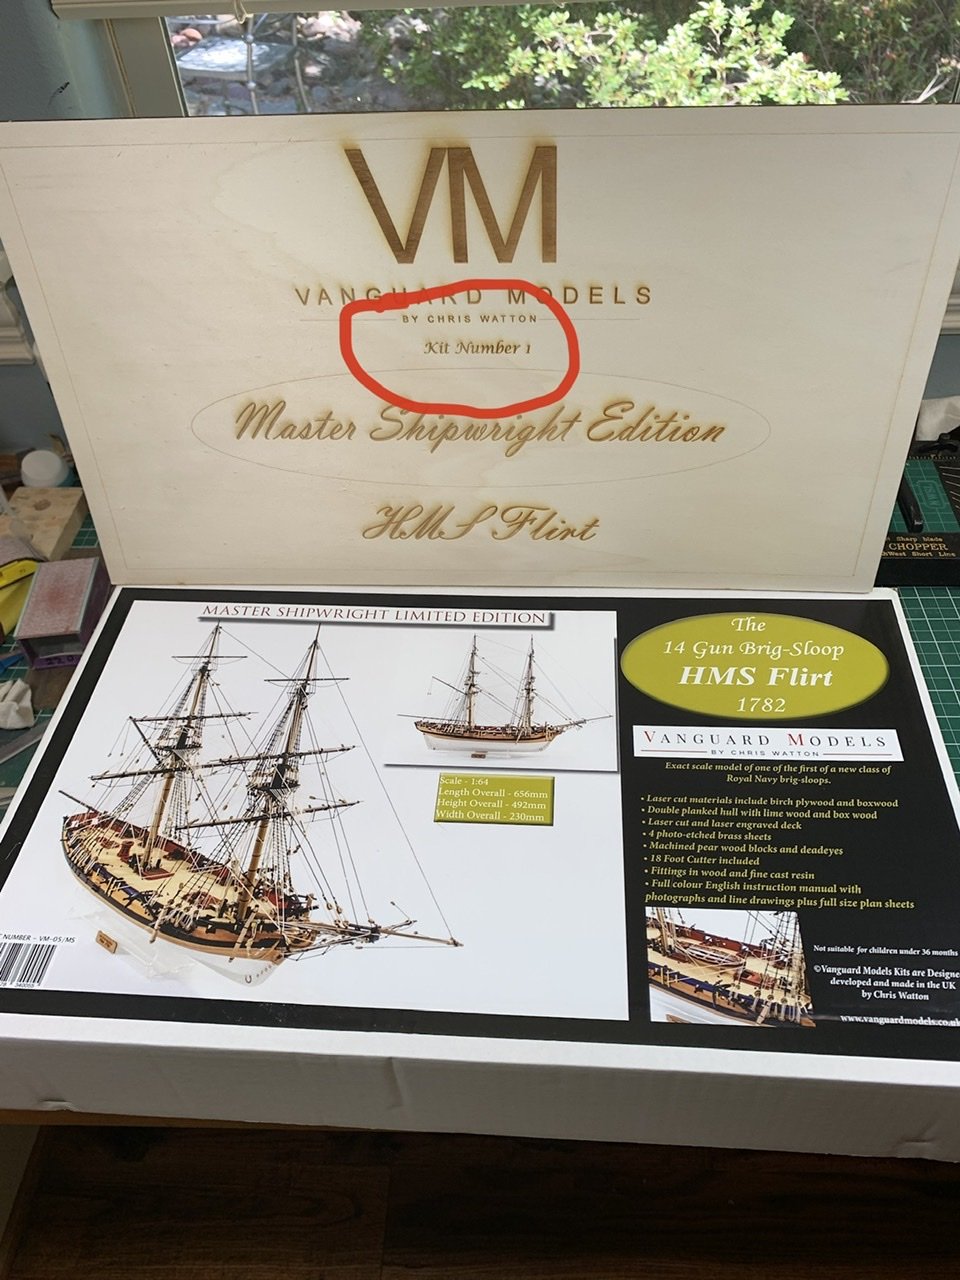
Well this is pretty cool. I’m honored to have kit number 1 of Vanguard Model’s HMS Flirt Master Shipwrights Edition Thanks Chris for including the nice lasered board! Everything inside the box is such high quality. I’ve never seen so much boxwood. Very nice! Admiral Cochrane also approves


-
The basket is next level, I agree with Yves, now you need carved wooden herrings 😂🤣
- 195 replies
-
- 3
-
-
- lady eleanor
- vanguard models
- (and 1 more)
-
Now you’ve set the standard for the rest of us. Really exceptional job of it!
- 725 replies
-
- 1
-
-
- vanguard models
- speedy
- (and 1 more)
-
Either by making a copy of the items, cutting them out and attaching them to the wood with some rubber cement and cutting out the wood from there, using tracing paper to make a template, or taking the measurements with a ruler or digital calipers And transferring that. All assuming the plans are to scale. There must be different versions of POB, I didn’t have to do any of that. Not going to be a common kit or a easy first build. Hopefully you can find a build log of someone using this same version of the kit and follow along.
-
These kits really aren't designed for single planking, the bulkheads are further apart (and less of them) than a single planked model. If this is your first model that'd be a stretch to pull off. The double planking gives you a much better looking hull when you're done. Yes, between the 2nd and third bulkhead and yes you'd fair the hull with it already there to ensure a smooth flow of the planks. If you haven't planked one before be sure to look around on the forum for a process that works for you. Bending and tapering planks to conform to the bow and the flow of the hull is both a process and a learned skill.. Both my Cheerful and Lady Nelson build logs explain the process I use, but there are many ways to do it.
-
I’m concerned your used kit may be missing parts, POB was one of my earliest models, I didn’t have to scratch build anything. The plans should include a sheet that shows all the parts boards and the instructions should include a list of parts, Have you done a complete inventory? Photos in other build logs should give you an idea about the stern, I know my completed model is not that square. One thing about models, no matter the plans every stern winds up being unique For the first planking you should start at the top and work your way down. I stop with 4-5 rows to go and instal from the garboard up. That area between isn’t visible once mounted so mistakes and filler can be handled there. For the second planking you can also start at the top, but common practice is to first place the first layer of the Wales (those reference marks maybe?) work up to the sheer, then down. The cap rail shouldn’t go on until all planking is complete and you’ve sanded the sheer smooth. I don’t add the cap rail until the inner bulwarks are also complete and to cap it all off, see what I did there. You’ll appreciate filler between the 1st and 2nd bulkhead, it will make planking easier. Hope that helps.
-
Yay, Flirt is on the way
-
kit review 1:32 Fifie – The Scottish Motor Fishing Vessel by Amati
glbarlow replied to James H's topic in REVIEWS: Model kits
I don't think any more needs to be said. As you noted there were many variations and many conversions, its not a military vessel subject to exacting standards, just a simple fishing vessel. I would think it would be easy enough for a modeler to modify the size of the steering house to what suits them and be not less or more accurate than the design. I would have thought this was long resolved and fairly simple to follow. I agree, this is not the place to debate the merits of wheelhouse design. Moderators are welcome to delete my post. I don't mean to be argumentative, just a bit frustrated we can't seem to accept the model for what it is - a model. -
Glue by the gallons...🤪
-
50 meters?😳
-
Exactly right. Hard to explain what’s best, generally the least possible for a tight dry fit. I needed some meat left so I could sand it smooth. Your drawings show that very well. Thanks for sharing those.
- 778 replies
-
- 1
-
-
- cheerful
- Syren Ship Model Company
- (and 1 more)
-
Those are good drawings and show what I inadequately was trying to say. My comment though is don’t be drawn in by the sharp angles shown. It is a feel thing, as I mentioned for the most part it’s more about knocking off that top back edge. I see no need for a hard angle. I actually tried to bevel one using my Byrnes sander. It did no go well. btw, I don’t have an endless supply of cedar. Pretty sure I’m going to have to order more. I’d just rather be happy with the result.
- 778 replies
-
- 4
-
-
- cheerful
- Syren Ship Model Company
- (and 1 more)
-
I’m a bit hesitant on doing this. There are so many different ways and no doubt better ways I’m not sure my new experience is worth sharing. I don’t want my log to become a debate platform for alternative practices. I may just go about my new found method quietly sawing away.
- 778 replies
-
- 1
-
-
- cheerful
- Syren Ship Model Company
- (and 1 more)