HOLIDAY DONATION DRIVE - SUPPORT MSW - DO YOUR PART TO KEEP THIS GREAT FORUM GOING! (89 donations so far out of 49,000 members - C'mon guys!)
×

Nunnehi (Don)
-
Posts
321 -
Joined
-
Last visited
Content Type
Profiles
Forums
Gallery
Events
Everything posted by Nunnehi (Don)
-
Looks great, Bob! Don
-
Thanks, Glenn, and I really look forward to your build. I have followed your Cheerful project with great interest and have permanently bookmarked it in my tutorial folder as a really good “how to” - wonderful stuff! Thanks again, Don
- 144 replies
-
- 1
-

-
- winchelsea
- Syren Ship Model Company
- (and 1 more)
-
Thanks, Rusty, I appreciate it! Your build looks top notch and is one that I use as a reference on a regular basis. Thanks again, Don
-
Mike, There are several really good build logs for single plank on bulkhead or plank on frame available here for both the Winchelsea and the Medway Longboat from Syren - lots of tips, tricks, and “how to” posts. I’ve learned a lot, and have saved several permanent links to my tutorial folder. Cheers, Don
-
Looks great, Bob, good to see you back at it! Don
-
Good to see you back at it and look forward to some pics! Don
-
Haze Gray, that’s really impressive, thanks for the pics! She looks great! Don
-
This is really cool! Did not know that 3D printing could work at this scale. I’ve used some aftermarket parts for 1:200 scale projects (currently Titanic) and found them to be great! Can you post some more hull pics? Don
-
Paul, I’m really enjoying your build, especially the “how to” parts - it looks great! This may well have to be my next project. I’ve used a lot of photo etched brass in some of my other projects and have found that thin super glue applied sparingly with a needle or small glue looper works well and holds for an extended time. I don’t have any experience with soldering but probably need to give it a try - will add this to my things to do next list. Don
- 274 replies
-
- 2
-
-
- Cheerful
- Syren Ship Model Company
- (and 1 more)
-
Mike, I’ve been interested in building a Liberty Ship for some time now and just stumbled across your build - it looks great and I really like the scale! I’m not familiar with the Deans Marine products but from what I gather, they’re similar to the Billings offerings and provide good basic parts that scream for scratch and aftermarket upgrades. Anyway, please allow me to come aboard and follow your build. Don
- 45 replies
-
- 2
-
-
- robert e peary
- deans marine
- (and 2 more)
-
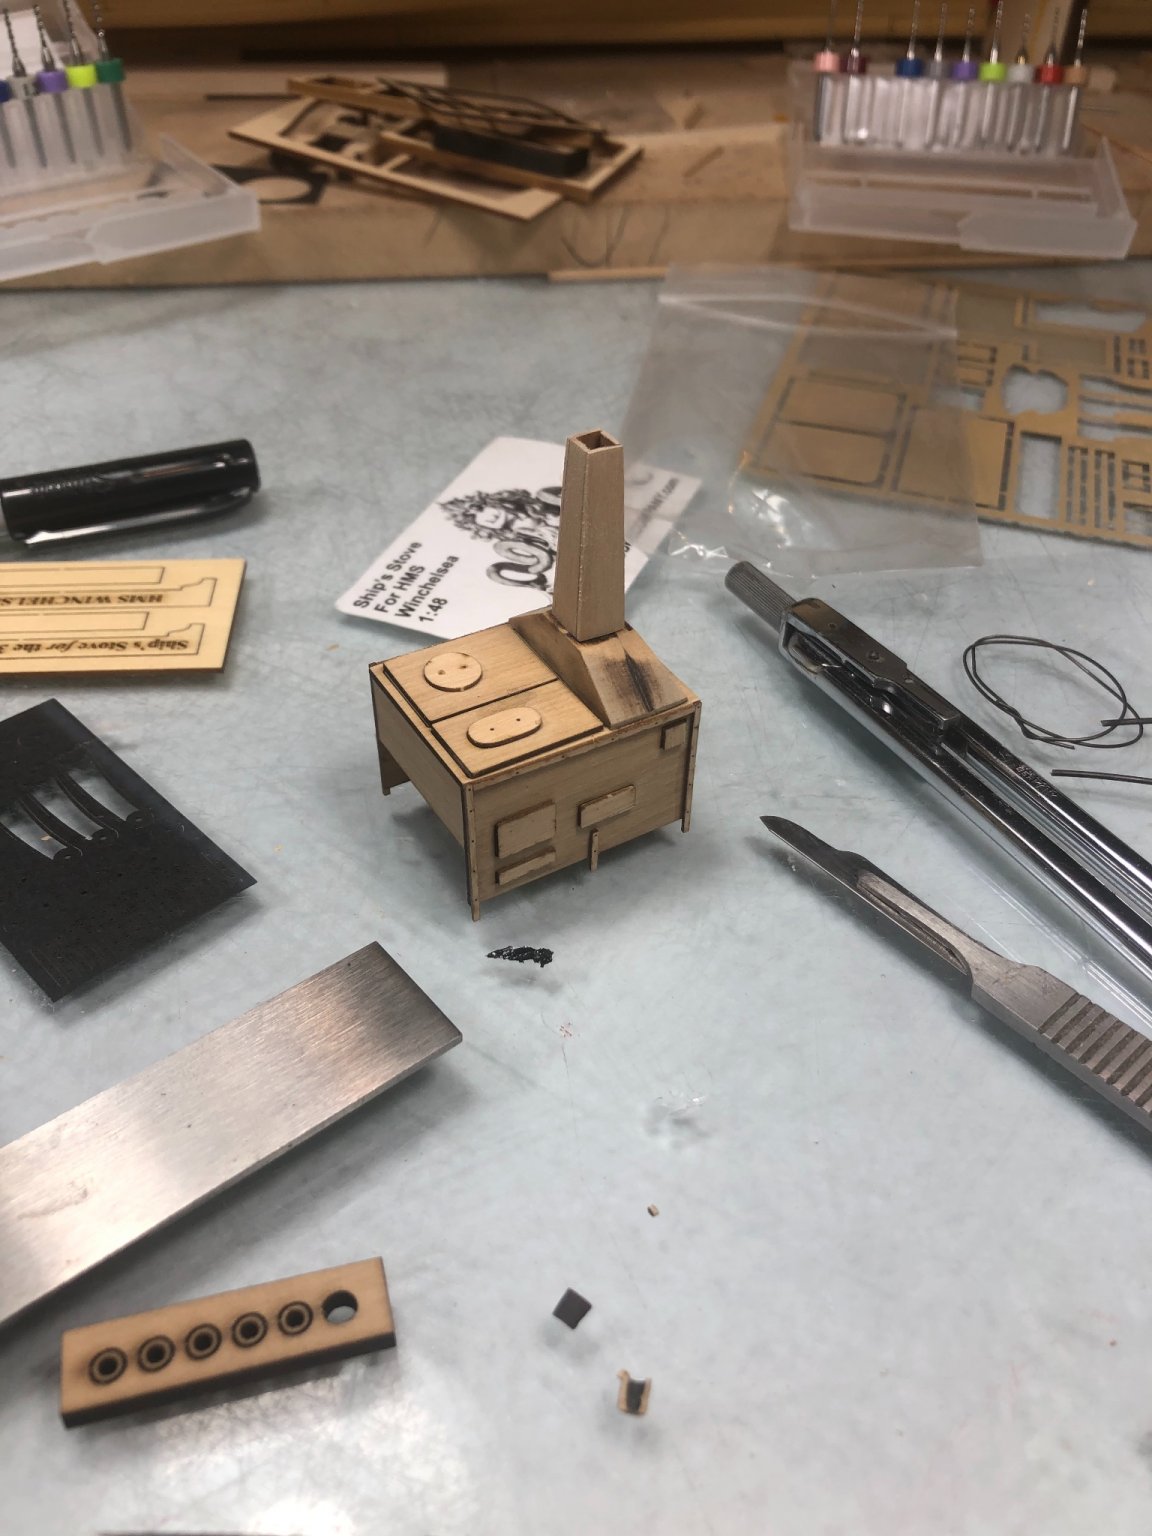
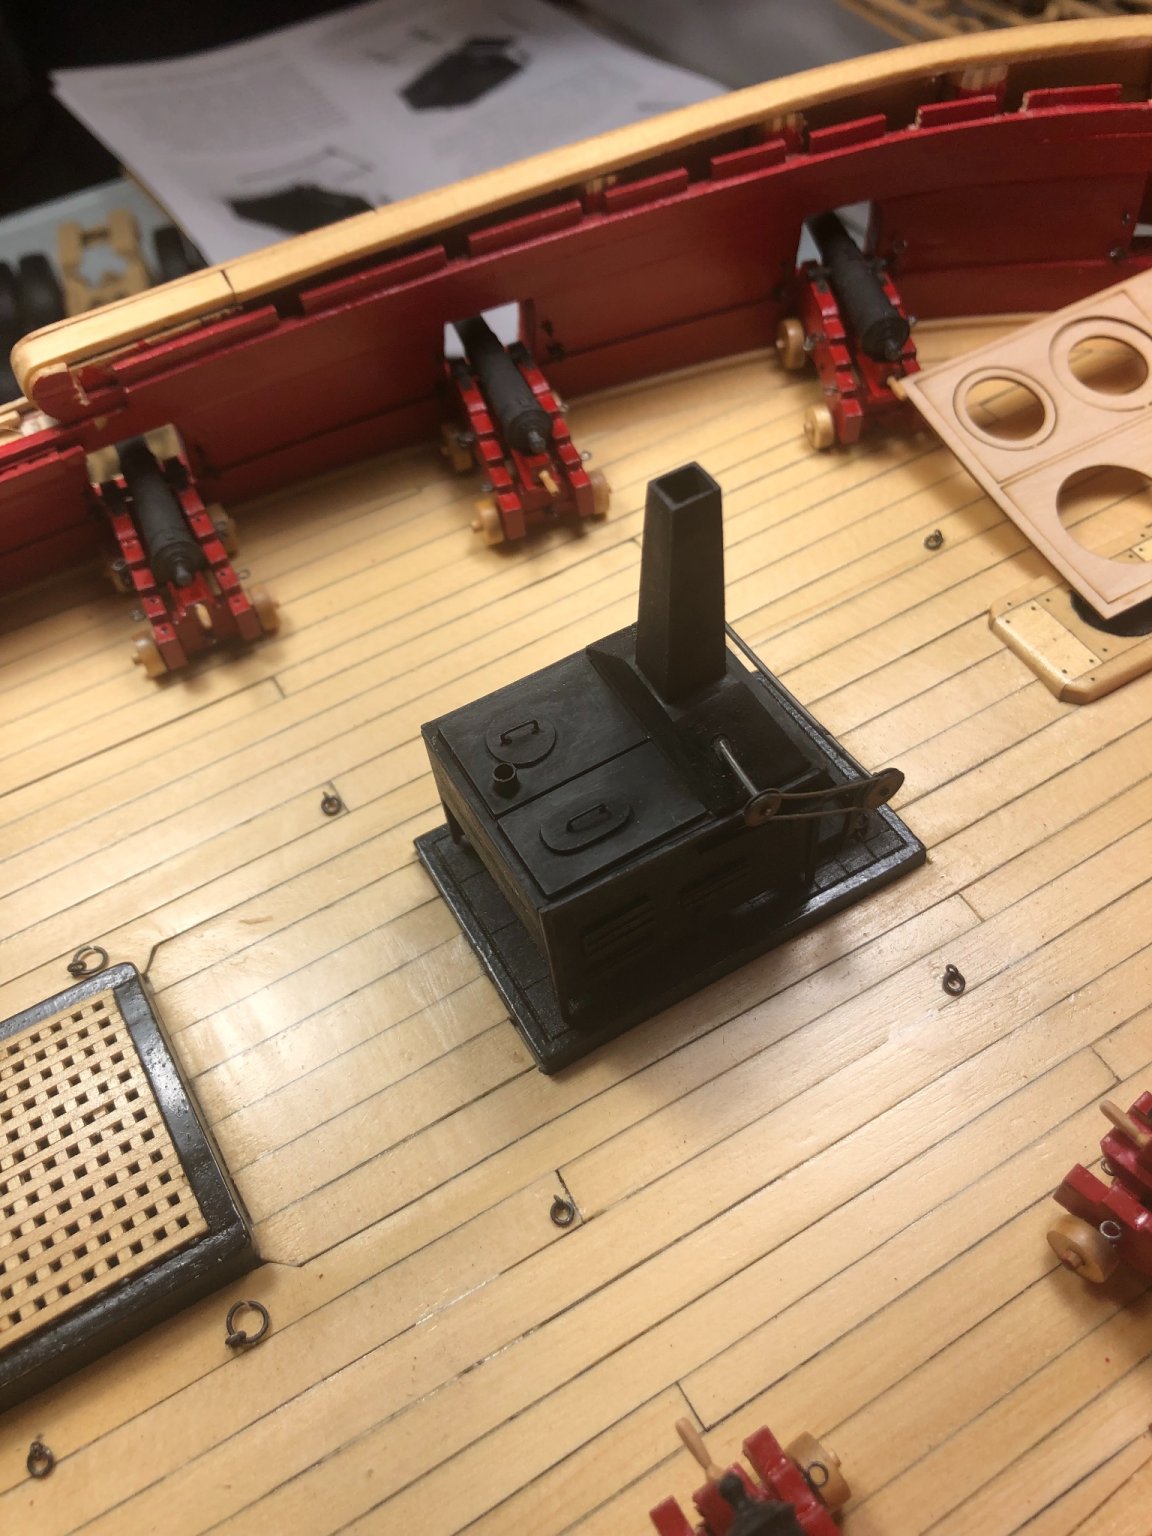
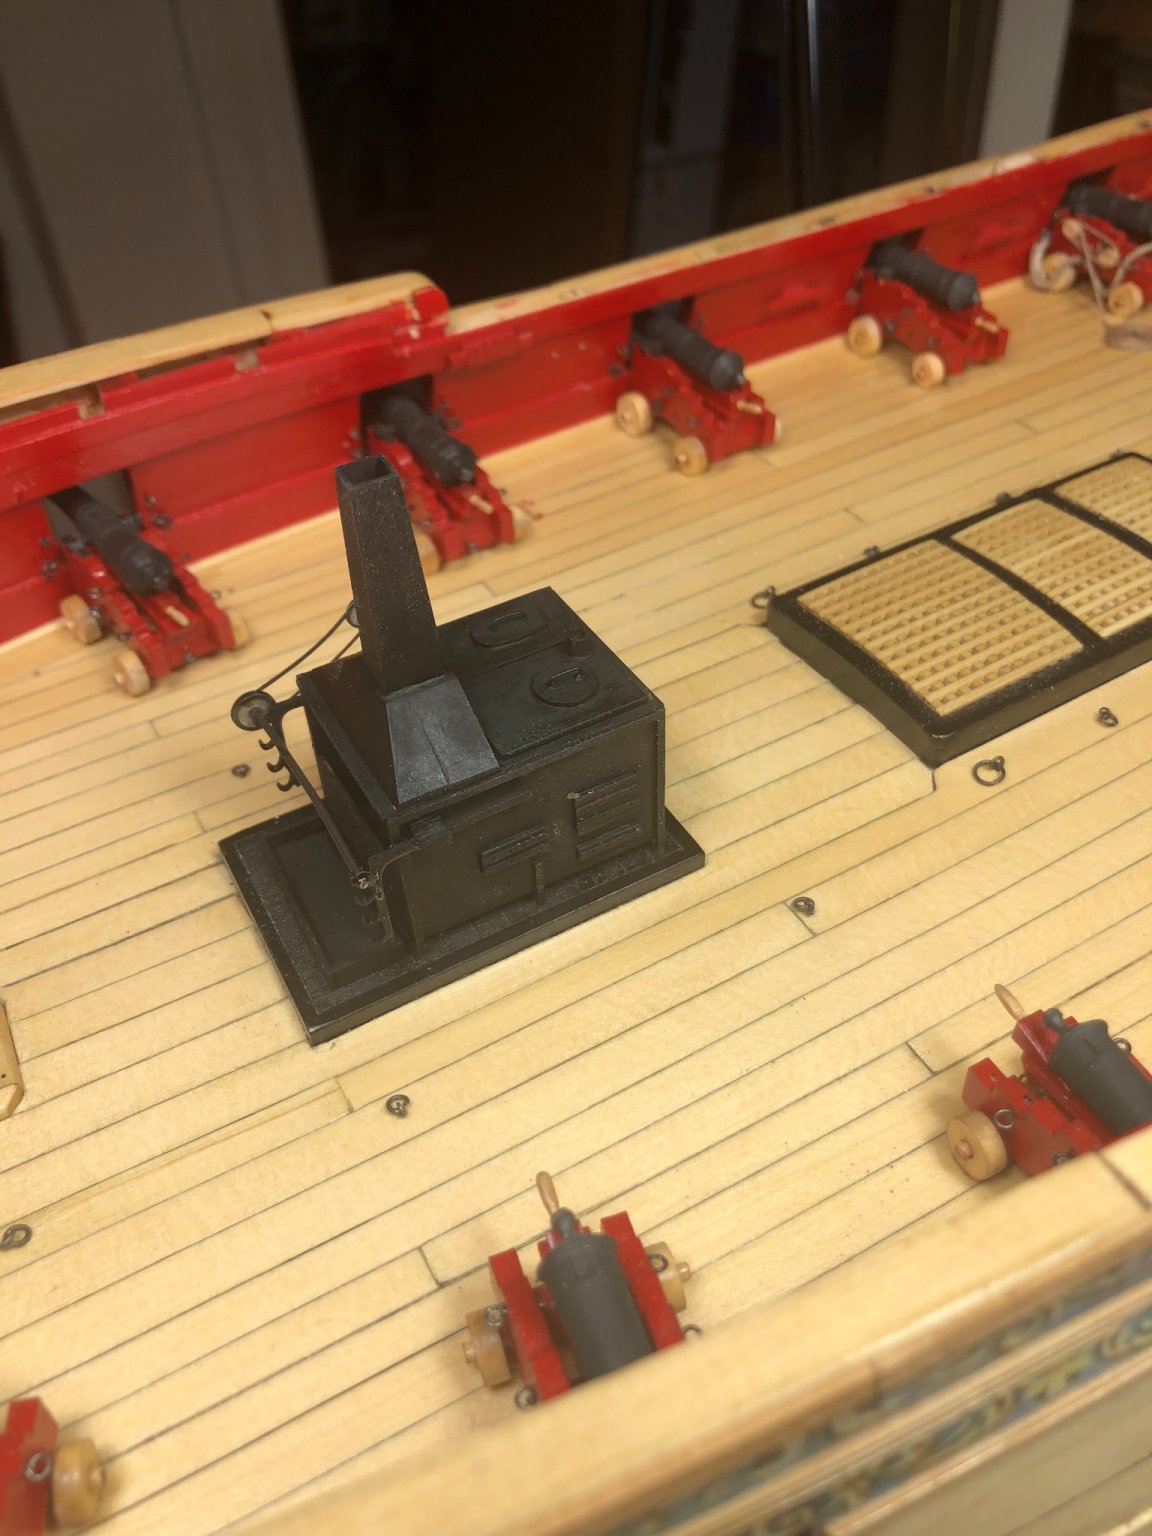
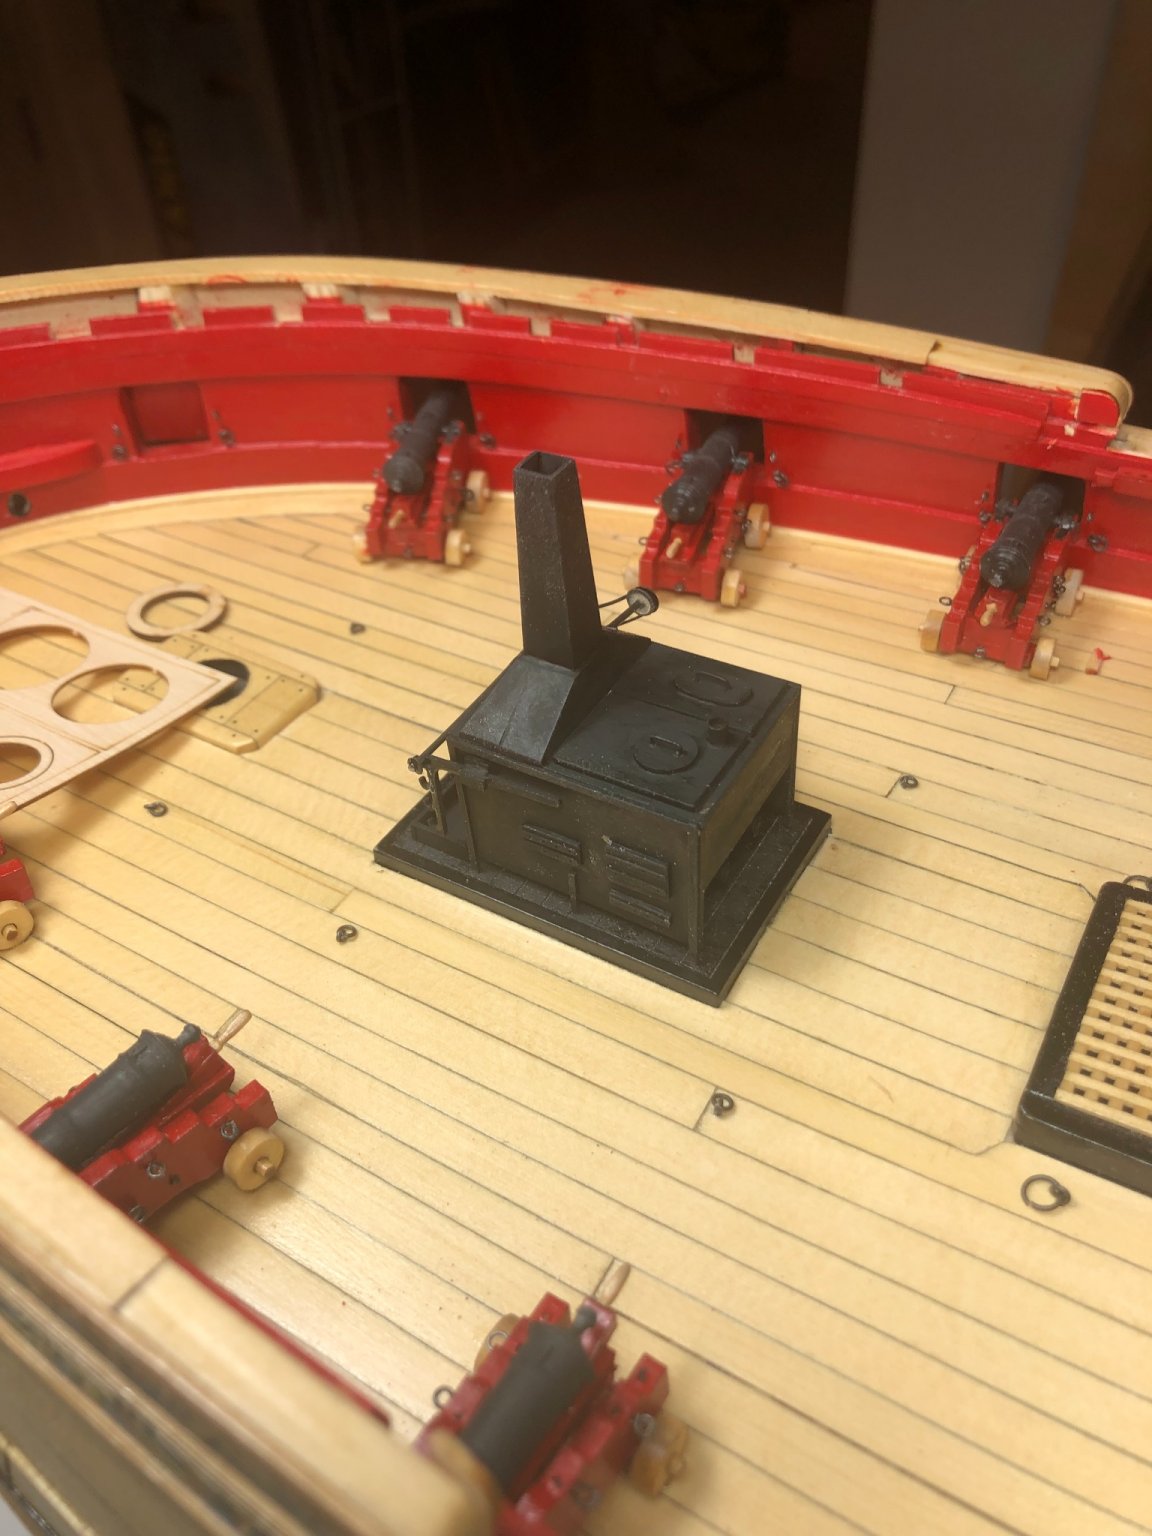
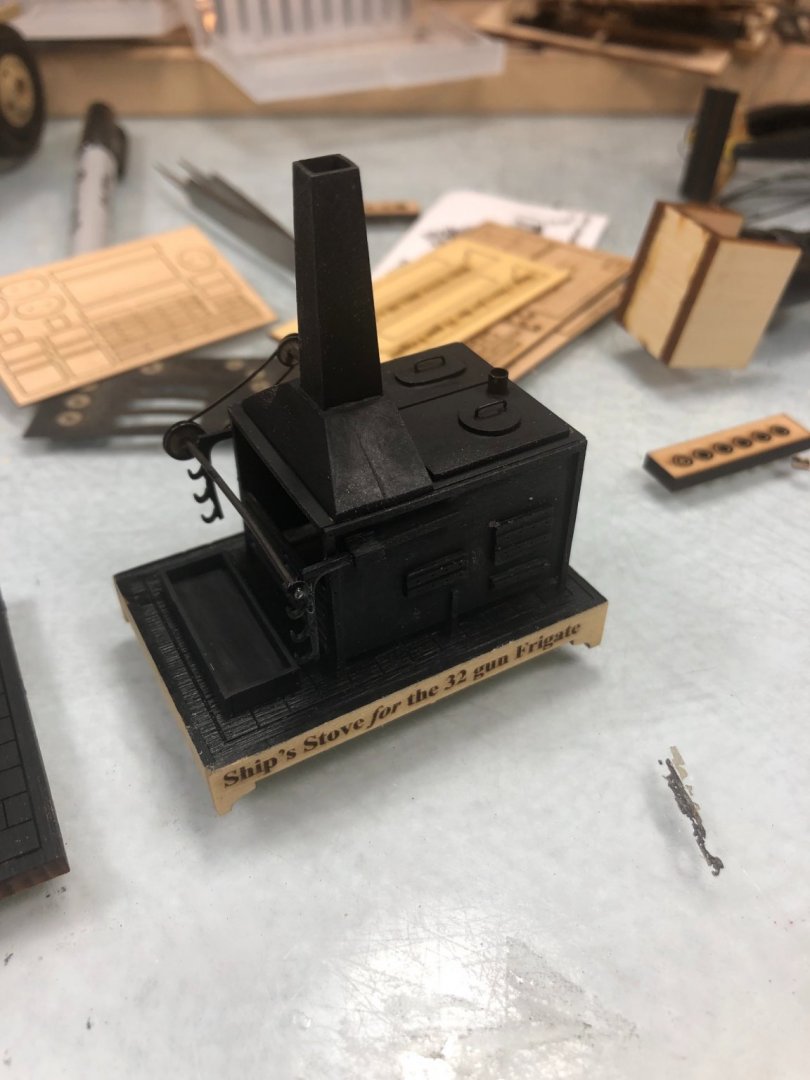
After a truly character building experience with the USPS, including three service requests and with Chuck’s help with tracking info, the stoves that I ordered from Syren finally showed up. I have two, one for the Winnie and one for the mantel, and have pretty much finished the first one. It went together well with the only change being the substitution of 2.5mm copper tubing for the laser cut vents. It still needs some paint touch up and a bit of weathering powder but, I think, it looks nice. Don


- 144 replies
-
- 17
-
-

-
- winchelsea
- Syren Ship Model Company
- (and 1 more)
-
Greg, I’m really enjoying your build and she looks great! I’ve got this kit somewhere in my stash with the Pontos photo etch set - have bookmarked your log and added it to my tutorial folder. Don
-
Beautifully done! I’ve really enjoyed your build! Don
- 263 replies
-
- 1
-

-
- Medway Longboat
- Syren Ship Model Company
- (and 1 more)
-
Thanks for all the likes, guys, I really appreciate it. Don
- 144 replies
-
- 1
-
-
- winchelsea
- Syren Ship Model Company
- (and 1 more)
-
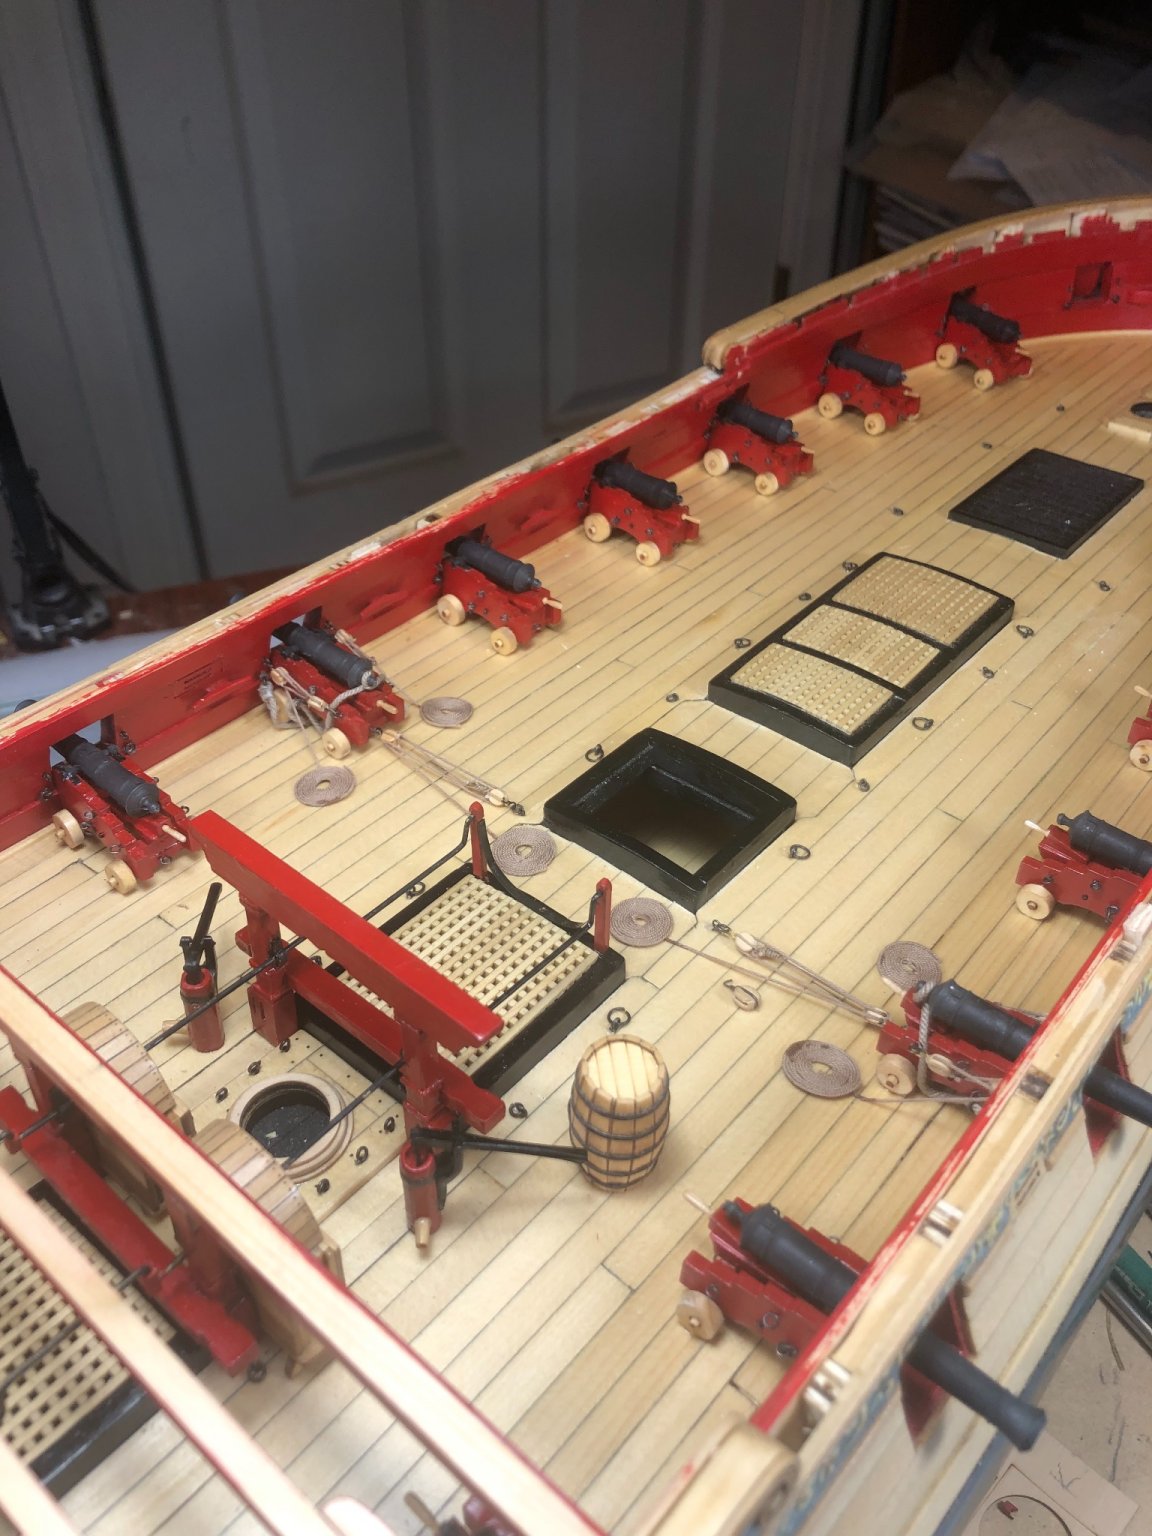
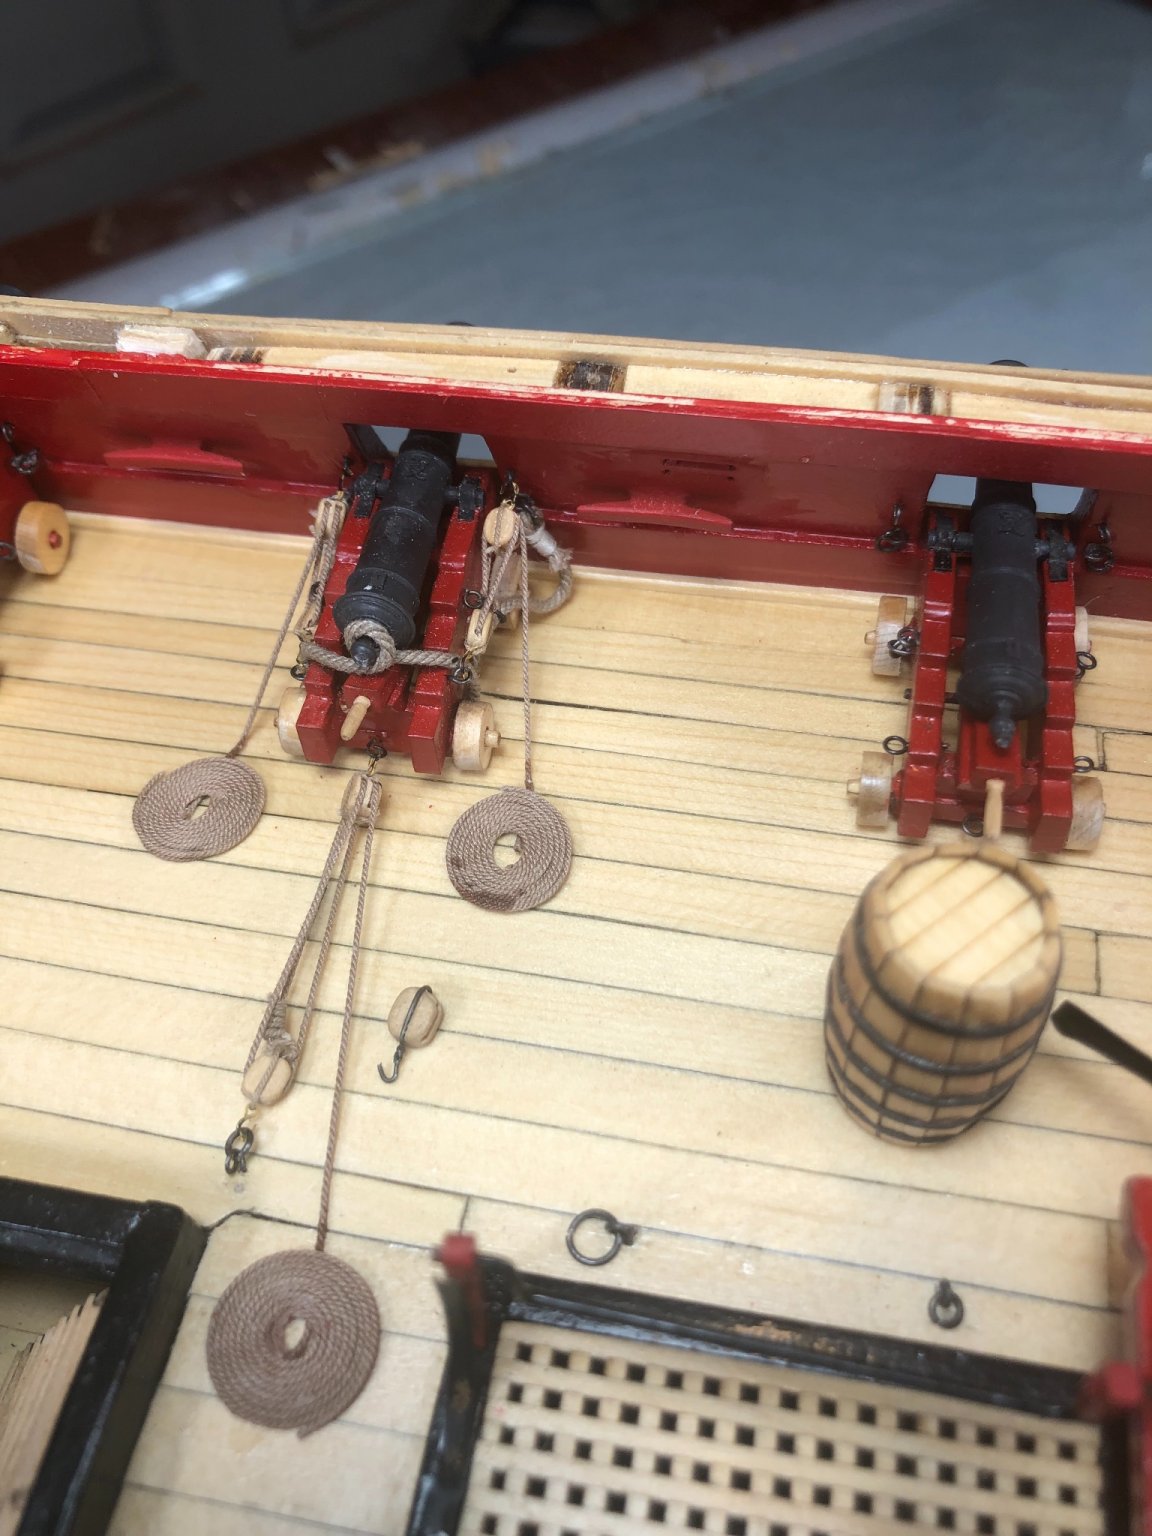
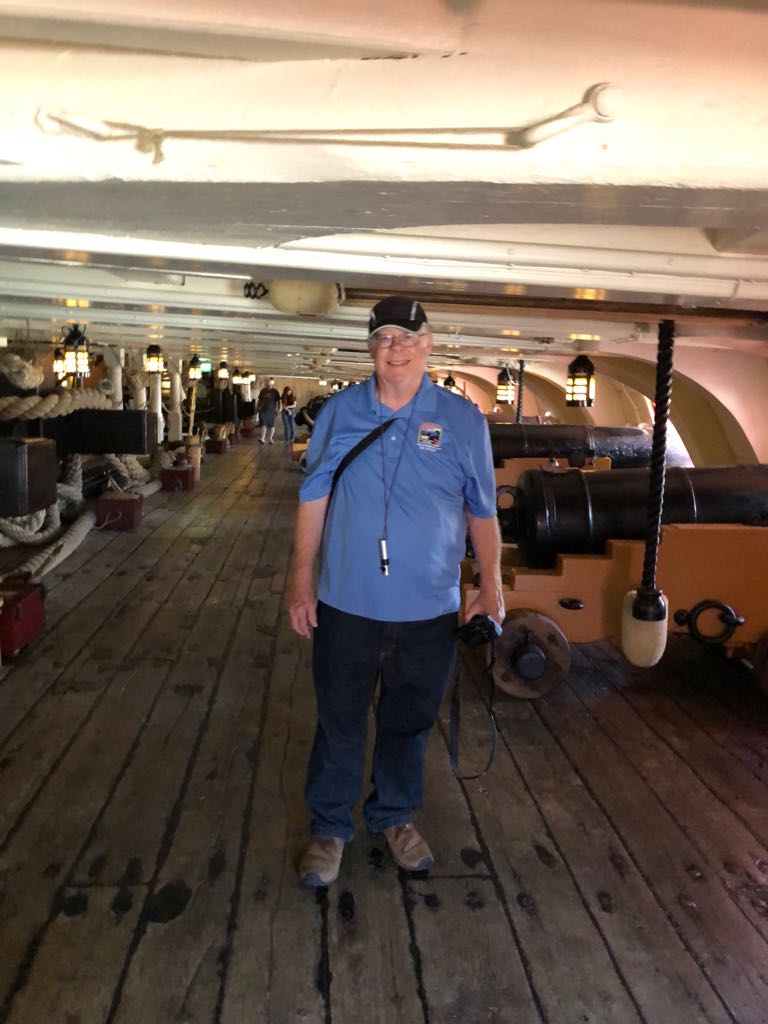
Have finished Chapter 7 and rigged a couple of guns using references here as well as pics I took while visiting the Victory in Portsmouth a few years ago. Yes, the rope coils are too big but my wife likes them so that’s probably how they’ll stay. Don


- 144 replies
-
- 18
-
-
-
- winchelsea
- Syren Ship Model Company
- (and 1 more)
-
Thanks, JJ, I appreciate the kind words. I’m really enjoying your build, your hair brackets and planking are impressive and really set the standard - really first rate! Thanks again, Don
- 144 replies
-
- 1
-
-
- winchelsea
- Syren Ship Model Company
- (and 1 more)
-
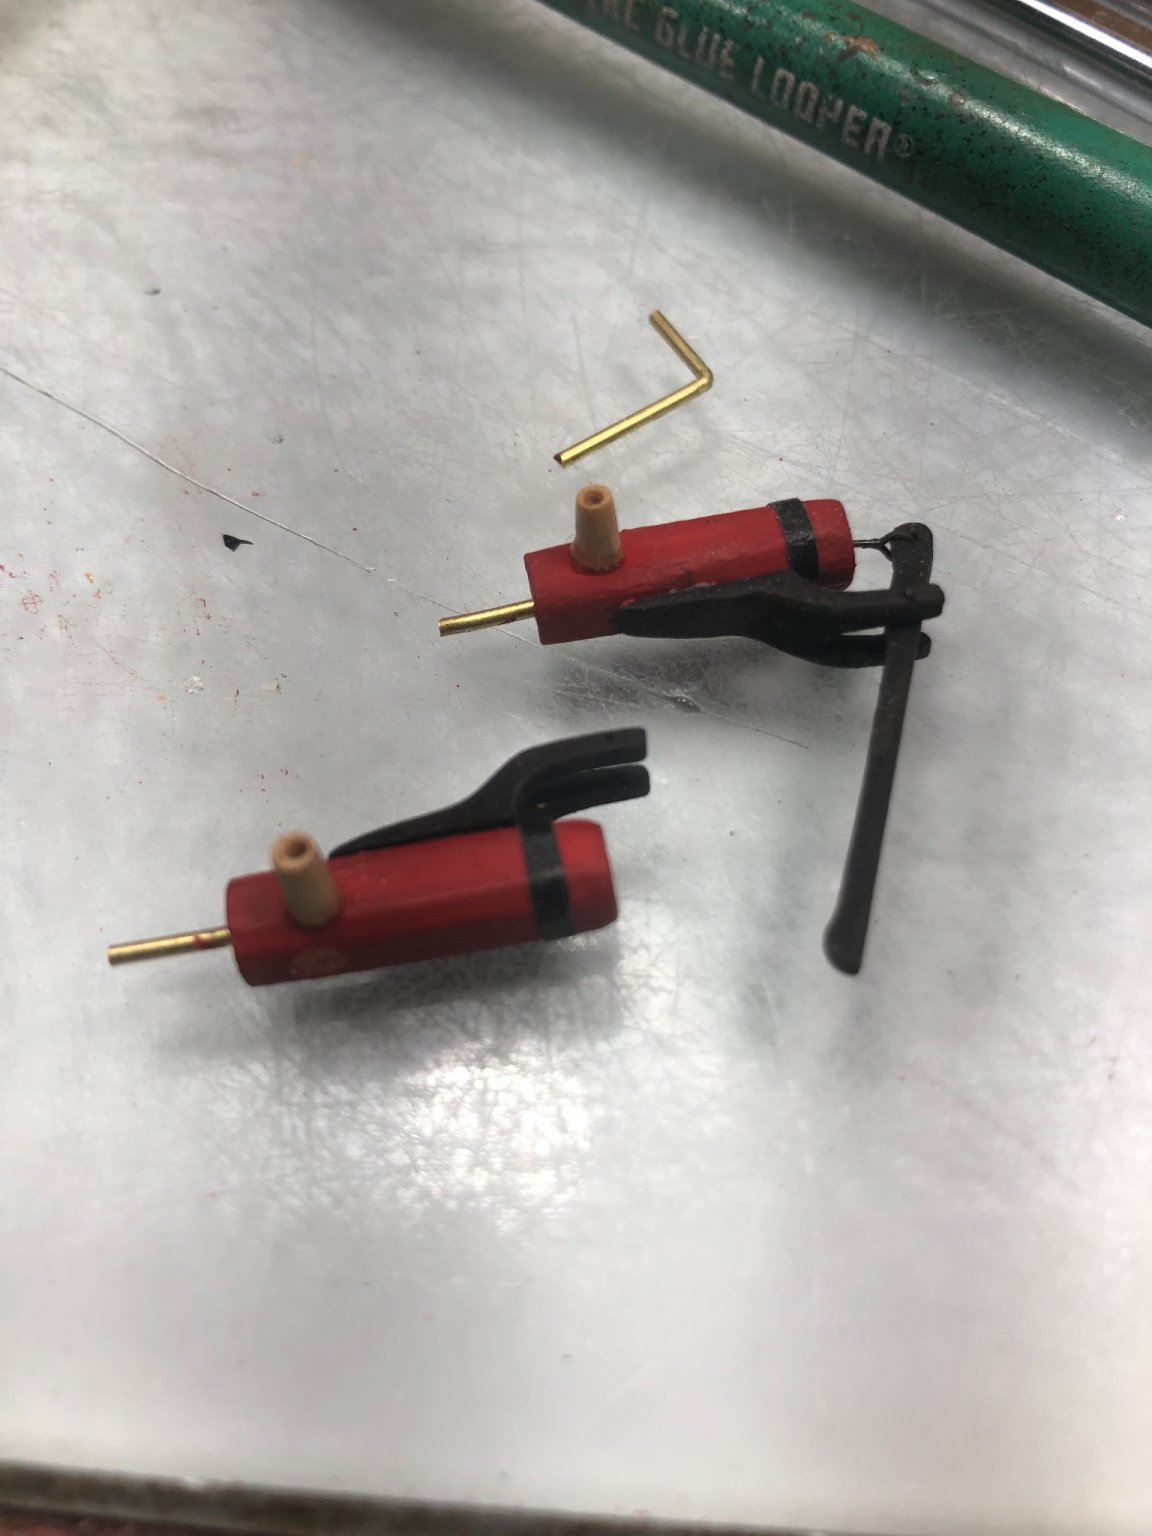
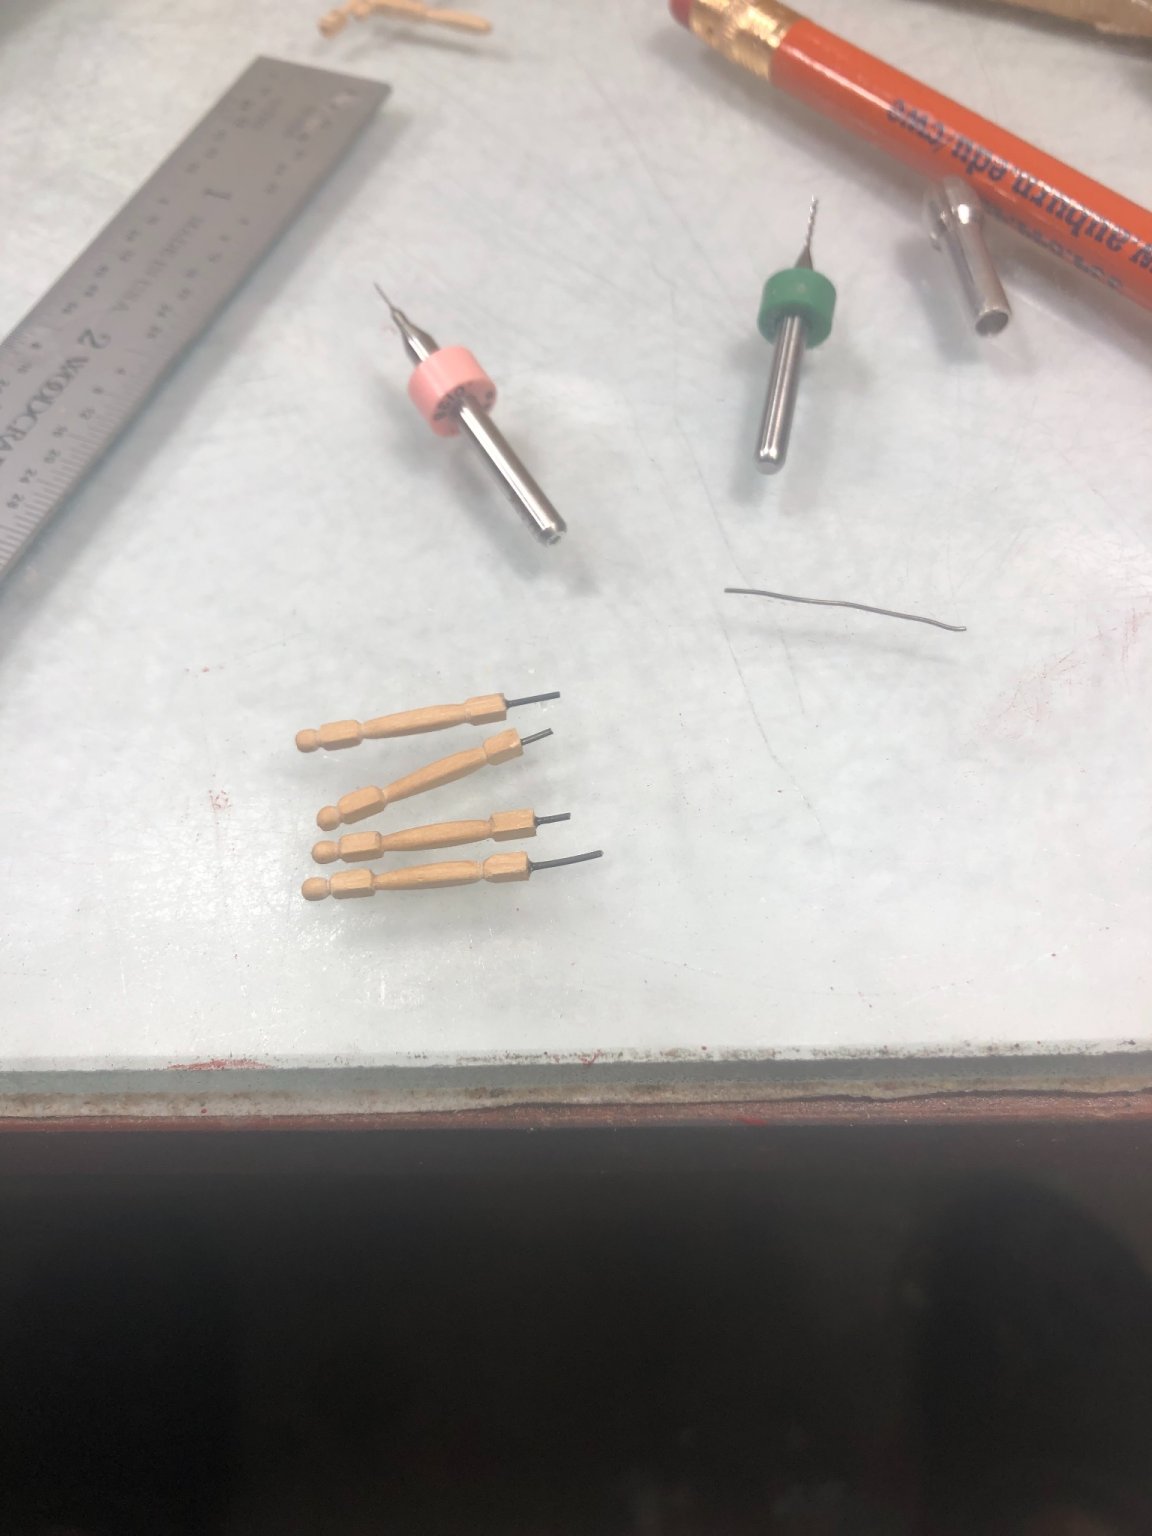
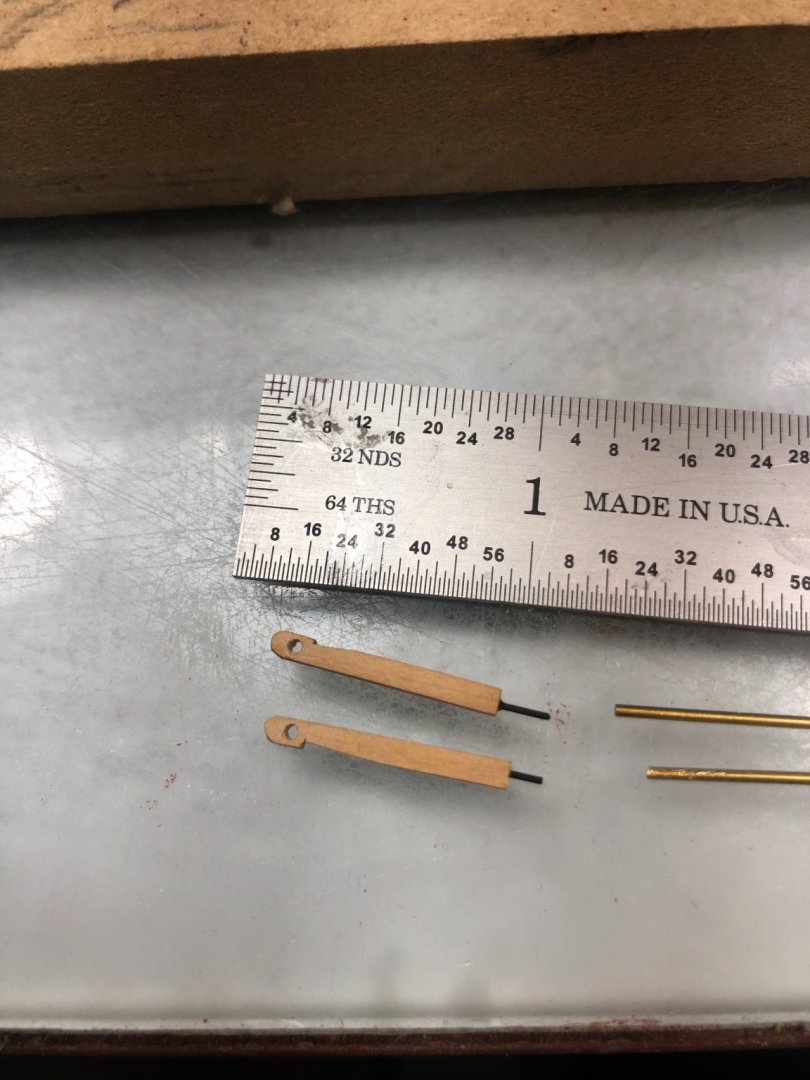
Thanks, Chuck, yes they are. In the picture, the handle looks too thick although, off-camera, not so much. I think I’ll thin them down some - here’s another pic……….. Don

- 144 replies
-
- 6
-
-
- winchelsea
- Syren Ship Model Company
- (and 1 more)
-
Thanks, Guys, I appreciate it! Don
-
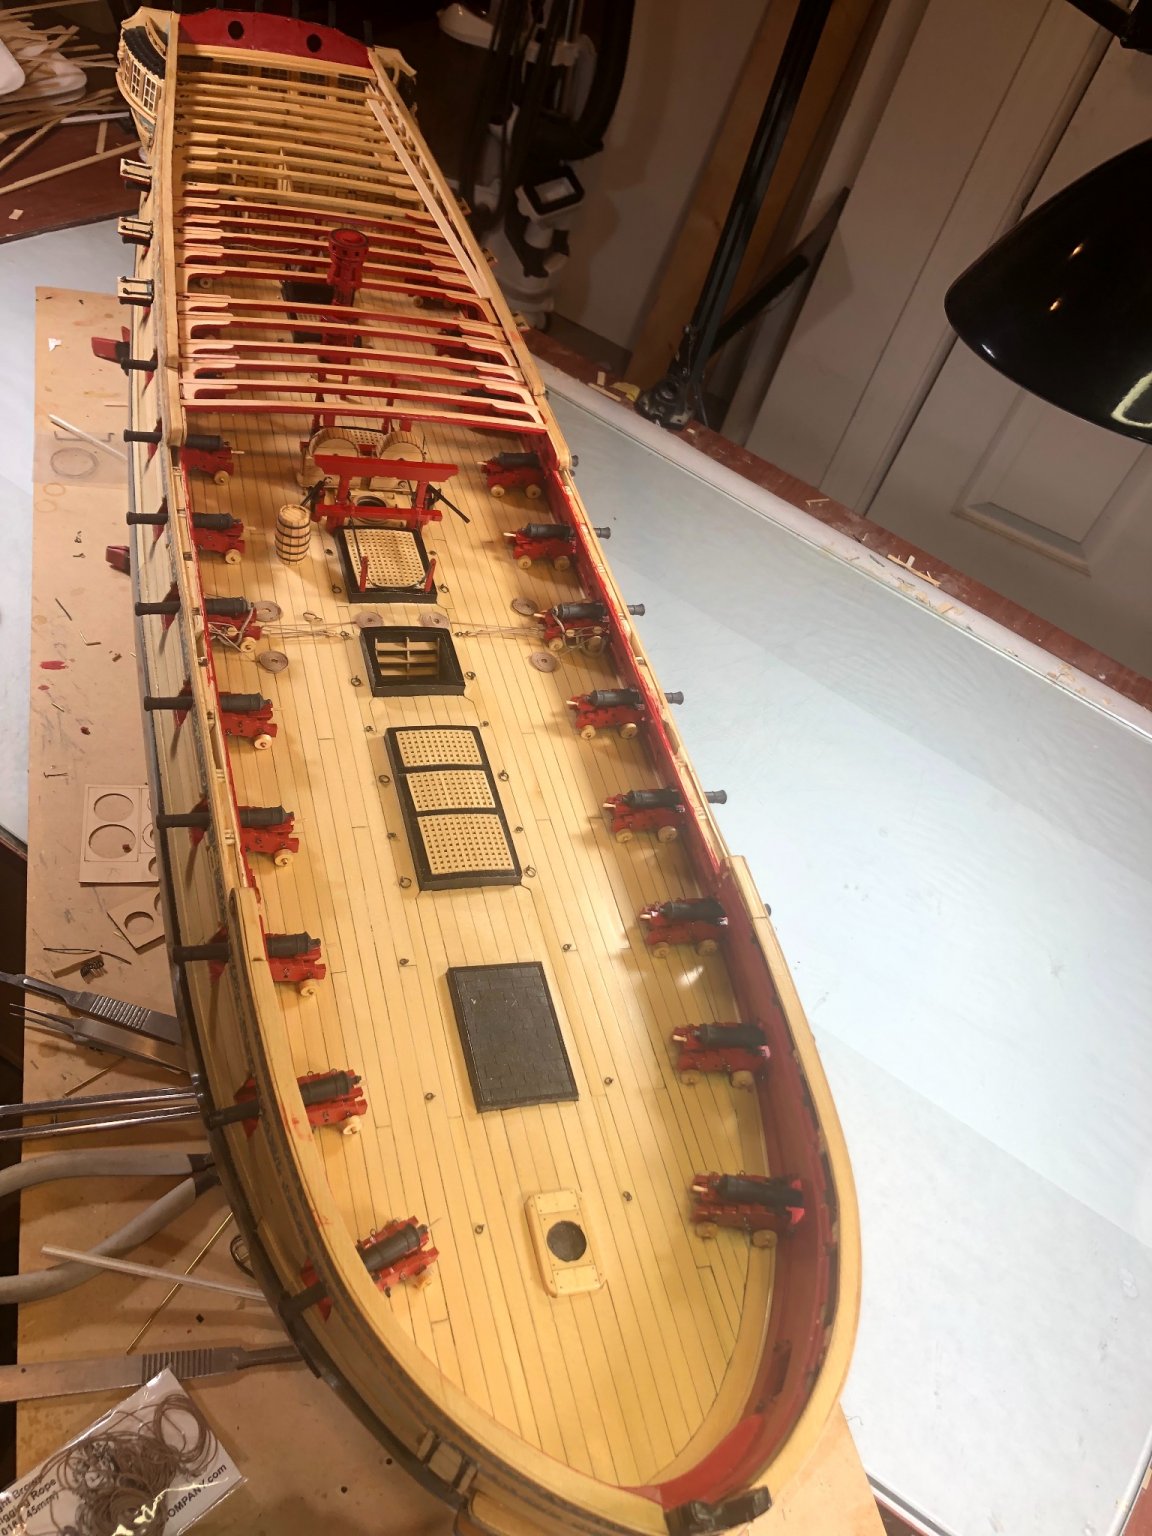
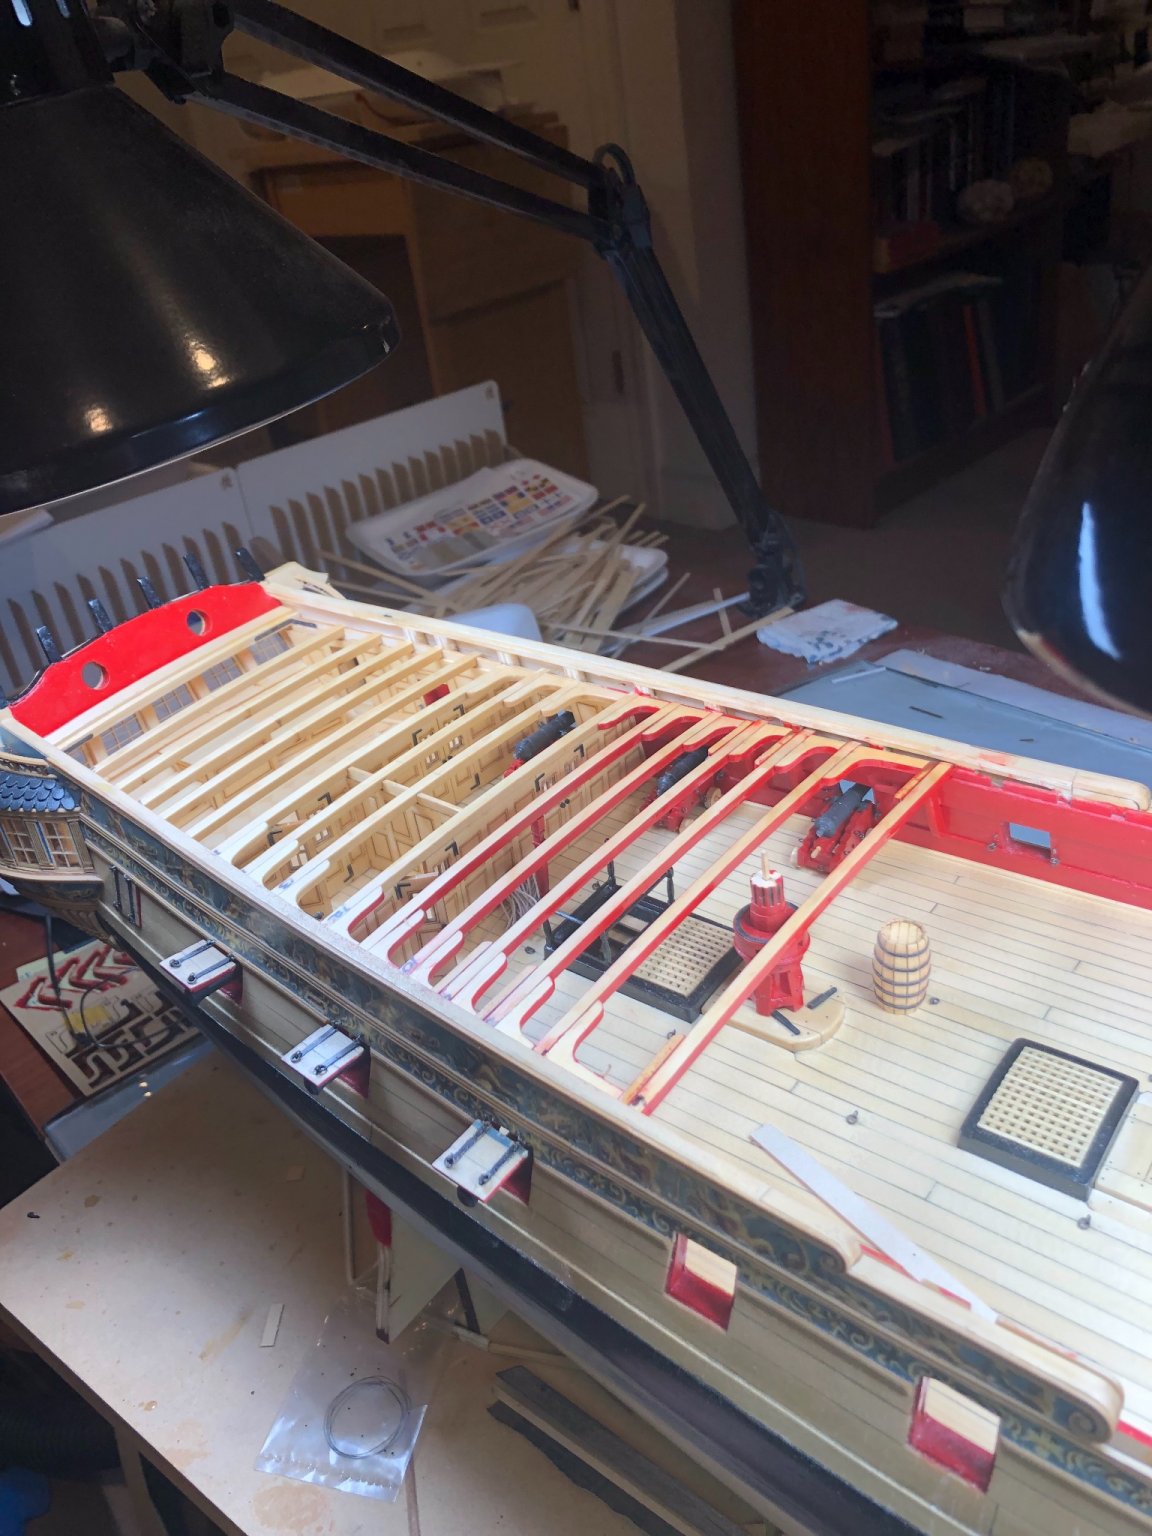
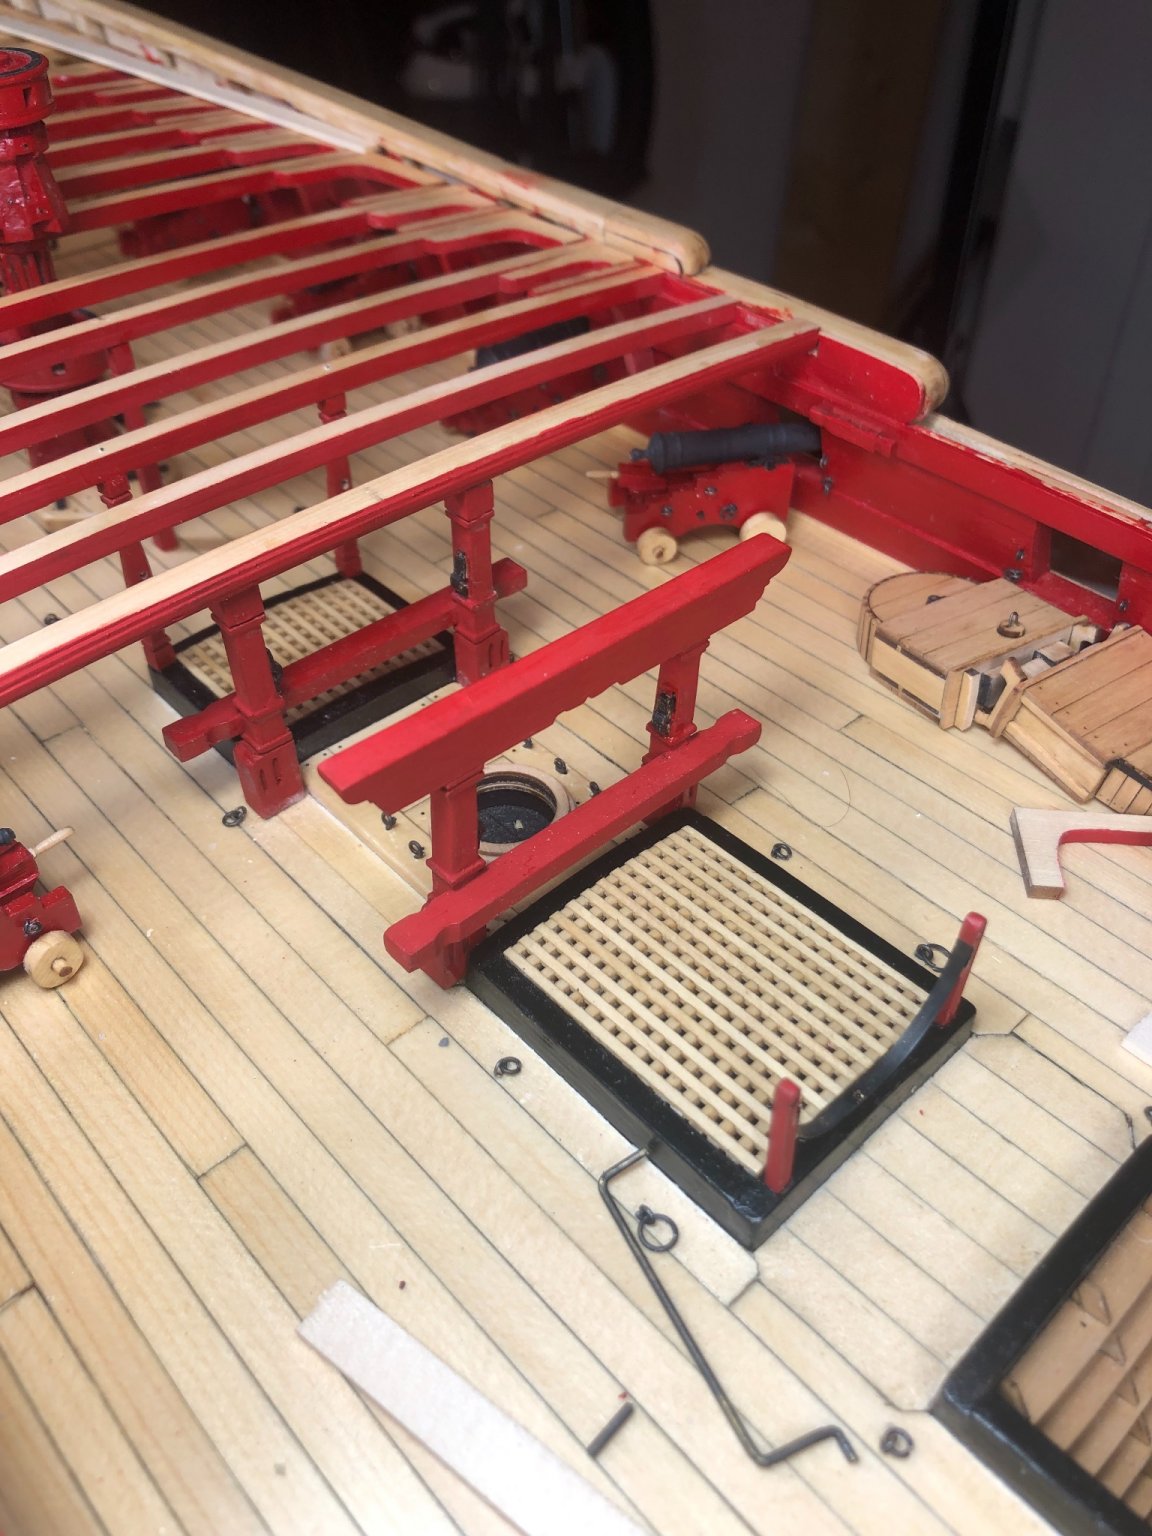
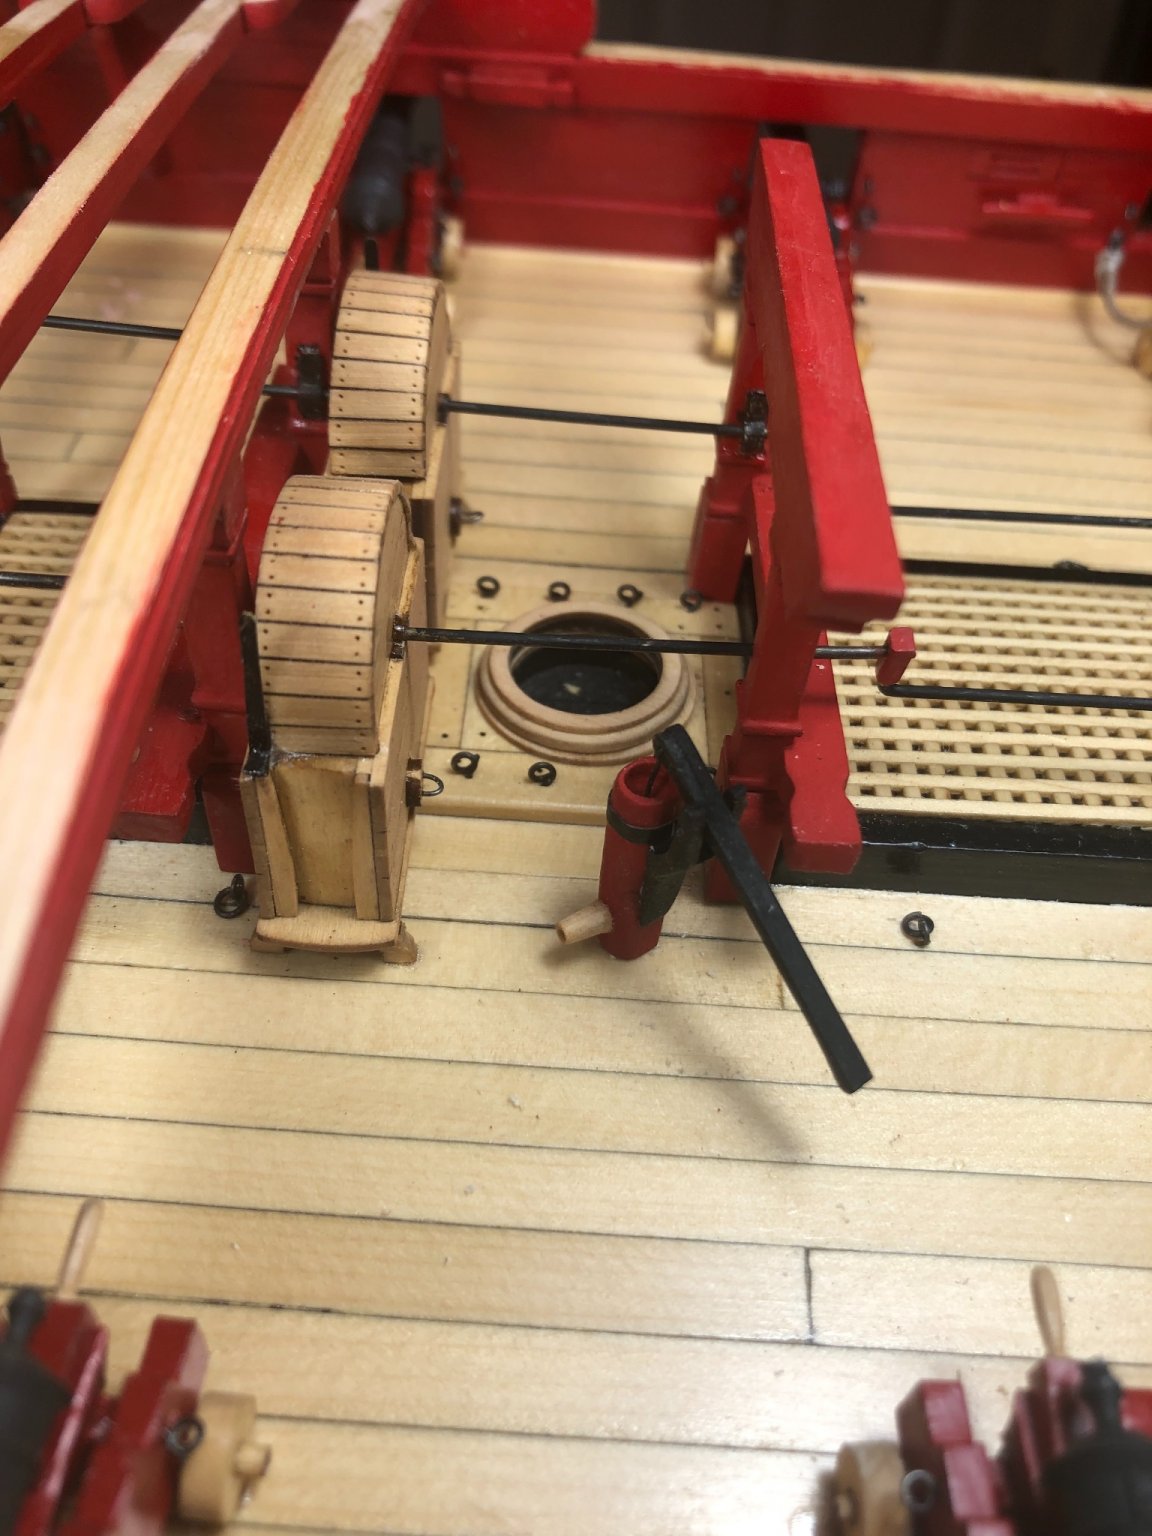
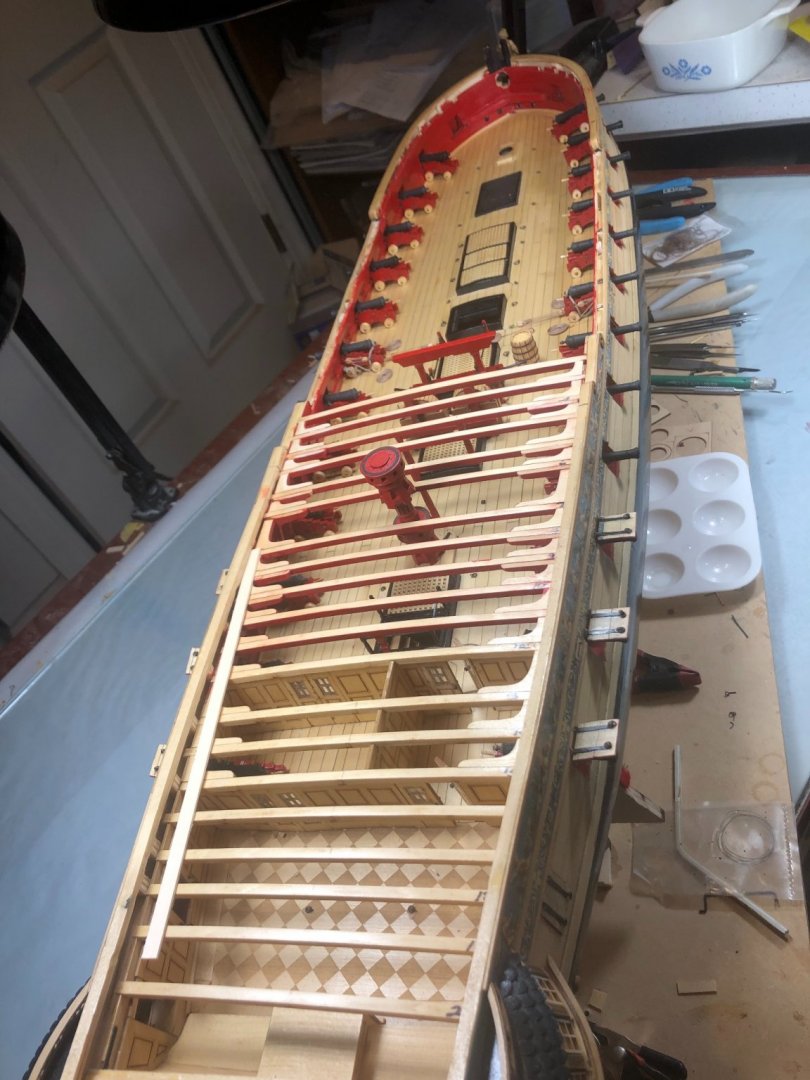
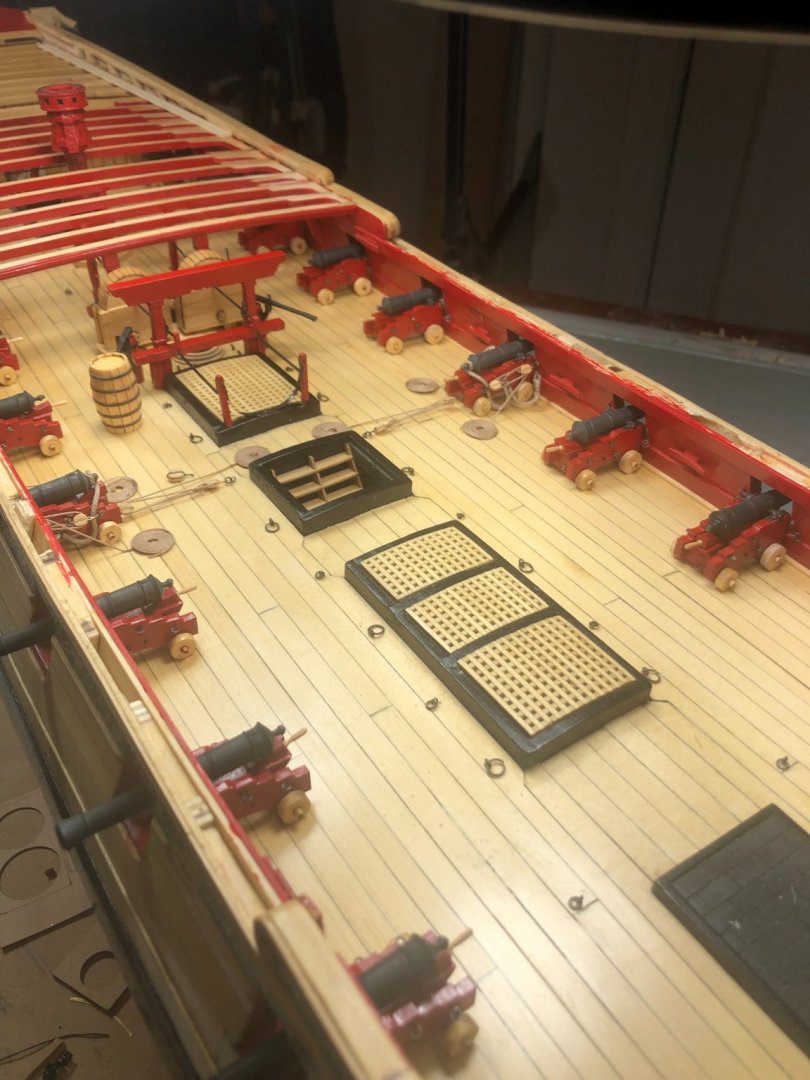
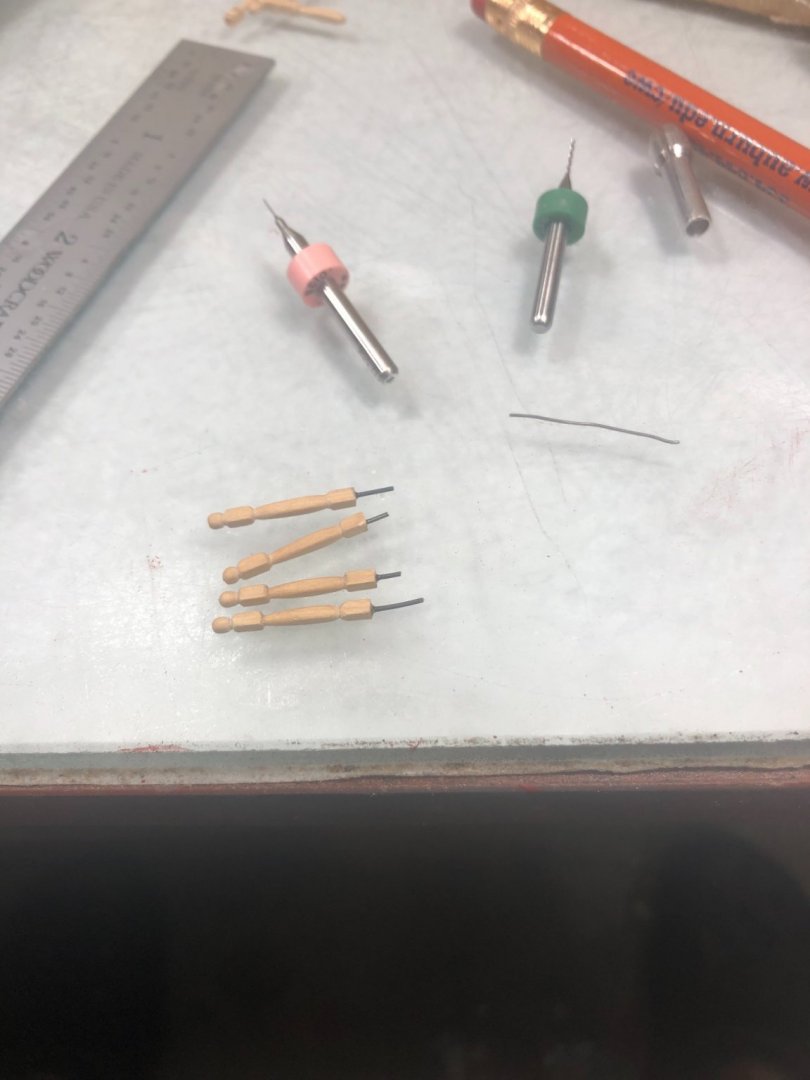
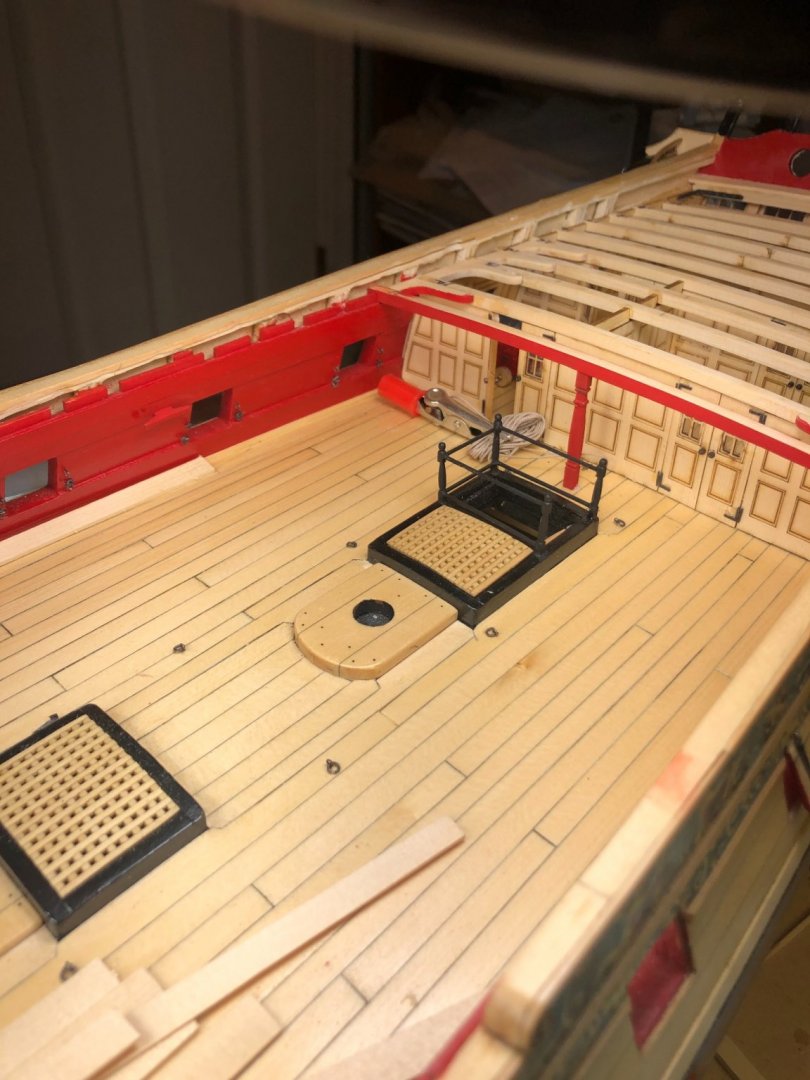
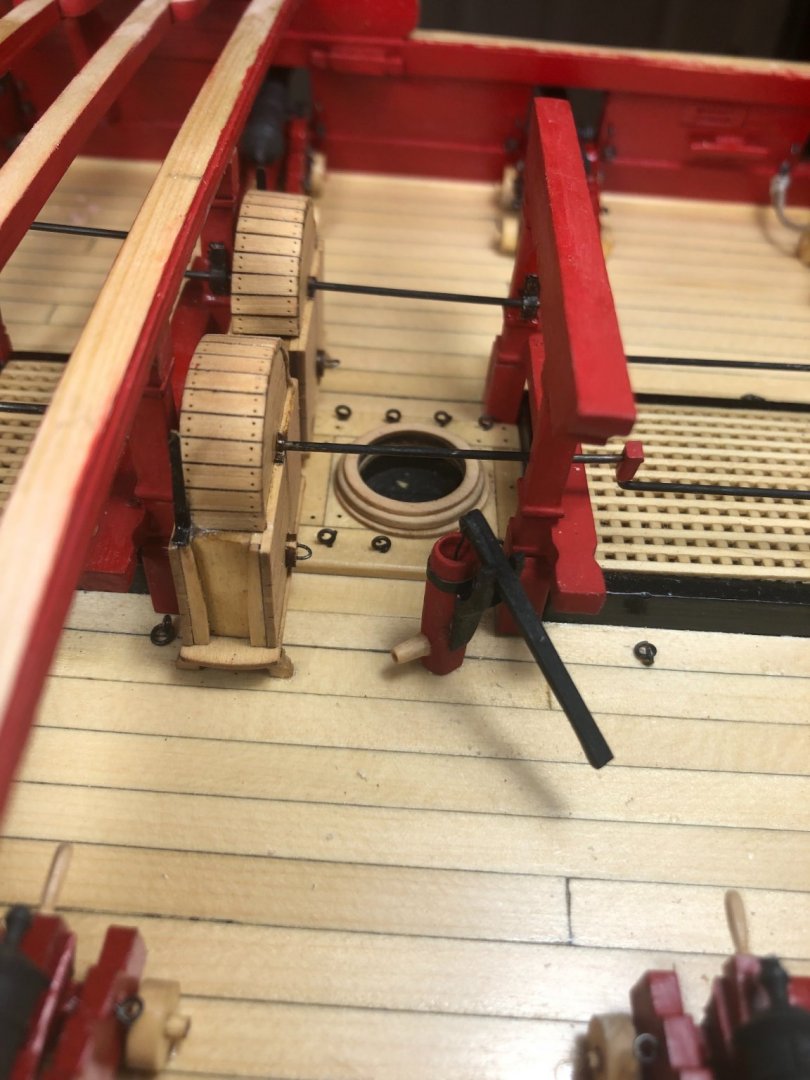
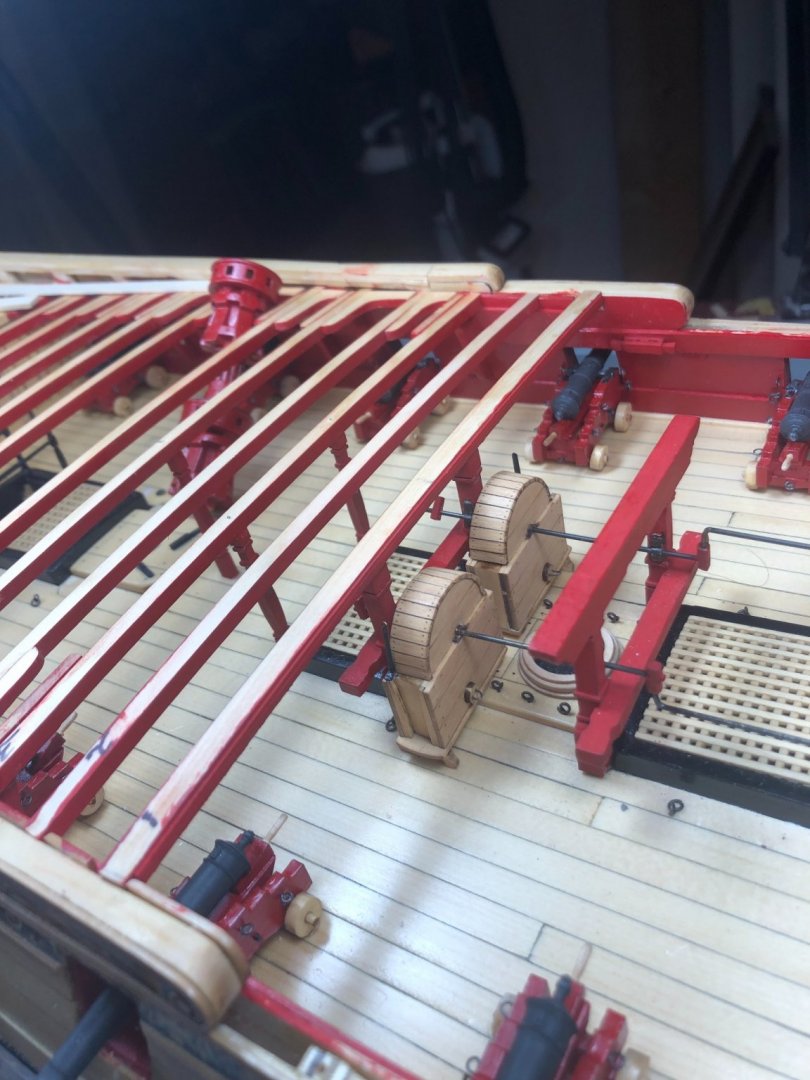
I’m just about finished with Chapter 7 and thought that it’s time to post an update. My wife and I have been doing some traveling this summer so it’s taken a bit longer than I thought it would. I chose to open a couple of the bulkhead doors and used Chucks dremel method to make the stanchions for the companionway. The chain pumps went together well but it took a bit of fiddling to get the cranks properly shaped and sized to get everything to line up and look like it should - lots of dry fitting and tweaking here and there. One of the rear crank handles is still a little out of whack but it’s not really noticeable. I added one of the new barrels for a little added detail. Don


- 144 replies
-
- 14
-
-
- winchelsea
- Syren Ship Model Company
- (and 1 more)
-
Beautiful work, Brian, I’m really enjoying your build and the details you’ve been posting! Don
-
Thanks for posting this Chuck, it will pretty much cover all scales and I have saved it to my tutorial docs. For Winchelsea, I used the one you included in your Medway documentation reduced to 50% to get to 1:48 - it worked great! Don