

.jpg.f26acc9a74319261612561bfa7da1303.jpg)
vaddoc
-
Posts
1,528 -
Joined
-
Last visited
Content Type
Profiles
Forums
Gallery
Events
Posts posted by vaddoc
-
-
Thank you all for your good words. Indeed, a new sun rose and I overcame the difficulties.
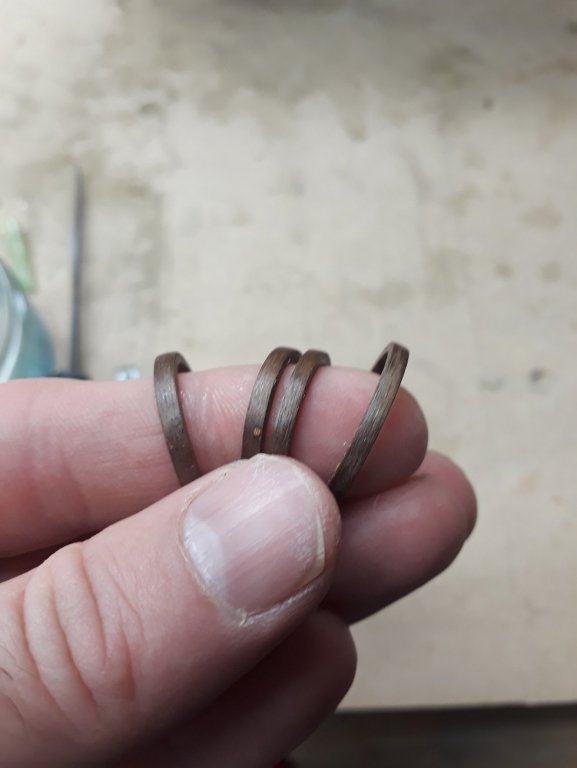
Keith I did exactly this, folded a U shape strip, not easy at 1 mm. I think it looks ok but much easier to re do if needed. Apologies for the out of focus picture, it is my cheap non-iphone
Carl, spray cans are too messy and too expensive. I did a bit of research and experimenting though and finally all went well using plain wter based acrylic varnish. I suspect either the retarder or some contamination for the previous failure. Check a relevant thread I started

All well now!
Regards
Vaddoc
- cog, GrandpaPhil, mtaylor and 3 others
-
 6
6
-
Dear all
Let me share what I found out from the internet
Acrylic paint may take 30 days to cure and some say it might release some water vapour during the process. Probably best to wait a few days before applying enamel varnish.
Water based polyurethane varnishes can be thinned with just water, no special fluids needed. However, there seems to be a rule not to use more than 10% water. Also, these varnishes should be brushed and maybe go over just once. They dry incredibly quickly. The surface will look terrible, full of brush strokes but this is alright. Polyurethane varnishes shrink as they cure and have an incredible levelling ability so it will be alright in the end. This has been my experience so far. I used Valejo polyurethane varnish over my very large hull with just a brush, unthinned and the result was excellent.
I actually did a few trials with the Valejo water based varnishes, both the acrylic and the polyurethane in gloss and satin, thinned with water and unthinned. The results were pretty much the same, consistently very good irrespective really of how much they were thinned. They dry out incredibly quickly though, there is barely time to go over a second time. For satin, unless there is very little material on the brush, there will be brush marks not from the varnish but from the media within. Especially the gloss is very forgiving. Generally best to lightly load the brush.
I went on and used the plain acrylic varnish on my rudder, not really being particularly careful. The result was pretty good and this time adhesion was good. I think the previous failure was either due to the retarder I used or due to some kind of contamination.
I hope this will be of help to others
Regards
-
On 4/28/2019 at 12:31 AM, druxey said:
One can use solvent based paints and varnishes over water based ones, but not the other way around. Perhaps that is why you have the adhesion issue.
I used water based varnish over acrylic paint Druxey. But indeed it is "fat over lean"
- mtaylor, thibaultron and Canute
-
3
-
Many thanks Dave!
- BETAQDAVE, Canute, thibaultron and 1 other
-
4
-
Dear all
I moved away from enamel varnishes and initially used the Valejo water based ones. Somehow they never worked for me. I recently used the Valejo polyurethane Varnishes and they gave a good result, although adhesion to the substrate looked poor. Also they come very thick, I did not thin at all but still came out fine.
Just a few days ago, I used the polyurethane varnishes again but this time I thinned with the Valejo acrylic thinner and also put some retarder. The varnish became milky, left horrible brush marks and when dry started pealing off the surface. Strangely, the mat varnish over the red colour was fine.

How should the Valejo varnishes be thinned? No info on their website.
What water based varnishes you use and have good experience with? What do you use for thinning?
Could I use enamel varnish over the acrylic paint and how long should I wait for the paint to cure/dry?
Regards
Vaddoc
- Keith Black, thibaultron and Canute
-
3
-
Many thanks Keith, Patrick and Mark.
Patrick, no thoughts yet, I am still very far from finishing.
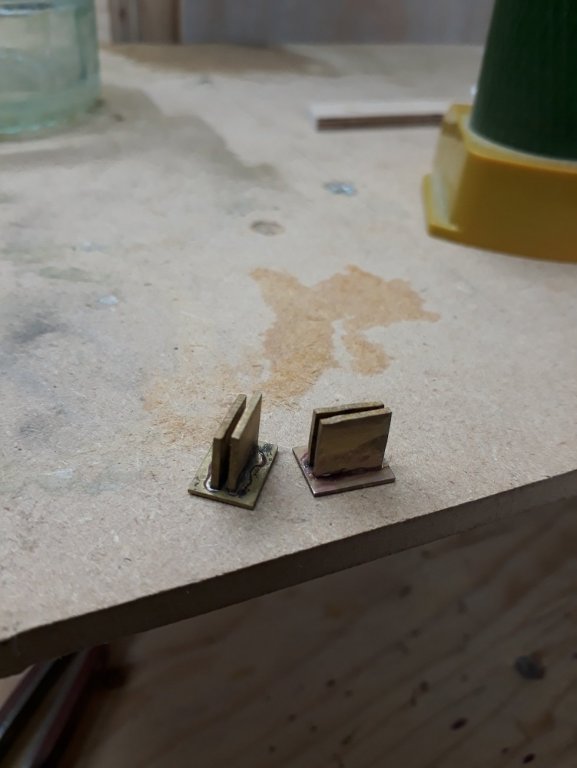
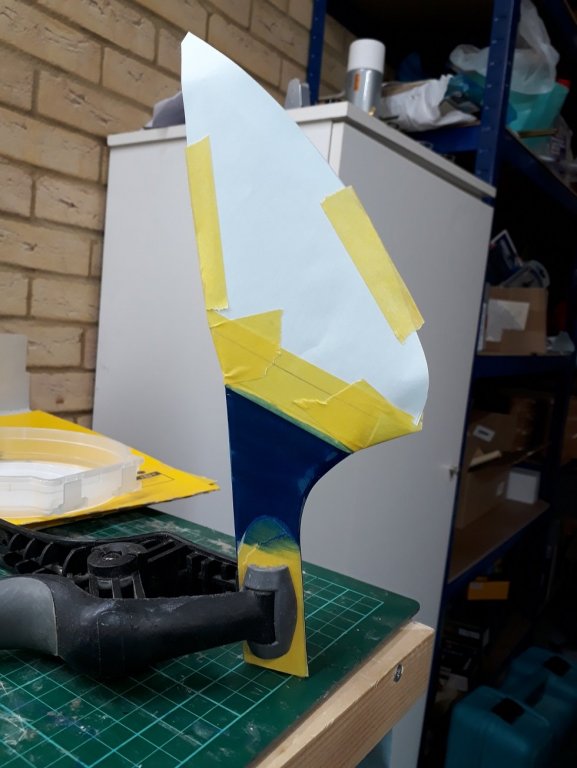
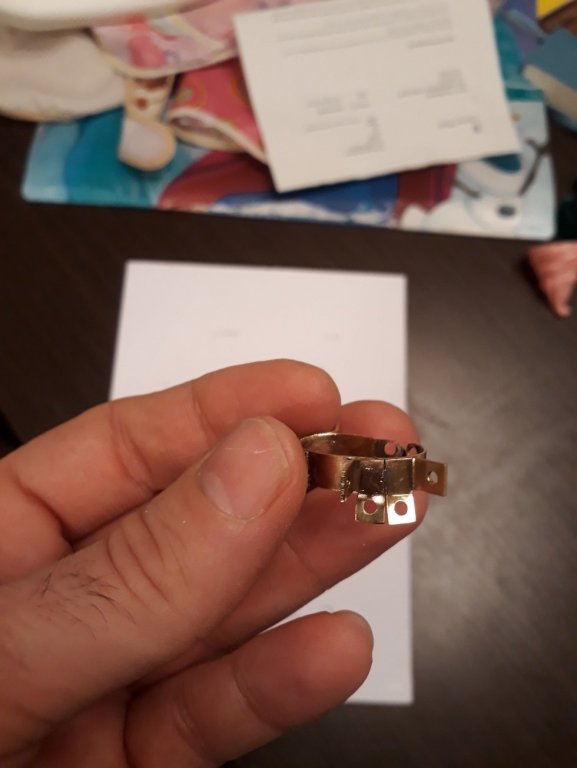
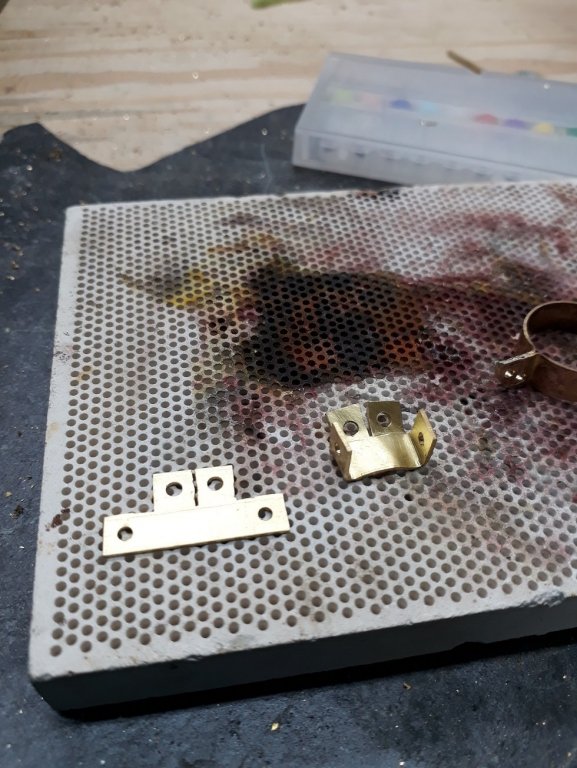
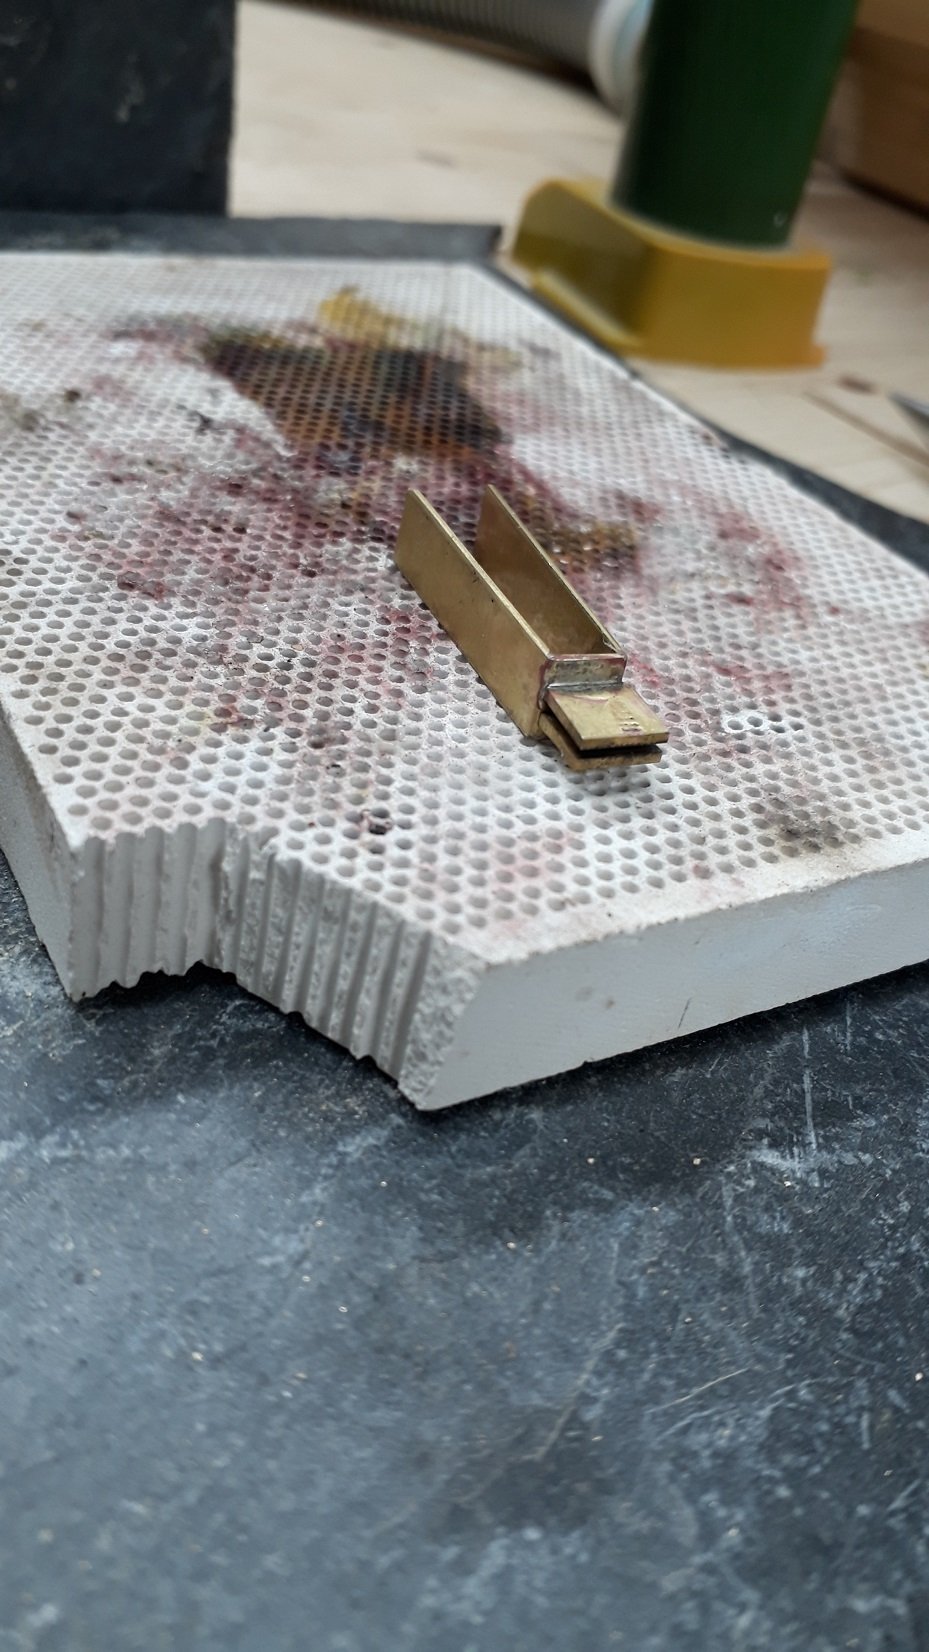
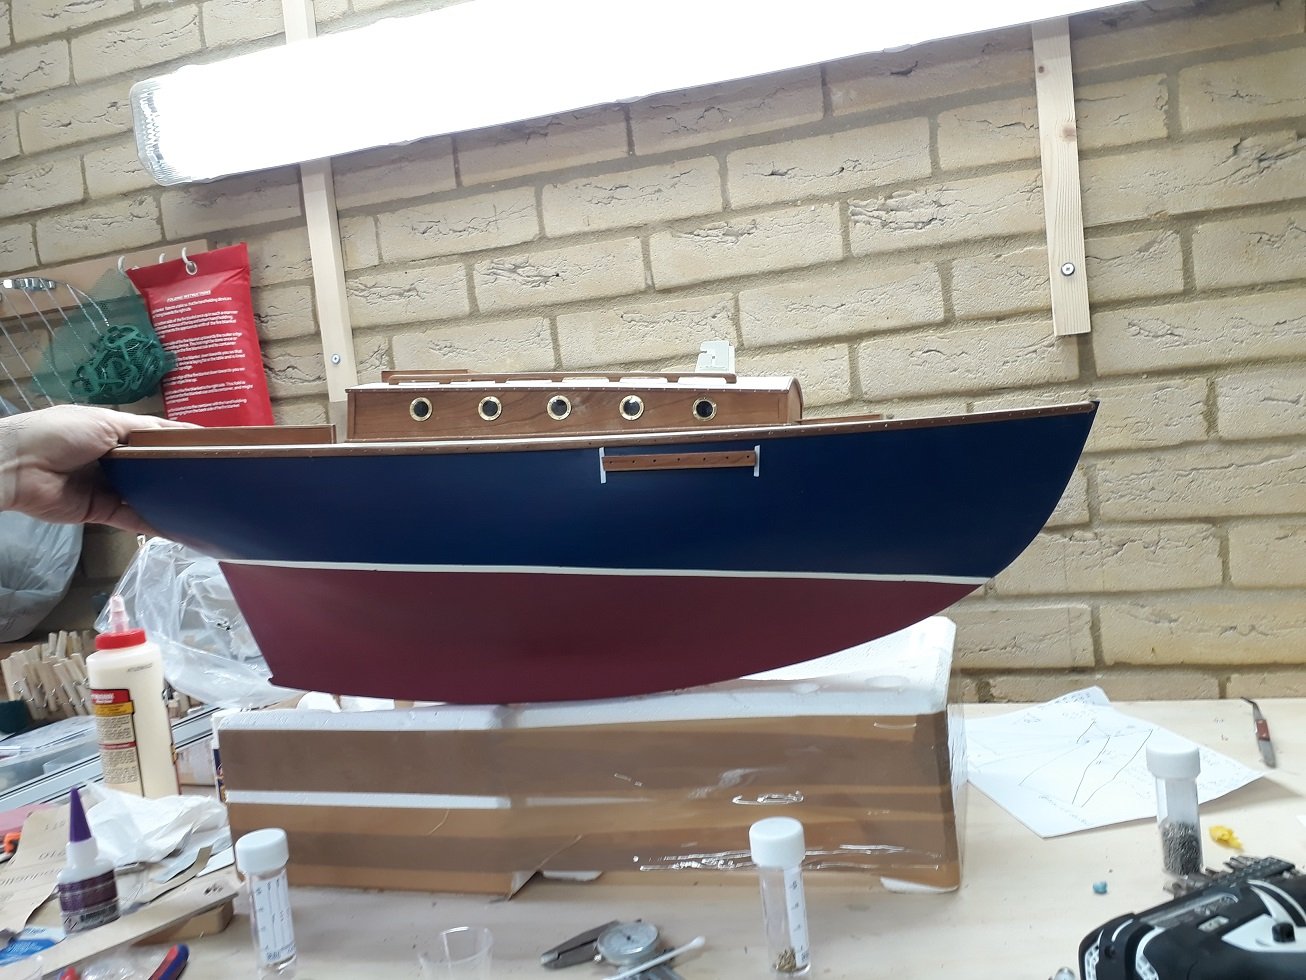
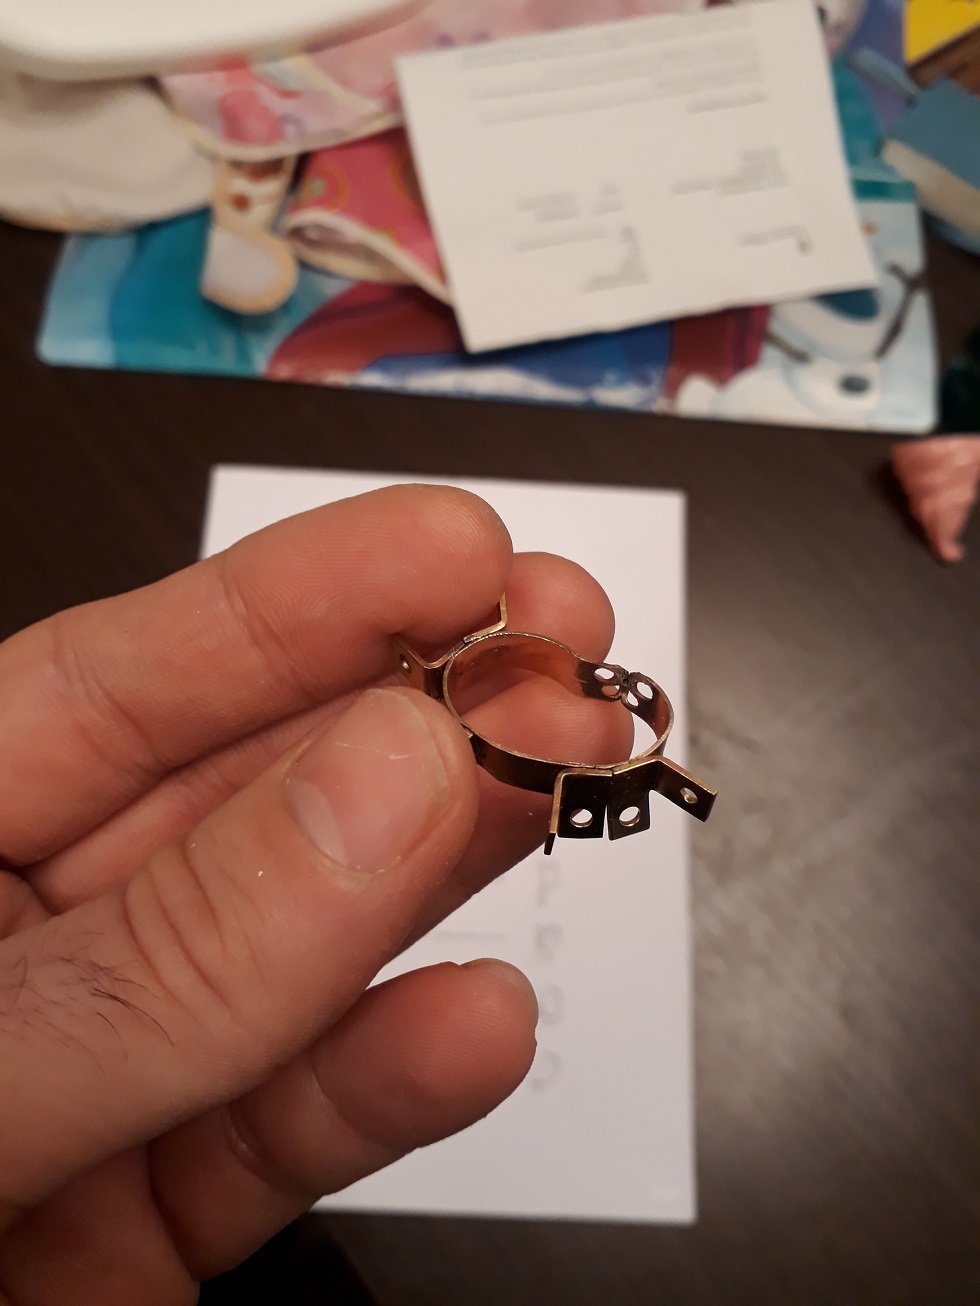
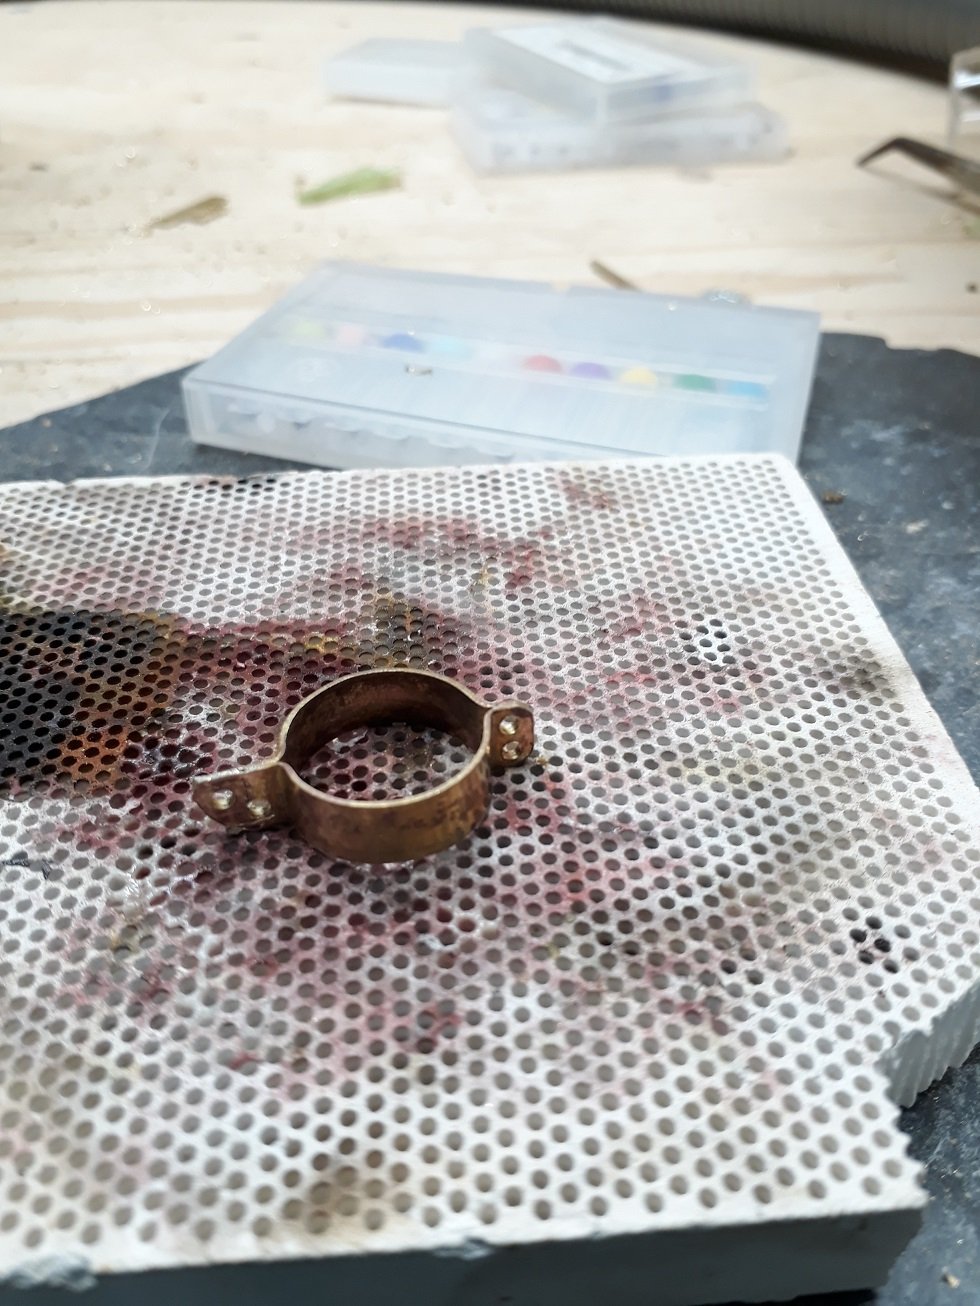
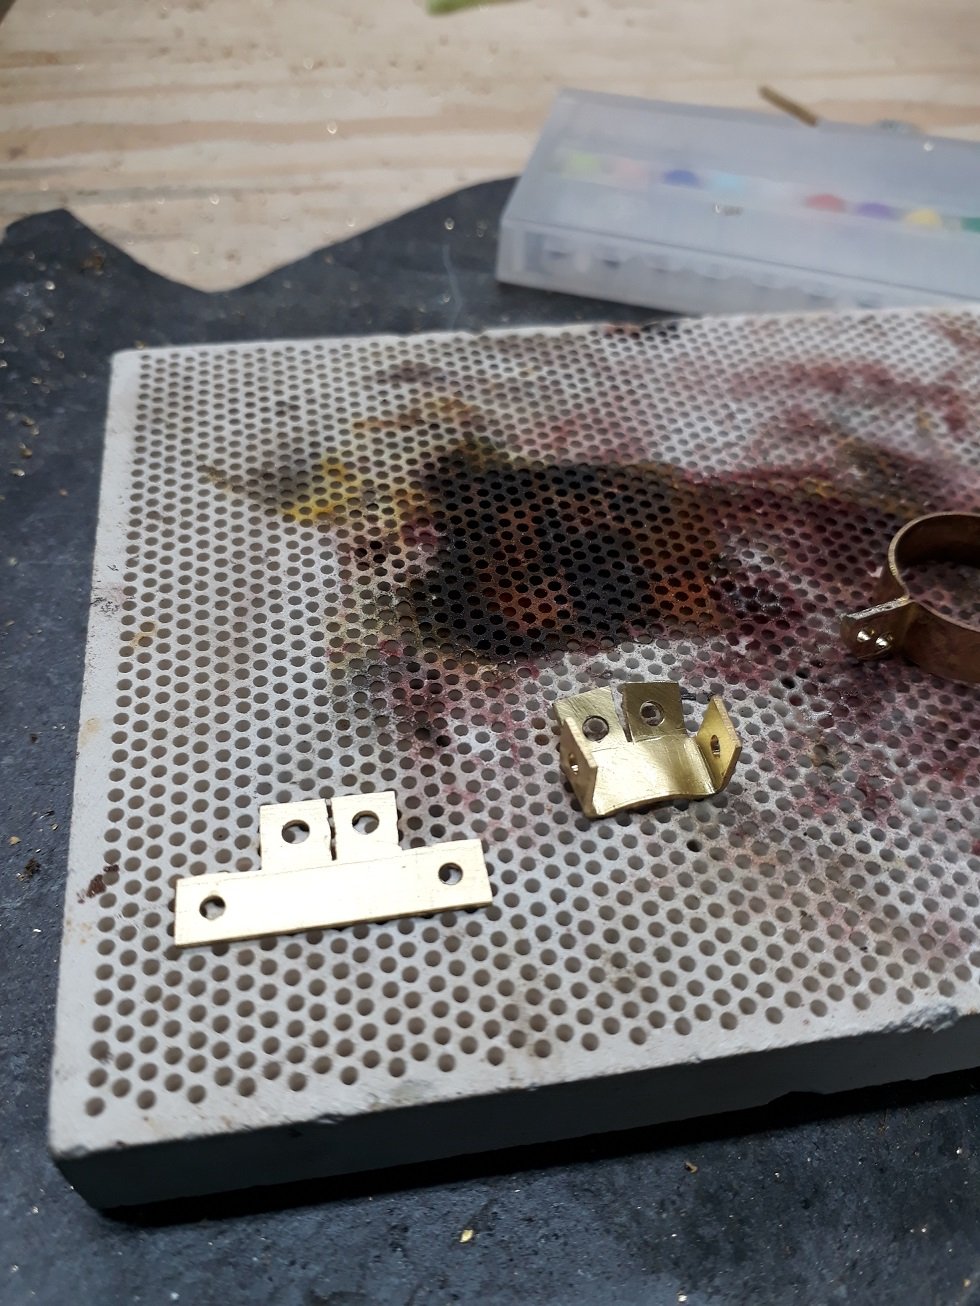
Today was a bad day! I started work on the hinges. Initially, all went well and I made the hull ones.

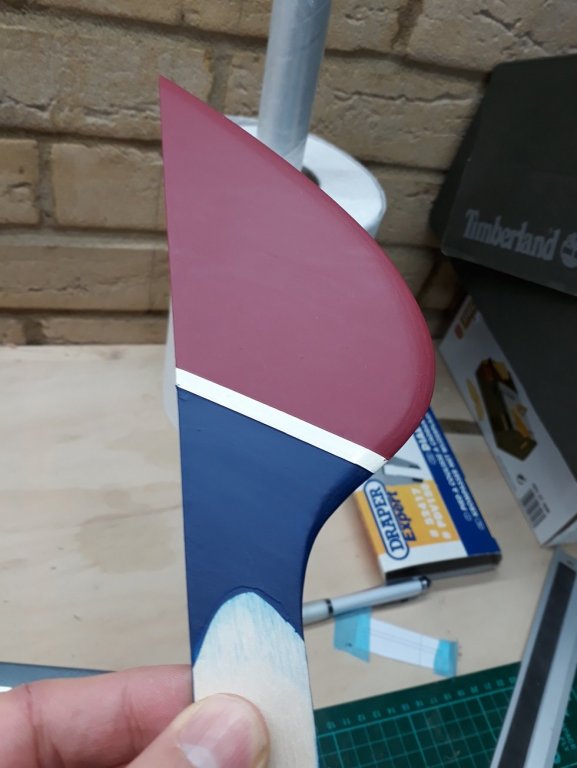
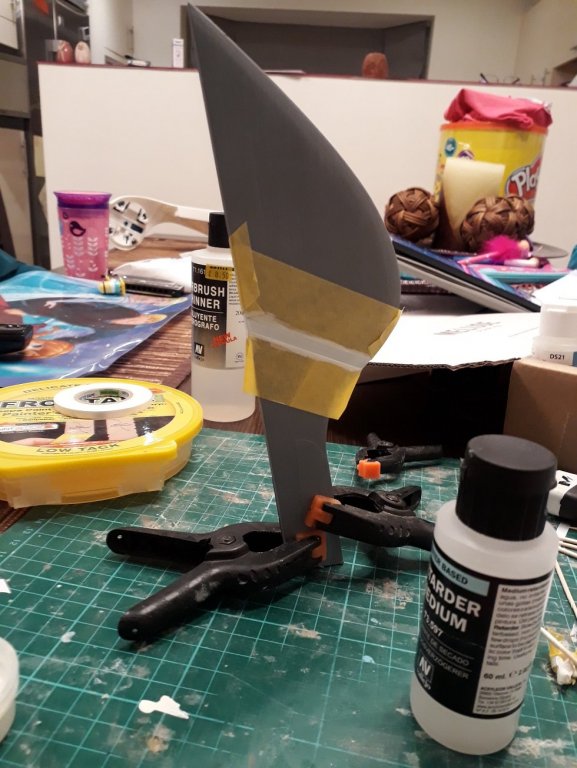
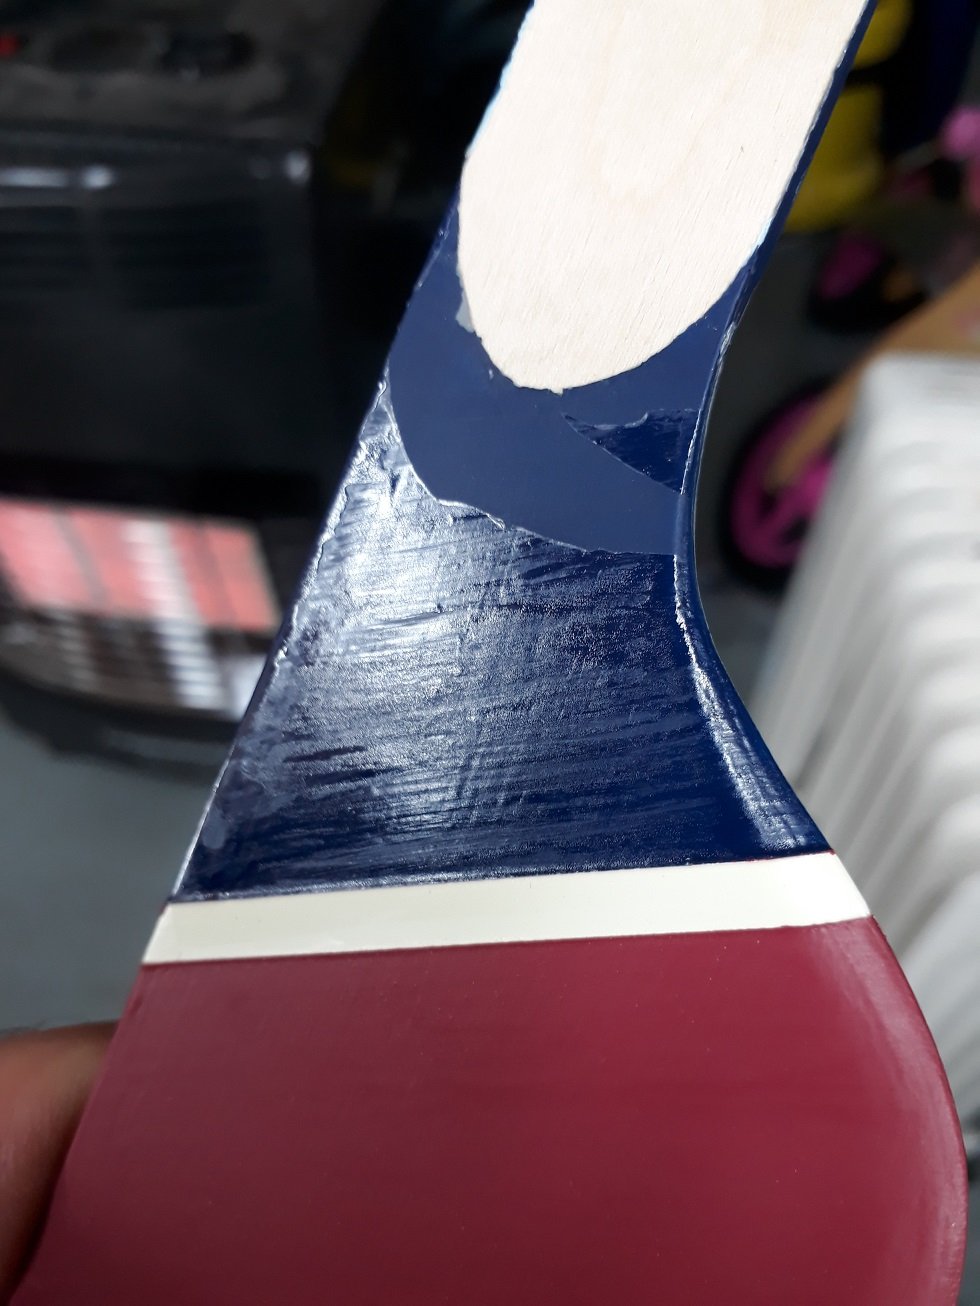
Then things went pear shaped. I was not happy with the gloss polyurethane varnish on the rudder above the waterline but I had decided to live with it. When I removed the masking tape, the whole thing started pealing away.

The paint underneath and the mat varnish bellow the waterline are fine. Still, I sanded the blue segment with 1500 wet sand paper and started painting all over again.
Then all my metal work started falling apart. Pieces soldered misaligned, coming off, too wide or too narrow...I made the same hinge 6 times, all wrong. I gave up in the end!
I am still not happy with the water based varnishes, I need to work on this a bit.
Vaddoc
- GrandpaPhil, Mark Pearse and cog
-
3
-
For years I ve been using The Dremel moto saw. It is really all I need and is very user friendly. I build in large scales and often I need to cut very thick laminated pieces, it is powerful enough. The blades last a long time and are easy to change. Dremel sells side blades so the length of cut is unlimited. It is permanently attached to my bench with a fish tank pump blowing air. It still goes strong after 5 years of relatively hard use.
I usually cut just on the edge of the line and finish off the piece on the disk sander, this gives superb accuracy. I absolutely would buy it again.
Hegner of course is on another universe, both in regards to quality and price.
I d buy the Dremel, and use the left over money towards a disk sander or the Proxon drill press
Regards
Vaddoc
-
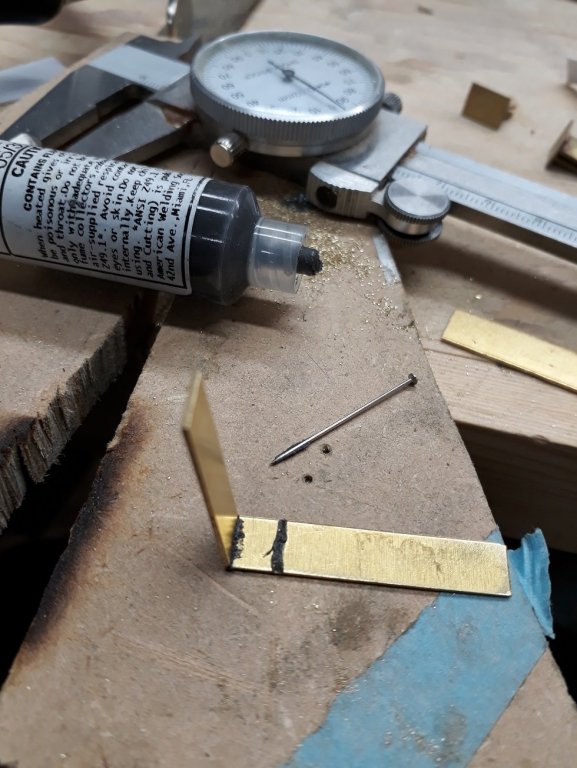
Indeed an oops Dave but you seem to have done a very good job.
Beside fingers, does your cutter cut brass sheet without bending it and if so, up to what thickness?
- mtaylor, thibaultron and Canute
-
3
-
Very elegant John, and how nice for the museum visitors to actually see the model being created and get to interact with you. With all the frames in place this fragile curvy symmetry is certainly impressive.
-
Smaller gaff topsails may not use hoops or any lacing. It took a while to figure it out, the boat I am building uses one. Leather does not mention it but Tom Cunliffe in "Hand Reef and Steer" has a small chapter on flying top sails.
There is also a You tube video hoisting such a top sail. I found somewhere on the net the following explanation which I saved:
"It's true that the side the sail went up on will need to be the side it comes down, but it's nice to have a free choise as to which side it goes up. The halyard is essentially either-ended anyway, what's the hoist one time can be the haul the next. The sheet cannot be two ended but if the bitter end is at the end of the boom, you can bring it forward on either side.
So you're free to set on starboard or port tack as is convenient, but at the end of the sail you must strike on the same tack you set on.
Halyard goes to a shackle at top of mast. When sail down, there are two ends on deck on either side of running rigging /boom/gaff, so the sail can be tied to either end and hoisted on either side. There is a similar arrangement for mid sail to attach a second point to mast. The downhaul just goes straight down to deck. The tack goes to end of gaff, when not in use it is slack and tied to end of boom."
http://forum.woodenboat.com/showthread.php?144433-How-To-Rig-Topsail
Although this does not apply to your boat Tomculb, there is little info on gaff top sails and this seems a good thread to add this little bit of info.
-
Many thanks Keith!
My parents have been visiting and this was the reason I was able to do some work, since they were keeping the little ones occupied. Today is their last day though, so I stole some time to do a few more little things, this time with the help of my dad. Precious moments...
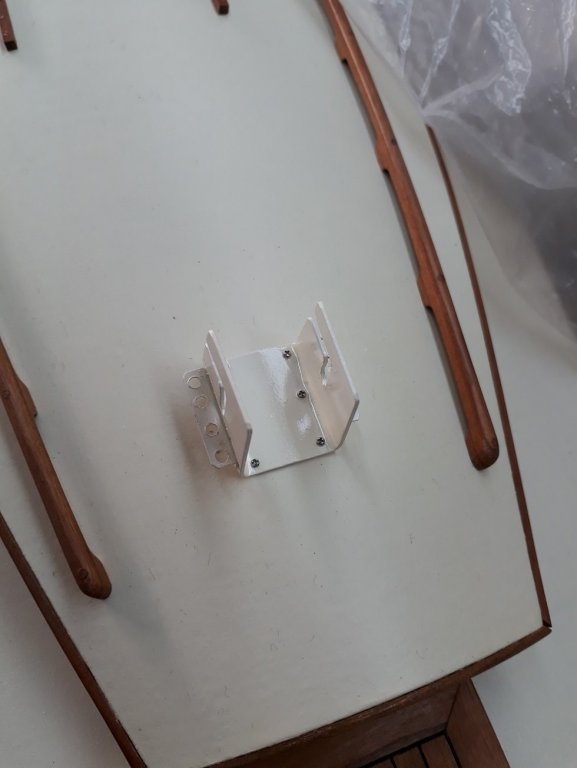
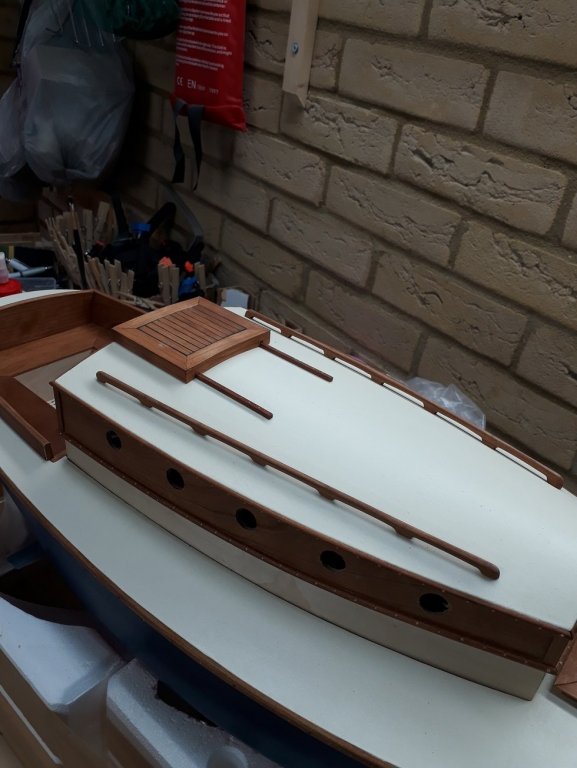
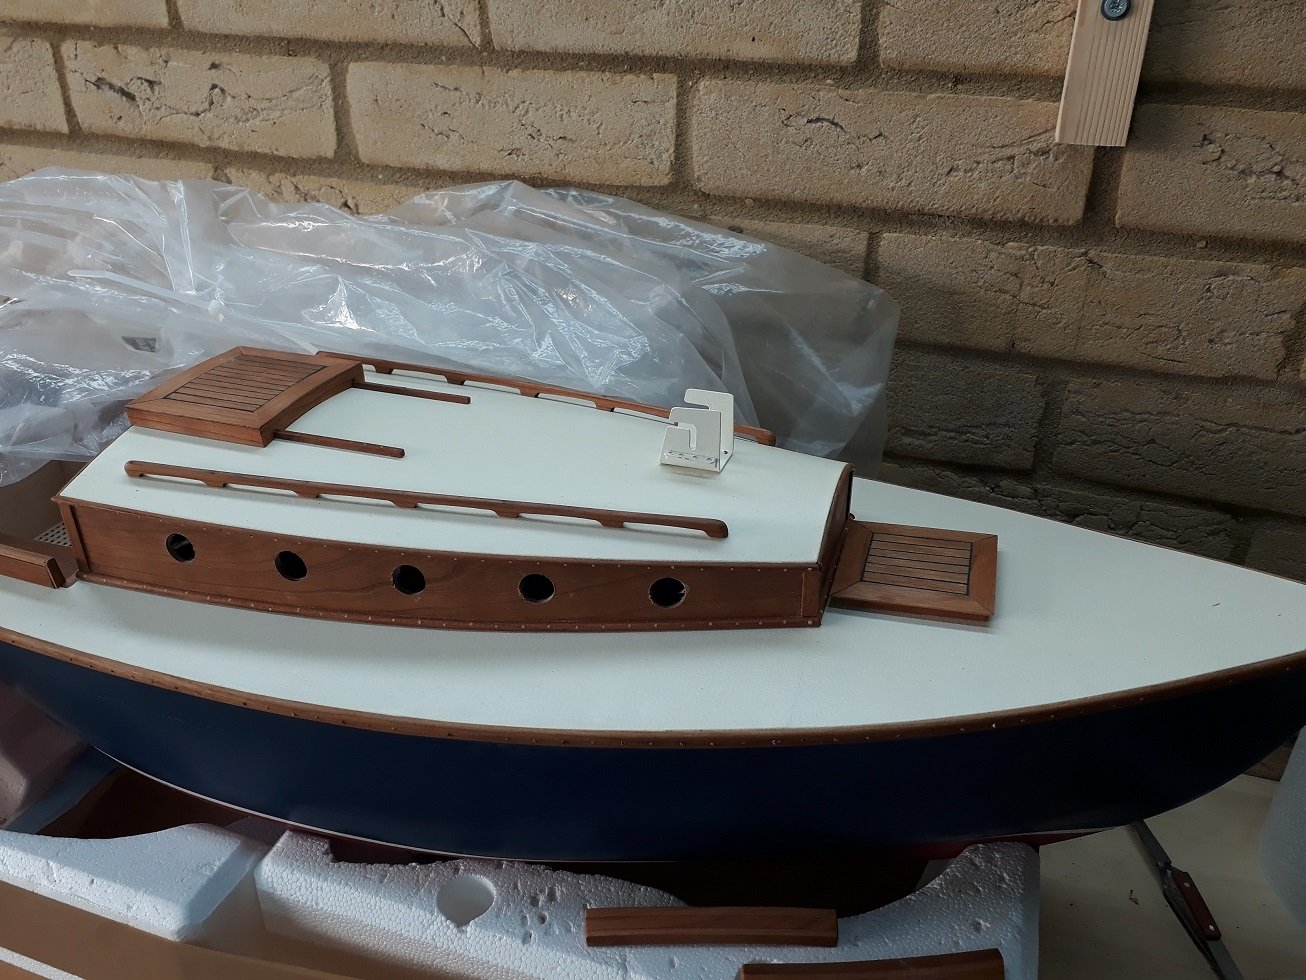
Today was actually a big day! First I installed the tabernacle.

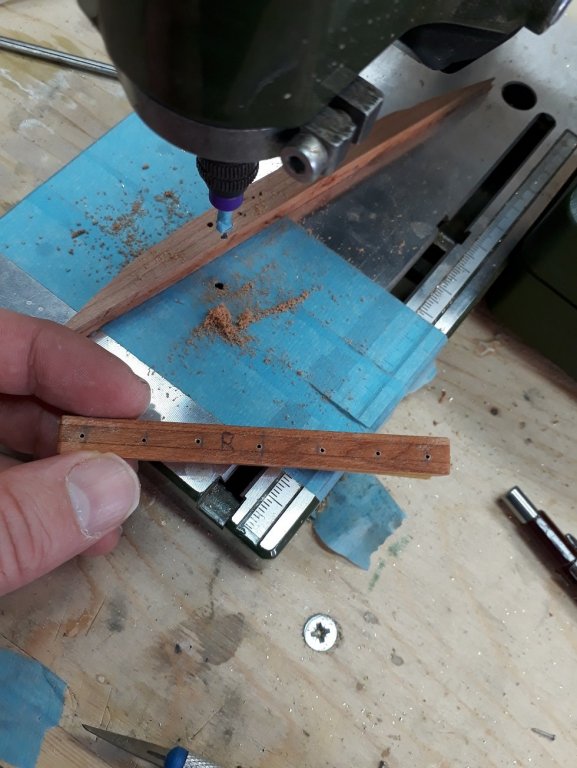
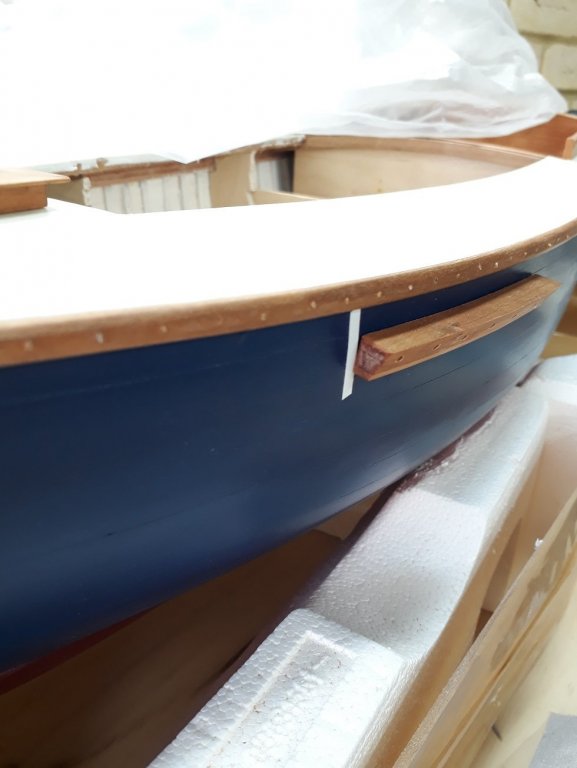
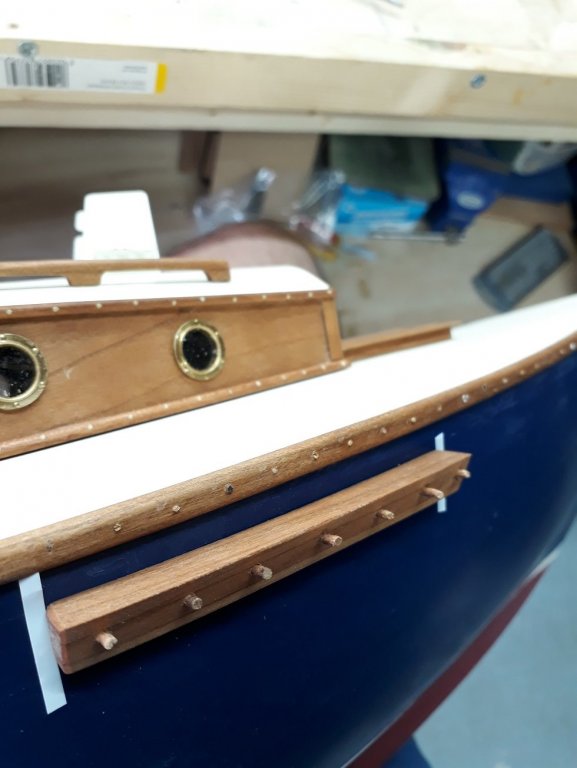
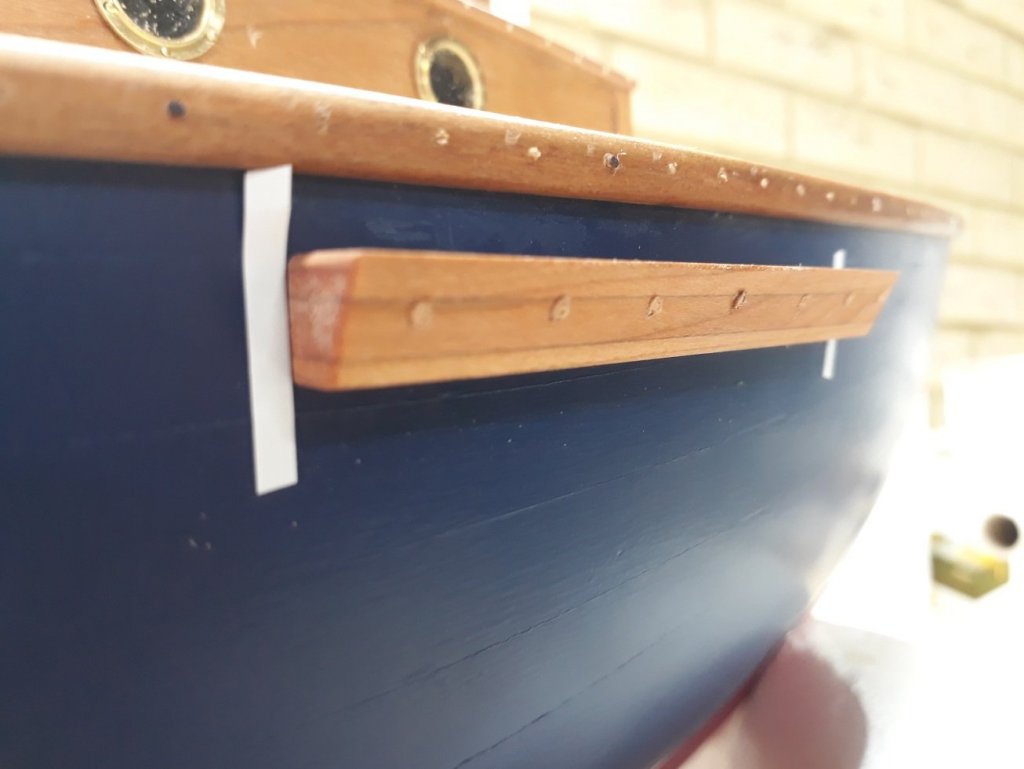
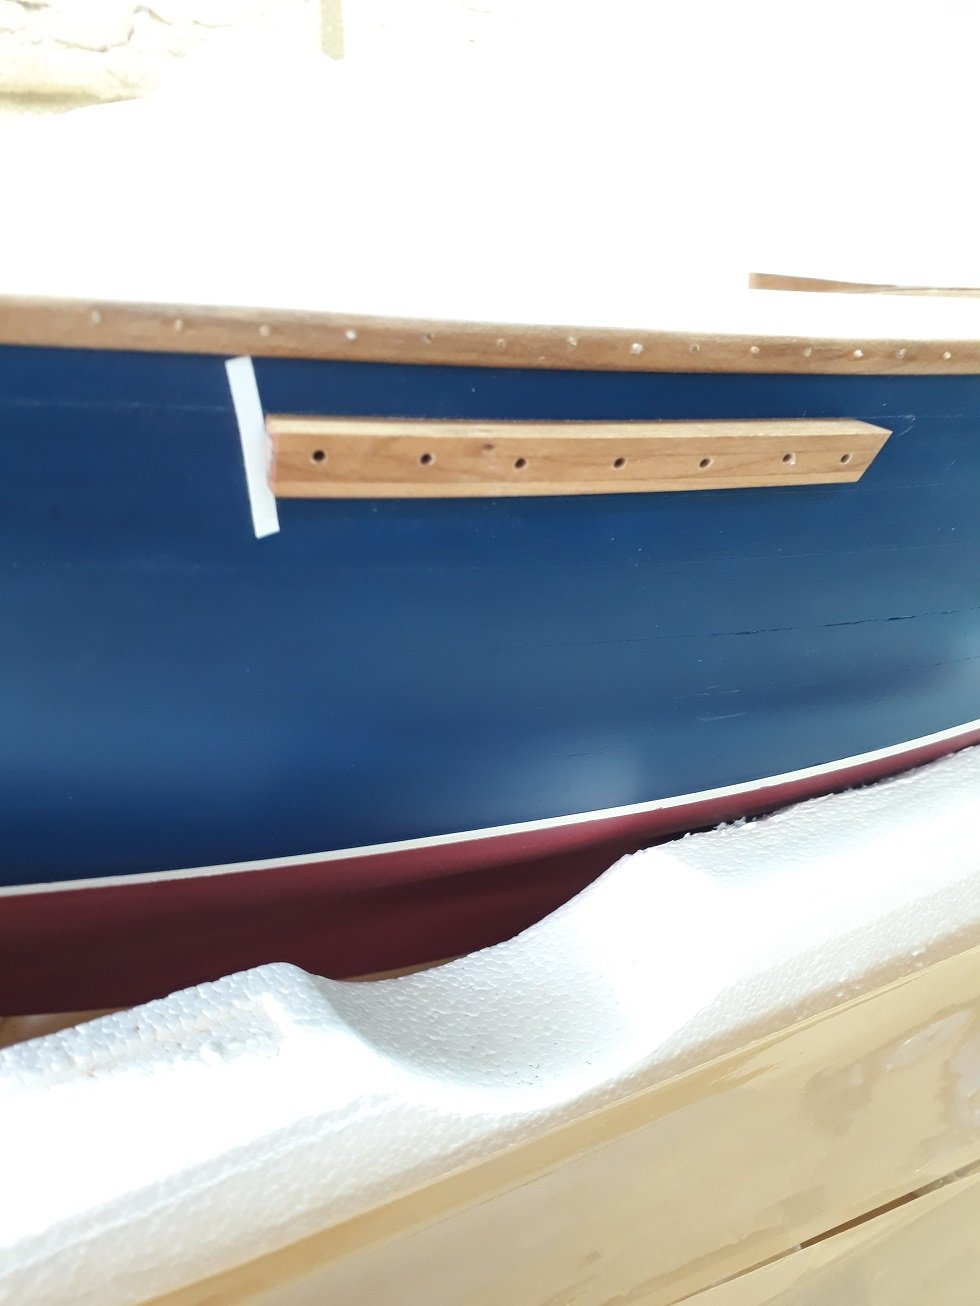
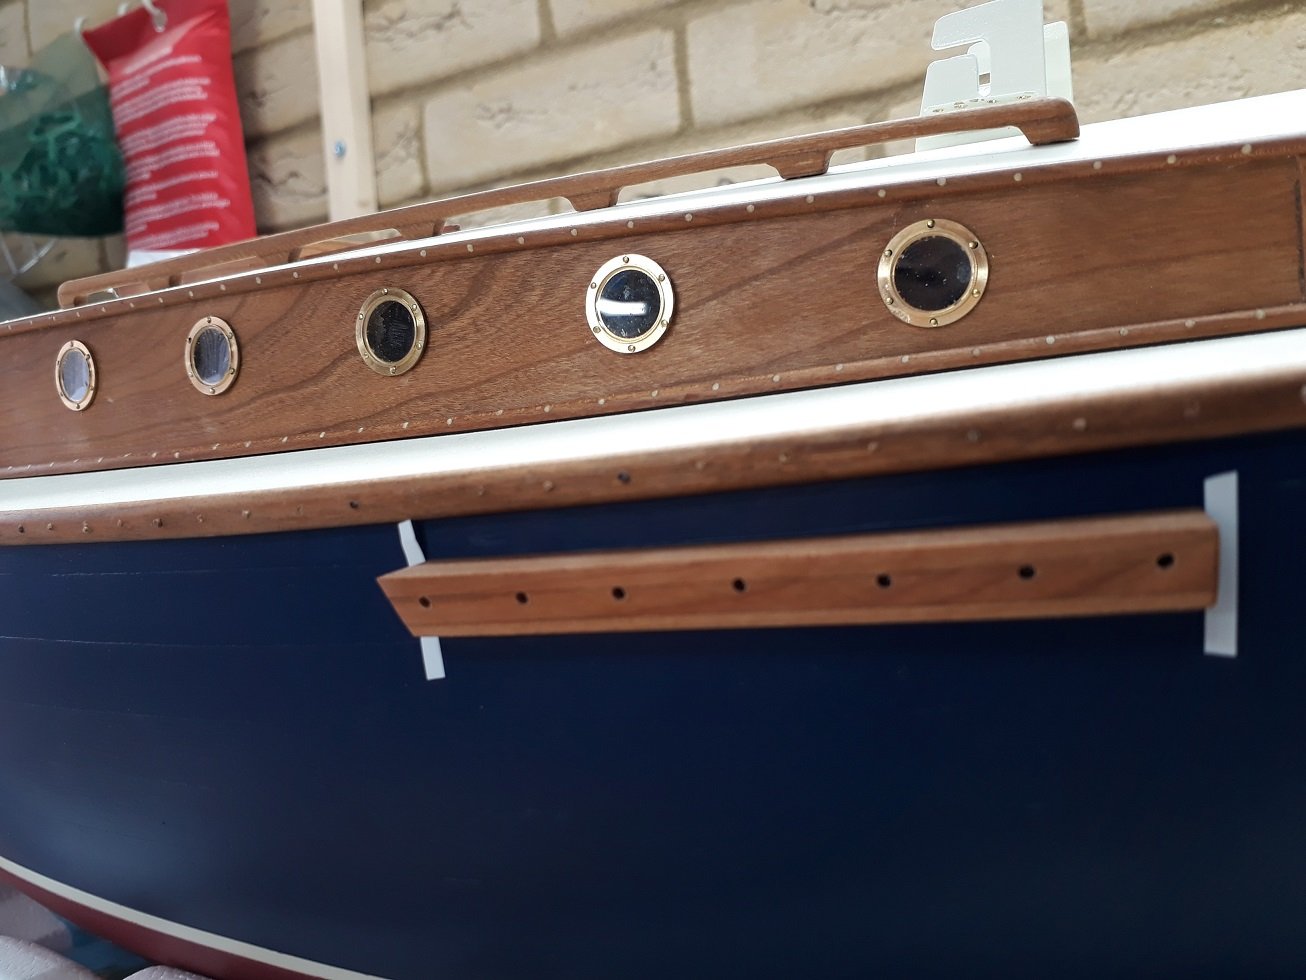
Then, I installed the two pieces of timber (don't know what they are called) that will support and spread the chainplates. They are not really necessary for this boat I think but they add complexity and look cool!
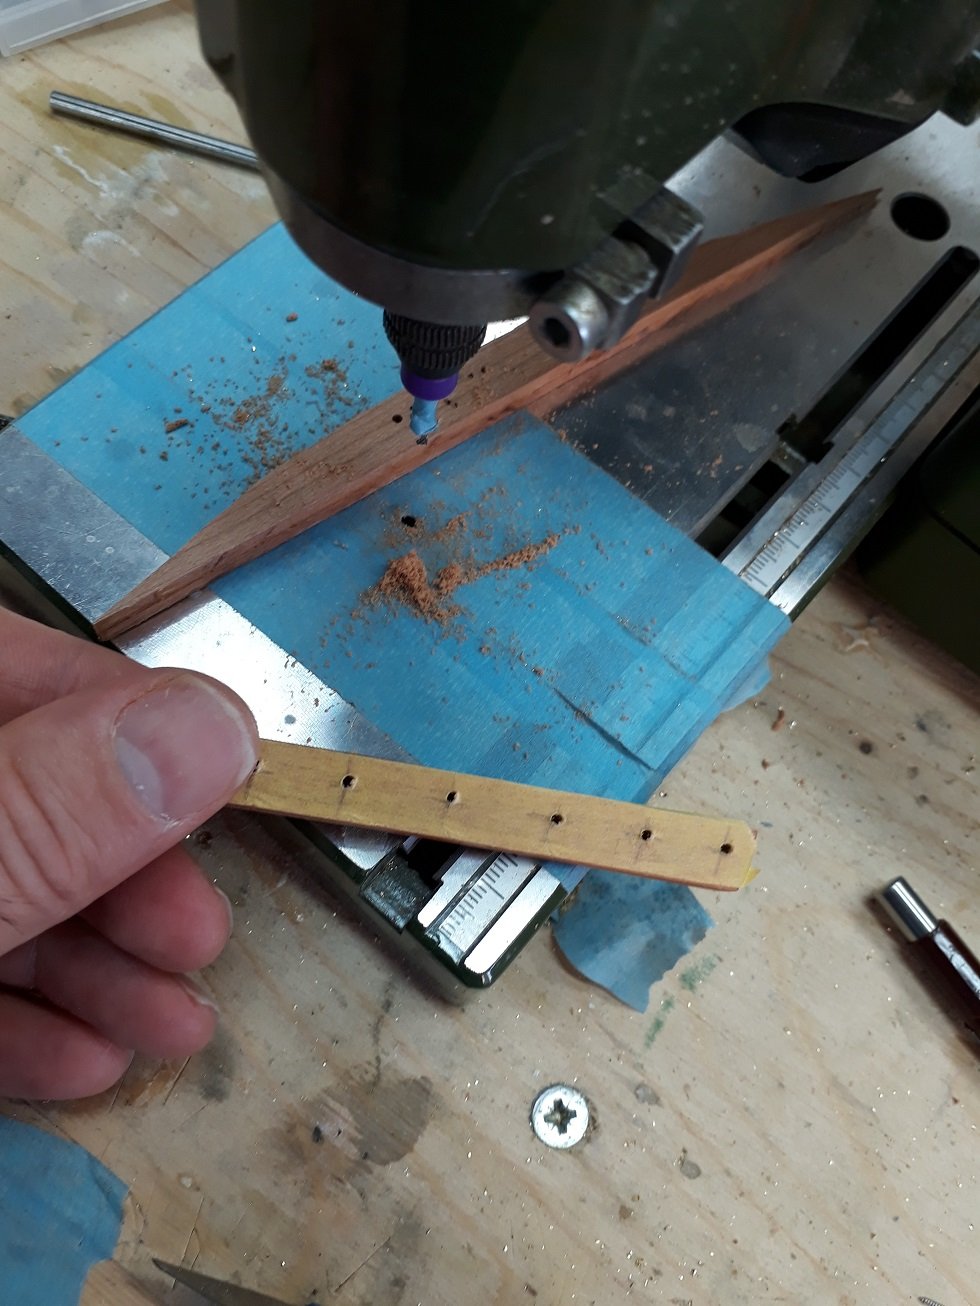
I drilled 1 mm holes, then counter drilled for the head of the micro screws I used with 1.7 mm drill. The actual hole on the hole was 0.8 mm. I used many screws as I think they will take a lot of load to support the 80 cm mast.


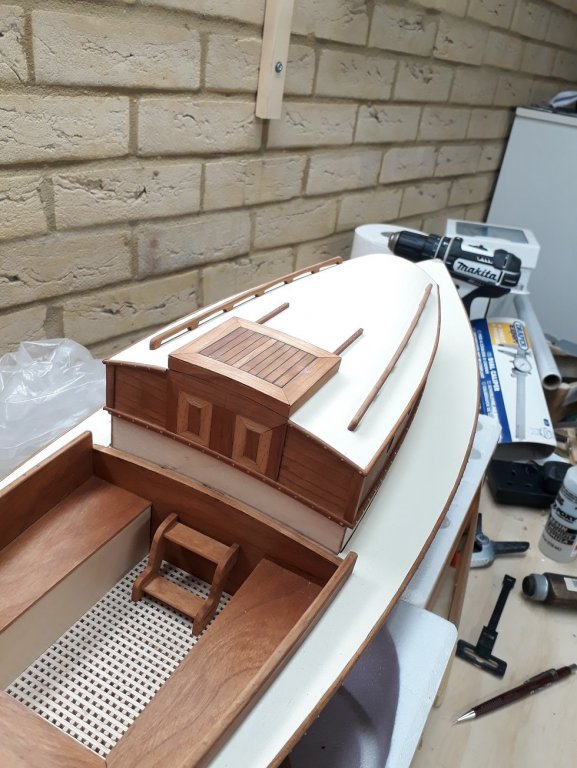
Then I installed the portholes. This was quite fiddly as I used 0.5 mm brass nails (6 per porthole) and I needed really a 0.4 mm drill. I only had a 0.5 mm drill and so I had to use CA glue to fix the nails in place. No matter what I did there is a lot of dust inside the cabin so the portholes kept on getting dirty. I can live with this though!


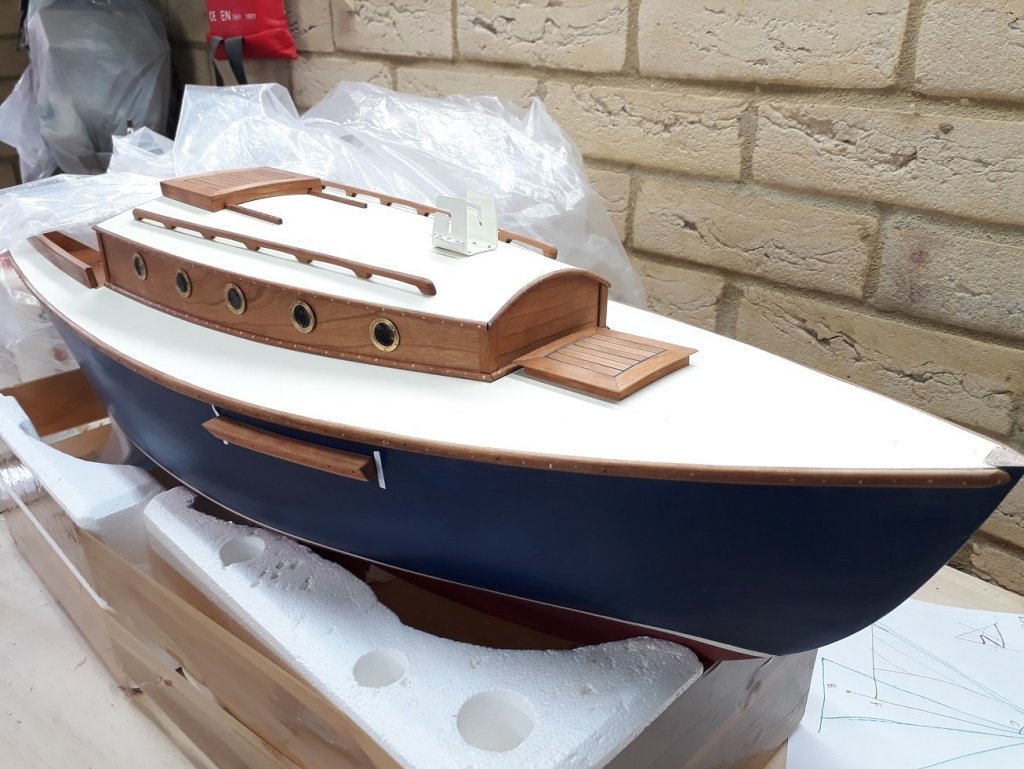
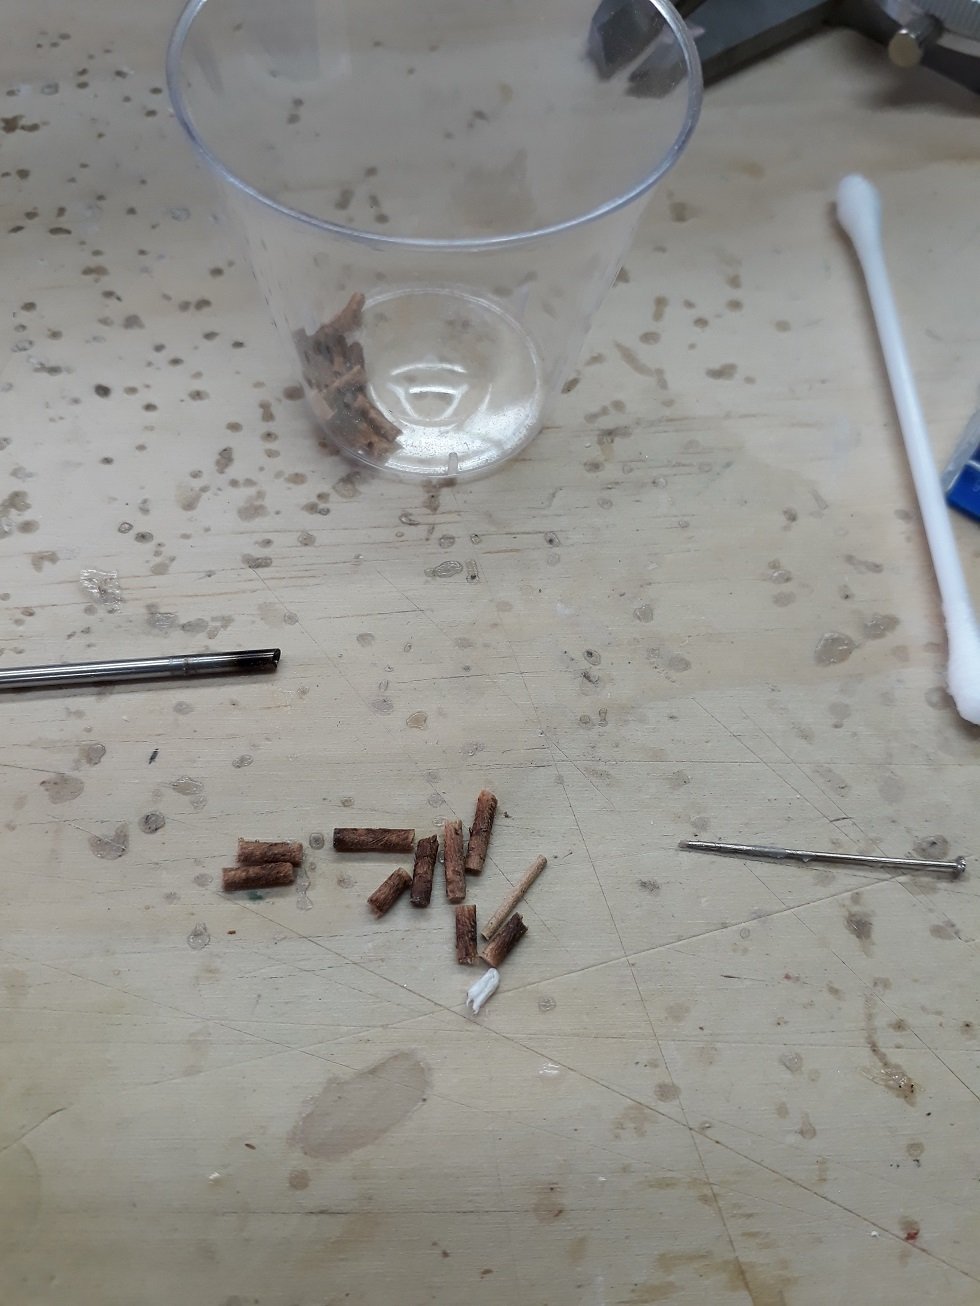
Next filled the holes with some left over wooden plugs that happily had the exact diameter needed. This were trimmed and the timbers are waiting a final sanding and Tung oil.

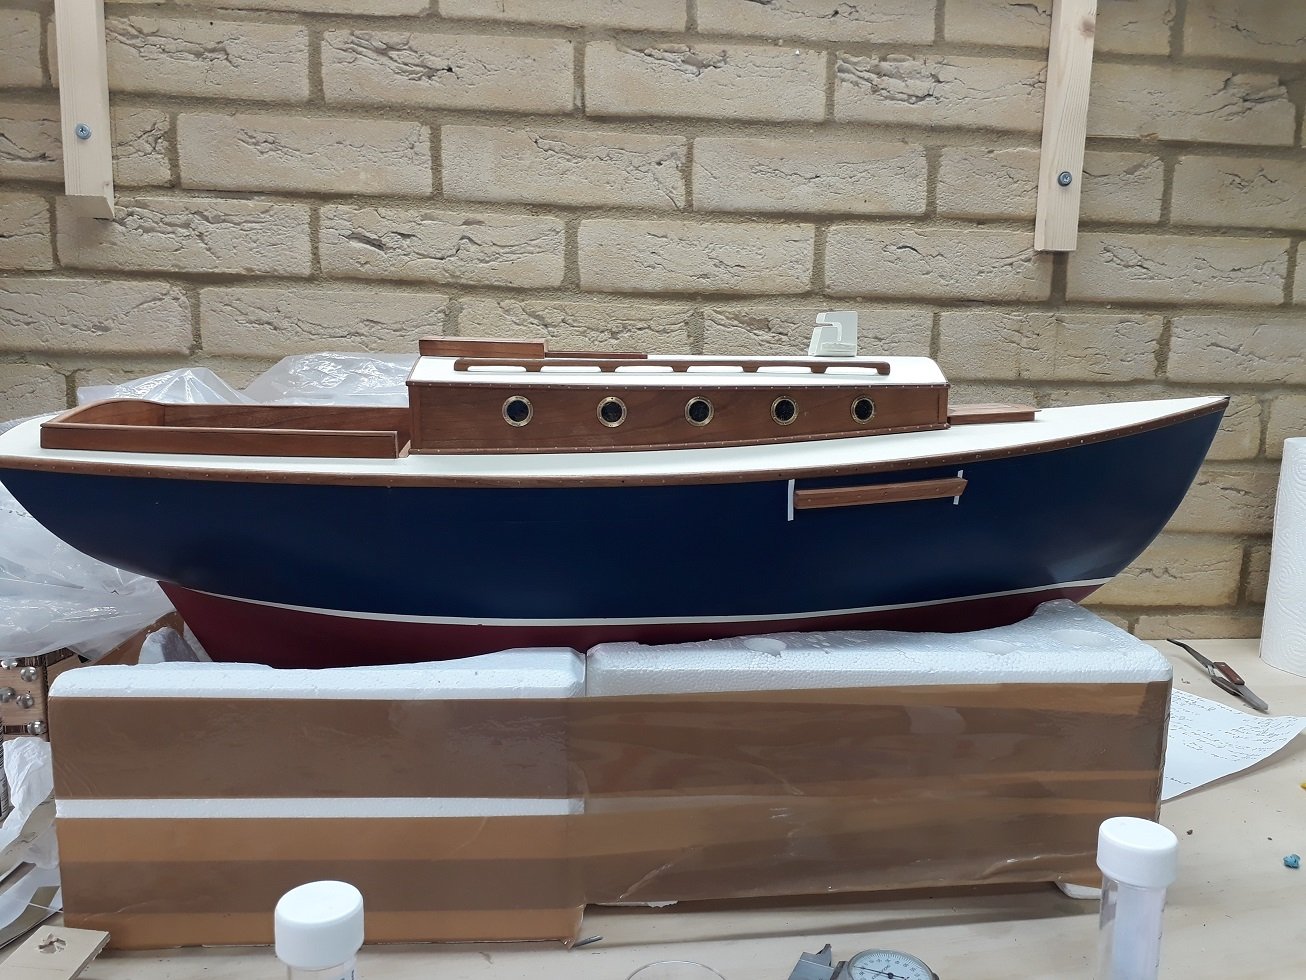
The boat is a bit massive and actually quite heavy now as there is a lot of timber on. I think it is starting to look nice...

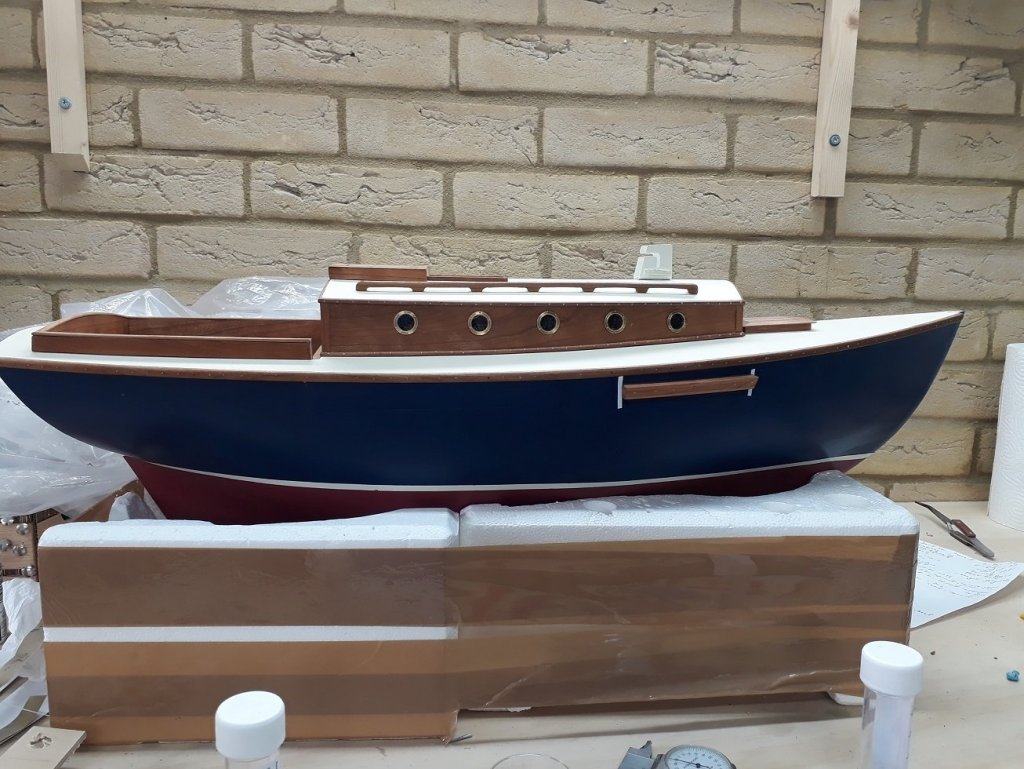
Next will be the rudder and chainplates and at some point the bowsprit but I expect from tomorrow progress will go back to snail pace!
Regards
EG
-
Many thanks to all, I did not actually have the time to work more on the spreaders but good to know I am on the right path.
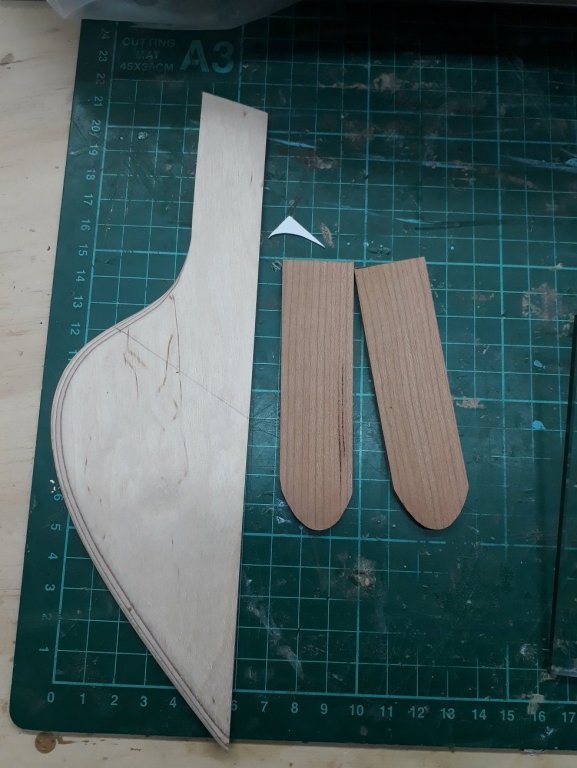
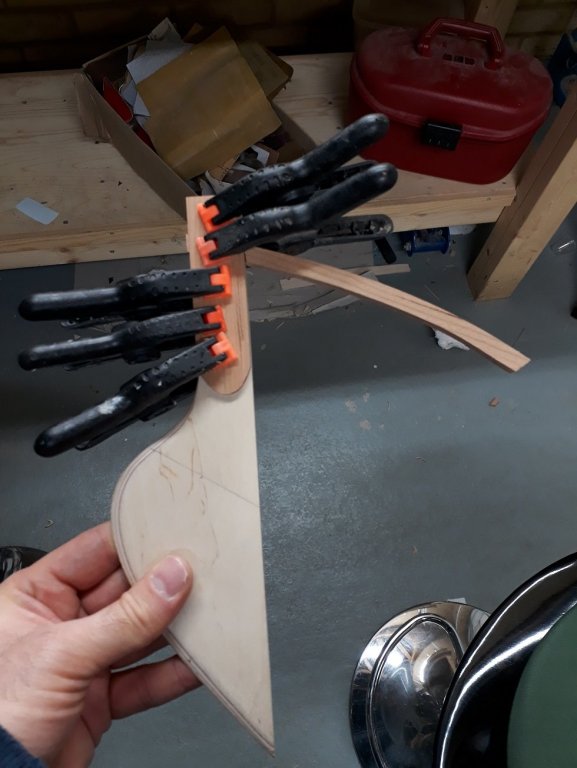
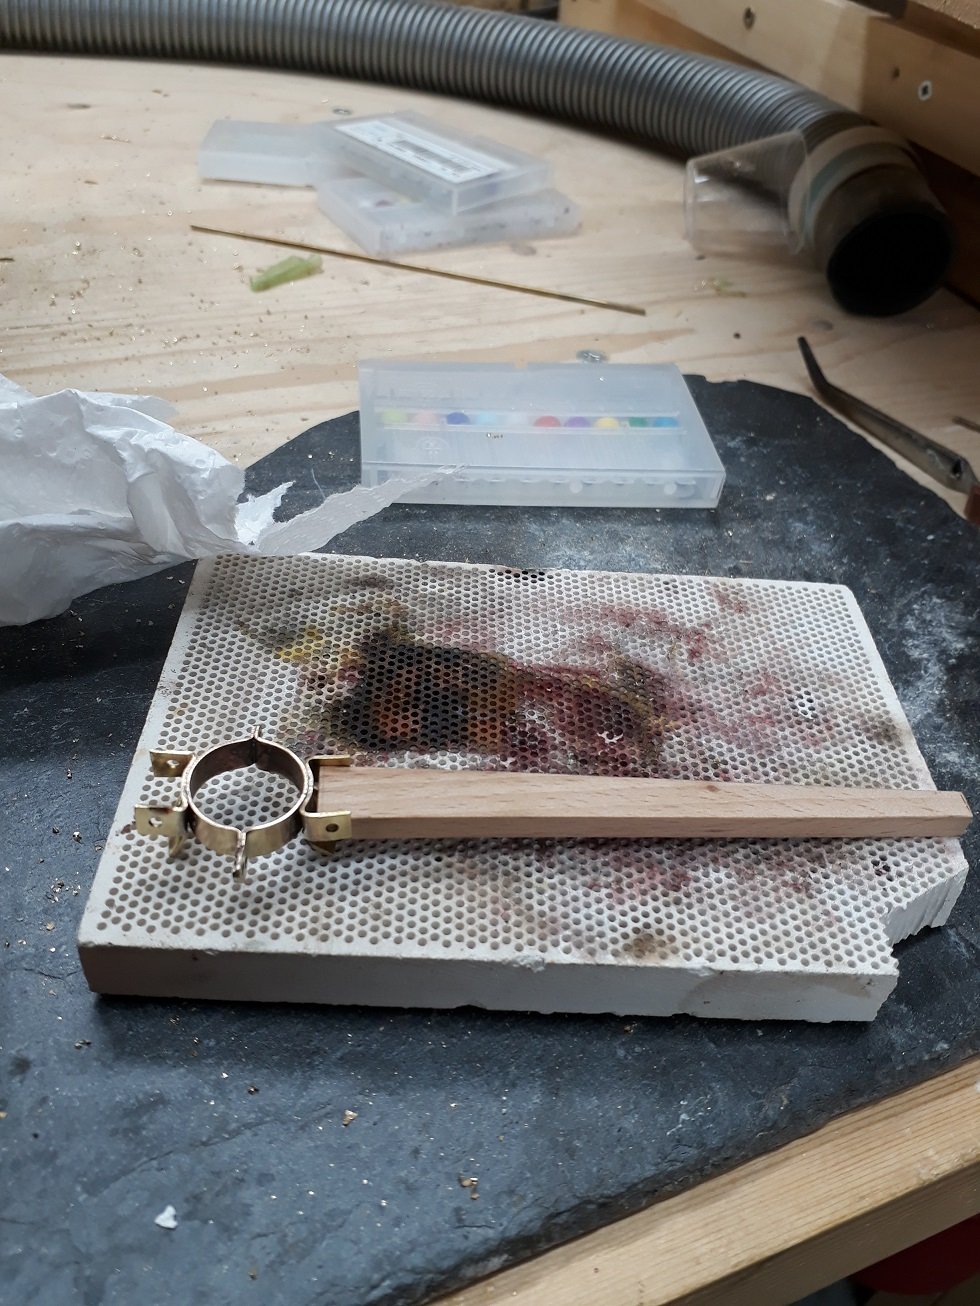
I have been slowly catching up with people's work and I was able to spend only a few moments on the boat as life got very busy again. I started work on the rudder and also did a few other bits and bobs.
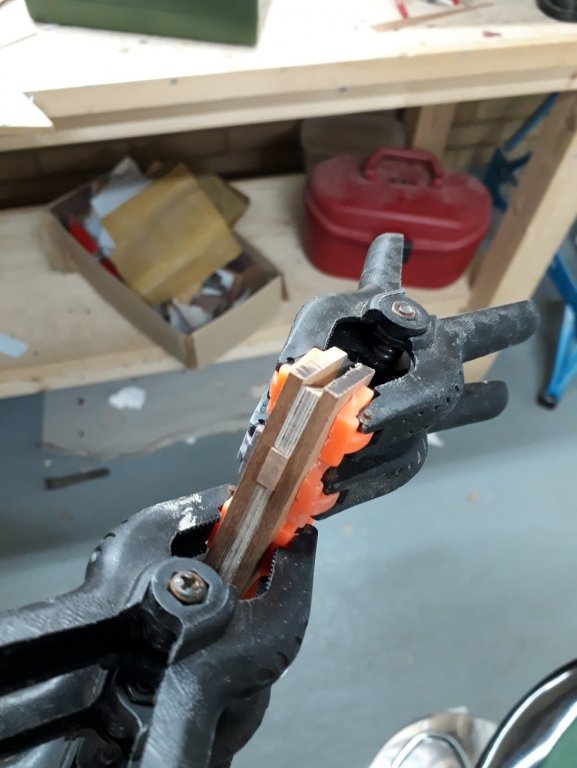
I laminated two pieces of plywood and made a very strong rudder, sanded to final shape and cut two thick pieces of cherry for the side panels. For the tiller I laminated some cherry off cuts. This is the rudder assembly, the tiller is not yet sanded to shape

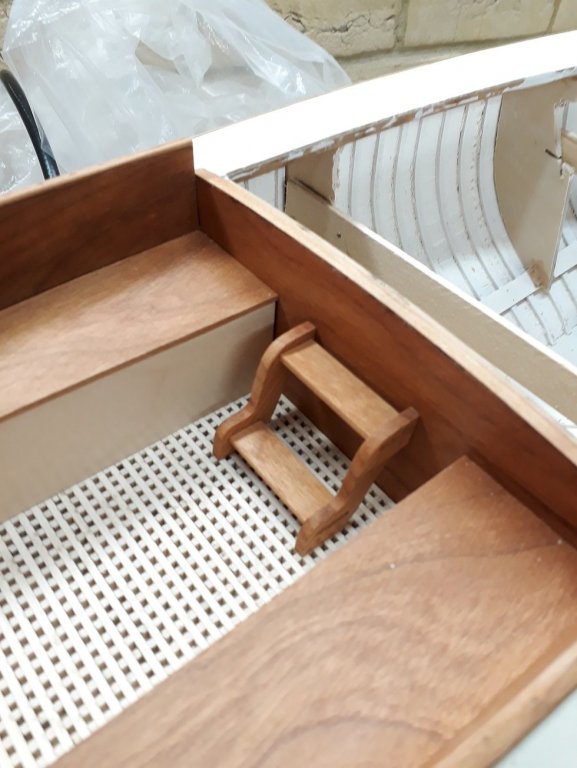
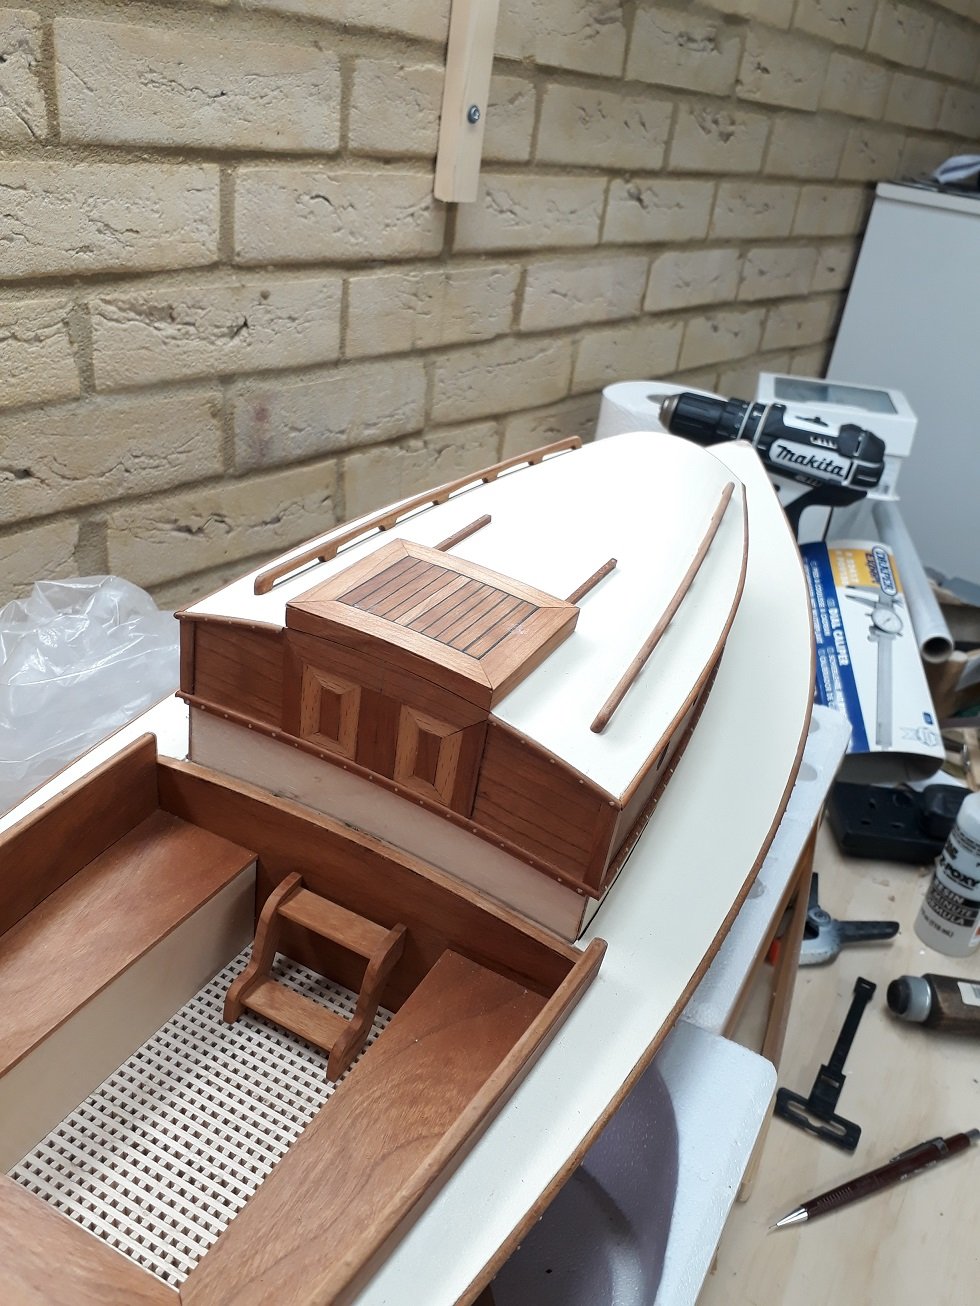
I also installed the ladder. it is only held in place by these 4 tree nails
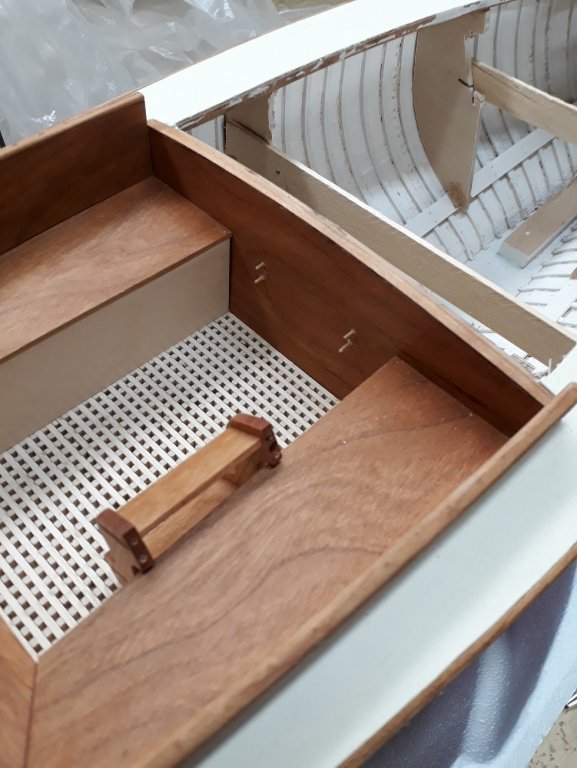
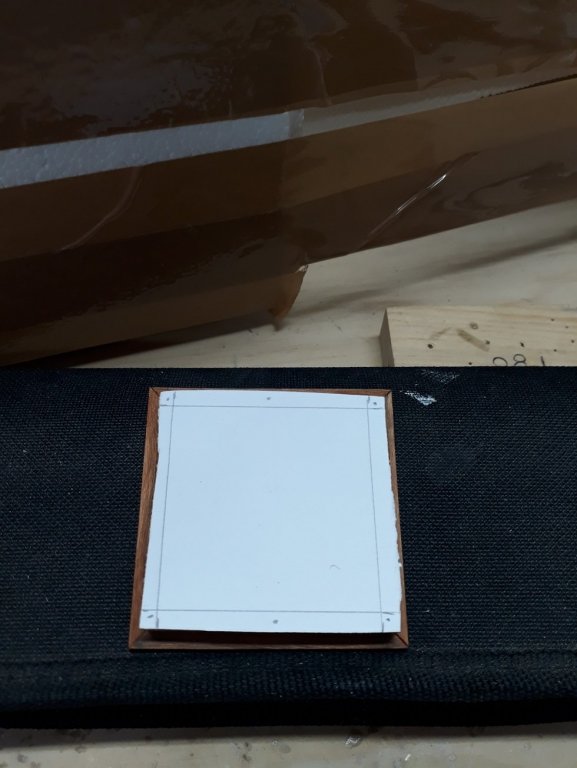
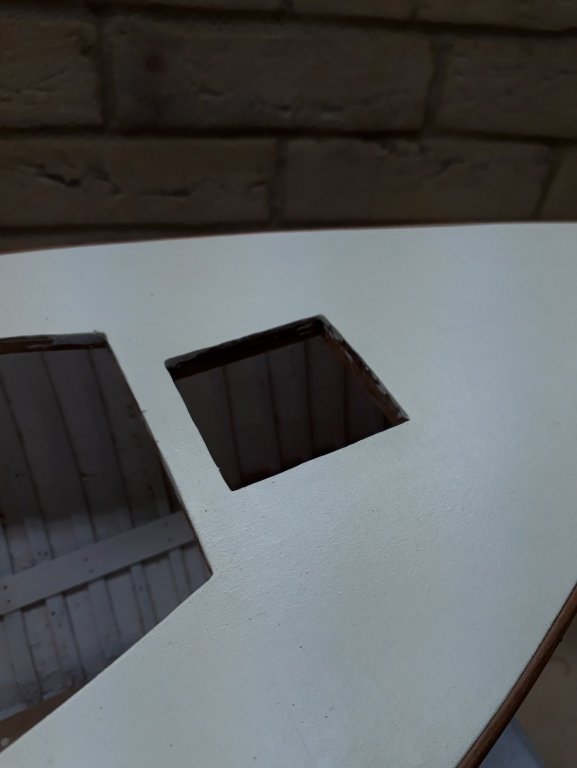
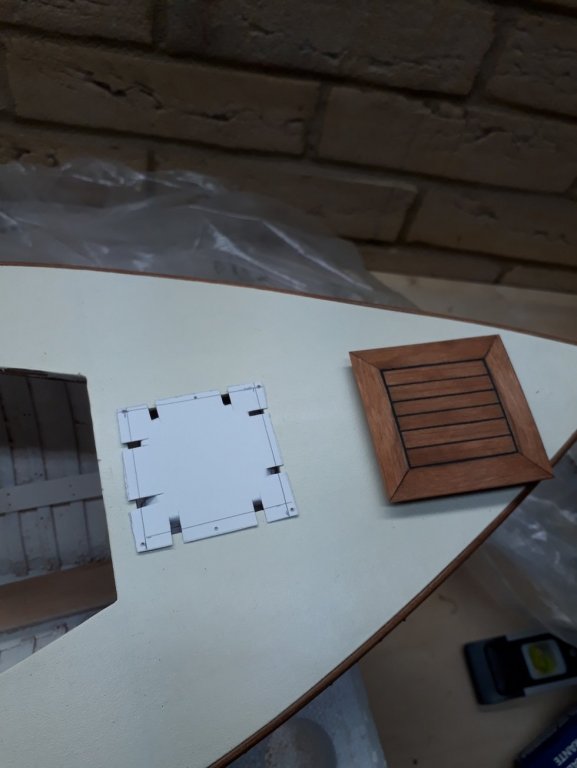
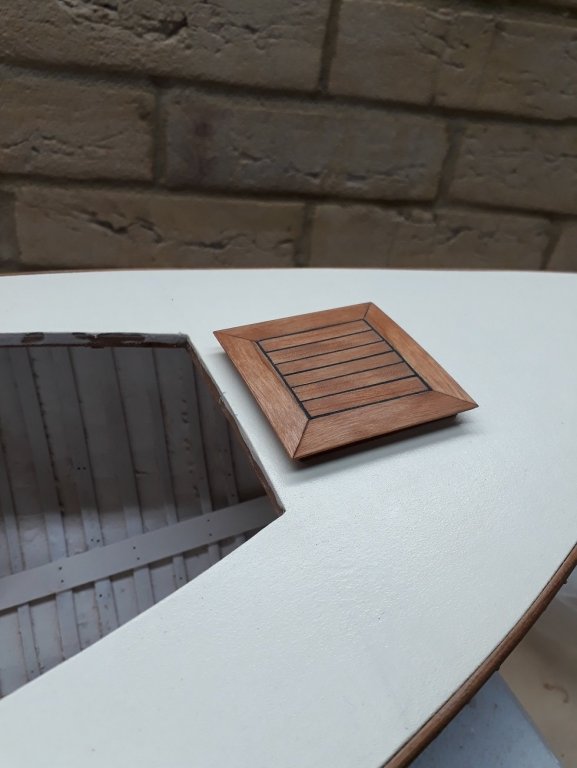
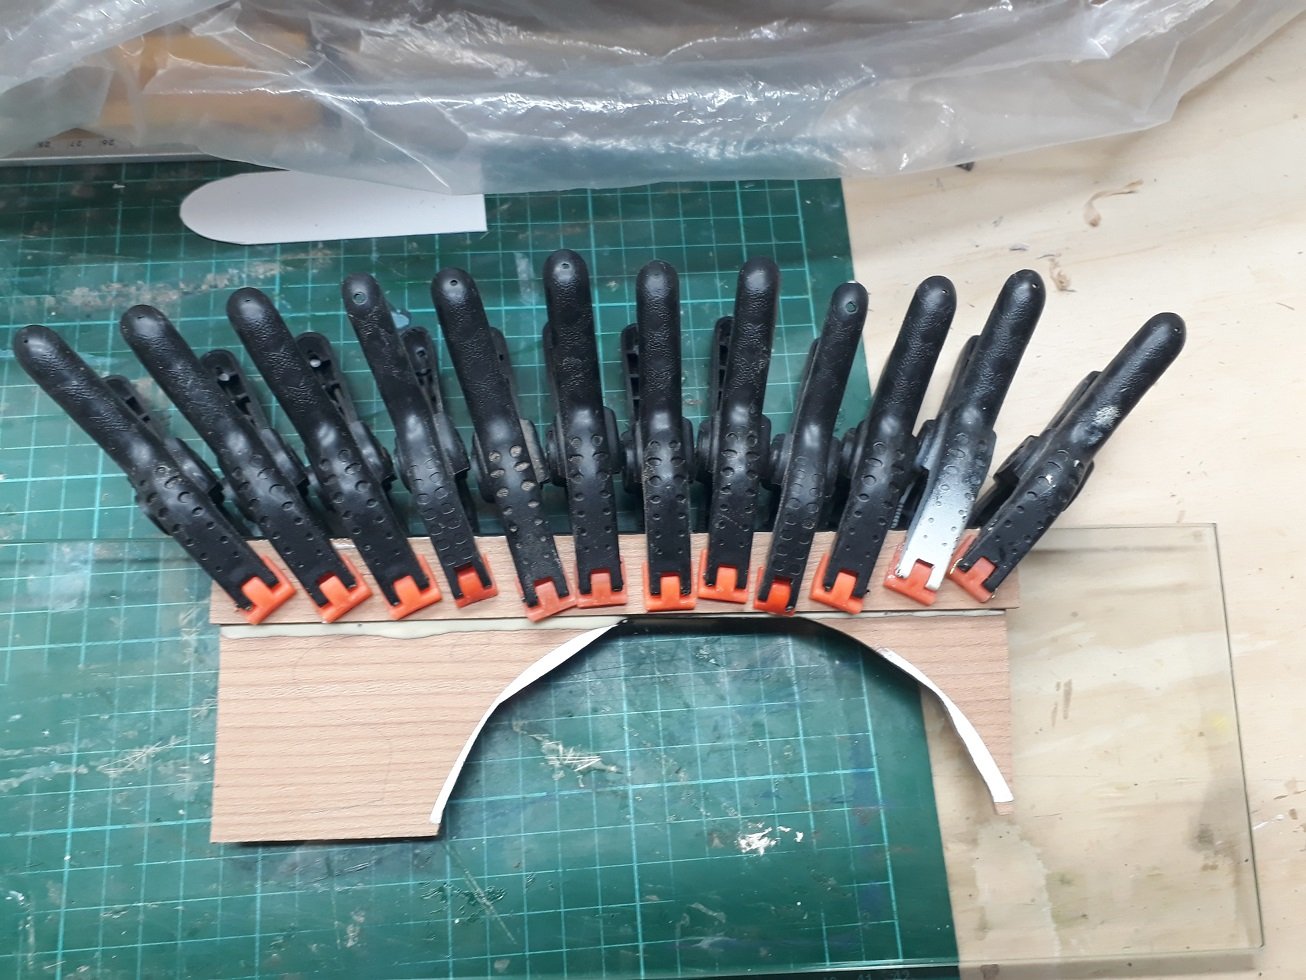
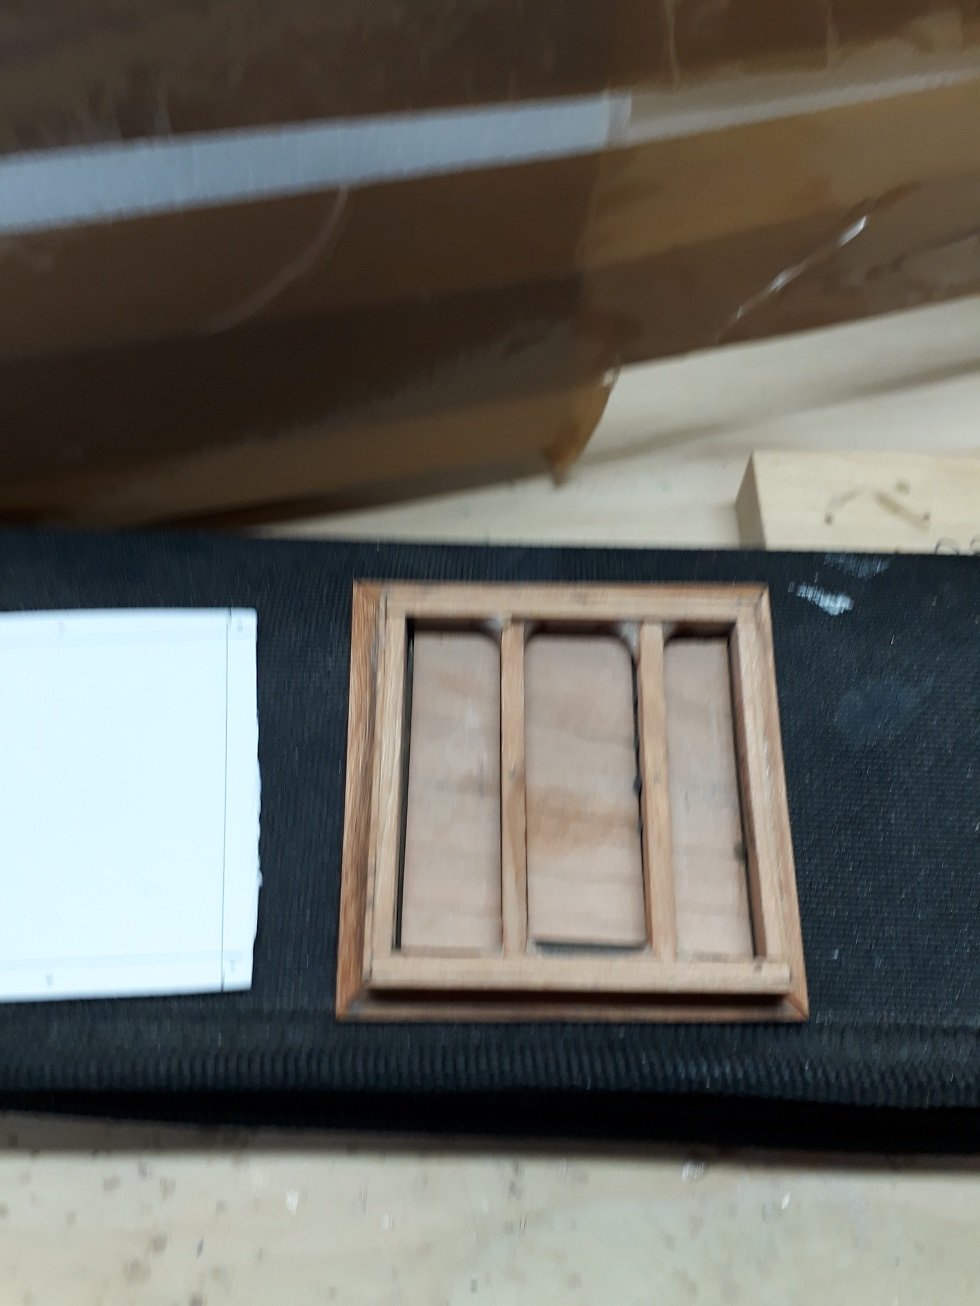
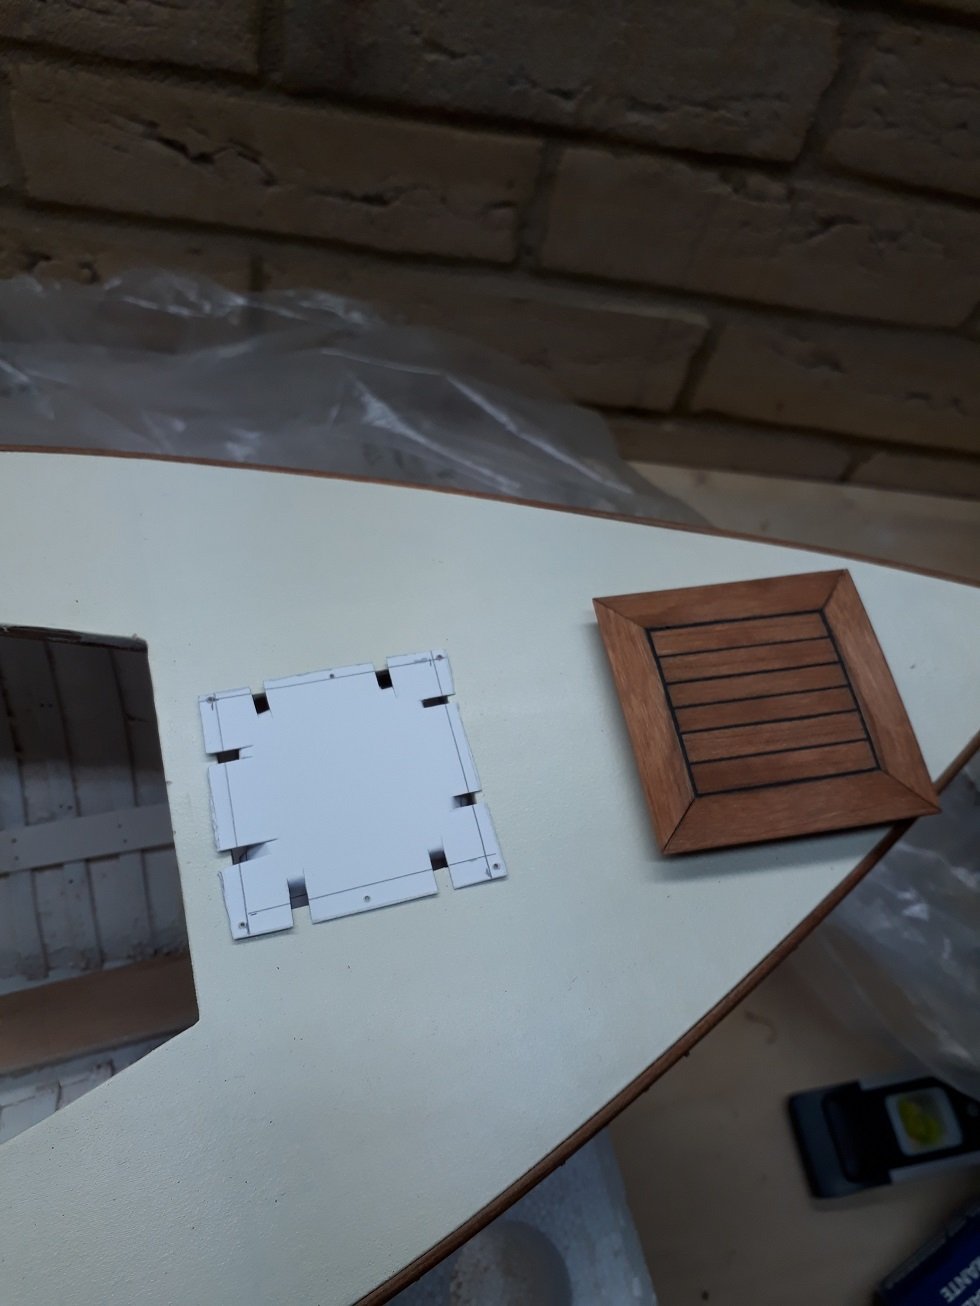
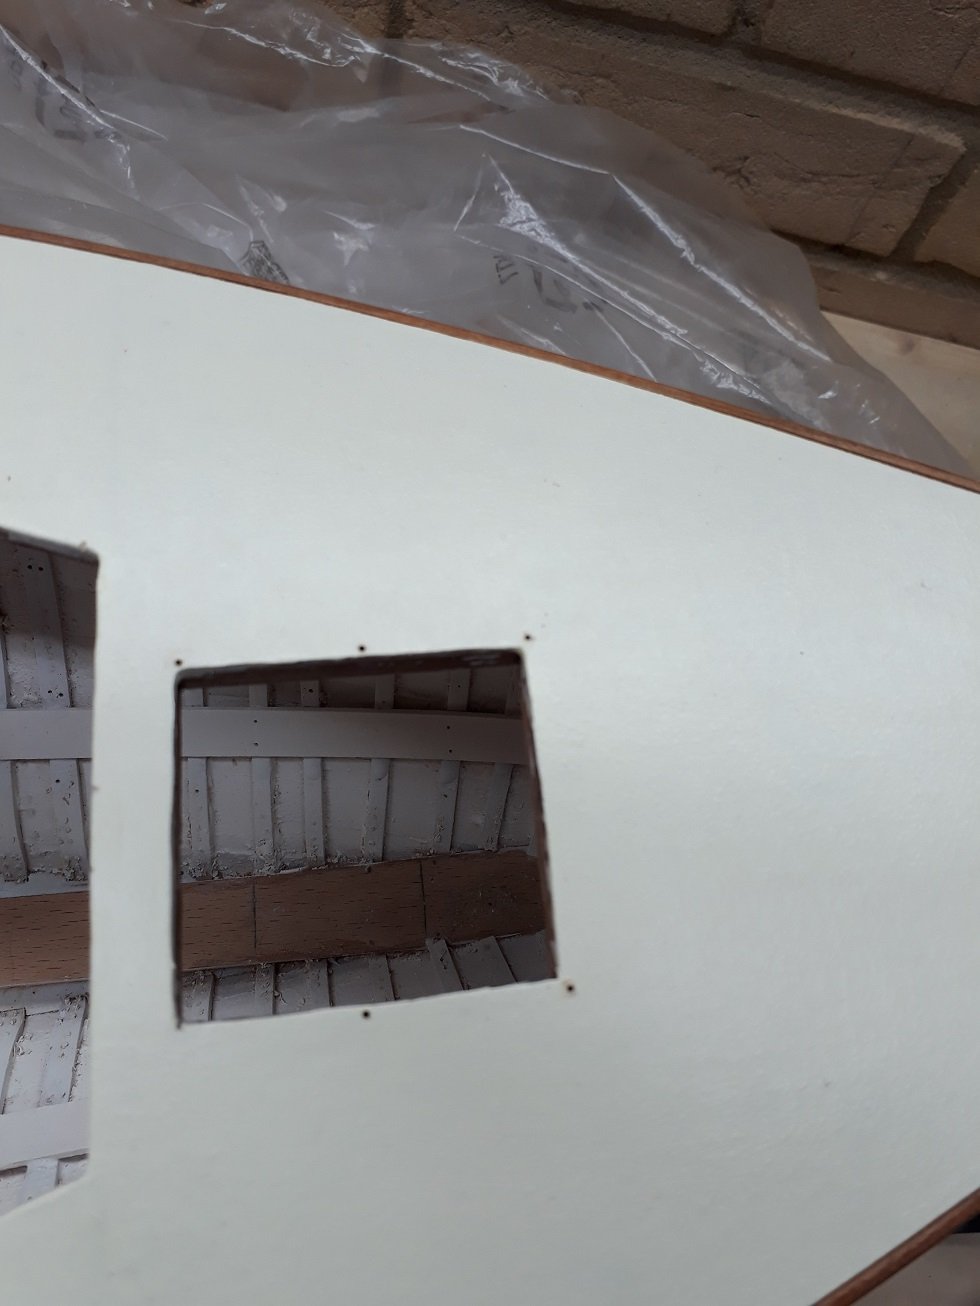
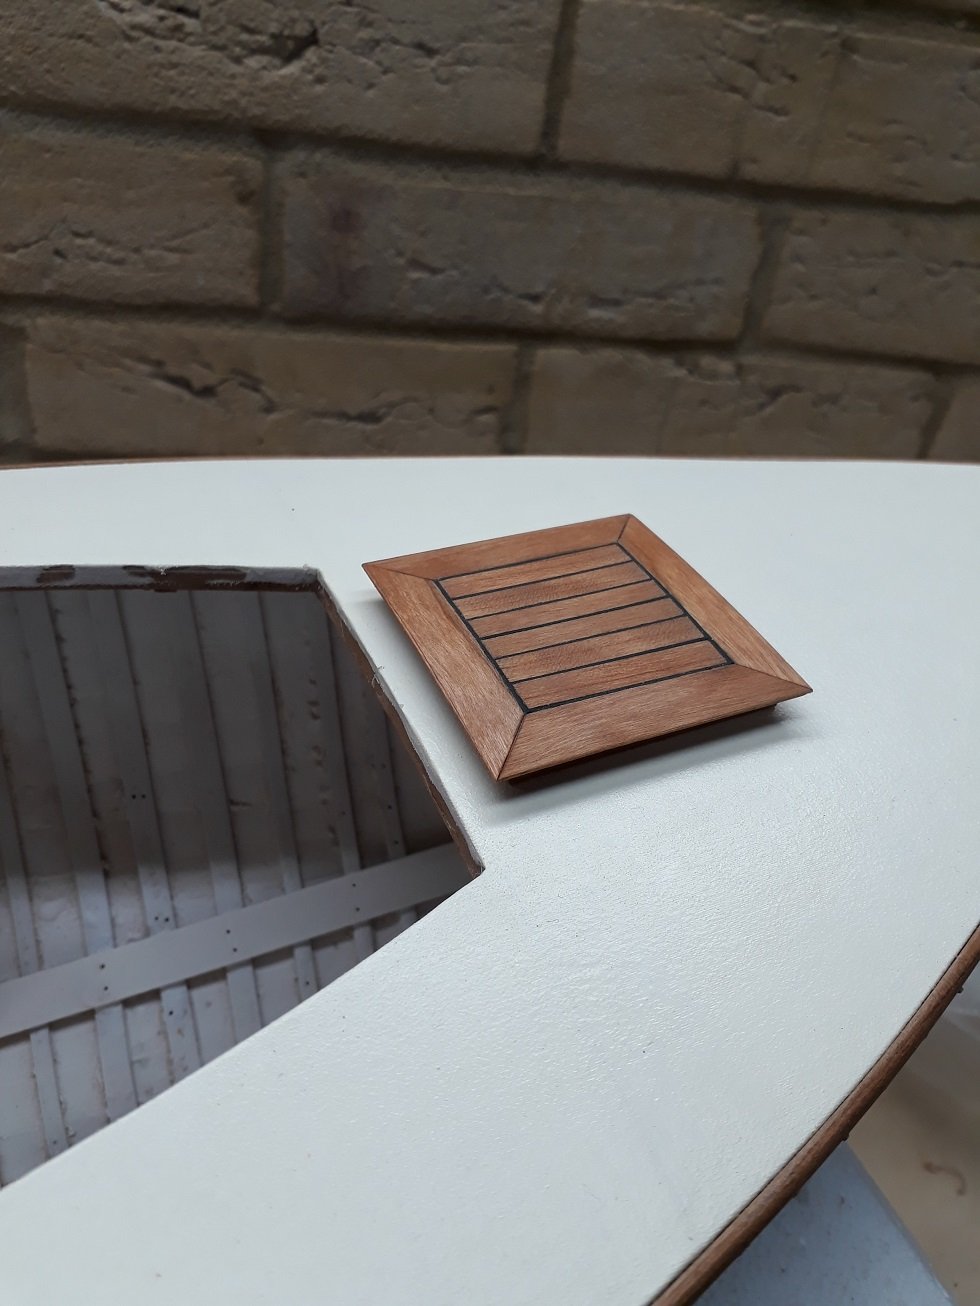
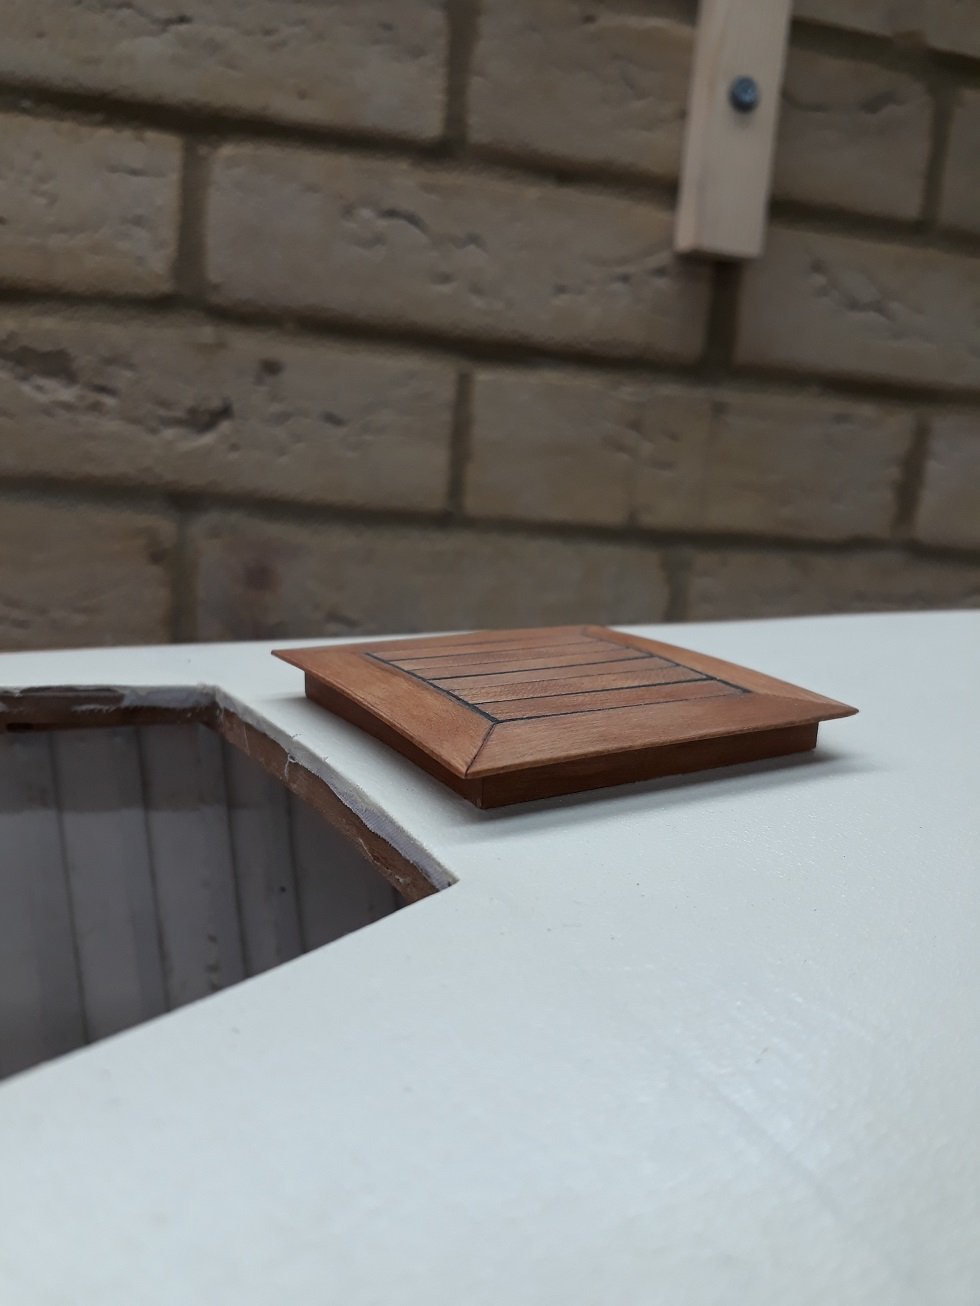
Another task that I had to deal with at some point was to install the hatches. The cabin roof one was easy with some thickened epoxy but the fore hatch simply had no attachment points. I made a card pattern, drilled 6 holes and then used the pattern to drill 6 identical holes on the deck. Well, only 3 were actually aligned but even with just three tree nails it seems very well secured.


Then I sanded, sealed and primed the rudder and then the long process of applying dozens of coats of paint started. Acrylics are easy to use but coverage is abysmal compared to enamels. Still, being able to paint in the dining room table is a big plus.
Time to put the little ones to sleep!
- cog, mtaylor, Mark Pearse and 5 others
-
8
-
-
My understanding is that Tung oil polymerises in the presence of oxygen. So with time it will turn into a plastic like polymer. The 50% dilution is to allow it to penetrate deeper, thus giving better protection.
I have a container of pure Tung oil that I have been using for years (its almost empty now), squeezing the metal as the oil gets used up so that there is as little air in contact with the oil as possible. If I do not open the bottle for 4-5 weeks, it is then very difficult as the oil in the cap polymerises and solidifies. Opening the bottle earlier is fine so really it takes many weeks for a full cure.
Tung oil finish takes a very long time as many thin coats needs to be applied, waiting a few days in between for some degree of cure to happen. I remember reading that in ancient China it could take a year for a Tung oil finished table to be ready.
There is also polymerised Tung oil I think that cures much faster, the equivalent of boiled linseed oil.
My 2 cents!
- mtaylor, paulsutcliffe and Canute
-
3
-
Keith, Druxey and Michael, many thanks
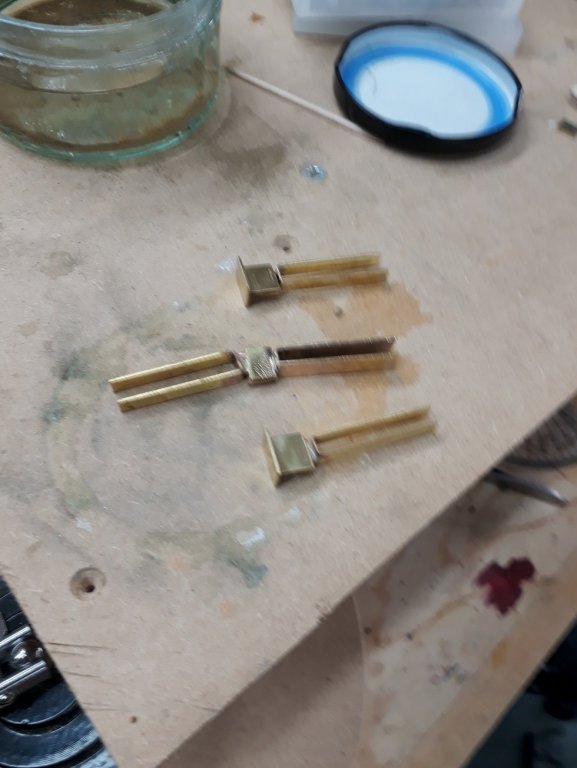
I continued working on the hoops but also made the last brass band that will accept two shrouds on each side, the spreaders, the forestay and staysail and the throat halyard. It took a few hours to make and while I was polishing it, it got picked up by the steel brush wheel and ruined.

So I started again. This time it took much less time and actually I think it looks better

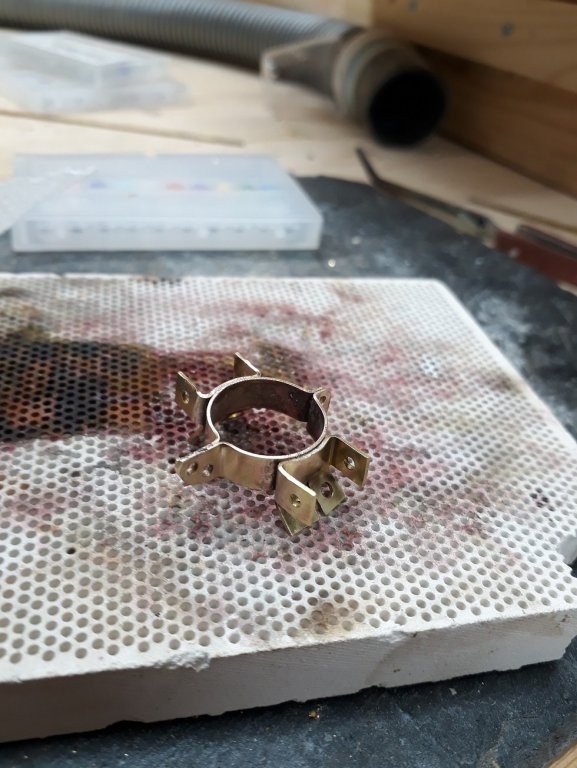


The spreader is the correct length to sit at the proper angle, the top shroud will be at a 15 degrees angle to the mast. The shape looks a bit wrong though, not sure if I need to reduce the thickness or just to round the edges.
- cog, Mark Pearse, GrandpaPhil and 7 others
-
10
-
I have made many thousands of tree nails with the needle method in various sizes, my current 1:10 boat is held together almost exclusively by tree nails. I was using mostly cherry but recently the whole process start failing as the needle was burning the wood. Only by touching the needle with soap I could get it to work but this slowed down things. No problem with softwoods.
What wood are you using?
regards
Vaddoc
- mtaylor, Keith Black and thibaultron
-
3
-
Steer clear away of walnut. Maple is fantastic for planking, cherry and pear are far more stiff and do not respond as well to bending. Maple sands very well, holds nails, glues well and is soft enough to cut with a knife even at 2 mm thickness. Holds an edge well and can be very white with no/little grain
Beech as another excellent wood if you don't mind the wood pattern. Never used castelo or holy.
Vaddoc
- vulcanbomber and mtaylor
-
2
-
Excellent topic choice Bob. I ve been wanting a set for some time now but as you say the proper ones seem to be made from Stardust and the cheap chinese or indian ones flooding the market are just too cheap. It would be excellent if someone had experience to share.
I came across this that seems to be made in Germany and is still cheap but not the generic type. Quality unknown.
-
-
-
-
Soak the wood and then compress between two flat surfaces with a significant weight on top as it will be distributed across a large area. It will flatten a bit but not all the way.
I ve found that for such purposes, it is better to laminate the sheets that the frames will be cut from. Lamination gives very strong, very flat sheets that resist movement. It is impossible to find flat plywood in the thicknesses we use. If I need a 3.5 mm sheet, I laminate 2 sheets of 1.5 mm each using finishing epoxy resin.
I have a whole box of 2 mm maple sheets that I received dead flat and a year later are horribly twisted. I suspect improperly seasoned/kiln dried wood.
Regards
Vaddoc
- mtaylor, pontiachedmark, Canute and 1 other
-
4
-
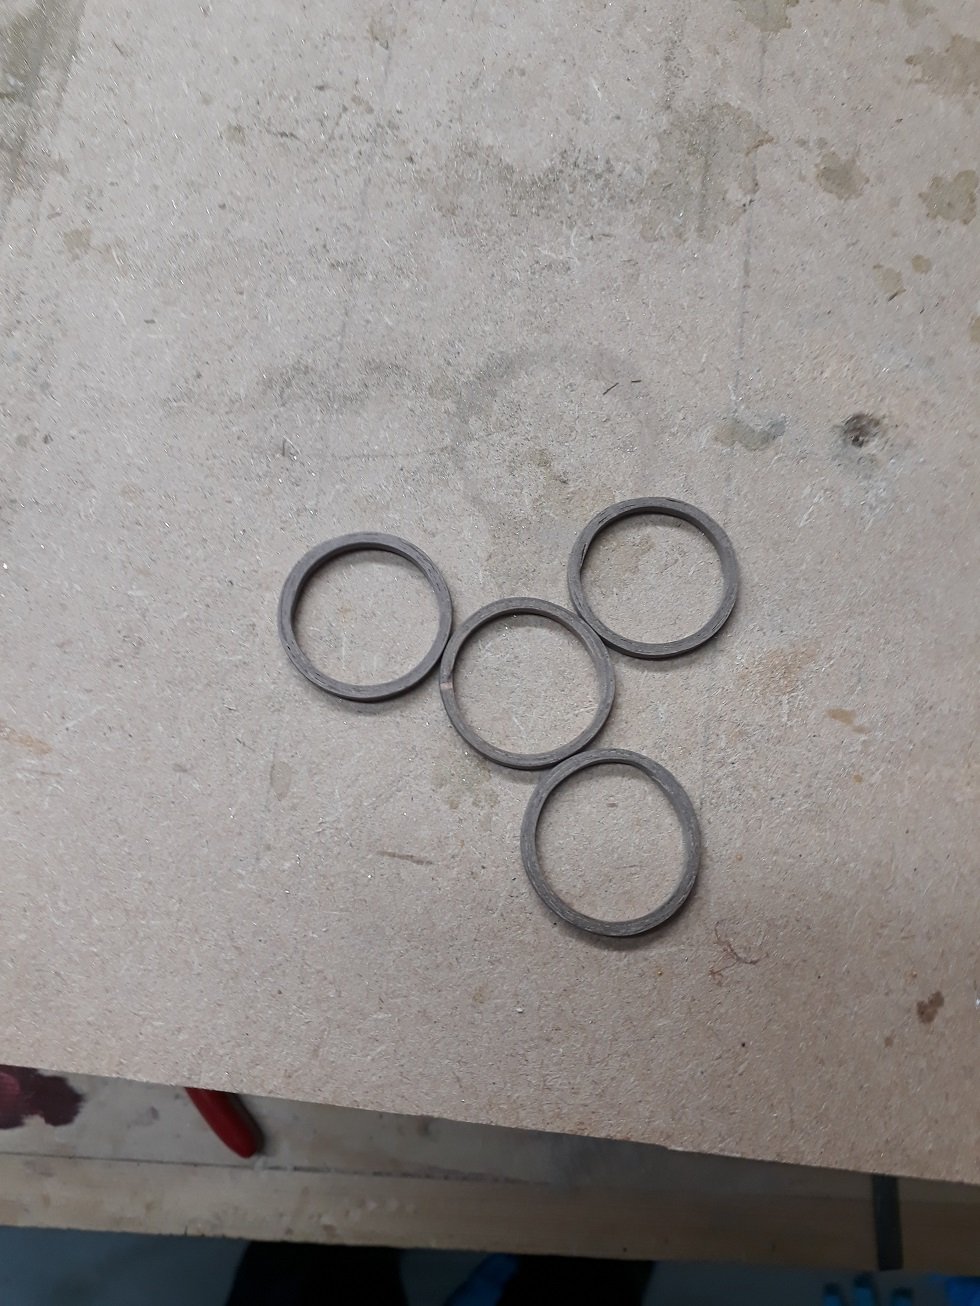
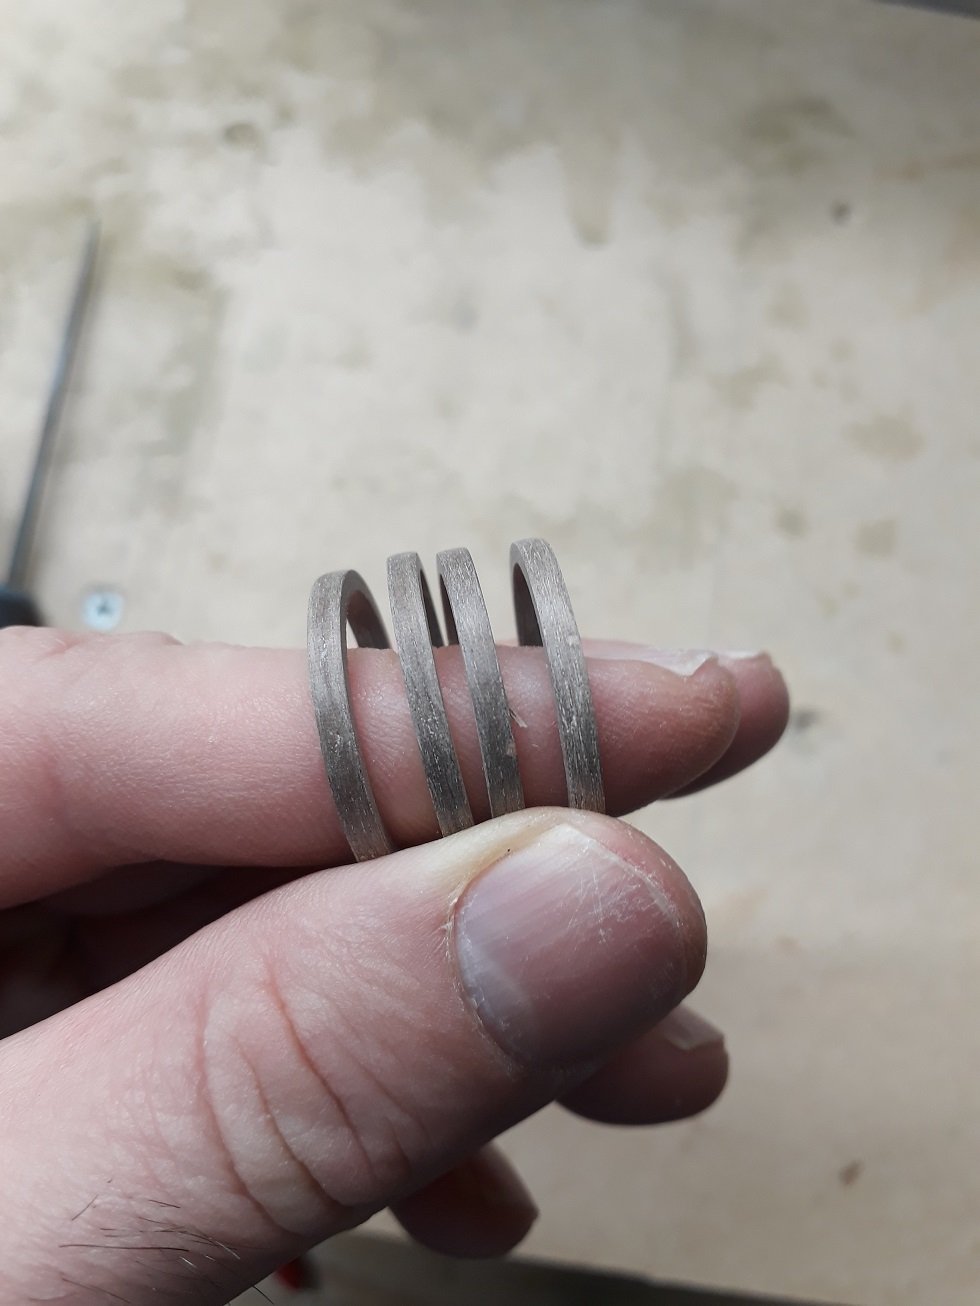
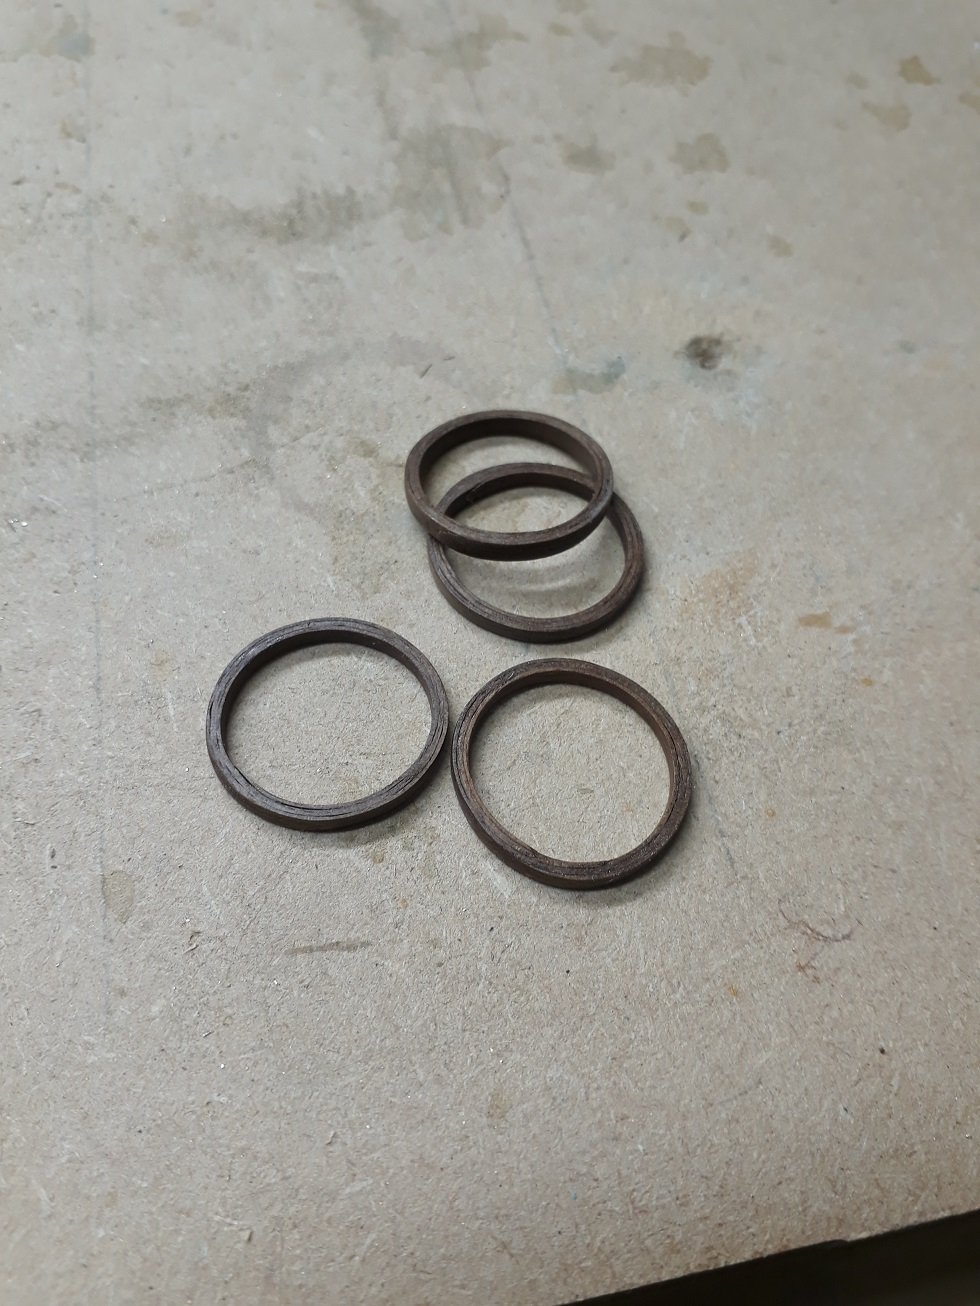
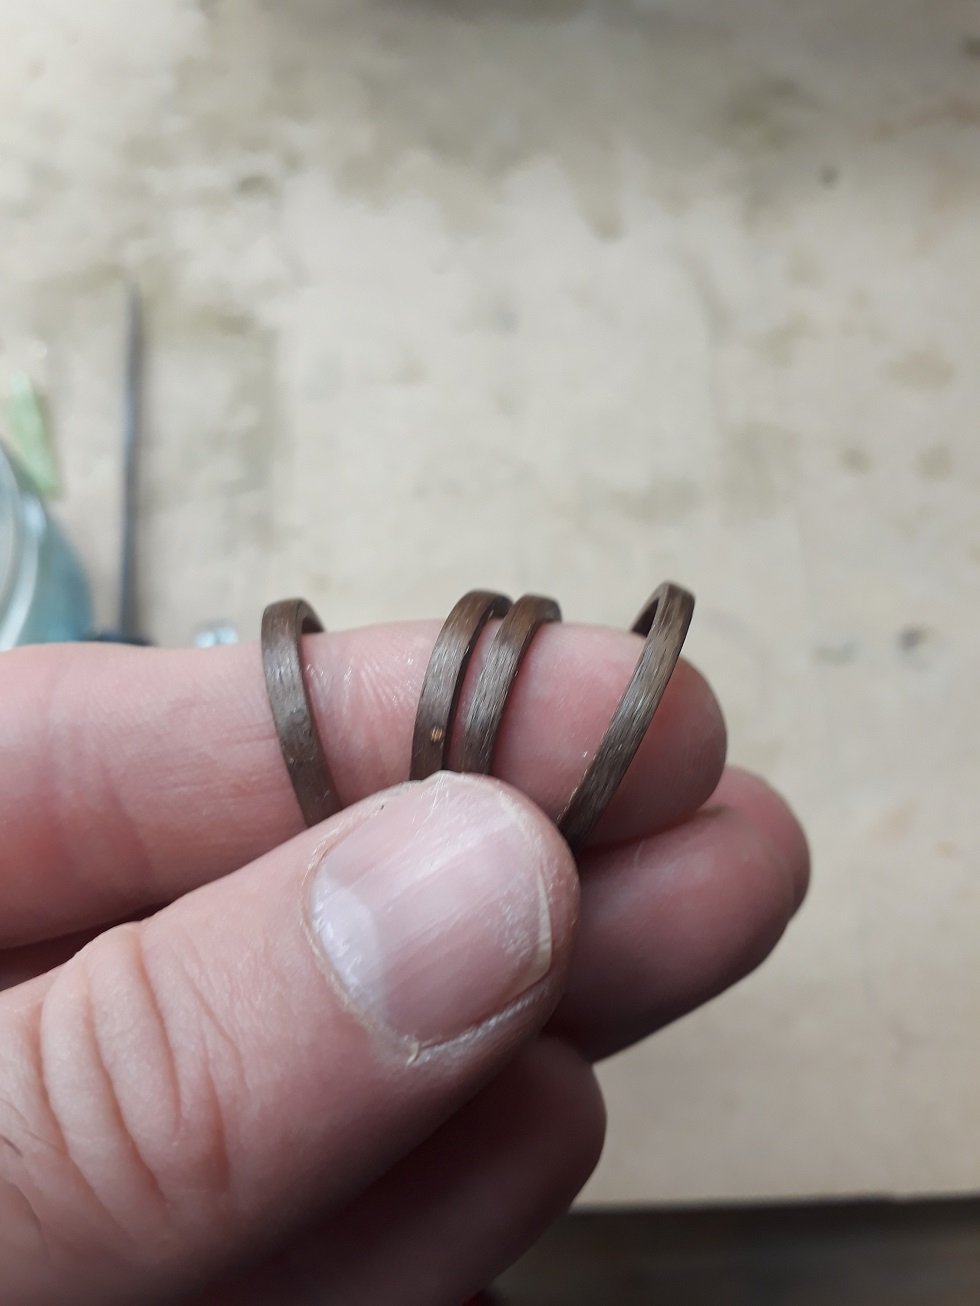
No worries Mark, "happily busy", what a lovely word combination.
Druxey, a small advantage of walnut is that it is soft and sands easily.
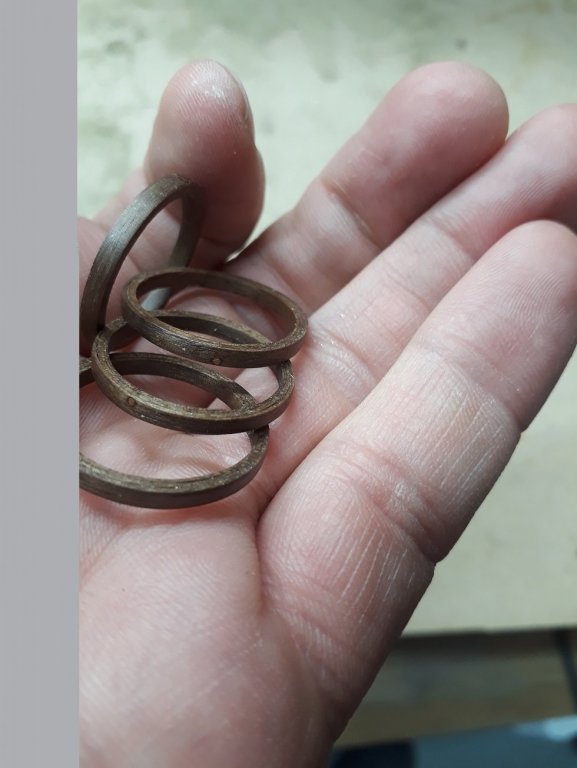
I finished the 4 hoops I glued yesterday. They are very strong. I sanded all surfaces to 400 grit (took a while...) but I think they came out alright. Tung oil really brought out the beauty of the wood.
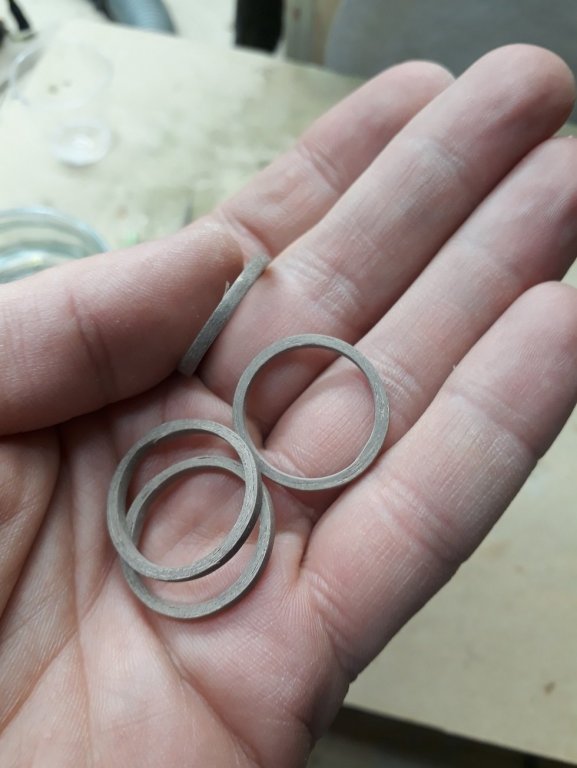


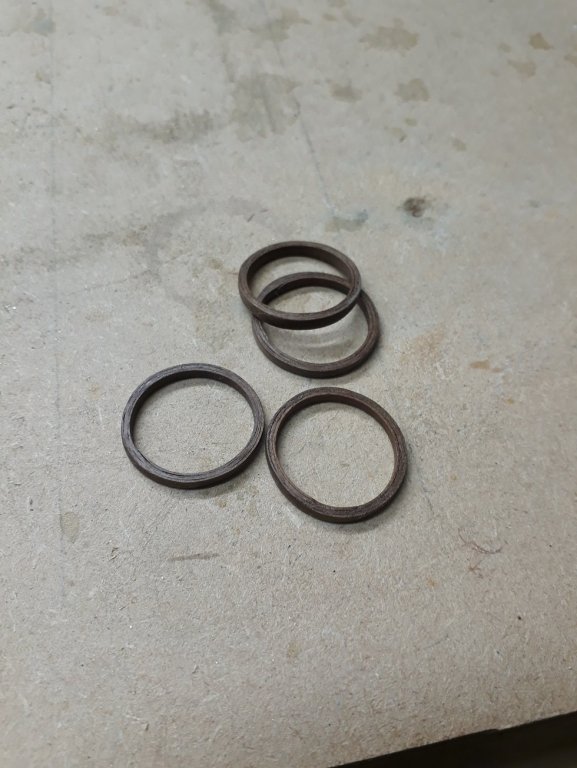
Next I need to research how to define the number of hoops needed for a given mast length.
Regards
Vaddoc
- GrandpaPhil, Mark Pearse, KORTES and 5 others
-
8
-
3 hours ago, cog said:
At least we know how he spends his money ...
This actually would explain Patrick's detailed knowledge of the interior of these boats!
- popeye the sailor, mtaylor and cog
-
3


Problems with Valejo water based varnishes
in Painting, finishing and weathering products and techniques
Posted
It was either the retarder or some contamination. I read that polyurethane varnishes have a bit of a fragile balance, keeping the polyurethane suspended in the water. If you thin too much or add funny chemicals, the bonds can break and the polyurethane becoming insoluble. Probably this is what happened in my case.