md1400cs
-
Posts
2,874 -
Joined
-
Last visited
Content Type
Profiles
Forums
Gallery
Events
Everything posted by md1400cs
-
 Hi everyone, I'm working on completing the stern deadeyes and I thought of Joachim, who was asking about J-B Weld. He is a link for their information in case others are interested as well. http://www.jbweld.com/products/product-family/epoxy-adhesives/ Cheers, Michael
 -
Sherry, I was a bit behind on following your wonderful build. I saw the lastest photos and thought Whoa so beautiful. It then occurred to me that I must have missed something, so I back-pedaled and saw the "crash" Oh no!! That being said, had I not gone back a few pages Hmmmm. Your fix is invisible (:-) Beautiful work!! Now just be sure to avoid enemy cannon shots to the hull. -------------- You folks certainly have had a real winter north of us. Though our East coat has been blasted as well. In the West we are still waiting for a bit of rain. Regards, Michael
-
Vivian, Nice updates, I was a little behind on your build, now caught up. I especially like your detail work, anchors are great. The photos shot at deck level are brilliant and really show your excellent attention to details. OK now I'm caught up.... belo trabalho (means beautiful work) Regards, MIchael
- 188 replies
-
- 2
-

-
- latin caravel
- artesania latina
- (and 1 more)
-
Vivian, Hello thank you so much for visiting my build. It is nice you. I am also so happy to see that you are from Brasil. I have been to your amazing country many times. I have been in the northern, central and southern parts as well. Your city (São Paulo) makes New York look like a small town. I met a wonderful, and of course beautiful,19 year old from Porto Alegre. That was 40 years ago and we are still by each other's side. Her family now lives in Florianópolis one of the many beautiful cities in your country. PS: Love your language, your version of Portuguese not the original from Portugal. Brasilians have softened the sounds so beautifully and of course 60-80's Brasilian music. Muito obrigado pela sua visita that means Thank you very much for your visit. PS: 2 I have been following your Caravel, very nice! Michael
-
B.E. Yes I will swivel them. As usual, thanks for covering my back (:-) MIchael
-
Nigel, Thanks for the idea. I will try it. Though as Mark said the errors will be much less noticeable with the lanyards rigged in. Three, for sure need to be re-drilled. MIchael
-
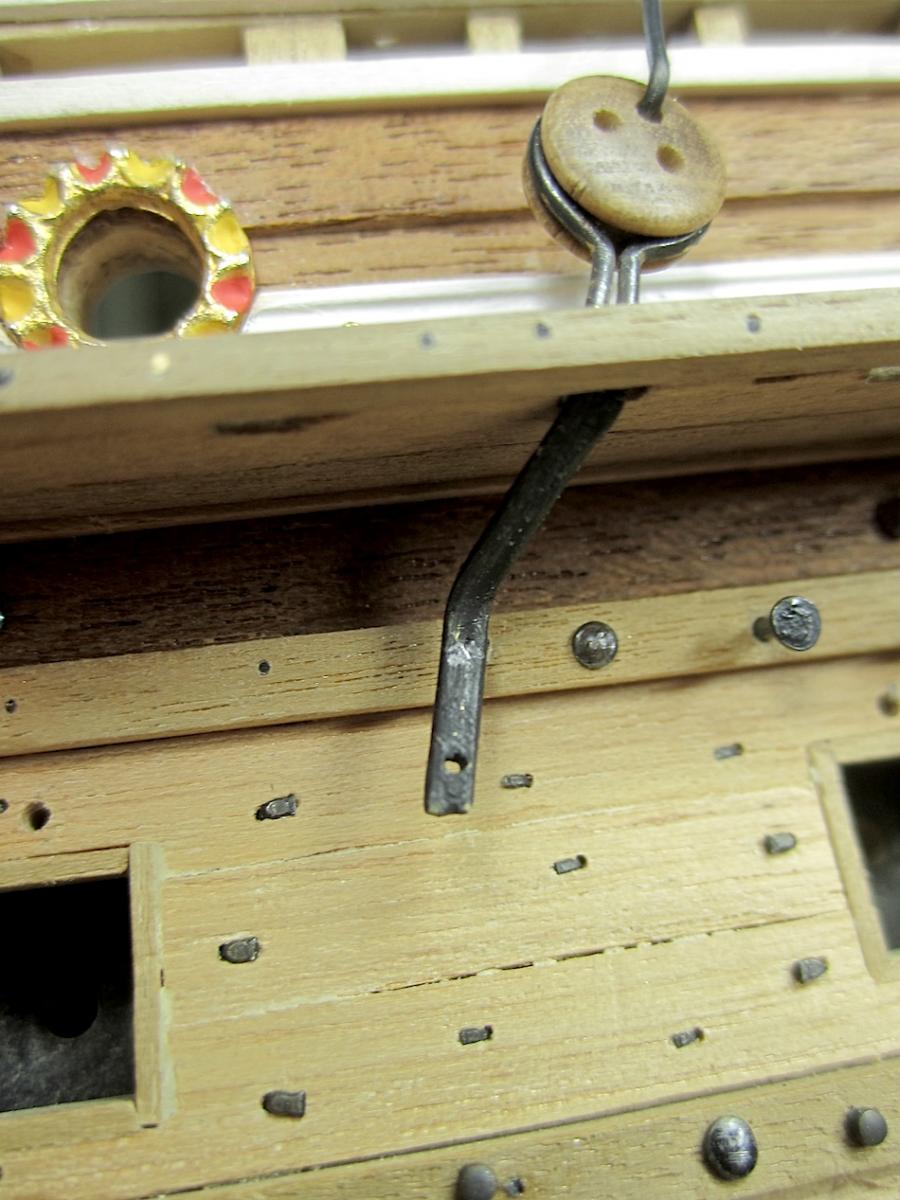
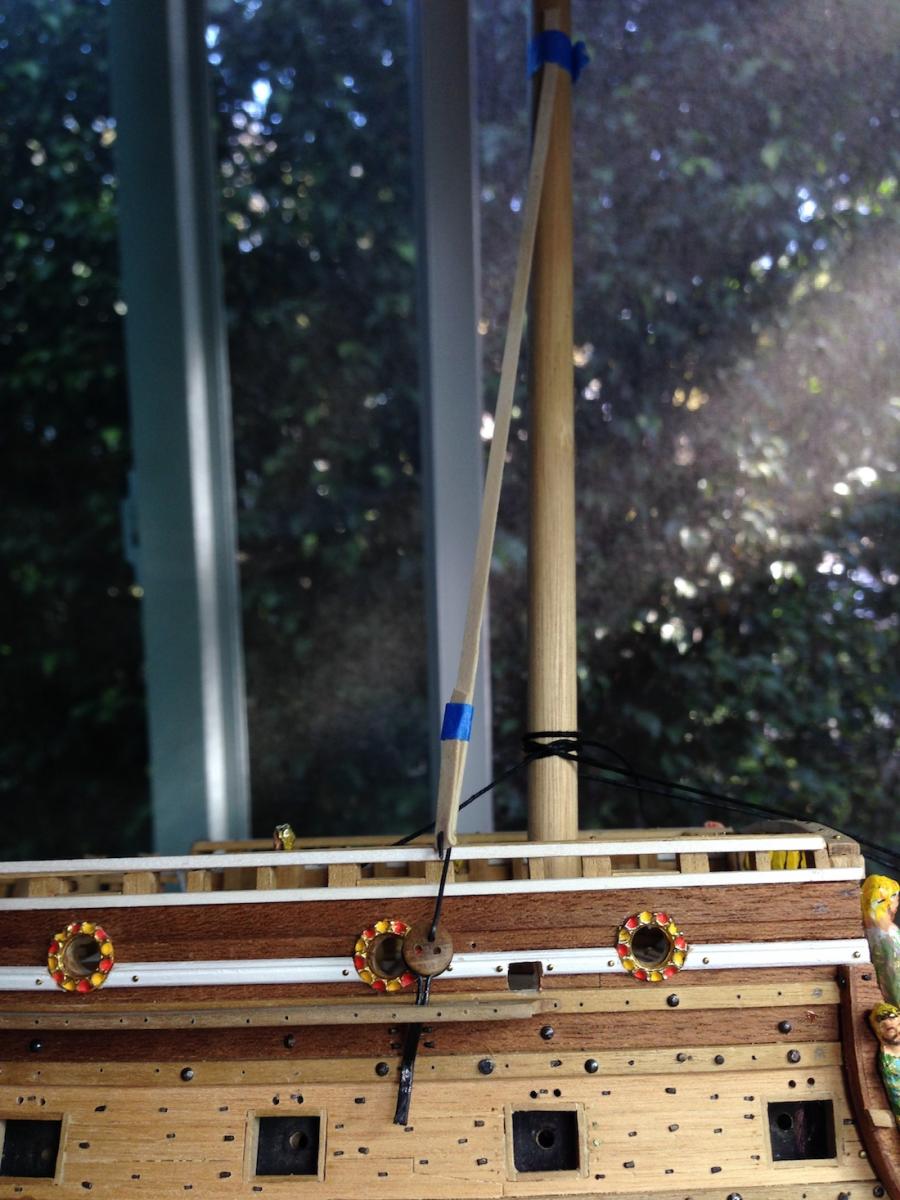
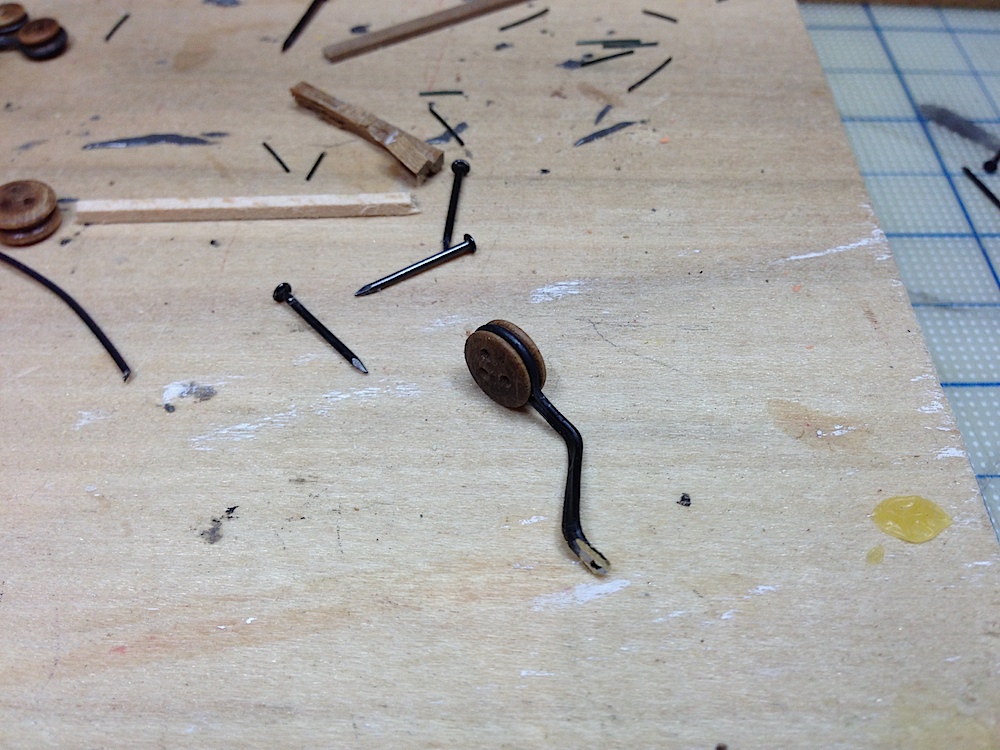
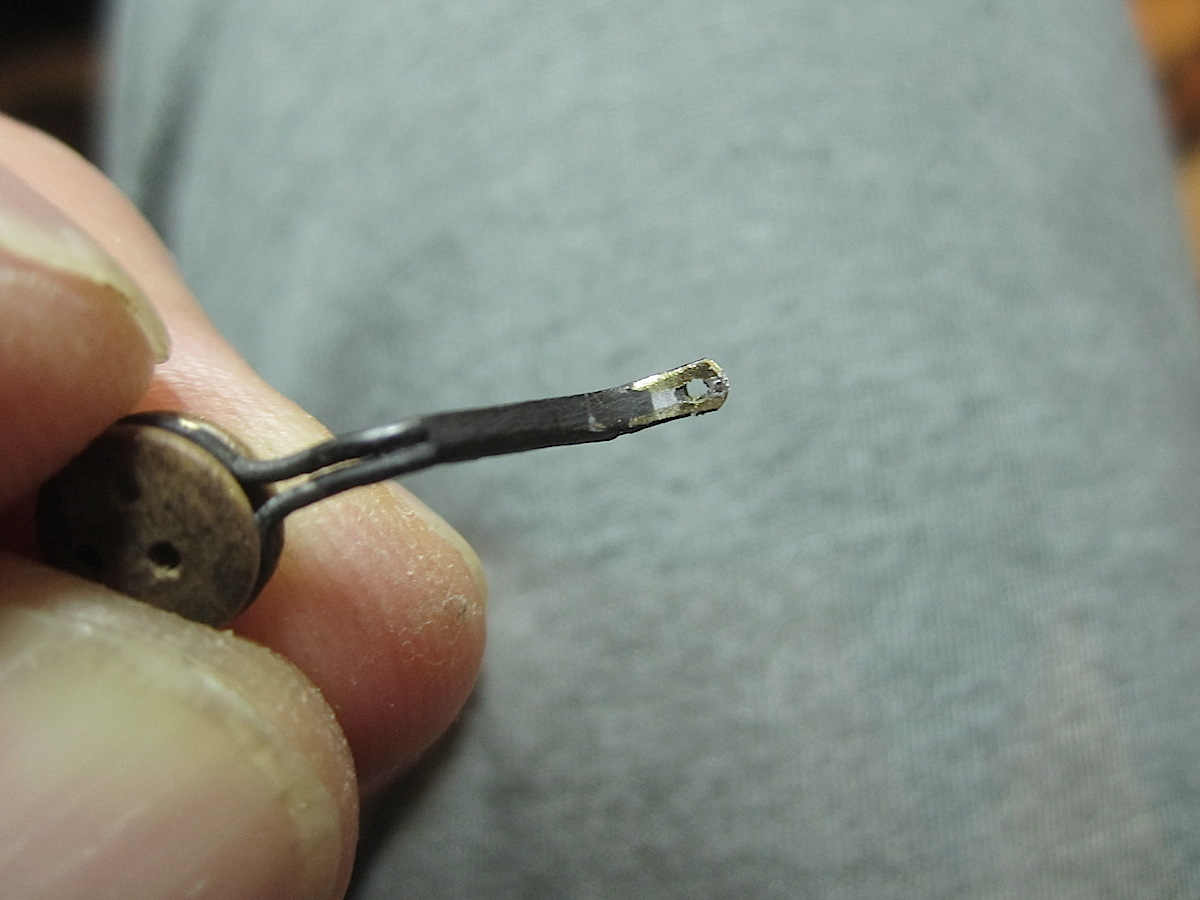
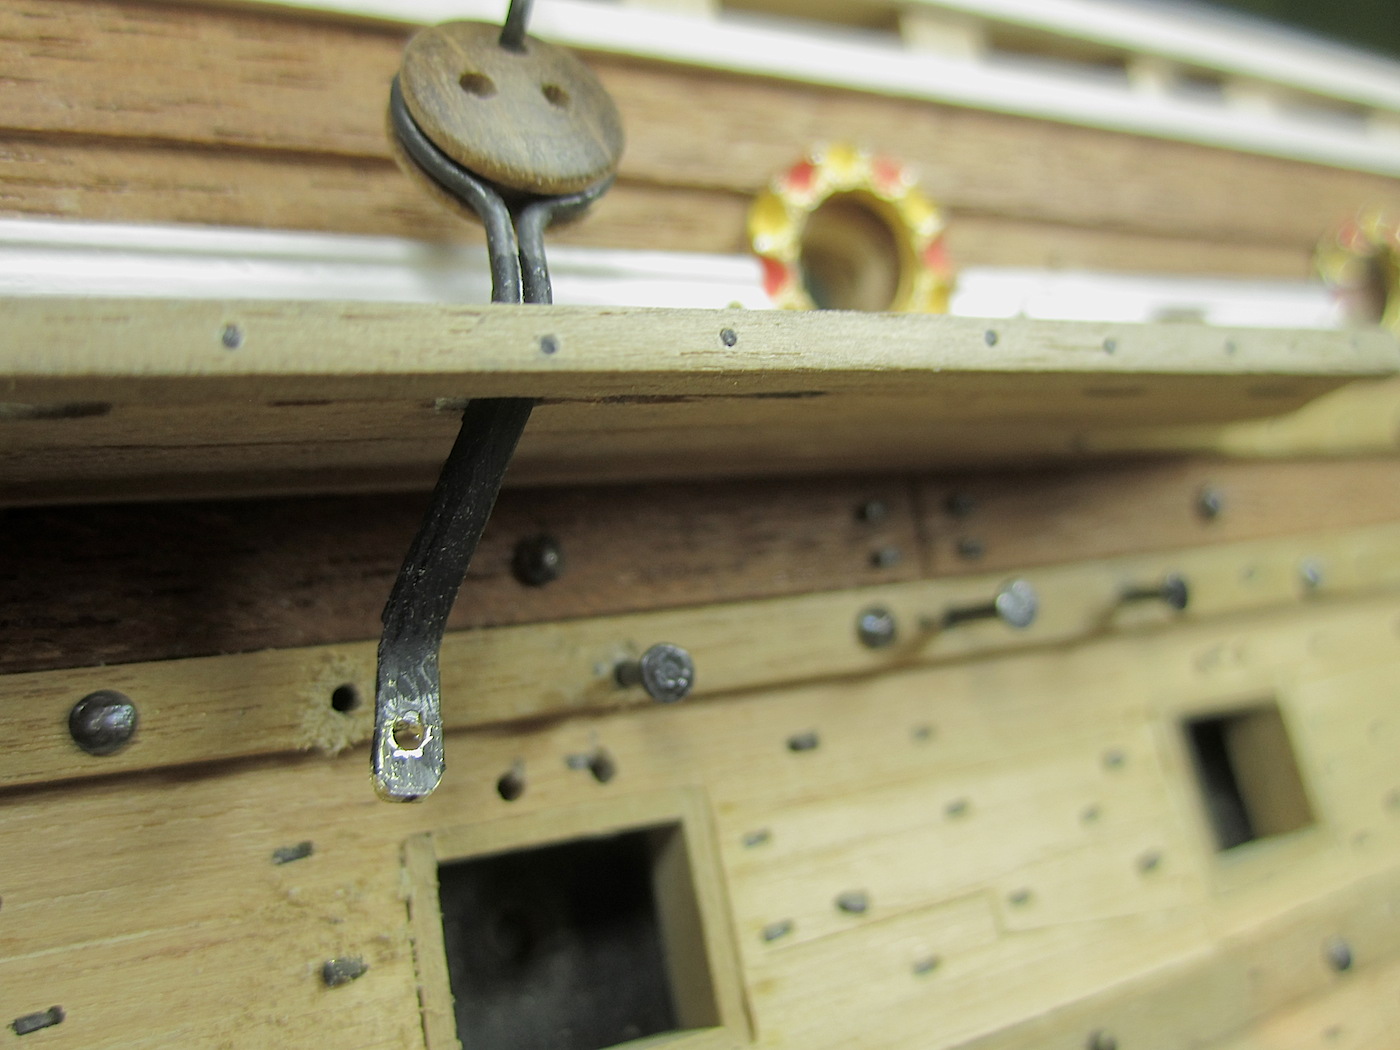
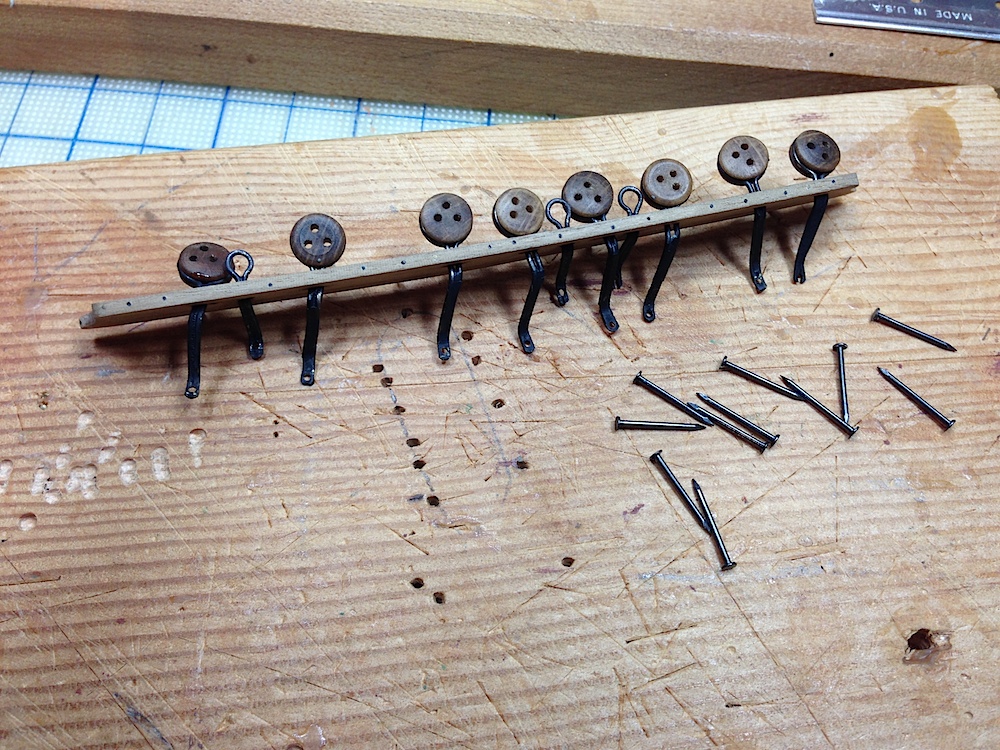
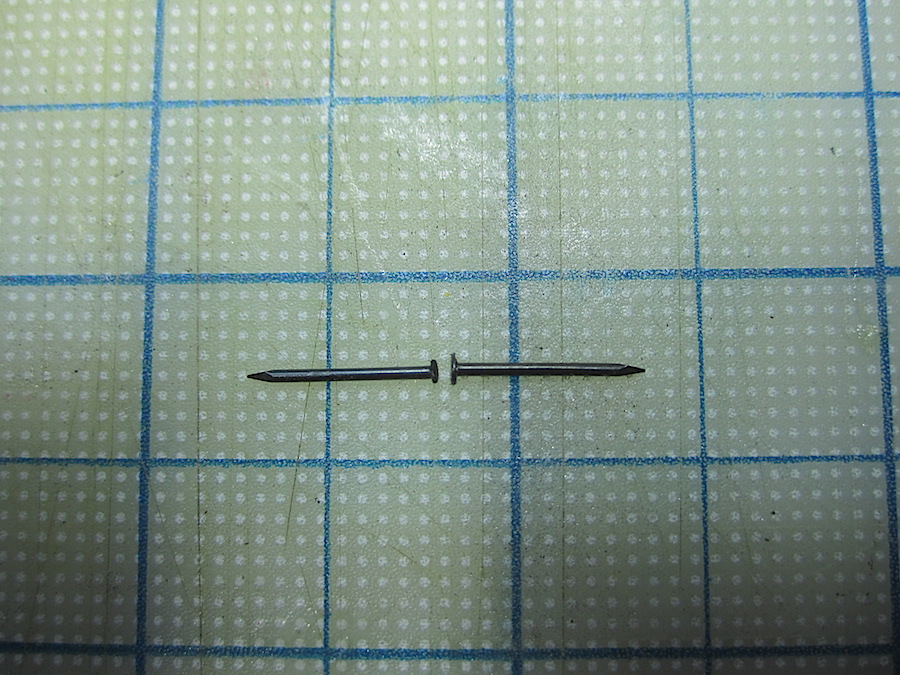
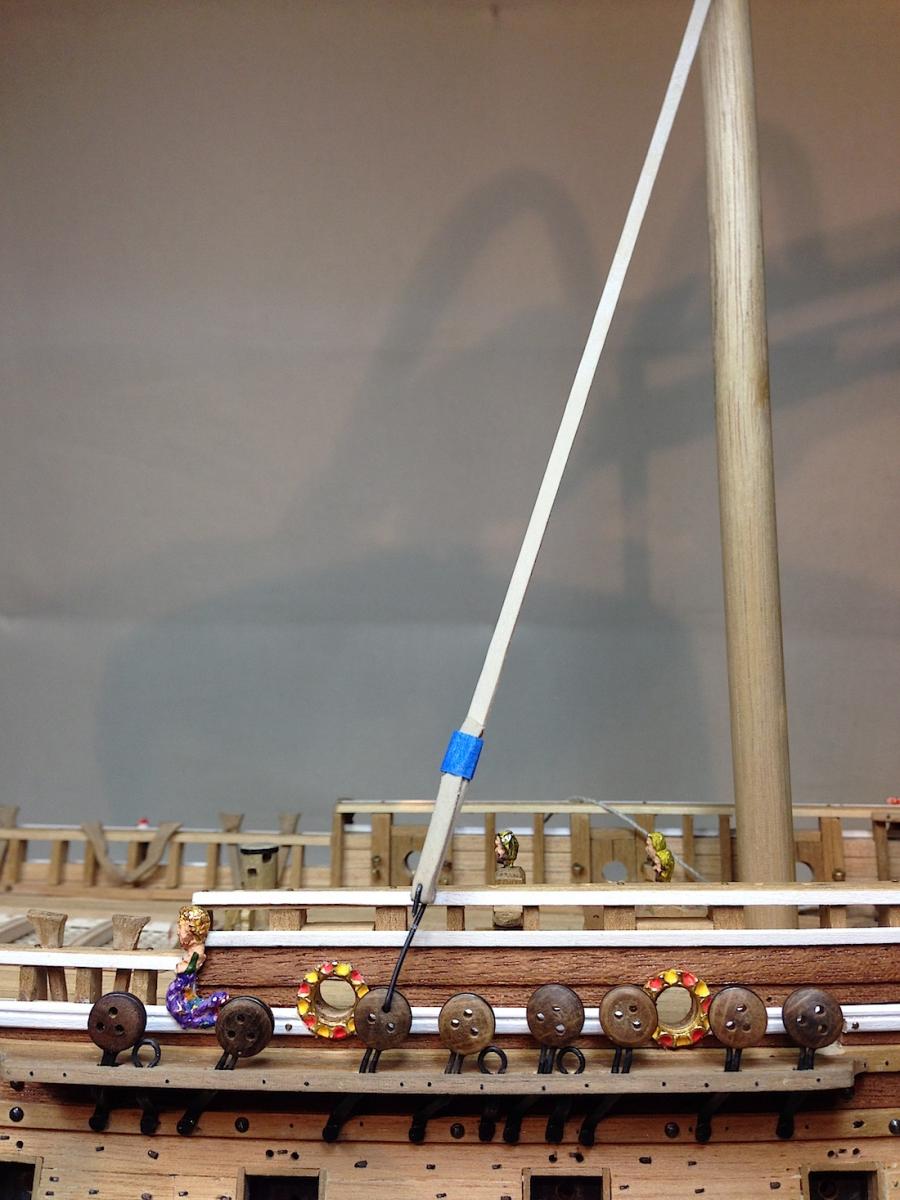
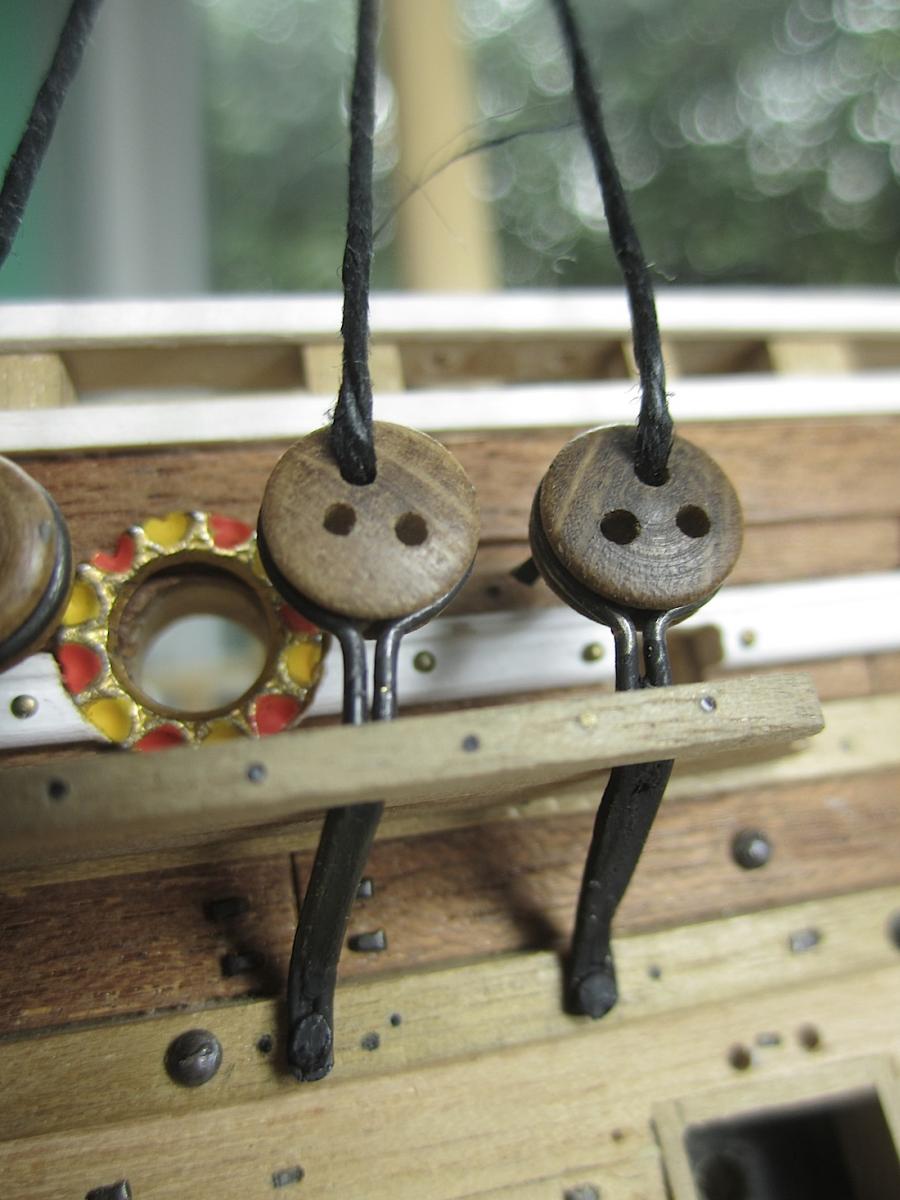
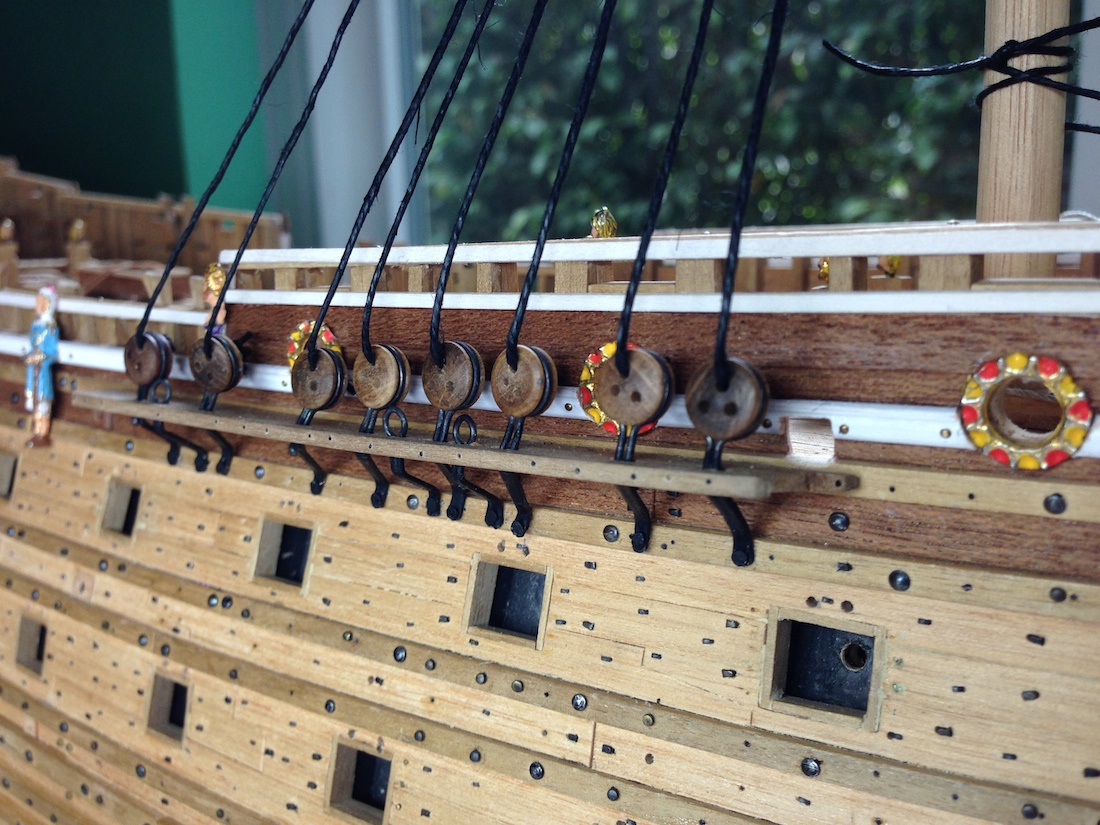
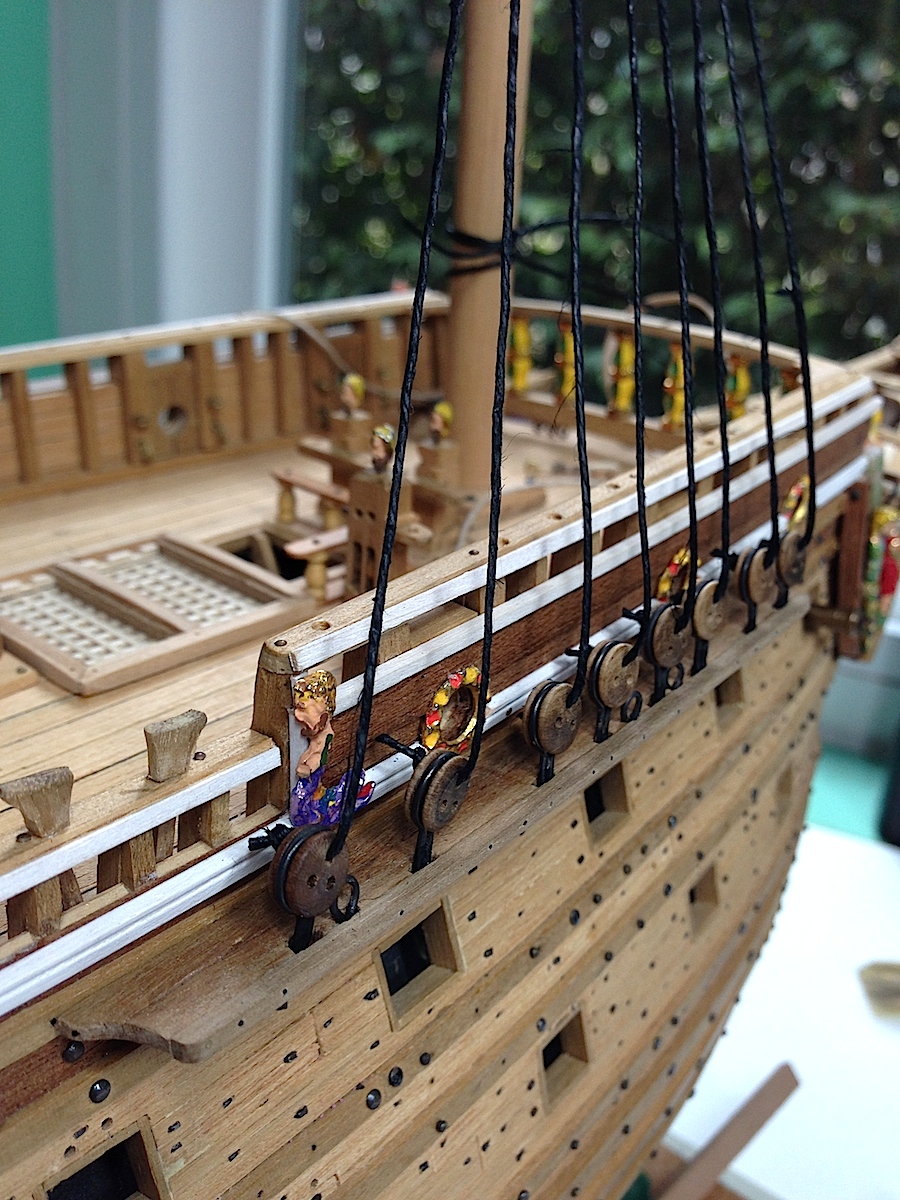
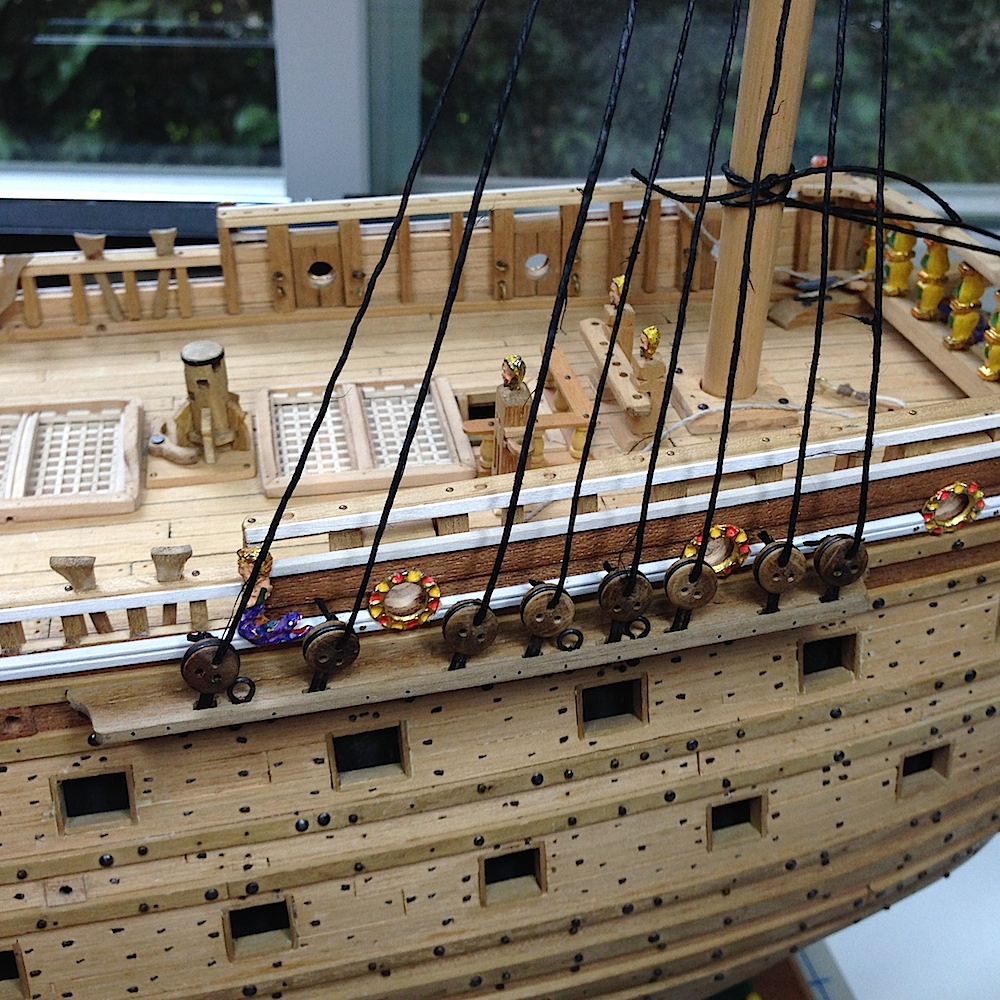
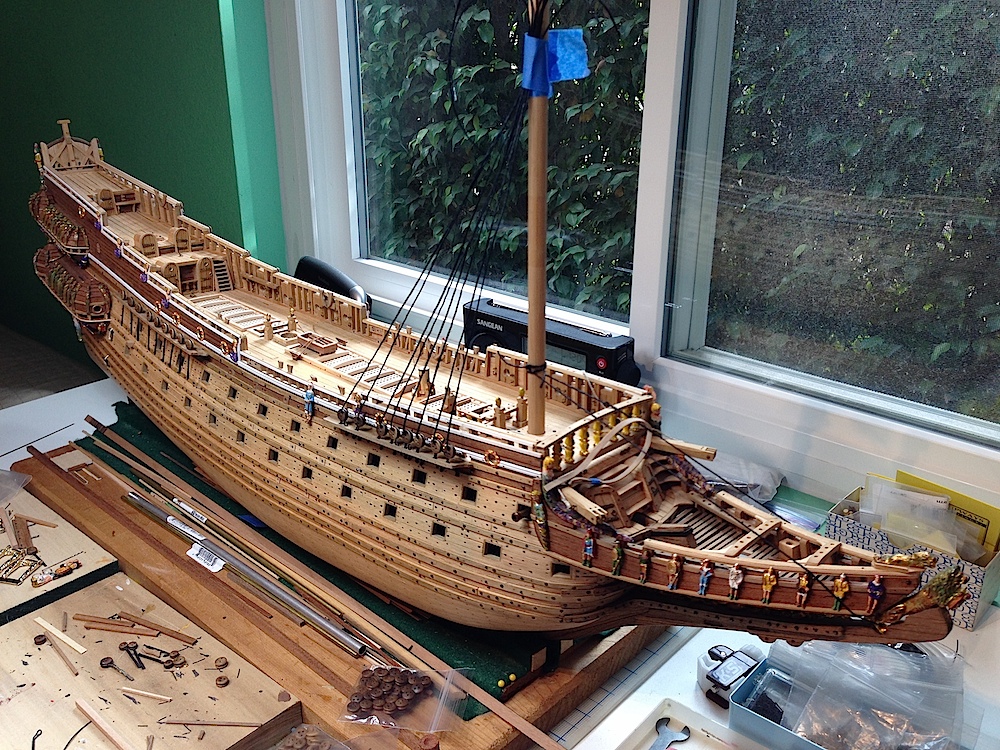
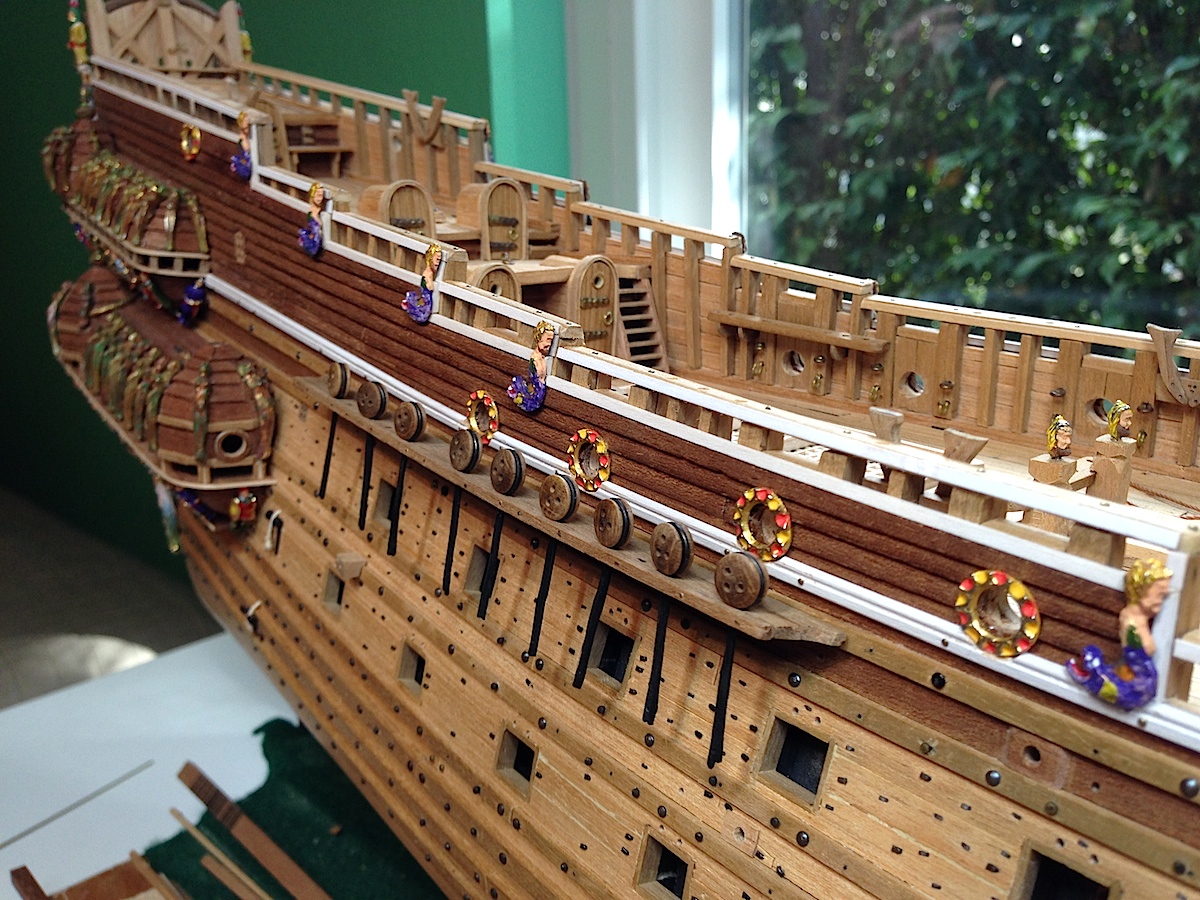
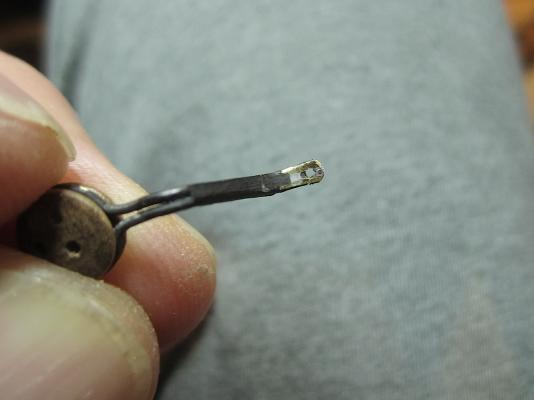
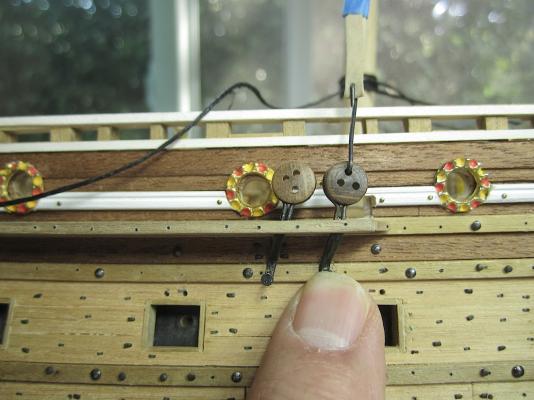
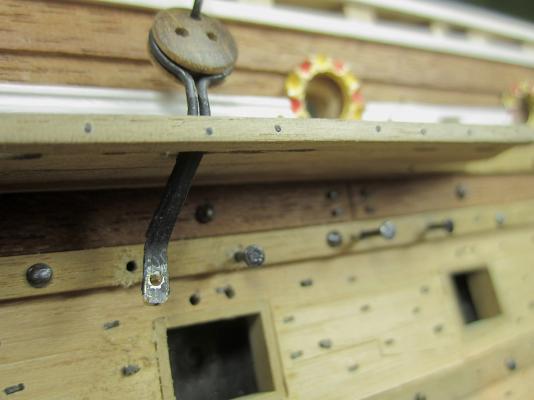
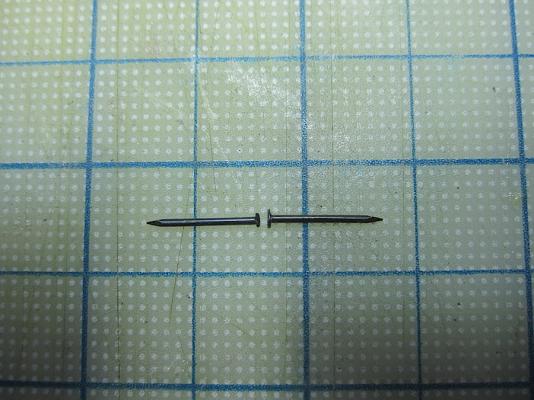
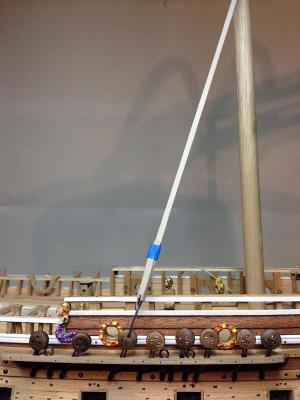
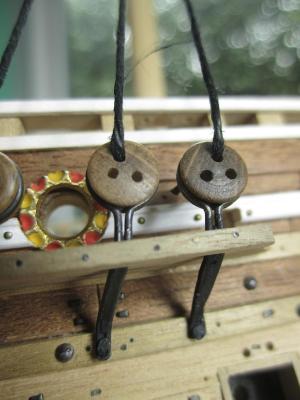
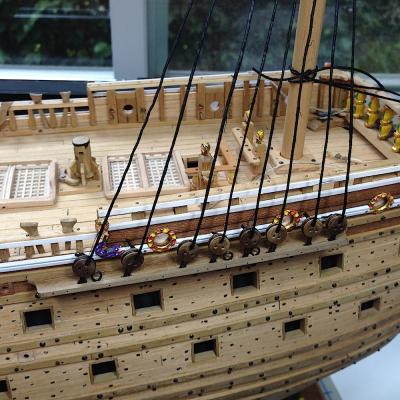
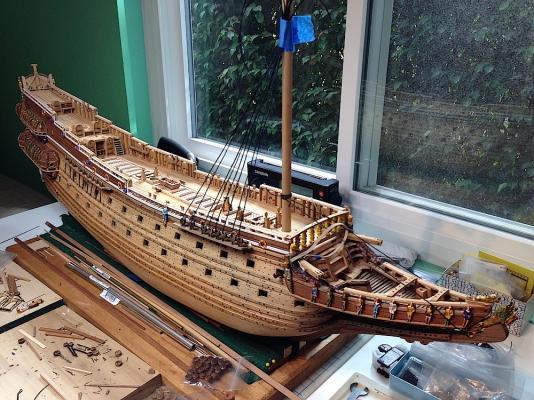
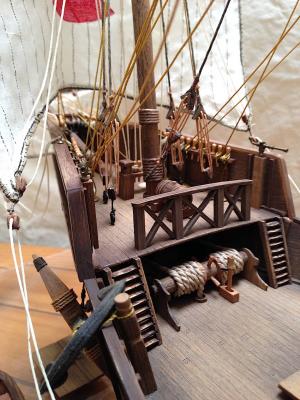
Hi everyone, Here is the second part of the chainplates/deadeyes installation. Continuing from the first part, with the deadeye chainplates matter resolved, now it was time to shape, drill new holes (for the nails), then cut their lengths, thin their bulk where the nails would be added, and touch up with flat black paint. I decided to have that flatter look at their ends in order to make them appear more as flat plates, so Dremel-ed the front and back faces. I then realized that the nails, though they had flat heads, were actually too wide. A bit of Dremel trimming and black paint resolved the issue. I added a comparison photo. I then borrowed from Ferit's spectacular Berlin build and used his rubber band concept to align the chains correctly for nailing. This technique allowed me to drill holes into the wales at properly angled locations. Great idea Ferit a big thanks, again! There are some errors, of course. The deadeye rings are not correct. They should be actual rings with longer lower lips that clamp to actual plates. Mark's Vasa (marktiedens) really captured that correctly! His looks perfect. Also the deadeyes should be triangular as well. So it goes. Lastly, I was so concerned about sourcing deadeyes that had similar staining that I totally overlooked, what I now see glaring at me- in some of them the three holes are not properly spaced. These were all machined parts so I assumed (there's that word again) I will fill-in some of the worse offending holes and re-drill them. OK now onto the main mast, then the port side. Again, as always thanks for dropping by, its always so appreciated. Regards, Michael


-
Joachim, Hi, thanks for your nice compliments about the SM very much appreciated. With regards to the deadeyes, I did not solder the deadeye frames. I have no experience with soldering and feared taking the risks. I knew that I wanted to replicate the flat look of the chainplates as they are on the Vasa. So I needed to, at least, glue the lengths together. This J.B. Weld product, which is for all-intense-and-purposes a glue for metal seemed to offer the solution. The product label indicated that once dried it could be sanded, bent, and painted. After seaming together each side, which also filled in the gaps, I could then sand the chains "flat". In this instance it seems to have worked well. Bending them did not crack the glue. I have just finished, and installed the first channel and will post an update. The results seem visually acceptable. Regards, Michael
-
Daniel, Thank you so much for your kind words, and all of those so many "Like This" clicks, SO kind of you to look through my log. The feelings are very mutual. You HMS Victory is a beautiful build. Regards, Michael
-
Daniel, Discovered your build, thankfully, by accident. I was on the Victory Etch Parts web site and a link fell on your build. AWESOME, though I'm sure that you have read that adjective before about your Victory. I will join your legion of followers as well. Spectacular build. Those etched parts are worth their weight in gold, well let's say silver at least (:-) Your super clever use of them is superlative. Regards, Michael
-
Capt. Steve, Thanks for your nice remarks. Yes from a kit; http://victoryshipmodels.com/ship-model-santa-maria-wooden-static-kit-mantua-christopher-columbus-flag-ship.html Michael
-
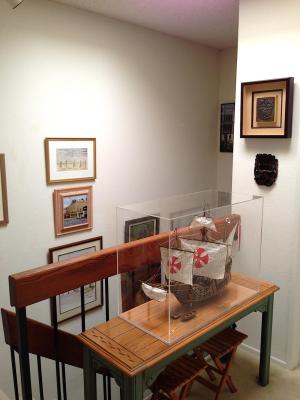
B.E. Thanks, no she has resided within her own protected home for many years. Though she has travelled across the Atlantic twice. A small pea within a huge container ship. Please note (for our U.K. members) that small painting on the staircase wall (the yellow building). We had a flat in this building located in Saint John's Wood (NW8). Apparently Bonaparte II slept there at one time, so the building got "listed". It took us almost two months to get approved to have a TV cable hooked up to the flat. This was back in the mid 90's much has changed in NW8 from what I understand. A wonderful elderly gentleman did the painting for us. I so loved living in London, a great moment in my family's lives. The building is called Eagle House. Cheers, Michael
-
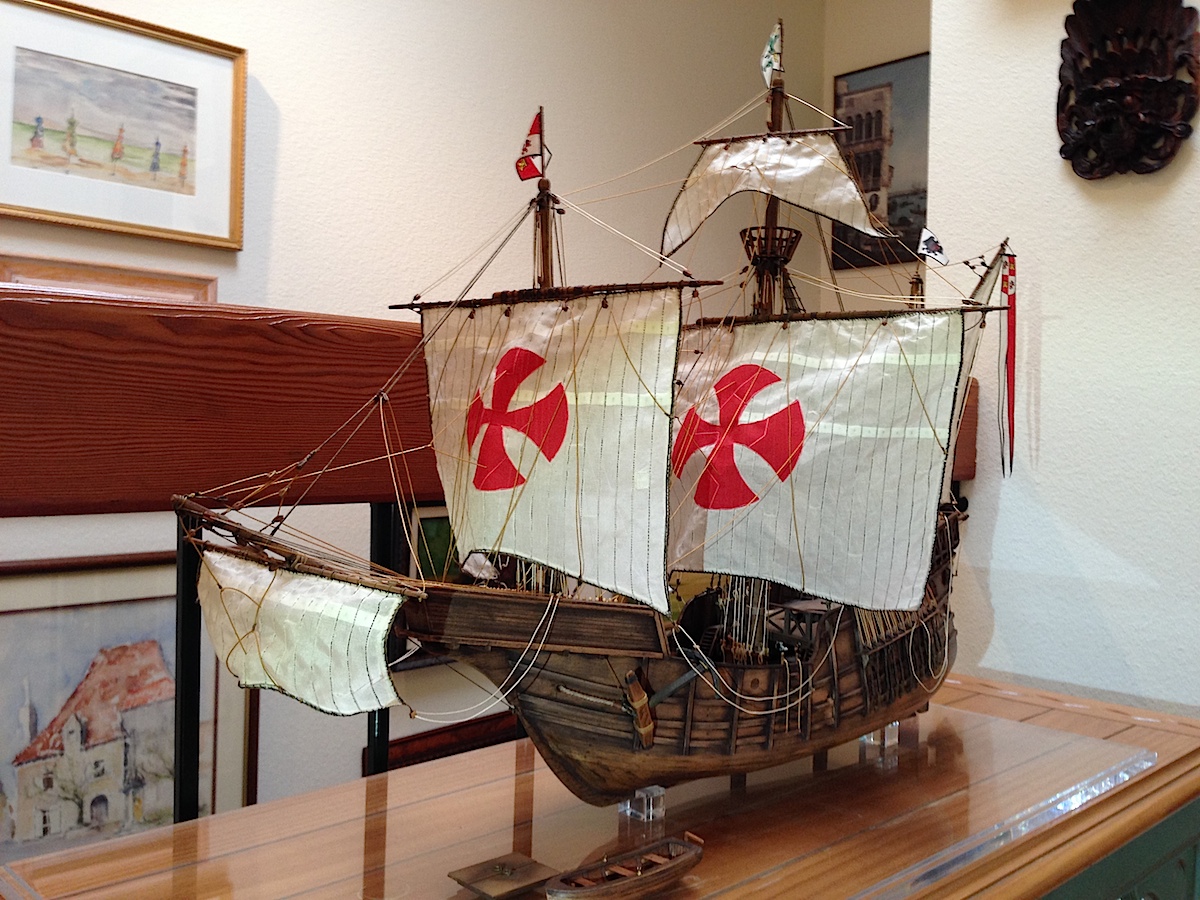
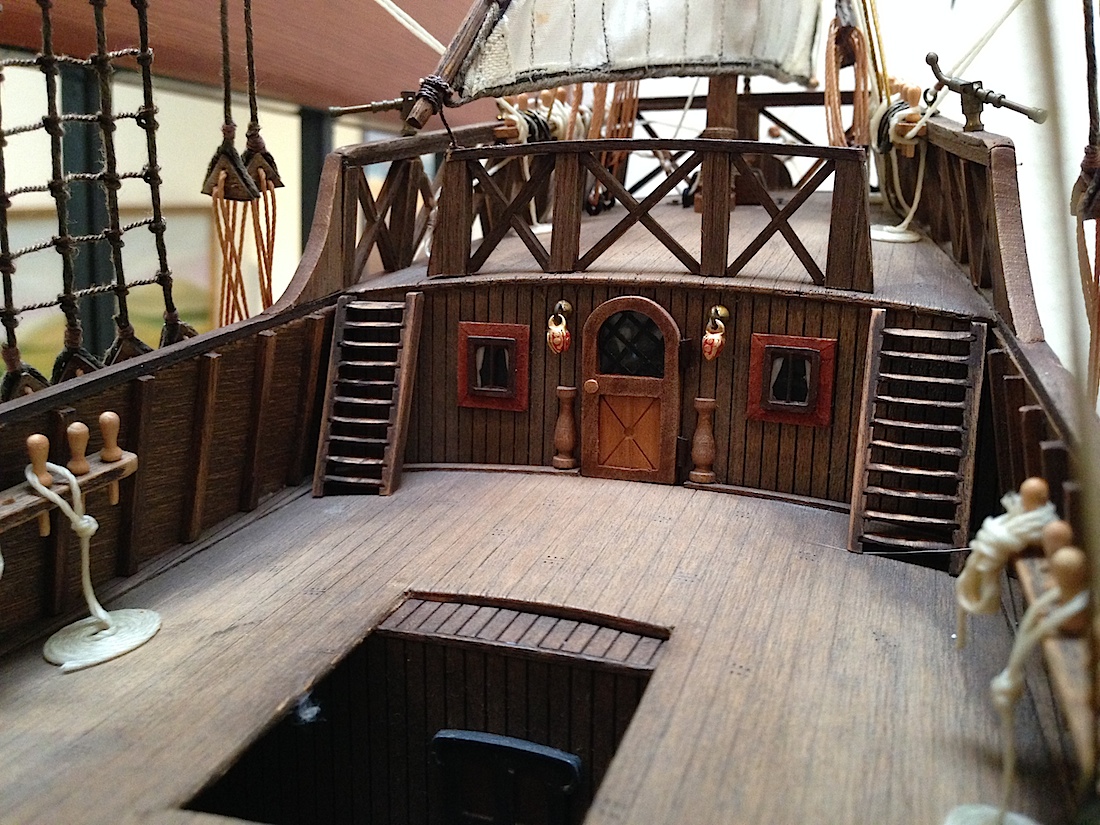
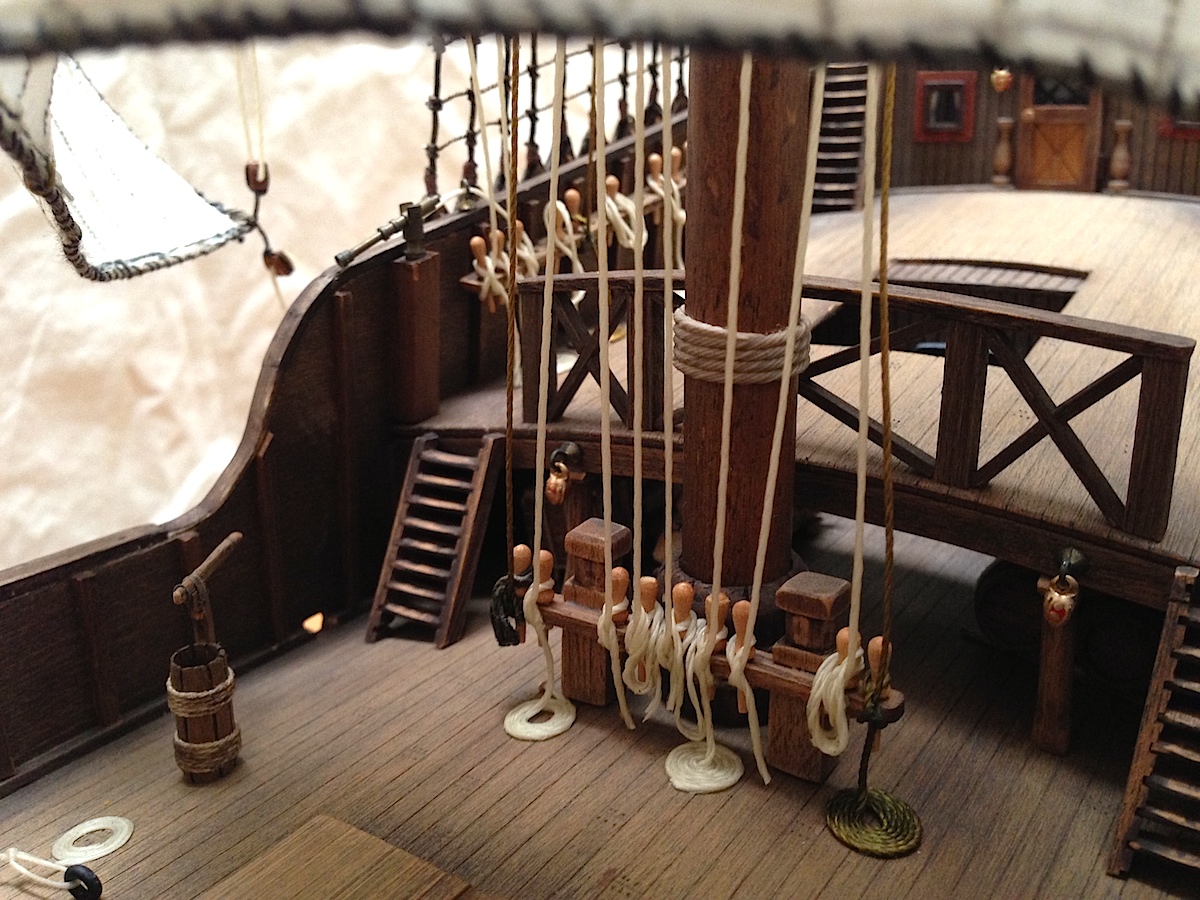
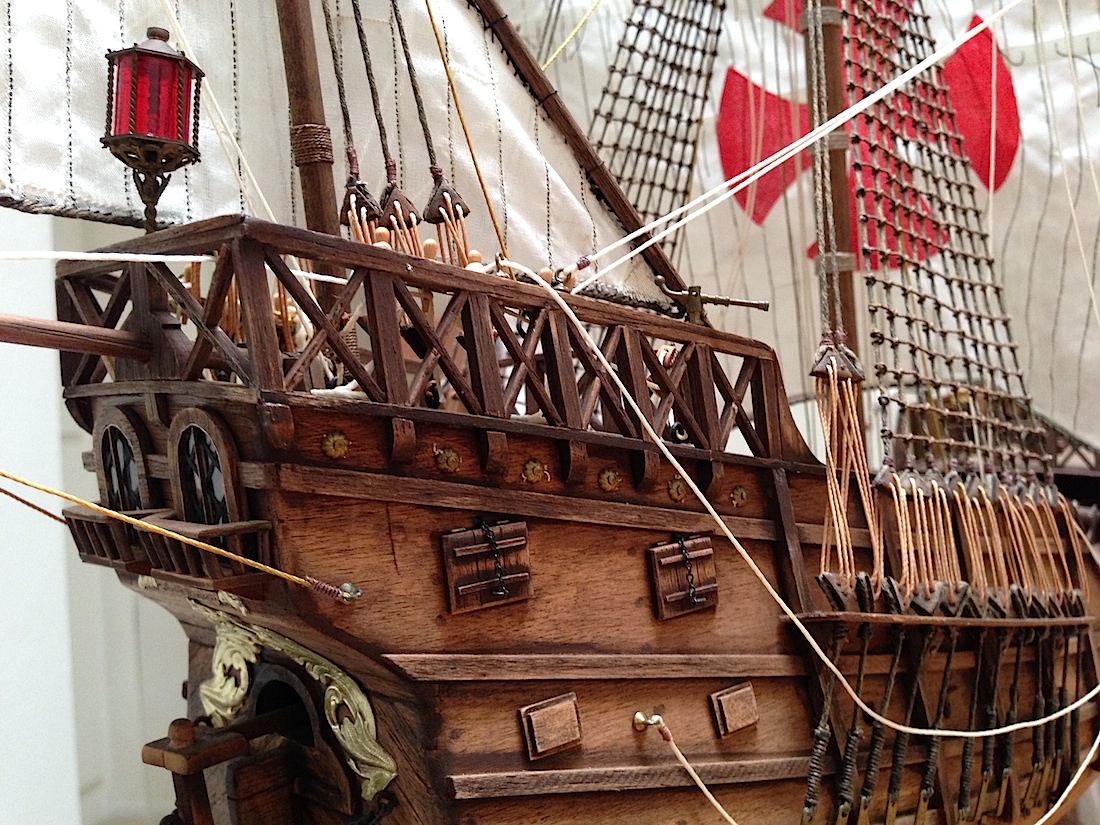
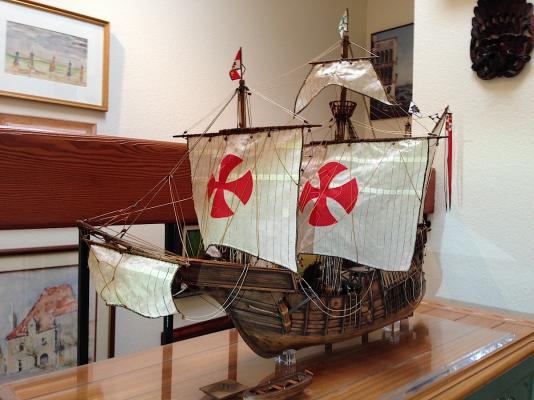
Hi everyone, Thanks for the nice words about my first attempt. I just posted several pics in the completed ships section, if you care to visit that would be very kind. Nigel she looks as she did forty years ago. I attempted, then to "age" her a bit. The stairs for example. I also used an air brush to highlight certain areas with stain, then Watco oil to preserve the wood.The oil was rag applied. Then finished the rigging. My nineteen year old girlfriend did the sewing for the sails (She's still by my side). The only changes are with some of the rigging which has lost some of its original color and "relaxed a bit. I hesitate to go in and adjust things. Here are a couple more pics. Thanks for dropping in. Its been almost a time capsule looking ship, hard to believe that it was such a long time ago. A couple for footnotes; I paid $70.00 USD, and I only had sandpaper, a basic Dremel and rarzor blades. Whoa how our hobby has improved with helpful machines. I note that this ship is still being produced today with full color booklet instructions (:-) OK now back to the Vasa. Regards, Michael
-
Hi everyone, Well it took about forty years, but I finally took some pics of my first build. Here are a couple of pics. I will put some together and post them in the completed ships section in the next couple of days. I was in my early 20s and it was the Mantua Santa Maria. She has been untouched in all of these years. She held up fairly well.


-
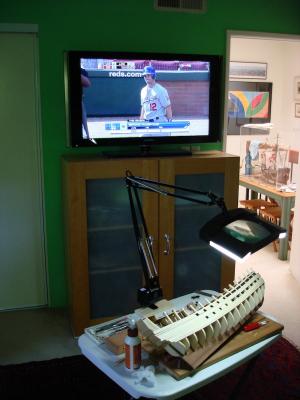
Sean, Your Victory is looking to be very good at its start. Though when I saw your work station it brought a big smile to my face, as it reminded me of my elaborate set up as well. I don't mean to step on your build log with a photo from my end, but just to let you know you're not the Lone Ranger out there. At least you have an admiral's chair, I used to sit on the side of the bed (:-) Cheers MIchael
-
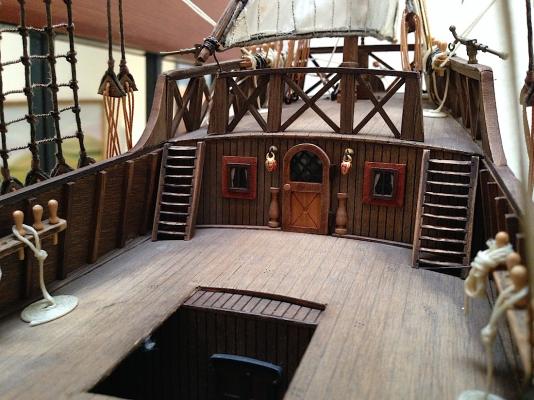
Frank, Nice update. Very notably impressive is the work you did on those weather deck doors. Removing the "doors" and leaving the gilded frames is a great "out of the box" idea. Excellent. Looks awesome. Michael
-
ROYAL CAROLINE 1749 by Doris - 1:40 - CARD
md1400cs replied to DORIS's topic in - Build logs for subjects built 1501 - 1750
Doris, I am so lucky to have found your work, again, here at MSW. I just spent the most wonderful evening looking through your Royal Caroline log. I remember discovering your absolutely ridiculously amazing, almost unbelievably beautiful HMS Victory, and your Sovereign of the Seas. I don't remember where, but I have never forgotten it. AND now I (we) discover that you also love model cars, and working on real cars. You are certainly one of the Wonders of the World. Your work leaves many of us lacking the vocabulary with which to properly articulate and, acknowledge your incredible artistry. What a gift....You are certainly a living legend. Thank you for sharing your work in such detail. Regards, Michael- 883 replies
-
- 1
-
-
- royal caroline
- ship of the line
- (and 1 more)
-
Matti, Those cathead braces that you made are awesome. Nice work. Also the historical context is interesting. I may have to pull mine out now and do a better job (:-) Great labor intensive update.!! Cheers, Michael
-
Dave, Thanks for your encouraging post (:-) though I must say that in the almost one year that I have been a member at MSW, my skill set has shot way way up. Kudos would also go to all of the amazing builds that I follow here, as well as the wealth of insundry topics from which I try to absorb and learn from as well. Discovering tools specific to our hobby was also of great help. Again thanks, your thoughts are much appreciated. Regards, Michael
-
Santisima Trinidad: Occre vs DeAgostini
md1400cs replied to mangaroca's topic in Wood ship model kits
I'm silently following Mangaroca's new log. I clicked on the link where you source some timber. Shipping to the USA $50.00 USD --- OUCH The cross section of this ship is under my table (OcCre). After seeing Jack's x-section of the same, I got super interested in doing a first x-section. Also his wall display case for this is so beautiful. --------------------------- Hi Mangaroca GOOD luck, I will enjoy following along. Did not mean to step into your log with superfluous content. Apologies this is Your log (:-) PS: You are right about the gun port frames, they don't look right. The cross section kit included the same ones. Hmmmm. OH and I have spent a lot of time looking at Donnie Driskell's log AMAZING. So much to learn from Enjoy.... Regards, Michael -
Dave, Yes it seems to be learning step for both of us. This Vasa will be my first attempt at properly rigging and preparing shrouds, and lines with proper wrapping. My first build was a simple beginners ship 40 years ago. So no seasoning help there. As I noted above I'm taking the advice of seasoned artists and I will mount the deadeyes without ropes, adding them after the shrouds are in place. In you case, at 1/96th, I think that you almost have to pre rig the deadeyes if you plan on using actual ones. They will be soooo small. Your ship is so way beyond Revell's expectations that real deadeyes may be the way to go. Regards, Michael
-
Nigel, Thanks for your nice posting. Yes, guns will be nice. Regarding the deadeyes I have decided to follow the much more tried and true procedure. Frank (fmodajr) was also suggesting the same. He and I had a very nice conversation last evening. You guys are seasoned artists, as a novice, I am wading in the dark in this area. The more I think about this part of the build, the more that I see the logic of that approach; it makes much more sense. Also, Yes I see the logic in waiting to pinning the chainplates after the shrouds are set. Thanks for weighing in, your suggestions are always much appreciated. Regards, Michael
-
Ulises, I have it. Perfect book. 100% excellent drawings, no text whatsoever. My kind of reading (:-) I recently found it at Amazon. Thanks for sharing. Michael