md1400cs
-
Posts
2,860 -
Joined
-
Last visited
Content Type
Profiles
Forums
Gallery
Events
Everything posted by md1400cs
-
 Kevin, Ive been following your build. Stunning....really excellent. Regards, Michael
 -
Need help regarding specialized drill bits
md1400cs replied to md1400cs's topic in Modeling tools and Workshop Equipment
Gaetan, Thanks for your excellent advice. I will follow this once I acquire the bits. Regards, Michael -
Matti, Nice update. I'm enjoying watching your BB example of the Vasa. Looking v. good. Nice Avatar. Mystery solved (:-) Regards, Michael
-
Hmmm pics all out of order I need to figure that part out. I loaded them in sequence. Oh well Michael
-
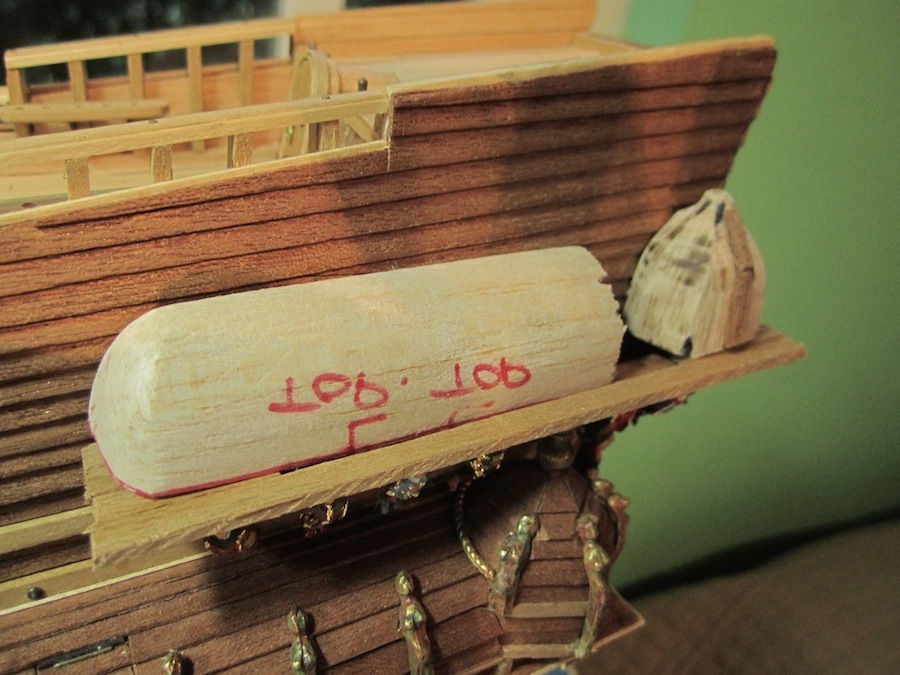
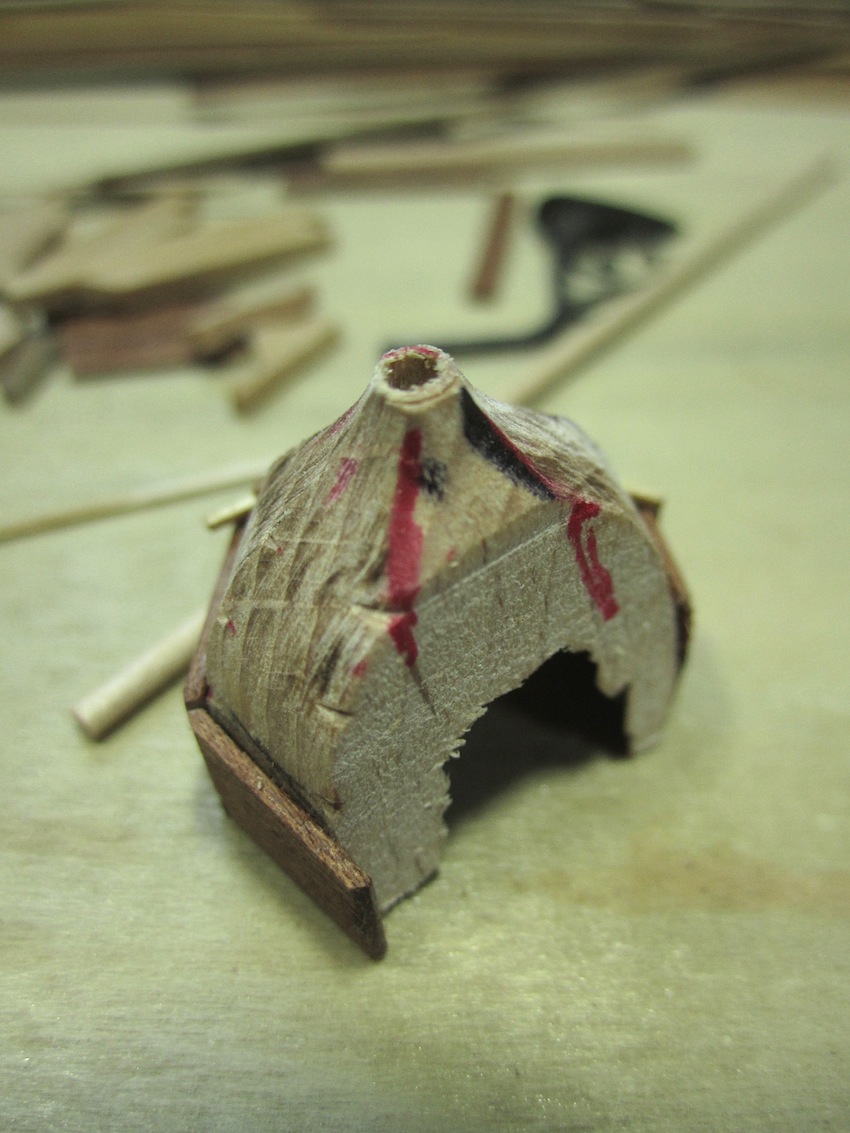
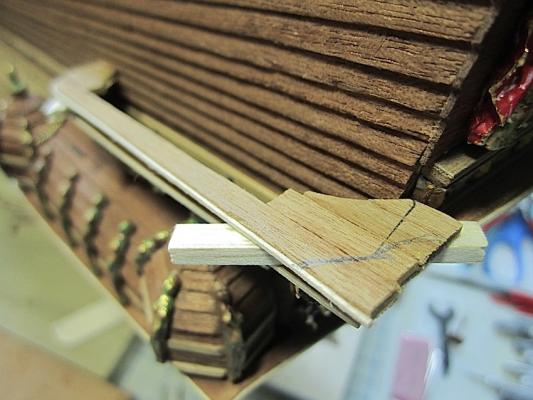
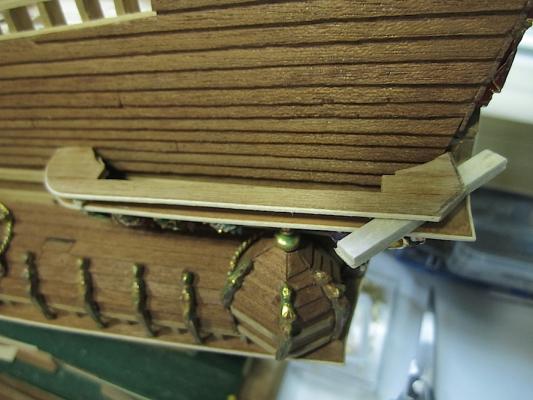
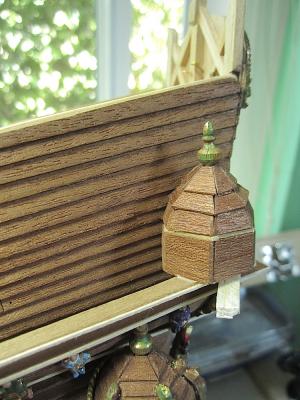
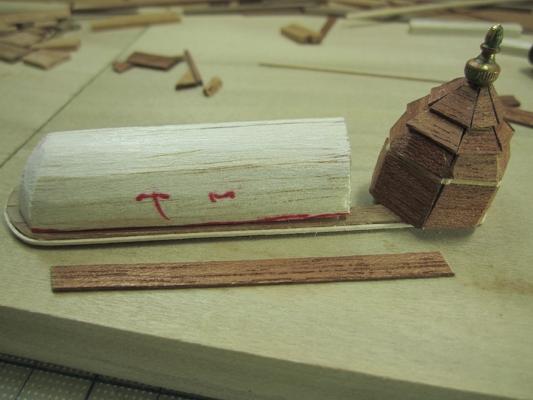
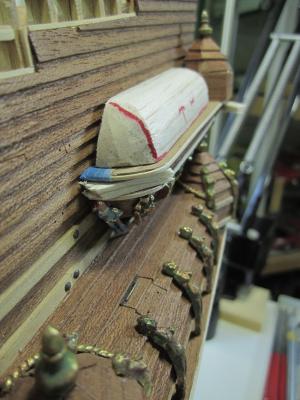
Hello again, An update for the two upper gallery covers I decided to build "pre-fab" housings. These upper gallery covers were less labor intensive, in that there is only one bobbinet per side. I should have done the same (pre-fab) for the lower ones as well... Hmmm, learning as I go along. I am finishing some last figure painting details. When it's all done I will post some pics. of the totally completed stern. In the meantime built rough support frames for the bobbinets and the gallery covers with a pencil I outlined the shape needed by placing the rough frame on top of the lower existing structure. I cut the housing to match my pencil marks, and added edge trim piece. trimmed away the inside lip to better match the actual intended shape then focused on covering the bobbinets. I wanted to, as best that I could, match the lumber cuts of the 1:1 marked where I should cut the stern ends to match the bobbinet shapes glued on the trim pieces glued on the bobbinets I now shaped, and glued the cover dummies. added the filler cover lumbers checked the shapes of the bobbinets lumbers to make sure that the gilded pieces would fit "ok" I flattened out corners as needed. finally glued the housings in place, leaving spacers for the small support timbers.


-
Need help regarding specialized drill bits
md1400cs replied to md1400cs's topic in Modeling tools and Workshop Equipment
Thanks to all for your suggestions. It seems that end mill micro size bits are the answer. I will search for some that fit a Dremel. Here is a pic of what I needed. I was not unaware of these end mill bits. Again thanks for all of your help. Regards, Michael
-
Ferit, Again. Beautiful updates. Your attention to superbly well done details is really delightful. Love the deck canon door rope brackets, love the long rope on your bucket next to the long boat, love your deck planking detail Super great idea. PS: Nice tools, I need to get some of those. The only one I have is the Proxxon micro lathe, and a Dremel vice. mmmm need to get "real" if I am hopefully going to join builders of your quality. You have an amazing "eye" for this this art form. Super nice !!!! Regards, Michael
-
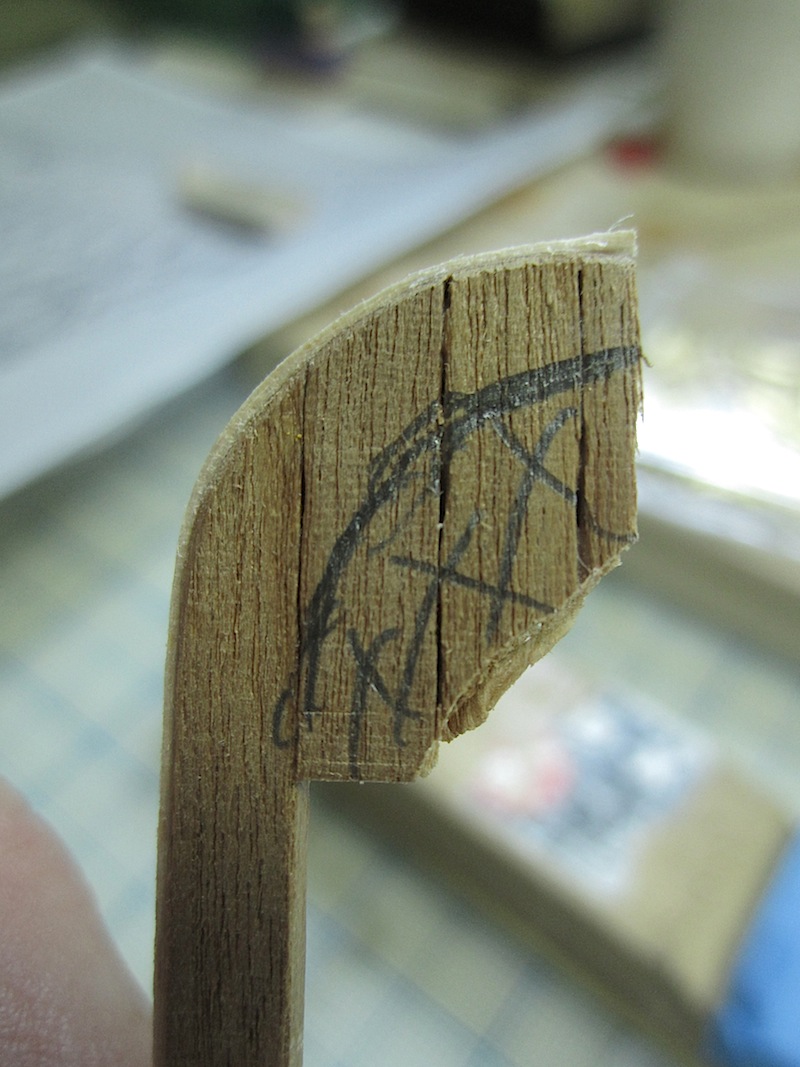
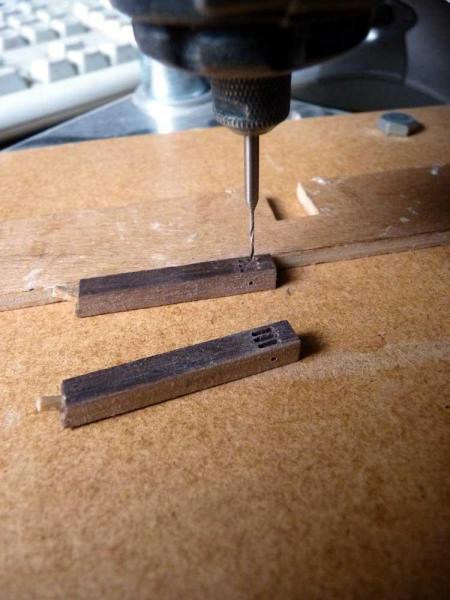
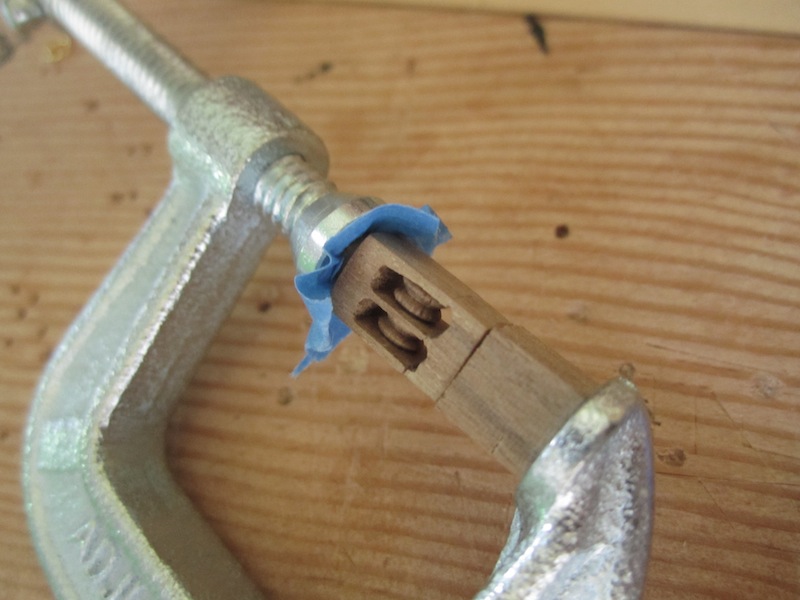
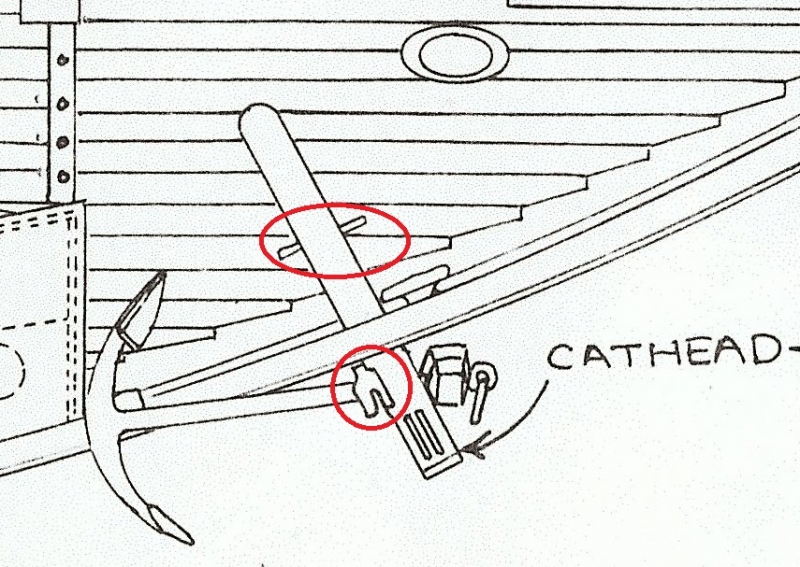
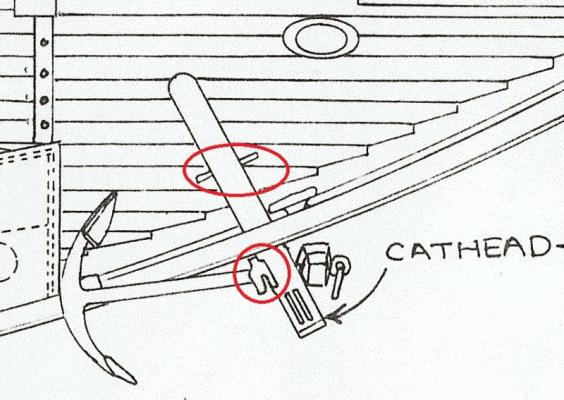
Hi everyone, Please see pics. I want to be able to cut long grooves, such as those you see on this cathead (ignore red circles). I have a Dremel as well as a Dremel drill press.What are these specialized bits called? What I am doing is unacceptable. I cut gooves, then add a block at the base. Very poor Hmmmm...., as you can see. I've Googled it but can't find what I need. I can't locate the right kind of "straight" bits. I have some router bits, but all are with ball tips. Thanks in advance for any specific help. Regards, Michael

-
Karl, I rarely venture to the Scratch Built Section because it makes me soooo nervous (:-) Builds, such as yours are so "out-of-this-world" stunning that I then look at my efforts and need to improve so much. Examples, such as yours, make "all of us" as Karl just said stare for minutes at each photo gazing in wonder. Such a pleasure on the eyes.... I will spend more time learning, and ingesting ideas from this "side" of this great MSW forum. Your work of art is beyond superlatives. I have the Boudriot books, and may (one of these days) try something French (:-) PS: From a kit ha ha ha.... Again, yours is incredibly astonishing. Regards, Michael
- 662 replies
-
- 1
-

-
- bonhomme richard
- frigate
- (and 1 more)
-
Hello Joachim, Yes, it was for that box. Thanks for the suggestion as well as for the link. Nice German site, and Google translates the pages for me as well. I will refer to it.
-
Ferit, Nice!!! you and I seem to have similar ideas. I have also "re-built" or changed sections of my build to better suit the look. What you are doing is very creative. AND super improving the realistic details of the ship. Always a pleasure to catch up with your Berlin. Oh, thanks for your response to my barrel question. I will remember your details when I get to that stage. Regards, Michael
-
Kevin, OOPS just re-posted this. I should have scrolled down first. Yes nice site. Regards, Michael
-
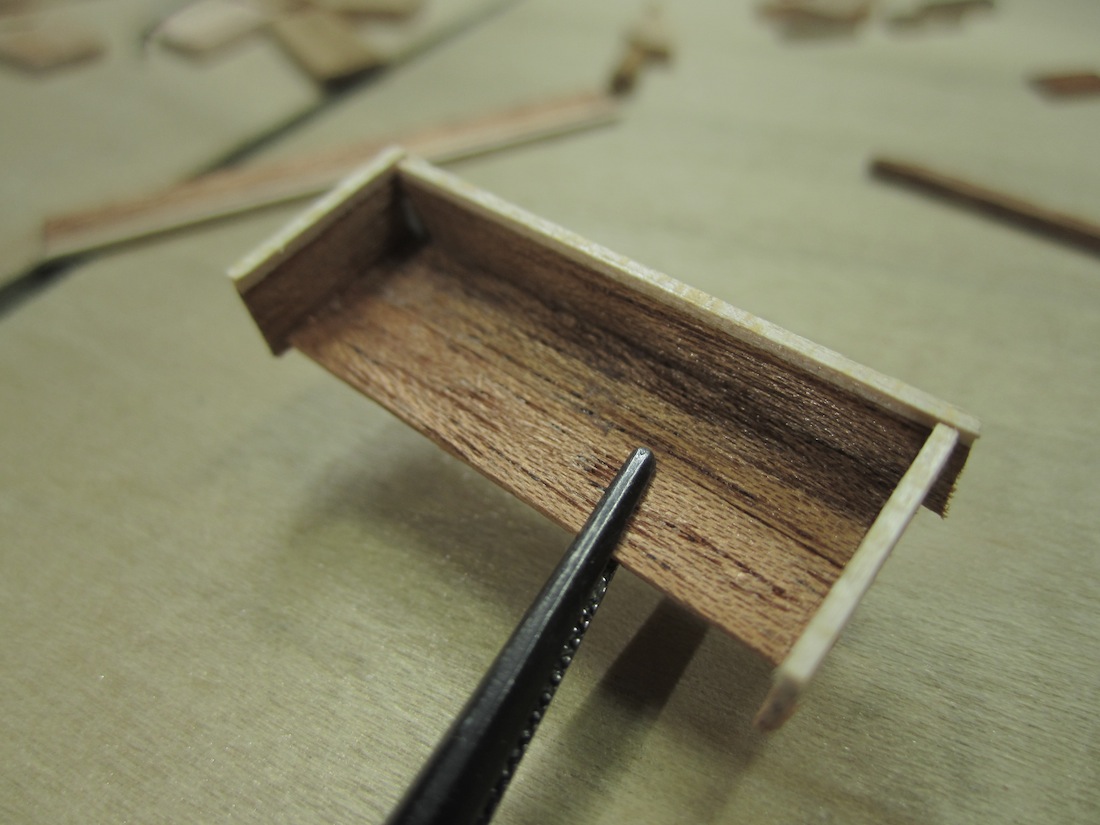
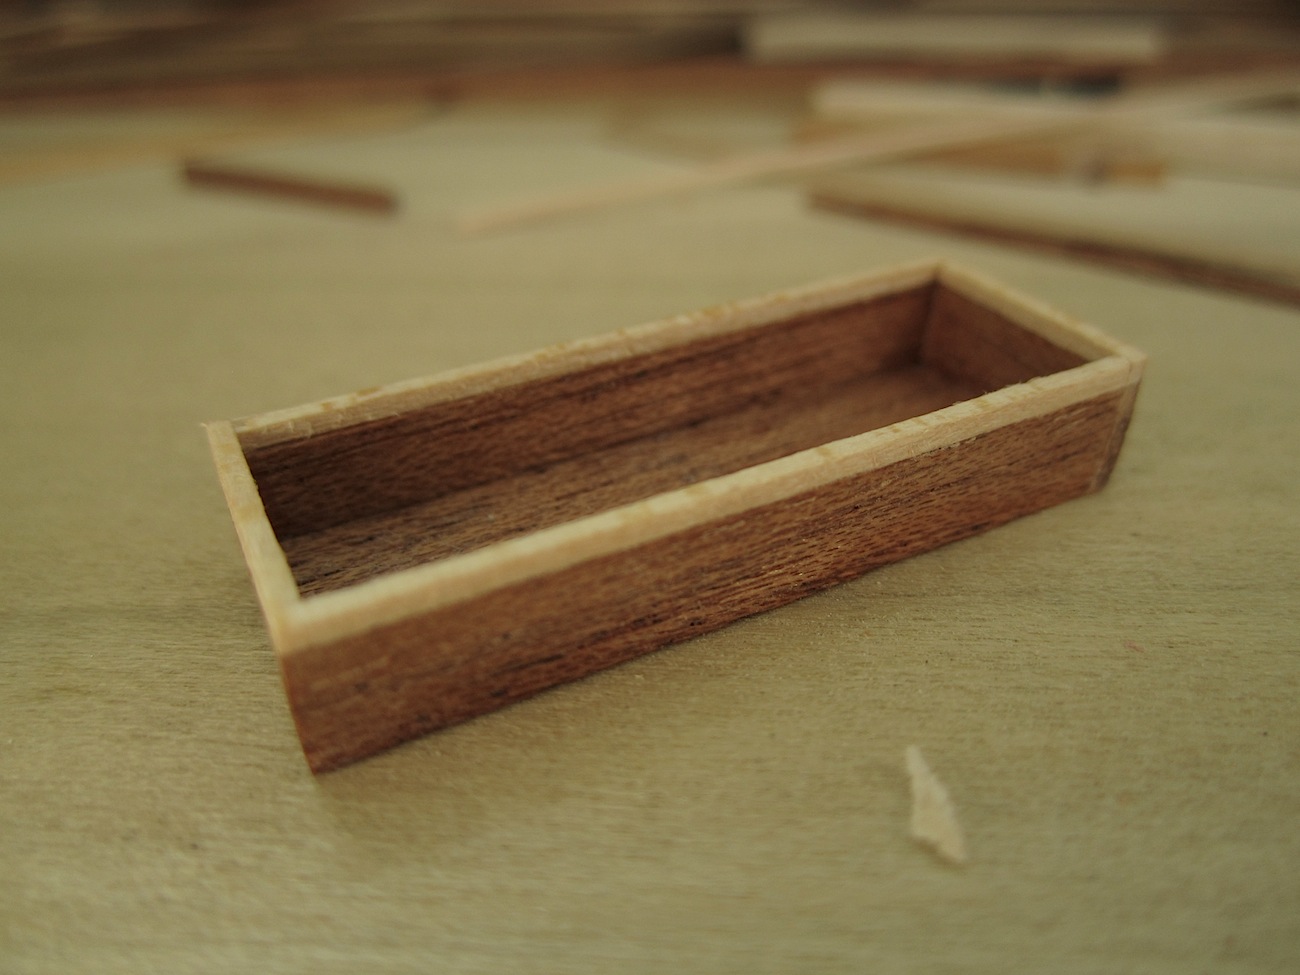
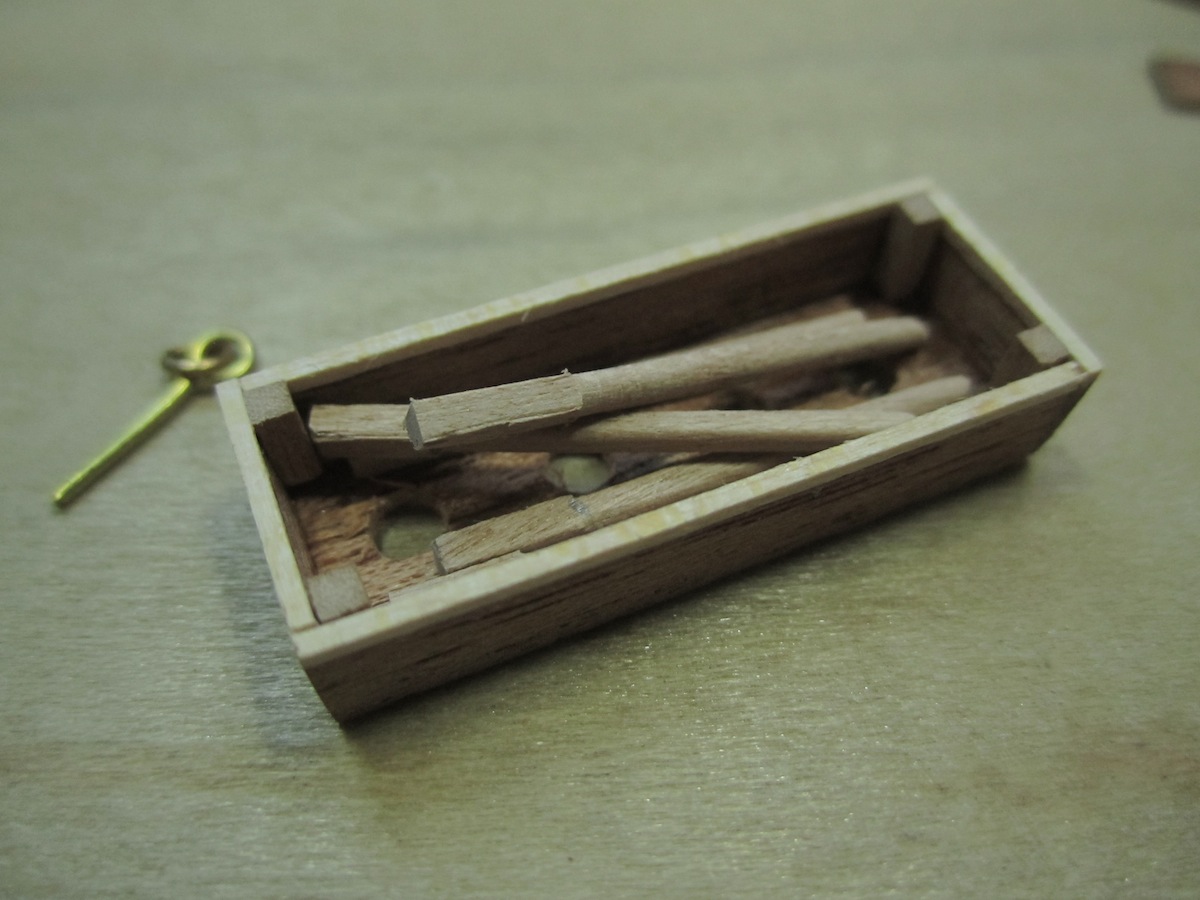
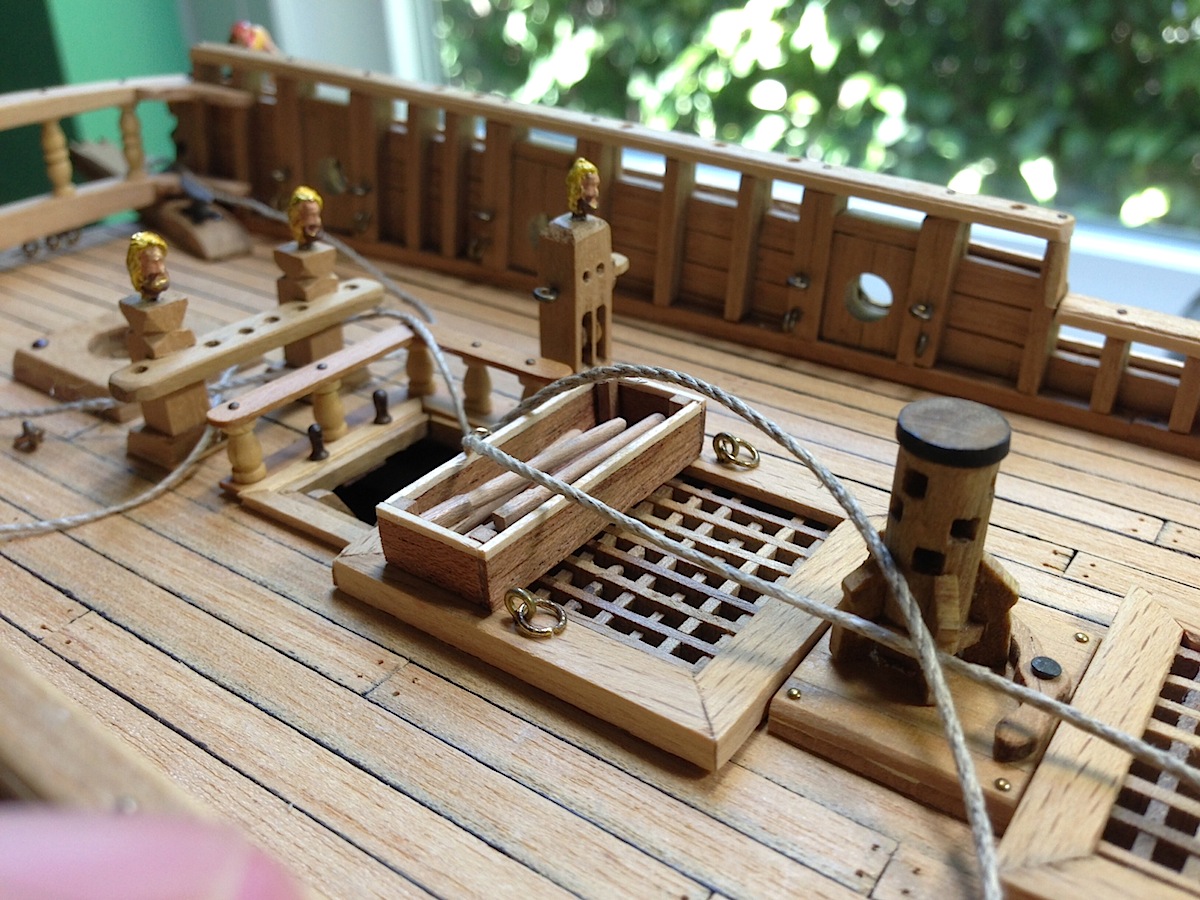
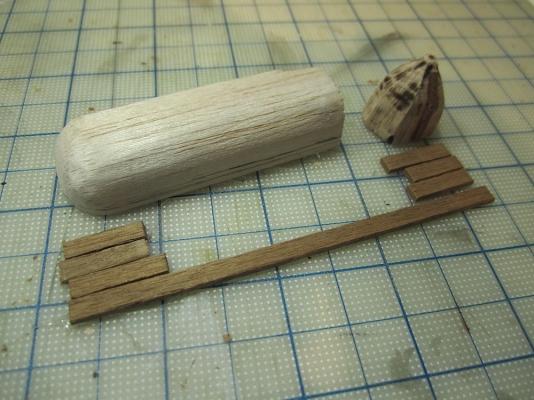
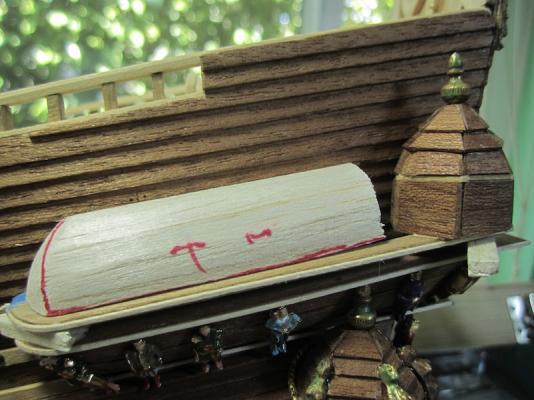
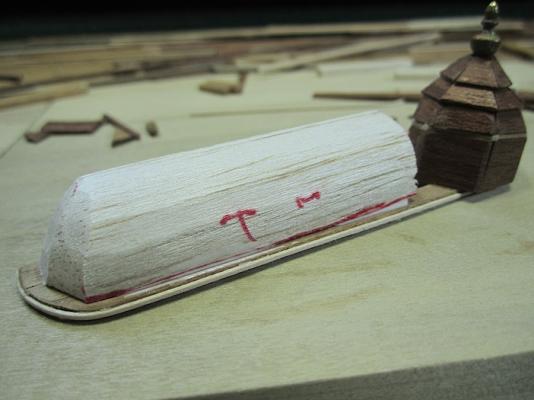
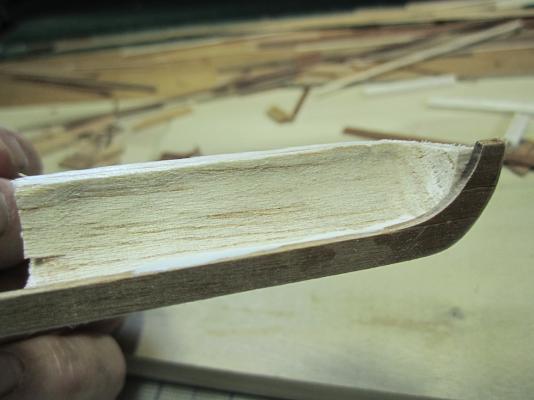
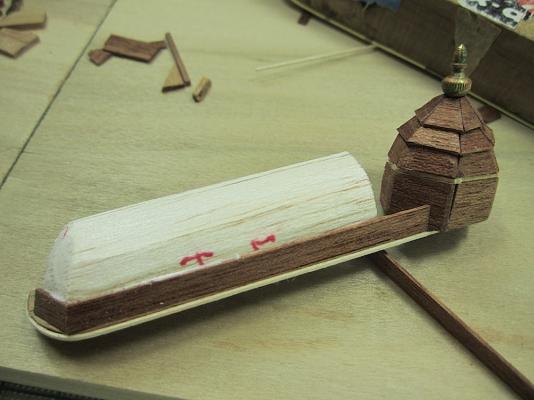
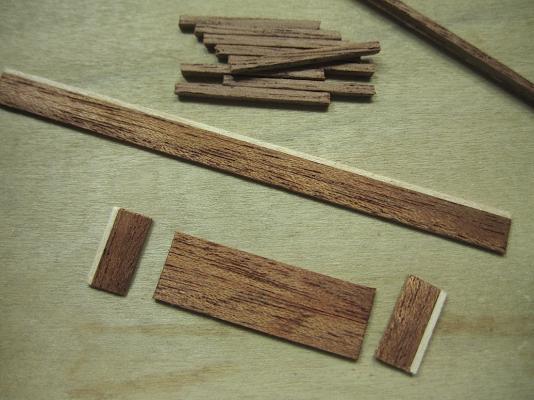
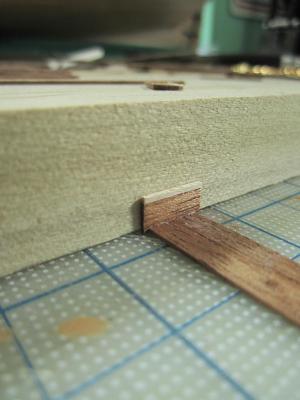
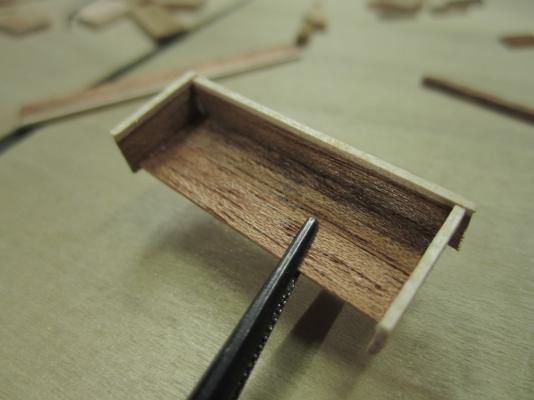
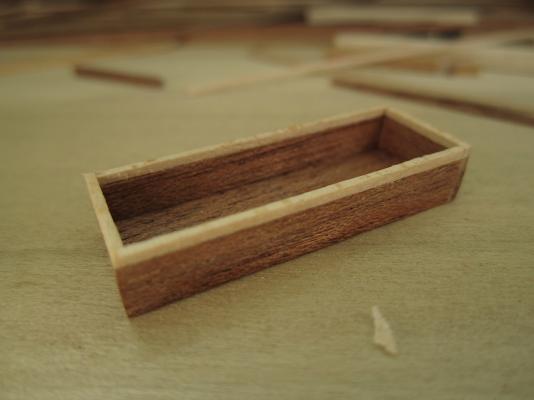
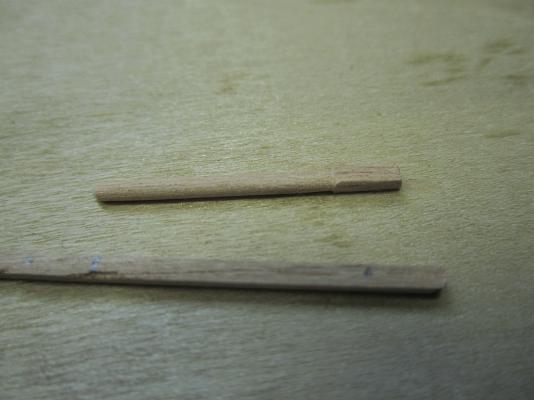
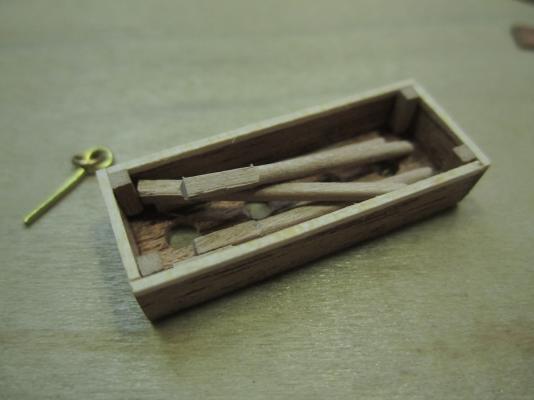
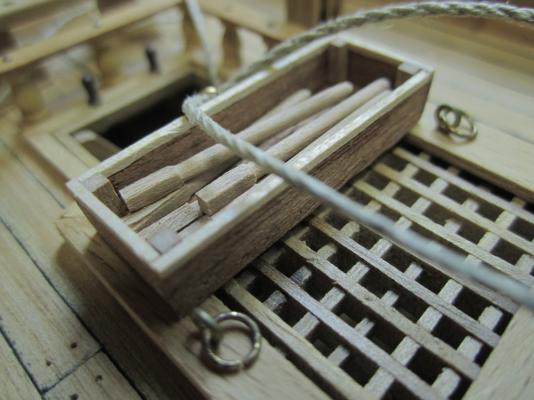
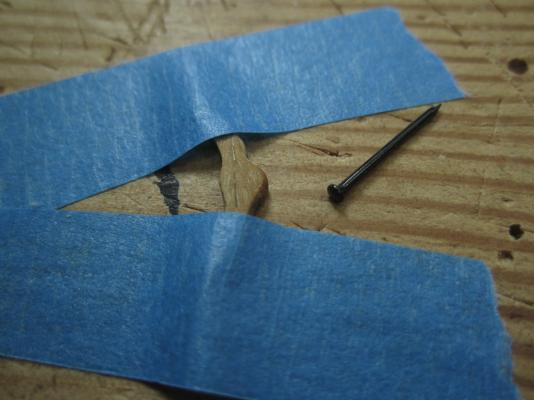
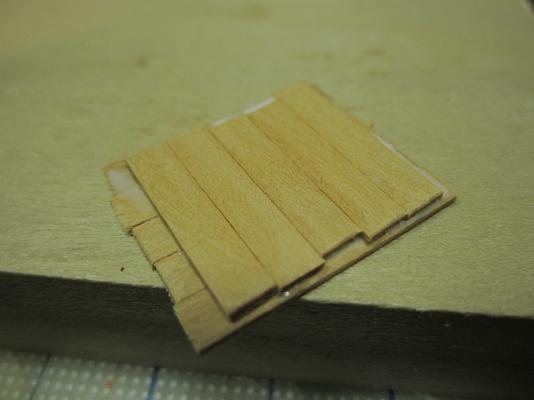
Wayne, Joe, Mark, Joachim, Ferit thank you for the latest kind words..(:-) Fellow postings are always so nice to read. But I need help (Hmmm) with knots ?? So I decided to build a small box for the capstan oars(?) with some left over pieces I had used for the stern trim detail. The pics are self explanatory, but please note the last pick of box on the deck. I don't know what kind of knot to use. I found this really cool website that also animates the knots in three speeds (link bellow) So, do I use a buntline hitch?? Hopefully one of you will help me out on this bit. I'm sure that when I get to the rigging I will be semi-lost for sure. Again regards to all of you. Michael http://www.animatedknots.com/indexboating.php?LogoImage=LogoGrog.jpg&Website=www.animatedknots.com

-
If this is a re-post I apologize. Super cool website. It also animates the knots in three speeds. http://www.animatedknots.com/indexboating.php?LogoImage=LogoGrog.jpg&Website=www.animatedknots.com Regards, Michael
-
- 2
-
-
Ferit, As everybody is saying....beautiful. Hmmm one question, On your barrel, did your make the small tap? such attention to small details (:-) ? I would like to think of something like that as well for my build. You are my guide ! Regards, Michael
-
Buck, I'm a bit late to the party, but I side with the Golden Hind crowd. A great stepping stone for the Wasa. The GH will let you explore painting details which the GH certainly has. I also agree with the group that says that you are ready for a bit "deeper end". Your skills, and attention to detail are "way up there". My brother has the GH, though he never started it. I've seen the kit. Piece of cake for your skill set. And it is closer to a Wasa type compared to your other available choices. Many of us will look forward to your new build log, whatever you decide to launch next. Regards, Michael
-
Hello Colin, I have been silently following your build. Its time to say something. So beautiful, the level, and quality of detail is superlative. Love the razor blade "tool" I may try something like that-great idea. Thanks for posting so many pics.....This will be an amazing cross section. Regards, Michael
-
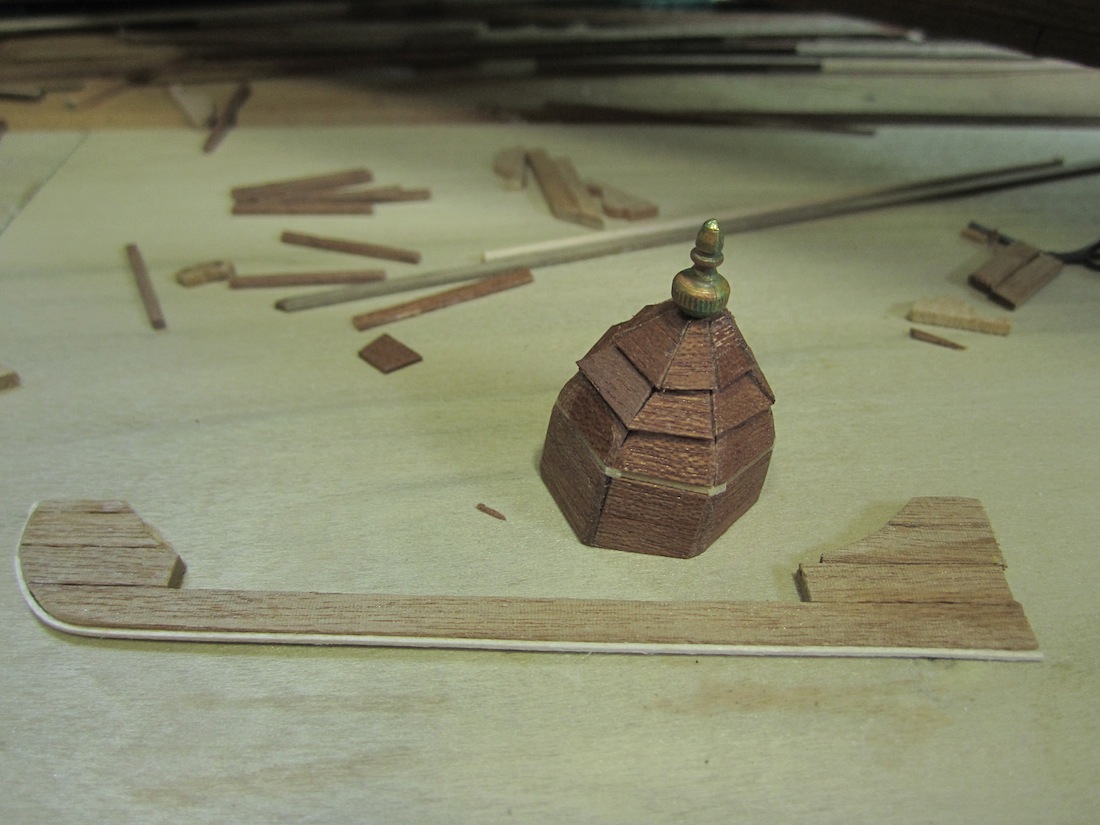
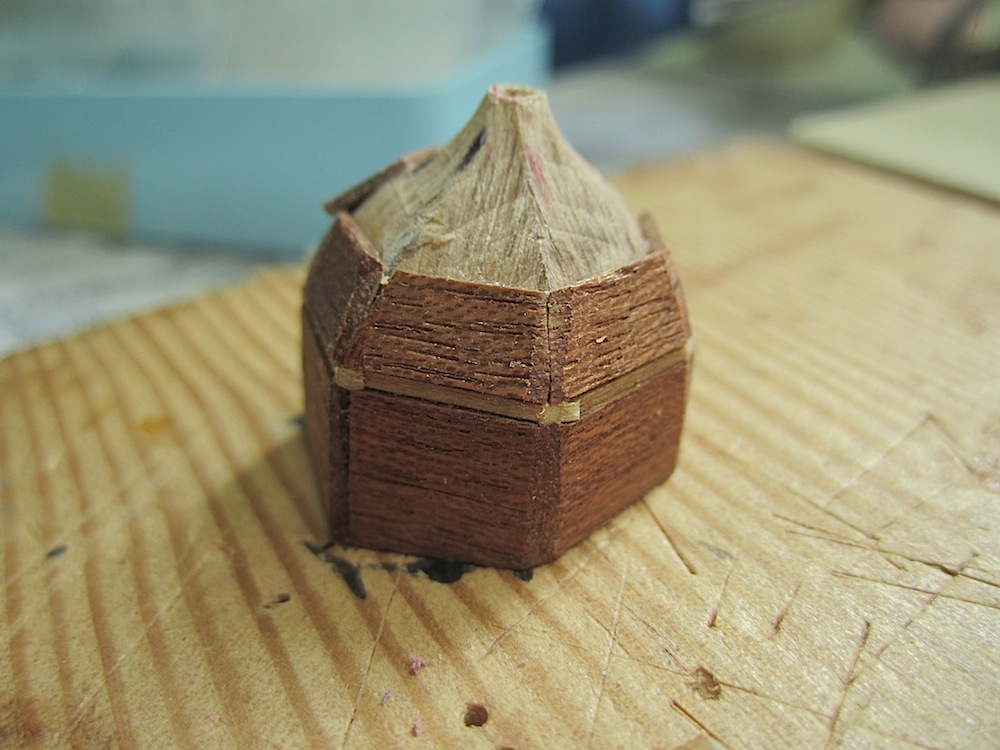
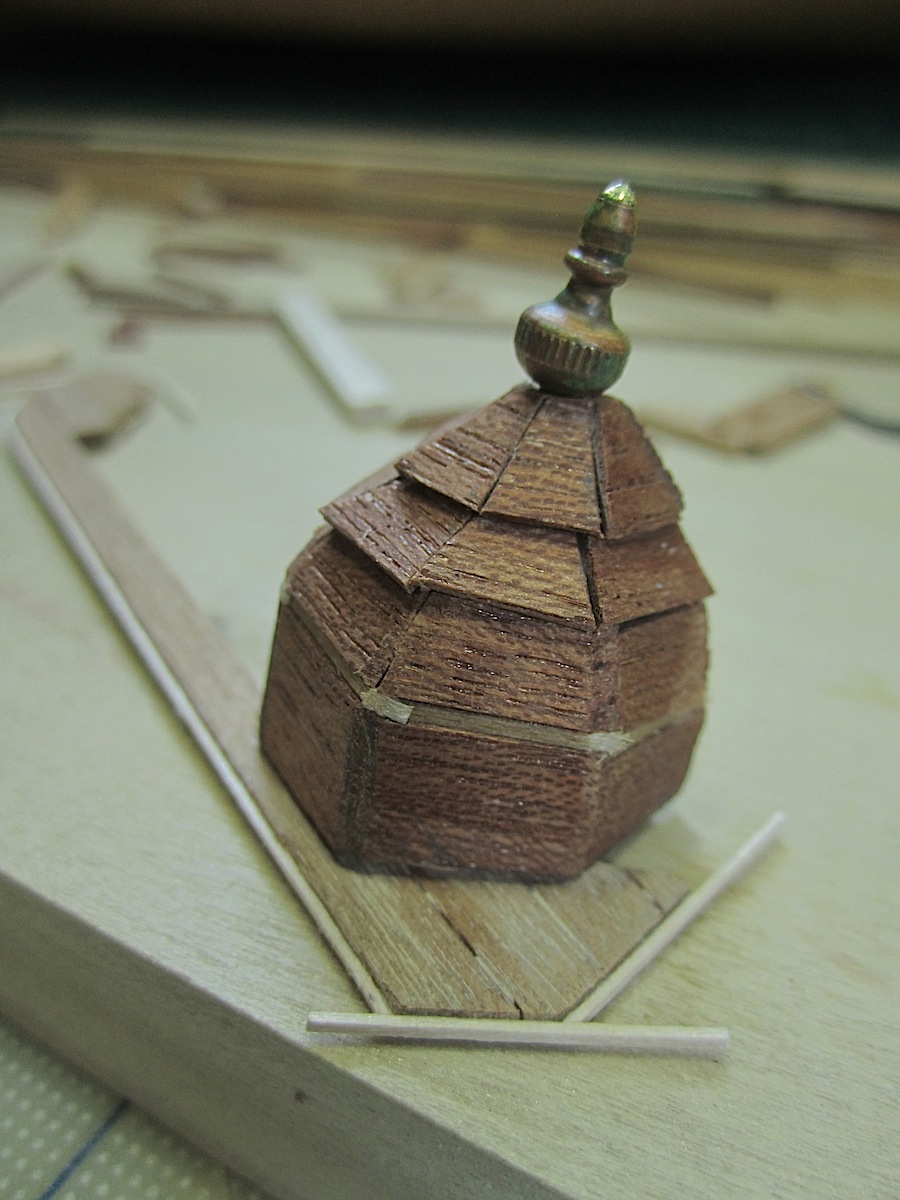
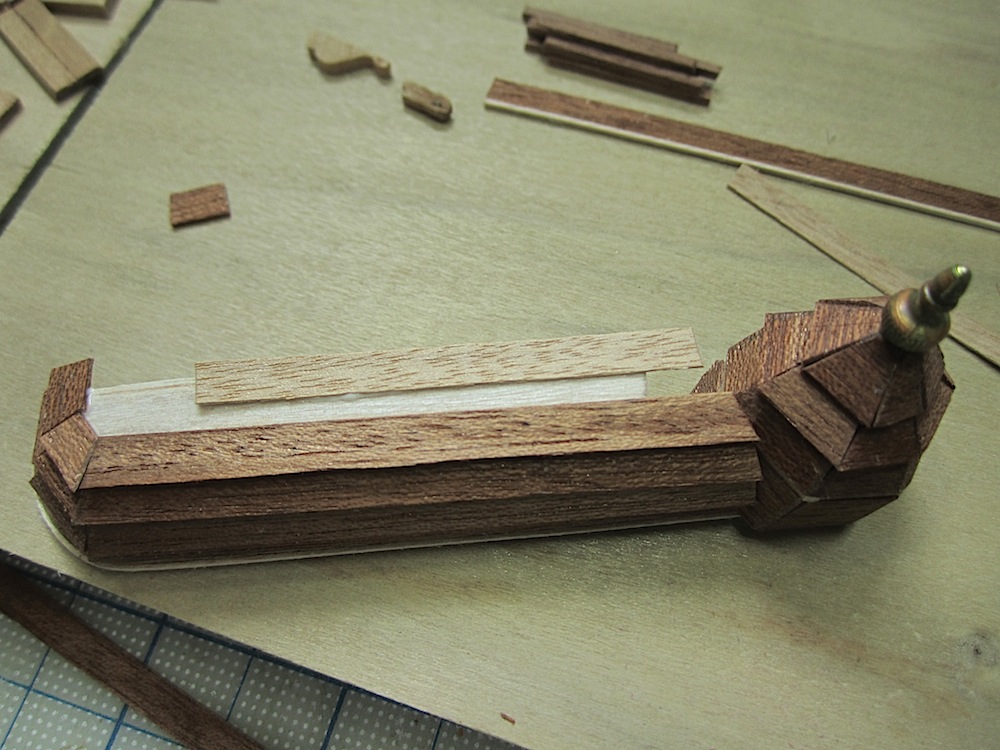
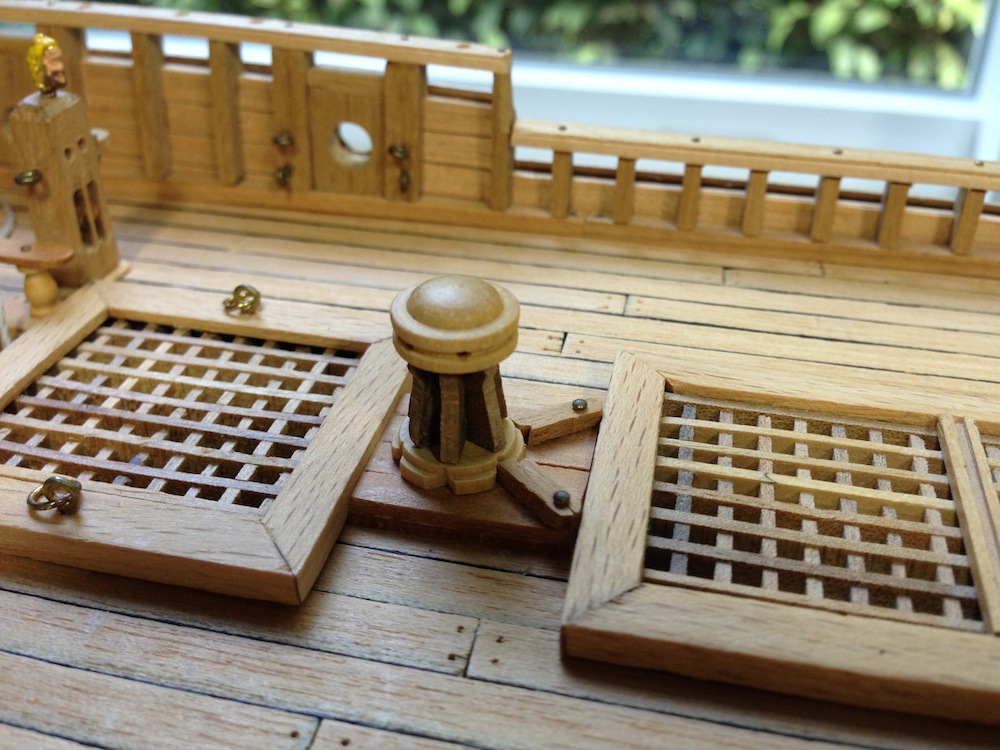
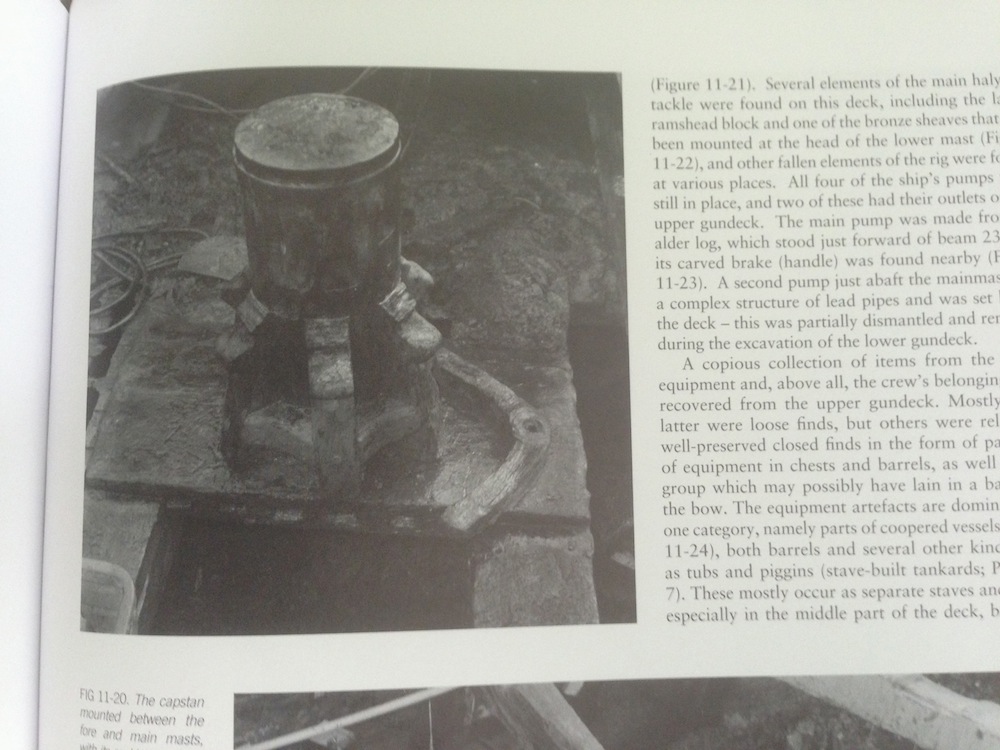
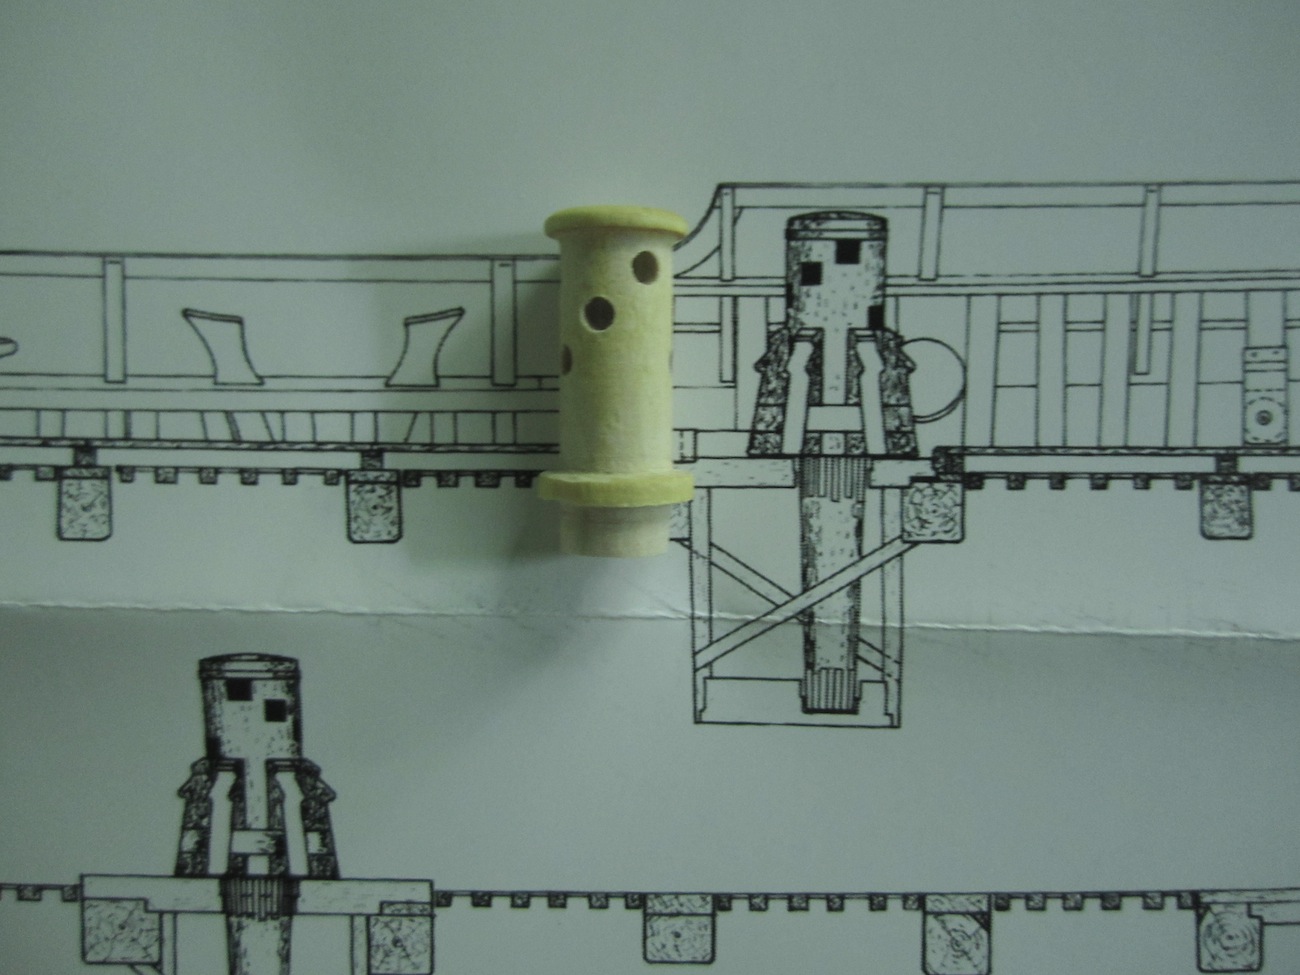
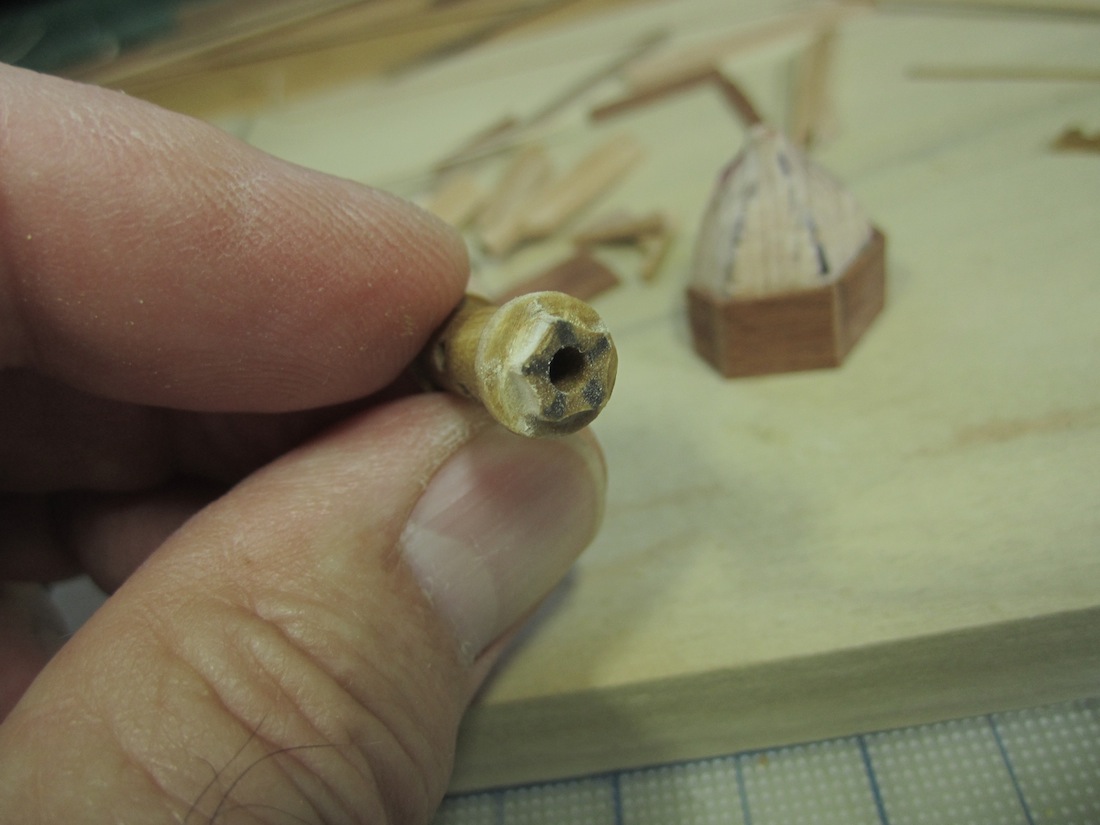
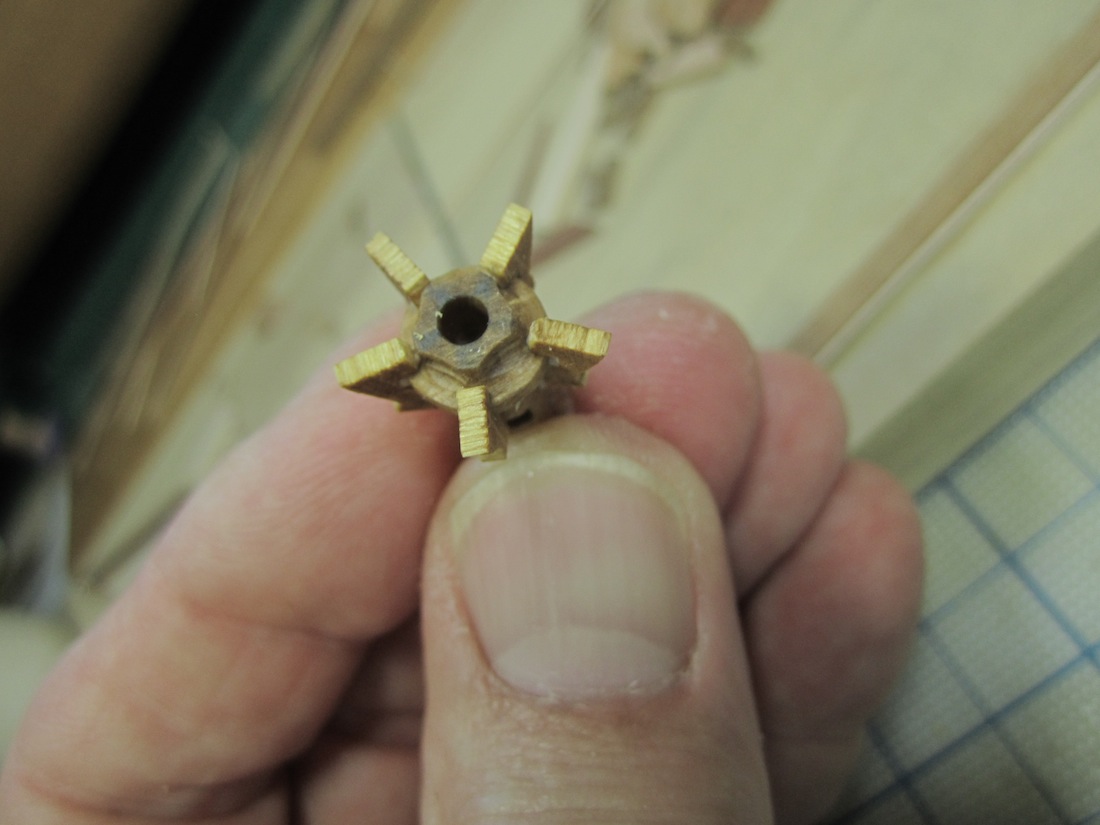
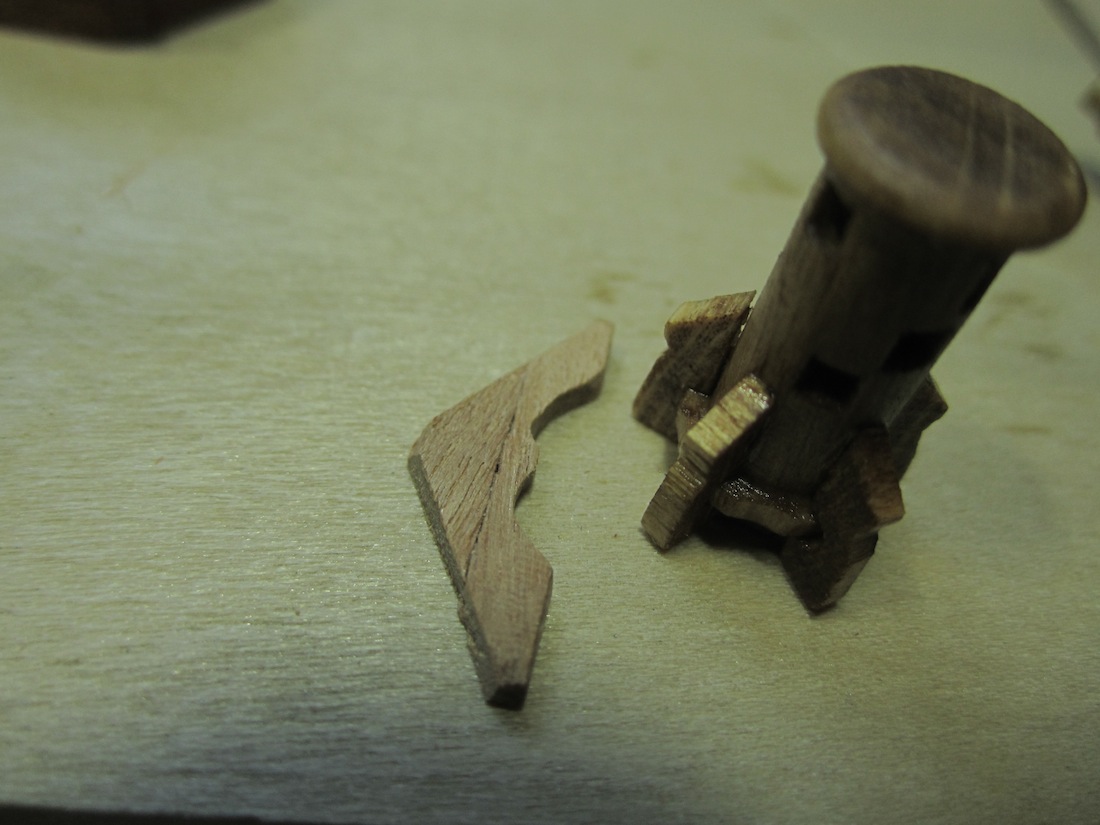
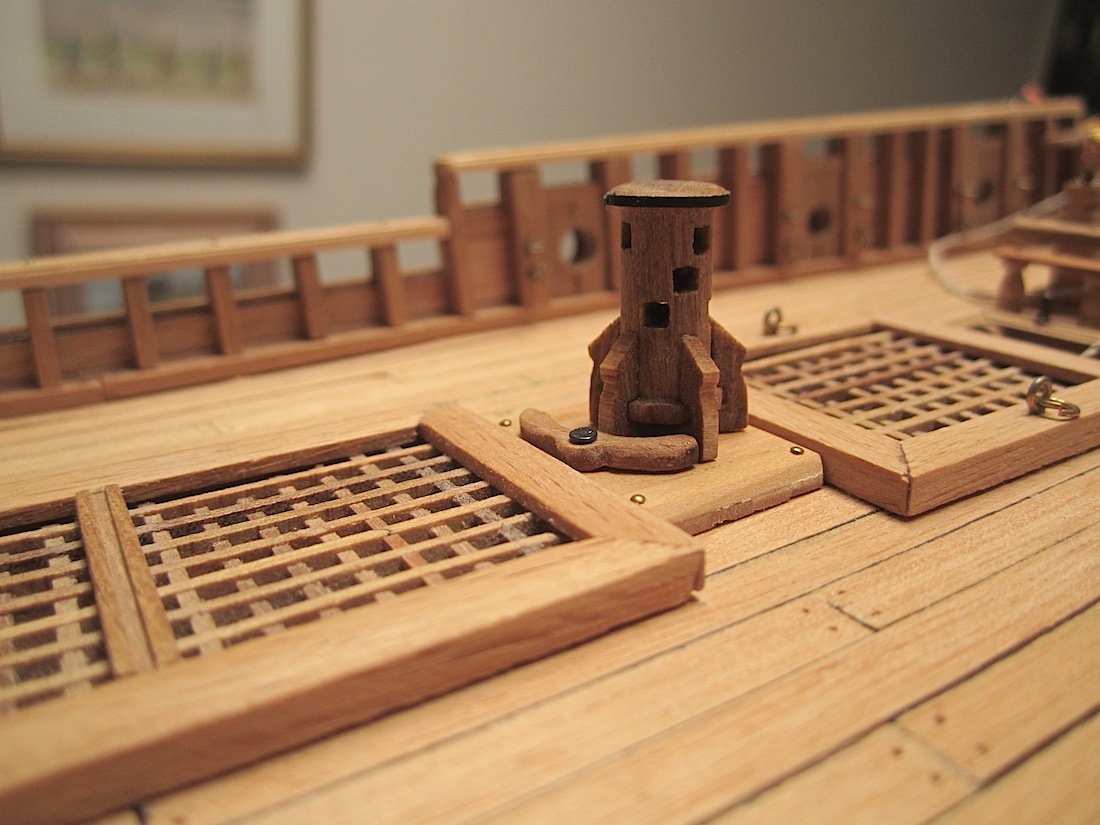
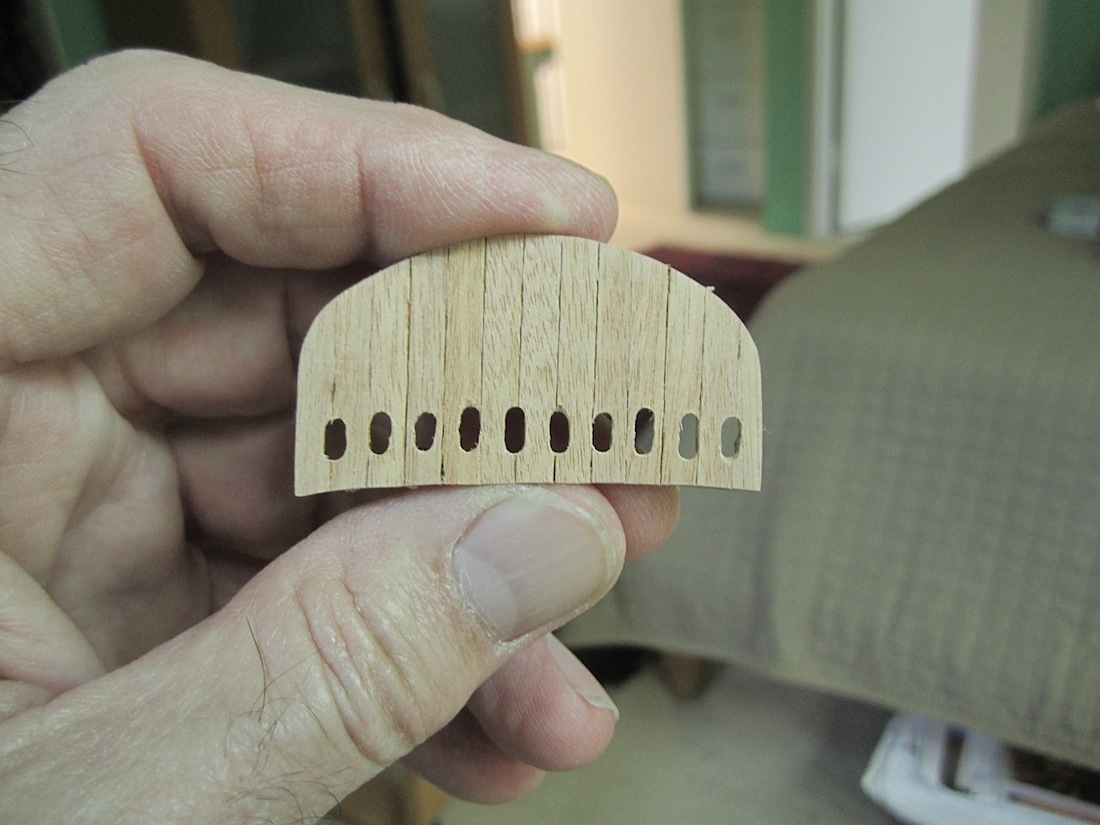
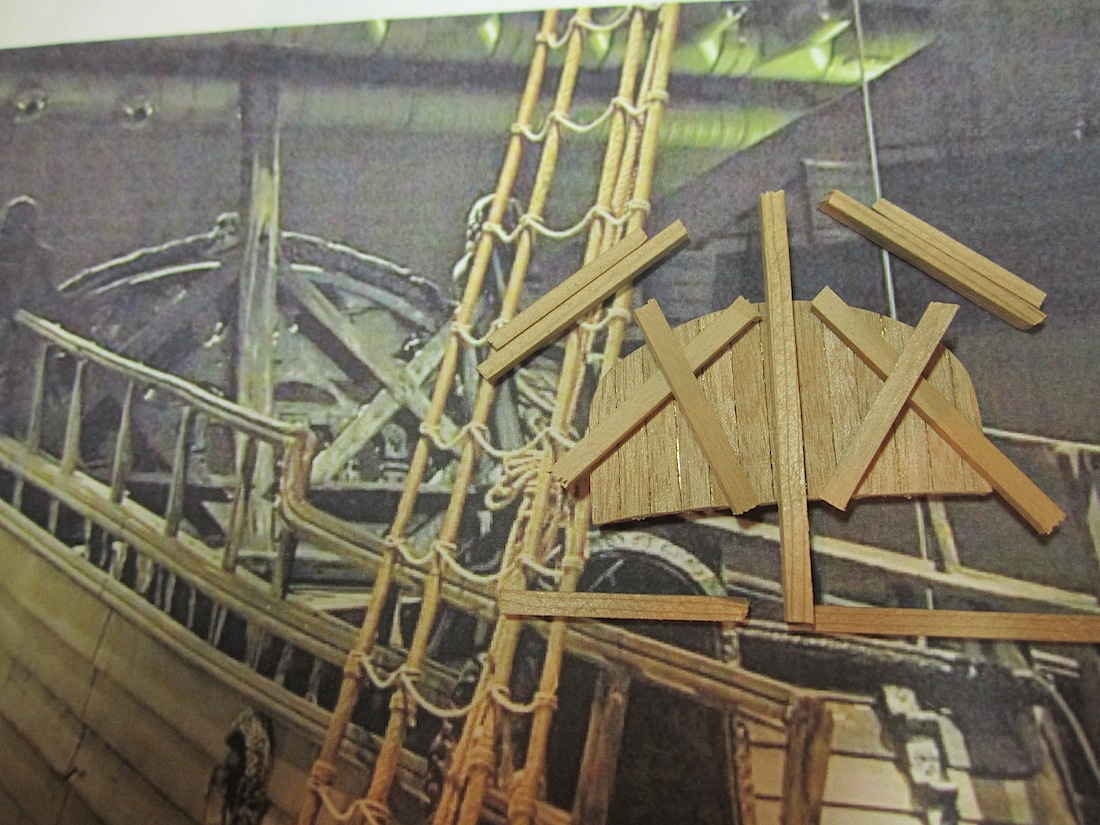
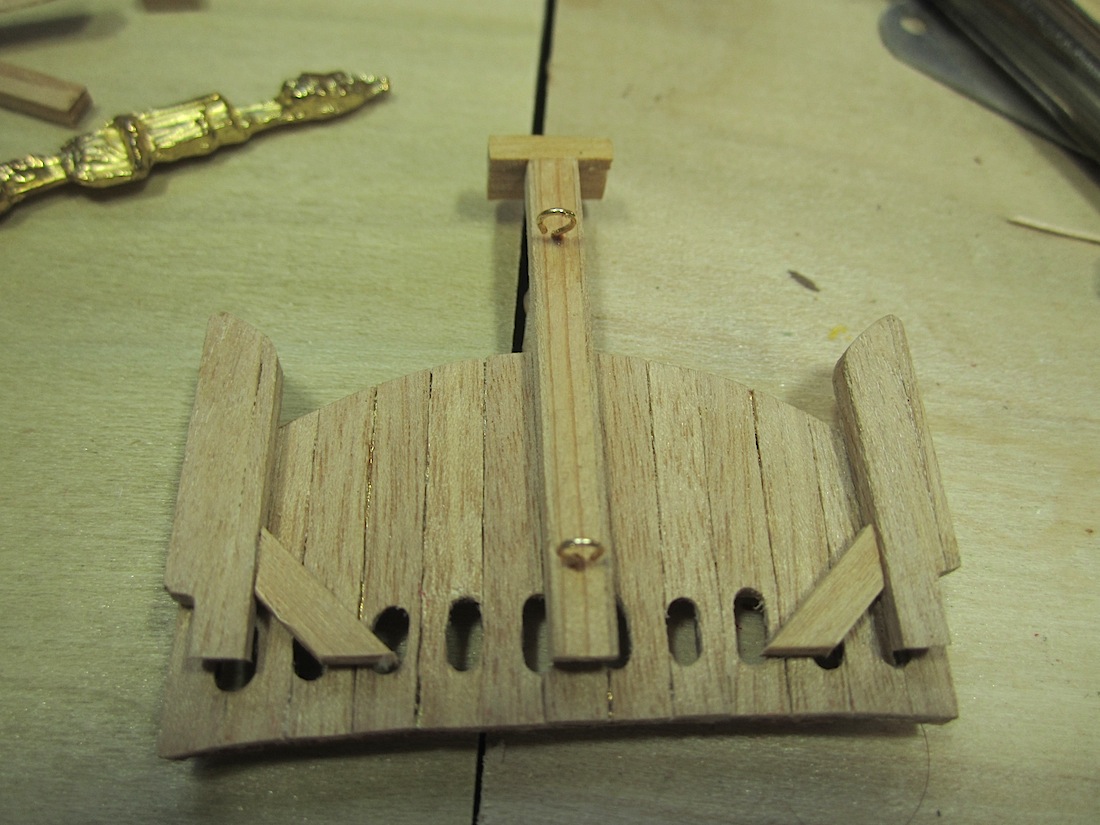
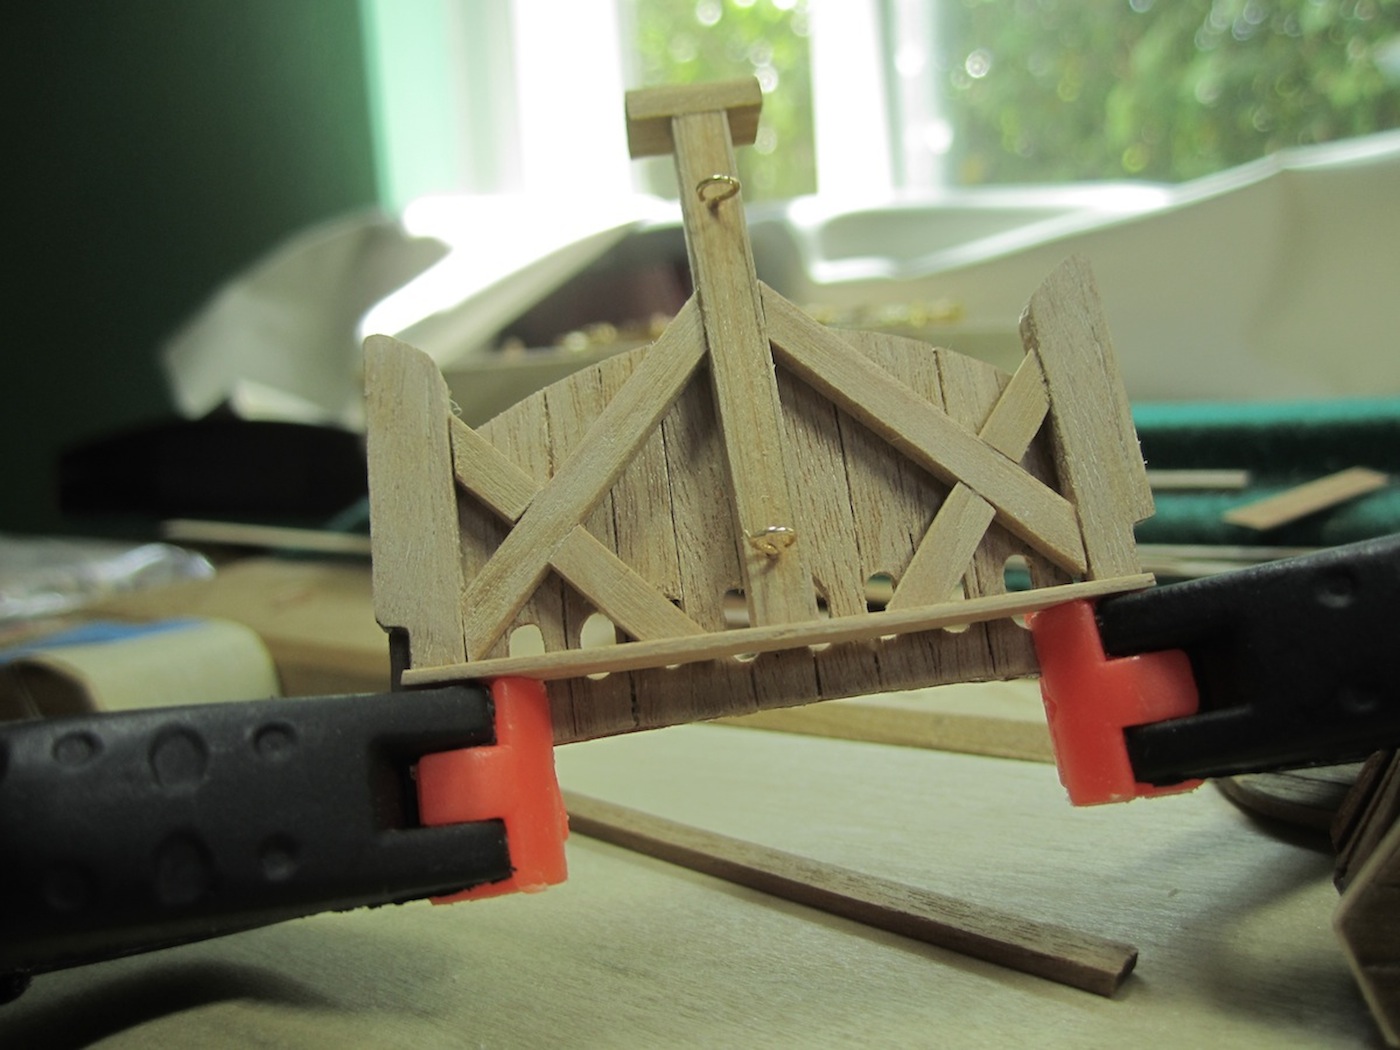
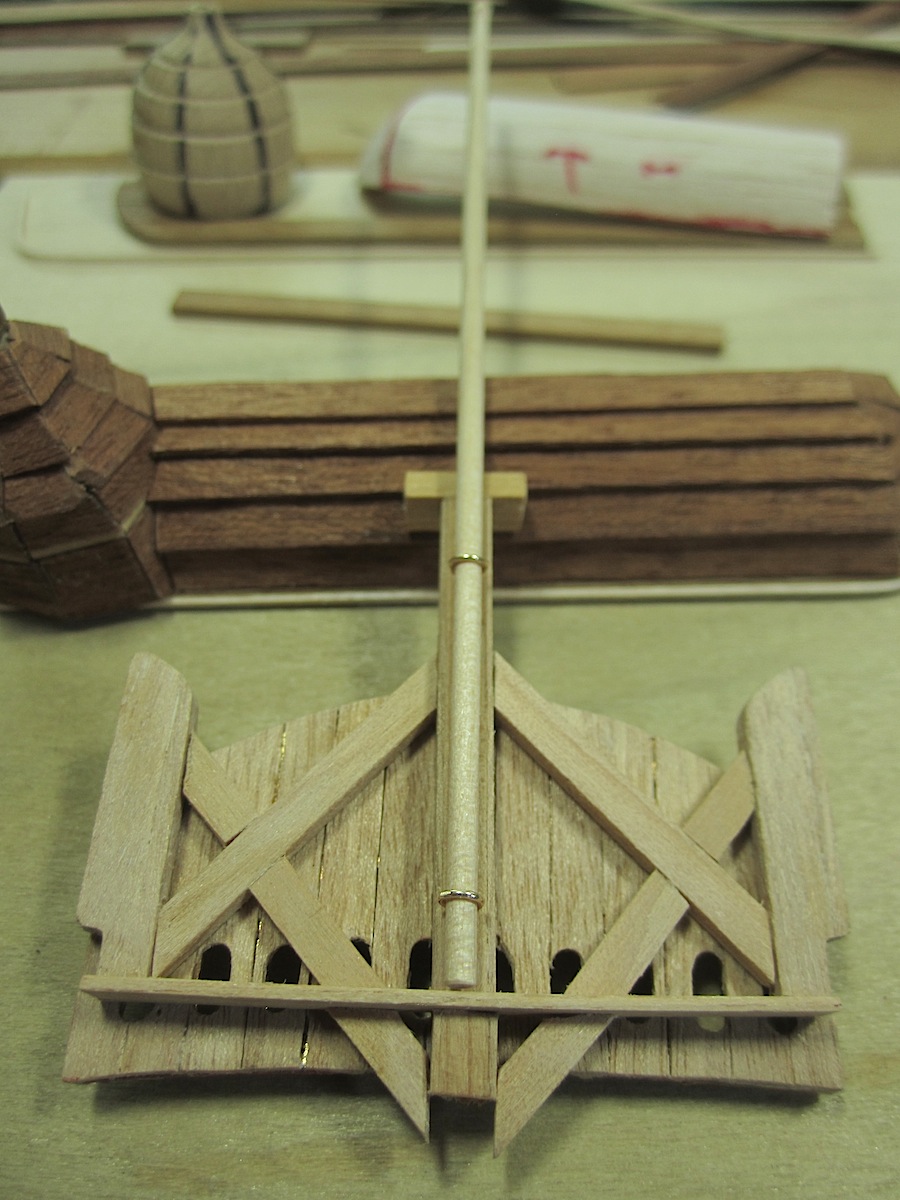
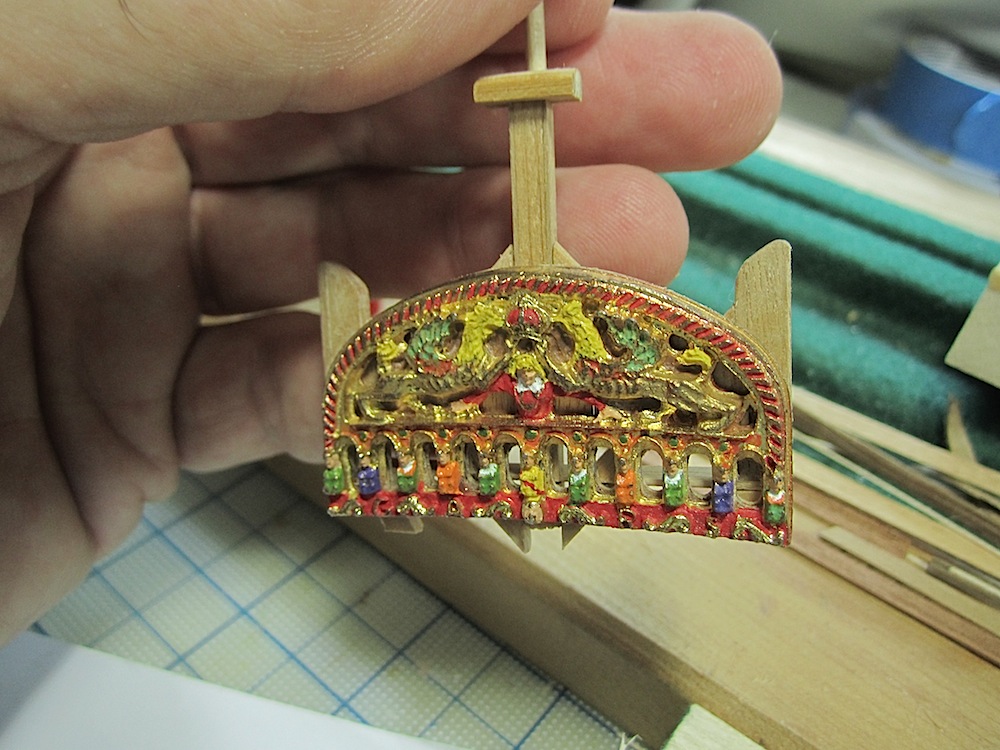
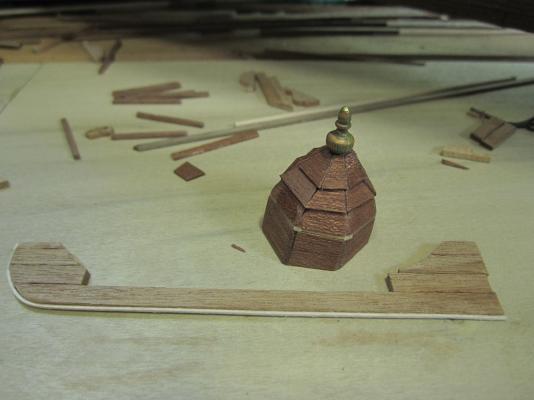
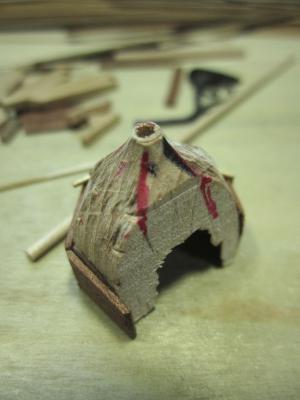
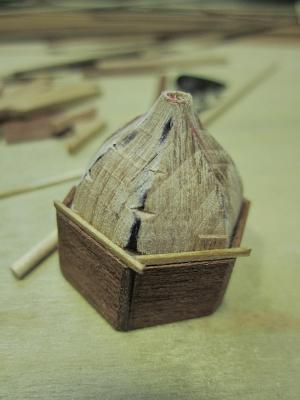
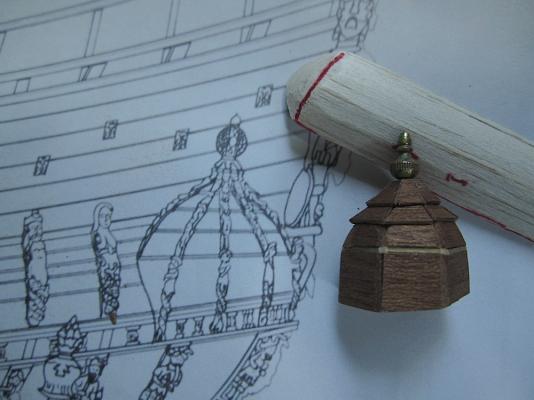
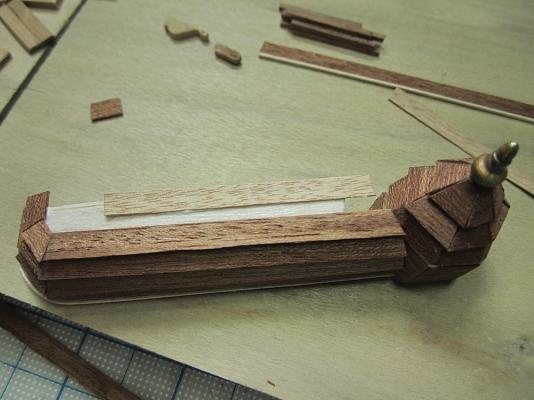
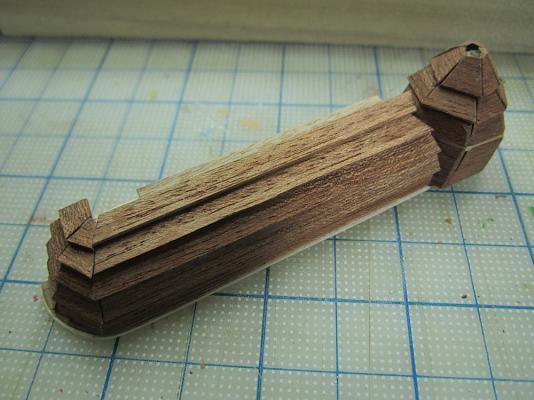
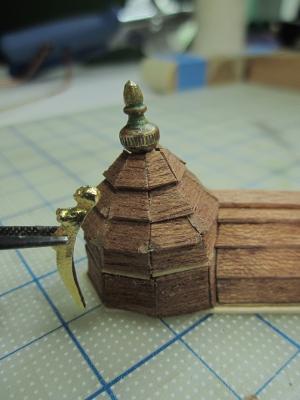
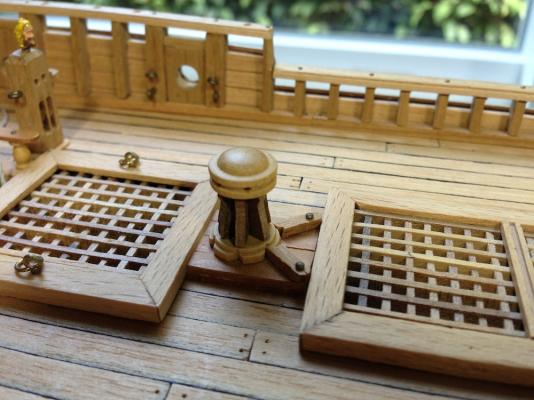
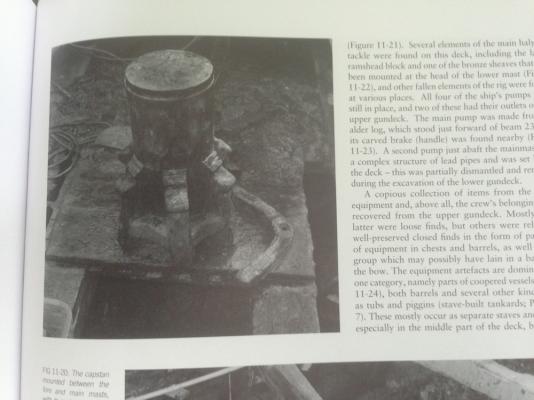
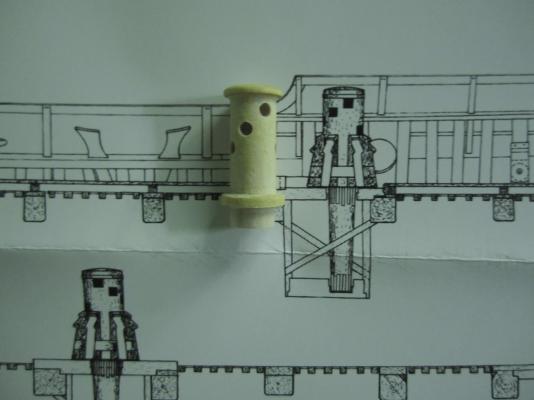
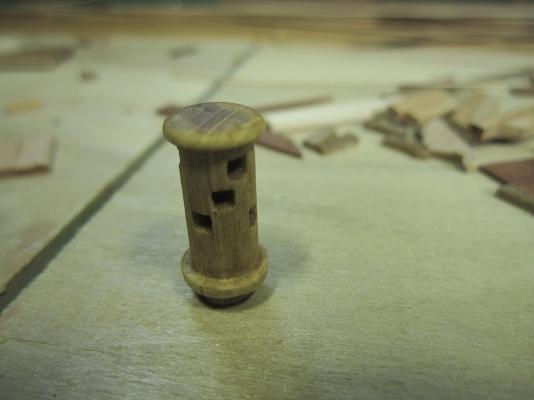
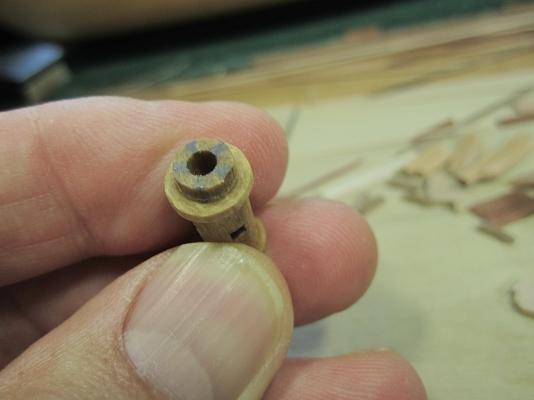
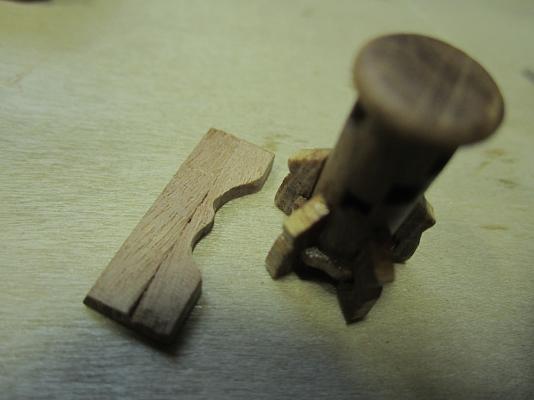
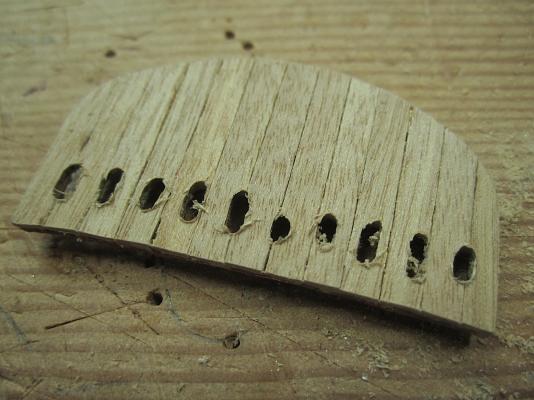
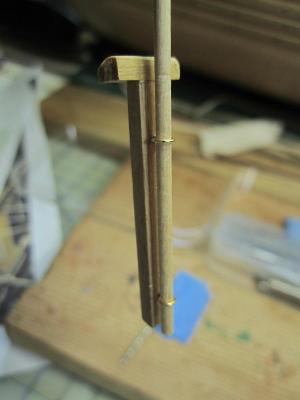
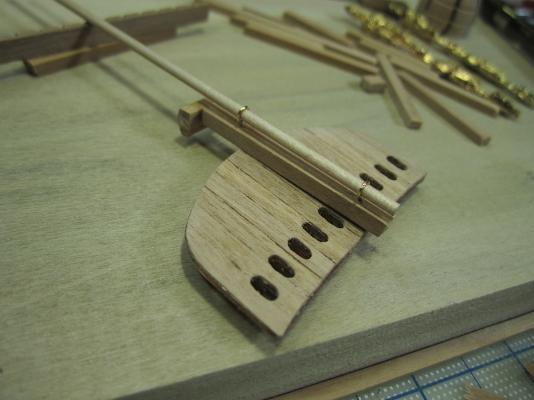
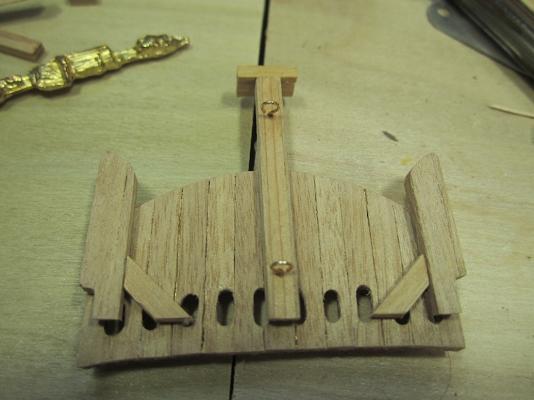
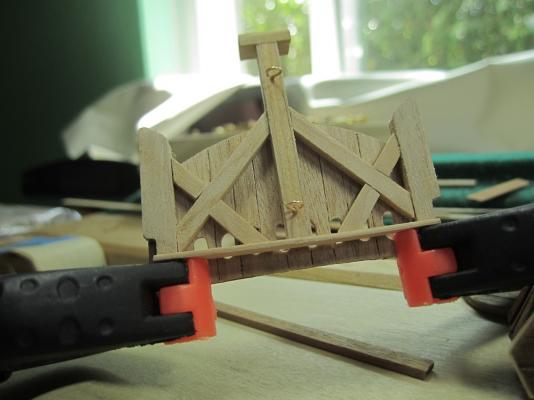
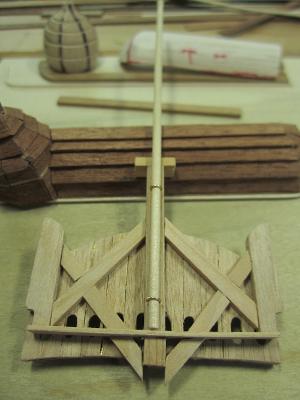
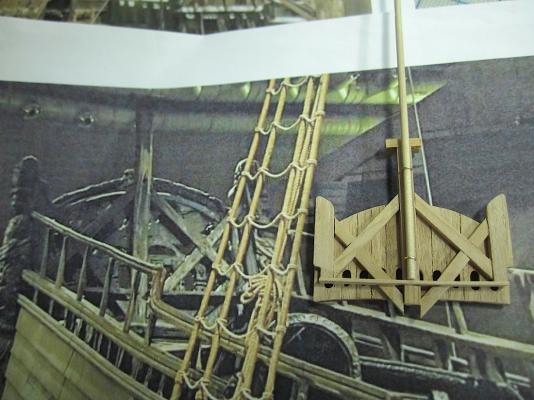
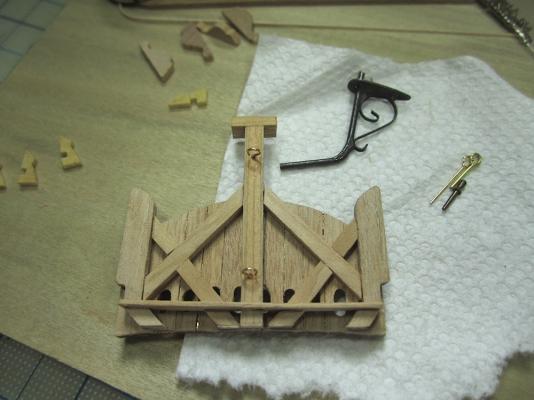
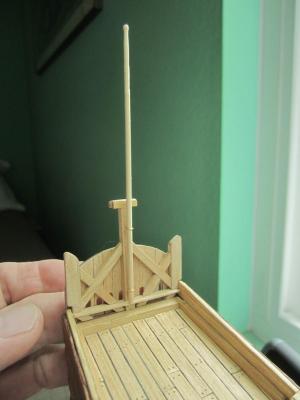
Original installed piece. Hmmm wrong !!Vasa original (the only one, of the three, to survive)Ferit thanks Thank you JPett and Joachim A minor update, but apparently a significant one, I owe this change to Blue Ensign and Ferit. They were discussing the spectacular capstan that F installed on his Berlin (If you have not visited his build log you are really missing an astonishing upgrade for the basic kit). So it turns out that the "parts bin" capstan supplied by Corel for the Wasa is period inappropriate. Something I had no knowledge of, not surprising in that I am just now learning so much... Pulled the piece and rebuilt a more period looking example. I learned how to do square cuts from Ferit (not to his level, but...) So I include these updates. Again thank you B E and F you own this change. THANKS Michael


-
Popeye, She continues to impress more and more with each visit. Looking so excellent. I'm really enjoying following you build. Regards, Michael
-
Buck, Aways such a pleasure catching up on your progress. You're also amazing with miniature tools of the trade. Super nice details on your latest -- harpoons (:-) Just don't practice in your fish tank, if you have one!? Regards, Michael
- 515 replies
-
- 1
-
-
- artesania latina
- whaleboat
- (and 1 more)
-
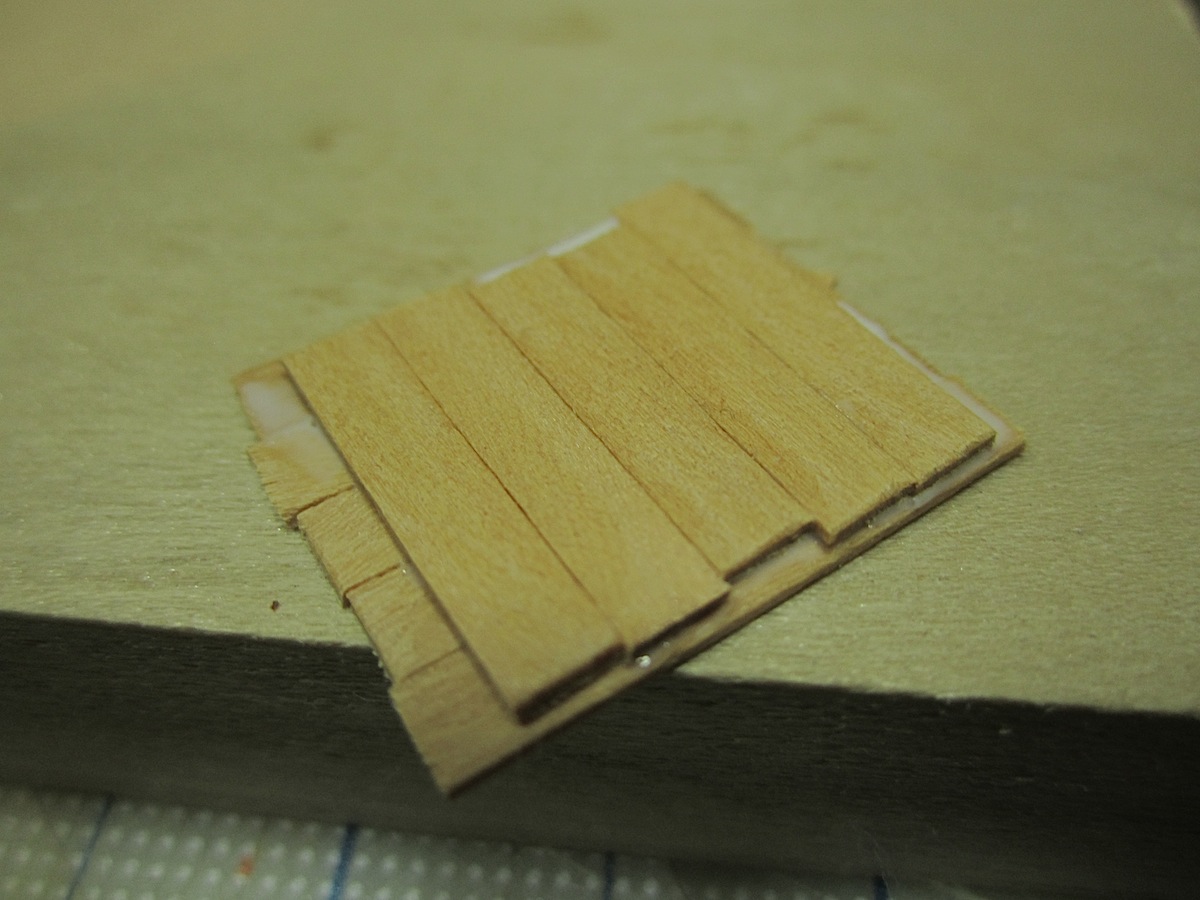
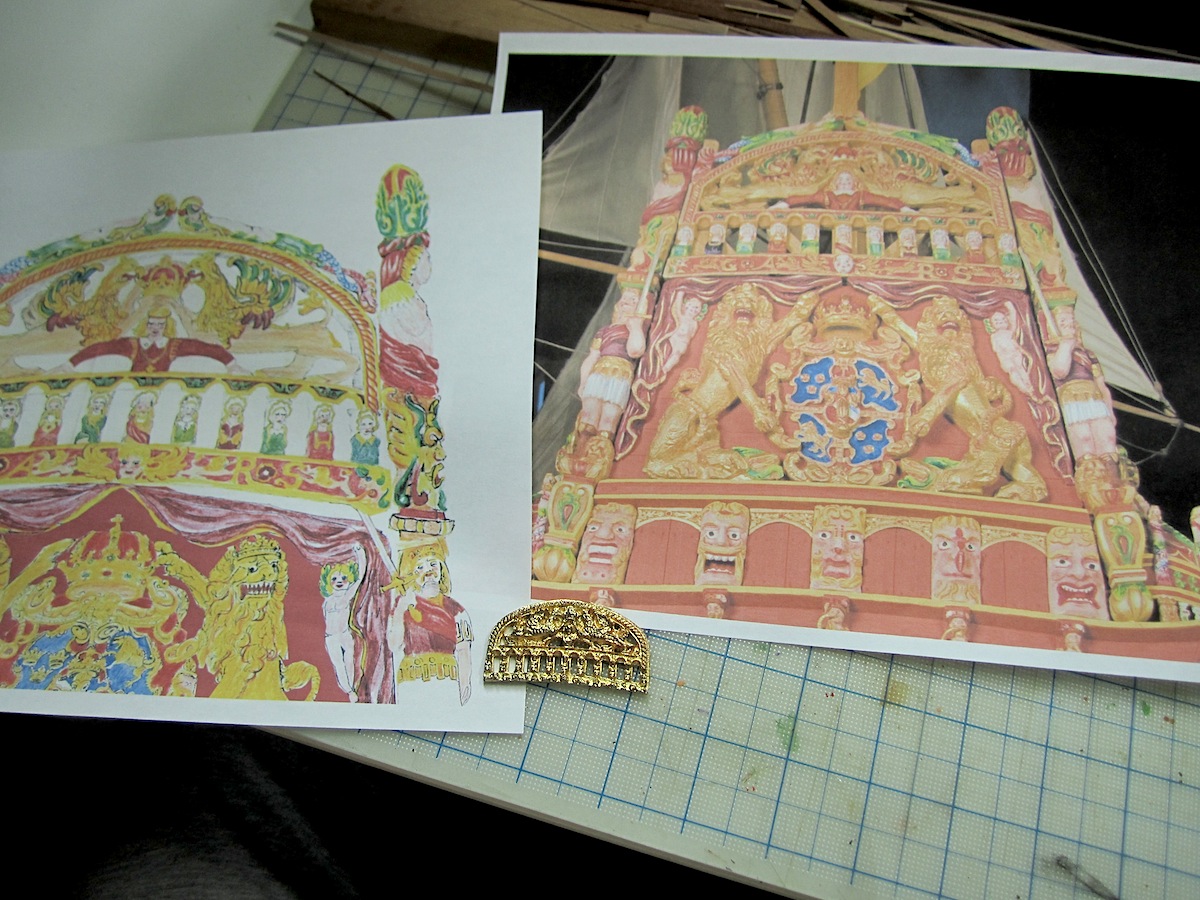
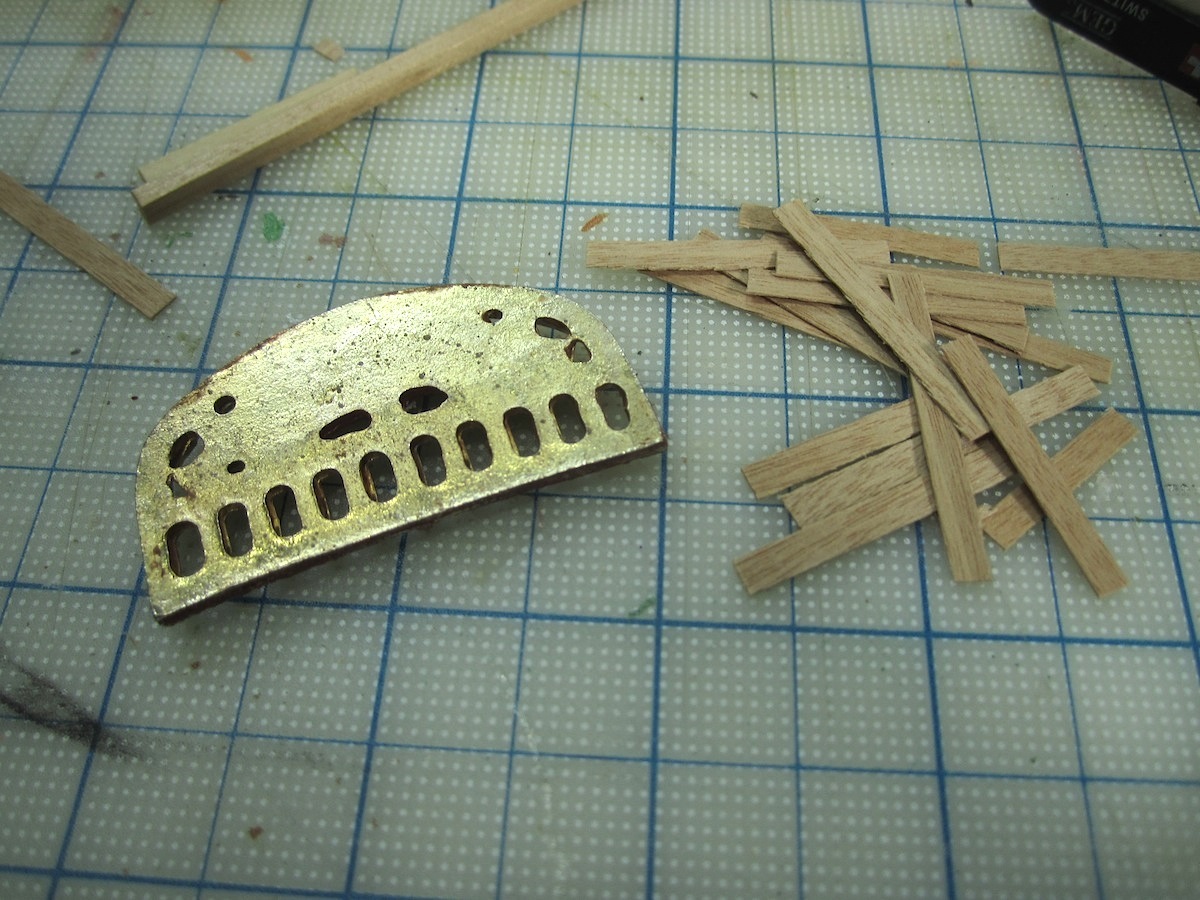
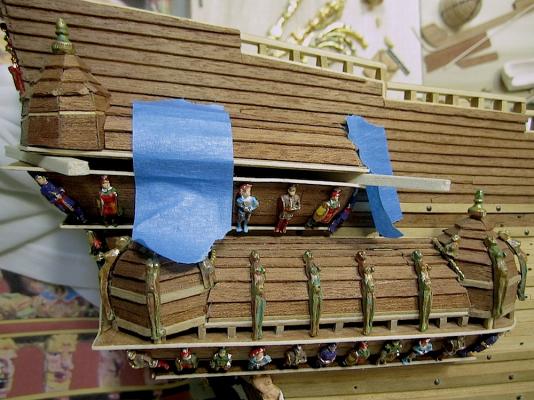
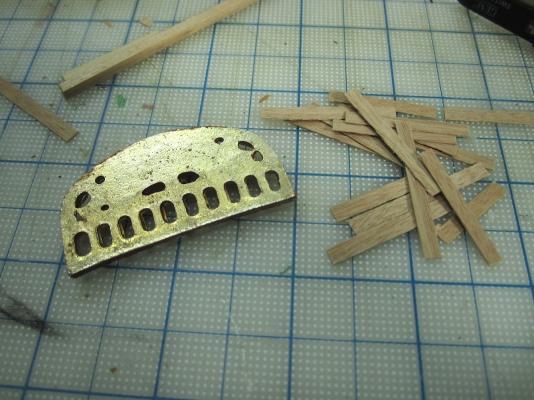
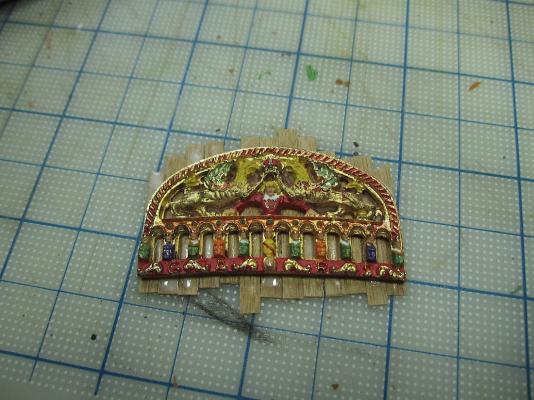
Joe, and Buck thanks for taking an interest in following this build. Your kind words are appreciated. So I decided to complete the upper part of the stern, that also incorporates details to the upper deck. The pics are self evident so I won't add comments. However, in general. I tried, several times to paint the deck side of the upper gilded piece. The paint would not hold well, and it looked super weak. So I went with vertical wood beams. It looks as though the 1:1 used a solid piece, or so, to carve out the griffons (that reminds me, I have to add a couple of tongue marks) and a young beardless inherited king (thank you Fred Hocker from his book Vasa A Swedish Warship) I also learned painting this piece that the King's initials were carved into the wood. G A R S (Gustavus Adolphus Rex Sueciae) To their absolute credit Corel did an excellent job of crafting this piece. I had posted earlier, then retracted, as I will again. Corel's figures for-all-intense-and-purposes are actually really excellent. Kudos to their design team. The only exception being the weak figures that cover the galleries- go figure? One last thought these is an occasional metal bleed through between the vertical planks. I could not paint that part and then add wood to the metal. It would have poorly adhered. I did not notice the small gaps until I stated adding the large cross members. OK enough chit-chat on my part here are a few pics. Regards, Michael


-
JanV, I'm very much enjoying following your version of this build. Regards, Michael
-
Ferit, Hi. I have some questions regarding your capstan. I now realize that the one I installed on my current build is all wrong, and as BE about the "not period appropriate" style (I'm sure learning a lot reading on MSW). So; 1) how did you cut-in those square holes? I don't see stacked "slices" in your wood at the cut locations? 2) your vertical braces, did you stack the woods and then Dremel them into shape? Thanks for your time.... Regards Michael
-
Matti, Thanks for your time. Yes I already have those. Clayton's scratch build is so awesome. I have admired his build for a long time. And now that he has finished the rigging it is even more spectacular. Michael