md1400cs
-
Posts
2,860 -
Joined
-
Last visited
Content Type
Profiles
Forums
Gallery
Events
Everything posted by md1400cs
-
 Ulises, Welcome back!! Nice to see you posting again. As I've mentioned before your rigging work is so so excellent. The ship is looking great. AND thanks for that link for the deadeyes, and rope. Ferit, of course, has an amazing eye for details, and he saw that the deadeyes were excellent. I will purchase from them. Regards, MIchael
 -
Andy, Welcome to MSW, you will make very many great cyber friends here. You will also gain a steep learning curve looking into and reading from so many amazing builders. I find it )SOS) is a huge endeavor for which you will have much, (if needed) help here. Several builders are building superlative examples of this beautiful ship. Again welcome, I (we) look forward to your updates. PS: Your work area is, well spectacular. Lucky you. Regards, Michael
-
Matti, Buck is right; You've never worked with wood before? you are a natural ! I would have never thought that as well. R/ Michael
-
Matti, You are being overly critical of your great work (like me (:-) Your towers look excellent. Your small timbers that go around the tower are also perfectly shaped. See the photos. PS: Be sure to attach the towers vertically, not angled forward. Though I believe that the lower towers should be all the same size. My Corel had smaller ones towards the front of the lower galleries, I fixed that. Regards, Michael

-
Jack, Great updates from before. Thanks for loading all of this beautiful build. As everyone is saying you have set a marvelously high standard. Congrats. Regards Michael
-
Matti, Your tower looks perfect. I can visualize that your galleries will be spectacular. Congrats super nice replication from the 1:1 pic. Regards, Michael
-
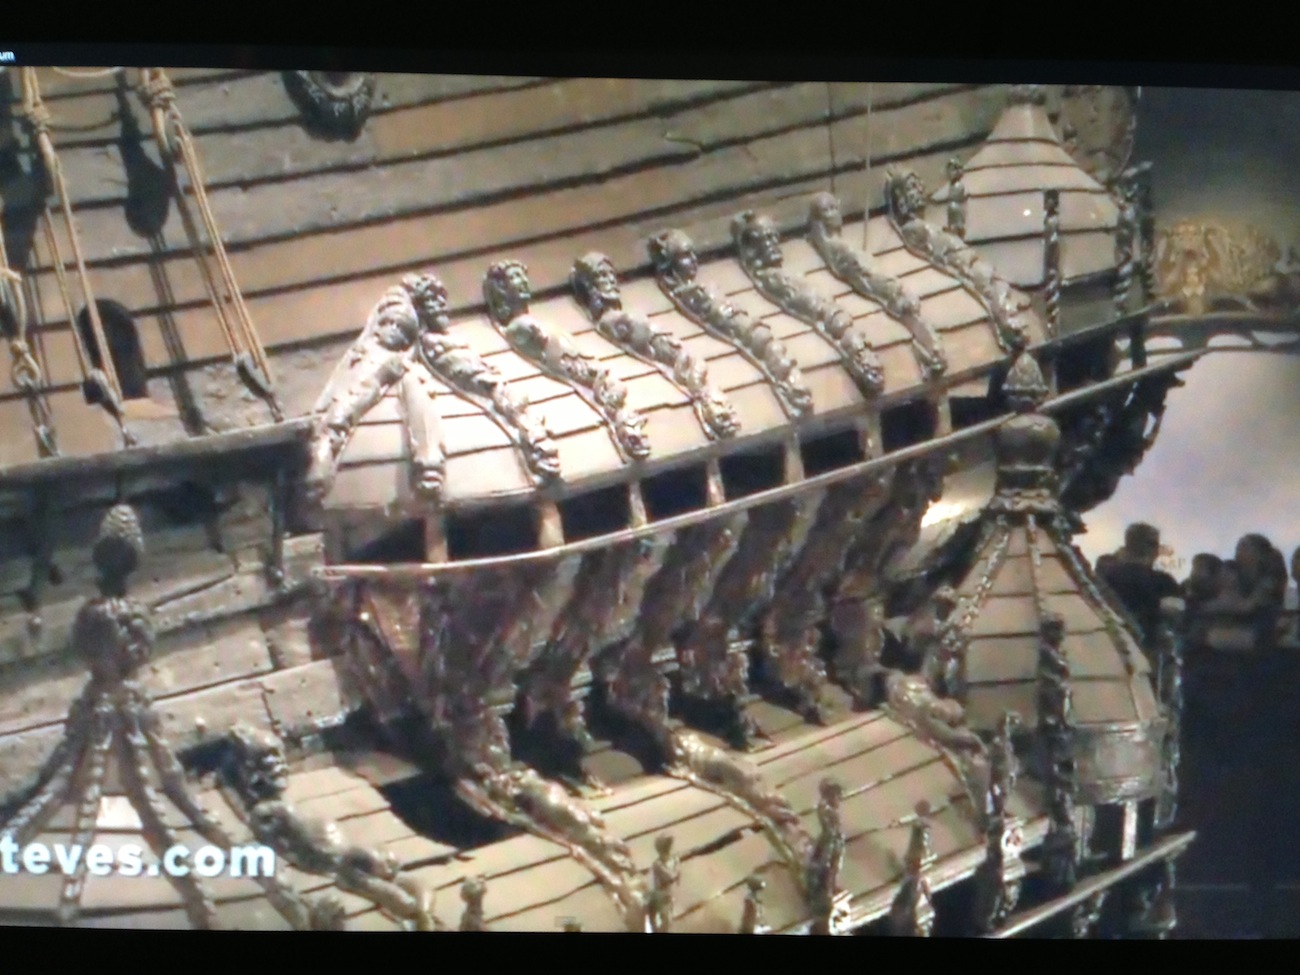
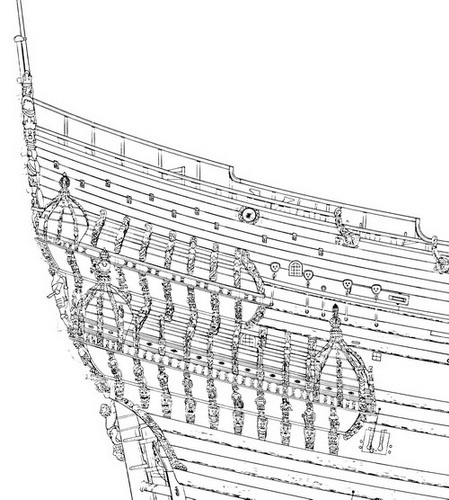
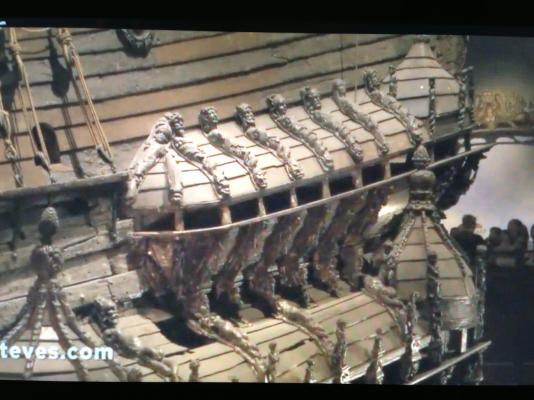
Kevin, Thanks so much. These larger format pics. of Clayton's astonishing Vasa will be so helpful. I thought that I had found all of his available info; I had not some of these were added Again thanks Michsel
-
Jan, Nice update, again I love the "old look" of your build. So you are also rebuilding areas that are not correct. Time consuming for sure, but after the fixes you will be much happier. They are worth the time and effort. If only we had known about these errors with the kits Before we started our builds (:-) Now that we have become "obsessed" its hard to move forward without first repairing the mistakes. Your bow doors will look much better. Too late for my incorrect doors. Regards as always, Michael
-
Matti, A suggestion, start with a smaller drill bit and build up to the size hole that you need. This has always worked for me in these type of situations, where I think that the wood may crack because of too much stress. Michael
-
Ferit, I agree with everybody ! your ratlines look perfect. Keith made a very good observation, I will remember his thoughts when I get to where you are in mine. Regards, Michael
-
Mark, That scalloping looks awesome, you have managed to add a detail that is really spectacular looking. Well done. It's a pleasure following your build. Regards, Michael
-
Andre, Very sweet looking update. I really like so much your use of colors. Your painting skills are really so excellent. Your Galleries look very nice. Nice touch on the small windows, they look perfect, as does your bow. All of our gilded metal pieces are the same in both kits. You are right the lion paws should be on each side of the bow beam. I repainted mine after seeing how great your's looked (your is so excellent) Regarding the capstan, I believe that the kit included piece was actually more original and that I was the one who thought, years ago when I started the Vasa, that the capstan was too "basic" looking and bought a new piece. That was before I learned here on MSW that mine was wrong. Yours is really great. I also like that wooden poles that you have added. The lengths look perfectly in scale. Nice update Regards, Michael
-
Thanks Andre, I so appreciate your following this build, and also taking the time to post. Thanks Michael
-
Nigel, Thanks for your nice comment as well as looking in...Yes small details do help in the aggregate, however labor intensive. I've seen some amazing builds on MSW that are detailed super small "extras" They do make the builds really stand out. Regards Michael
-
Matti, As usual a big thank you. So it seems that I was working on those openings, not even knowing what they were for. Now I understand. Thanks (:-)
-
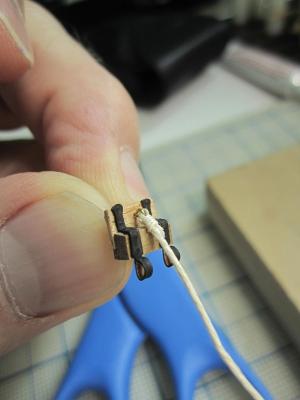
Hello again, Again, thanks to all of you for posting those super nice comments. They are a real source of encouragement. As you all know this hobby, for the most part, is a very solo effort. So all of your nice posts are very wonderful catalysts for also improving skills, as well as a forum for sharing our mutual passion. I have not spent a lot of time with the boat, as I have decided to also return, on an as needed basis, to work. I won't travel long hauls, as my sweetheart would break my neck. But I am doing a re-current "type" rating and will return to day trips for a charter company run by some long time friends. It seems that, the majors just hired three of their primary guys; they became short of right seat crews, and asked if I would consider. But I'm in school again OMG..... -------------------------- So I have a small (very small) update. I installed the small canon doors on each side of the hull near the galleries. A BIG thanks to Ferit for introducing me to that glue for ropes. It works so well (:-) Here are some pics. OH you might notice, on the last pic, that at the top of the stern the superstructure has been removed. Hmmm it kept snapping off on the edge of the table as I reach up and lay the ship across my lap. I fixed it twice. This time I just put it away. Luckily it always snapped off without tearing up other parts of the stern. Regards to everybody AND thanks so much for showing an interest in this project. Regards....Michael


-
Ferit, Coming from you I am so touched. As you know your build hypnotizes many of us. Your talent is so spectacular. Thanks so much
-
Jan, Thanks (:-) Your project is very, very beautiful. Your using mine as an occasional incentive is much appreciated. I thank you very much. We are all learning from each other. I appreciate much of what you are doing and would have followed you as well had I been behind your build.
-
Nigel, Thanks so much. I appreciate the superlatives (:-) Very kind of you to post.
-
Matti, You really captured the weather deck stern braces. Looks really spectacular. I also like the wooden trim that you have added around the curves. Your Galleries are really coming along so nicely, yes its a lot of detail work, but so nice after its done correctly. You will really appreciate the effort. Great update. Regards, michael
-
Hi Matti, could you add a photo of these small ports, and boarding areas that you mentioned (if you have)? I don't see, in my mind, what you are saying. I have also always been curious of how the ship is boarded. There is no obvious boarding area on the 1:10th. As usual you so kindly helpful (:-) really appreciated. Regards Michael
-
Nigel, Beautiful update. I'm also really enjoying watching your build. Did you insert brass sleeves in your forward canon openings? It might just be a refection, but it looks so excellent. Regards, Michael
-
Joachim, Those boats look really wonderful. Beautiful custom added details...nice update. I'm glad that you have found time to, again, work on this beautiful project. Regards, Michael
-
Peter, That cutter will look great. Nice update ! Michael