Old Collingwood
-
Posts
12,104 -
Joined
-
Last visited
Content Type
Profiles
Forums
Gallery
Events
Everything posted by Old Collingwood
-
 "Mix and match" then the instructions are always the worst part for all of us I thin, same when you have seperate PE sheets and main manual to read - but somehow we get there. OC.
- 126 replies
-
- 5
-

-
- Thetis Bay
- Finished
- (and 4 more)
-
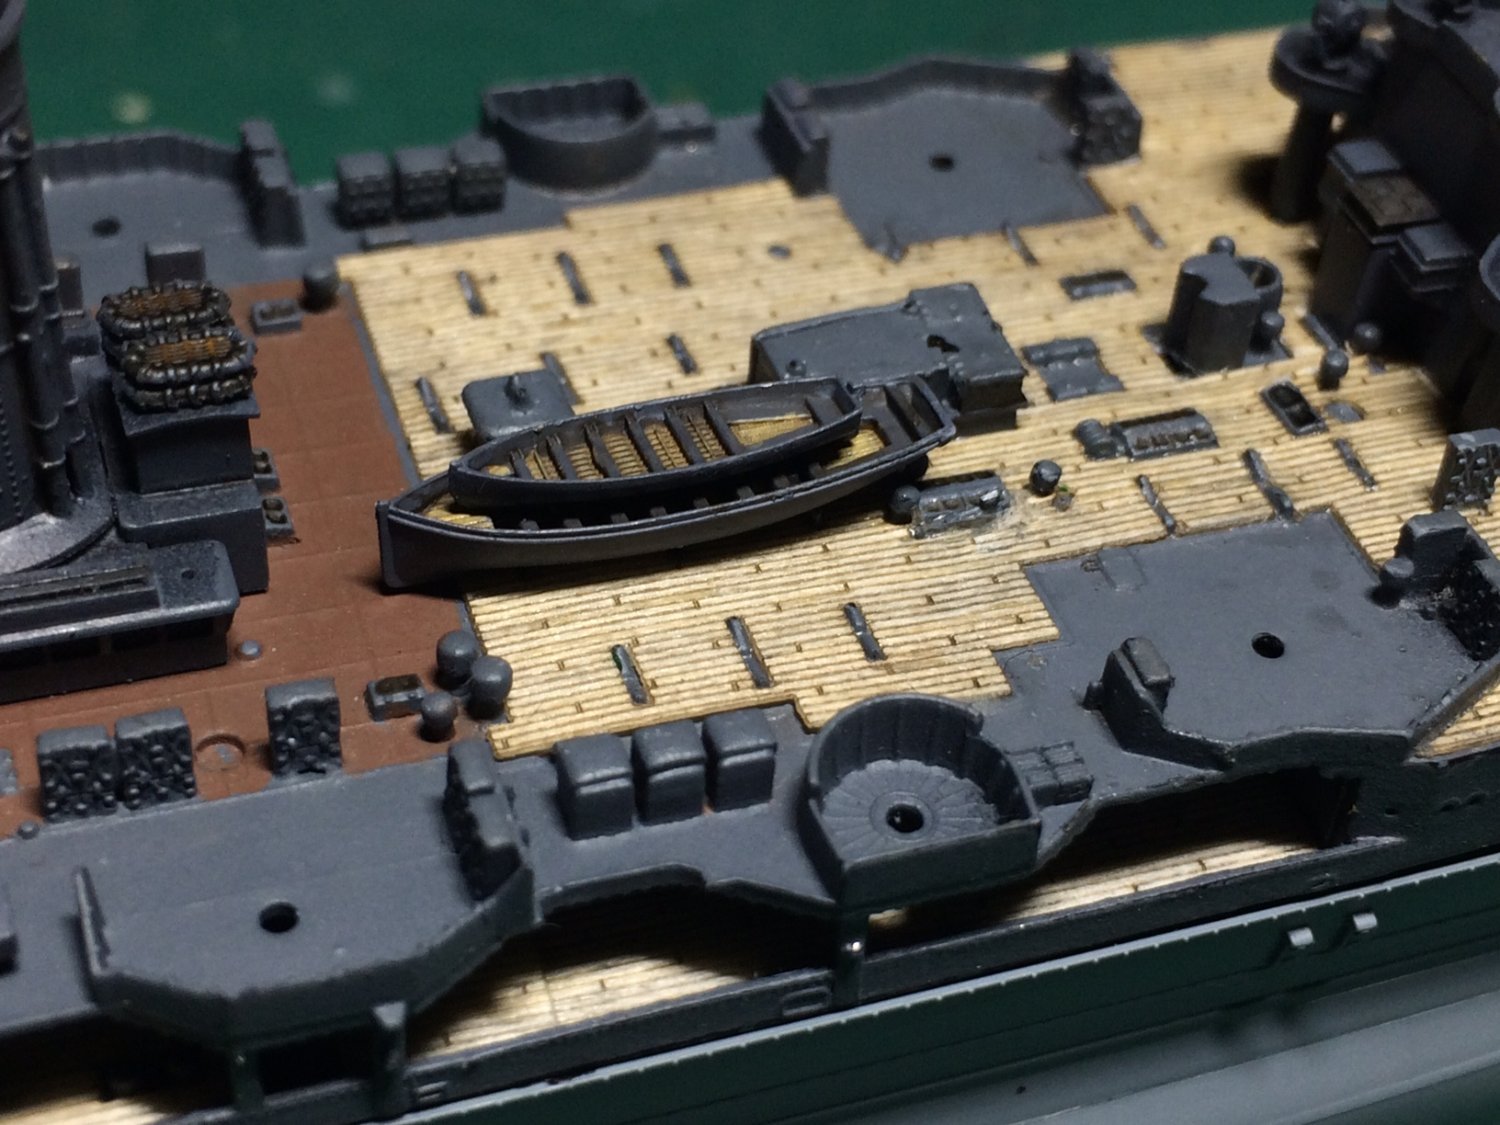
Im still debating about putting my main ship railings on - as I just feel in real life at the scale distance we would view the model from - they would probably not be seen. OC.
-
Excellent work - fantastic weathering. OC.
-
How you guys do this with such delicate stuff is beyond me - amazing but scarry. OC.
- 79 replies
-
- 2
-
-
- SD 14
- Marcle Models
- (and 1 more)
-
Very interesting build - just shows how plastic kits can be brought to life and how they can even be interworked with wood - planks (if you want to go down that route) mast strengthening using wood dowels inside, spars, deadeyes etc and deffo worth doing rope/thread shrouds and rigging. OC.
- 444 replies
-
- 1
-
-
- Cutty Sark
- Revell
- (and 2 more)
-
Gonna send you a rubber knife mate - can't have you cutting yourself😁 Seriously amazing work - I take my hat of to you and others who attempt these card builds. OC.
- 79 replies
-
- 5
-
-
- SD 14
- Marcle Models
- (and 1 more)
-
Very nice indeed - looks so lifelike. OC.
-
Should have said - you wouldn't need to do the ratlines at this stage just the shrouds/deadeyes. OC.
-
That is good Bill that you did the same to the masts as I did - it will give them that mutch more strength, do you know what I would do with the shrouds? make them first all the way down the the deadeyes and secure and tension them so the masts are correctly tensioned from port to starboard - then work on the main stays. OC.
-
Bill hope you don't mind me adding my own observations based on my last plastic/wood build, I think your standing rigging will be crucial to keeping your masts straight and taught - but also I have noticed from the plans (not just Victory but others) the stays are attached around the layered shrouds - leading to the question - should you be fitting the shrouds / deadeyes first? they will help to add strength to the lower masts (I assume they are the stock kit plastic ones)? Just some friendly advice based on what I went through with my Black Pearl build. OC.
-
Looking smart Alan, I think the tissue paper PE will be our lasting memory of these kits, I have worked out - trying to rush/fit to much of it in one go - spells disater, best to do a bit - do something different on the build then come back to the PE. OC.
-
Thank you Alan, its just a buff colour first then a couple of Dark Brown washes - it adds the shadow detail and ages the wood a bit. OC.
-
Incredibly delicate work there mate - really nice. OC.
- 79 replies
-
- 3
-
-
- SD 14
- Marcle Models
- (and 1 more)
-
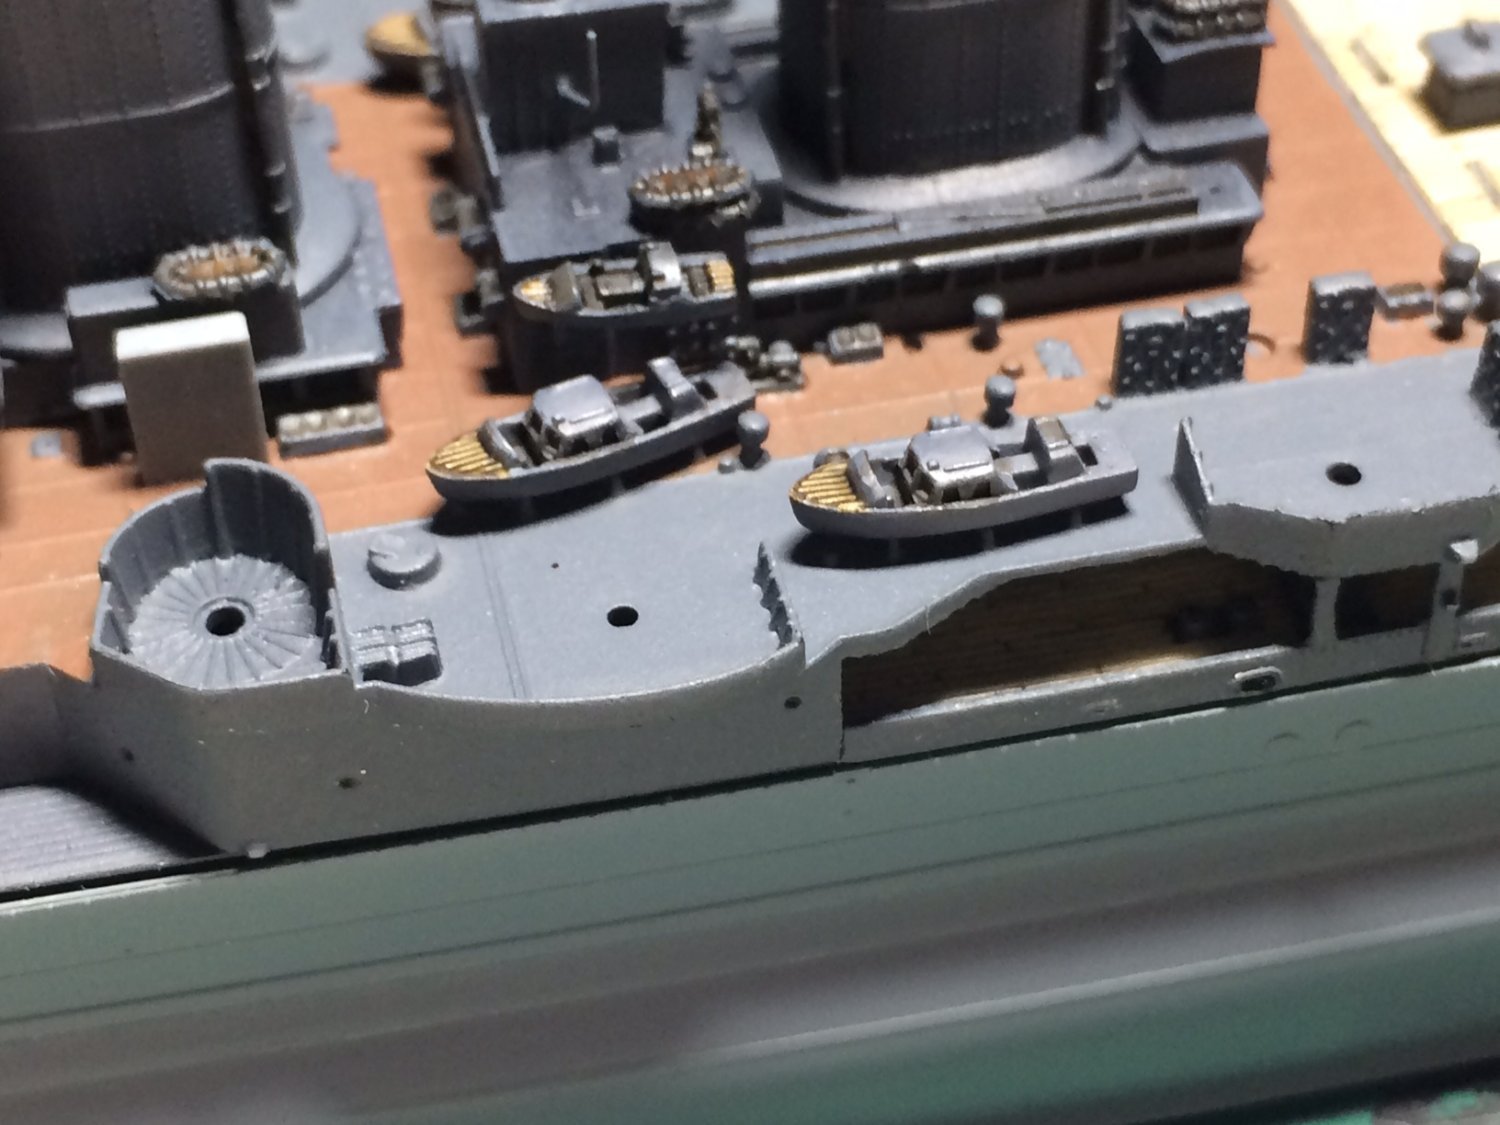
Evening all, more little work in tiny land - this time with Three motor cruisers - they were put togther (canopy added to hull) then painted and washed and glued in place. OC.


- 510 replies
-
- 11
-
-
What was your clean method for gluing - so you did not get too much glue seepage? OC.
- 126 replies
-
- 4
-
-
- Thetis Bay
- Finished
- (and 4 more)
-
Splendid work Greg - those gantries look superb mate. OC.
- 126 replies
-
- 5
-
-
- Thetis Bay
- Finished
- (and 4 more)
-
Really nice build - so lifelike - amazing what detail can be put into these builds. OC.
-
Looking sweet - nicely detailed - nice and simple design that just works - some nice RC kits of them also - but that's a really deep rabbit hole. OC.
-
So good to see you back with us in our model making world (so right we need the restbite that builds bring us) Happy New Year to brother. OC.