Old Collingwood
-
Posts
12,106 -
Joined
-
Last visited
Content Type
Profiles
Forums
Gallery
Events
Everything posted by Old Collingwood
-
 My late farther was decorated for bravery for trying to pull a burning tail gunner out of a rear gun position during the war - he got quite bad burns also (this was after a crash landing on the field where my dad was staioned) OC.
 -
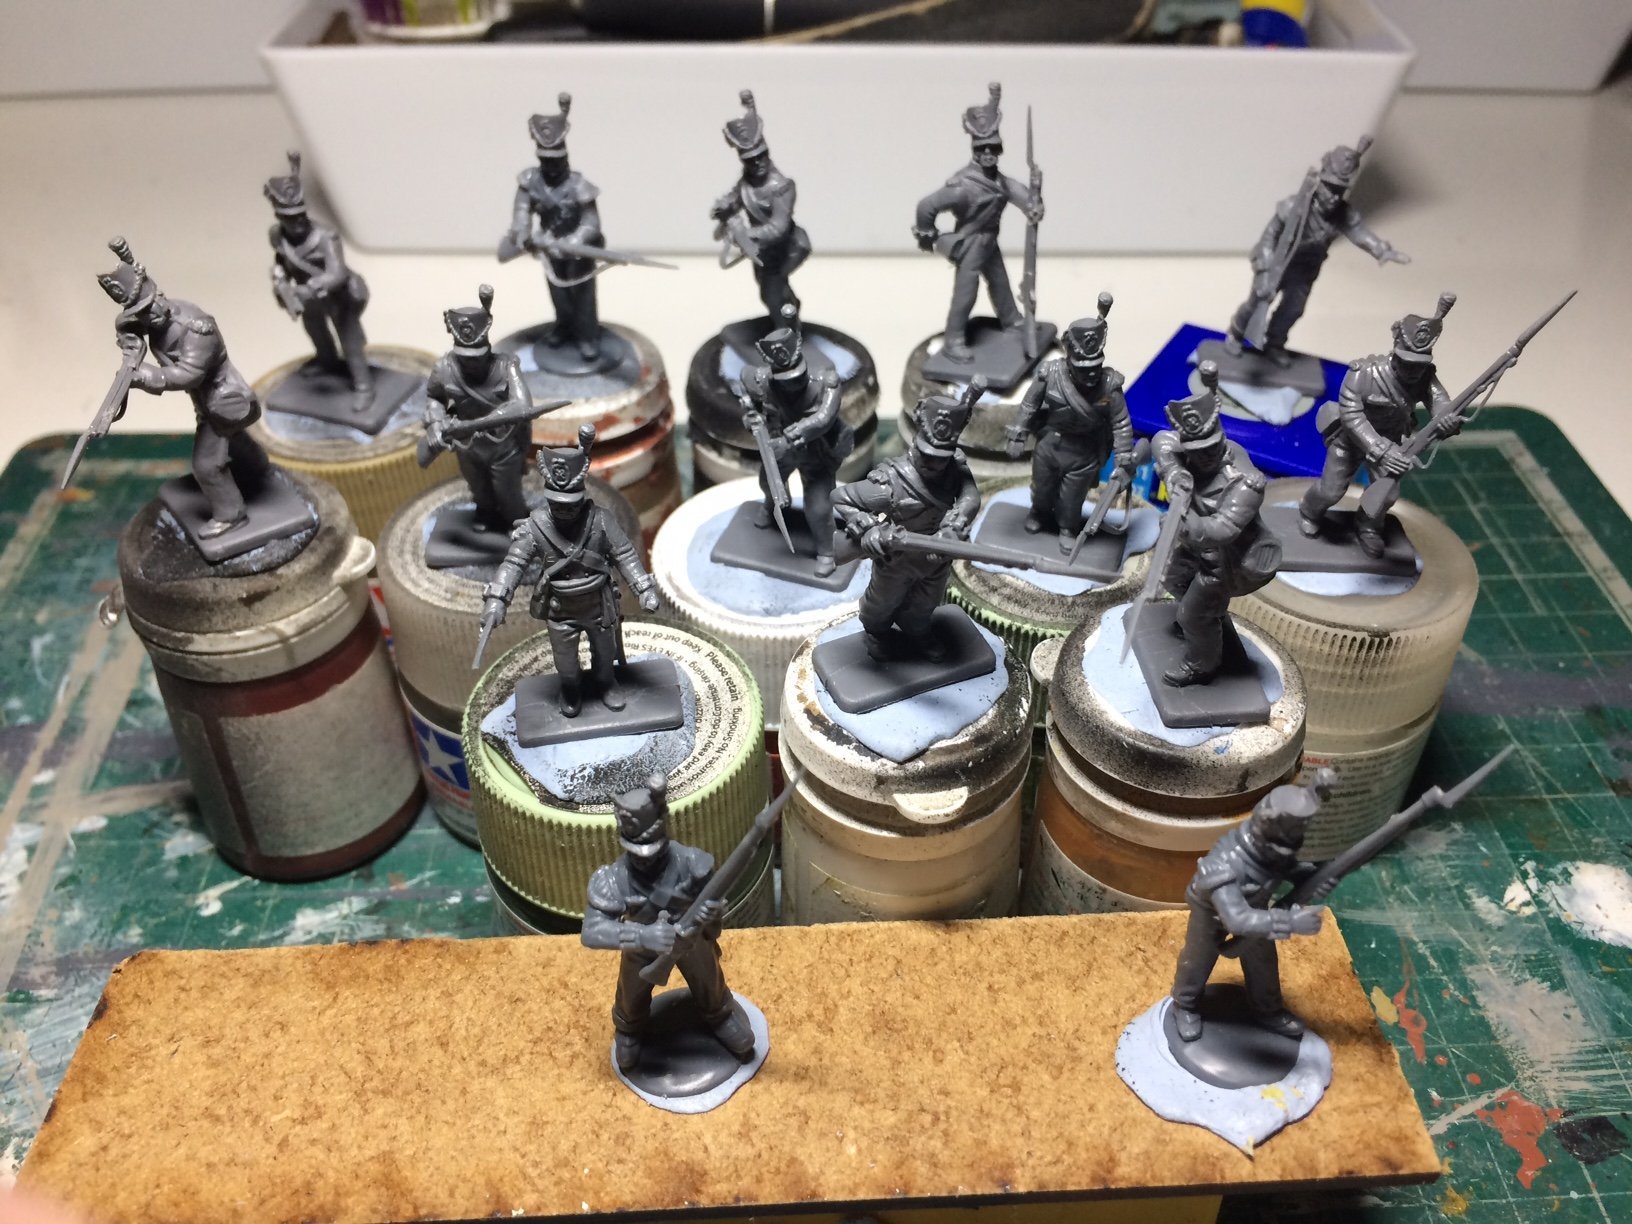
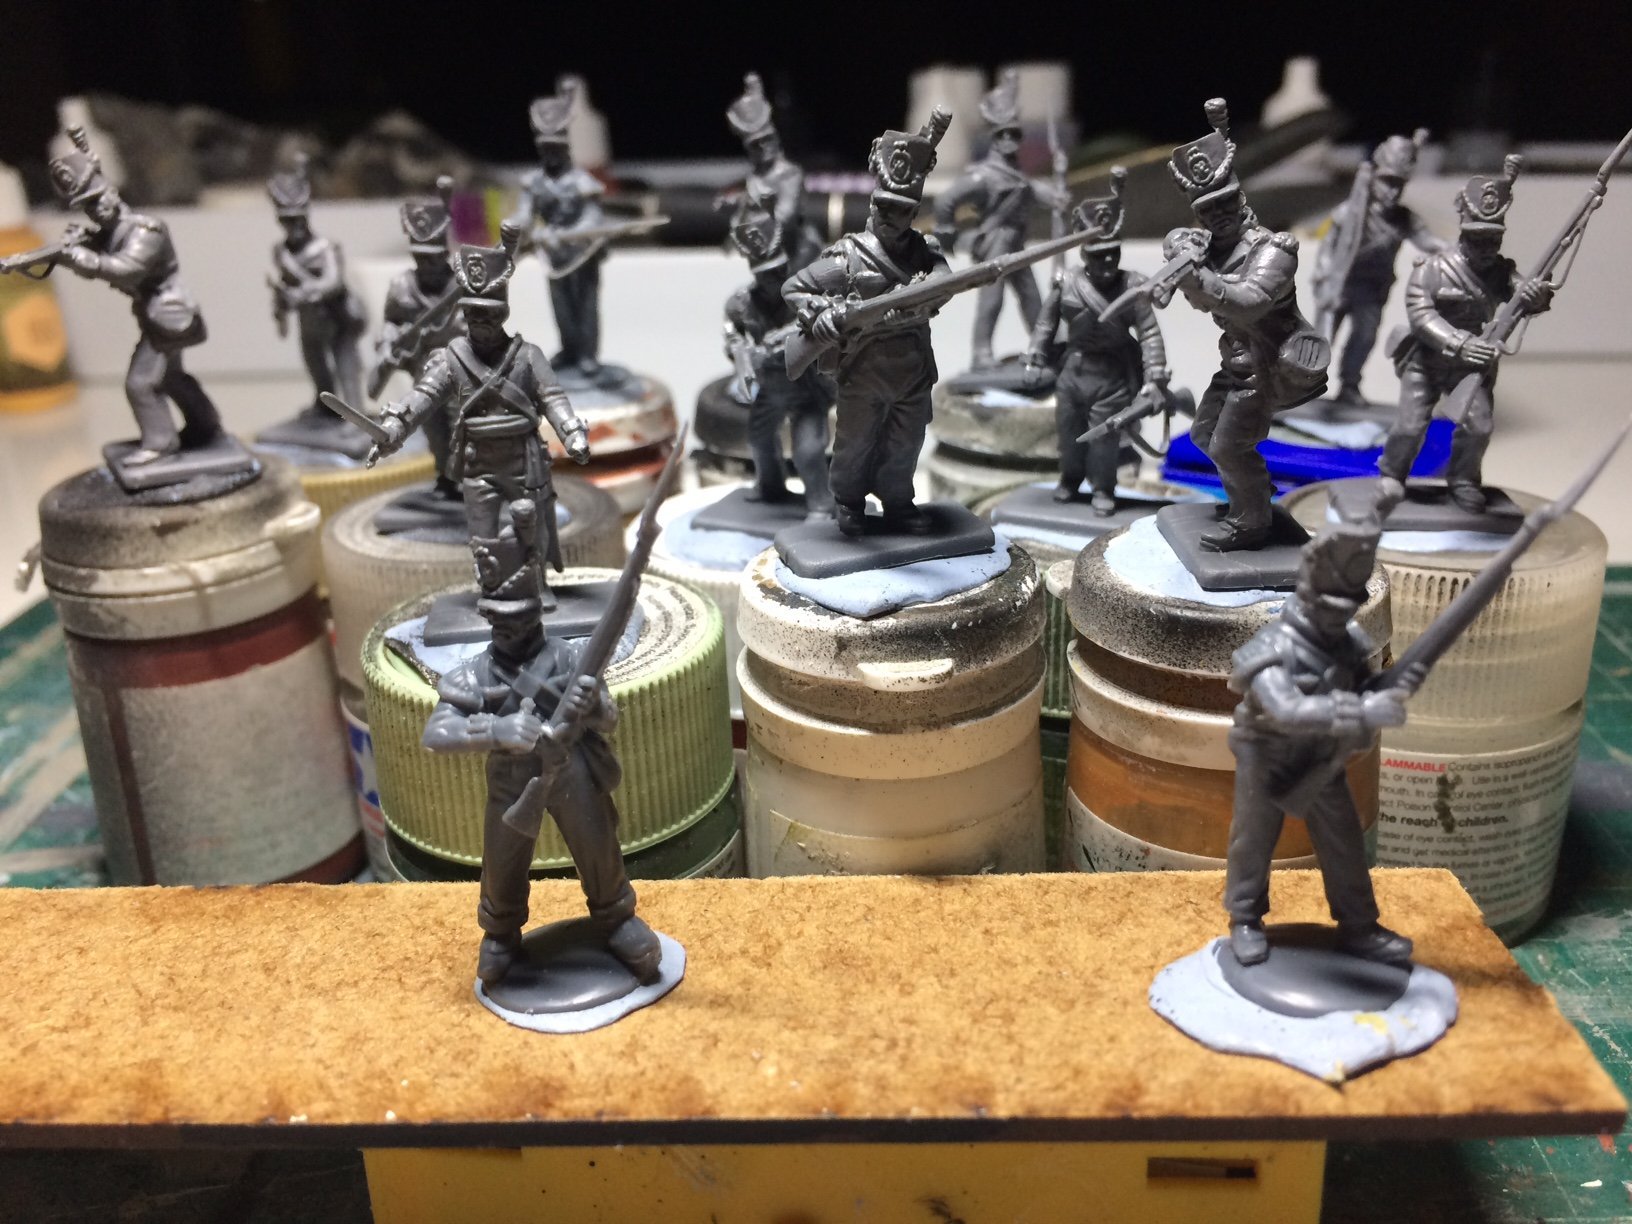
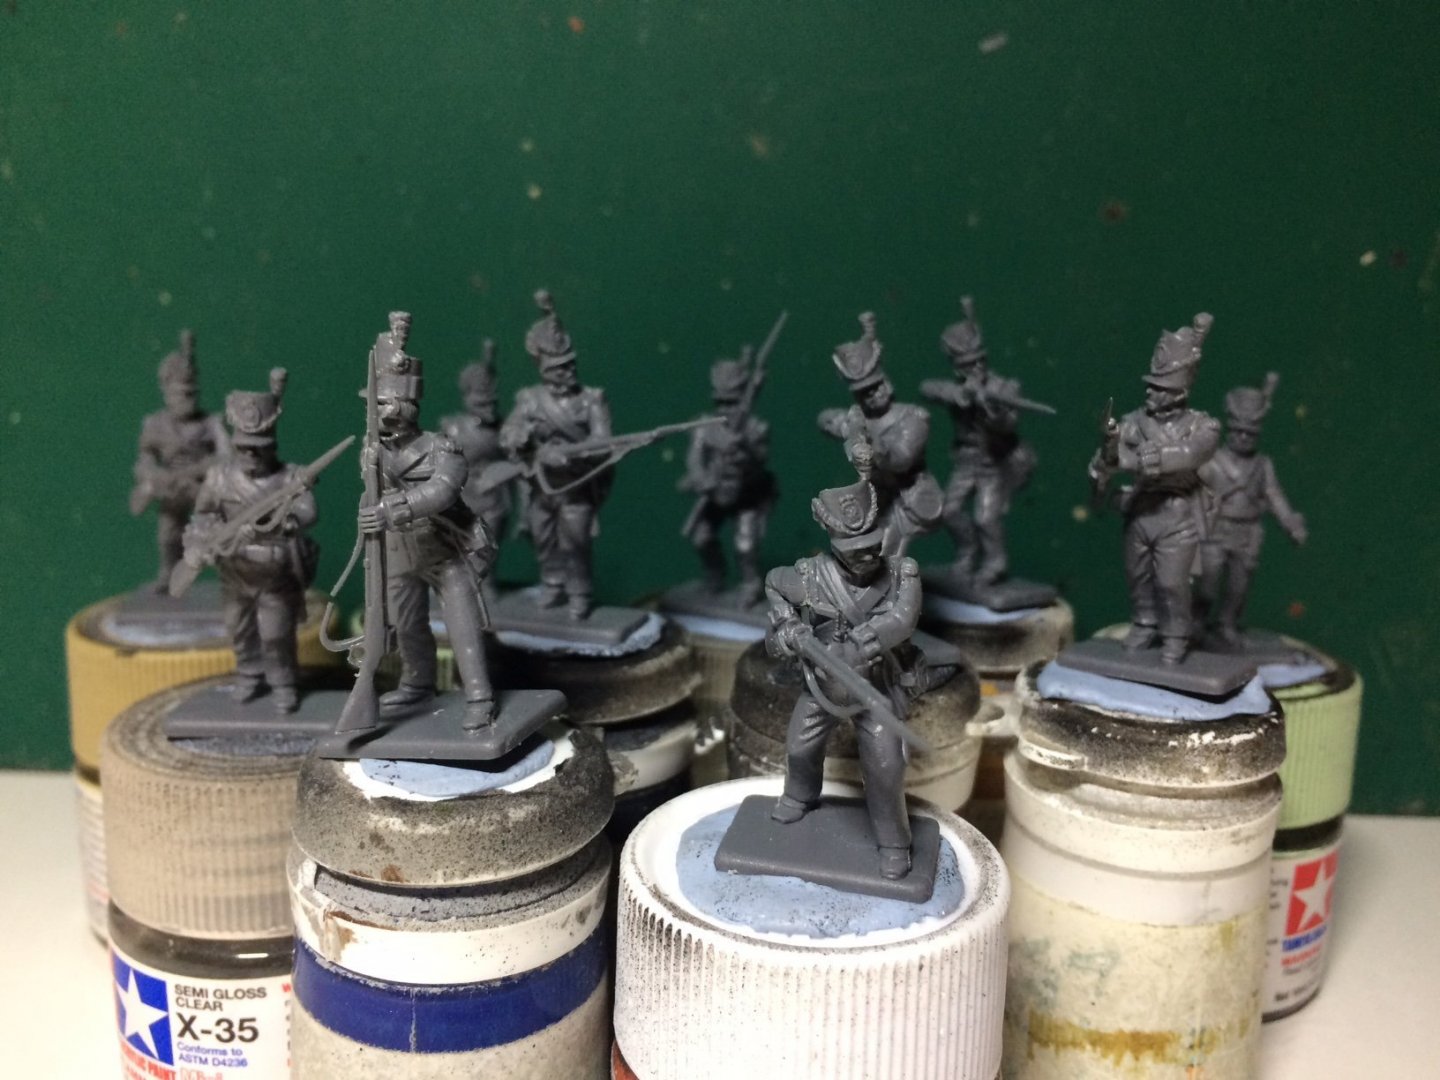
Evening all, Fifteen 5th Line KGL both cantre and light companies, now complete - just need their back packs then primer. OC.


-
A floating laudry room - seriously Greg - come on mate thats a bit worrying, but on another note Serioulsy Superb. OC.
-
I have a quiry with the spraying - the metal container ontop of my airbrush does not hold a lot of paint, so when I come to spray say the hull parts, is it ok having to do part till the paint has run out then re-fil and continue to paint - as there will not be enough paint in the metal cup on the airbrush to paint in one go? Probably a stupid question but I don't know the answer having never airbrushed anything like this before - and rattle cans are different. OC.
-
Its Ok Alan - very sensible suggestions my friend - I guess its a case of several dry fits before glueing anything down. OC.
-
RFM 1/35 Panzerkampfwagen IV Ausf.G-Finished
Old Collingwood replied to Javlin's topic in Non-ship/categorised builds
Looking forward to this one. OC. -
"Oh yes" Mark - planty of Frenchies going to be included in the areas surrounding the farm in front and to the Left of it, my build process at the moment is to get all the KGL figures finished first as they go inside the farm (it easier to put the farm on my table under my lamp - wont be that easy once its fixed to the base) then I will work on the scenery and other figures including all the French. OC.
-
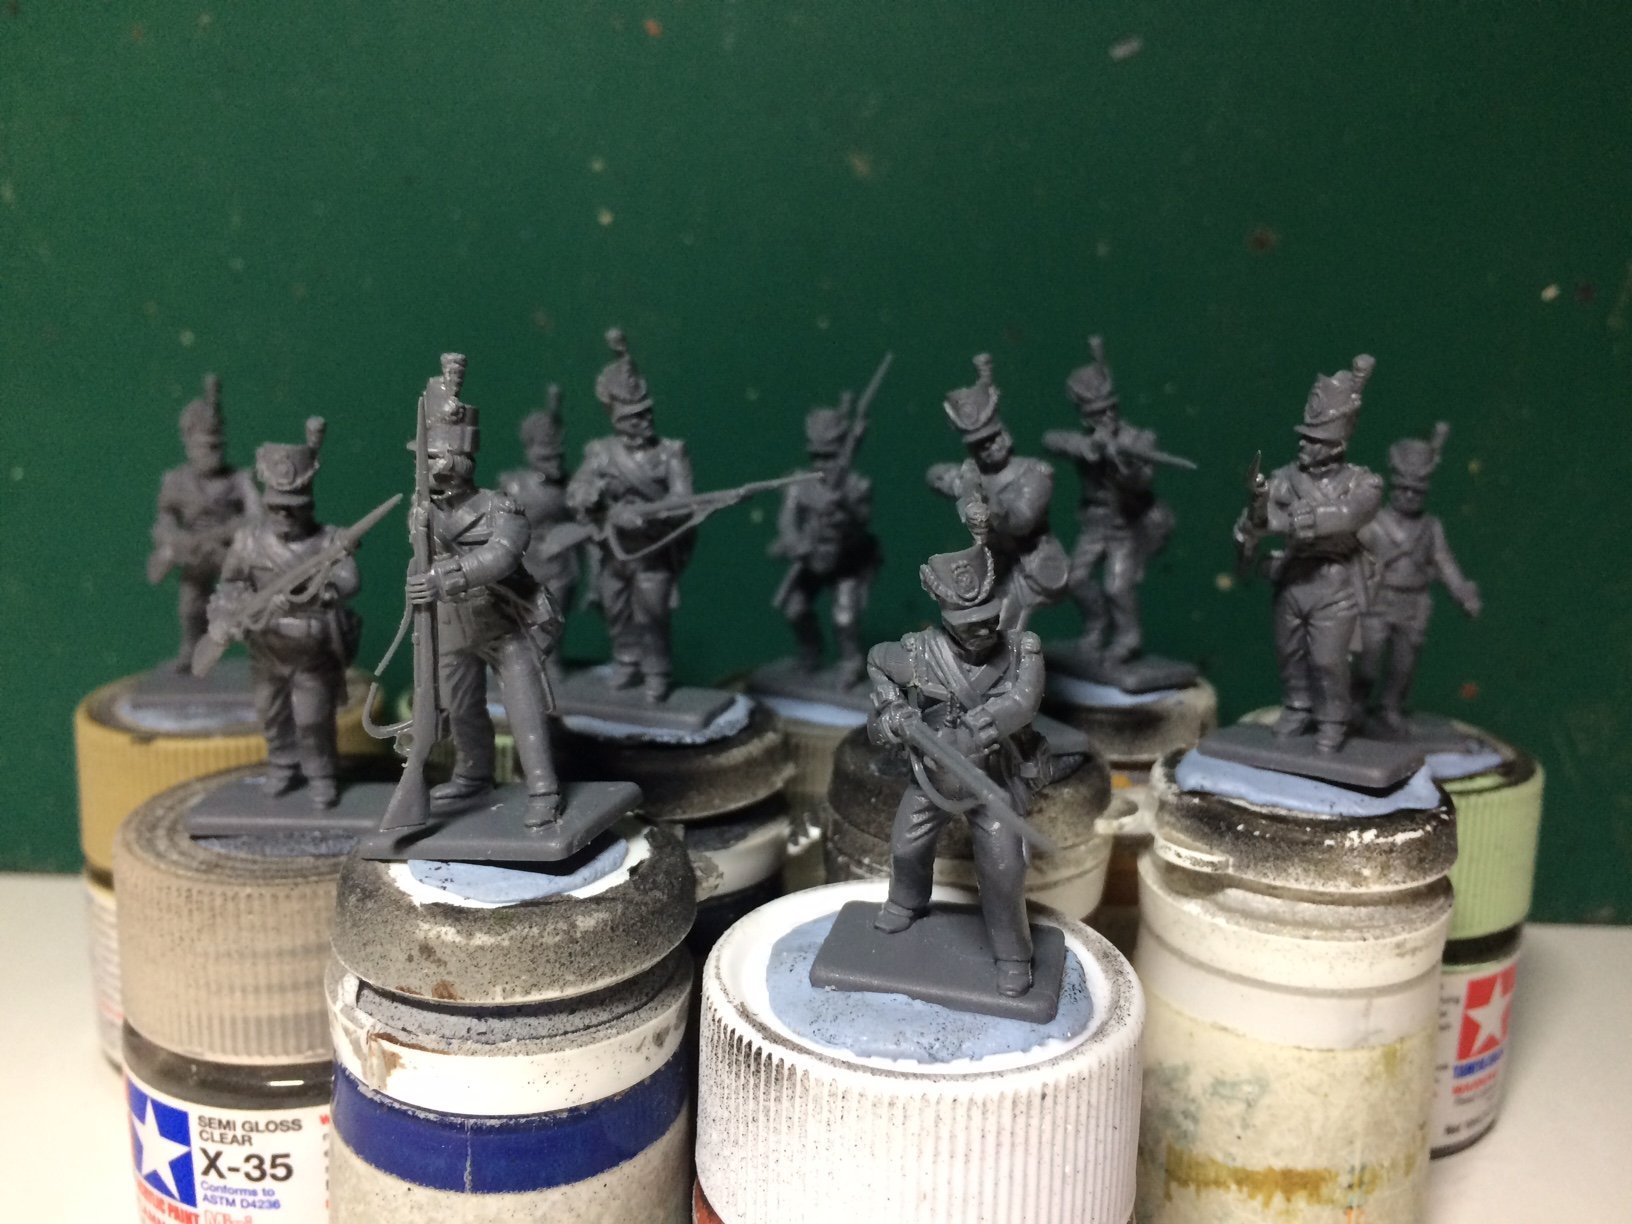
Evening all, more KGL being constructed in the shape of the 5th line centre regiment, that was sent down as re-enforcements, as no extra ammunition was sent down to the 2nd KGL. OC.

-
Thank you kindly Denis. OC.
-
Thank you kindly mate, getting there slowly. OC.
-
Very nice work. OC.
-
As I was saying to Craig - here is an idea of how I could build Hood - The kits hull is broken down into Three sections - Lower hull, then Boot line and the Upper hull, I was thinking of starting by taping these together on the inside then cleaning up any seams or areas not sitting flush with each other, then each section could be treated as a part on its own starting with the lower - boot section - upper hull, each could be primed the painted reducing the need to mask up. Also as it been suggested (thank you chaps) to prime and paint the PE on the fret - I would build the superstructure and paint it the fit any sections of wood decking then PE railings etc, It might also be possible to add some blocks inside the hull inline with where the deck will sit, so gluing down could be done without glue oozing out the full length of the hull (thats been painted before hand) then the wood deck could be fitted and the pre painted super structure ontop of that. Souds like a plan??? OC.
-
She is looking really nice Craig - these kits are so good so much sharp detail. OC.
- 174 replies
-
- 4
-

-
- prinz eugen
- trumpeter
- (and 2 more)
-
Lots of fine work there Alan, you not tempted to have the hangar open with the Merlin/Lynx inside? OC.
-
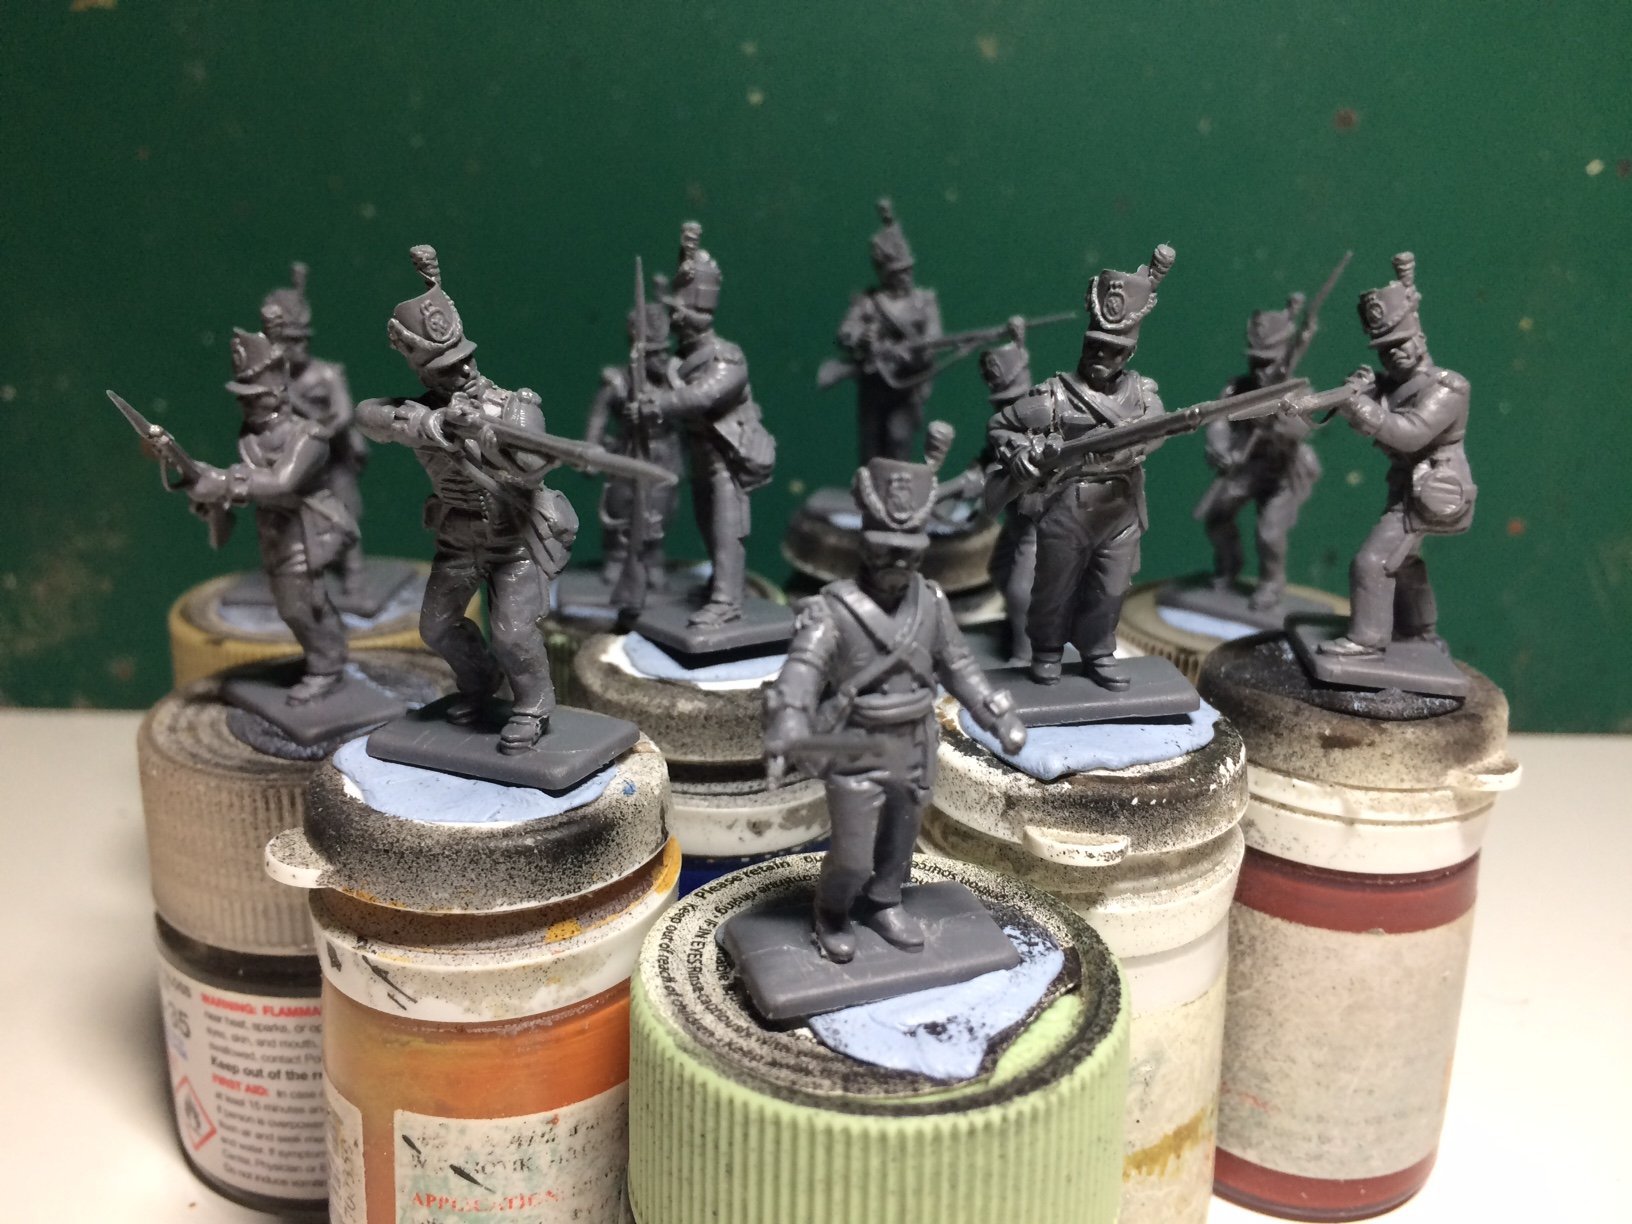
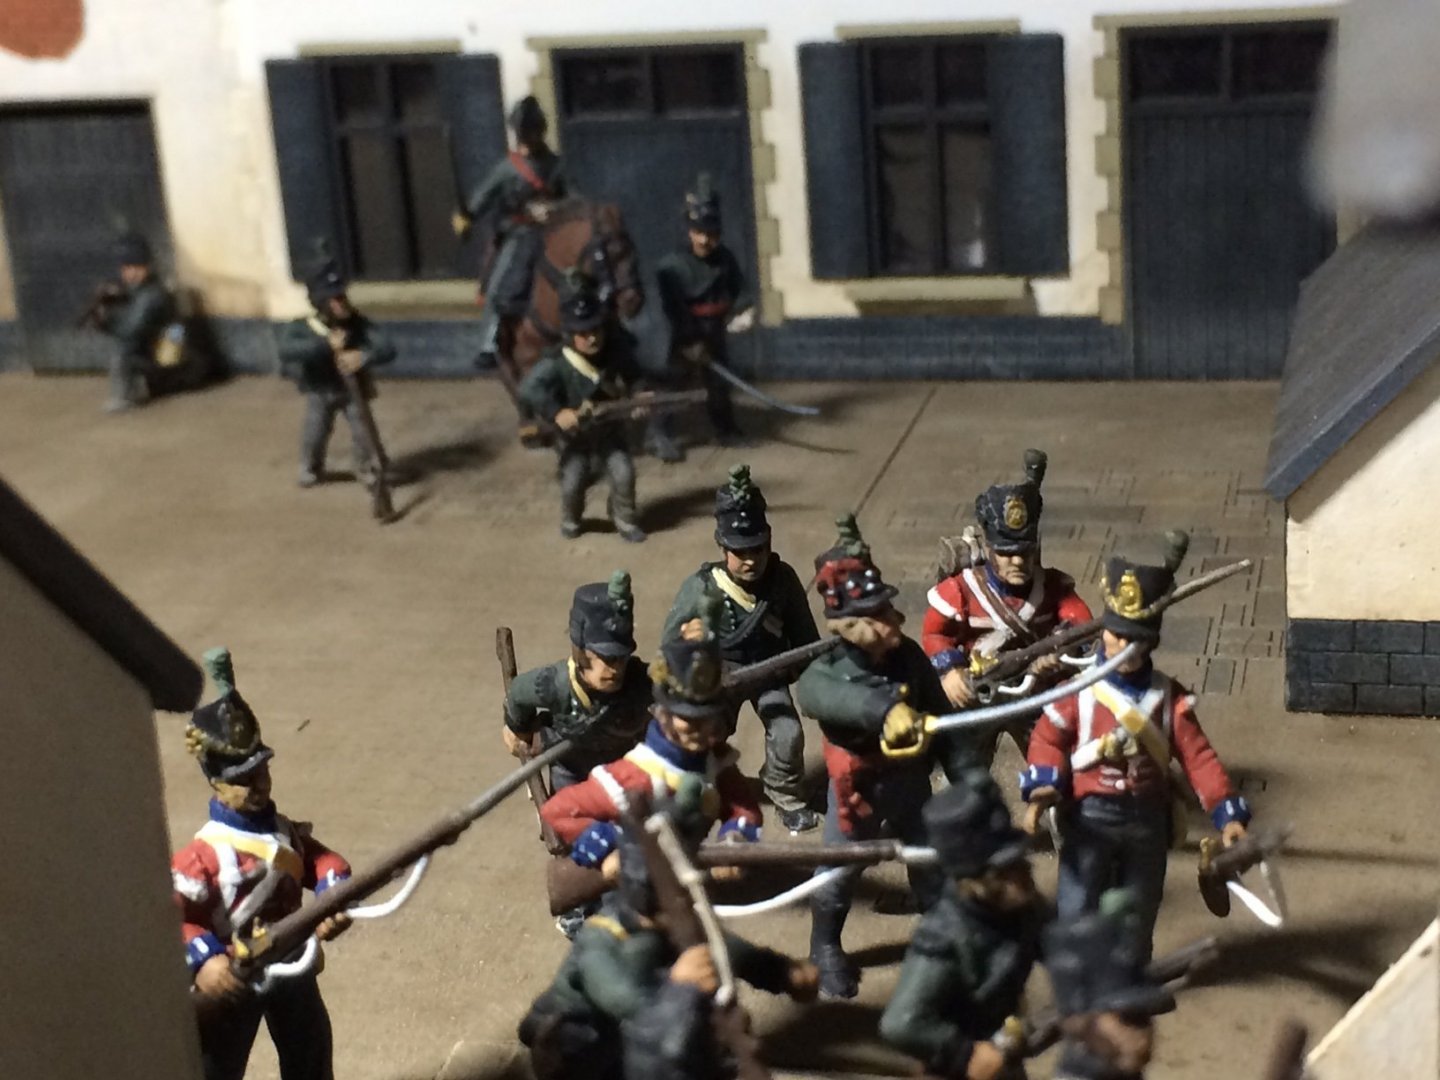
So just as I said to Alan - I have started on my next Fore-teen figures, in the shape of more 5th KGL (Red coats) these will be placed inside the farm when done also. OC.
-
Thank you Alan, Its fairly busy in there - but needs to be as it was a hive of activity with close to 400 KGL in the farm at one point. I am working on my next batch of 5th KGL (Red coats) at the moment - mixing them breaks the boredom factor a bit. OC.
-
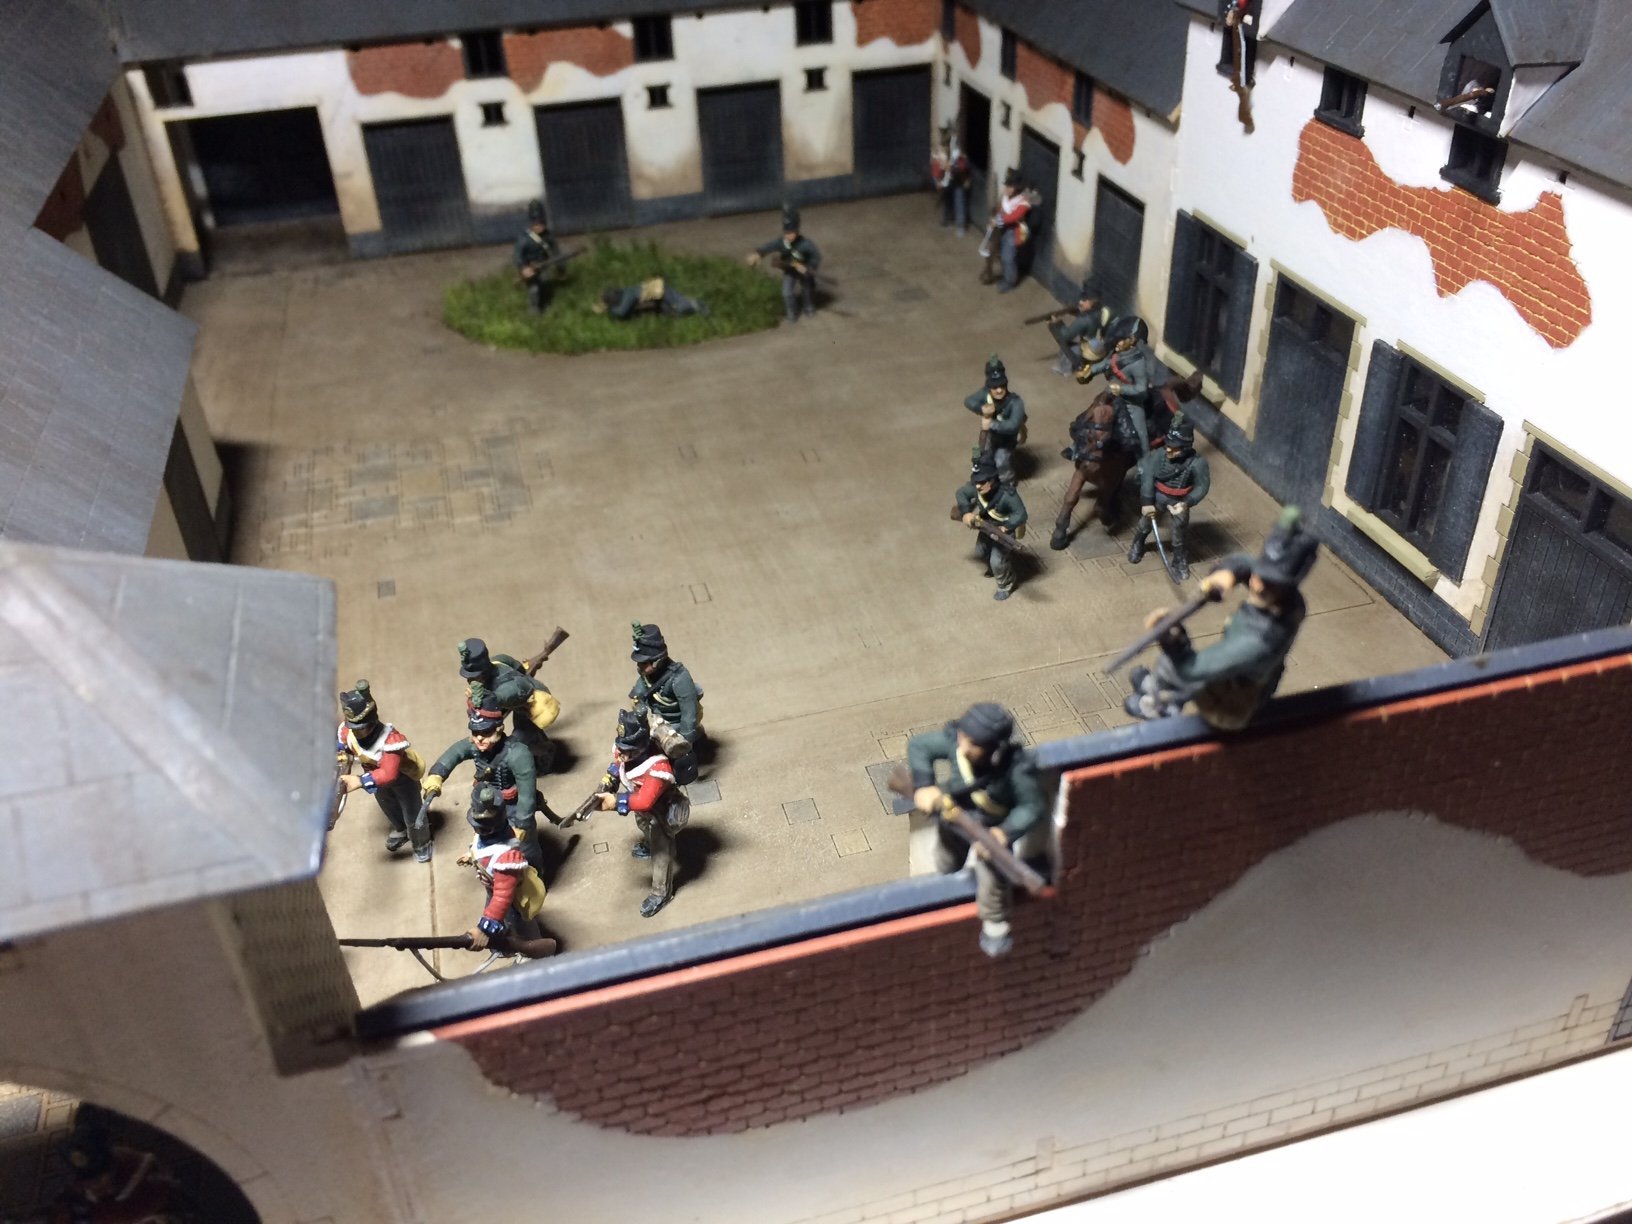
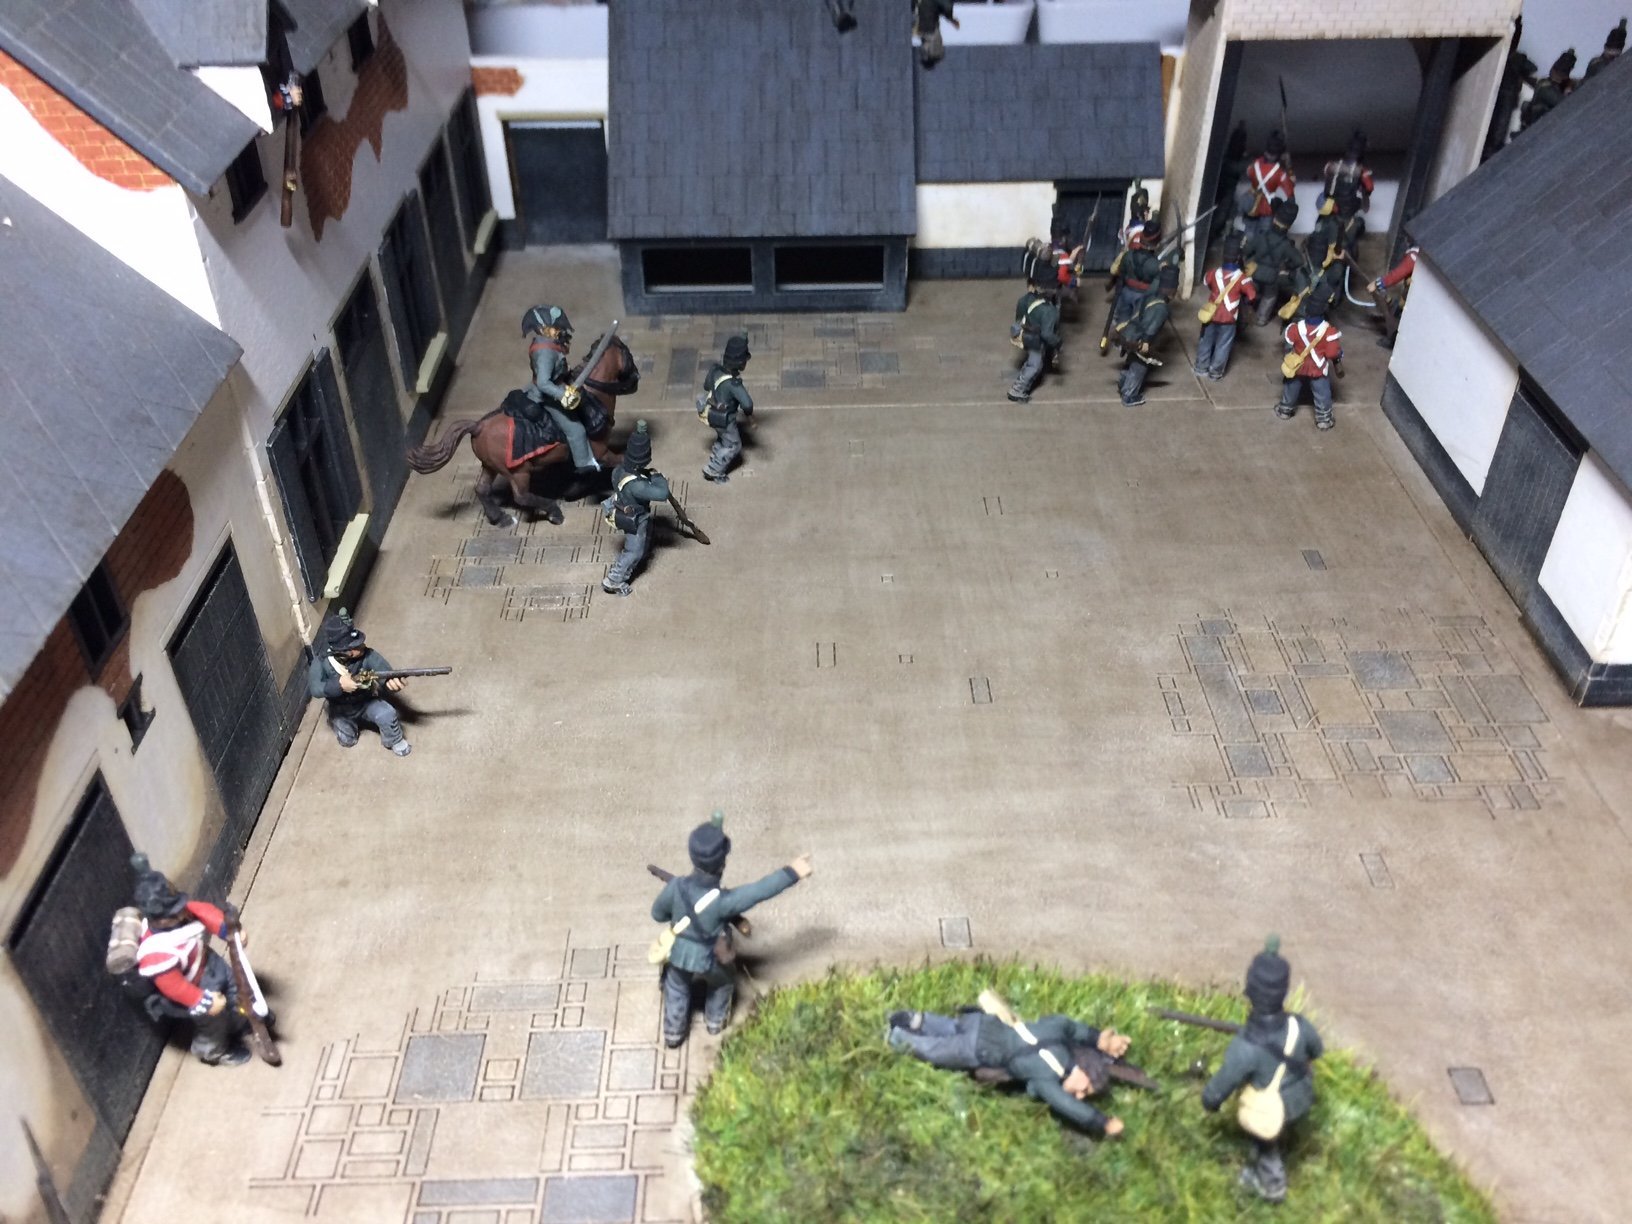
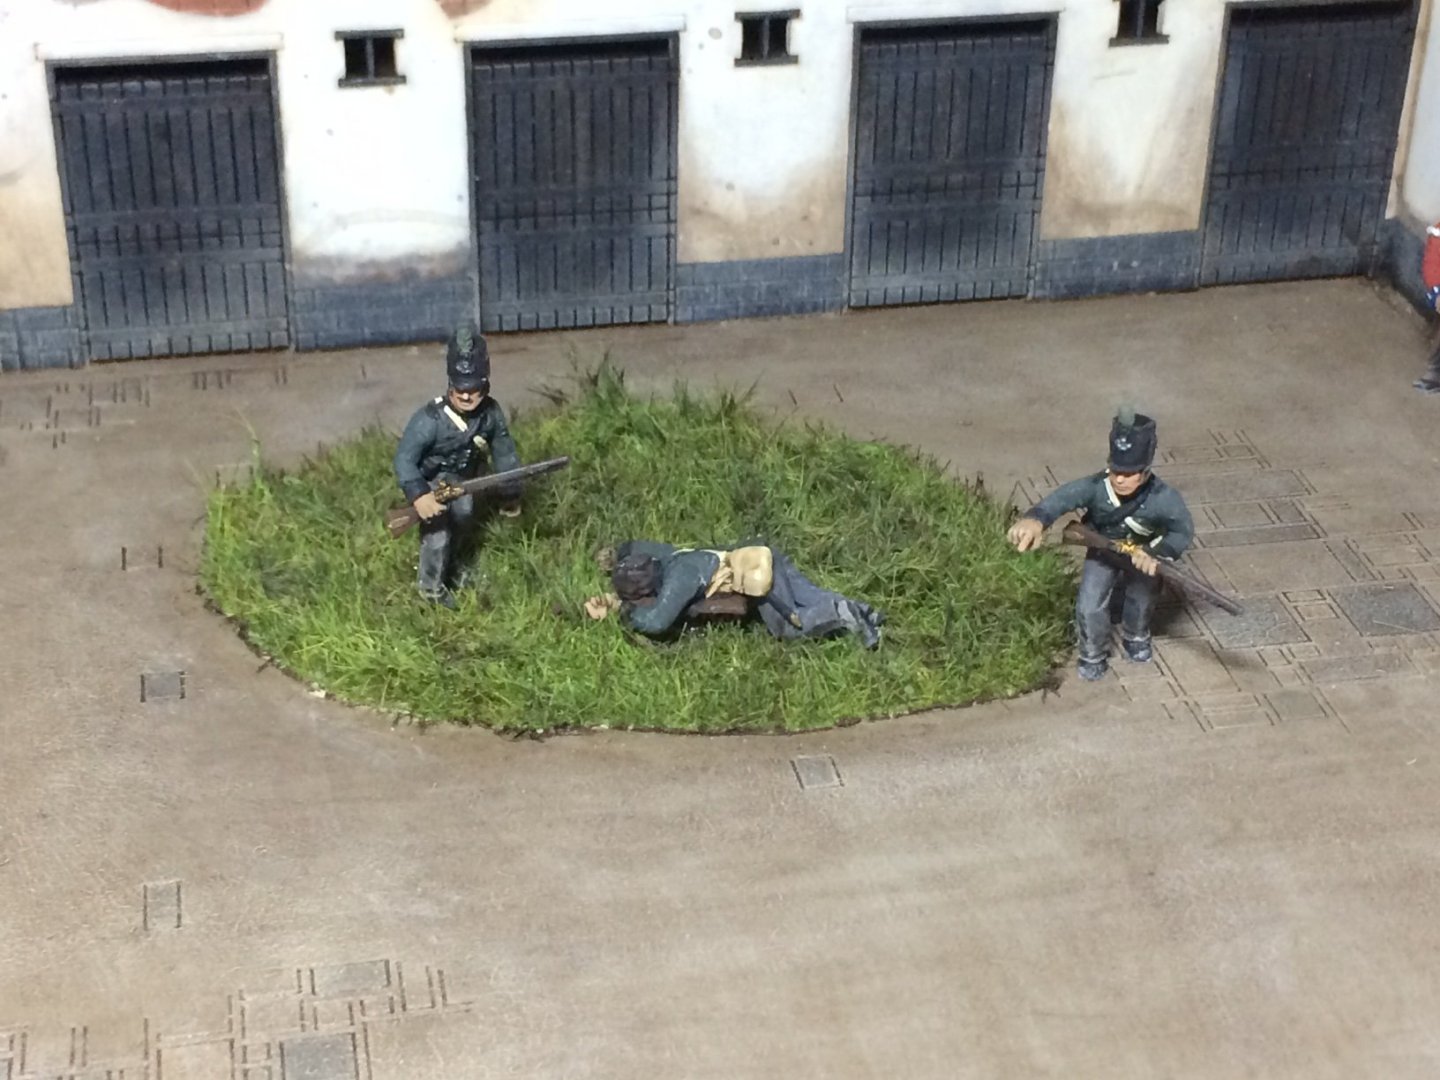
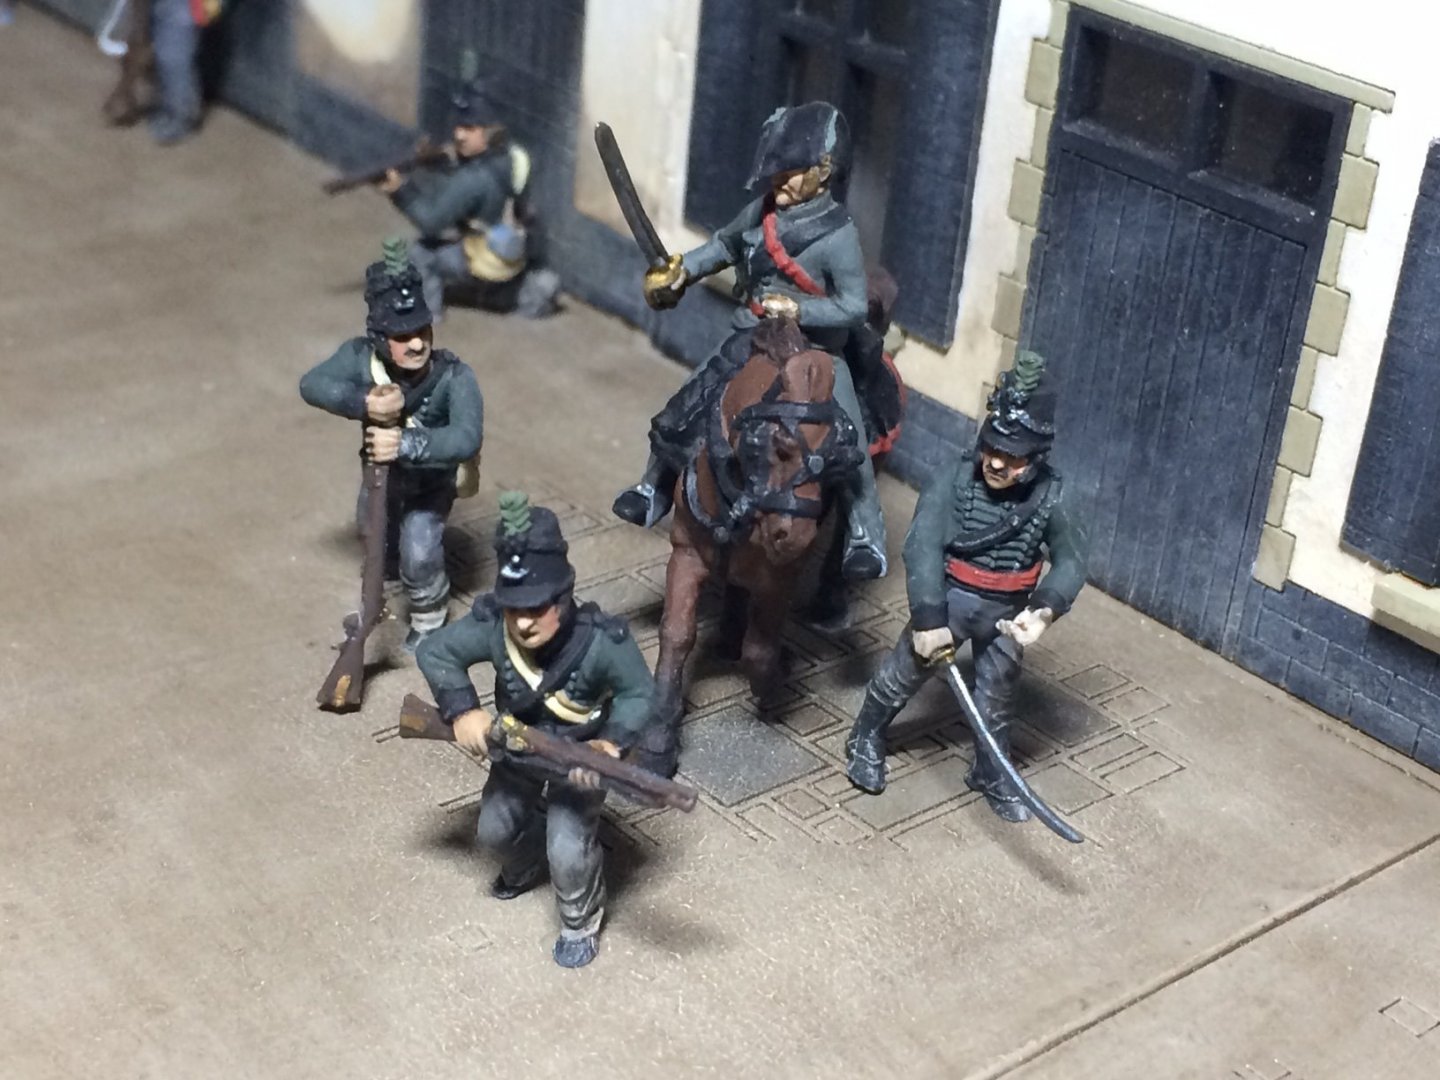
Evening all, more time playing with my dio - firstly I had to carefully cut the figures off there pre-cast plastic basses - just need to be careful not to cut their feet off, then it was placement time - just a wee bit of CA under each foot and positioned, one of the KGL has died and was placed on the grass - a couple are on the roof of the Piggery firing down on the French and the rest are scattered. Starting to get a bit more populated now Forty KGL in the farm so far. OC.


-
Thank you kindly for saying that Ken. OC.
-
This will be a unique build (correct me if I am wrong - but first build of its type in our forum) OC.
-
Taking in all the details of your's Alans and Rogers builds (even though I am not building - doesn't stop the grey matter from turning) Kind of formulating a build plan for my Hood, will explain on my build as I dont want to de-rail you build Craig. OC.
- 174 replies
-
- 4
-
-
- prinz eugen
- trumpeter
- (and 2 more)
-
That looks better - the camera was over exposing in the first shots. OC.
- 174 replies
-
- 2
-
-
- prinz eugen
- trumpeter
- (and 2 more)