HOLIDAY DONATION DRIVE - SUPPORT MSW - DO YOUR PART TO KEEP THIS GREAT FORUM GOING! (Only 27 donations so far out of 49,000 members - C'mon guys!)
×


Old Collingwood
-
Posts
12,098 -
Joined
-
Last visited
Content Type
Profiles
Forums
Gallery
Events
Everything posted by Old Collingwood
-
 Excelent work Yves, I have a question for you for way down the line - are you tempted to man her with a crew? OC.
 -
Excellent work with those (hand made) lanterns Phil - its a different level when you can do stuff like that - she is coming on a treat mate. OC.
-
Thank you kindly Mark, I am deffo going to make use of my "Magic Water gel" I love the stuff and guess after I have brushed a few layers of my wash over it (it tends to settle in gaps etc) it will start to come together. OC.
-
Thank you kindly Denis, I also have a few more rain pools to scatter in some of the corners, possibly a drain that will cleverly hide one of the joins in the boards where I put in my putty but has sunk slightly - might look quite good? OC.
-
As cat says - "are you talking about me" Looking really good mate. OC.
- 460 replies
-
- 4
-

-
- Finished
- Flower-class
- (and 1 more)
-
Thank you Alan, yep got lots of troops to go in there yet - and outside the walls and all around at a guess over 100 possibly closer to 150 - or I might just keep adding them as I go. OC.
-
I have been using the same to fill any gaps in my Waterllo dio. OC.
- 460 replies
-
- 4
-
-
- Finished
- Flower-class
- (and 1 more)
-
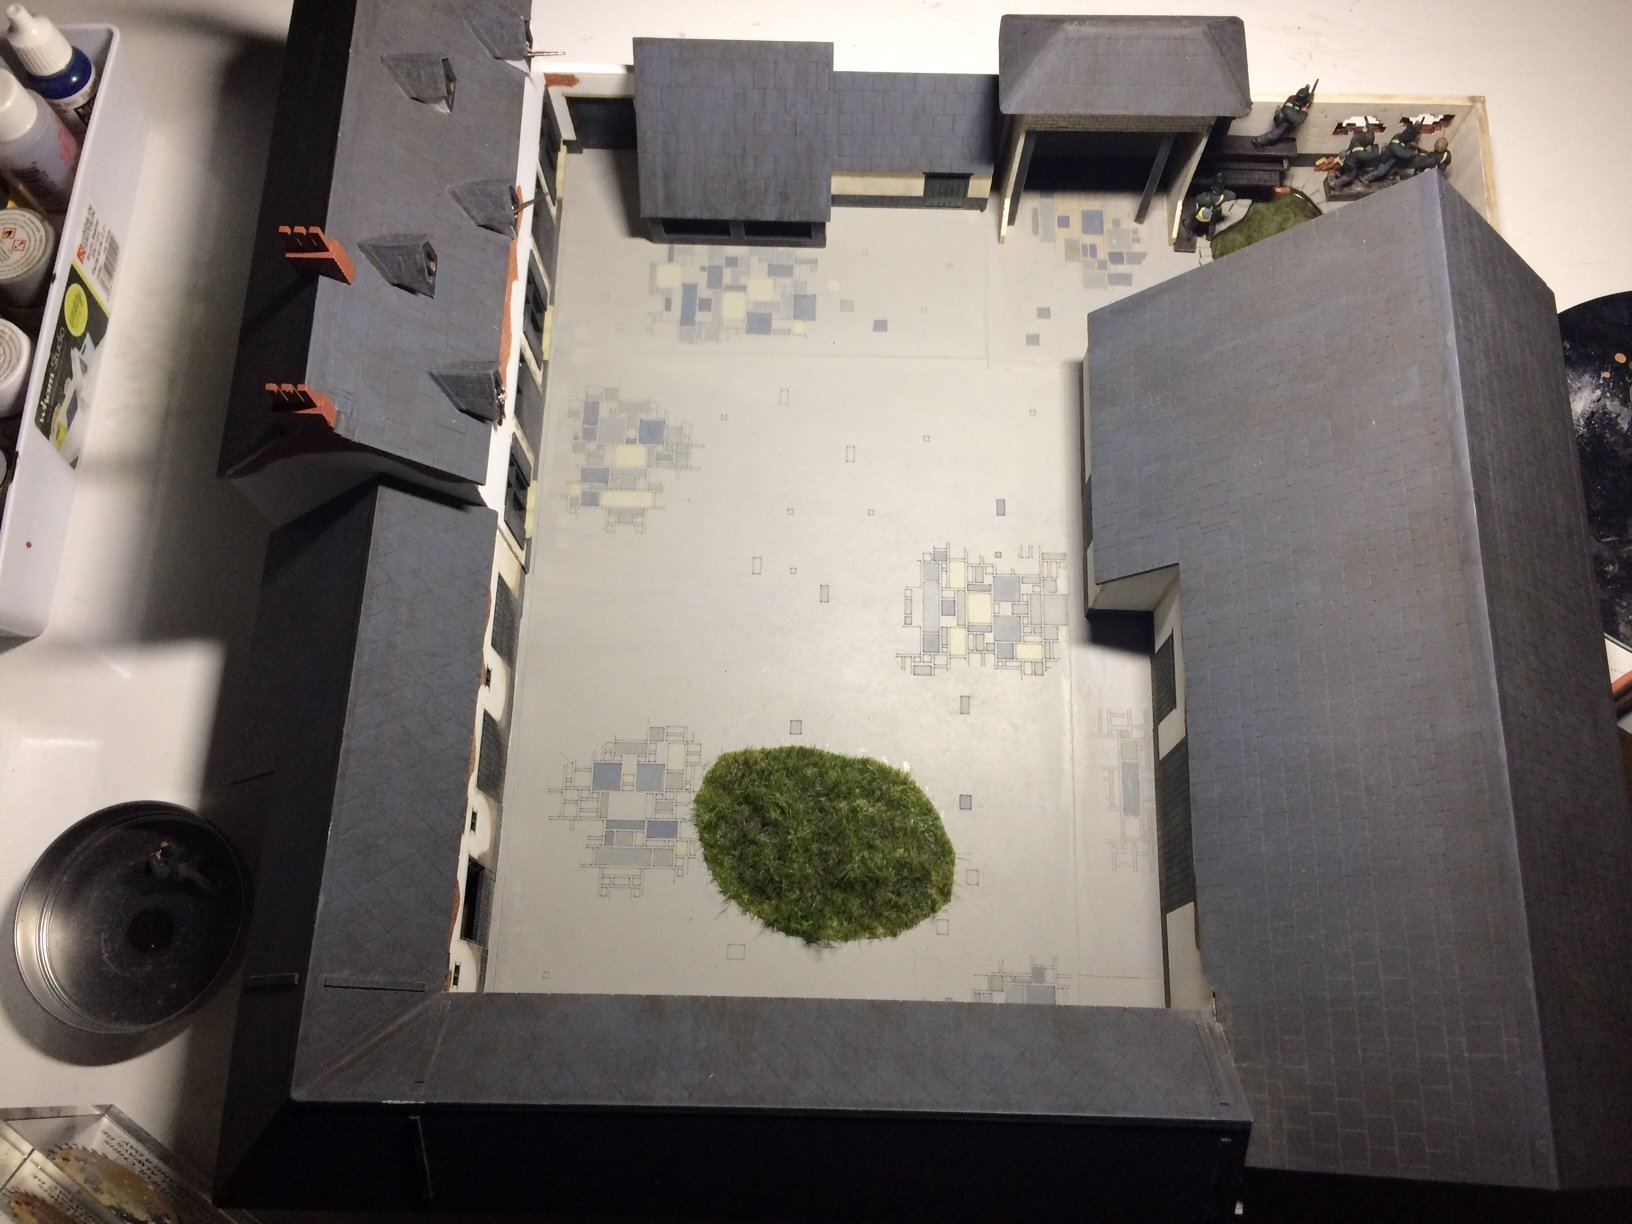
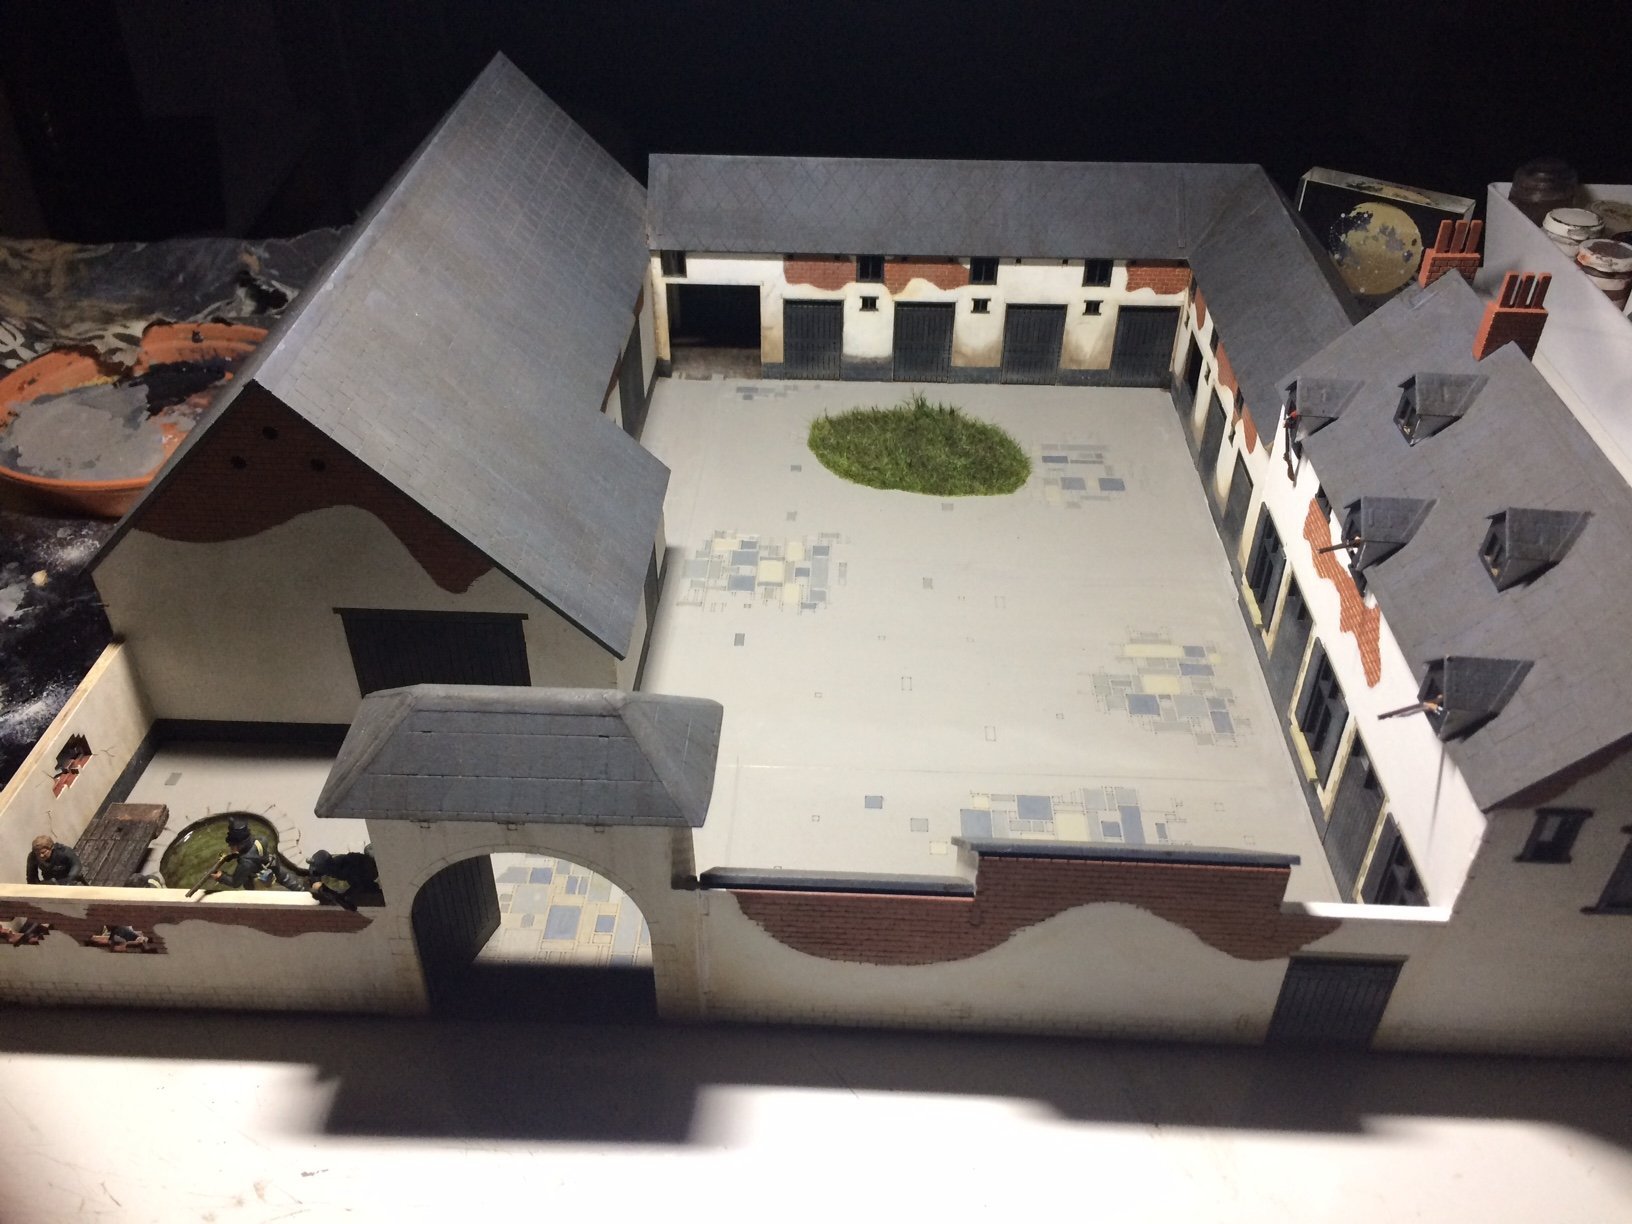
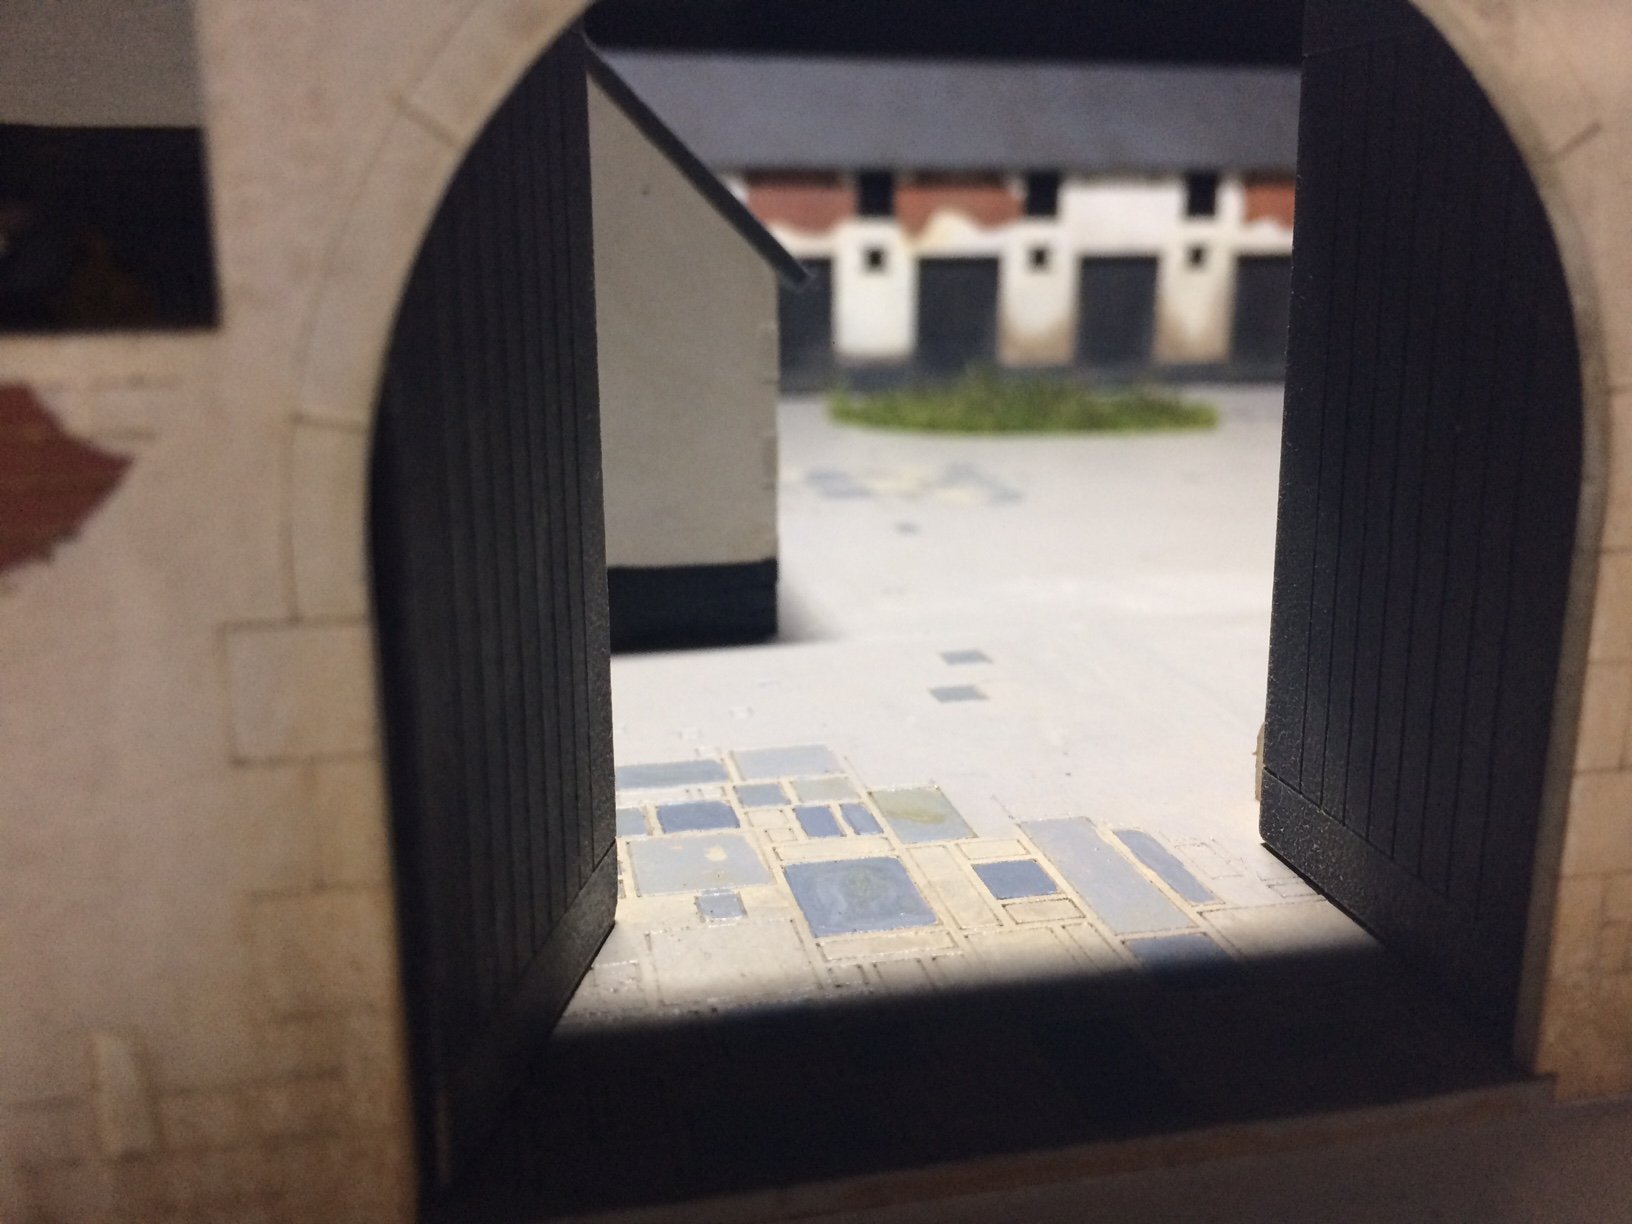
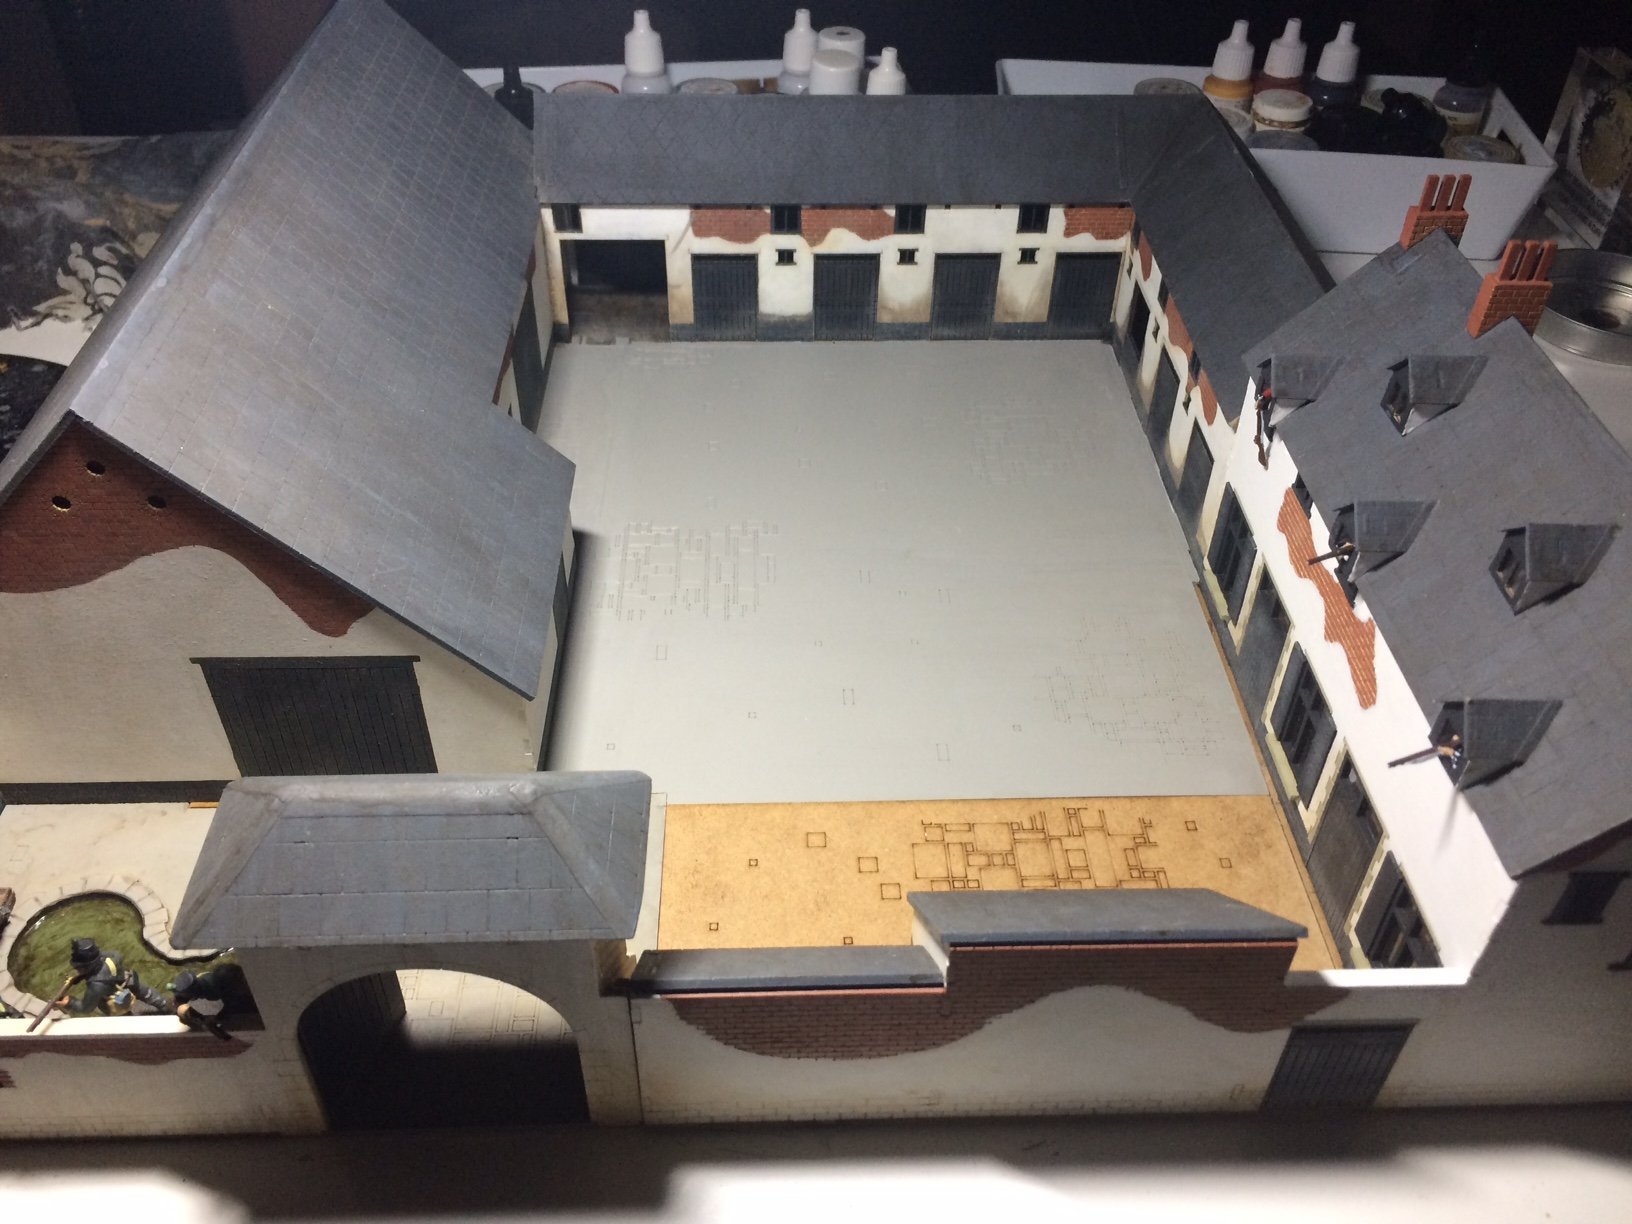
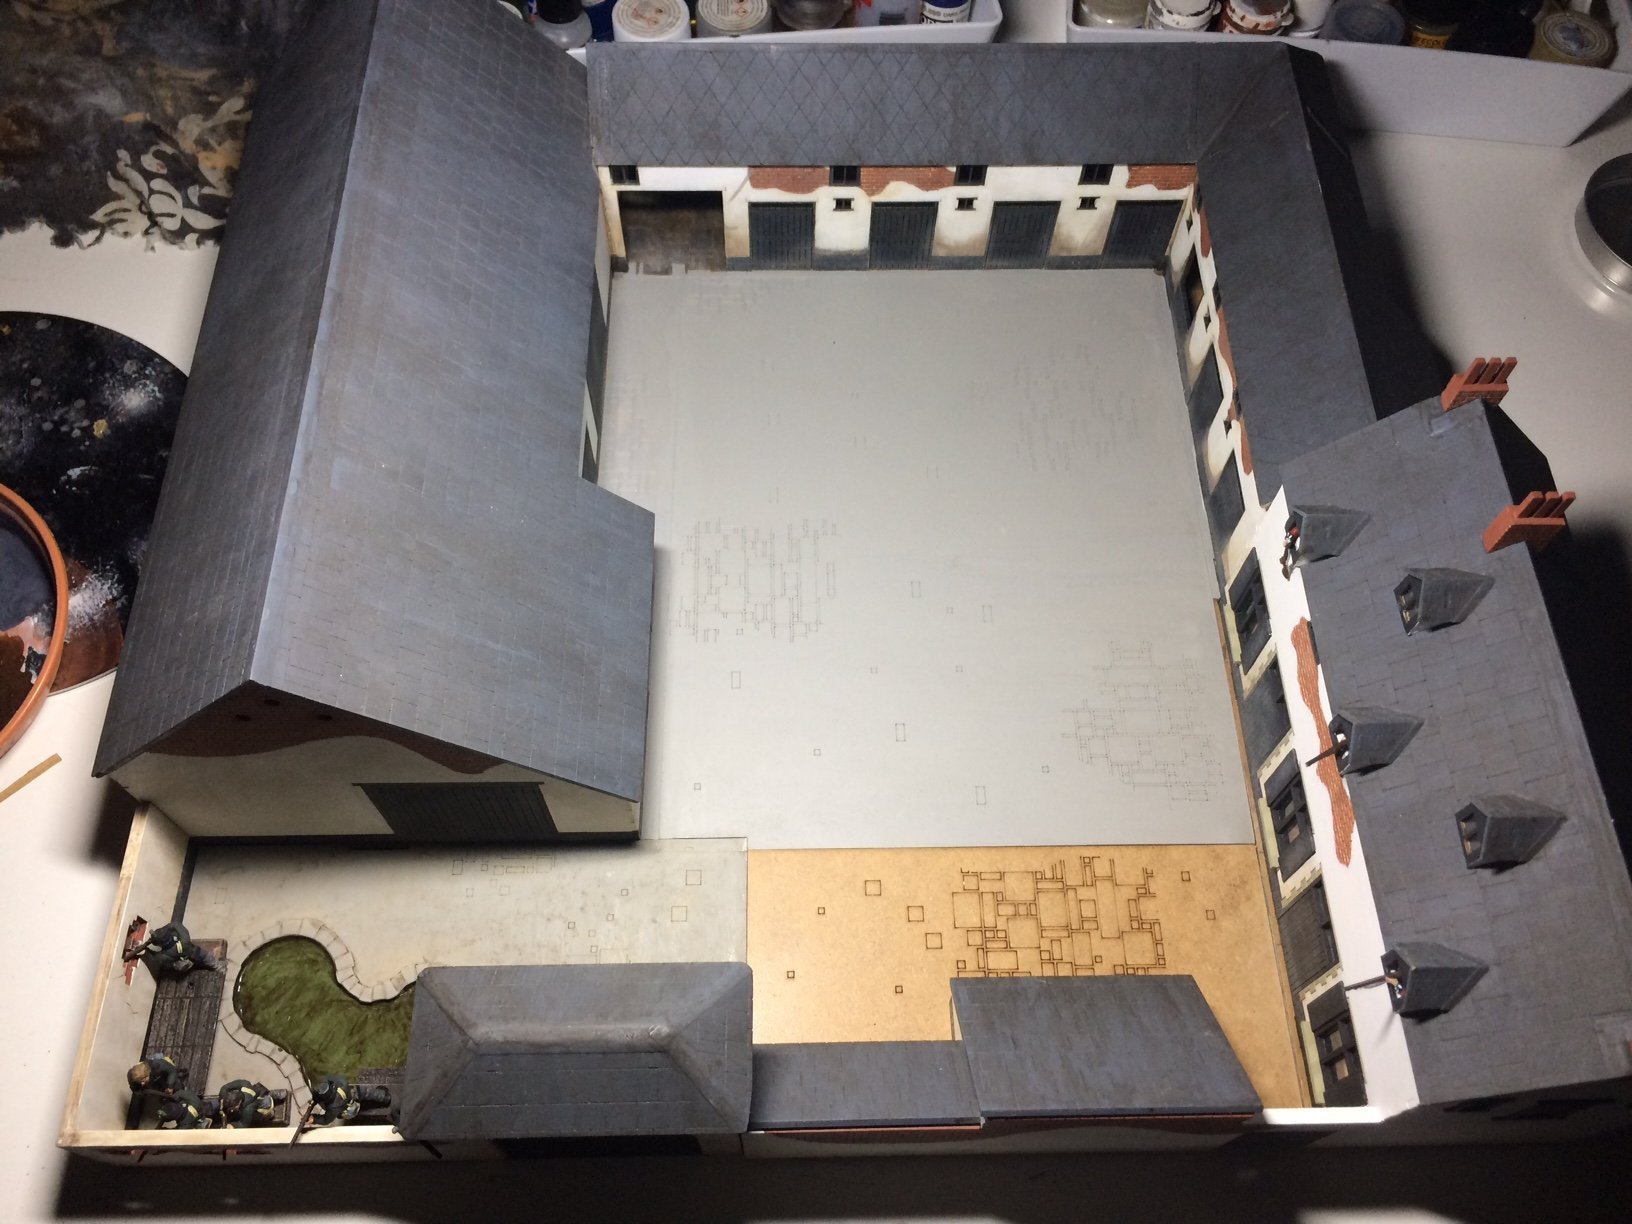
Evening all, some good progress - the complex (apart from the garden shed) is now fitted together and the joins in the floor filled with putty and painted, I had to put a slither in a gap close to the main gate - this was then painted and dry brushed, it still needs a couple of washes over the floor and dry dusting. The grass area received some attaention also - the grass blades were coming out so I brushed over s watery PVA mix then weathered it a bit using some datk wash to simulate a dirt grass from lots of rain. I have included some arty pics to show some different views. OC.


-
Looking mighty fine Denis - going to be really colourful. OC.
-
Looking so nice Mark - so good seeing you getting stuck into this. OC.
- 505 replies
-
- 3
-
-
- vanguard models
- Sphinx
- (and 1 more)
-
I've got 2 hammocks me old mucker - you can pinch on eof those. OC.
- 505 replies
-
- 3
-
-
- vanguard models
- Sphinx
- (and 1 more)
-
"Beer - we could make 3D Beer" Great work mate. OC.
- 460 replies
-
- 5
-
-

-
- Finished
- Flower-class
- (and 1 more)
-
I do exactly that with my brushes and Masters - first wipe most of the paint of your brush till it looks paint free, then soak the brush in clean water (I use pre boiled thats gone cold) then rub the brush around in the masters tub lathering it up - you will probably see some paint residue come off into the lather, wipe most of the soap on the lip of the master tub the into the water again removing any soap on the brush - I tend do it a couple of times to make sure all the paint has completley gone from the hairs and ferule, then just cloth dry and put the cover over the end of the brush - thats it. OC.
-
Thank you Alan, the whole area will have a couple of washes to darken it then some light dust dry brushing. OC.
-
Really nice work Alan - Well done finishing her - onwards and upwards with your next build. OC.
-
Excellent work Craig - those figures turn a model into a living thing - looking forward to more progress when you are back on it. OC.
-
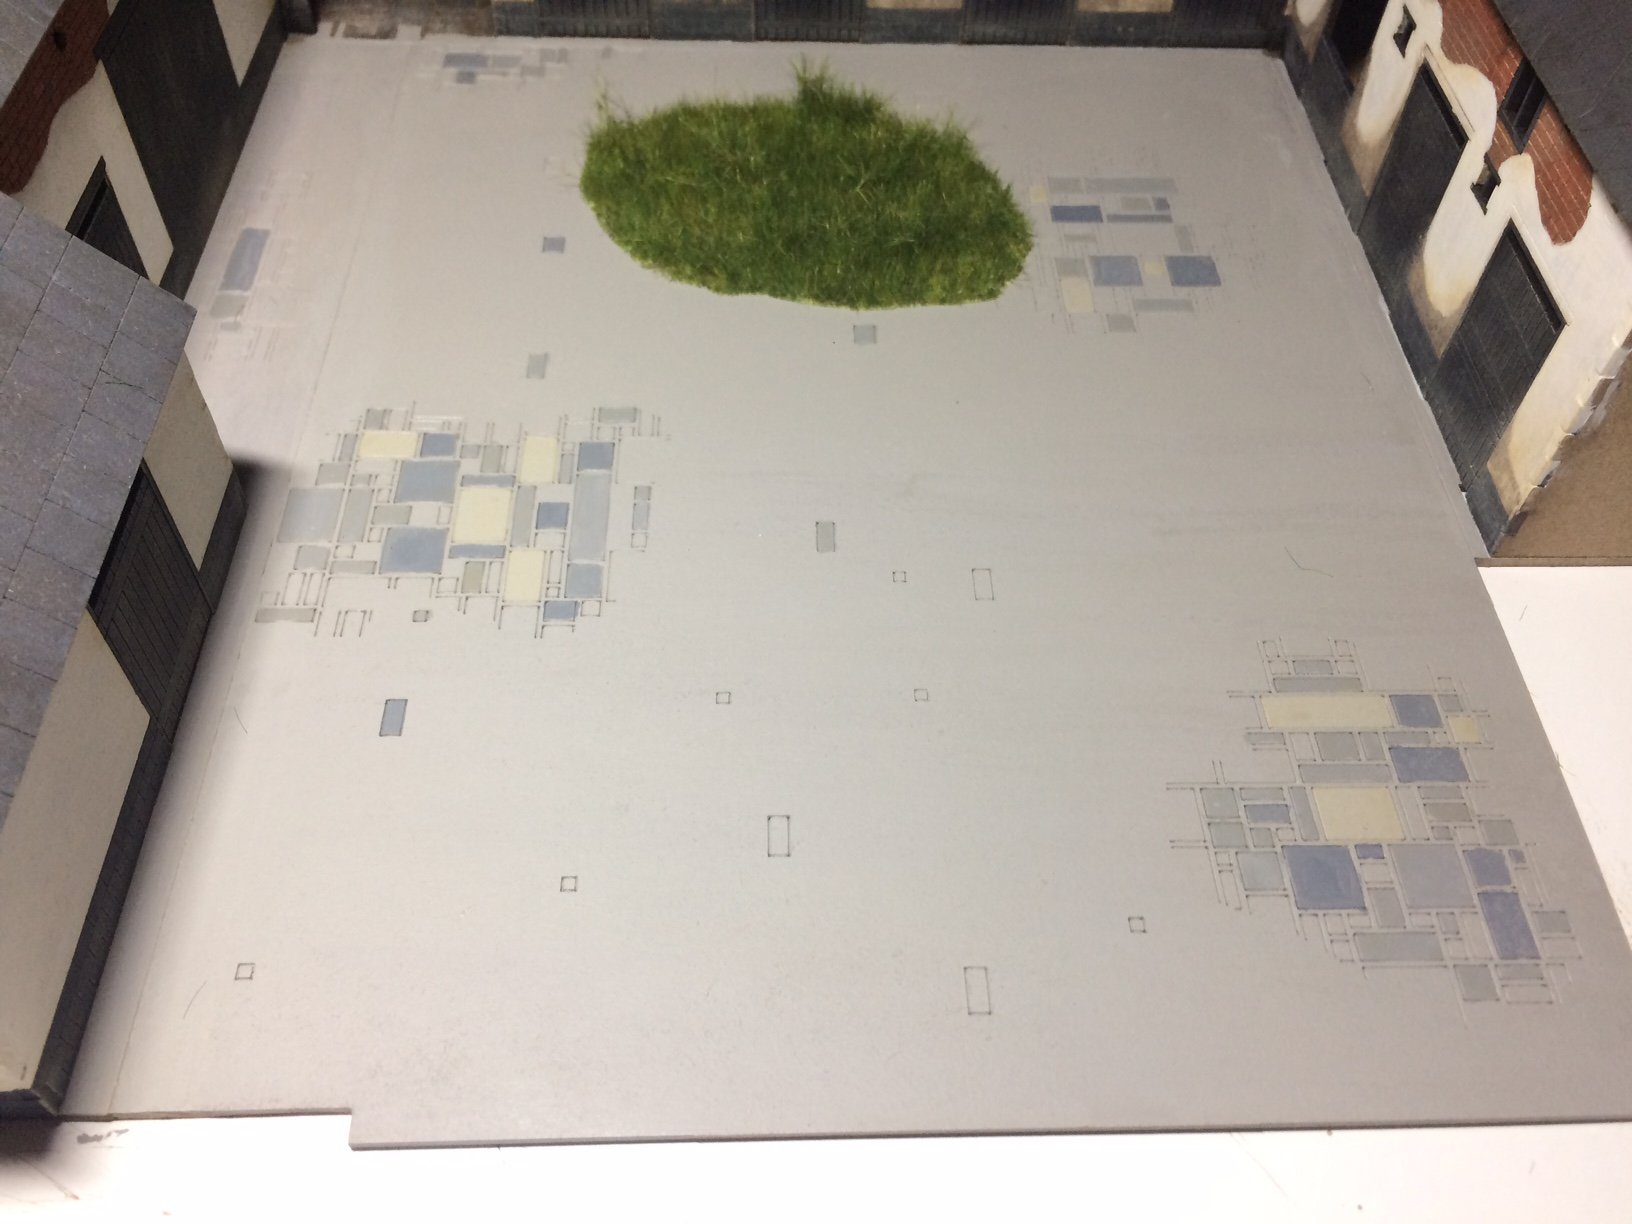
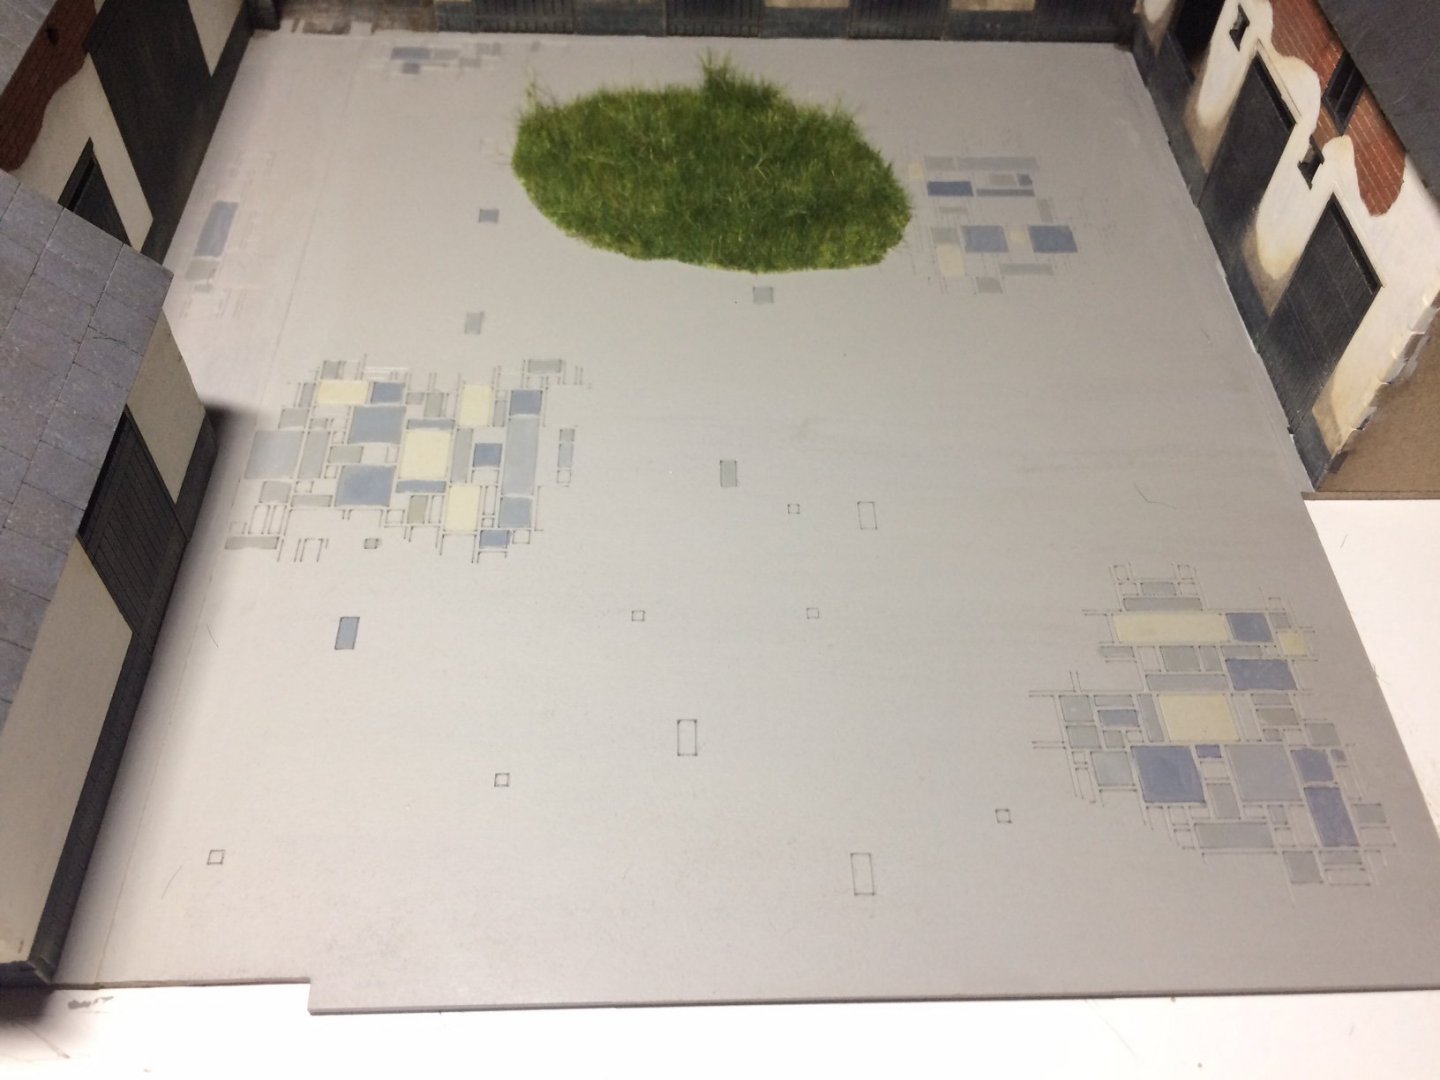
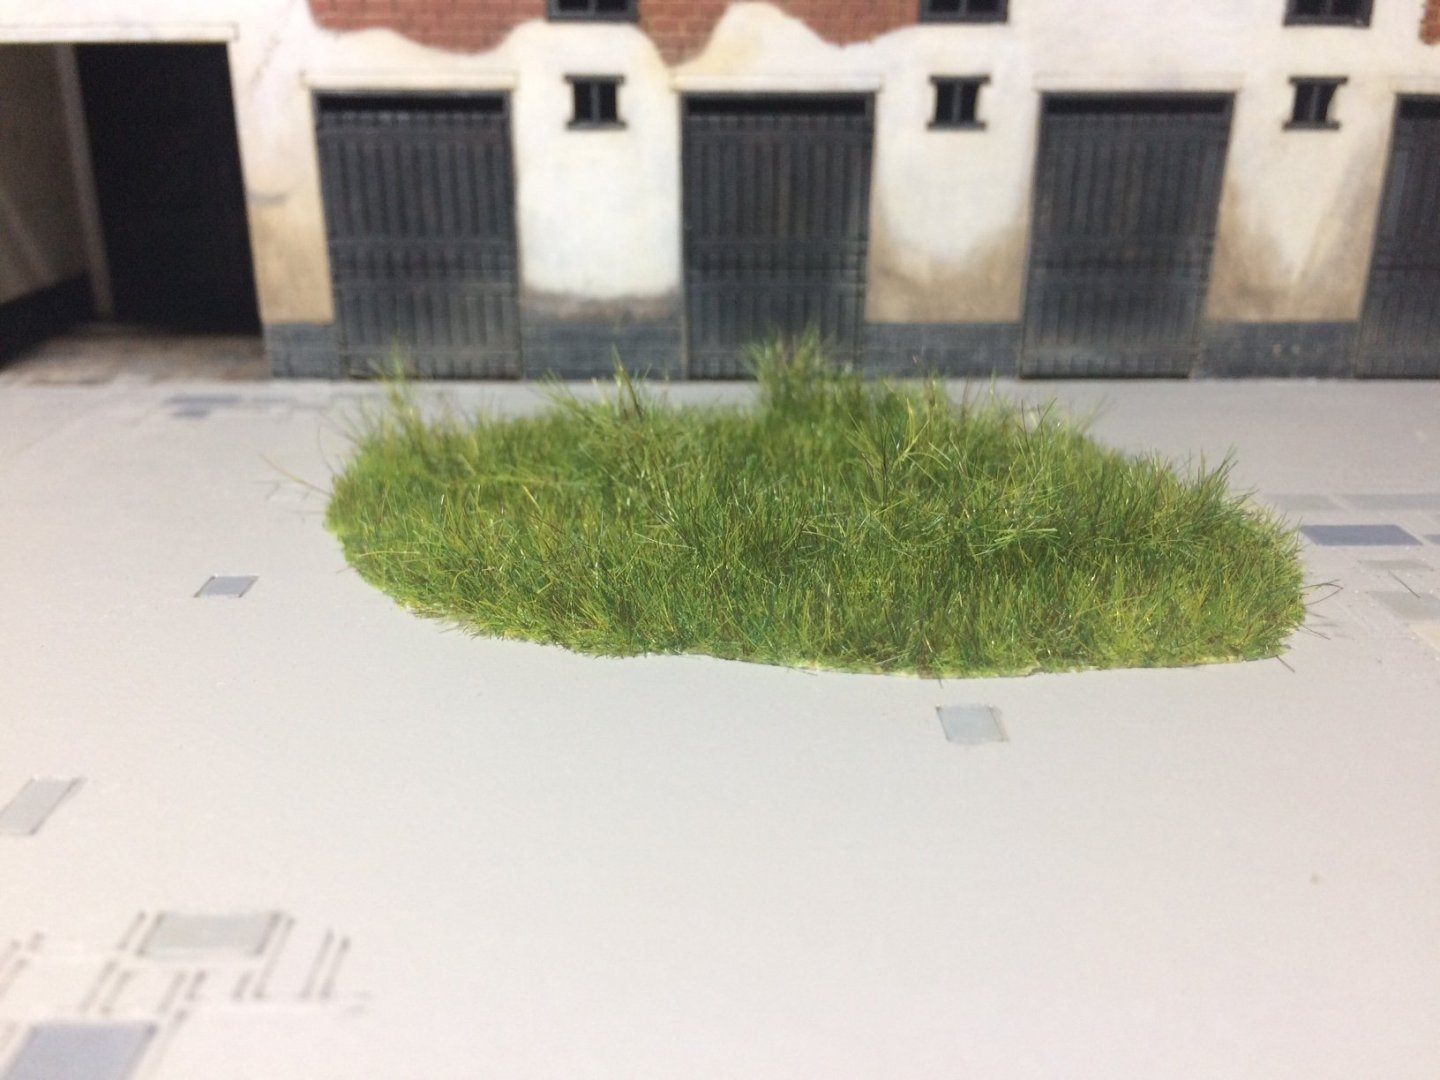
Evening all, a tiny bit of progress - I decided to add some colour details to the stones in the courtyard, these will be blended when I do a wash or Two and dry brush dusting, I also fitted a tiny rough lawn that was in the courtyard - its one of those scenery mats that you just cut to size and glue down using PVA - think it looks OK. OC.
-
Thank you so much Denis, yep I'm loving the airbrush. OC.
-
I brought a size 0 and a 3 and they are brillaint - soft hairs but lovely swing back and a nice load to the hairs - so worth cleaning well so I clean using Masters cleaner and brush preserver after every use - its like soap. OC.
-
I have Two of their brushes - they are excellent. OC.
-
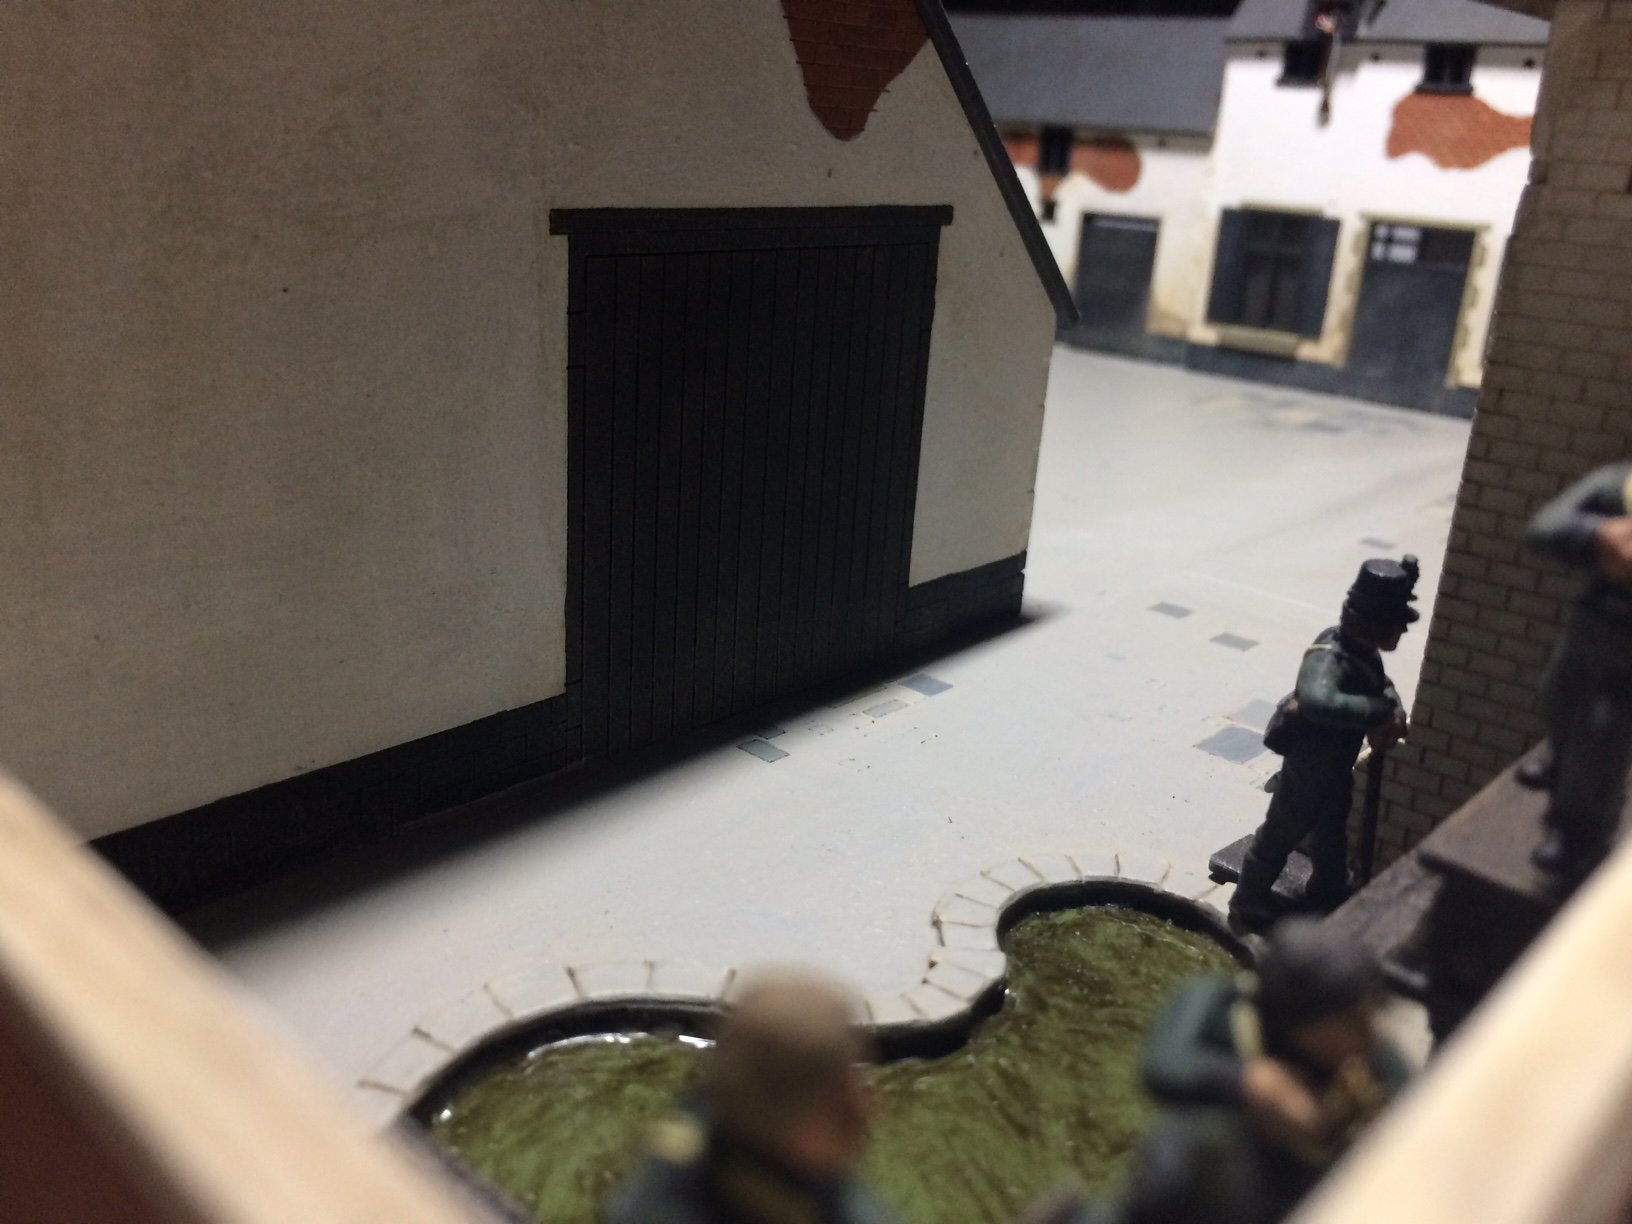
Evening my fellow - very patient followers, some more progress on my build - I am working on the ground plan, this is taking some testing and shaping to get all the buildings and walls to lign up, i got the main section in supported by a sheet of paper underneath, then a bit of putty was put in a few of the gaps and painted over, i also put a couple of water puddles in the corners from the rain that ran down off the roofs, I will do the same - paper trick underneath the front sections before putty and paint - then there will be some washes and dust dry brushing. OC.


-
I love dry brushing - it so makes a difference - my new "go to" dry brush product is AK's acrylic dust - can be splattered on / wet brushed or dry brushed. OC.
-
Figures are coming on fine mate, shading is always difficult to get right and the bigger the scale - the more difficult. OC.
-
Thats good progress Craig, with the paints as thin as you can is key, and as you say build the shades up in thin layers, a wash to shadow the eyes and recess details also helps. OC.
- 143 replies
-
- 10
-