Old Collingwood
-
Posts
12,104 -
Joined
-
Last visited
Content Type
Profiles
Forums
Gallery
Events
Everything posted by Old Collingwood
-
 Same with me - infact it would look like a swan. OC.
 -
Yes indeed, just googled it - same physical appearence but upto date mods on it - they say good for another 30 years. OC.
-
Here you go mate - curtosy of wikipedia - Performance Maximum speed: 159 kn (183 mph, 294 km/h) Service ceiling: 18,500 ft (5,600 m) Rate of climb: 1,980 ft/min (10.1 m/s) OC.
-
Indeed Lou, quite a useful tool it is - I know it can carry a jeep and trailor inside with the seats up. OC.
-
And them hoofs on that metal floor disturbing the concentration while playing cards and Battleships. OC.
-
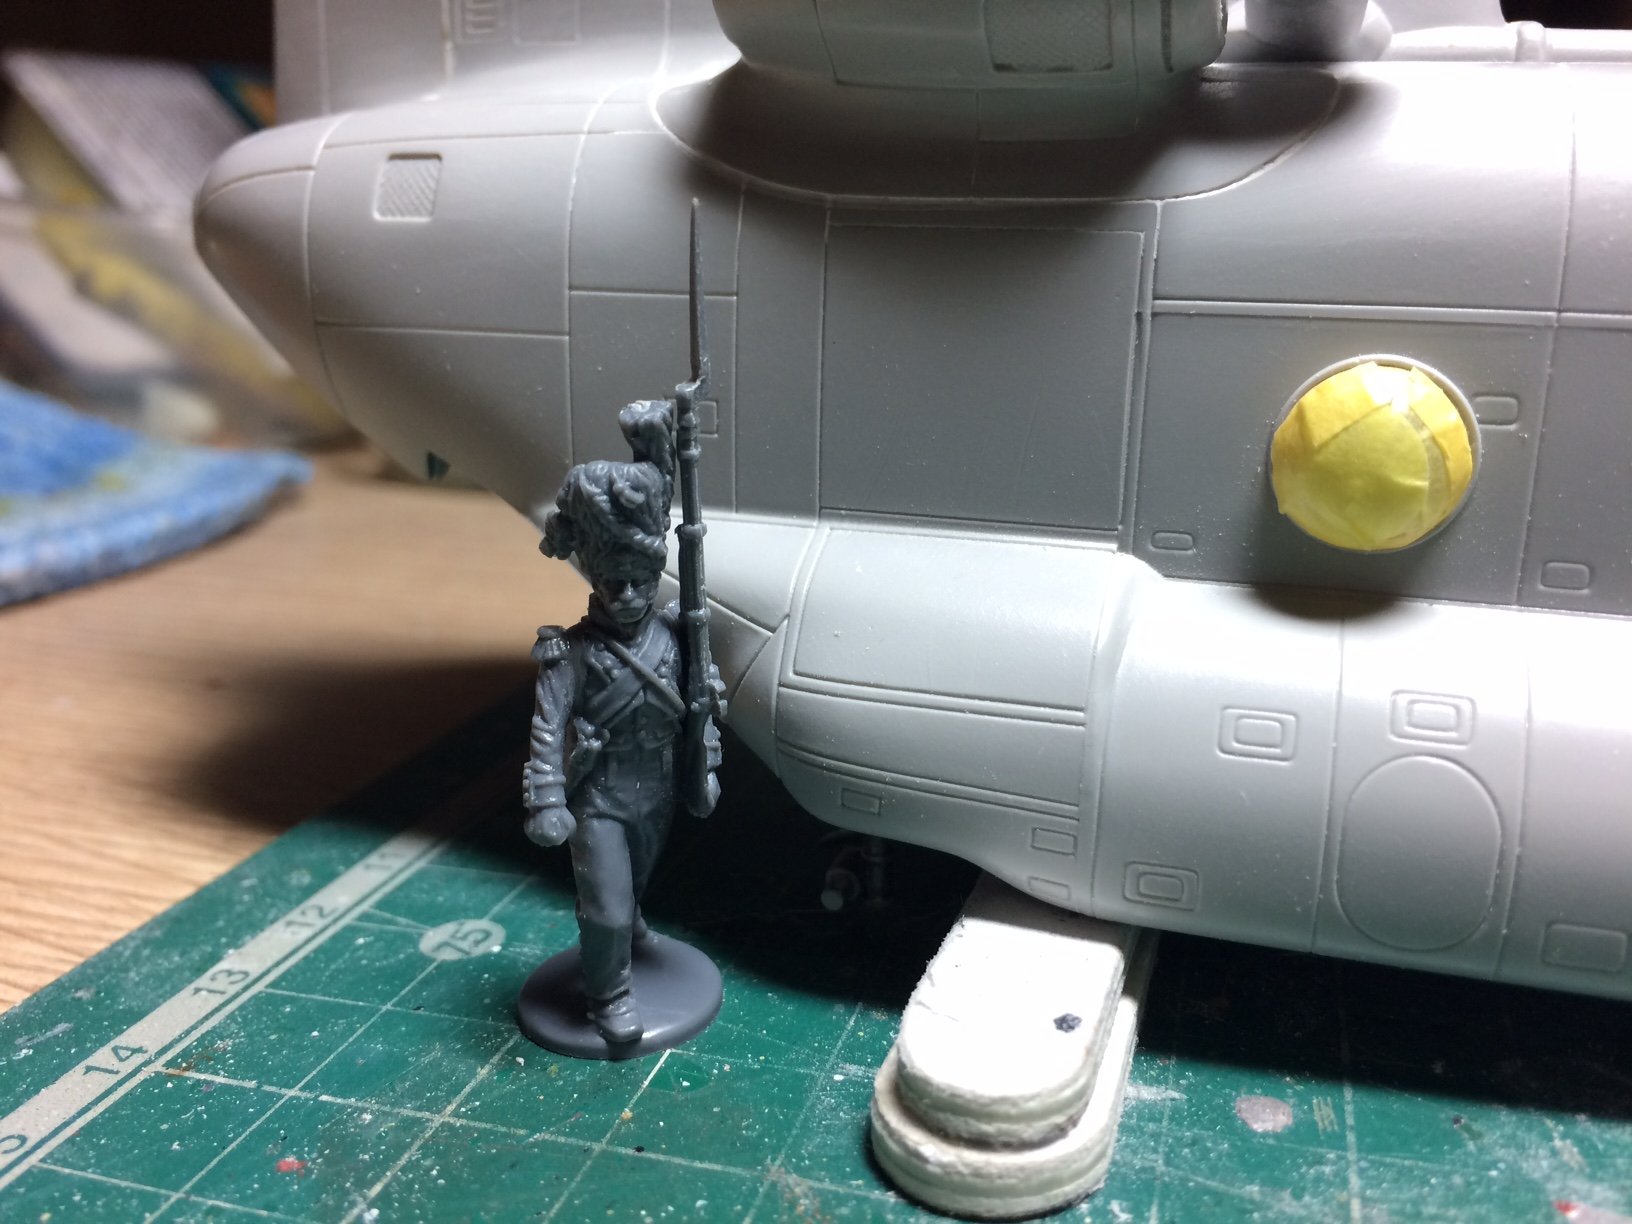
Yep, they are waiting for some wheels to be shipped over by horse and cart but have to go though the fields near - yes you guessed it Waterloo then they can carry on with the building of the chopper - there is a mixed bag of soldiers inside sitting it out playing cards - French Infantry, KGL snipers , British Infantry and even a few cuirassiers but without the horses - the horses are in one of the aircraft hangers sharing some freeze dried hay and condensed water pelets, OC.
-
This looks very interesting mate - good practice if you ever fancied building a whole scale castle. OC.
-
Evening all, right the Wokka needs power - please find fitted One engine glued and filled, the other one is on the other side but needs filling around the gaps. Perhaps I should call it - "The Time Machine"😉 OC.

- 283 replies
-
- 10
-

-
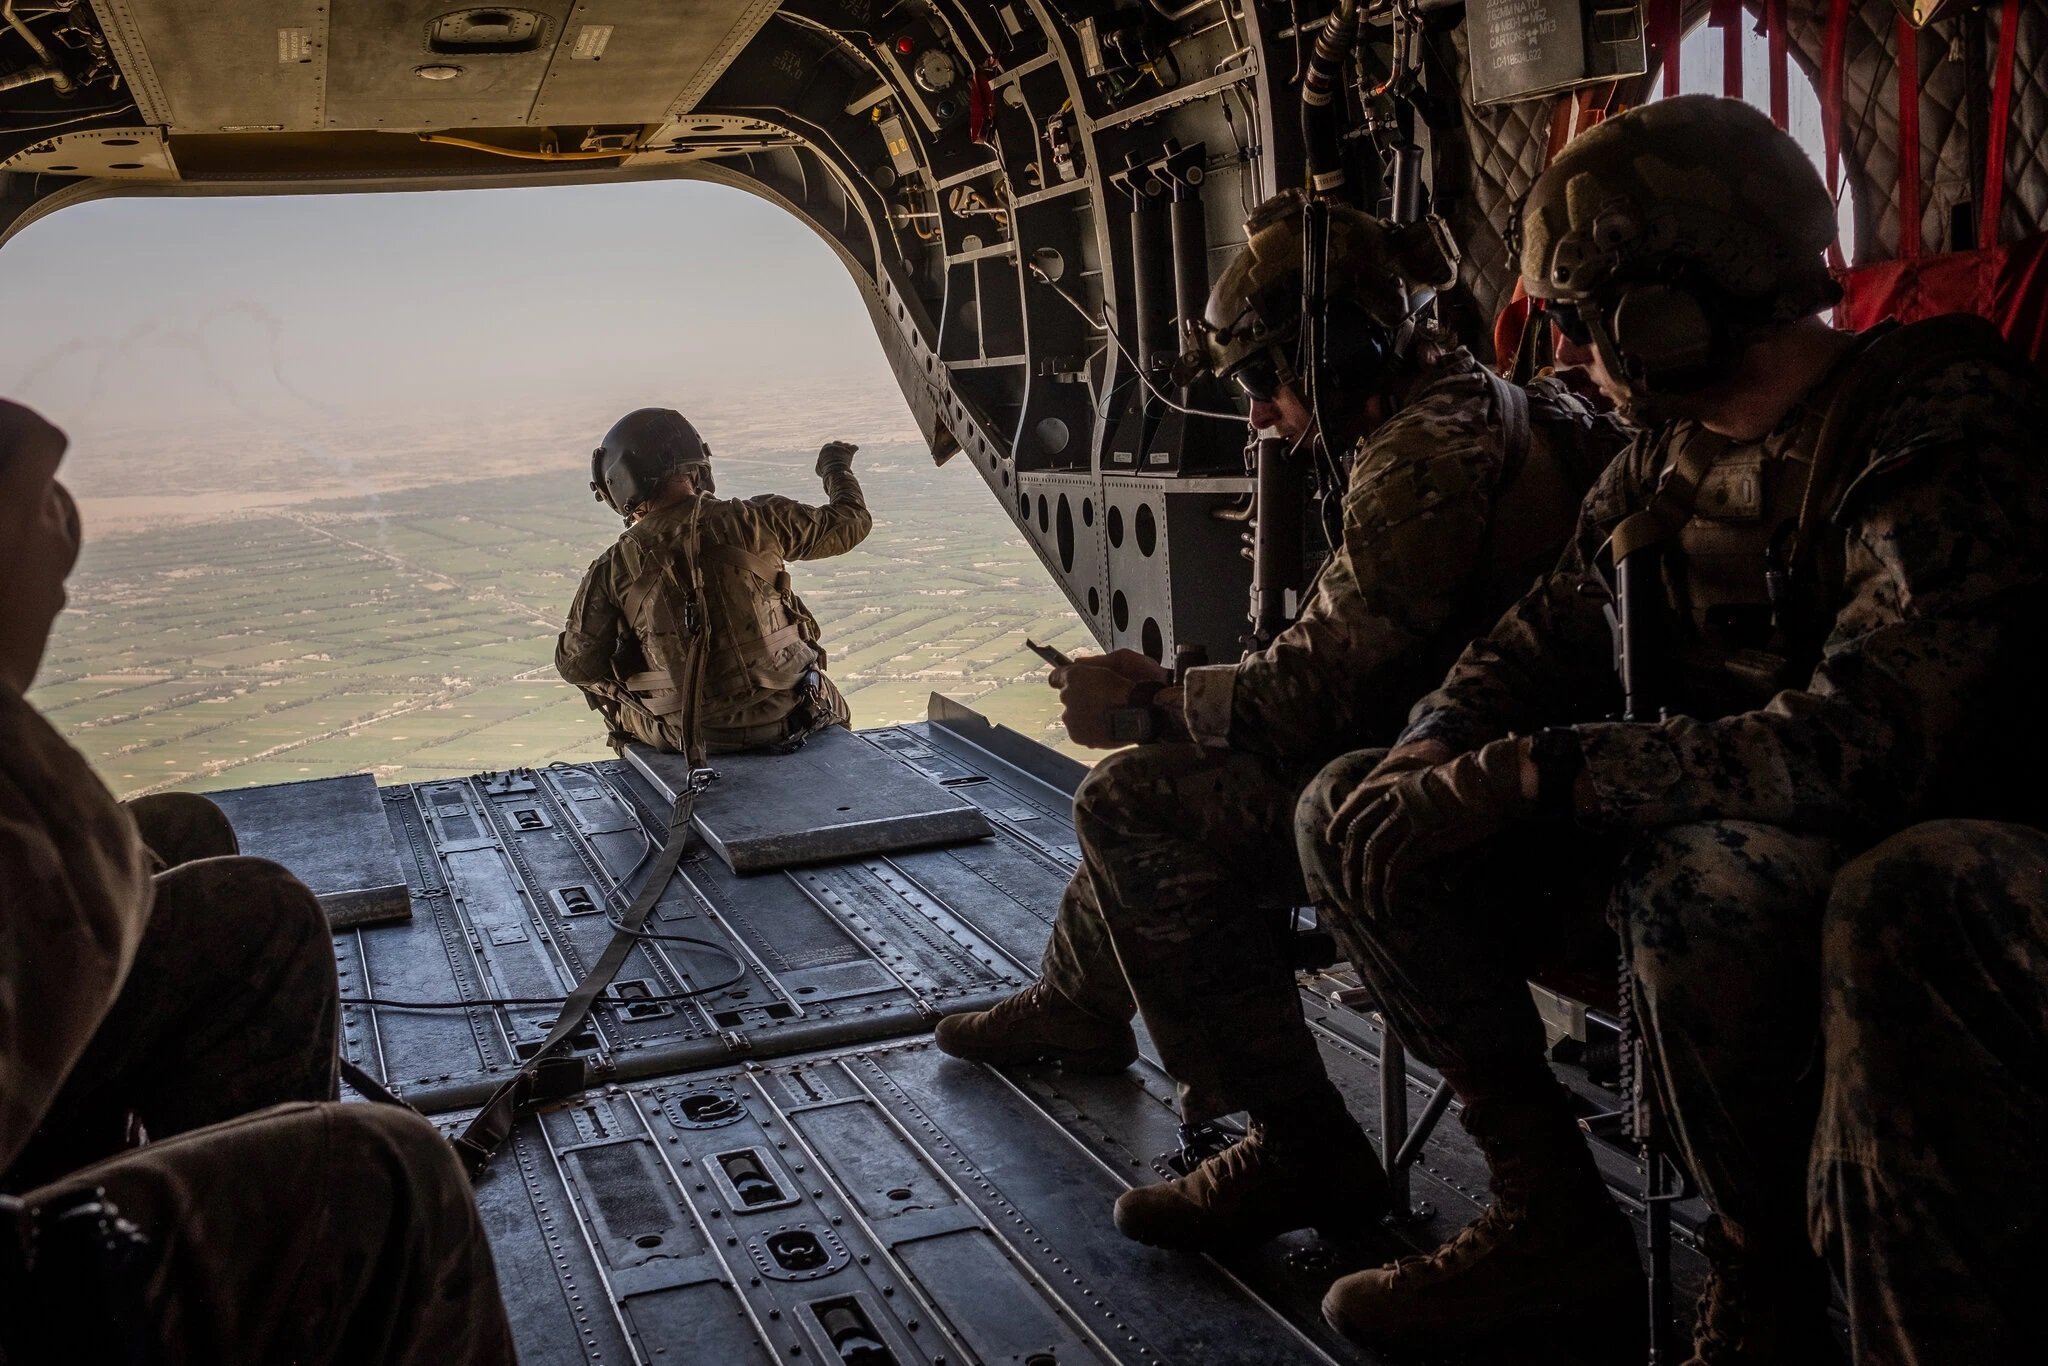
Yep Afghanistan I believe. OC.
-
Enzo Ferrari by CDW - FINISHED - Tamiya 1:24 Scale
Old Collingwood replied to CDW's topic in Non-ship/categorised builds
Liking the look of that mate - very nice paitwork. OC. -
Found this on the net today (not my pic) shows what we were talking about. OC.

-
Thank you brother.🤛 OC.
-
Another nice build under your belt Greg, looking forward to stage Two as I have seen quite a few of them and her sisters. OC.
-
Well said - its a true testament (I know I havn't spelt that right) to our fine forum we are a family and we stray when food is on the table or mentioned - some of us can smell it even when offline or on another site, lets say its fuel for the brain to keep our build - building - keep building (bet that doesn't make much sense)☺️ OC.
-
No problem at all mate, I completely agree about the pre-work that needs doing first - it helps having kits of this size - more space to work on. OC.
-
Some good progress there mate - coming along nicely. OC.
-
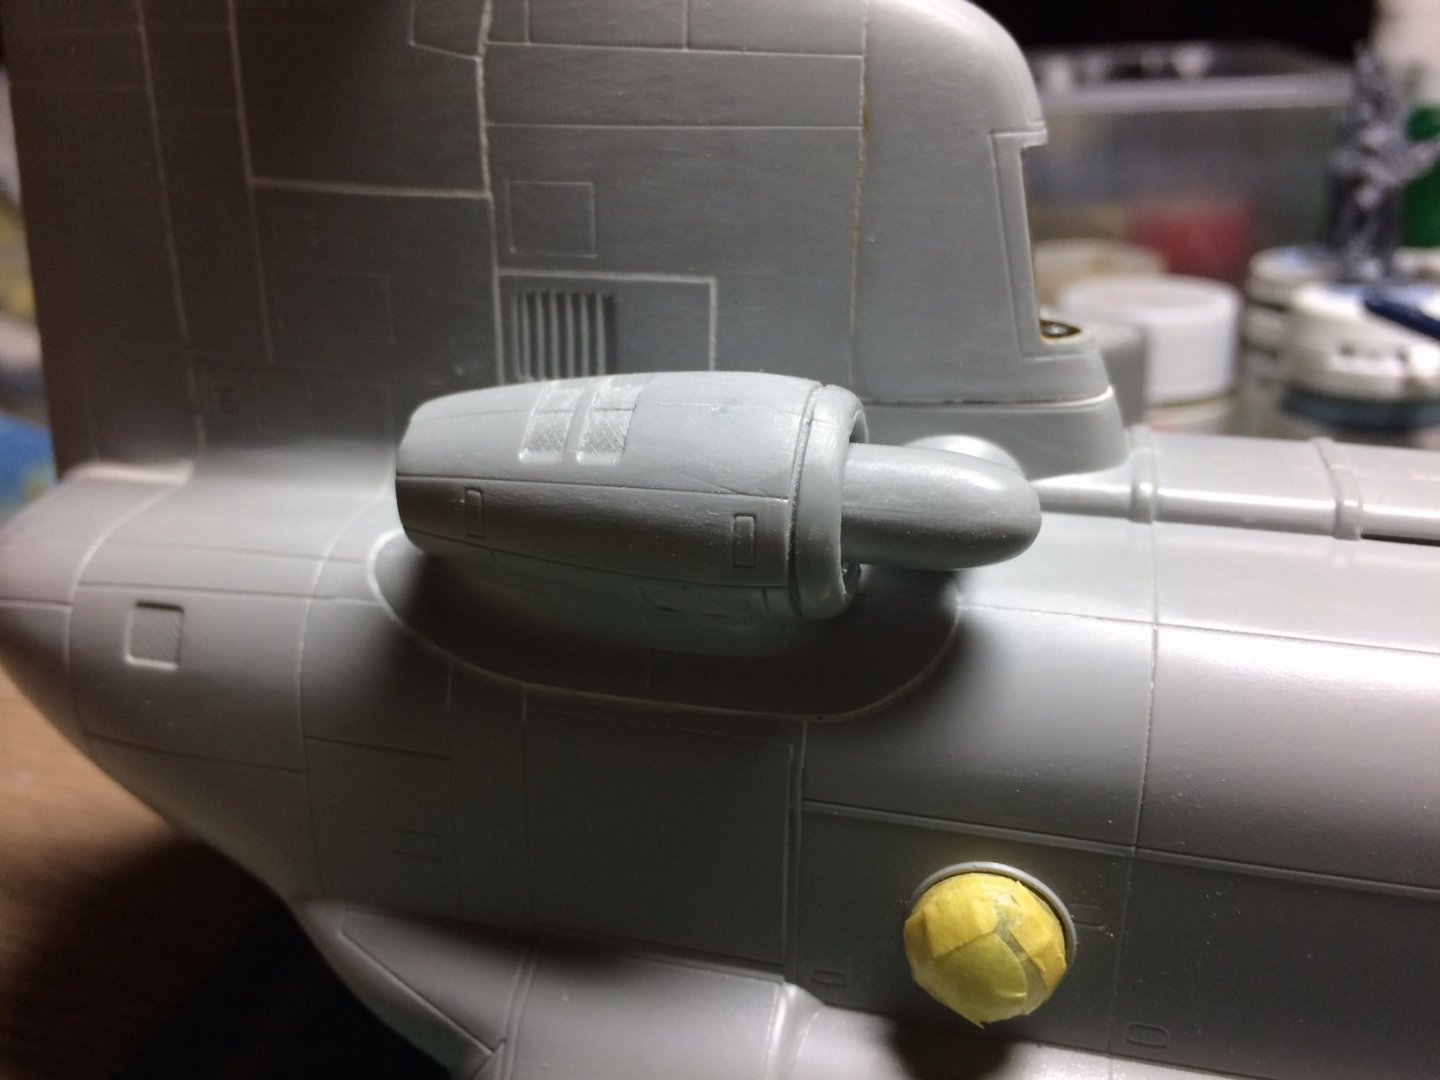
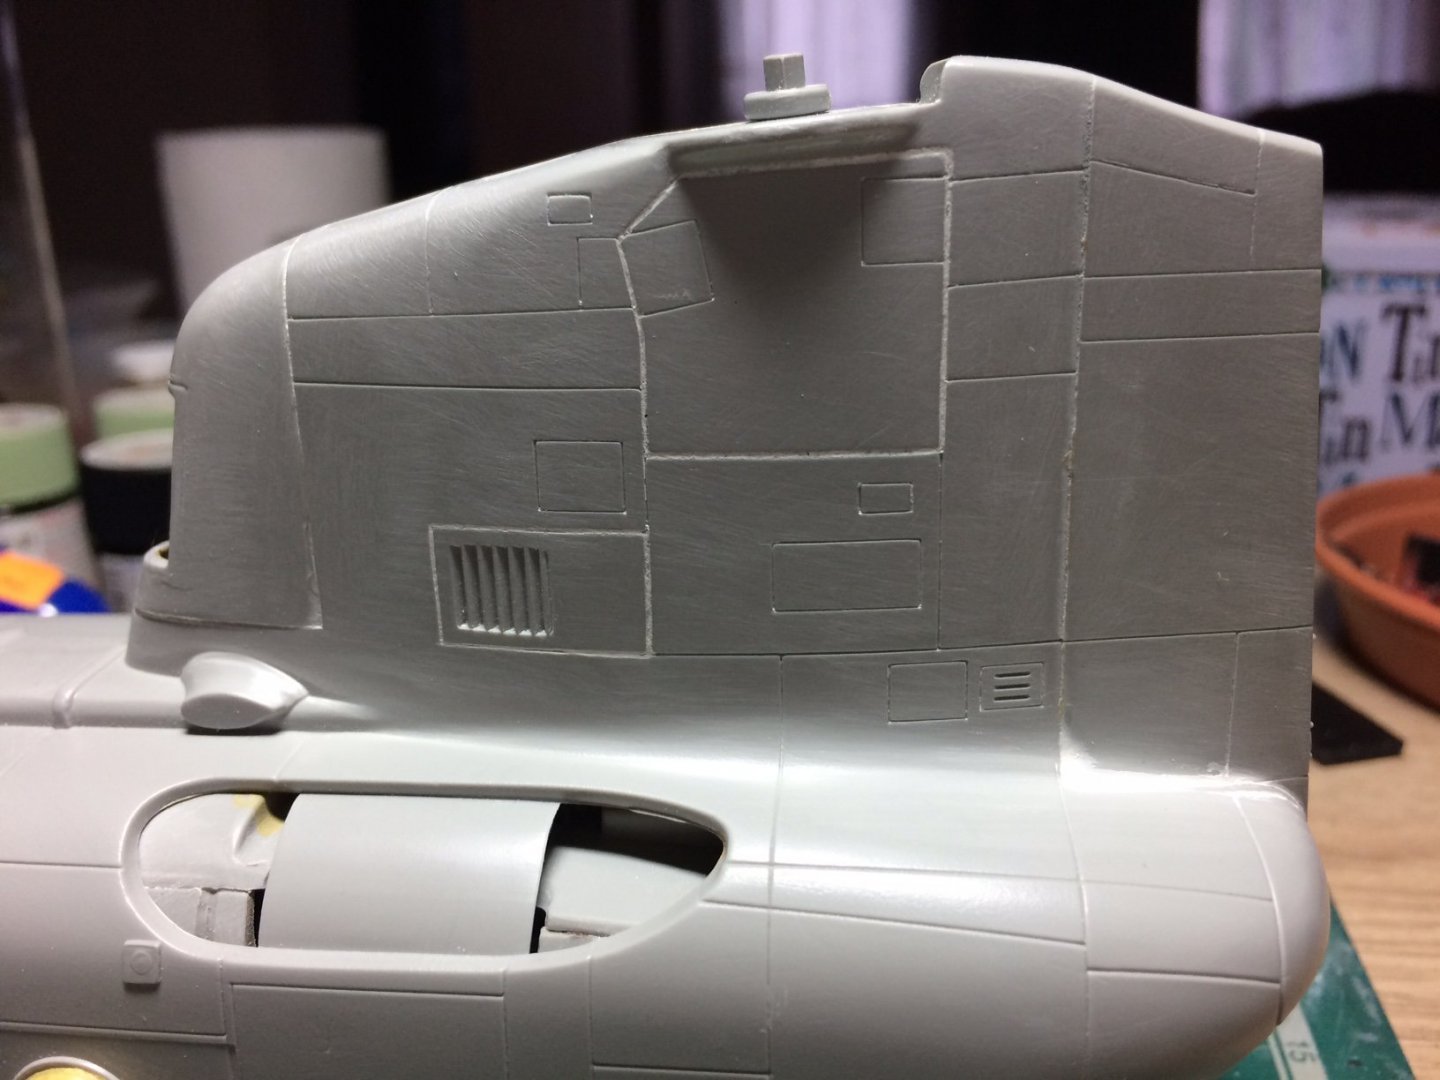
Good day all, more work on the rear rotor housing - I decided to completely fill in those horrible Huge panel line gaps and sand them flat. OC.
-
Thank you Denis, yep its taking a bit of fiddling to get it to look right - getting there though - bit by bit. OC.
-
After doing some google searches - that part in the rear rotor housing just visible is some kind of Gearbox unit? OC.
-
Ships at Trafalgar - what kits are available?
Old Collingwood replied to bruce d's topic in Wood ship model kits
Royal Sovereign would make a Grand Kit.😉😀 OC. -
Very nice rope work - that serving looks just about perfect. OC.
- 436 replies
-
- 1
-
-
- vanguard models
- alert
- (and 1 more)
-
Yep, its one of the flaws with it - shame really as everything else is about right with kit - takes some fiddling with the fit, but gets there in the end. OC.