HOLIDAY DONATION DRIVE - SUPPORT MSW - DO YOUR PART TO KEEP THIS GREAT FORUM GOING! (Only 13 donations so far - C'mon guys!)
×


Old Collingwood
-
Posts
12,098 -
Joined
-
Last visited
Content Type
Profiles
Forums
Gallery
Events
Everything posted by Old Collingwood
-
 Thank you for the link, I was really into the whole reinactment society - still have a few internet friends who take part for either the English Cival Society (ECW) or the Sealed Knot, I have alwys loved the Royalist side ( I dont know something about the look of a Cavalier) I toyed with becoming a member as a Royalist Dragoon, but I have never been on a horse. I still love the whole thing but from my armchair. OC.
 -
I use one of these on many of my projects. OC.

-
Very welcome Denis. OC.
-
Thank you kindly Denis, You know me - never an un-eventful journey keeps everyone on thier toes stops you all falling a sleep.😀 OC.
-
Found you now - just got my chair - looking forward to this. OC.
-
Thats a good recovery mate - I did have to look a few times to see the hick up. OC.
- 312 replies
-
- 1
-

-
- enterprise
- caf
- (and 1 more)
-
I love the lighting - very very moody. OC.
-
I will be leaving the ramp down and both front windows open. OC.
-
Sounds like a plan, dont foreget to start a build log when you deside what you want to build. OC.
-
Excellent work going one - lots of nice details. OC.
-
Shame - when its buttoned up it will be next ti impossible to see these details. OC.
-
Thanks Ken. OC.
-
15' Dinghy by Bedford - FINISHED - 1:1 scale
Old Collingwood replied to Bedford's topic in Non-ship/categorised builds
OK! lets get this into perspective - we build our models in our forum we all use our skills and turn out some Amazing work, But, this is on another level with this level of skill on a full size media - Amazing. OC. -
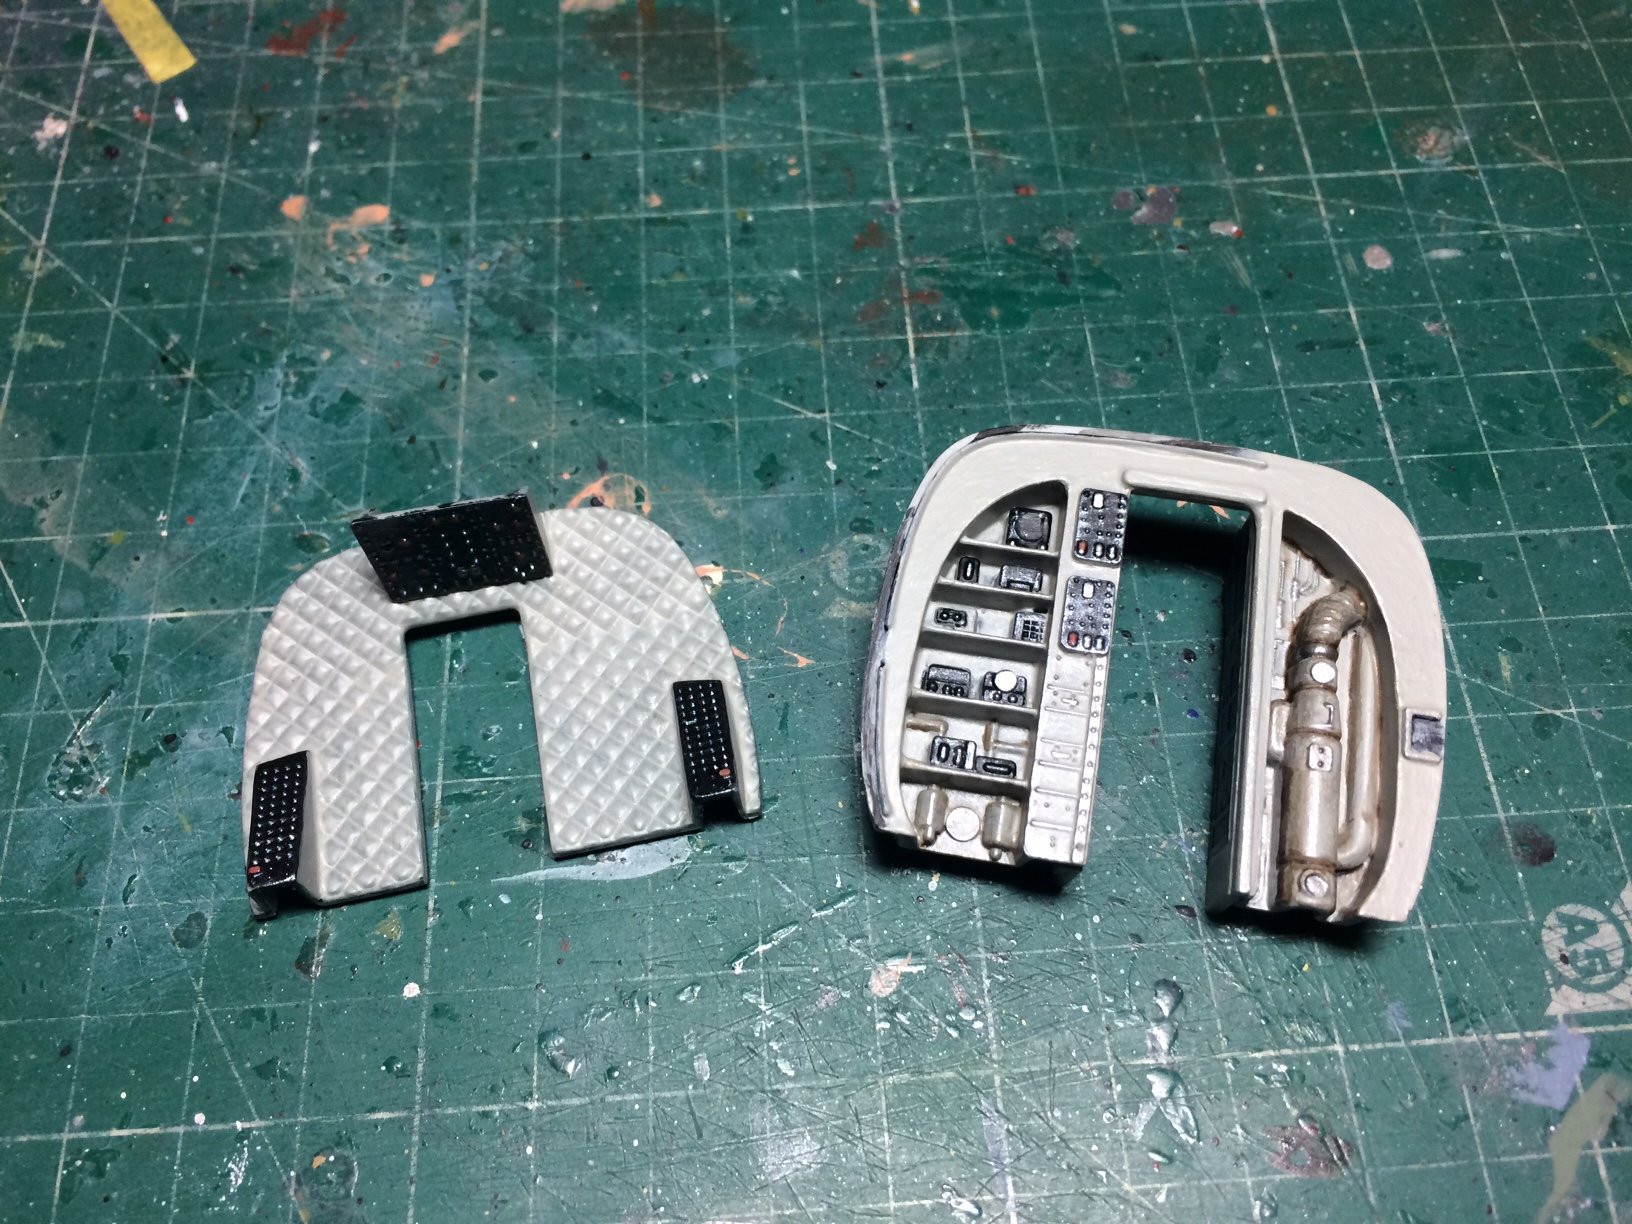
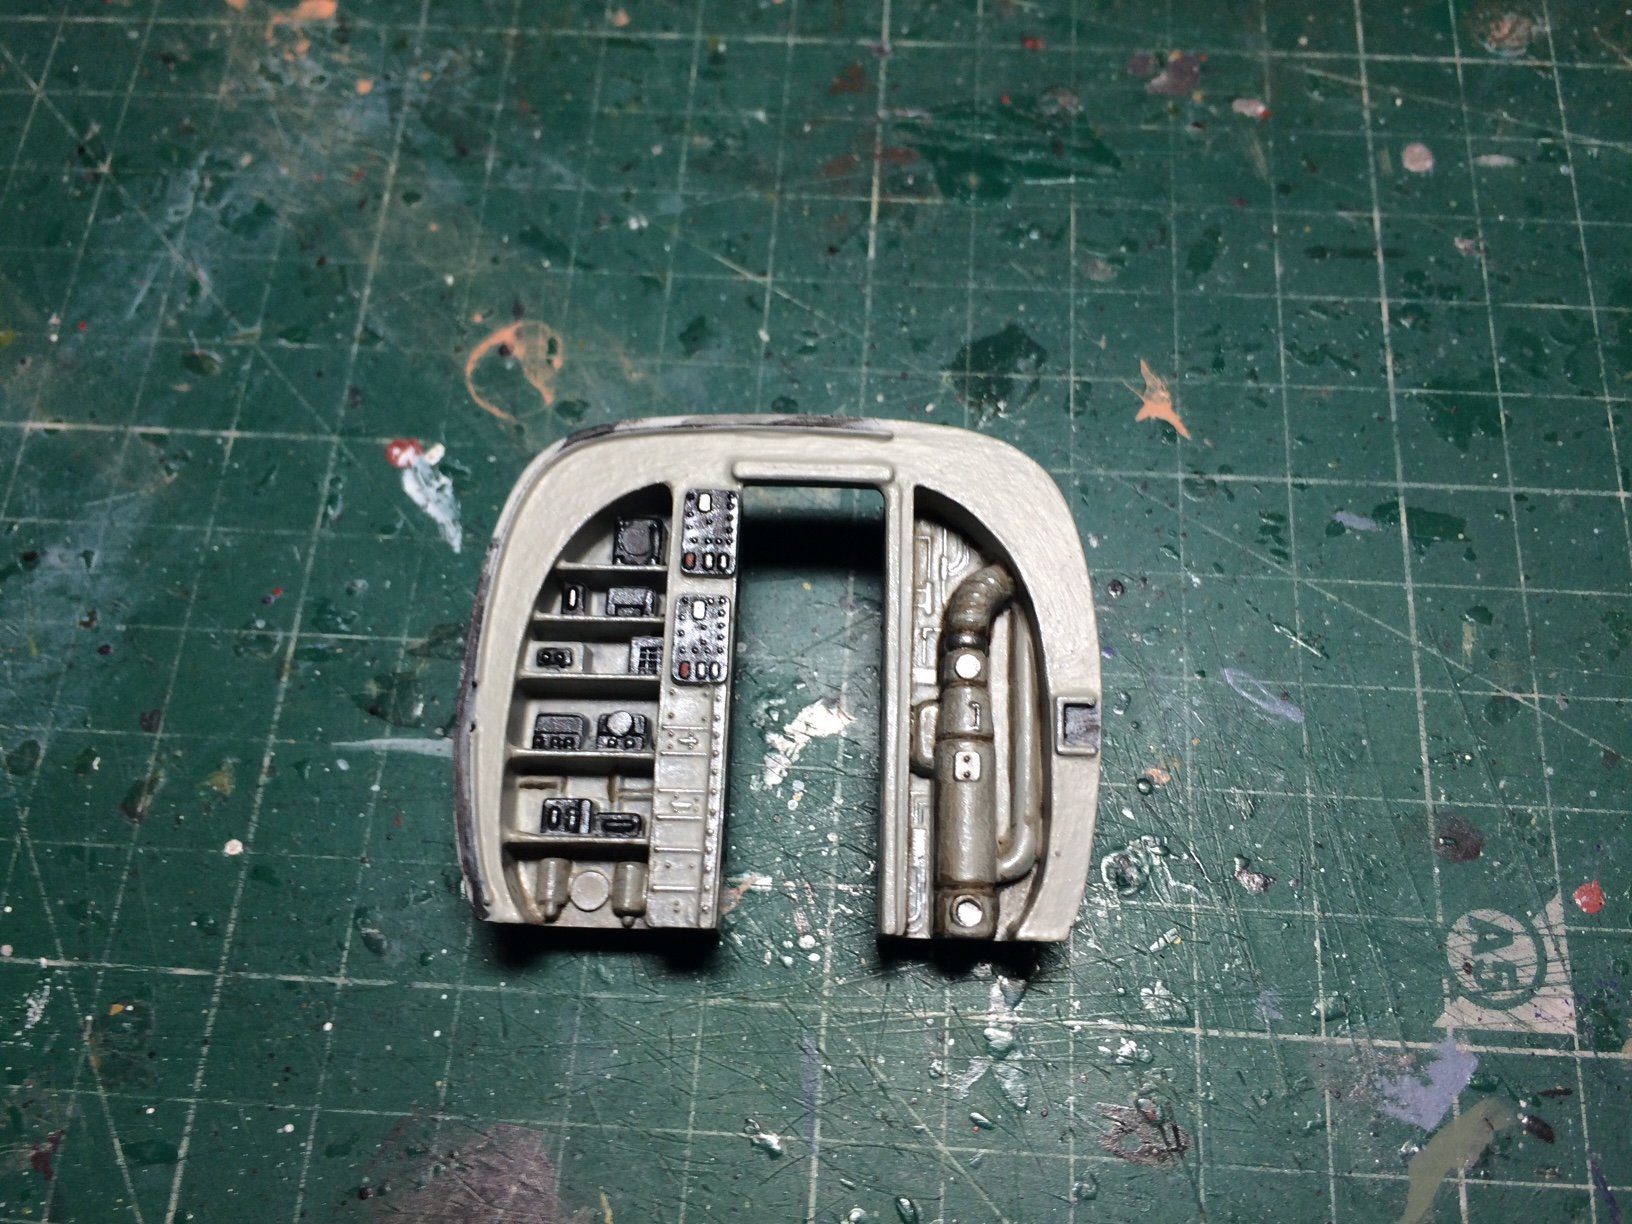
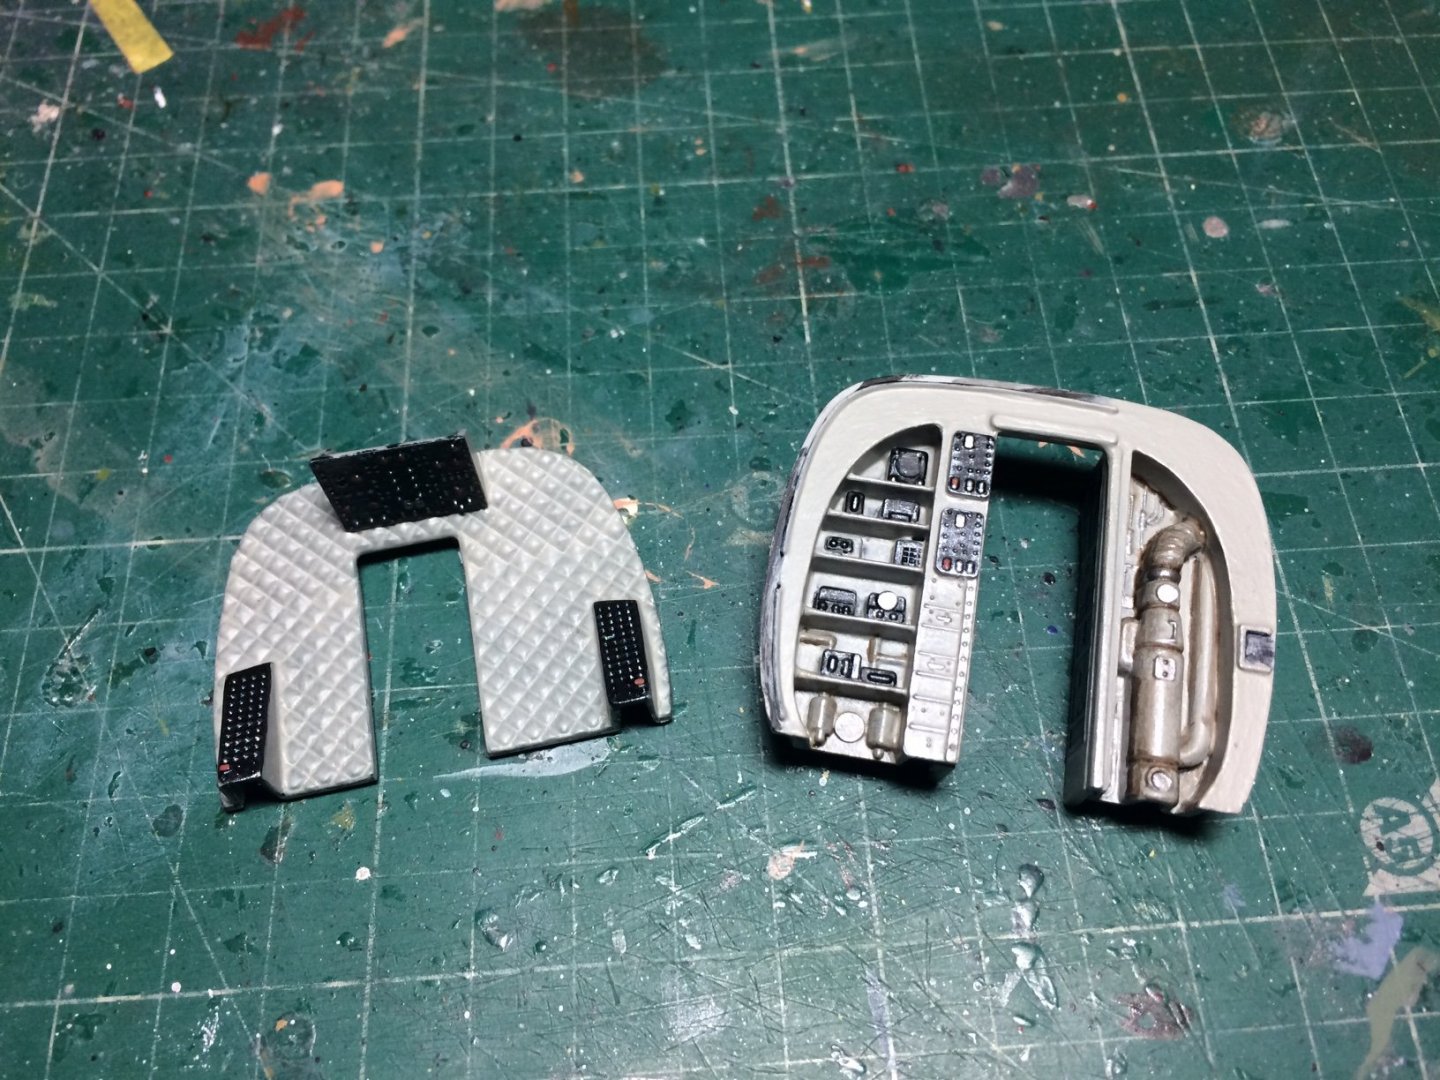
Hi all, right straight in - The kit starts with the inside cabin/cockpit bulkhead, this has shelf with different items on it - and the other side of the cockpit entrance is some pipework and wiring, basis steps of primer - paint layers - details - shading then highlighting. Its a start not looking too bad. OC.


- 283 replies
-
- 10
-
-
Thank you kindly Mike. OC.
-
All that work has paid off Gorgeous Job - thats about as good as those kits could be - you should feel very proud of what you have done. Pleaase please build SS Canberra if you can find one - you could either do her as she was as a liner or as she was in the Falklands carrying troops and a bit beat up due to the weather. Love your work. OC.
-
Good seeing you here again Mark, sorry to hear of both of your spells of I'll health, look after your selves - looking forward to seeing you back in the building swing. OC.
-
I think it depends on the size of your project and the available space you have, also with the project - it also depends on the scale of difficulty of the kit and range of your skills, this would affect how many tools and other things you need to work on your project. As a kind of example - my work space is our dining room table that I have commondered and use just for my model building now, it gives me an area of about 4 x 3 feet but it does the job. OC.
-
Yep something about the sound of the chinook can always here one miles away when they do occasionaly come over. OC.
-
Thank you kindly Kevin - I try my best. OC.
-
Thank you kindly brother - very nice of you to say. OC.
-
Your doing a grand job - keep roling dont stop loving what you have done so far. OC.
-
Welcome great to have you onboard our family here - you have done some Beautiful work there, hope you get to do some build logs here - looking forward to it. OC.
-
Welcome aboard, you will find planty of help (if you need it) and all round wonderful chatter. OC.