


Old Collingwood
-
Posts
11,507 -
Joined
-
Last visited
Content Type
Profiles
Forums
Gallery
Events
Posts posted by Old Collingwood
-
-
If you can - do the wings first in the paint finish you want - then concentrate on your magic on the fuselage after, will be easier to mask the wings to then do your metal work than the other way round - just my 10 pence worth.
OC.
-
It reminds me of the old (80-90s) American Airlines polished metal scheme (used to love that scheme on MD11's.
OC.
- Edwardkenway, mtaylor, Jack12477 and 2 others
-
 5
5
-
She looks great Denis - credit to you for keep going and overcoming some of the hick ups you had, she really looks the part now.
OC.
- Canute, popeye the sailor, mtaylor and 2 others
-
5
-
2 hours ago, popeye the sailor said:
the seafire came out super OC. there is a difference in the type of decals used.......I've found this with different model companies. some supply a thicker decal......some decals have a form of flashing around them, and some are thin. I was over at Pheon decals, looking over some of their information / directions, and they suggest not using some of the decal solutions available. some are too strong and will tend to melt and distort the decal. it's probably best to test them first
Thank you denis.
OC.
-
Evening all, I managed to get a bit more work done on the tractor, I am basically making it look quite bashed up dirty with lots of use, as I asume they would be.
OC.


-
-
I have owned two french cars a Megane and a Citroen ZX, both quite decent cars.
OC.
- Landlubber Mike, mtaylor, lmagna and 3 others
-
6
-
16 minutes ago, lmagna said:
Hey Denis
Do you know how to tell an Italian plane in a snow storm?
Like a how to tell what sex your snowman is - snow balls...
OC.
-
-
Really nice job on the deck - very very impressive.
OC.
- popeye the sailor and Kevin
-
2
-
"Hey brother" - I'm liking that, I so get where you are going with this it will look Stunning.
OC.
- Edwardkenway, mtaylor, Jack12477 and 3 others
-
6
-
29 minutes ago, cog said:
Not to shabby mate. Is it the photograph, or my screen calibration, but the tires look almost the same colour as the hubs
There a faded grey/black but deffinatley more towards a black side than the RAF Blue - the light (strong from above) probably didn't help.
OC.
-
Very nicely done Denis - she came out just fine.
OC.
-
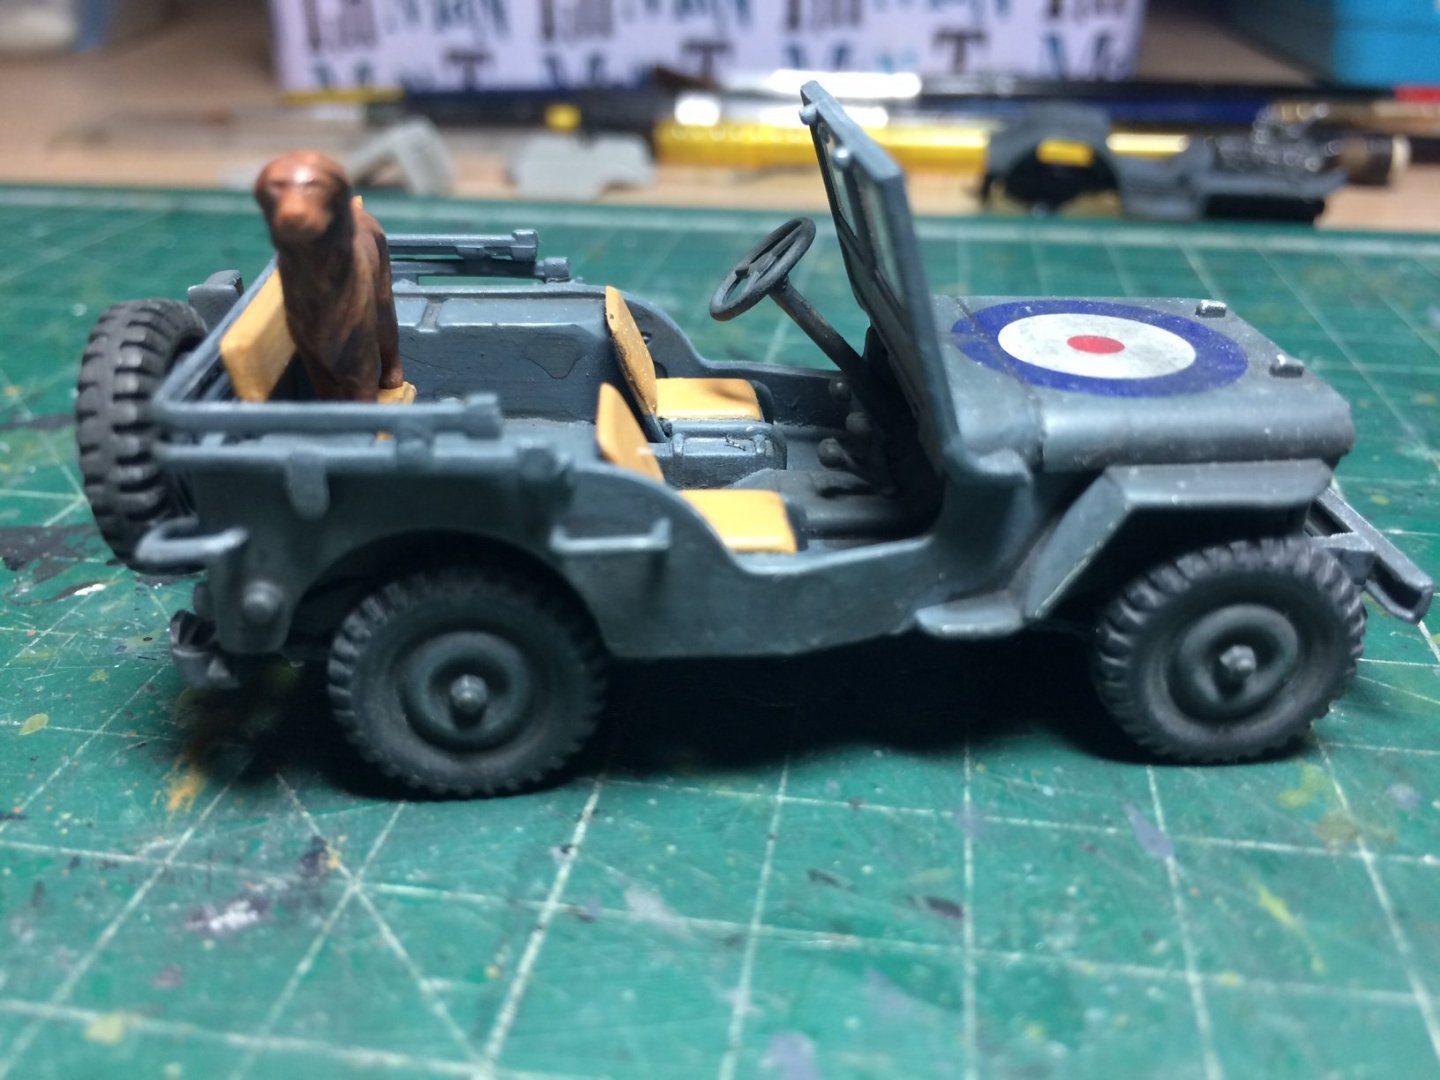
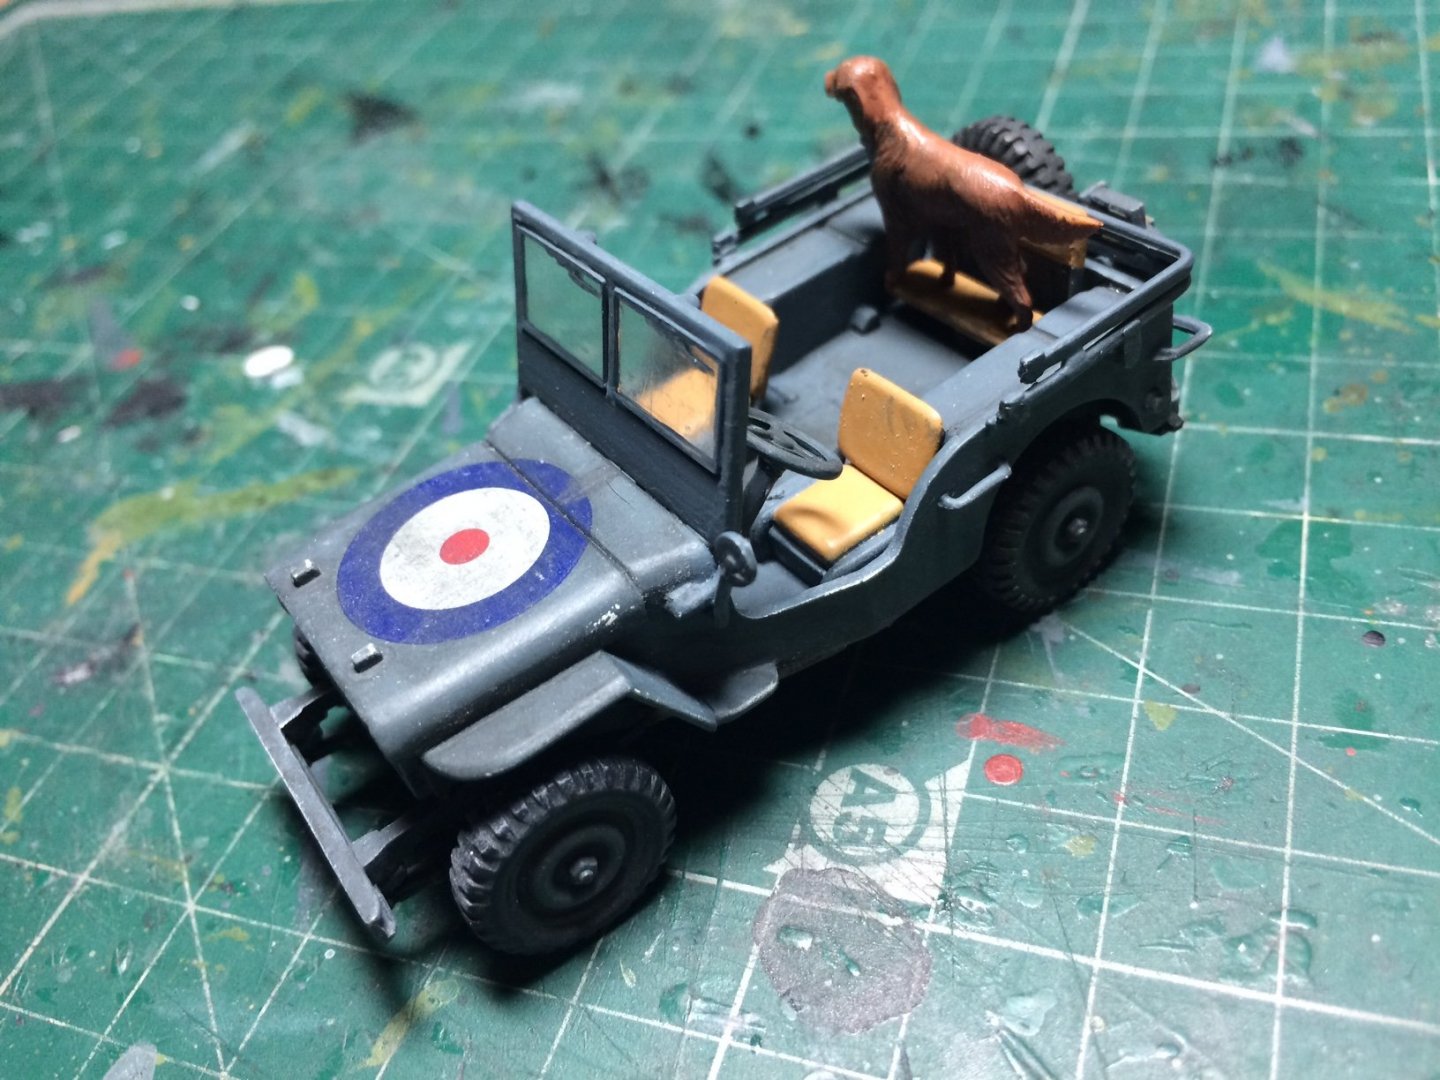
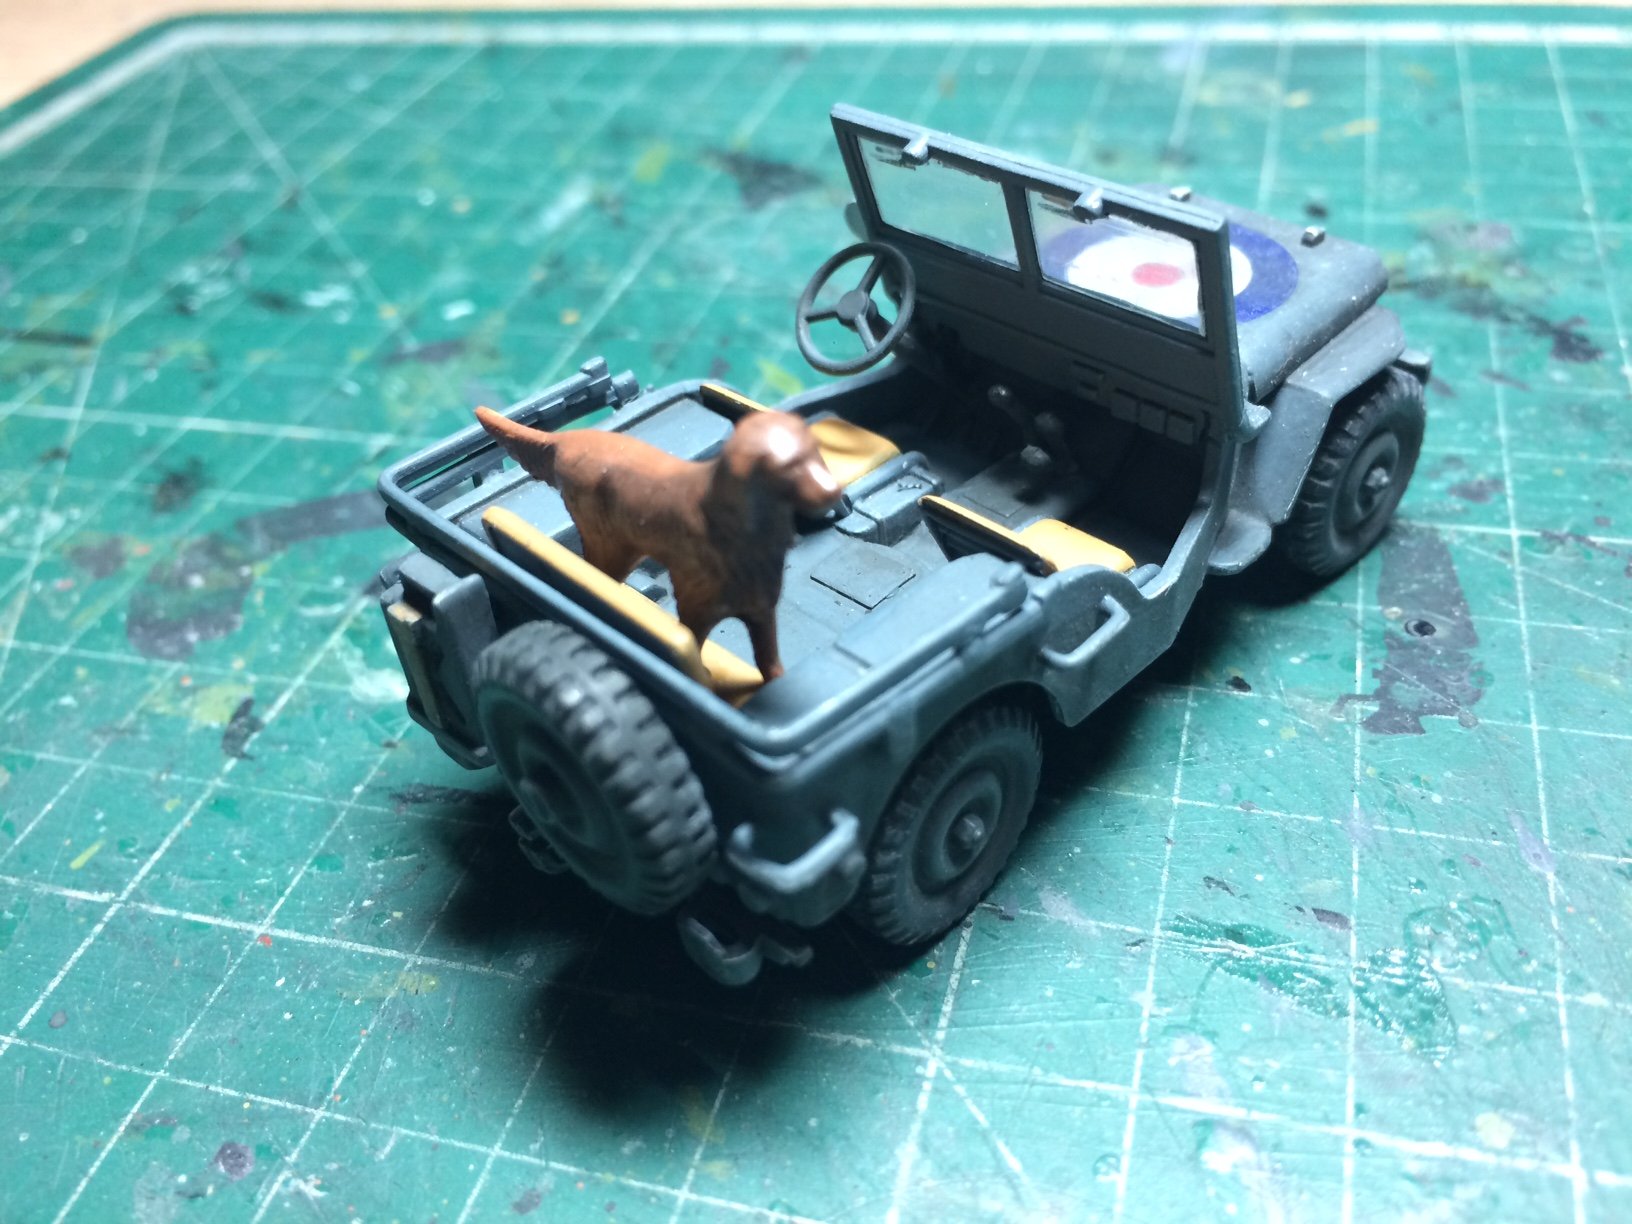
More progress this evening - first I bashed up the Jeep with washes and high lighting, then I painted and added "Red" the setter, she jumped up on the jeep and is sitting on the rear seat waging her tail, excited by all the activity.
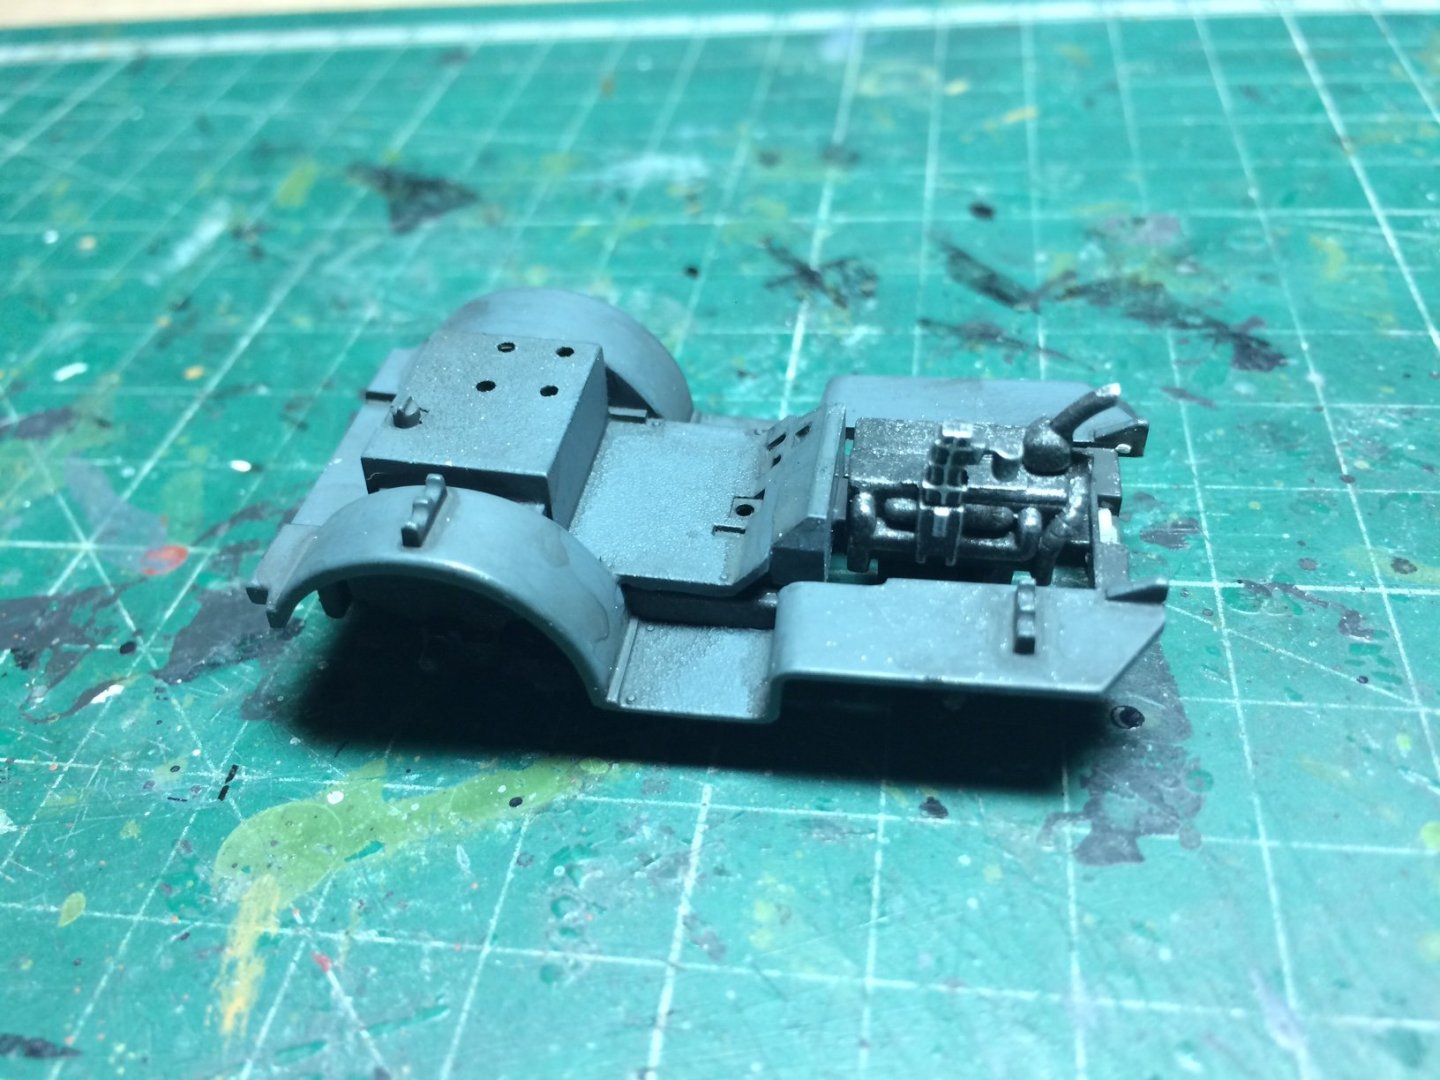
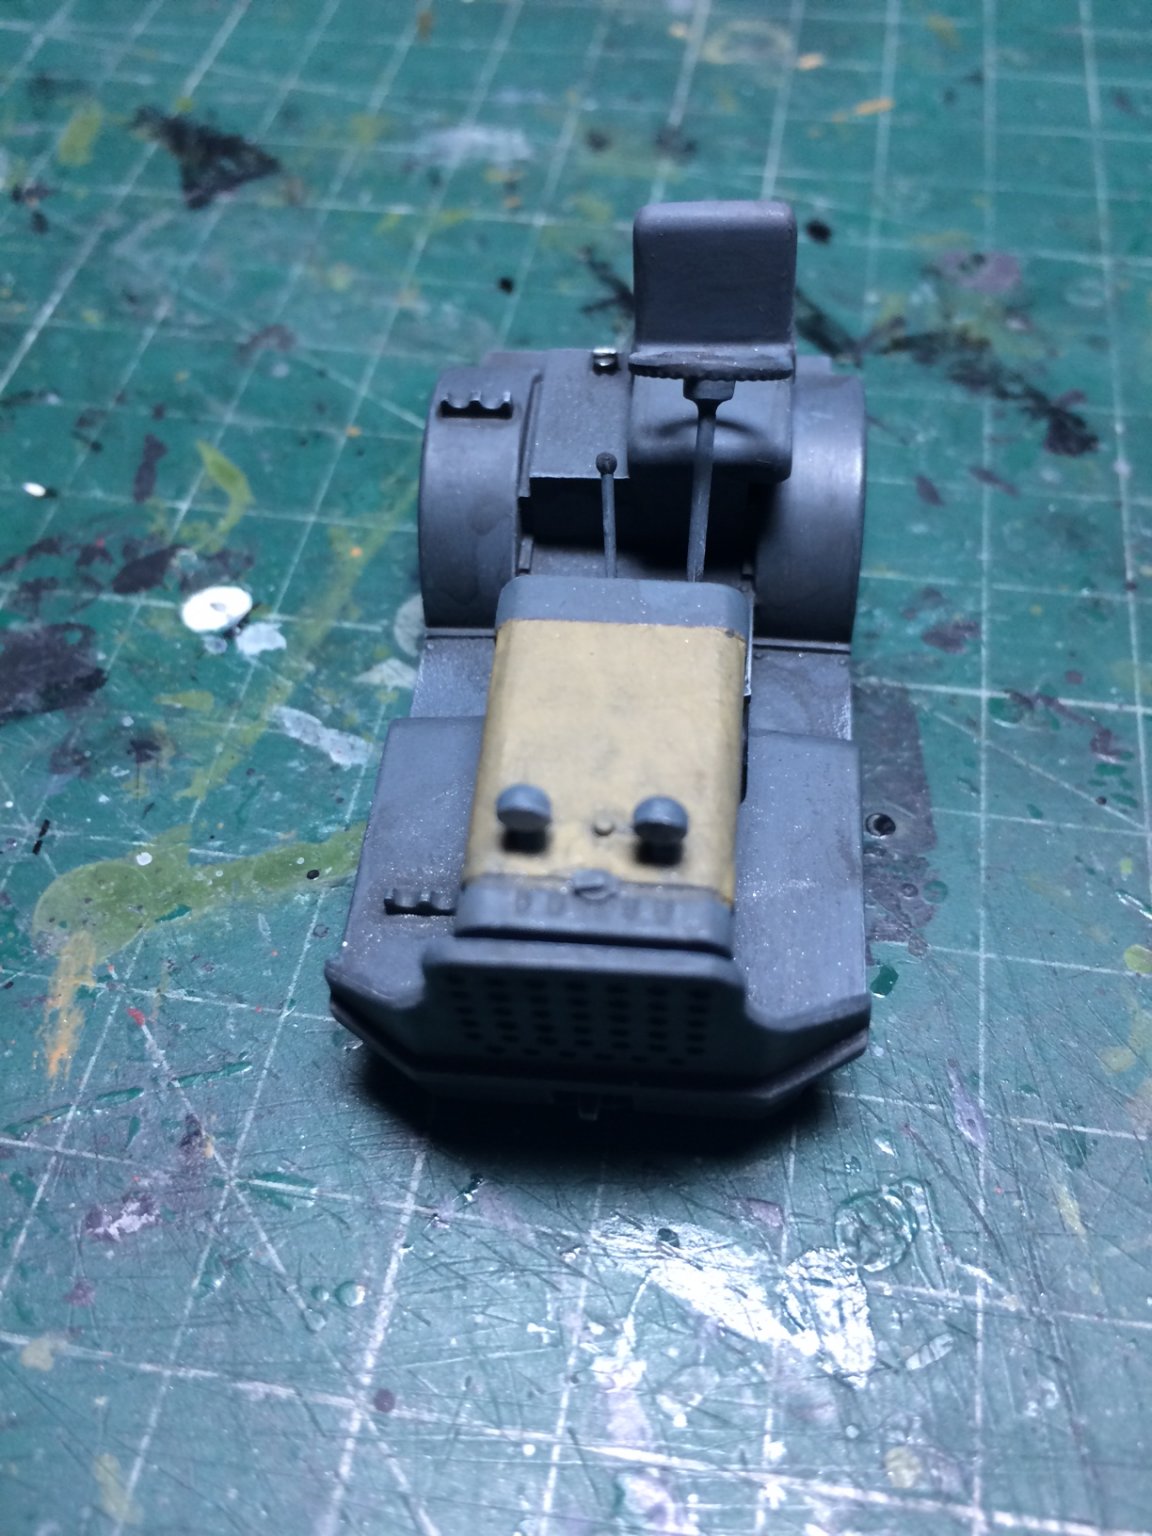
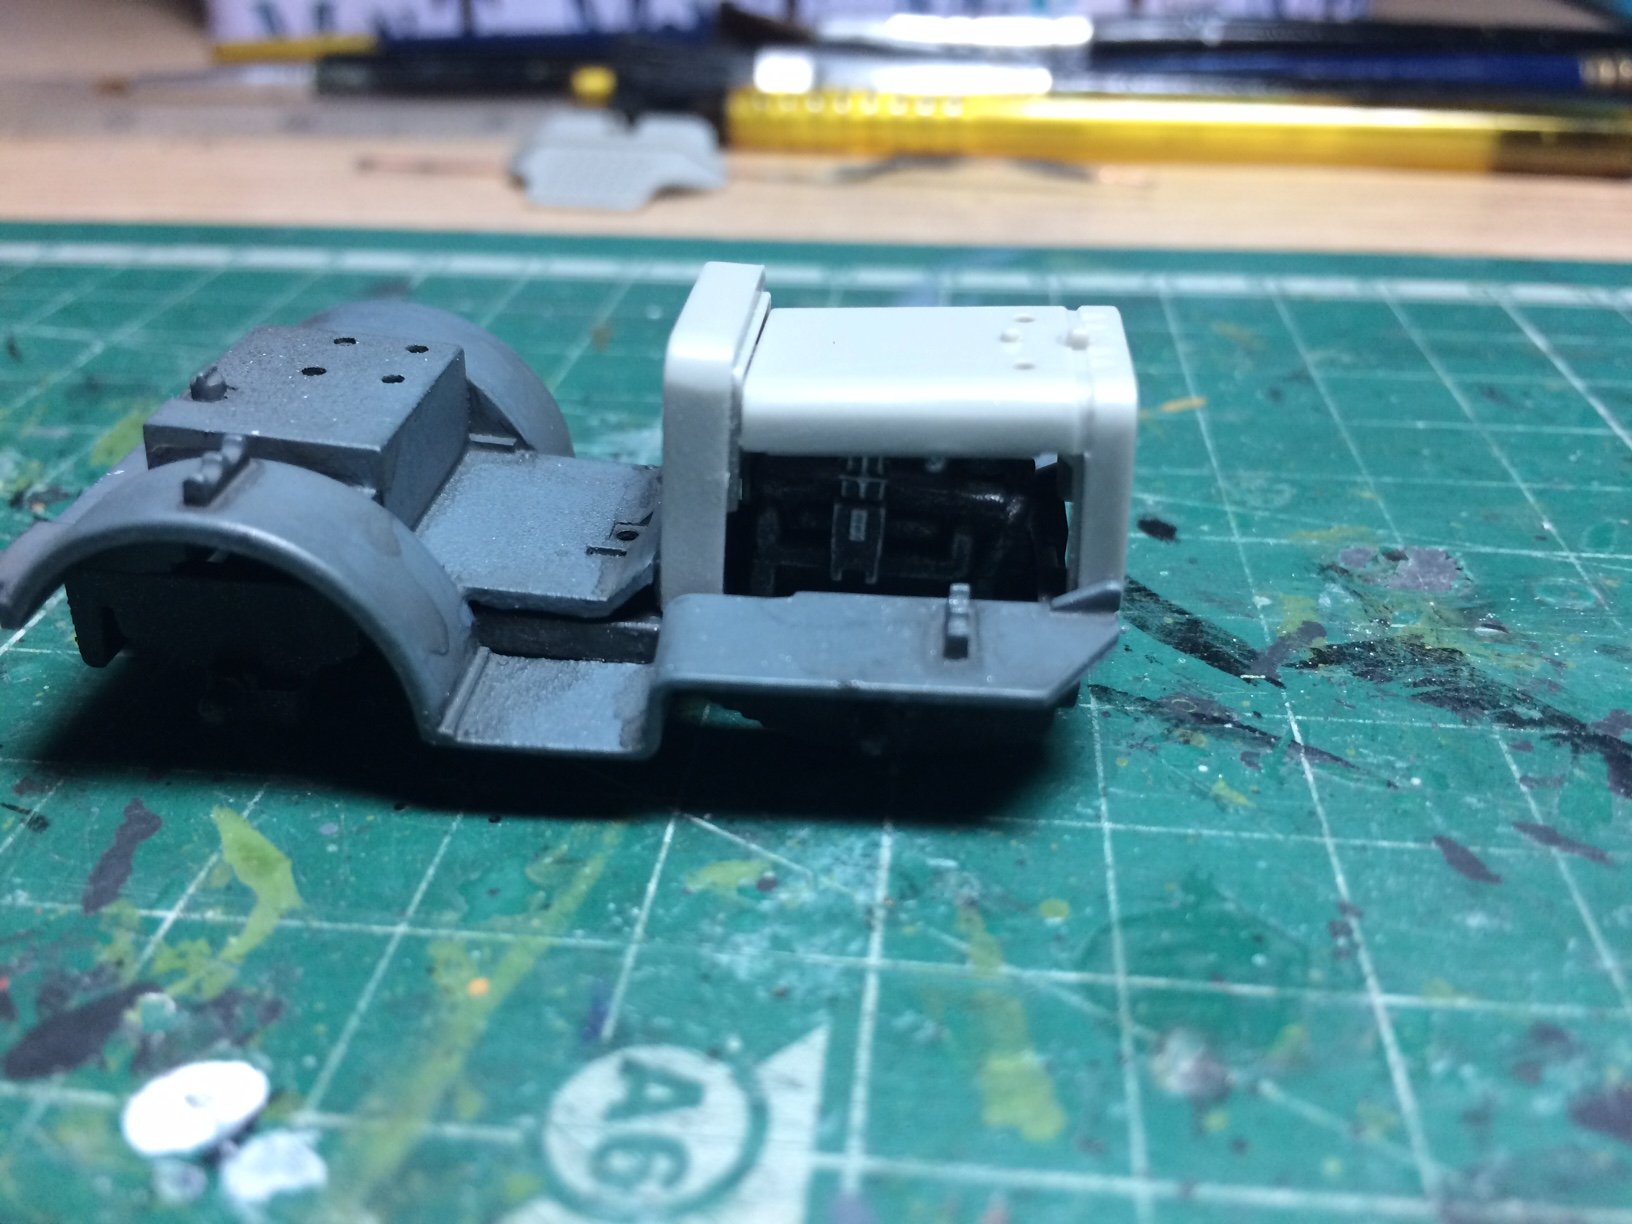
Next I continued with the tractor adding more washes and building the engine that was then fitted in place.
Pic shows the dry fitting of the engine cover.
OC.


- mtaylor, Nirvana, Landlubber Mike and 9 others
-
12
-
Looks fiddly all those windows - its always a sticky area.
OC.
- lmagna, popeye the sailor, Canute and 3 others
-
6
-
Fingers crossed bro.
OC.
- Canute, mtaylor, Edwardkenway and 2 others
-
5
-
9 hours ago, cog said:
Jeep looks good OC, but 'ardley used ... straight from th' fact'ry?
Hi mate, yep I have a bit more weathering to do to it yet - but not too much my dad used to tell me "if its still - paint it - if it moves still paint it".
OC.
- Edwardkenway, mtaylor, Canute and 3 others
-
6
-
That is looking really smooth - you did really good with those intake joins.
OC.
-
Looking forward to more update bro - loving what you have done so far.
OC.
-
16 minutes ago, Canute said:
Jeep's looking good, OC. Looks good to go.
Thanks Ken, just a bit of weathering on the bonnet then some flat coat to dull it down.
OC.
- Canute, Edwardkenway, Egilman and 2 others
-
5
-
Looking good Mark, congrats on finishing it.
OC.
- Canute, lmagna, marktiedens and 4 others
-
7
-
7 hours ago, CDW said:
Great looking Spit, OC. I really like the smooth paint job and decal work.
Thank you kindly Craig, hope your trip went ok?
OC.
-
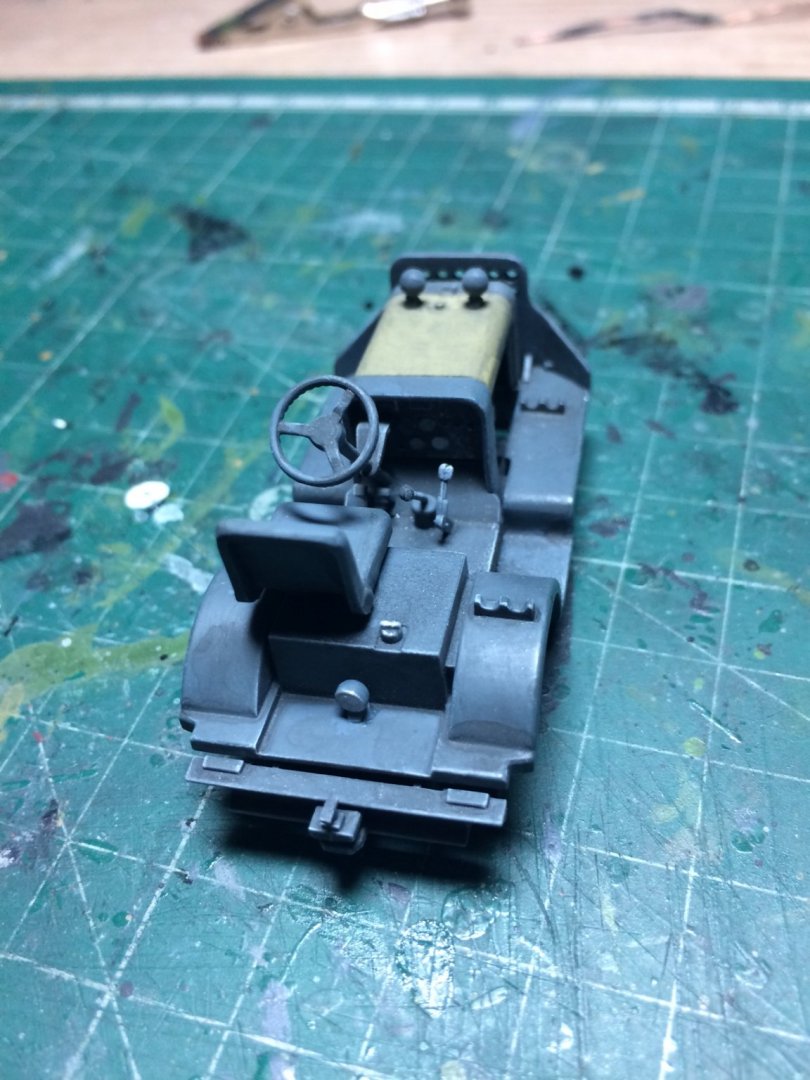
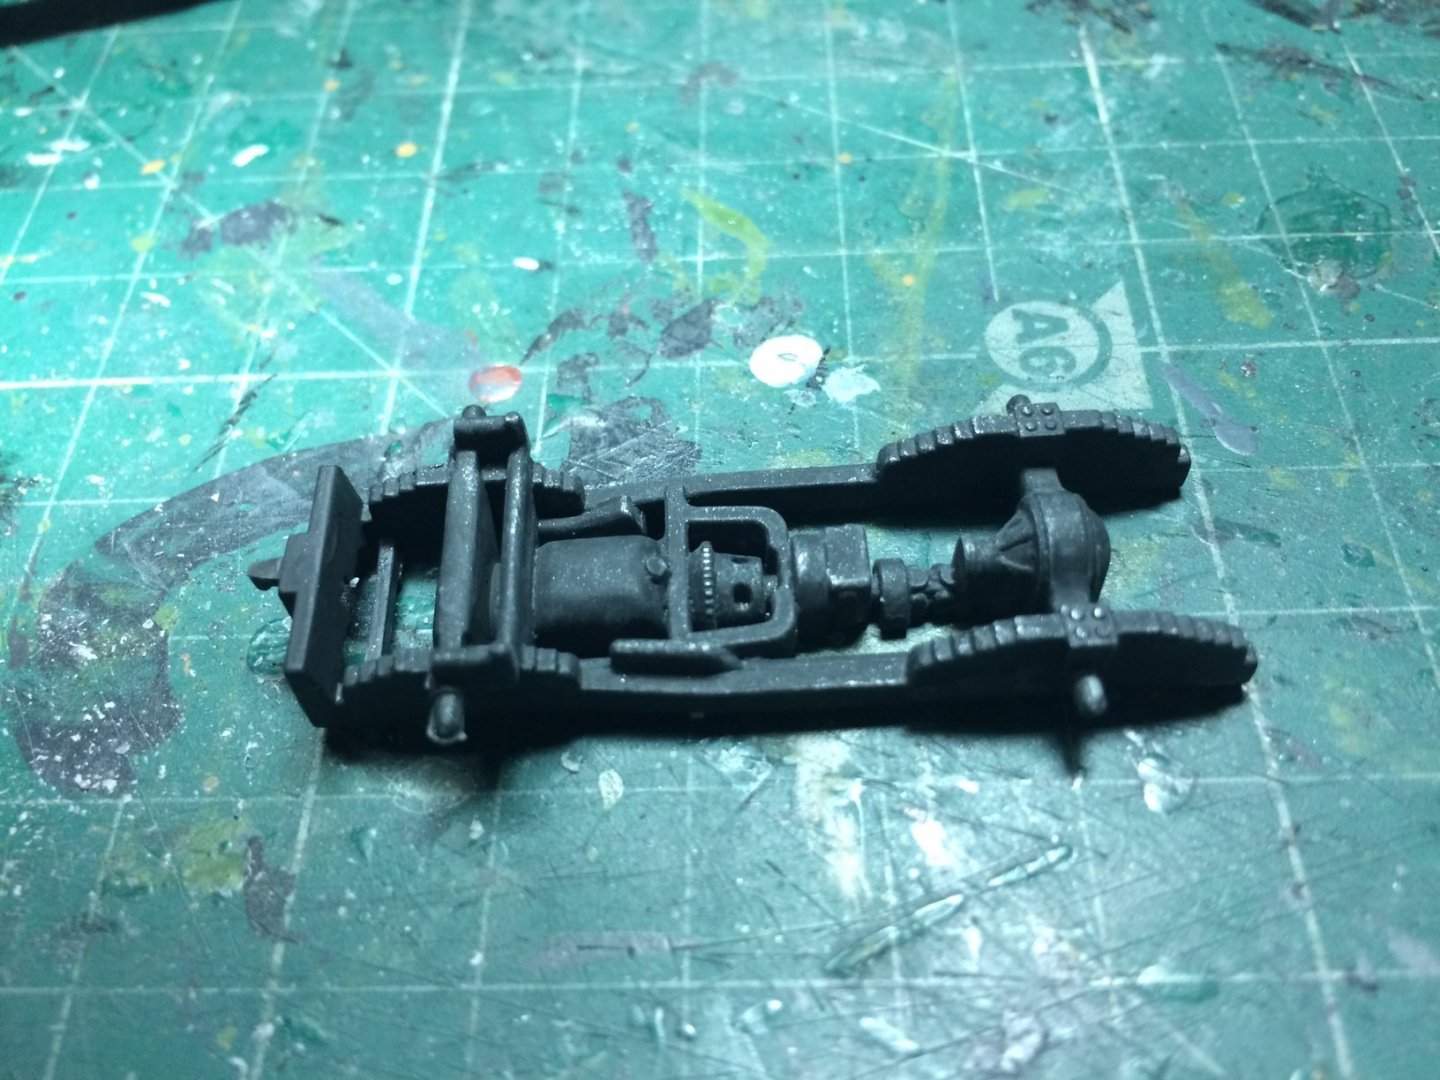
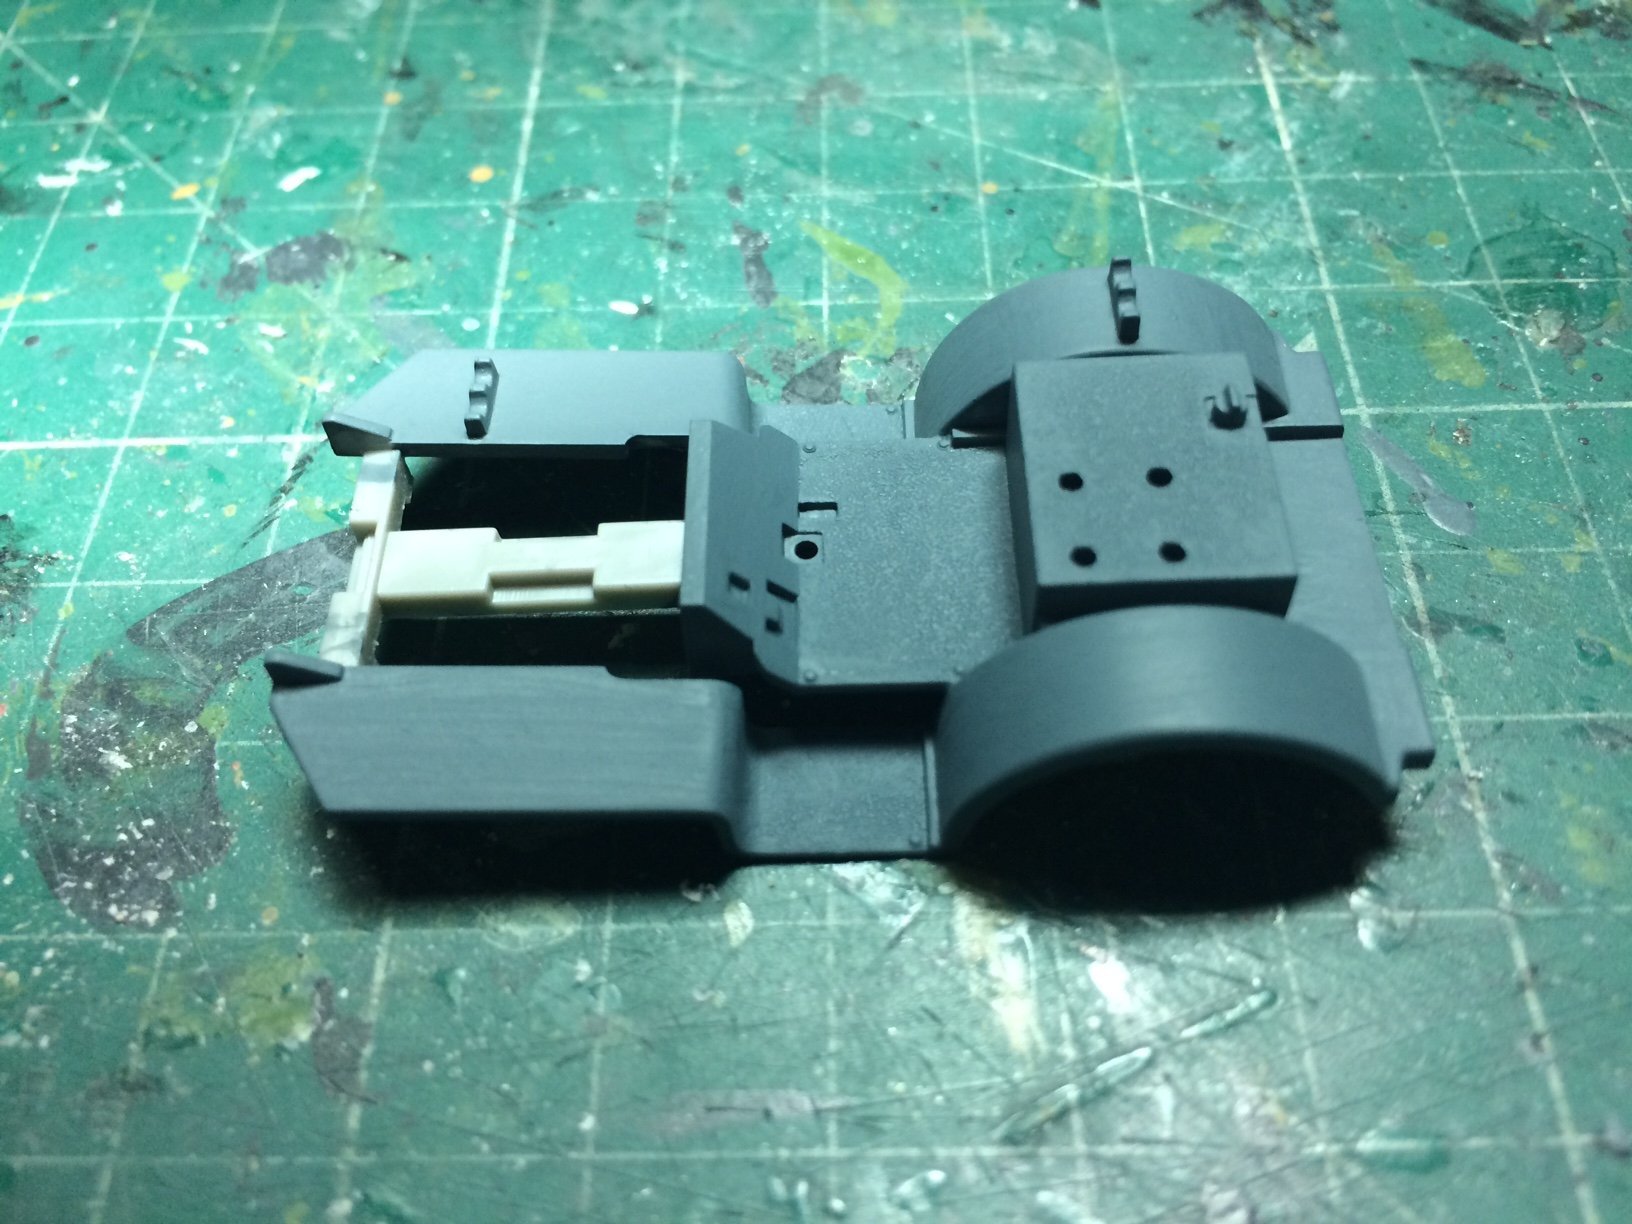
Also next on the agenda is a Tractor - this is a multi section build starting from the bottom up with the one piece chasis, then the body - engine - engine cover - rad unit, after giving the parts a light tidy up, I first gave the chasis a few coats of Nato Black, then when dry I brushed in some dark wash and finished off with a flat alum dry brush - this was then sealed with a flat coat (all brush painted even the bodywork)
Then it was the bodywork this was painted with a few coats the RAF Grey same as the jeep, so still two separate assemblies waiting to be pu together.
OC.

- marktiedens, mtaylor, lmagna and 7 others
-
10
-
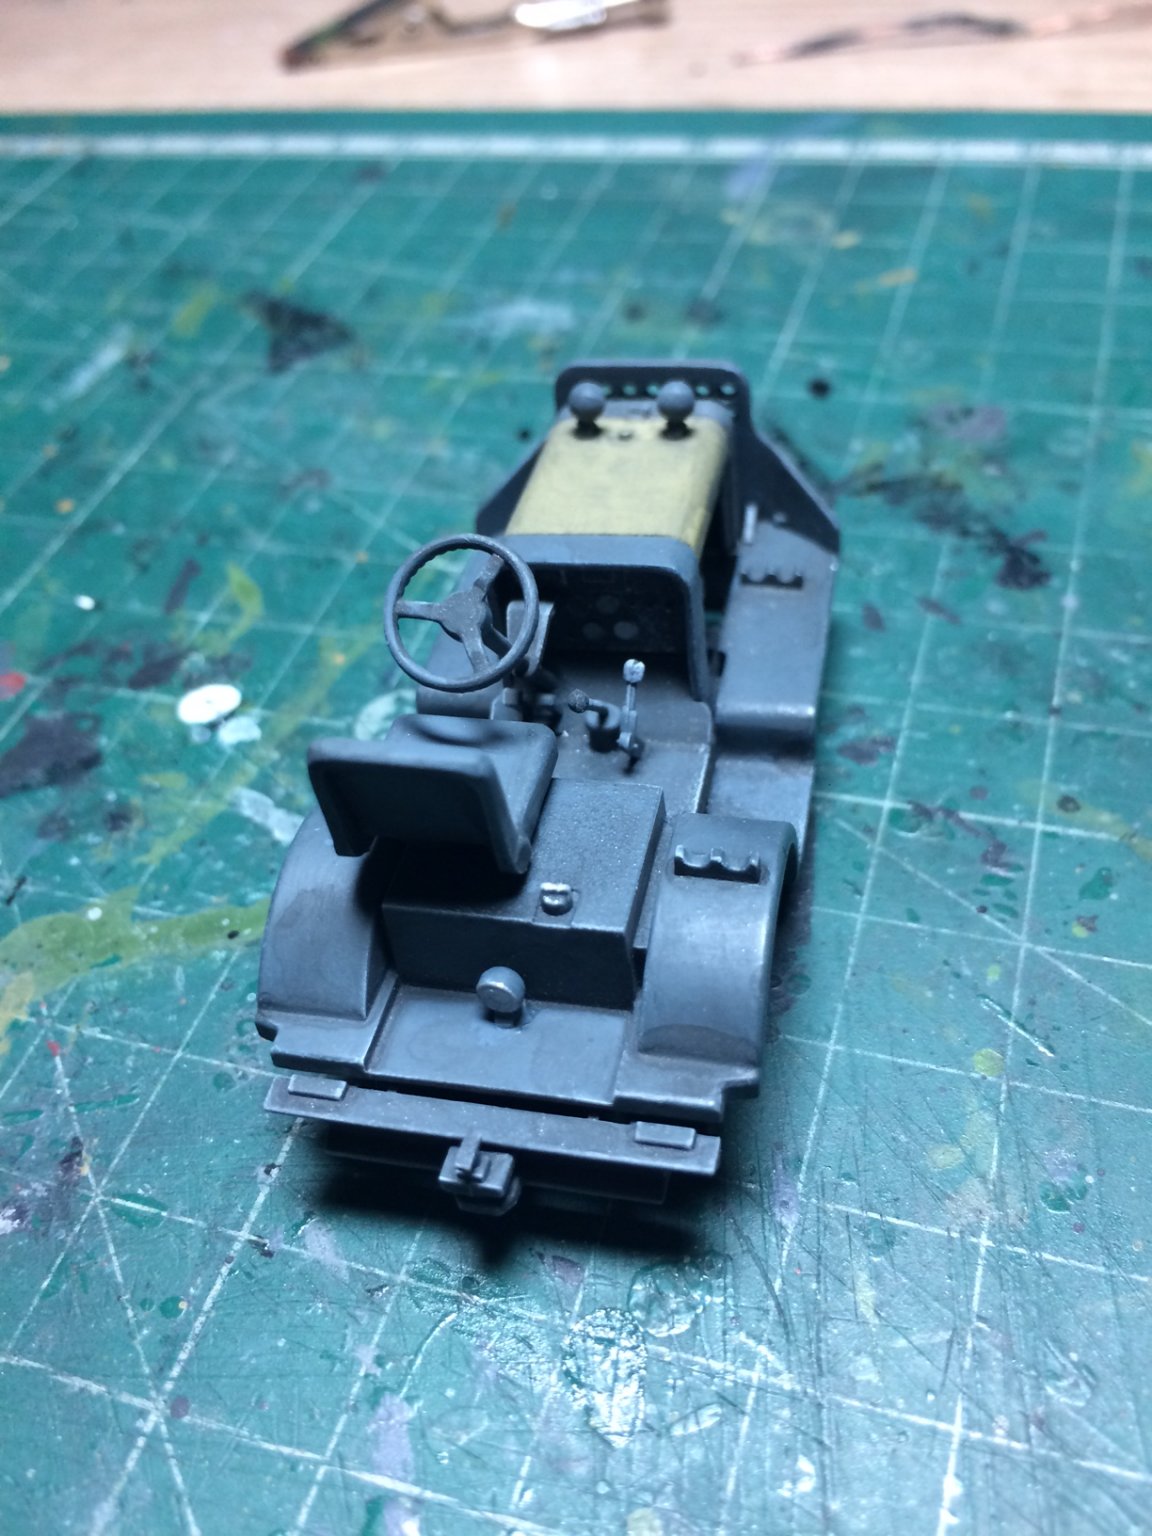
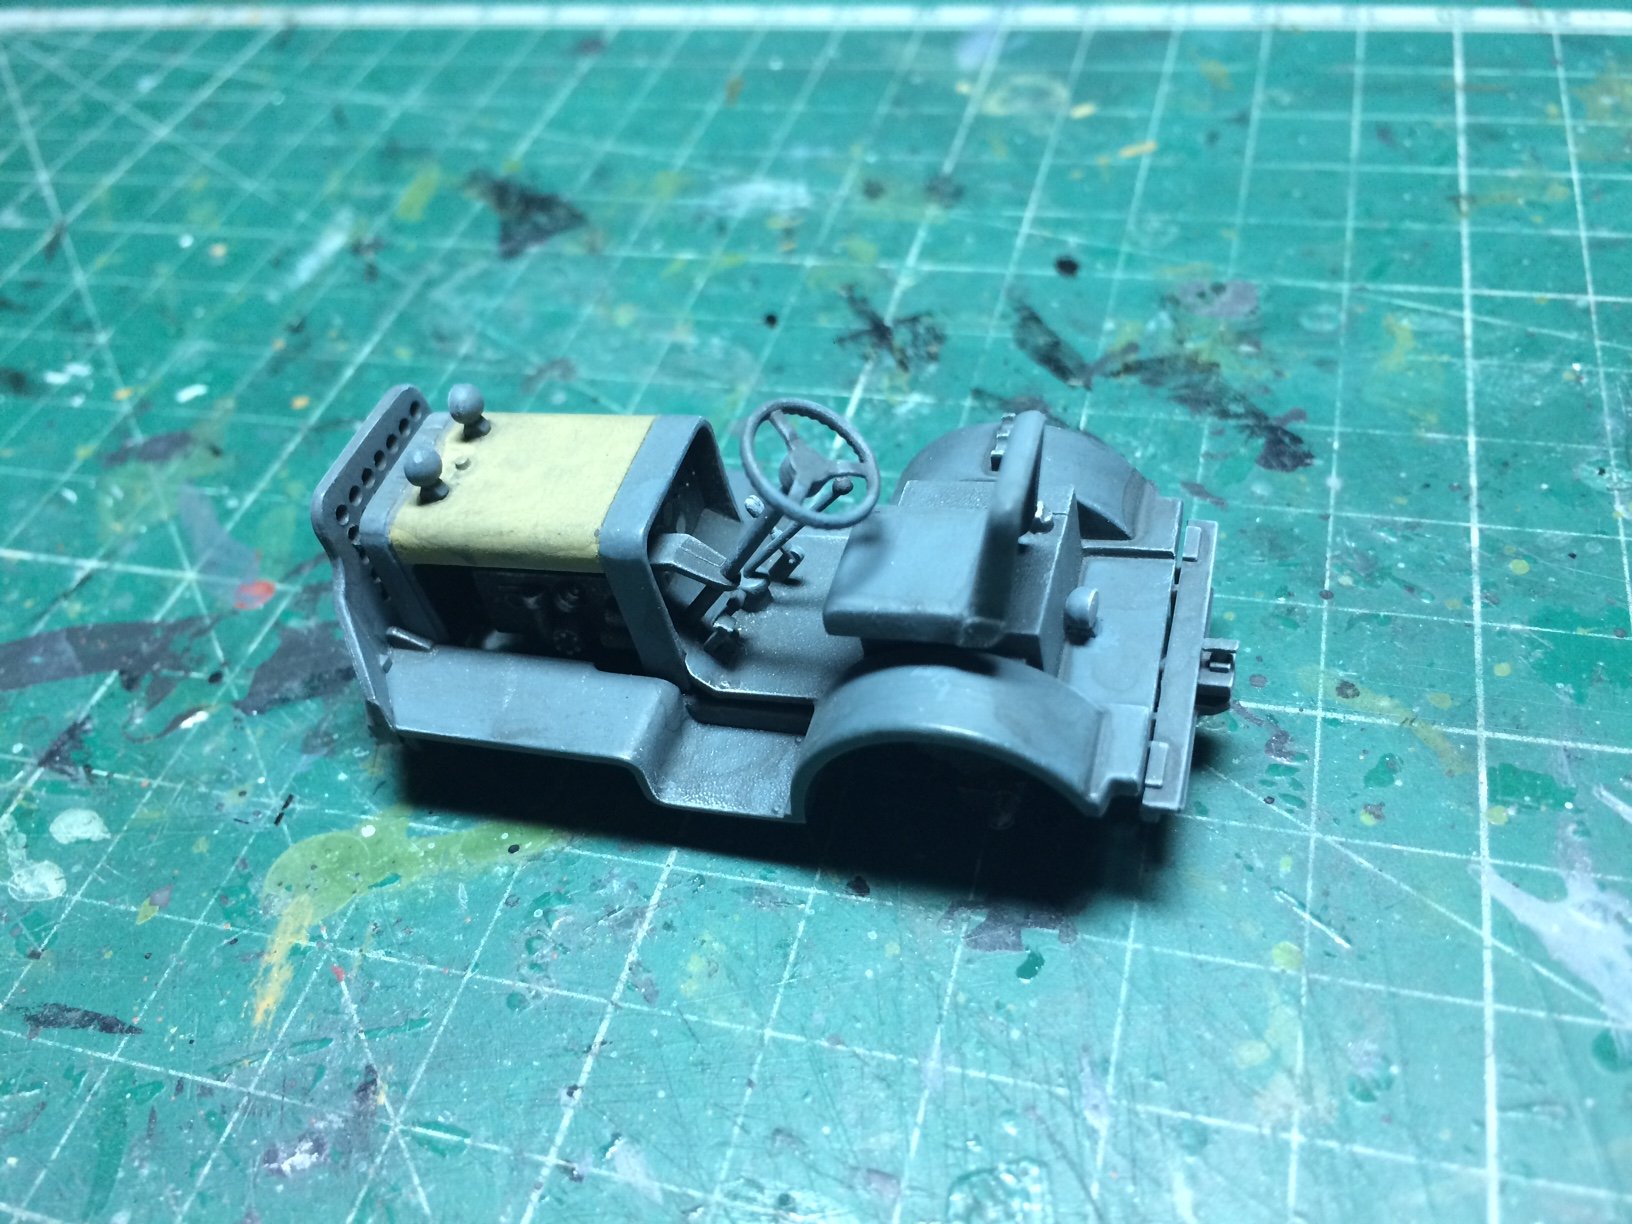
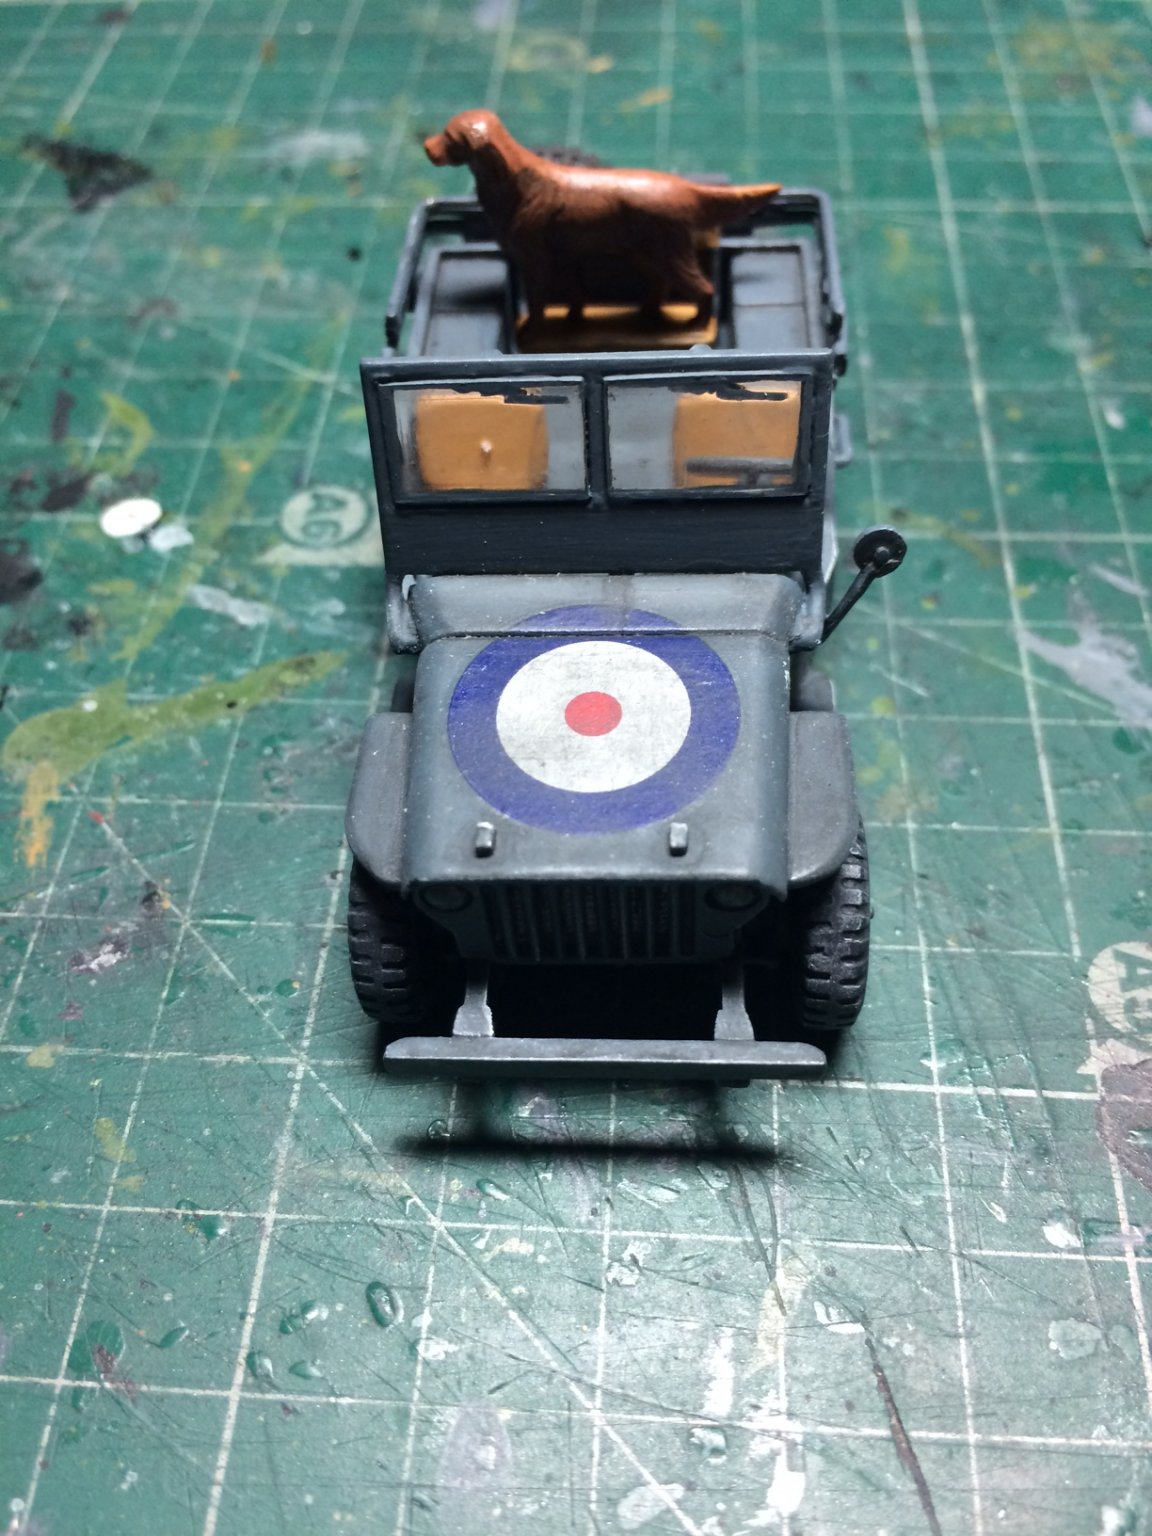
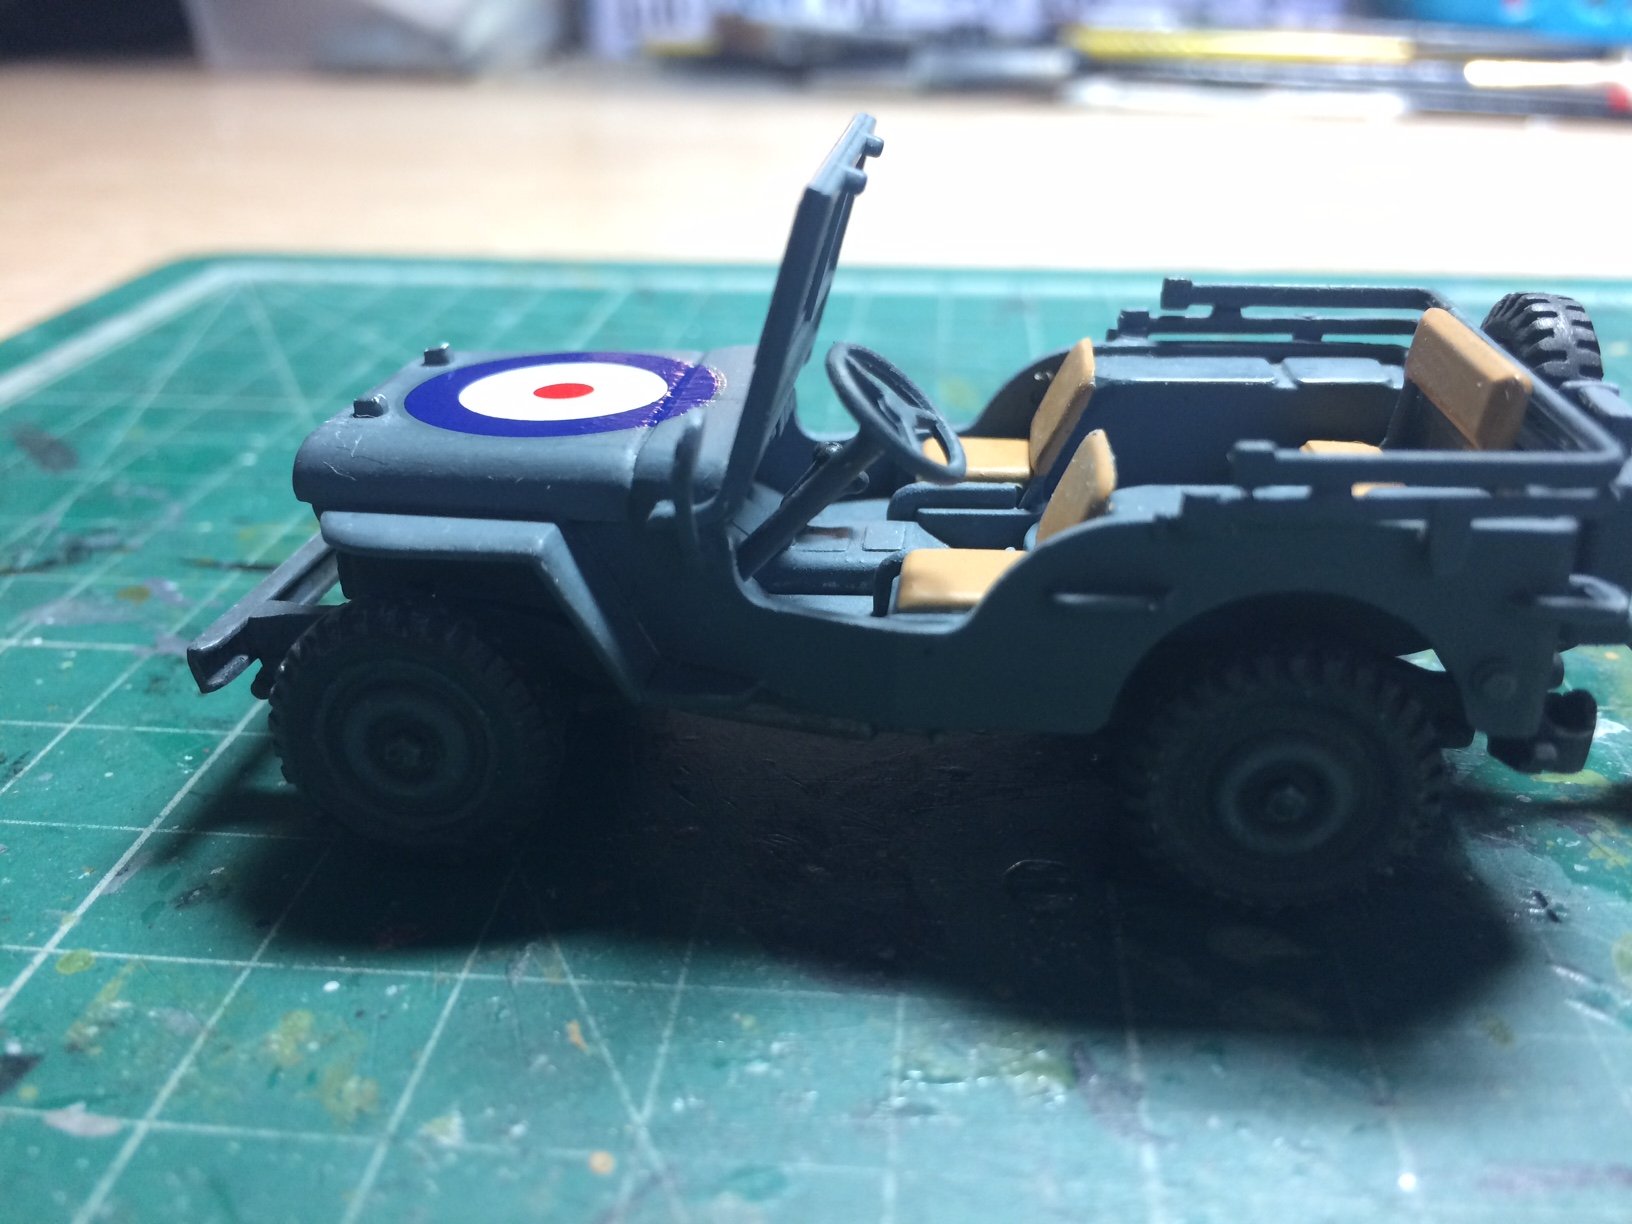
Hi all, I.m back as I promised - remember I told you all about that under size wheel columb (suitable just for a child) well I took it out removed the wheel from the columb, then I drilled a fresh hole under the wheel, and after finding the correct size piece of dowel (after sanding it down) I then glued the two together, then I kept offering up the wheel combo to the jeep till I found the right size - then it was glued in place.
I then went through my decal stash and found the correct roundal this was then placed and A few applications of micro sol are being put over it.
So this is the status of the jeep as she stands now - with a much better size wheel/columb hight.
OC.


F-104C Starfighter "Blue Jay Four" by Egilman - Minicraft/Hasegawa - 1/32nd Scale
in Non-ship/categorised builds
Posted
Better then to mask off the (Painted wings) and not have to mask the polished fuse.
OC.