HOLIDAY DONATION DRIVE - SUPPORT MSW - DO YOUR PART TO KEEP THIS GREAT FORUM GOING! (Only 24 donations so far out of 49,000 members - C'mon guys!)
×


Old Collingwood
-
Posts
12,098 -
Joined
-
Last visited
Content Type
Profiles
Forums
Gallery
Events
Everything posted by Old Collingwood
-
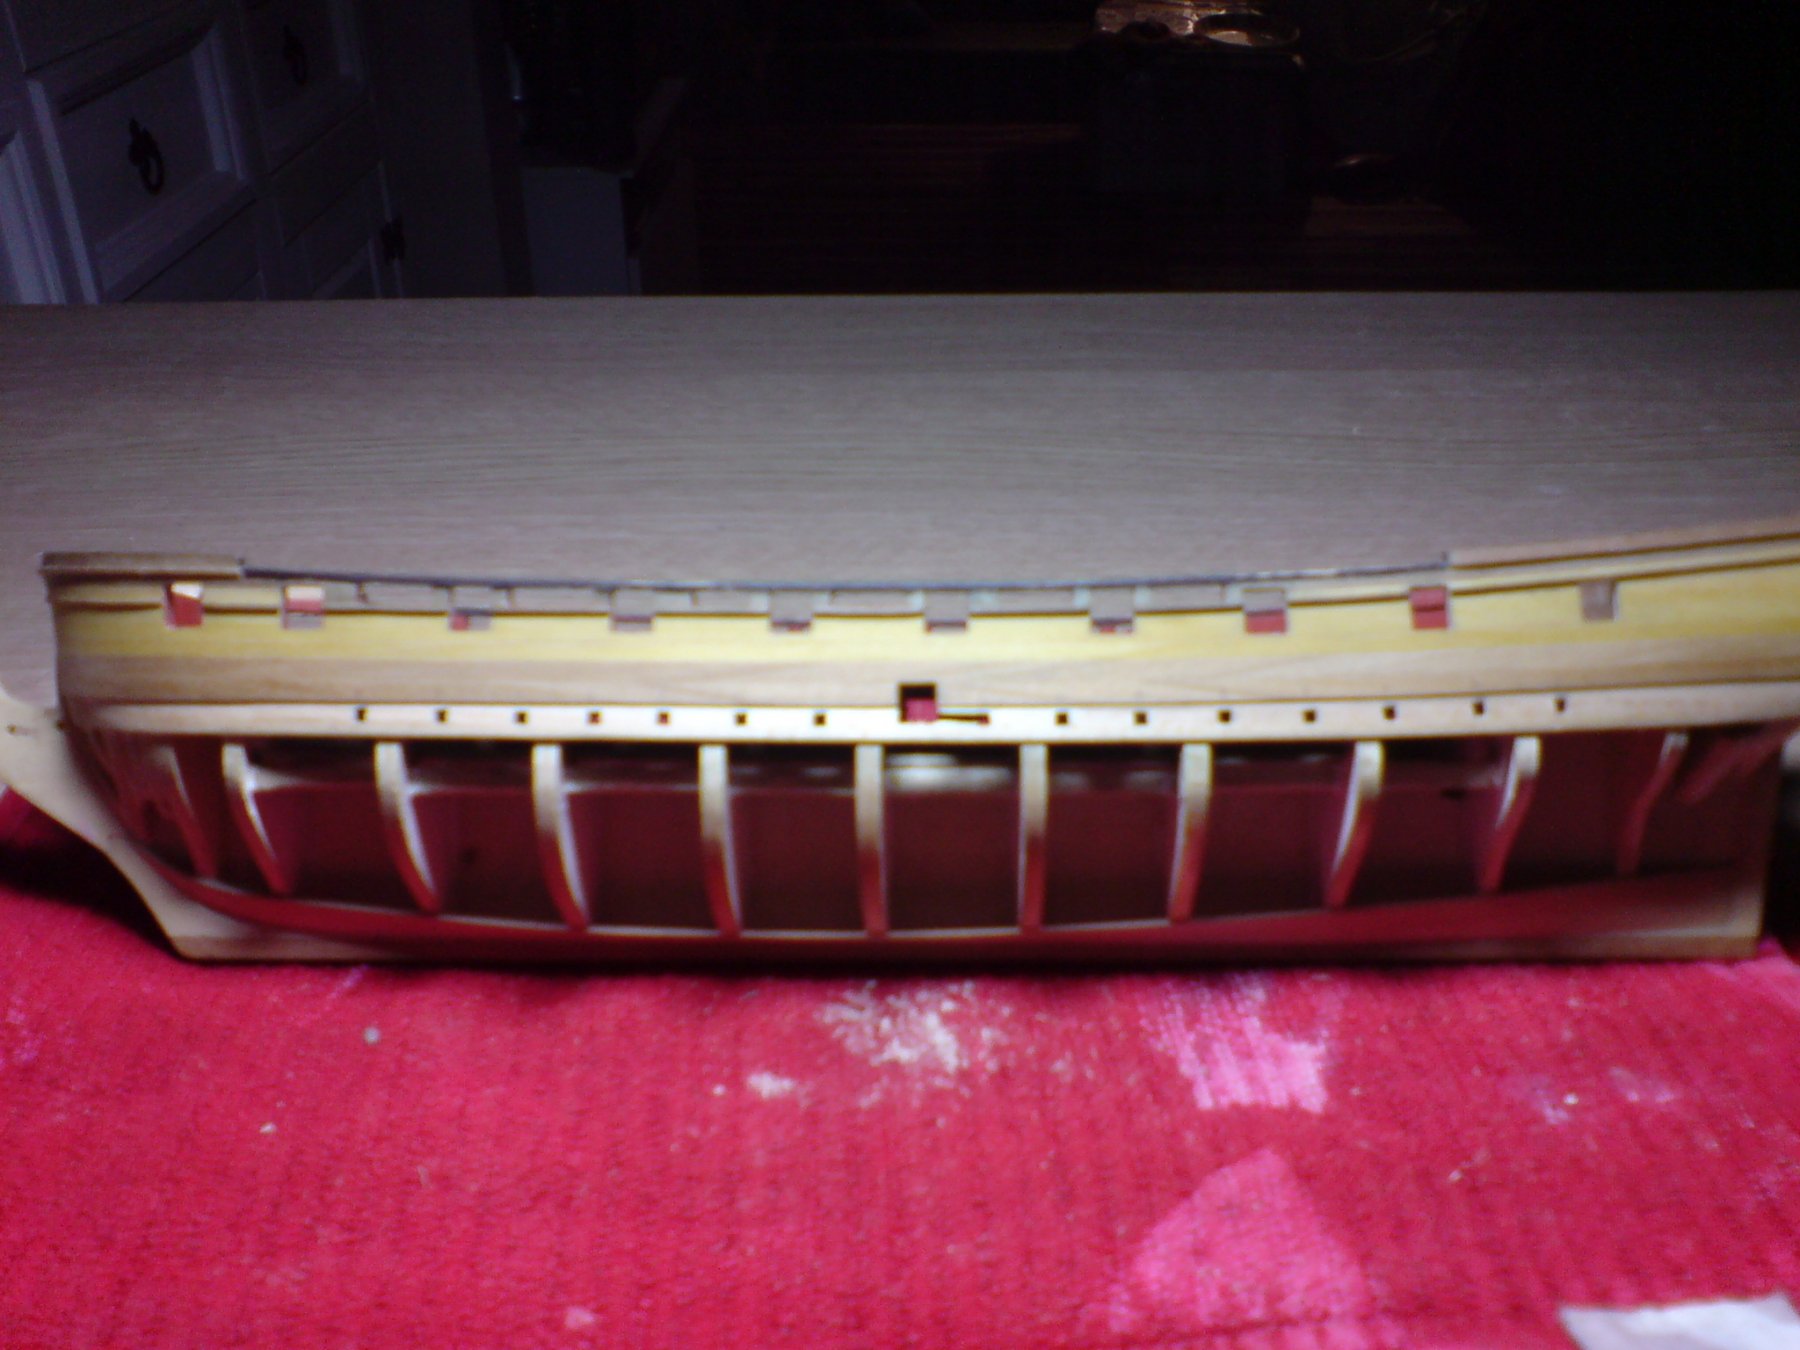
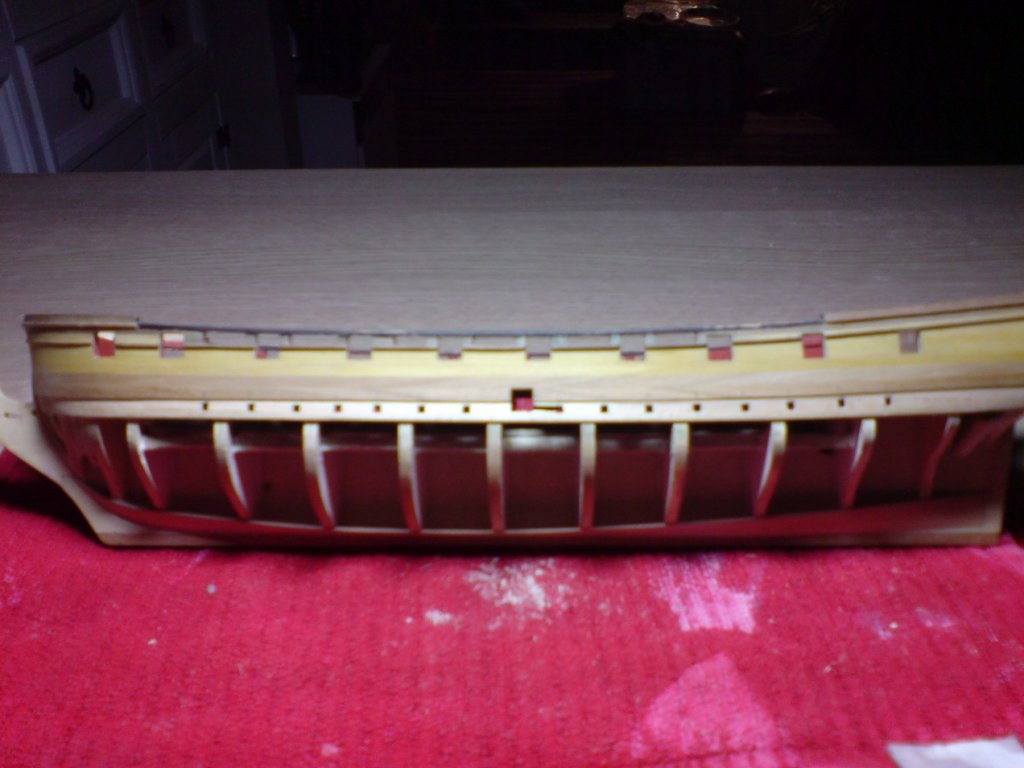
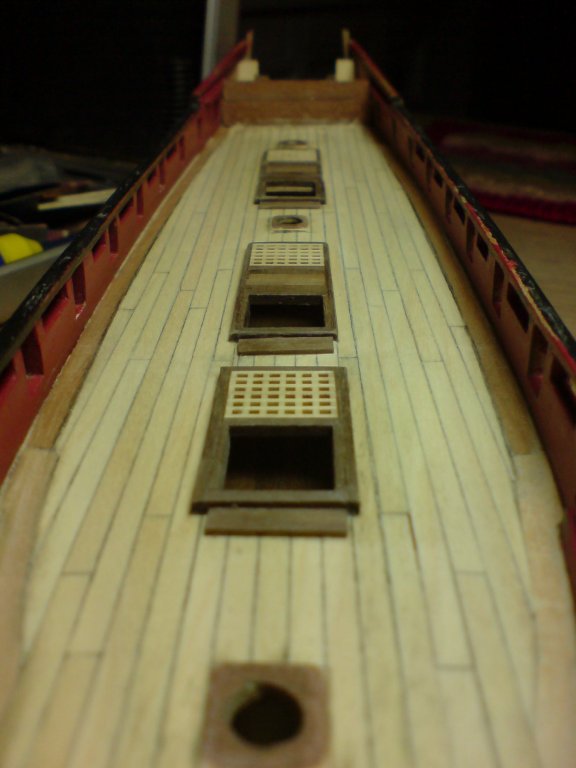
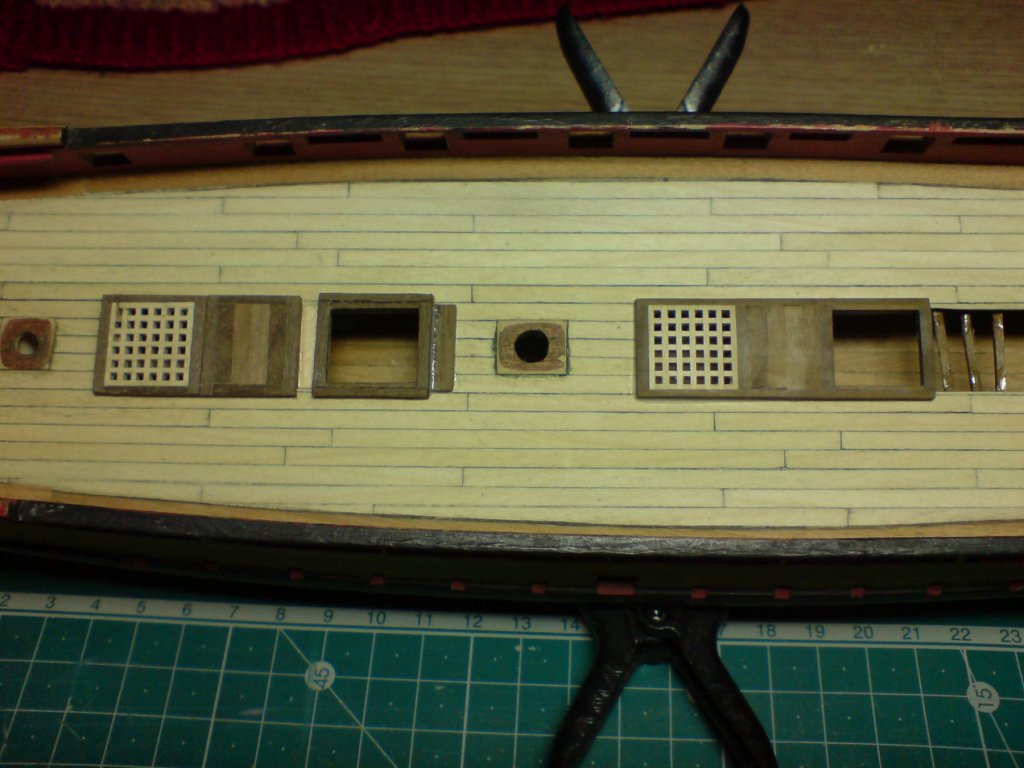
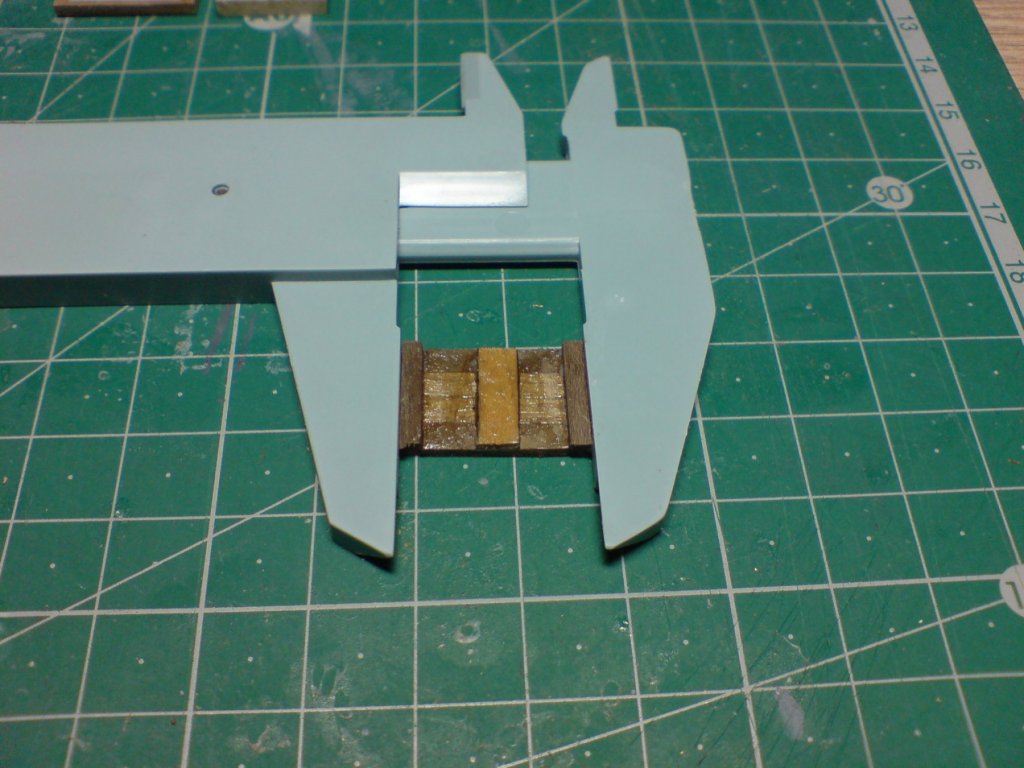
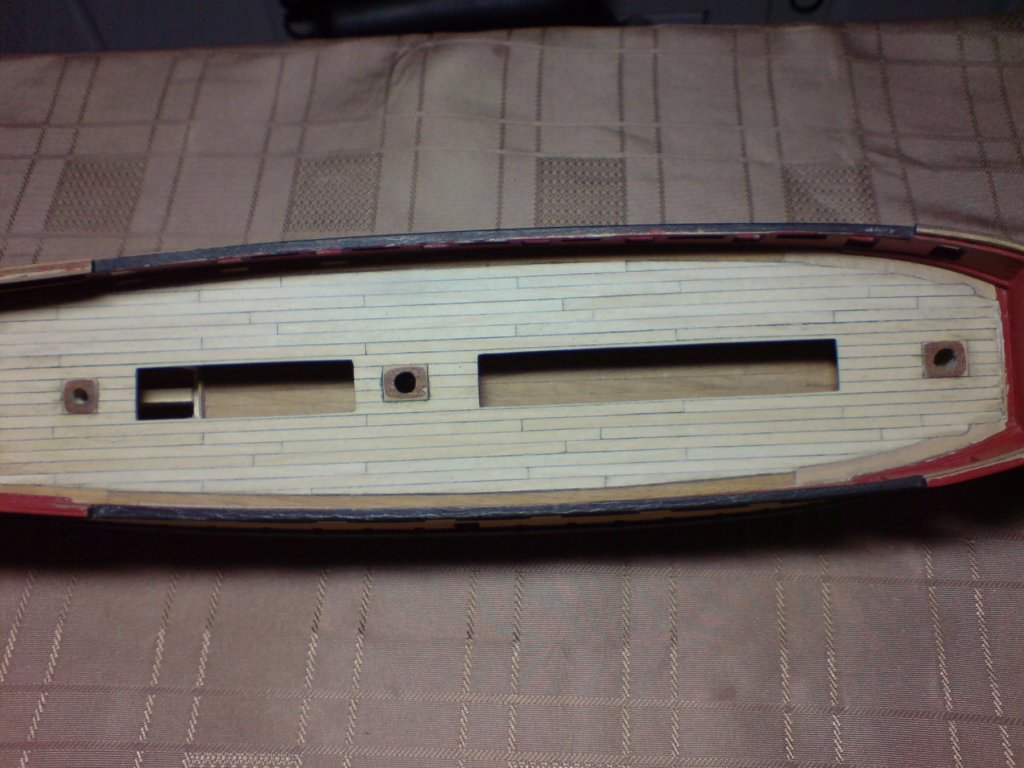
 More work folks today continuing on the main deck area by fitting the two bulwark lower board supports, these will be painted Red Ochre when I get some more. This completed my inner deck work till I get or build the ladders, I then decided to work on marking out and drilling through for the oar ports on the side still left to be done, I followed the drilling up with a small sqare box file - the exact diameter of the oar ports, carefully filing till they were all correct. Next is the hull planking following from my last work - as I write I have a piece of hull timber in soak with boiling water, I intend to leave it there till tomorrow, before I attempt to fit it. OC.
.thumb.JPG.3b6fa6e1a96238840ce93cb7d7d44d17.JPG)
- 455 replies
-
- 8
-

-
- slightly modified
- greyhound
- (and 1 more)
-
Really nice work well done she is a beauty. OC.
-
Thank you so much for your kind reply, my next move will be to scratch build three ladders, to fit down to the lower deck through the frames I constructed, to be honest she is going to need a lot of scratch building as I lost a lot of the fittings including - gun barrels/carriages, bitts, belay pins, bollards, capstan, cathead, deadeys's, figurehead, helm wheel etc. OC.
- 455 replies
-
- 2
-
-
- slightly modified
- greyhound
- (and 1 more)
-
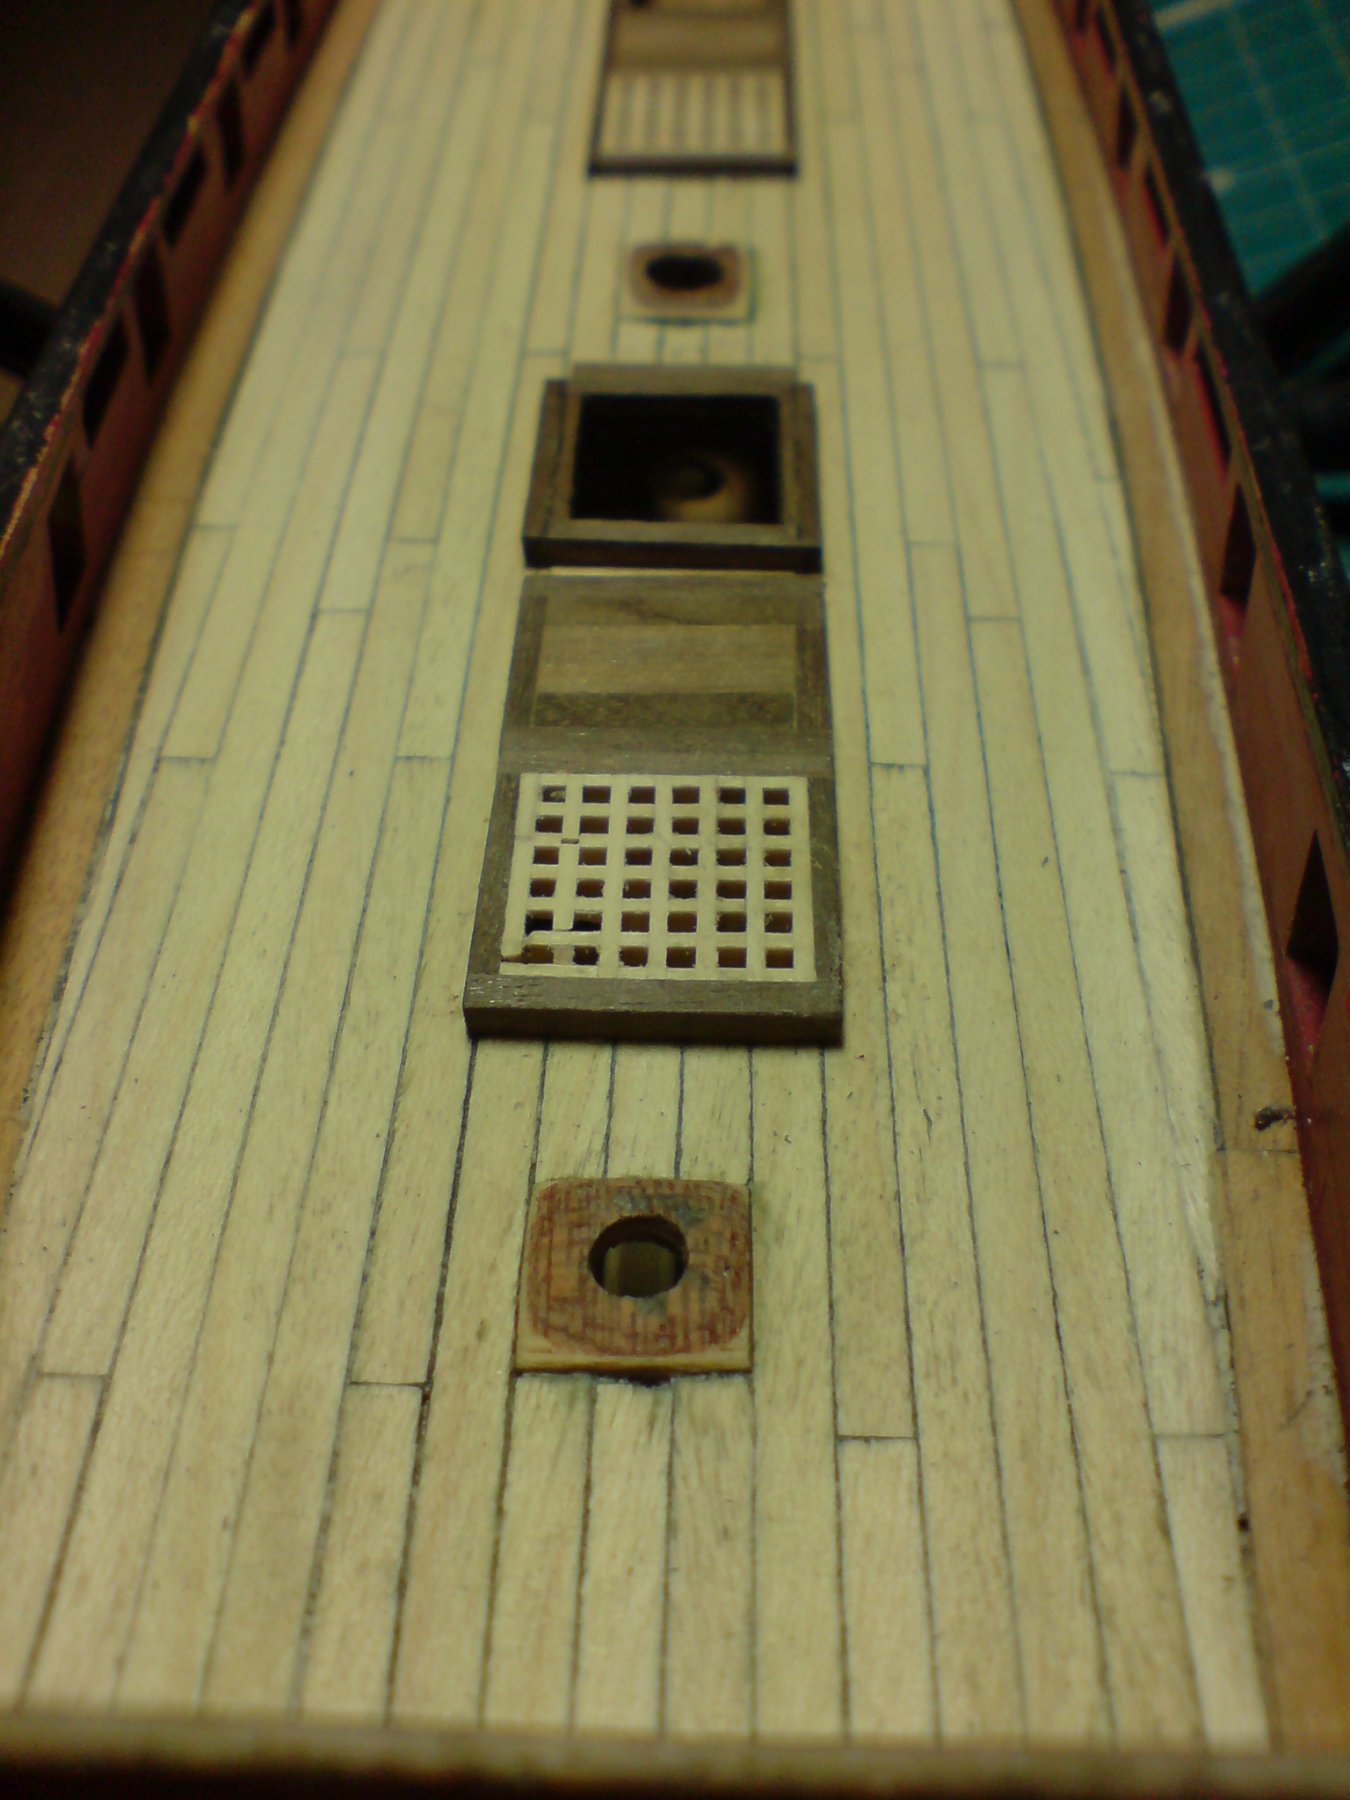
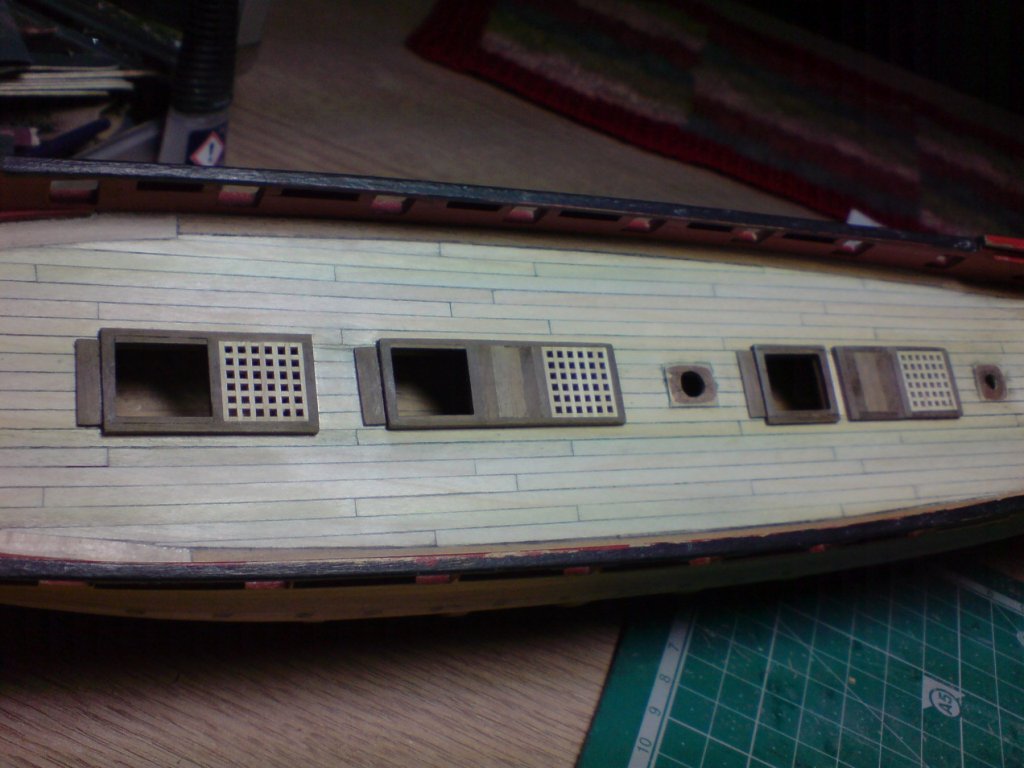
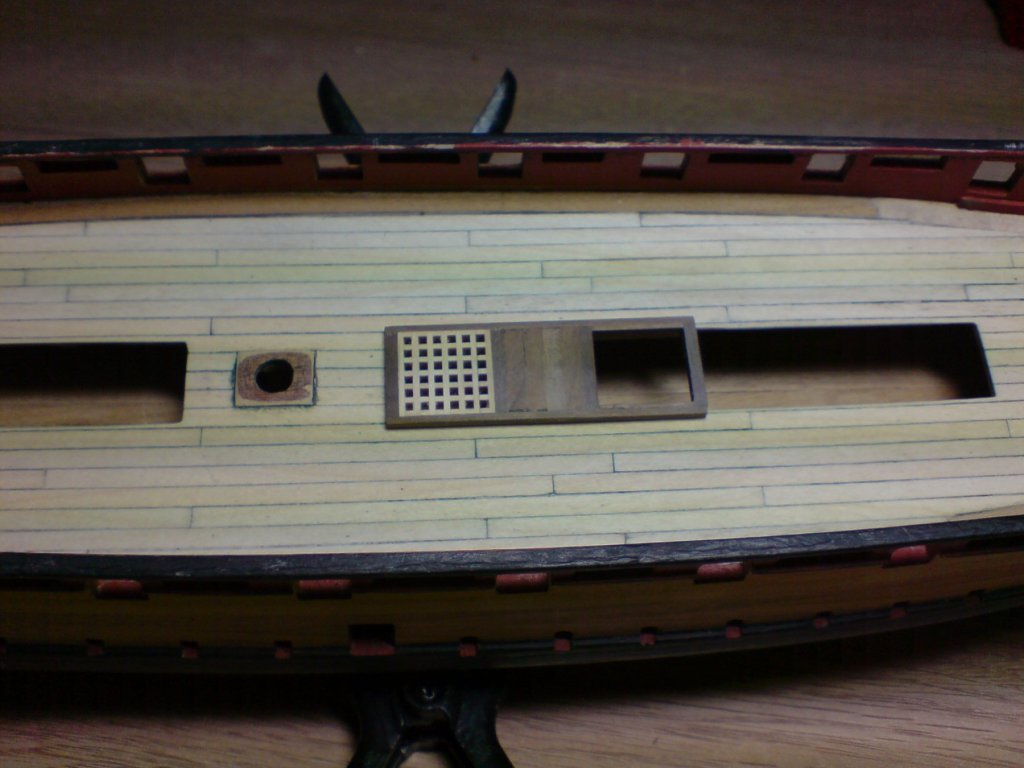
Hi folks, I got round to doing somemore work on the center section with the gratings etc, I managed to finish them with the exception of the three ladders that I will need to construct myself out of stock wood. She is starting to look like a frigate bit by bit. OC.
- 455 replies
-
- 7
-
-
- slightly modified
- greyhound
- (and 1 more)
-
Crazy and Amazing work - some people do precision lawn mowing with dead straight lines, others do jaw dropping work on here, I take my hat off to you. OC.
-
More gratings/ boards and step frames put in place - starting to look a little better I think. OC.

- 455 replies
-
- 6
-
-
- slightly modified
- greyhound
- (and 1 more)
-
Thank you for all the replies, I have decided to leave my planks sanded then flat top coated, its easier to do it this way. OC.
-
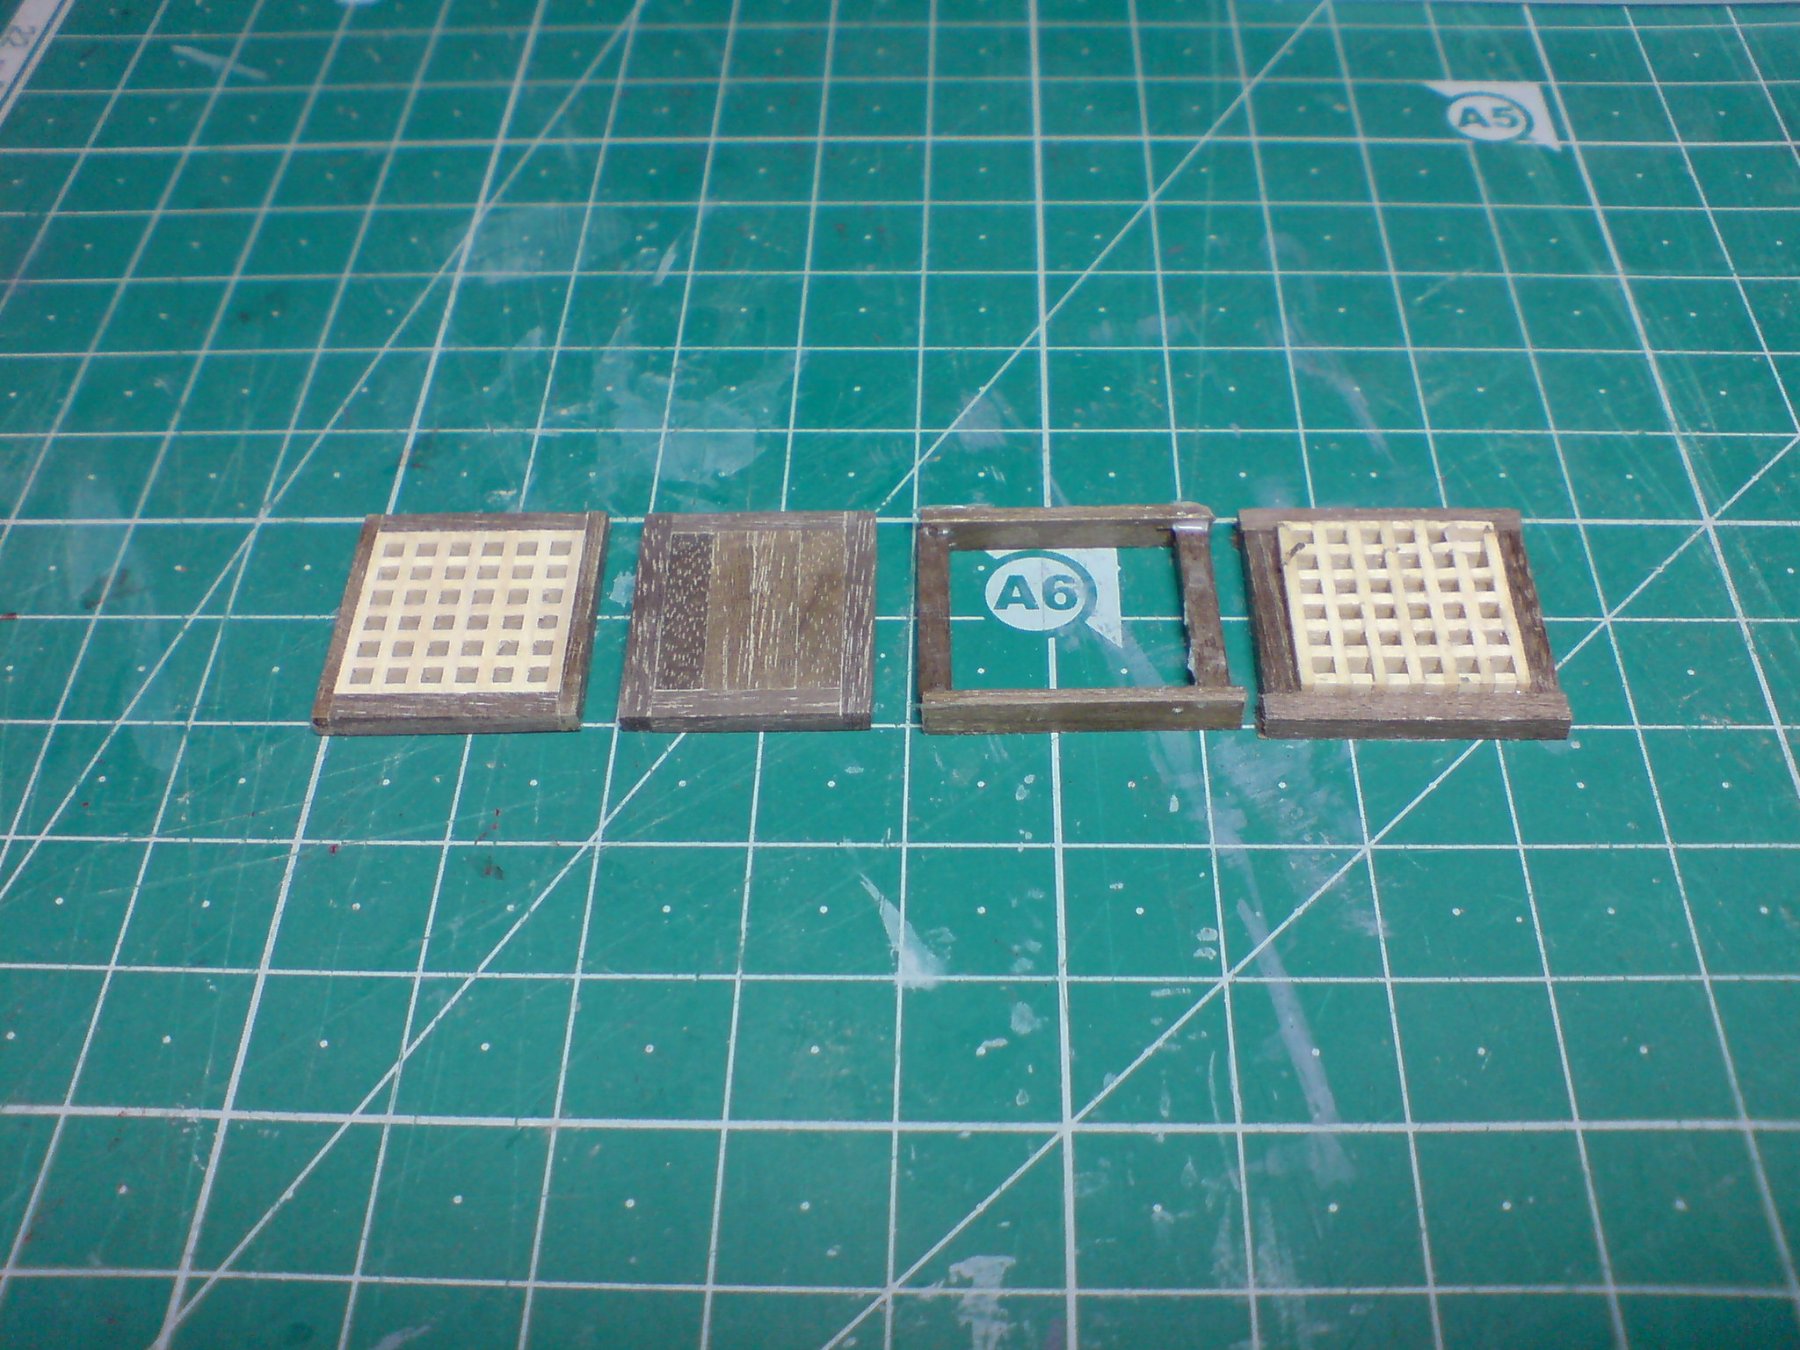
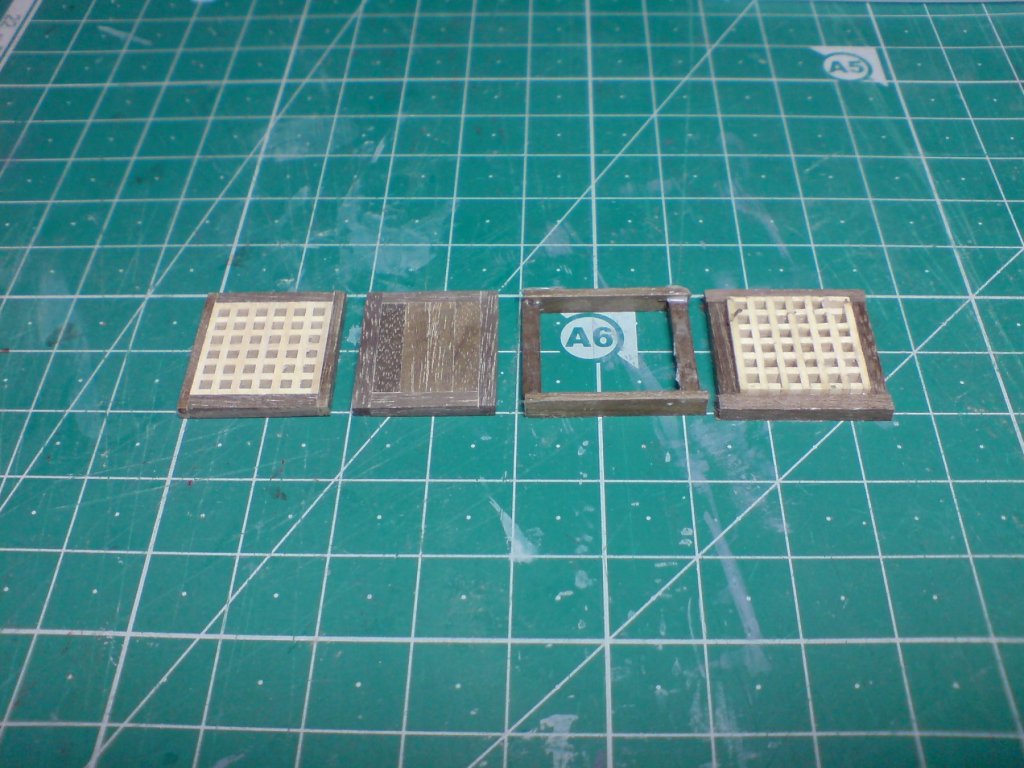
More work constructing the frames for the center area, this is time consuming as I have to measure and cut lengths of timber, then I glue them and leave them to dry jiged up in a make shift device, here are four sections from completed to work in process. OC.
- 455 replies
-
- 5
-
-
- slightly modified
- greyhound
- (and 1 more)
-
Its amazing all that detail at 1/700 scale I built a couple of Dragon modern warships, but to be honest I did not do them credit, mind you I did not have magnifiers as I do now. Loving what you are doing. OC.
-
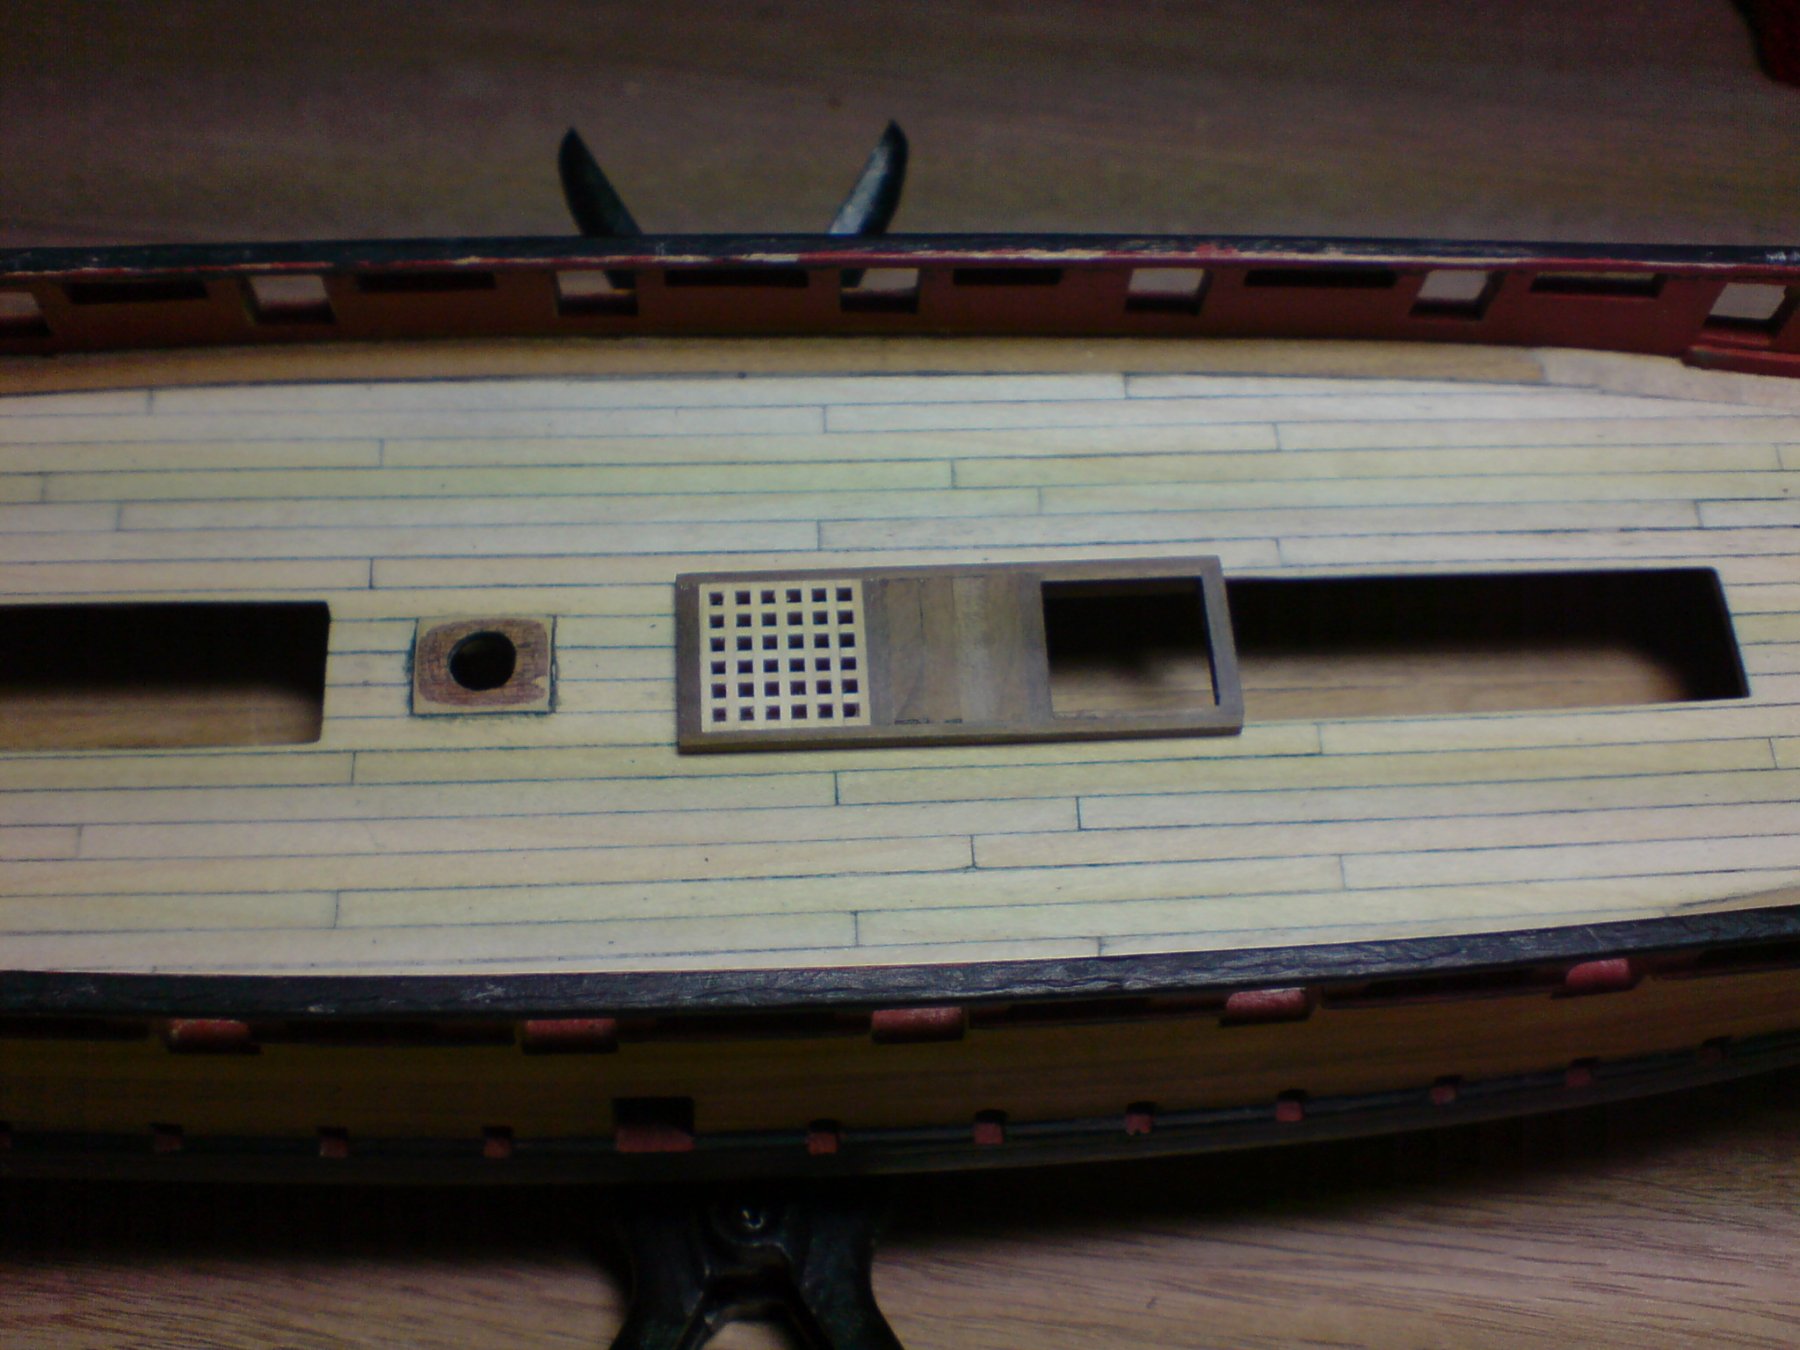
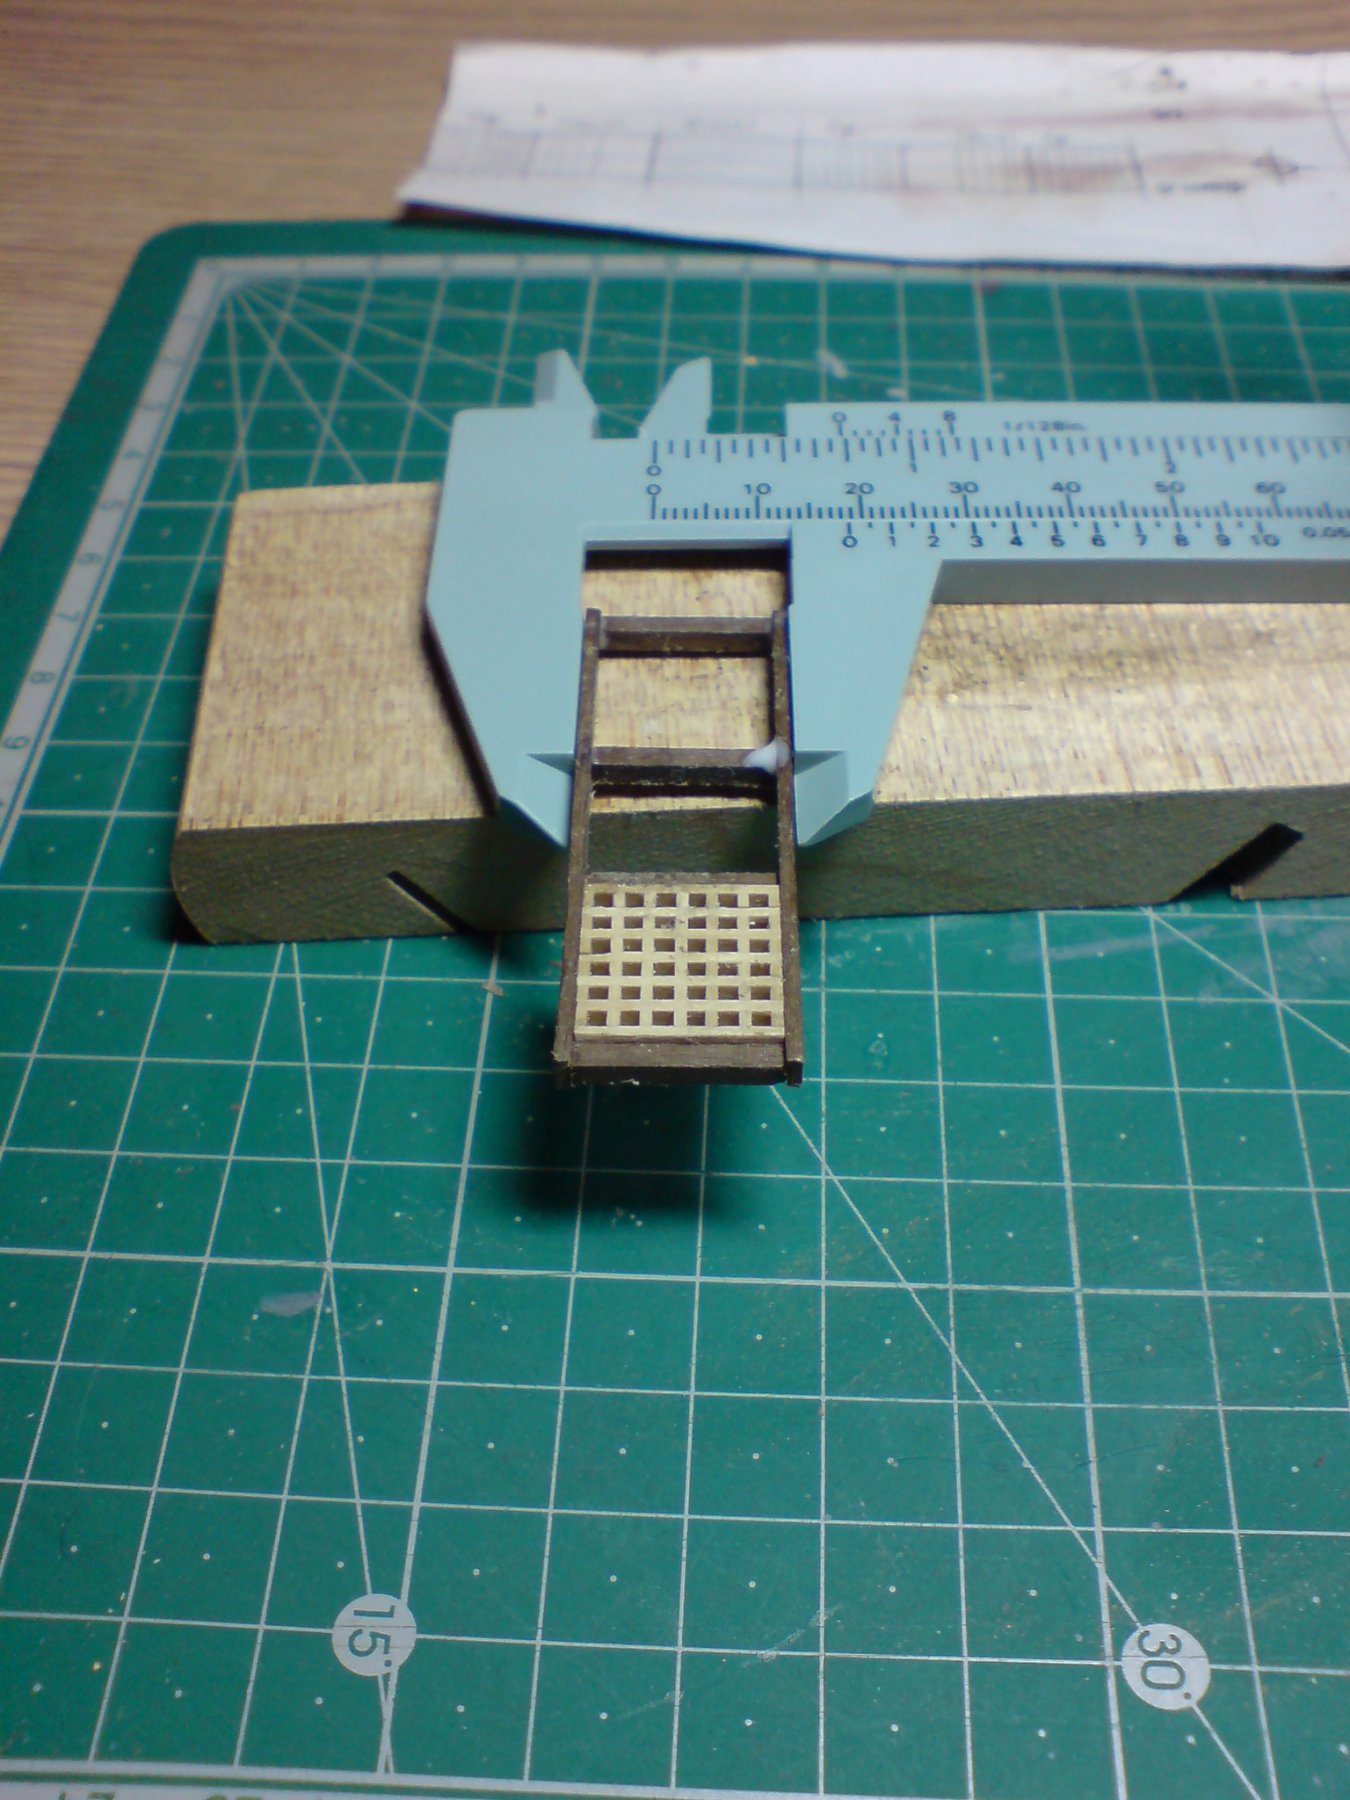
More progress folks still working on the center deck area, I continued with the main frame around the grating/ladder section, this was sanded down to make it less deep and even thickness over all, I did the same thing with the other grating, when the sanding was done I decided to fit some boards to represent an area for more accsess down to the lower decks. I have also started work buiding another block decked area, that has been glued and secured together. Here's the photos - OC.


- 455 replies
-
- 4
-
-
- slightly modified
- greyhound
- (and 1 more)
-
Hi Don, I too would love to take a seat if there are any left(If not I will sit on the floor - no problem) looking forward to seeing more of your work, she is coming along really nicely. OC.
-
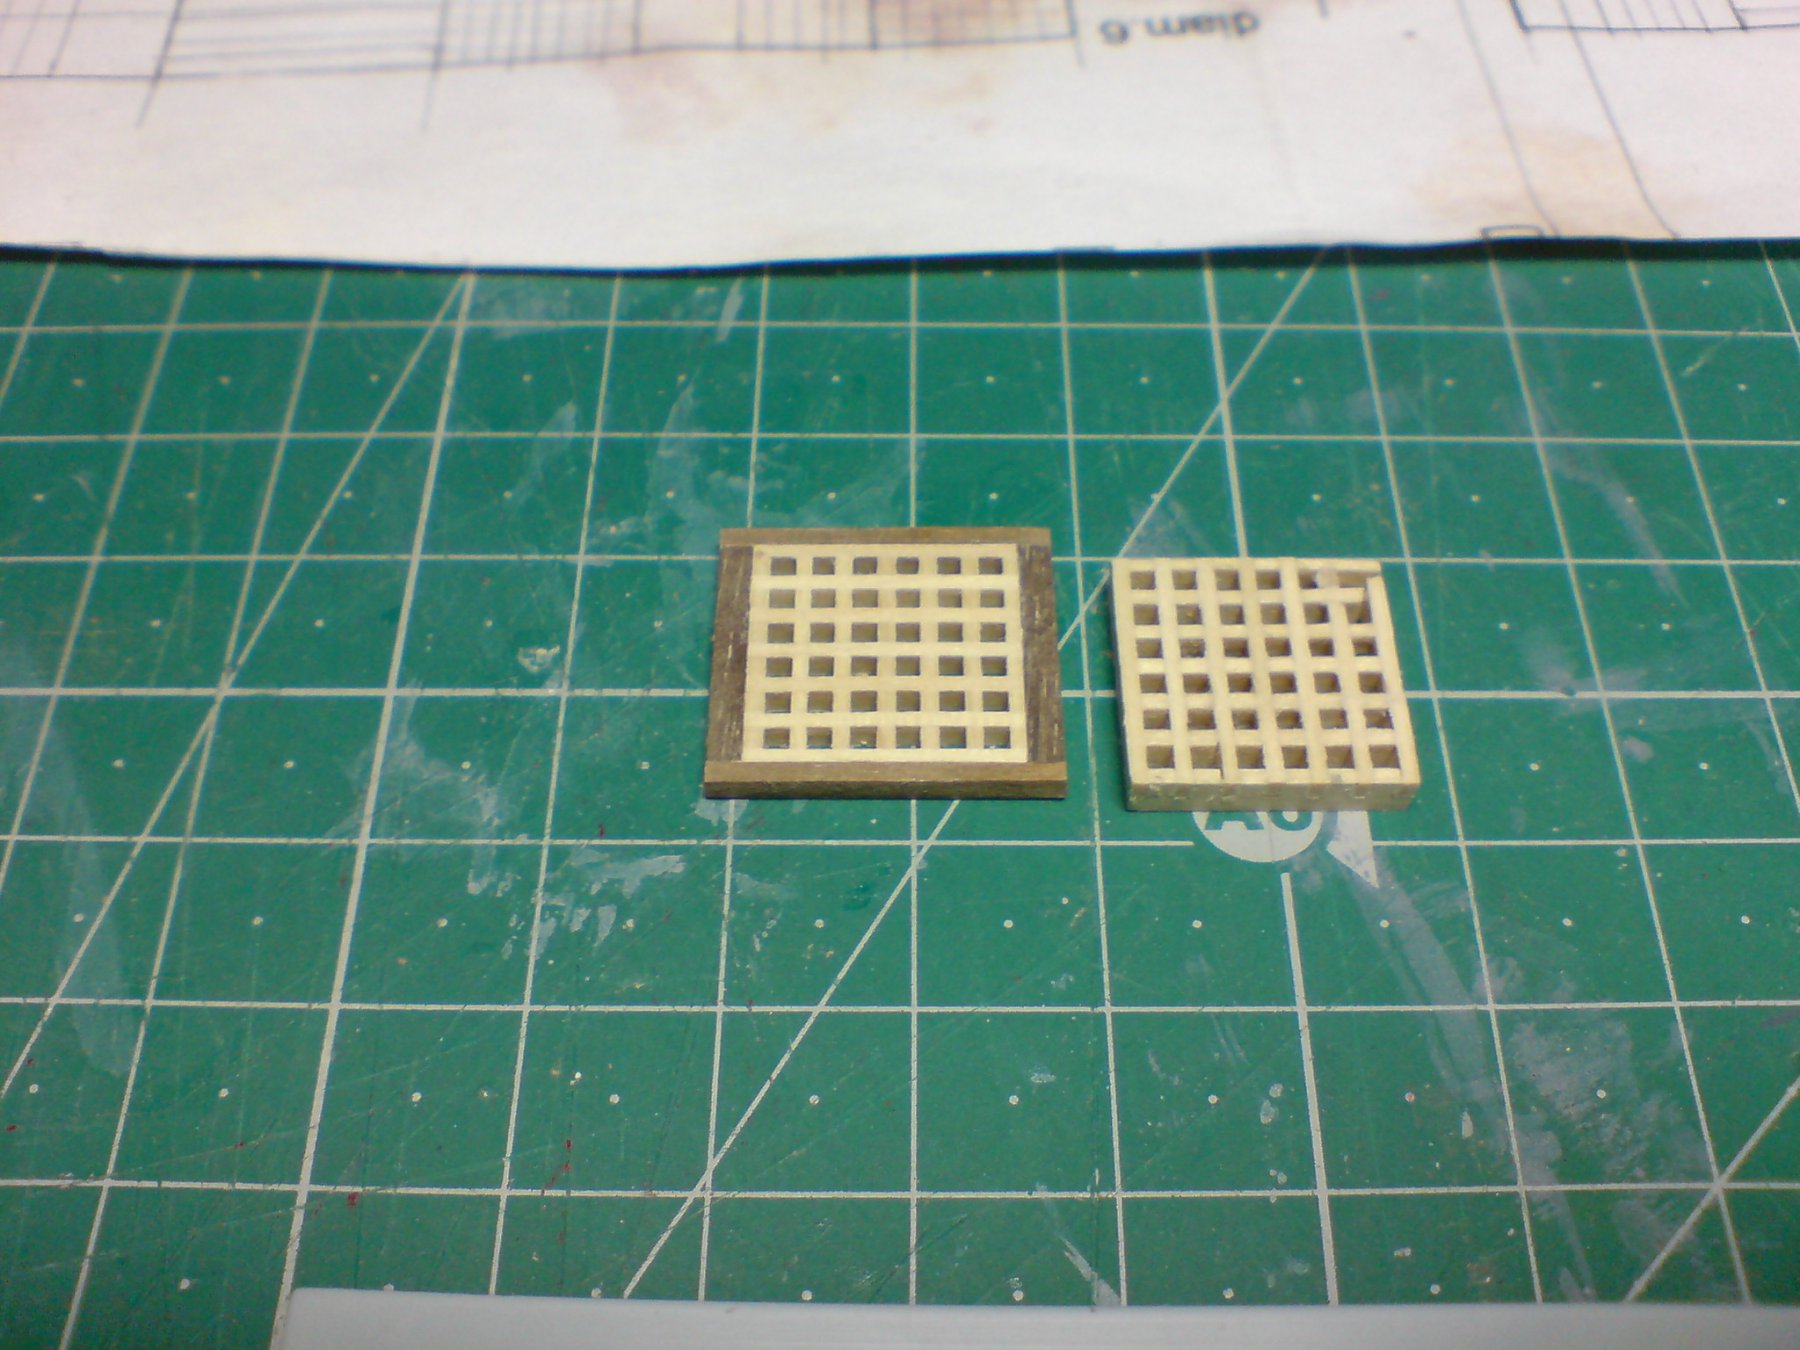
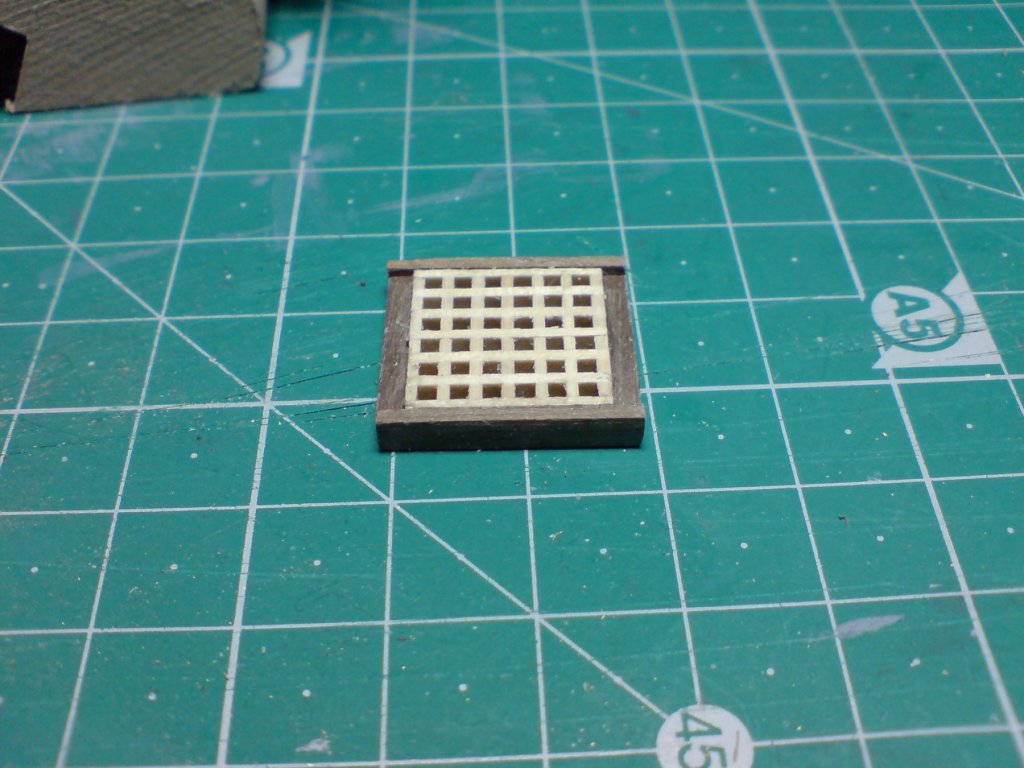
Evening all, next on my building plan is the centre deck area including - gratings, boarded area and stair frames, after observing some internet plans and drawings I decided on my work plan. I started off by constructing the gratings next after they had dried I started work on the outer frame around the gratings. This is the state of them so far including a small repair done to one of them. OC.


- 455 replies
-
- 5
-
-
- slightly modified
- greyhound
- (and 1 more)
-
She is looking Stunning - Nothing wrong with your skills in any way shape or form.........Beautiful work OC.
-
We could pull that bench up that greg keeps outside, sit at the back but hope greg puts some screens up so we can see. OC.
-
Im loving the grey shade of your planks (is it natural or bleached) it is just what I was hoping to achieve with my deck planks. Really nice work. OC.
- 91 replies
-
- 8
-
-
- kolderstok
- duyfken
- (and 1 more)
-
Thought it rude of me not to say hi and have a nose at your build, you are braver than me doing a scratch build. OC.
-
More work on the main deck today, I decided against ageing the planks - instead I just sanded them to blend them together, then after blowing of any dust, I mixed up some flat top coat diluted about 40% and applied a few coats. I think this is ok for the deck. OC.
- 455 replies
-
- 11
-
-
- slightly modified
- greyhound
- (and 1 more)
-
Hiya mark, glad to see you are back on the build, your work has been missed around here, hope you dont mind if I move my chair a bit closer watching your build, as we share a similar build and I hope to learn more from a genuine talented person like your self. OC.
-
Thanks mark, the planks are already fitted on the deck so what ever I do will have to be in a controled manner and kept tidy, I had heard a bout a wire wool and vinegar trick, painting that onto the planks - and making sure they were sealed afterwards. OC.
-
Follks how do you age your decks on your wood builds, as wood that has been exposed to the elements even if looked after, goes a grey color with age. OC.
.JPG.aa57dbb2b8a9b407ee155c00180d5eac.JPG)