HOLIDAY DONATION DRIVE - SUPPORT MSW - DO YOUR PART TO KEEP THIS GREAT FORUM GOING! (Only 24 donations so far out of 49,000 members - C'mon guys!)
×


Old Collingwood
-
Posts
12,098 -
Joined
-
Last visited
Content Type
Profiles
Forums
Gallery
Events
Everything posted by Old Collingwood
-
 Amazing work danny really really good, its just amazing that card can prove to be so sturdy for model making. OC.
 -
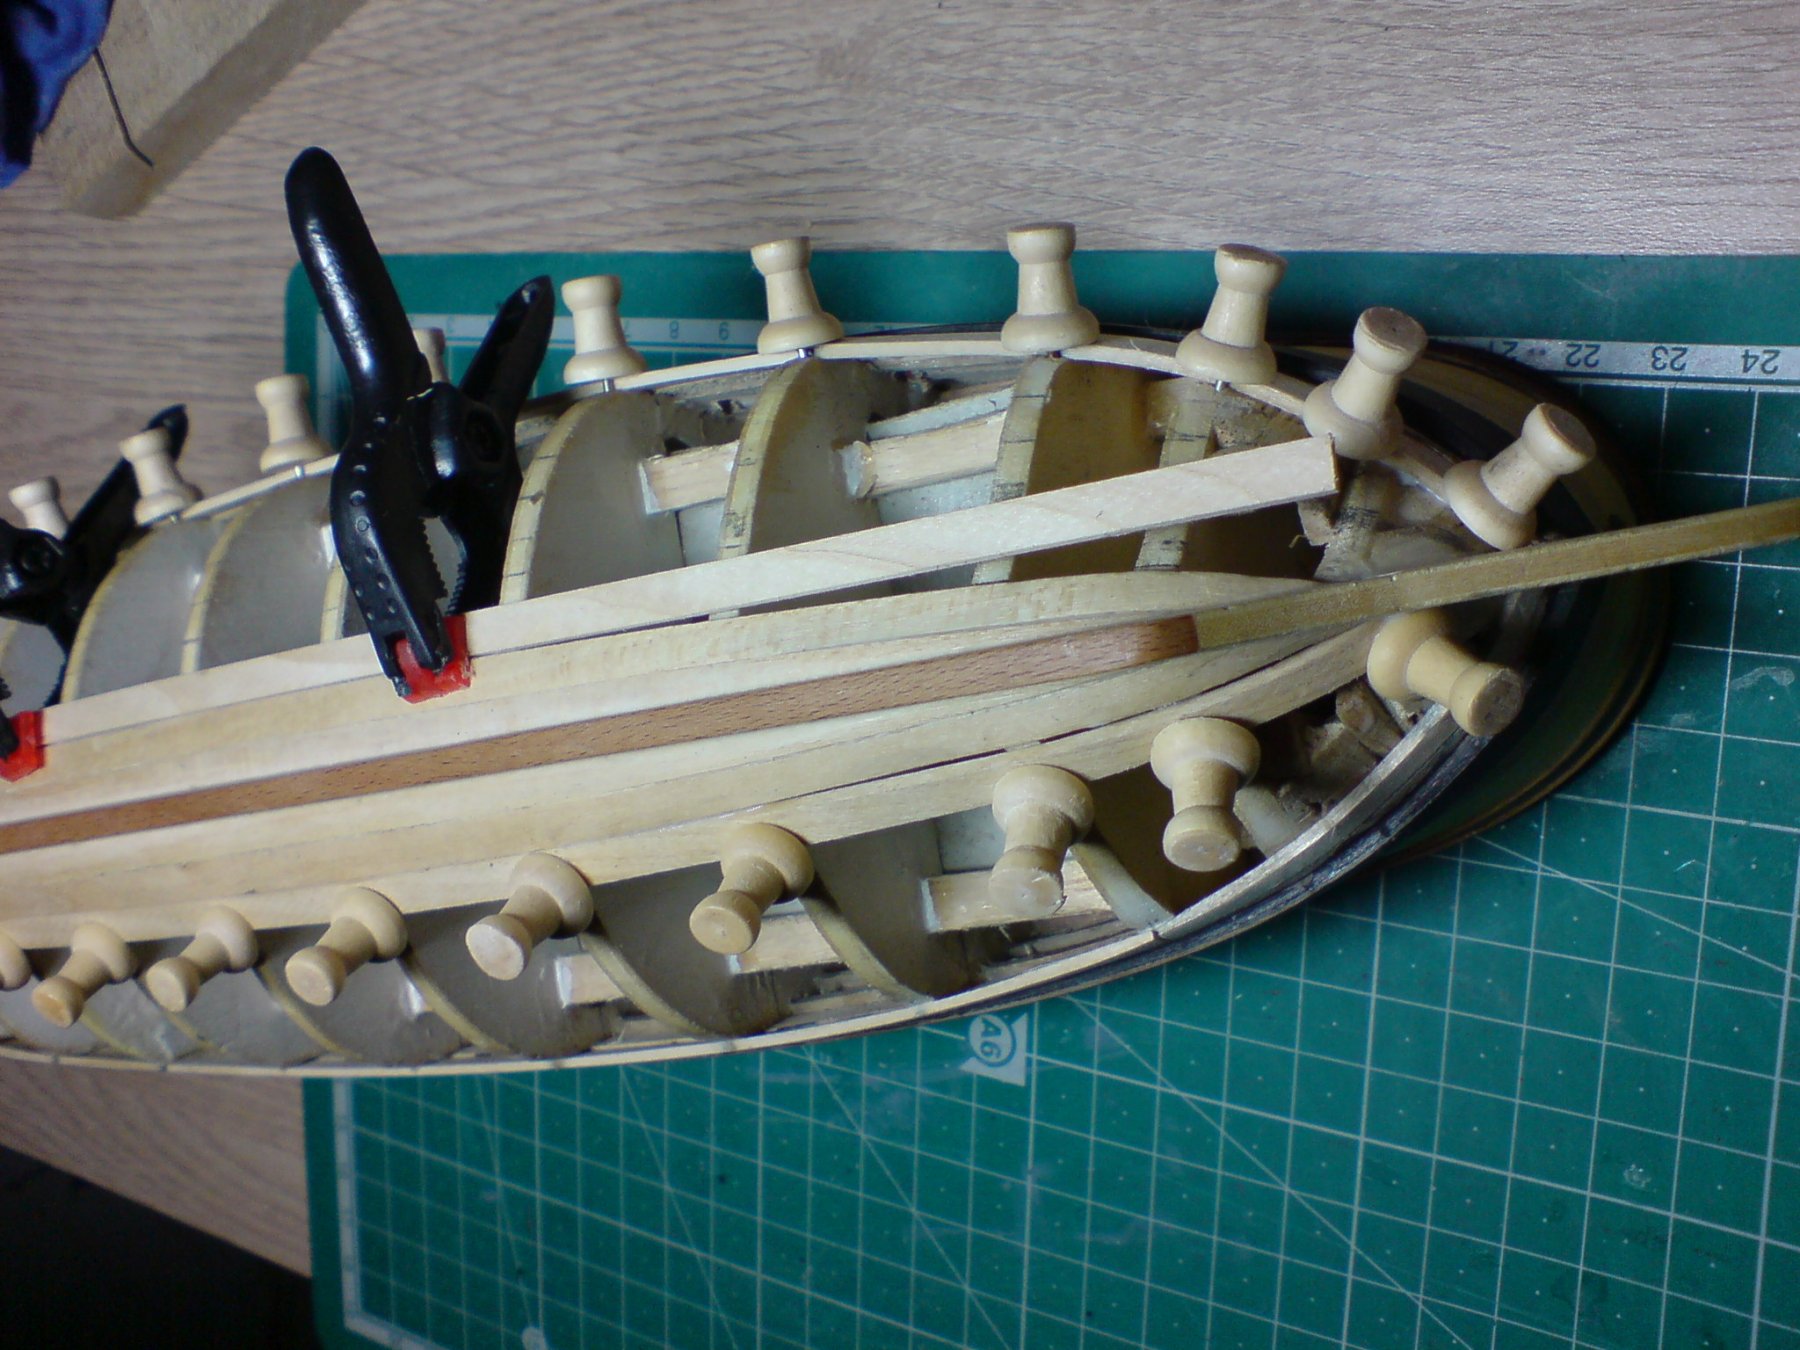
I took a deep breath and started work on the lower hull planking today, first I used one of the thinner planks and lay it over the ribs to get natural line then marked the line with a pencil, I decided to break the run of the plank into three sections to aid placing and glueing, I discovered that the plank closest to the wale just needed thinning nearest the bow to avoid bending the plank, I did this by just cutting a slight amount of the top of the plank nearest the bow, I cut the plank back to the third rib and placed it in hot water to soften to aid bending, this took about two hours then with enough pva and pins I got it placed, I continued with the second and longest plank that just sat next to the first one without any manipulation just glue and pins, the third one needed to be shaped to meet the rear section, so again it was placed in hot water for a couple of hours, then when it was plyable I got a slight shape to it and glued and pinned. I then decided as I was on a roll that I would have a go at the other end of the hull planking closest to the keel planks I had fitted a few years ago, again I ran a thin plank to get a natural line and marked this with a pencil, this showed that I would need a dropped plank at both ends, again I decided to split the run into three sections, the middle (longest section) was fitted first - no need for soaking with this one just glue and pinned, next I soaked the mid - rudder plank and after getting some shape with it, I placed it against the middle plank, third and final plank was sanded and soaked to fit, then again glue and pins and left over night to dry. This is where I am at the moment folks.

.thumb.JPG.f1283ae4d64672b5b1e0905dfbf1845b.JPG)
- 455 replies
-
- 8
-

-
- slightly modified
- greyhound
- (and 1 more)
-
Thank you for your kind words, I am finding the larger scale and lack of tiny-tiny parts on my Warspite, easier to cope with and less stressful on my hands, my fingers were tending to lock with all the small details but wood even at 1/100 scale does seem less painful to work with. OC.
- 455 replies
-
- 1
-
-
- slightly modified
- greyhound
- (and 1 more)
-
Just tried to send you a private message daniel, but it said you was not receiving any messages. OC.
-
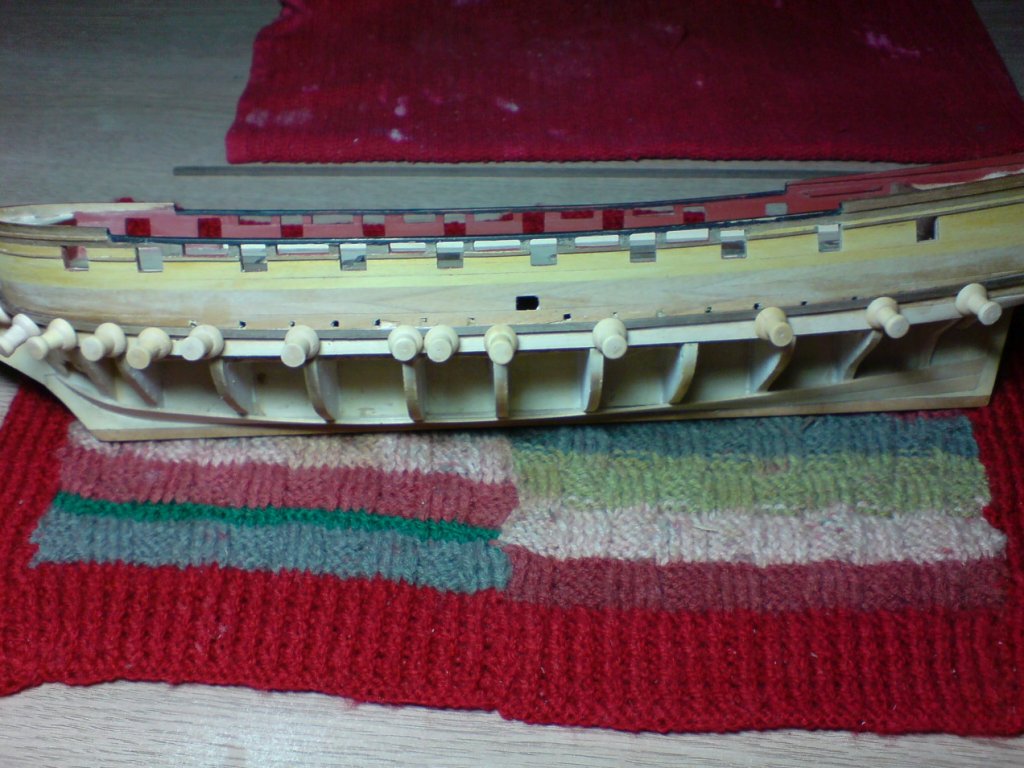
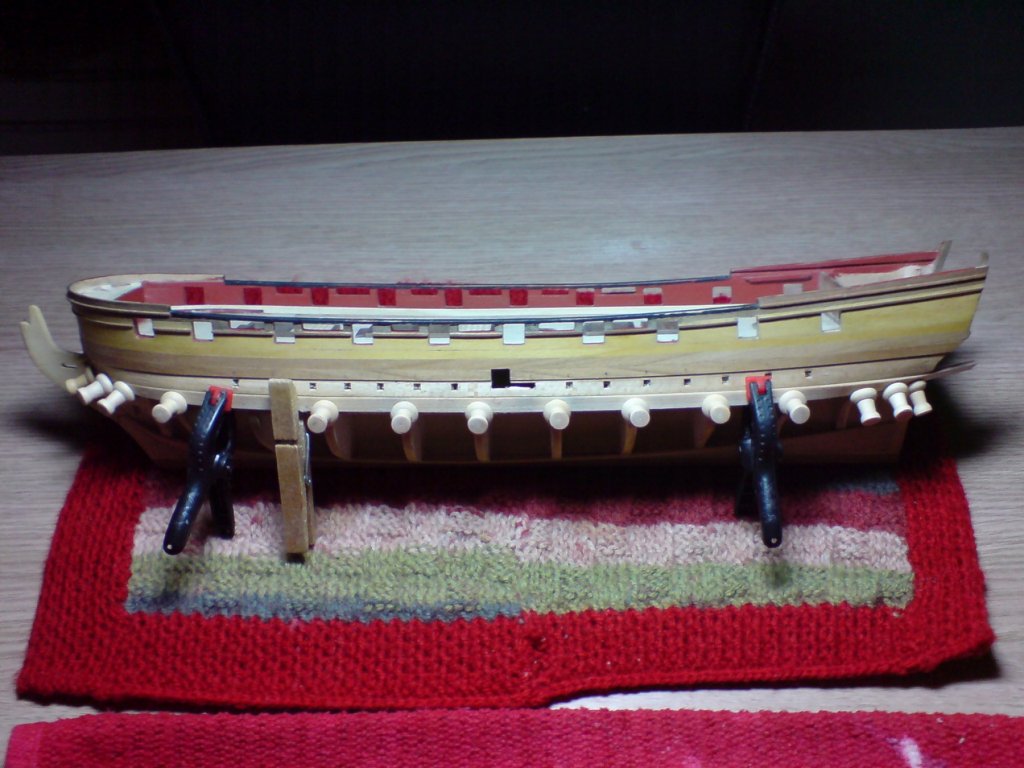
More progress today, I removed the pins from the bottom edge of the wale, then after a light sanding, It was ready to paint flat black like the other side, I applied several light coats drying with a hairdryer between each. Photo shows the current progress. OC.

- 455 replies
-
- 8
-
-
- slightly modified
- greyhound
- (and 1 more)
-
Mike are you going to have to make your beak from scratch? the reason I ask - I would like to have a go at scratch building one for my 1/100 scale HMS Greyhound, as the one that comes in the box is a ruff metal one, I just dont kno the first place to start as my scratch building experience is very limited. OC.
- 607 replies
-
- 4
-
-
- winchelsea
- Syren Ship Model Company
- (and 1 more)
-
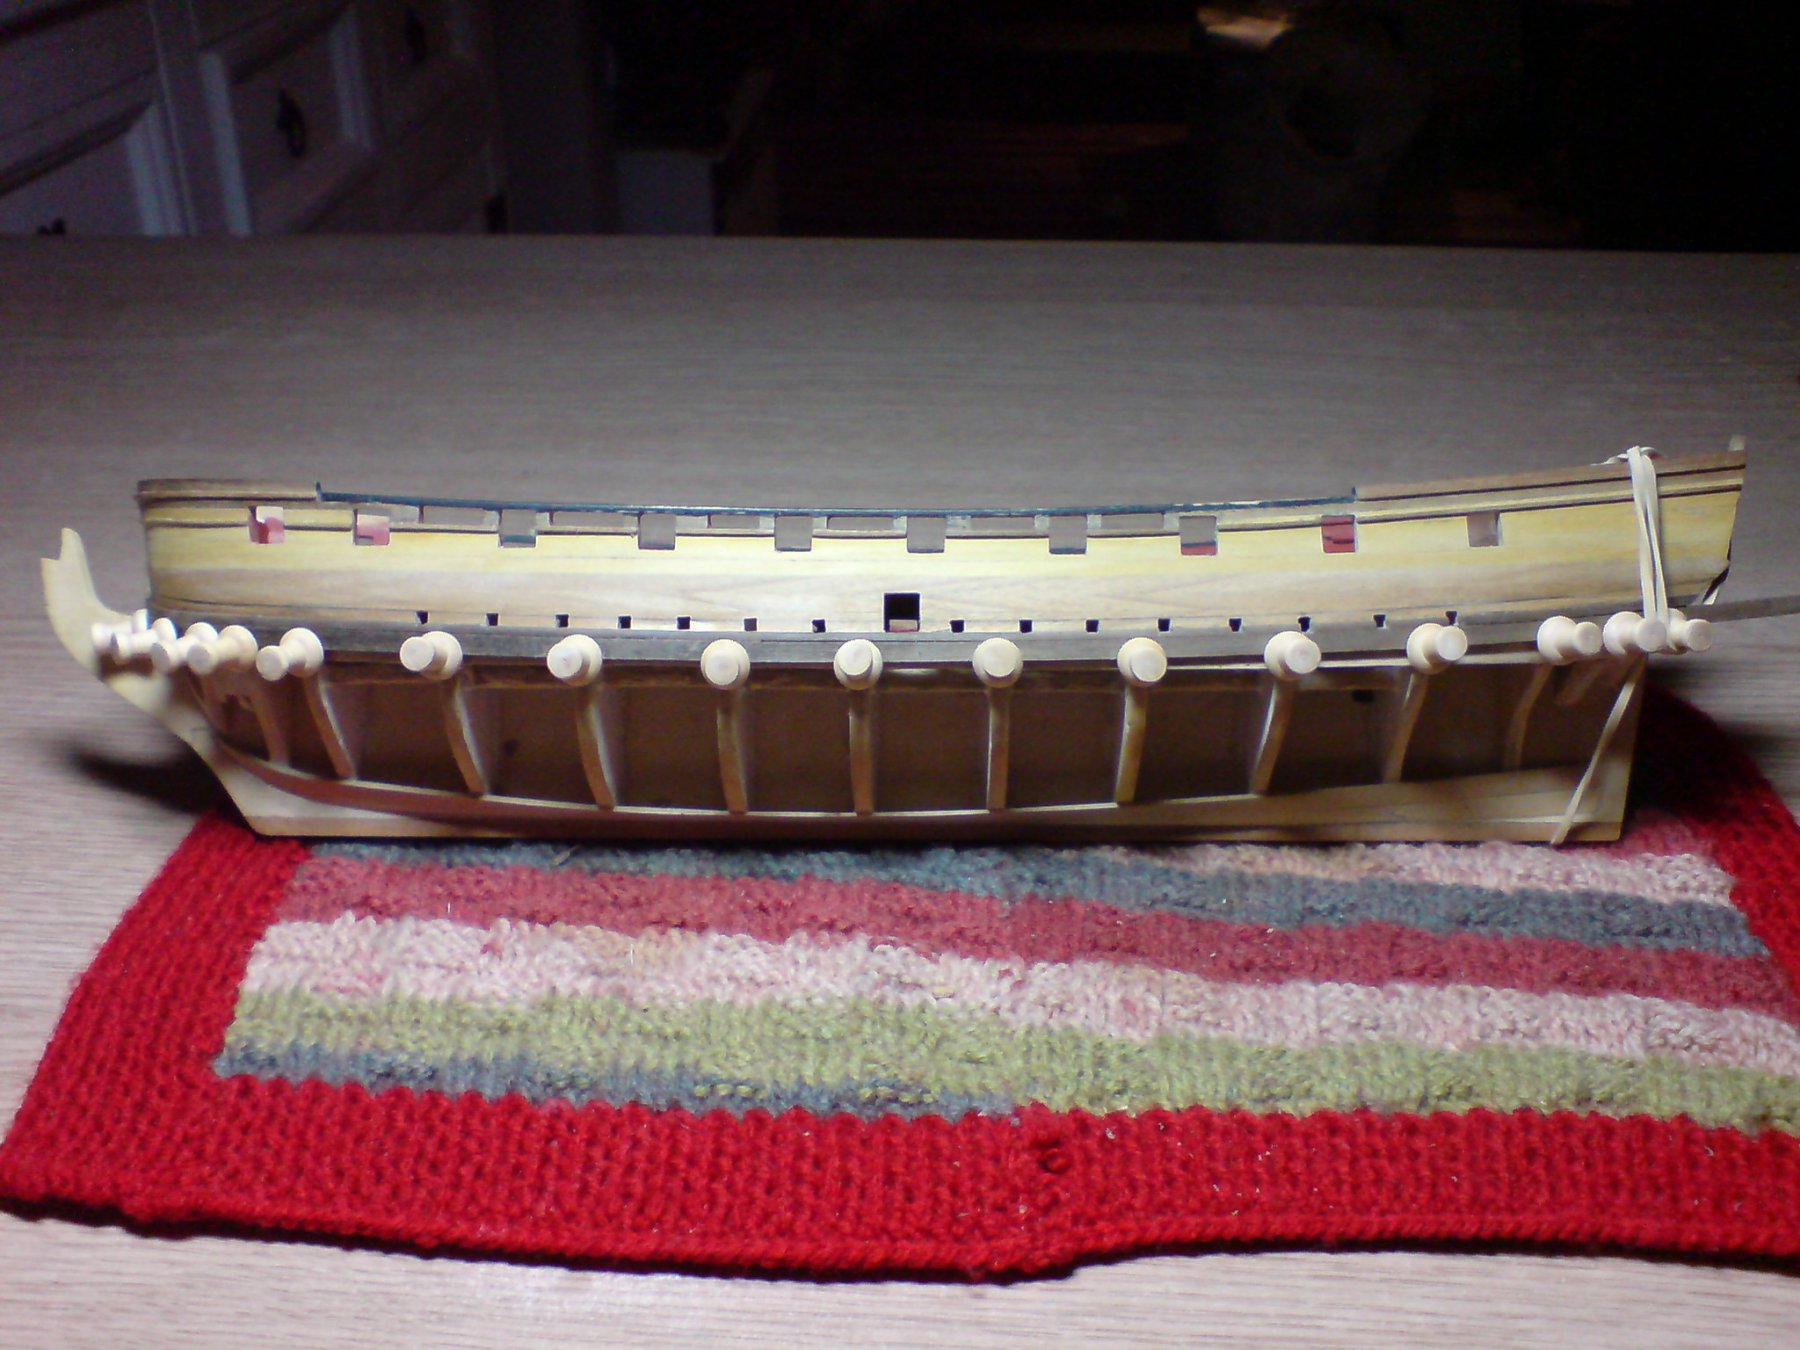
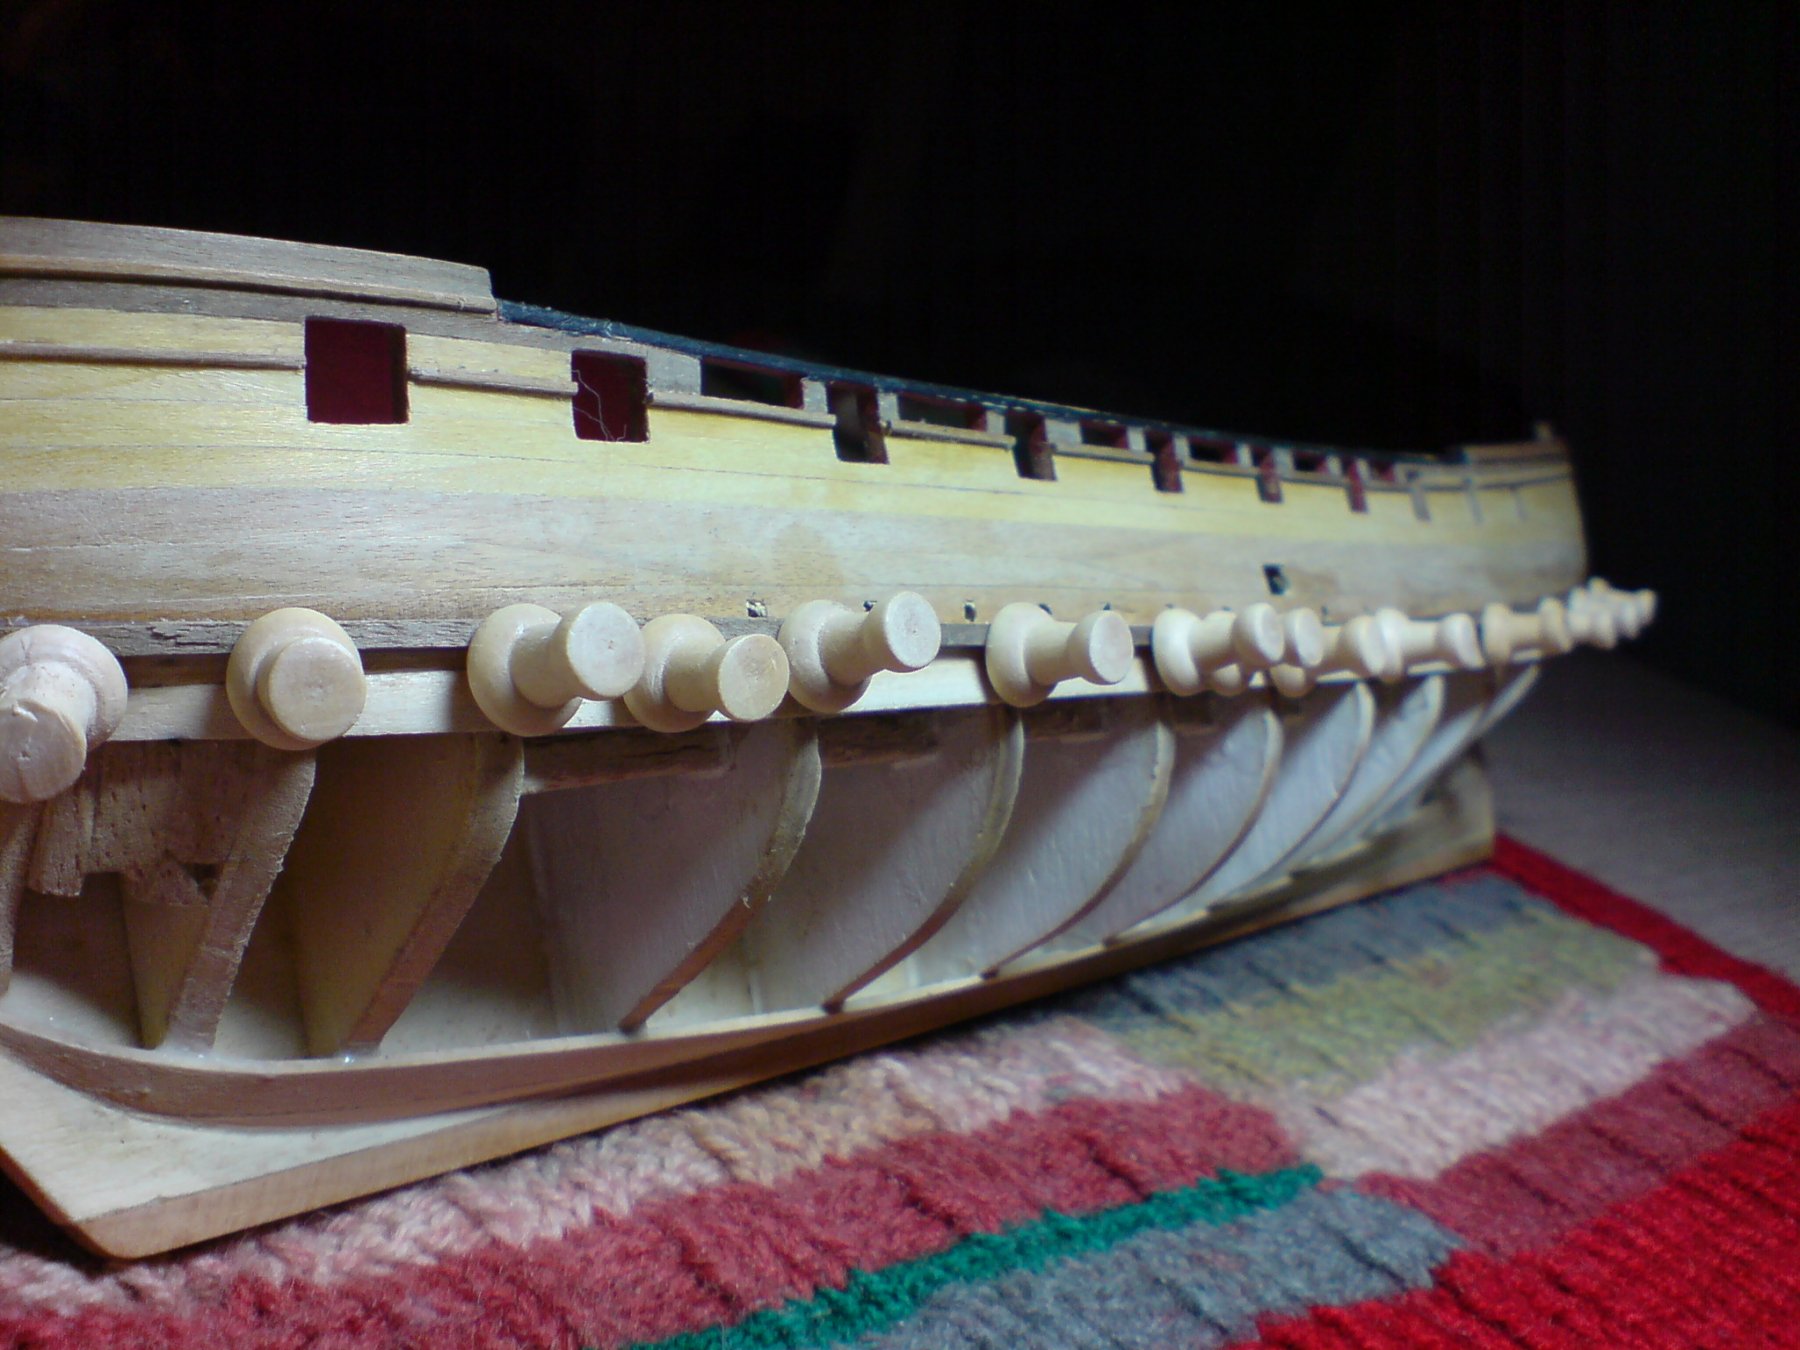
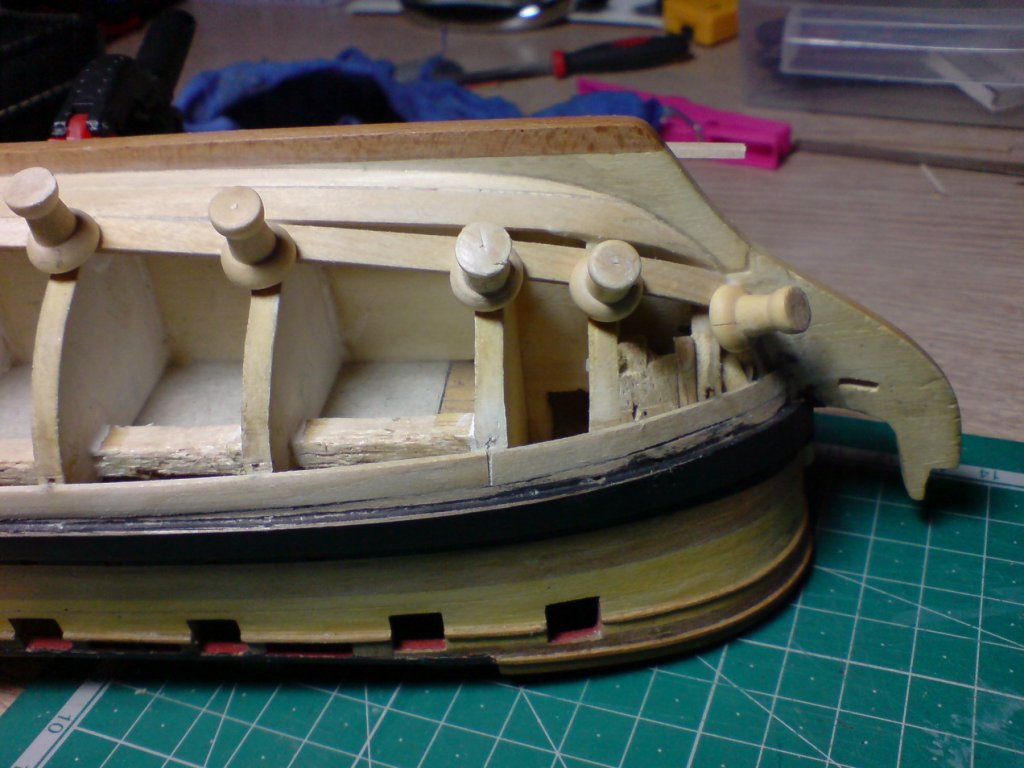
More work continued today in two stages, first I sanded down the top section of the wale as I built it in several pieces, then I had to drill through for the run outs, next I went through the holes with a 2mm square file and carefully opened up the ports. Next I shaped the end near the beak head end of the next section of wale (a complete length this time) and put this end in boling water to soften ready for bending, after a few hours I was able to pin the beak head end then working from bow to stern I ran a length of pins holding the wale in place till set. I also ran a pencil line above the wale to match what I had done on the other side(acting as a visual extension of the wale). Here are the pics folks. OC.

- 455 replies
-
- 9
-
-
- slightly modified
- greyhound
- (and 1 more)
-
See you over there - bring a chair plenty of room still and free Jamie Dodgers ......yum yum. OC.
-
Yep it is different from plastic mind you I started wood projects before plastic on here, I love both in thier different ways. OC.
- 455 replies
-
- 2
-
-
- slightly modified
- greyhound
- (and 1 more)
-
Thank you for your kind words and all the masses of likes my friend. OC.
- 455 replies
-
- 2
-
-
- slightly modified
- greyhound
- (and 1 more)
-
I use lifecolor and had no problems but also hand paint never spray, at 1/350 scale the sub assemblies are small enouth to be painted by hand, what I did/do find usefull is to keep the pots stired whils't working with them also to keep the tops of the pots/jars real clean from dried paint residue. OC.
-
Thats the wifes department knitting from days past. OC.
- 455 replies
-
- 3
-
-
- slightly modified
- greyhound
- (and 1 more)
-
This is on my wish list (santa prezzy list) and I seriously must get some of Dafi's bits and pieces including the wood deck. OC.
-
Folks I thought I better say - I havn't given up on the ole girl, Im just having a bit of a break and working on my other project HMS Greyhound 1720s RN Frigate, pop along and say hello. OC.
-
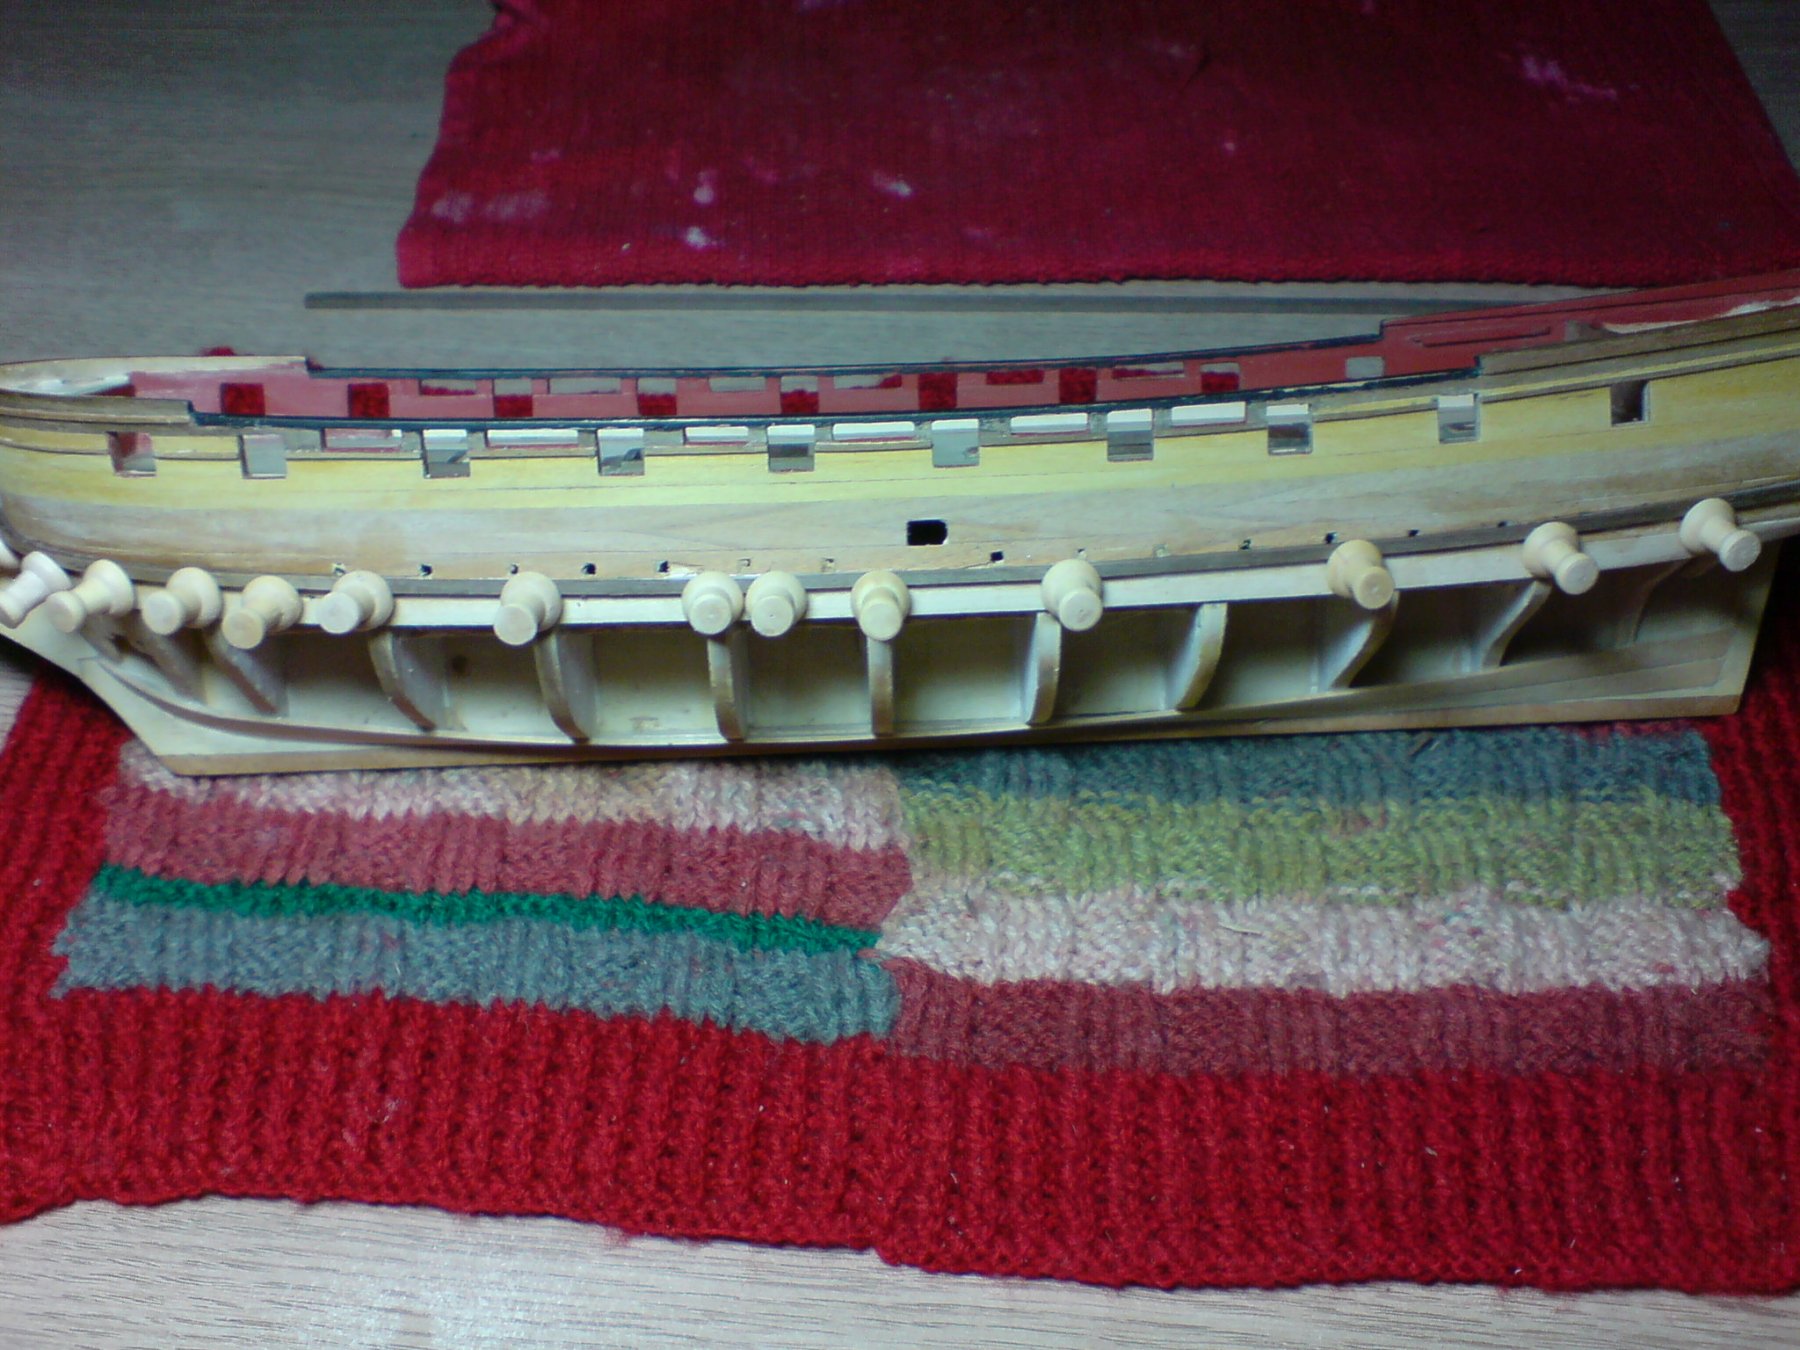
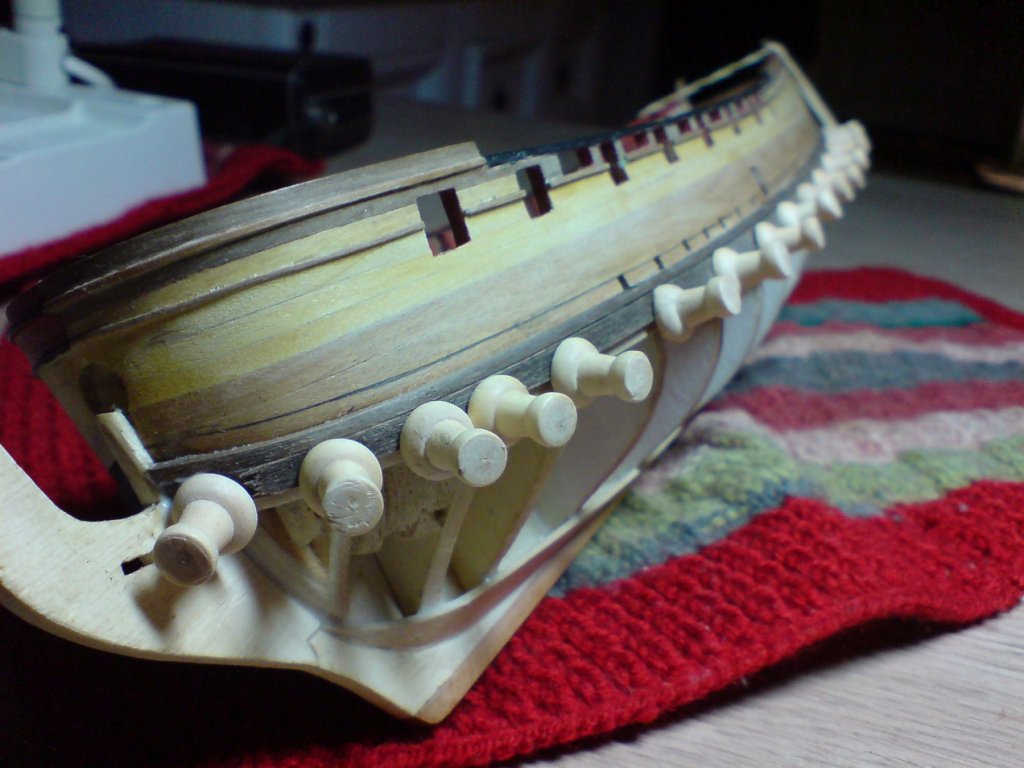
I couldn't resist doing some more work at the bench(living room table) I have decided to increase the apparent width of the wale by painting a strip ontop of the (Insatlled wale side), first I ran a line and then taped an even line with blue decorators tape, then I applied a few flat black coats of acrylic paint, this I will do on the side where I am constructing the wale sections also. OC.

- 455 replies
-
- 7
-
-
- slightly modified
- greyhound
- (and 1 more)
-
After the last strip was set, I began sanding it back level with the other second planking, it then occured to me that I would need to mark a line and cut into the last planking, this is to allow for the profile of the wale, this was done by measuring the line from bow to stern from the top of the bulwark rails down to the already fitted wale on the other side, then after marking a line I placed a plank against the line and used my sharp blade to cut a line all the way along, then I cut the sections out. After a clean up the line looked ok so I started cutting and fitting the first narrow section of wale, in sections as I did not have a full length just off cuts, these were glued and pinned in position. Here are the pics folks - OC.

- 455 replies
-
- 5
-
-
- slightly modified
- greyhound
- (and 1 more)
-
Not much to say really just another row - this time second planking, soaked it then glued and pinned, now put a side to dry. OC.
- 455 replies
-
- 4
-
-
- slightly modified
- greyhound
- (and 1 more)
-
When a close up photograph shows perfection like this..................Then you can say "You have nailed it" Fantastic. OC.
-
Very interesting build, if you dont mind I will bring my chair and take a seat to follow this, I am too building a period frigate in the Kit build section HMS Greyhound 1721 sixth rate 20 gun frigate. OC.
- 607 replies
-
- 4
-
-
- winchelsea
- Syren Ship Model Company
- (and 1 more)
-
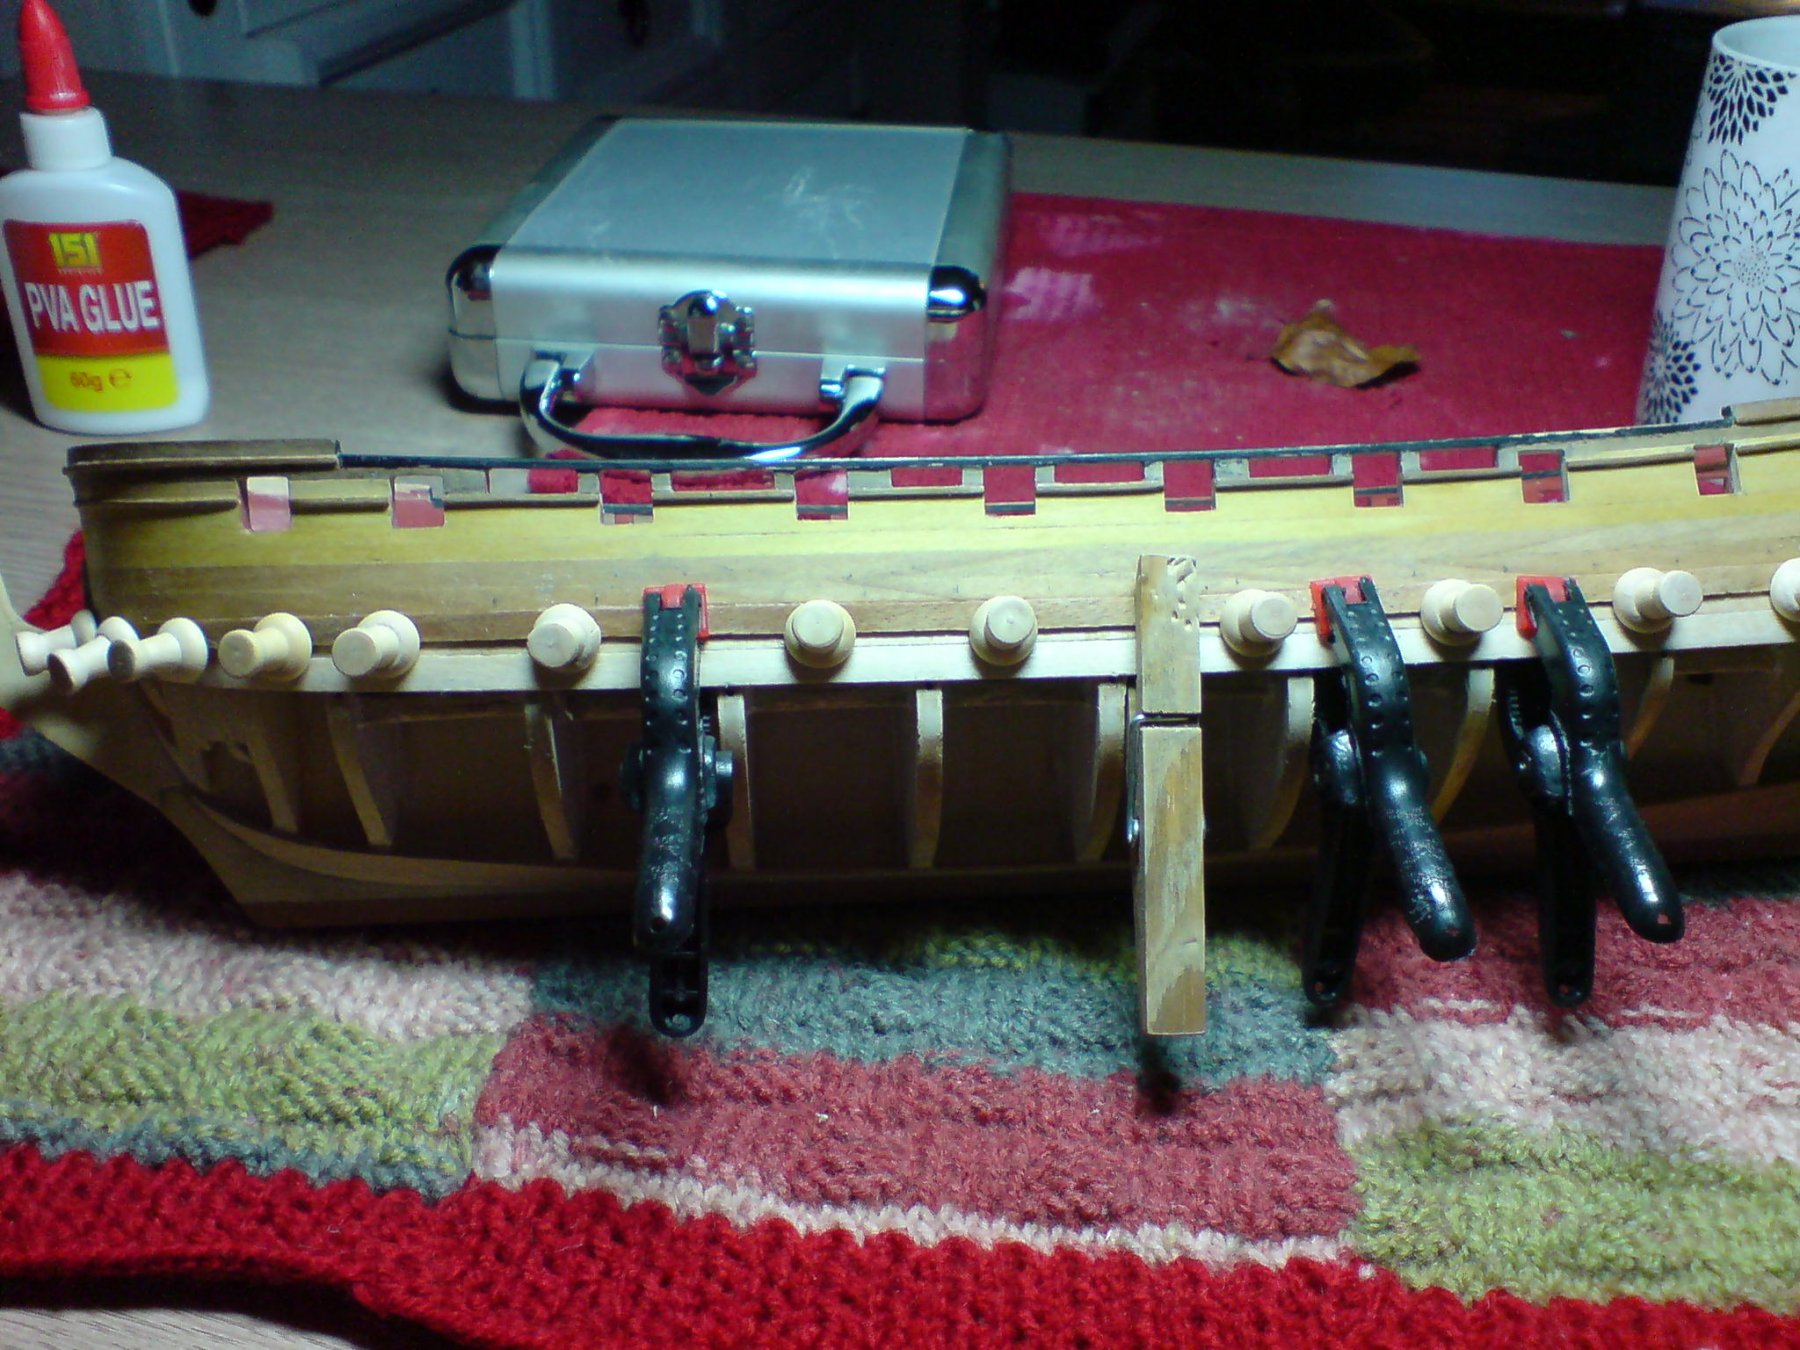
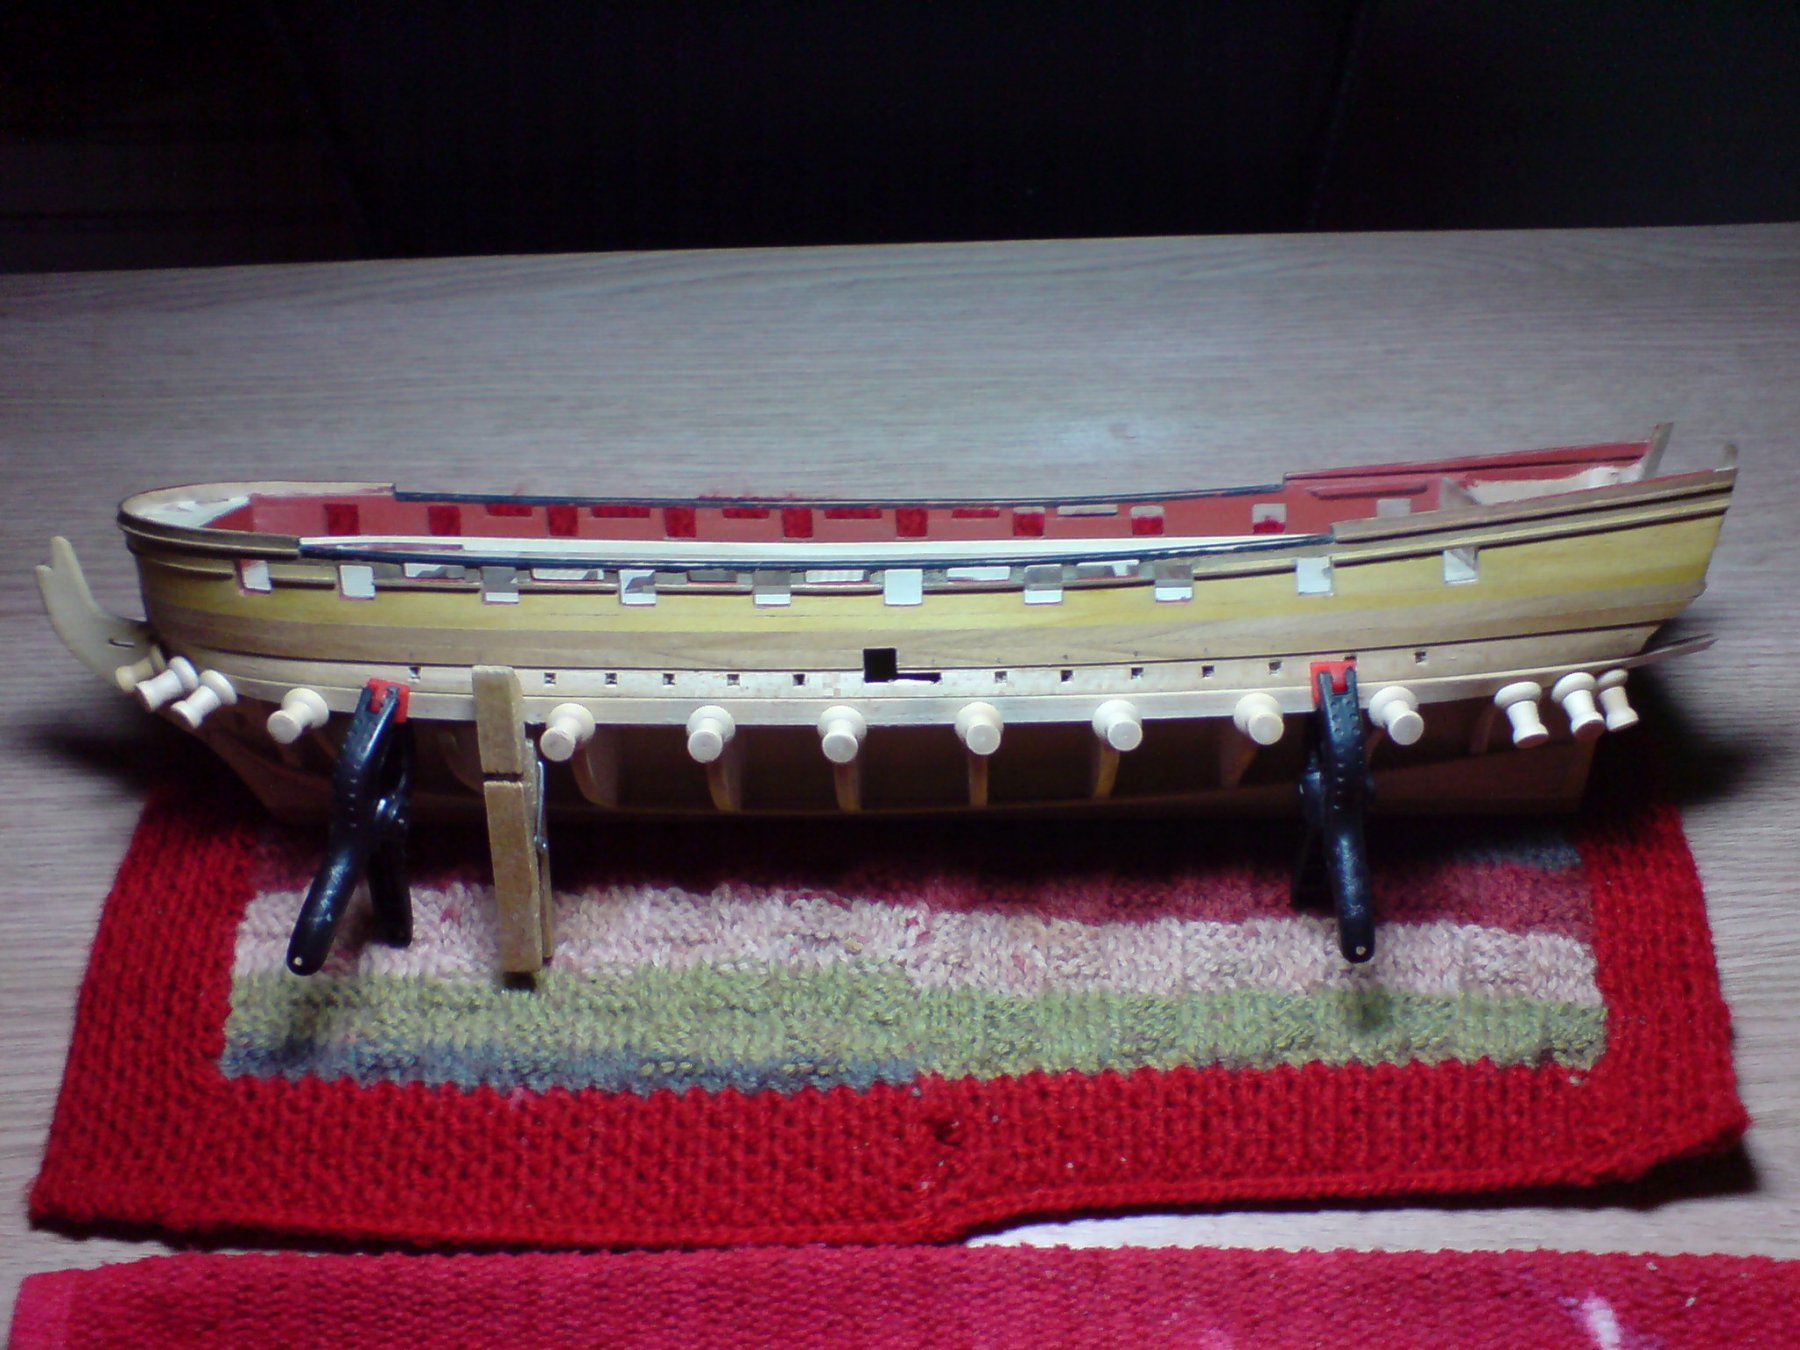
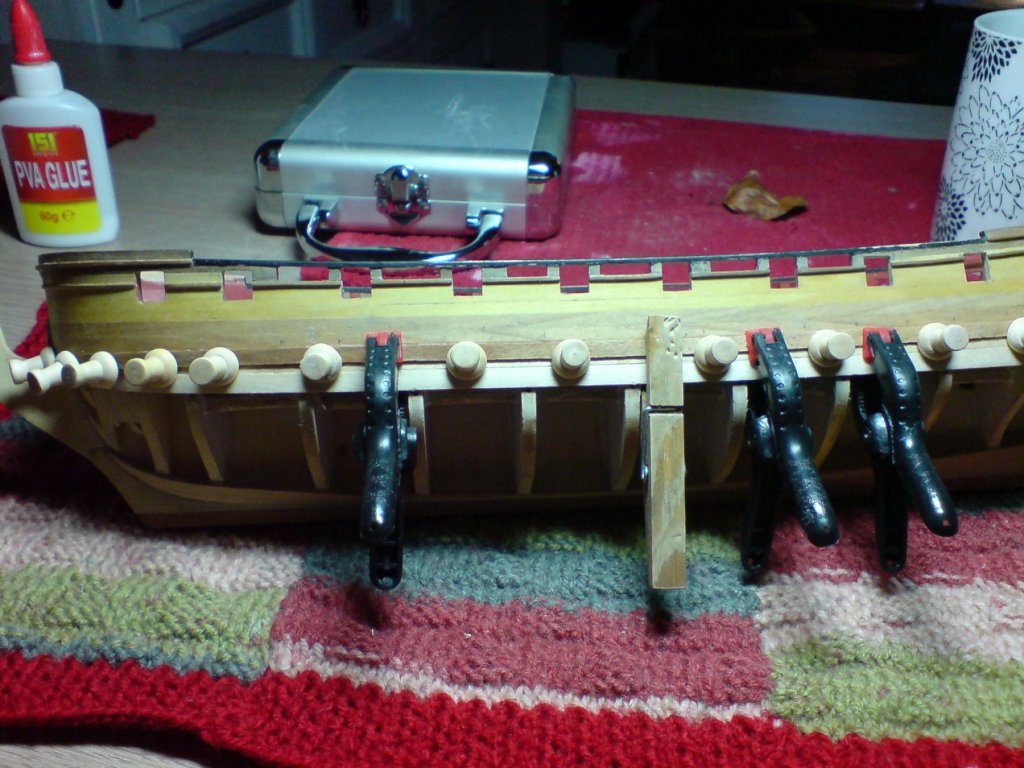
Hiya folks, I started work on the lower hull planking from the wale location - downwards, I recovered the plank that was sitting a tub of water since yersterday, I also got hold of some pins, so after placing a layer of pva I placed the plank and worked my way along pressing the pins underneath to hold the plank in place. I will have to do one plank a day due to time drying and affect on my hands. Here is just the one picture of the current status. OC.
- 455 replies
-
- 4
-
-
- slightly modified
- greyhound
- (and 1 more)

.JPG.3001727d8632cd34ef2cc38352178b42.JPG)