Old Collingwood
-
Posts
12,104 -
Joined
-
Last visited
Content Type
Profiles
Forums
Gallery
Events
Everything posted by Old Collingwood
-
 I wondered because I plan to get some Admiralty paints and do my outside upper bulwarks yellow ocre but with a hint of flat white, just to take the richness of the yellow down a bit. OC.
- 136 replies
-
- 2
-

-
- caldercraft
- Cruiser
- (and 2 more)
-
I have a sneaking feeling I am going to be one plank short of finishing my first planking. OC.

- 455 replies
-
- 5
-
-
- slightly modified
- greyhound
- (and 1 more)
-
UHU is a general purpose (very sticky - stringy glue) it bonds a lot of things like card, fabrics, leather, and dare say wood. Its a great glue just a bit messy. OC.
- 453 replies
-
- 3
-
-
- thermopylae
- sergal
- (and 1 more)
-
Hi Bob, what a lovely job you are doing, I love the detail and workmanship, the color of your upper planking is very nice almost like a pale cream - light yellow ocre color. OC.
- 682 replies
-
- 5
-
-
- halifax
- lumberyard
- (and 1 more)
-
A bit more work this evening - getting there I think. OC.
- 455 replies
-
- 5
-
-
- slightly modified
- greyhound
- (and 1 more)
-
That red ocre looks really good I think an authentic color really helps with the apperance of a ship. OC.
-
Thank you kindly, yep there will be another set of planking to go on, then I will be painting her to the waterline in flat white. OC.
- 455 replies
-
- 3
-
-
- slightly modified
- greyhound
- (and 1 more)
-
Thank you my friend, thankfully thats just the first planking, I have another lot to go ontop of that, then the lower hull will be painted dull white up to the water line. OC.
- 455 replies
-
- 4
-
-
- slightly modified
- greyhound
- (and 1 more)
-
Looking great Joe, not that diss-similar to my build, is that yellow ocre you have along the gun deck outer? OC.
- 136 replies
-
- 2
-
-
- caldercraft
- Cruiser
- (and 2 more)
-
Hi Don, you have put some serious work into you build all the effort really looks to be paying off, really nice work going on there. OC.
-
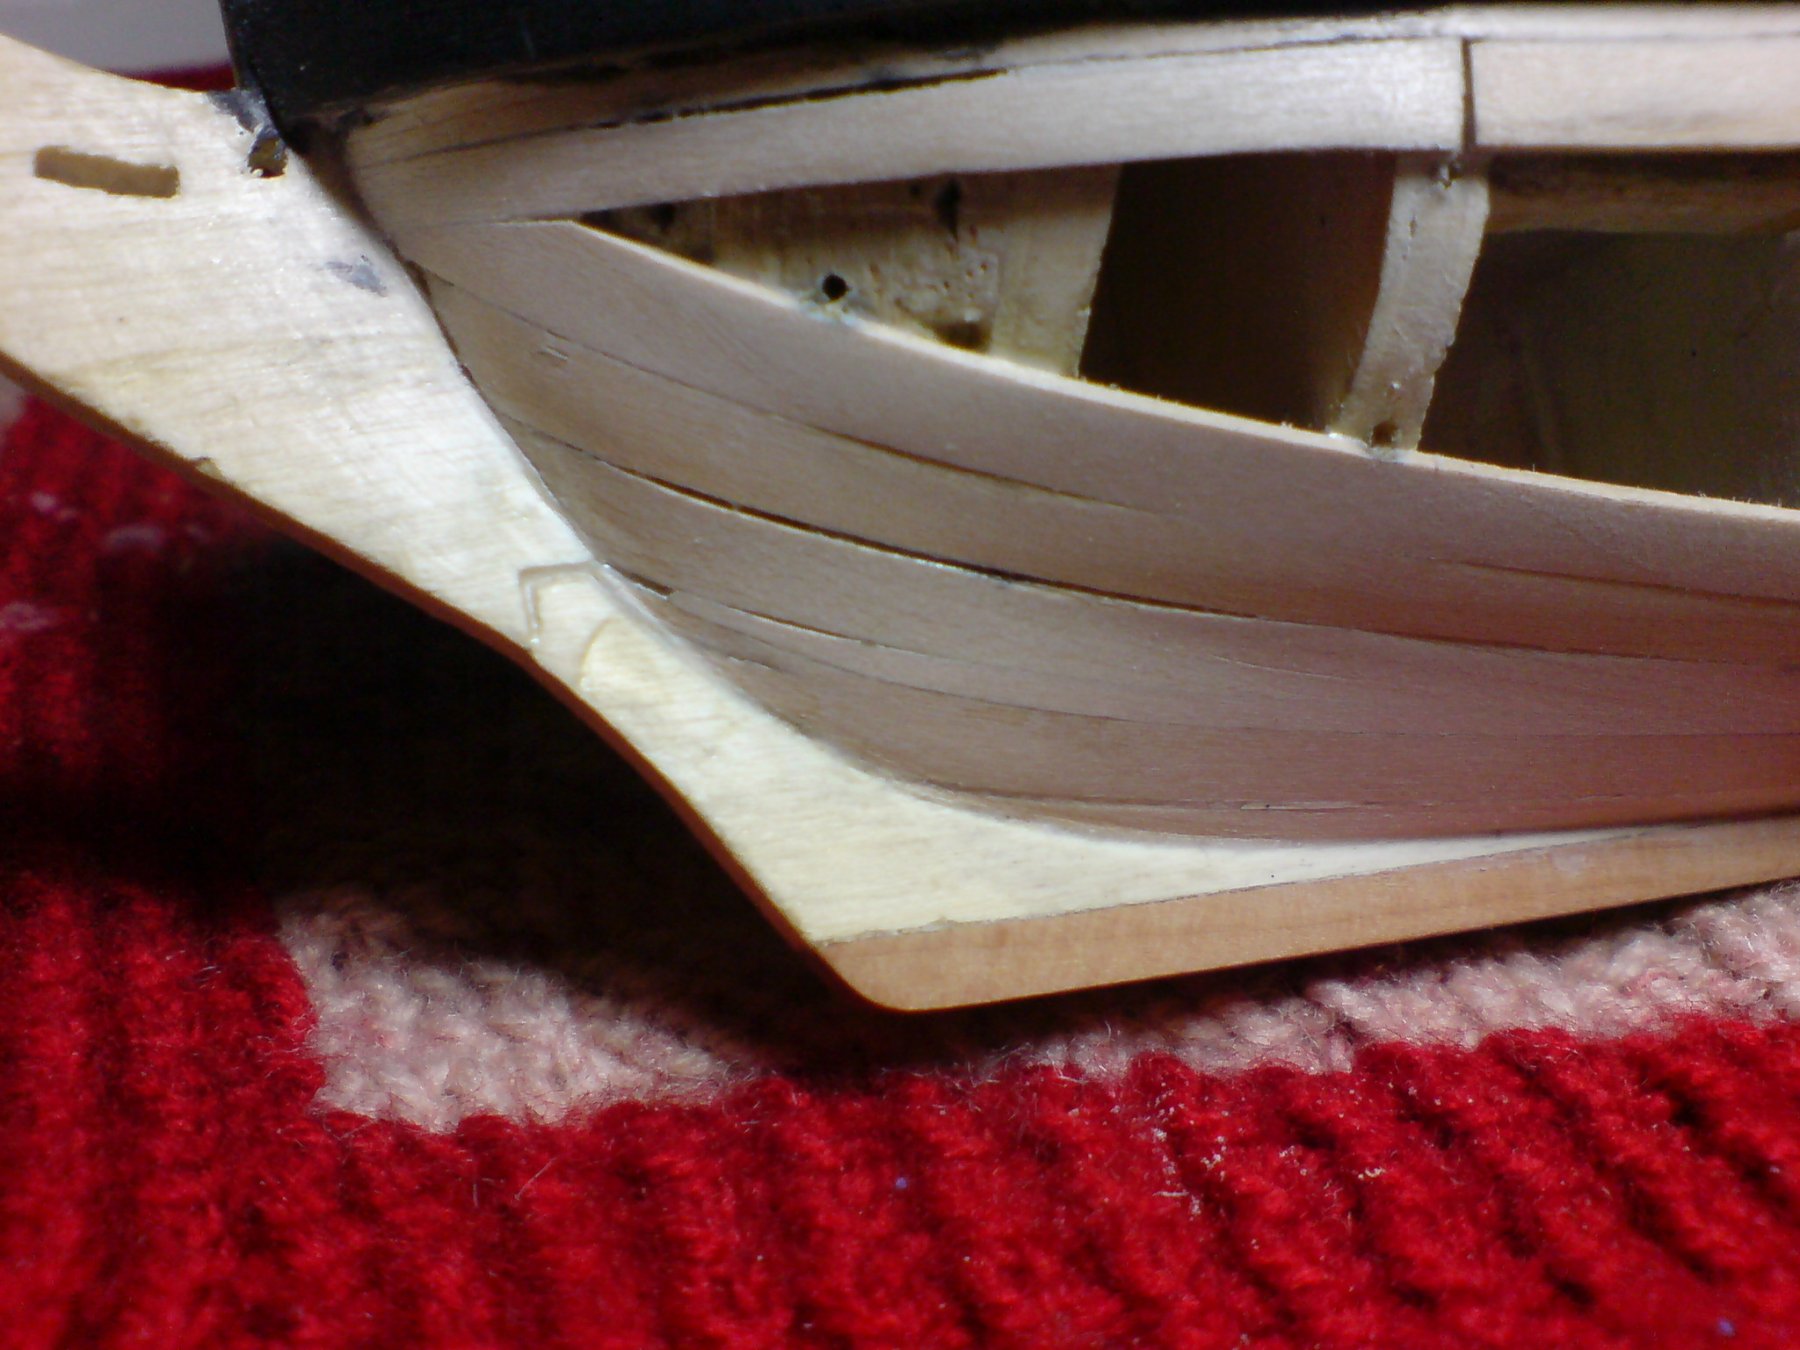
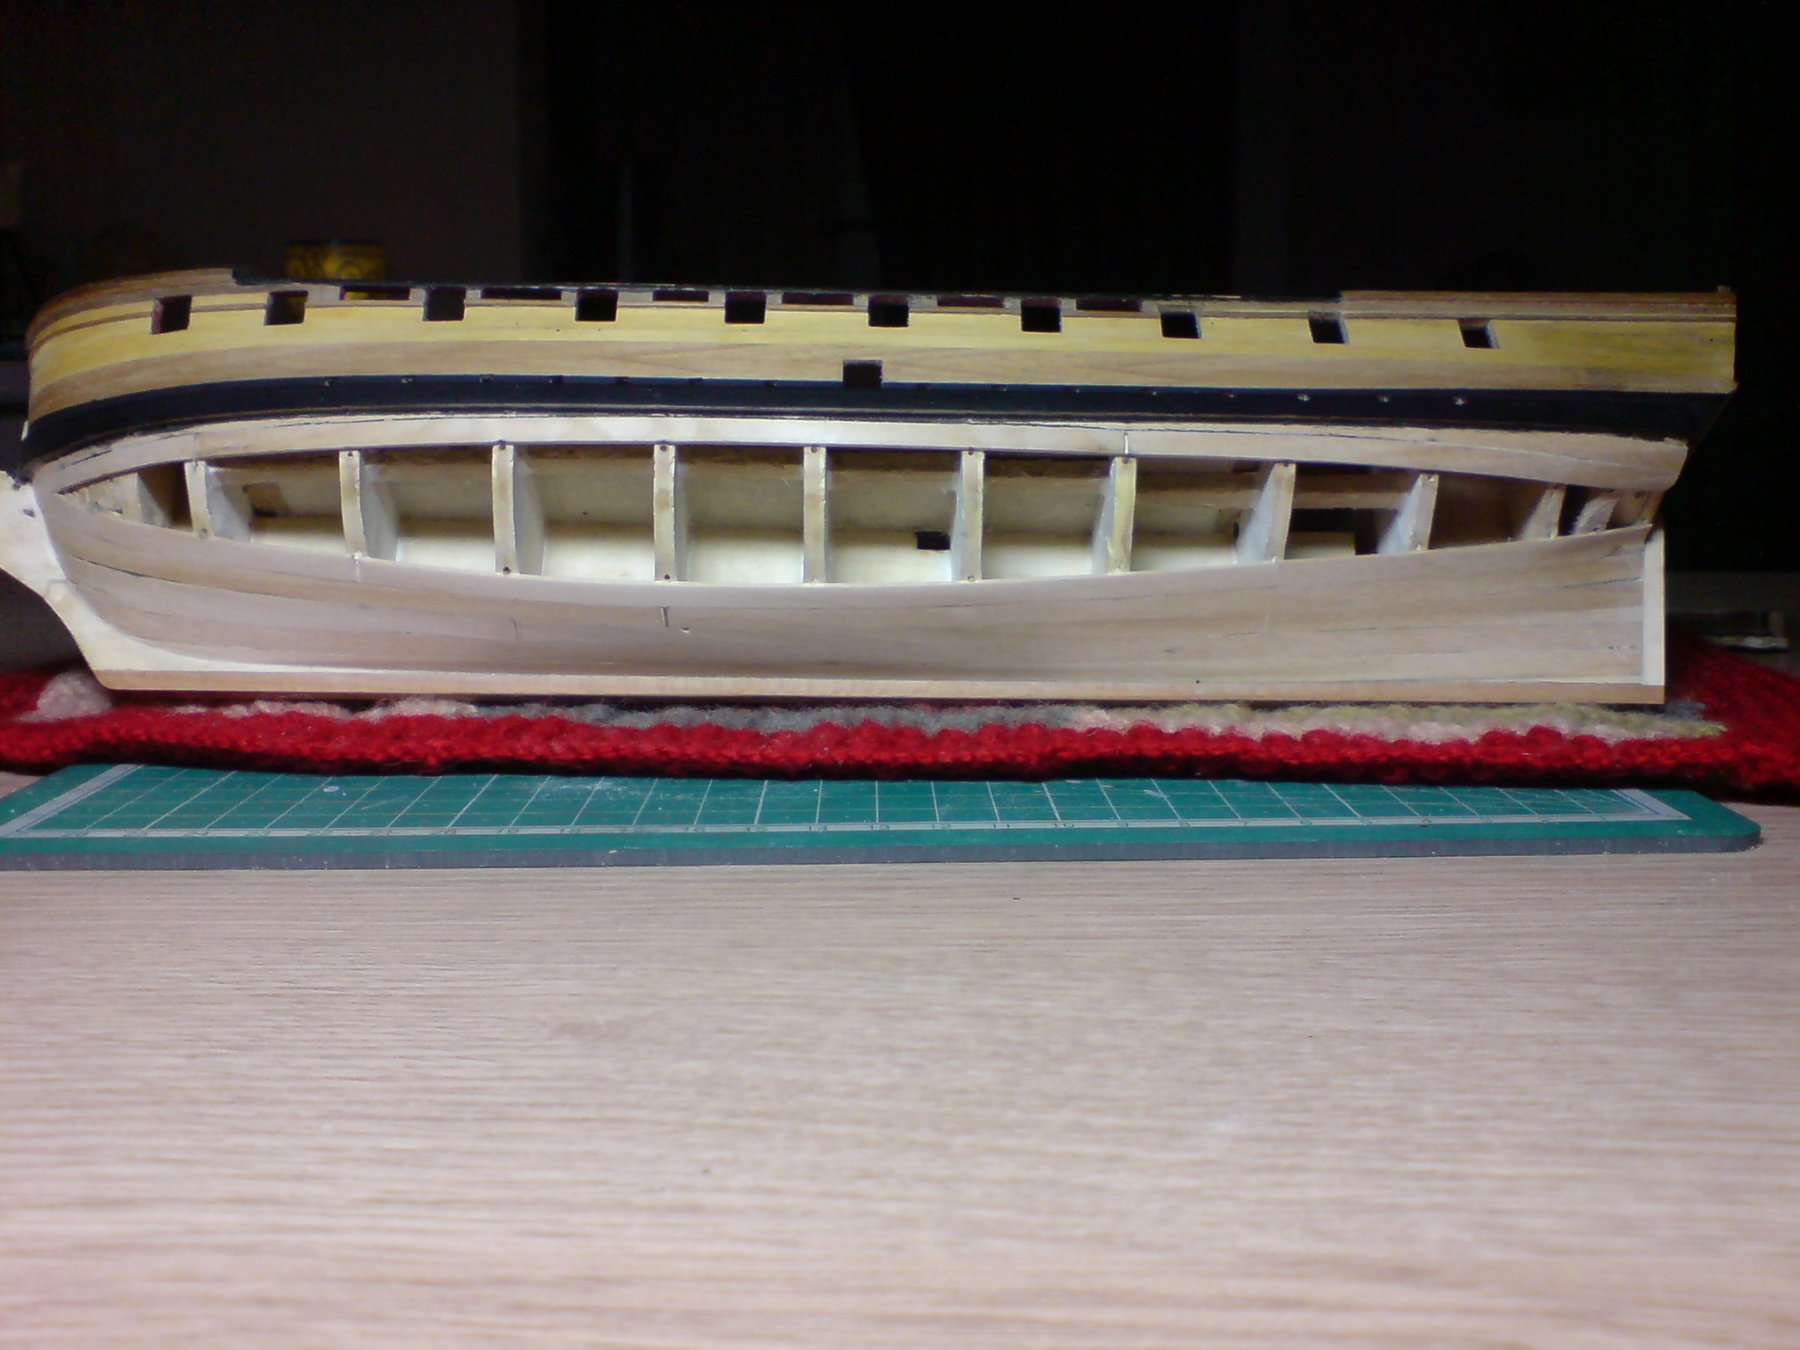
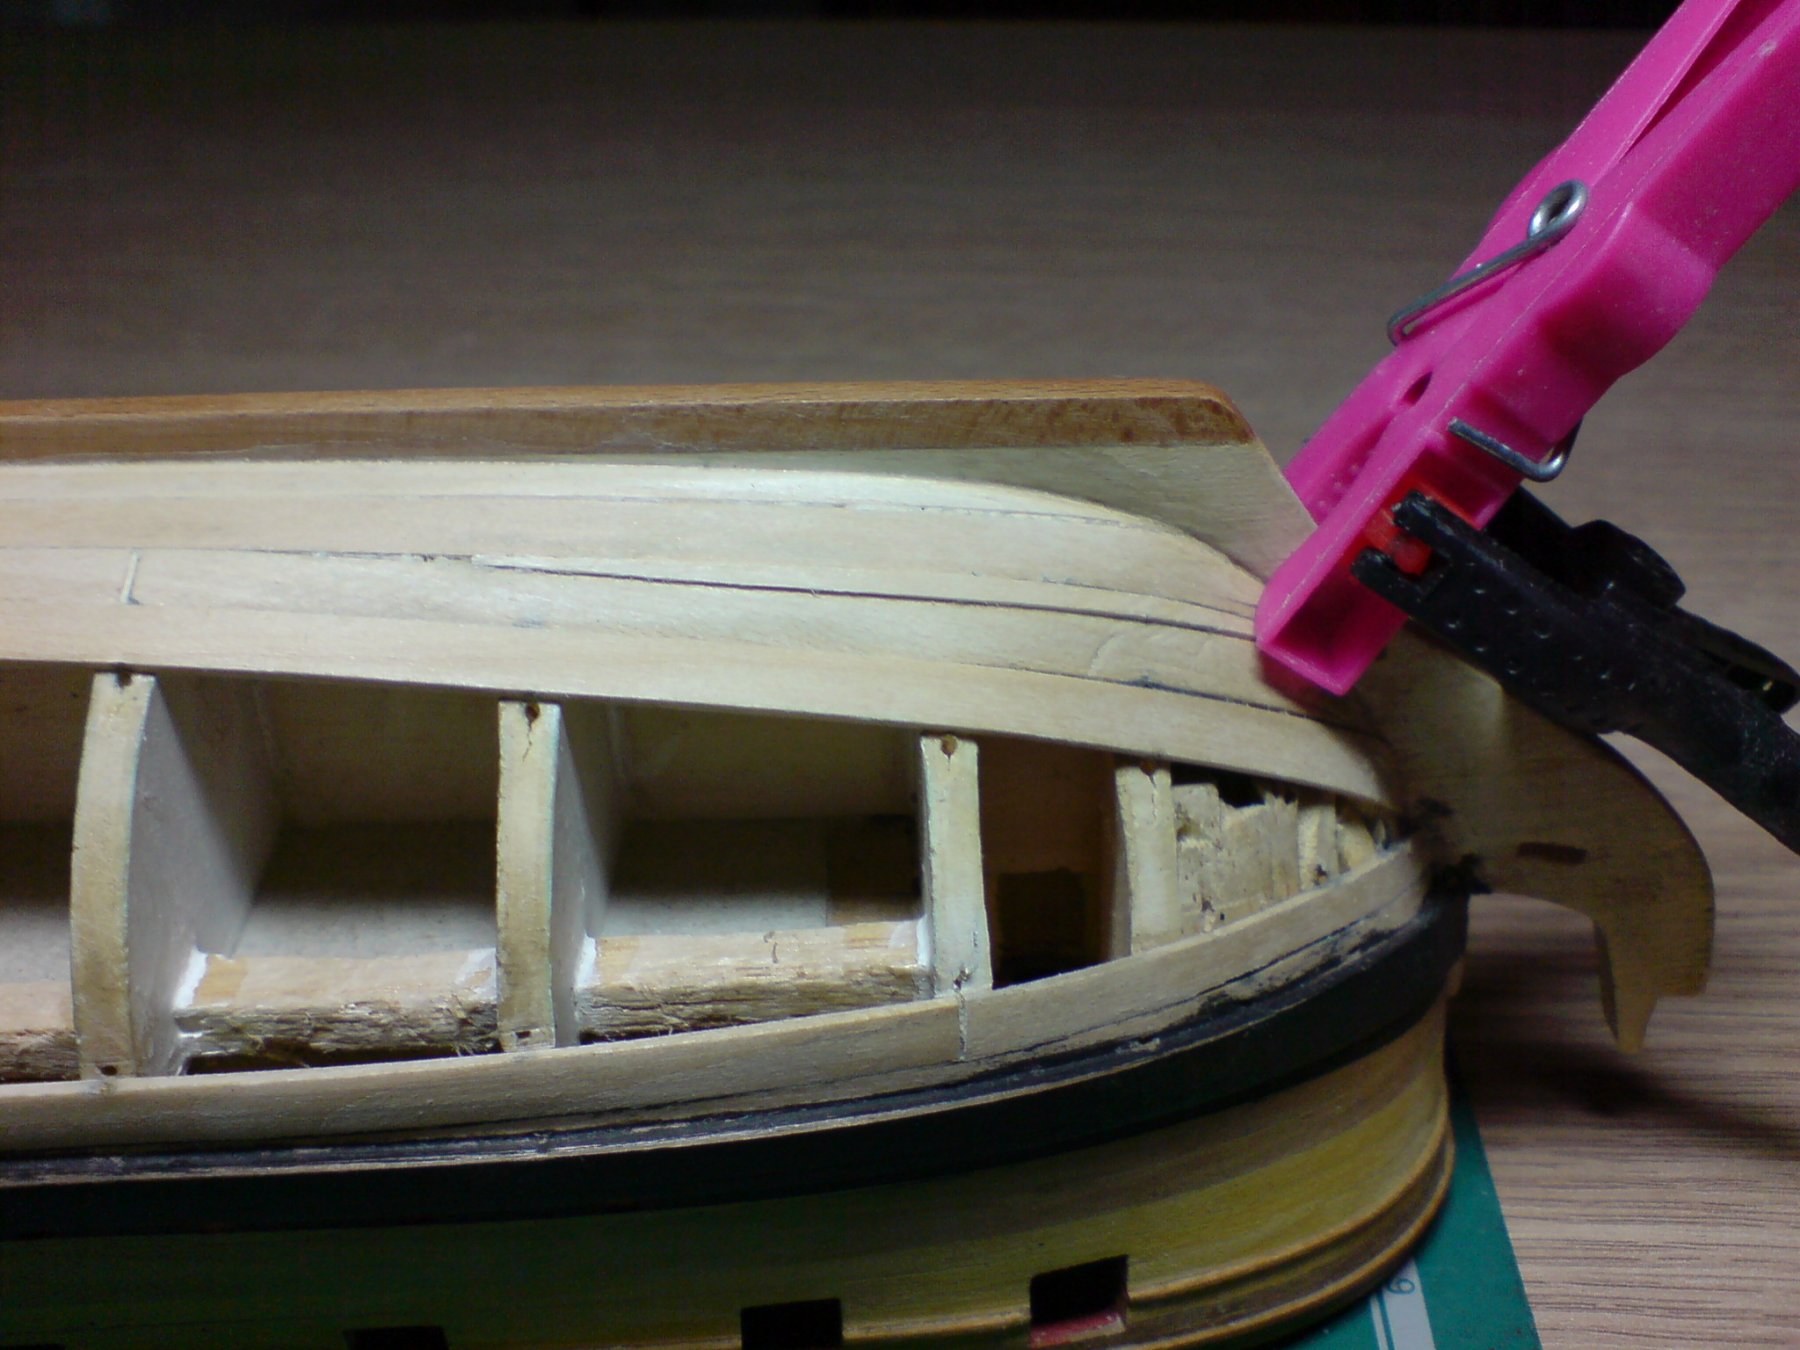
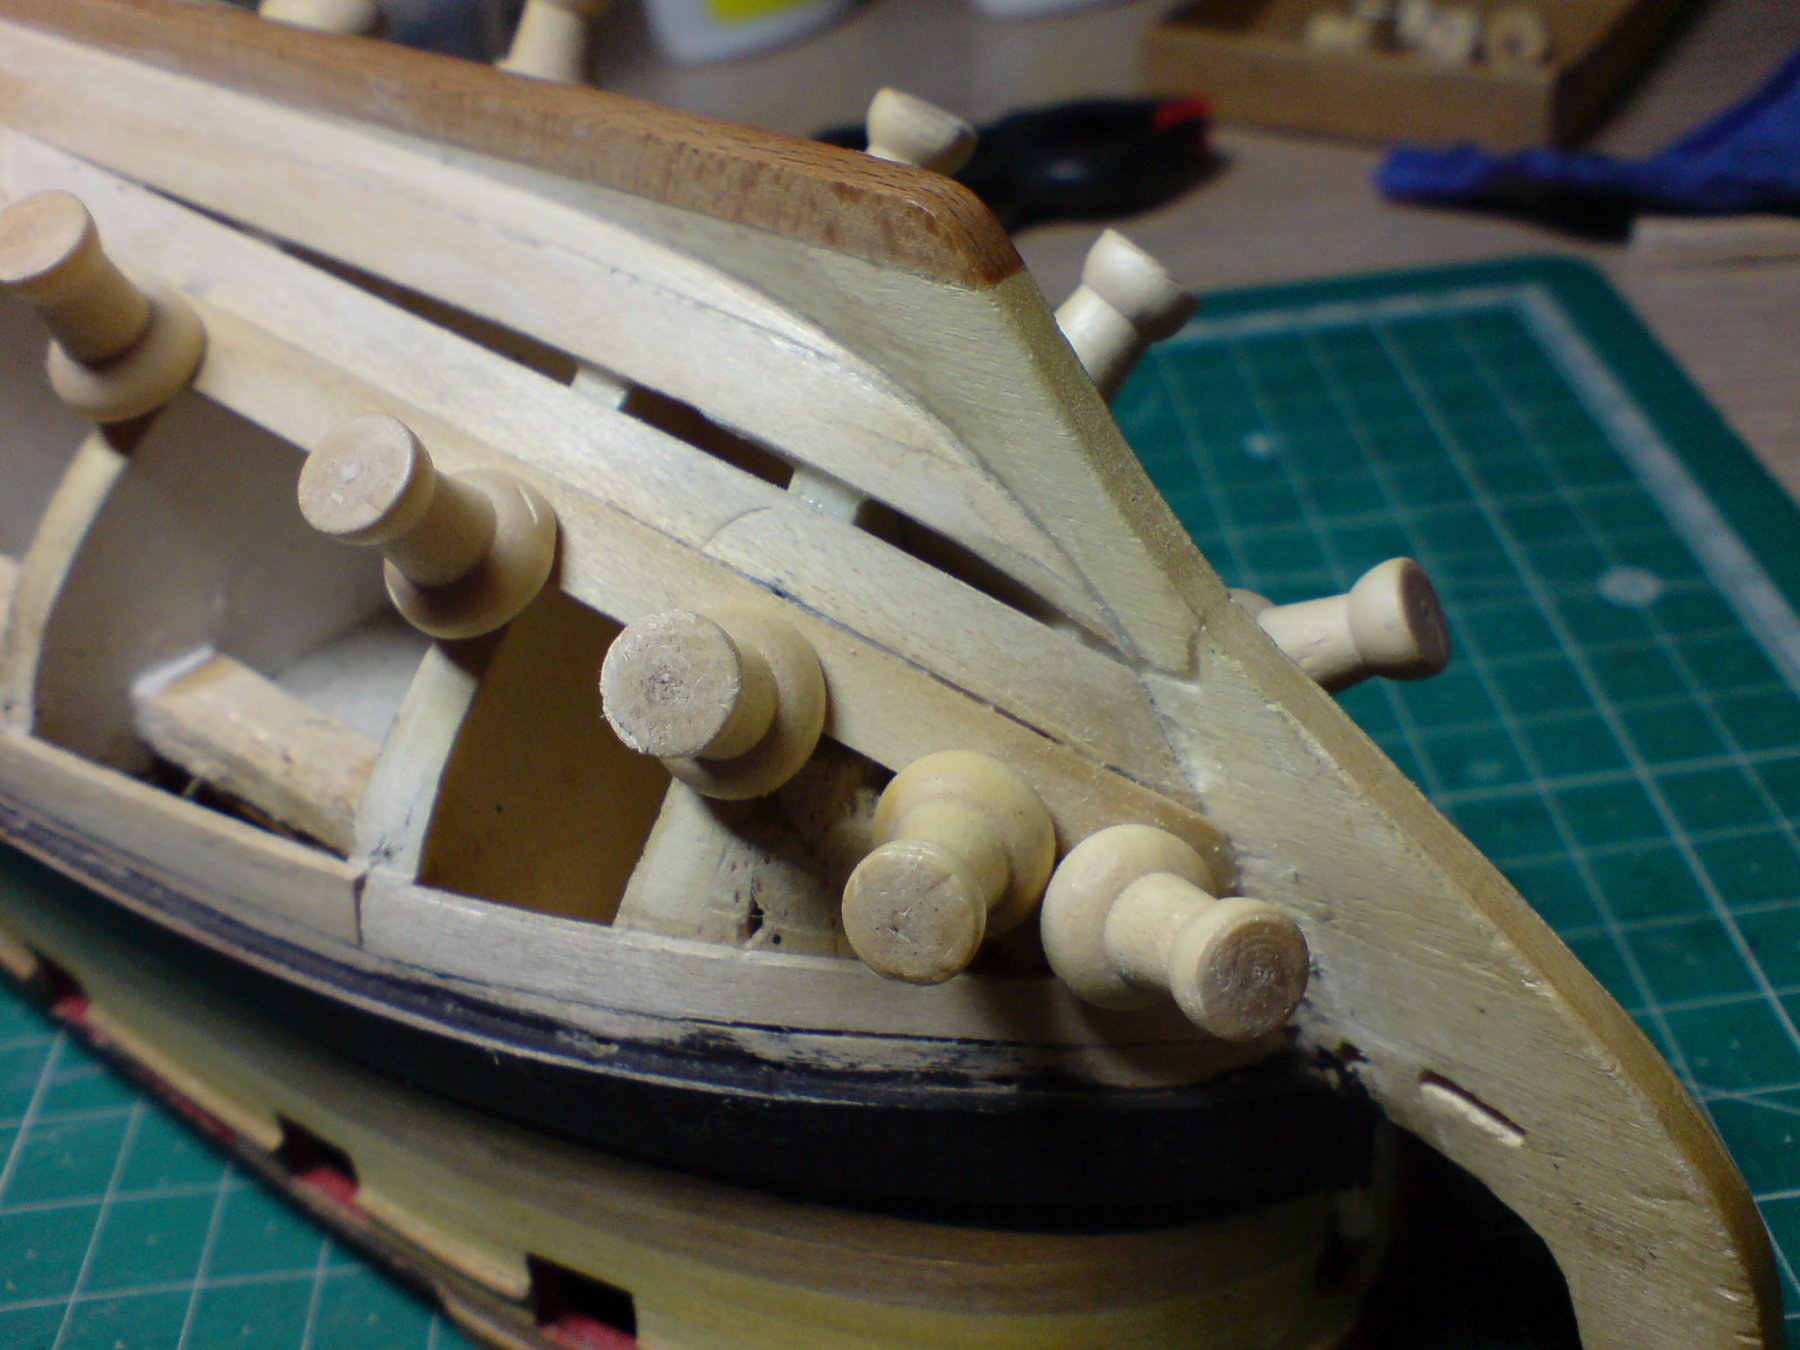
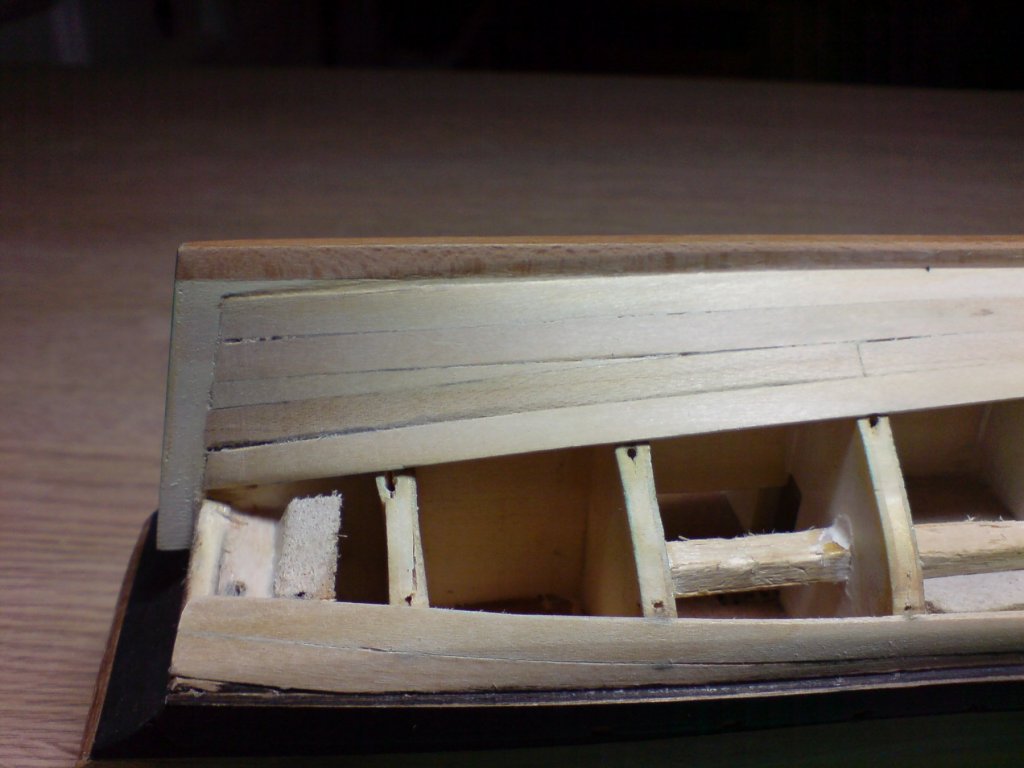
I managed to get in a few hours on the build today, generally making a lot of wood dust in the house (as it was dark outside) Mrs OC was not too impressed - dogs house emoticon springs to mind. Anyway after the dust had settled - no pun intended, I did a final bit of fine filling with my curved needle files, towards the rear as I had to curve a plank that sits at an akward angle, I also tidied up the bow. Here are a few pics folks. OC.

- 455 replies
-
- 10
-
-
- slightly modified
- greyhound
- (and 1 more)
-
Found chuck Pm sent again many thanks don. OC.
- 455 replies
-
- 2
-
-
- slightly modified
- greyhound
- (and 1 more)
-
Than you don for all your help much appreciated OC.
- 455 replies
-
- 2
-
-
- slightly modified
- greyhound
- (and 1 more)
-
Yep then clicked on the contact option where I had to leave my email address and irequest, then one of those security things popped up to proove your human - the normal catcha things with pictures you have to tick several times before you can send the contact request, I tried about five times then I was timed out. OC.
- 455 replies
-
- 2
-
-
- slightly modified
- greyhound
- (and 1 more)
-
I cant get passed that catcha security thing on syrens site, can anyone help me get to chuck please. OC.
- 455 replies
-
- 2
-
-
- slightly modified
- greyhound
- (and 1 more)
-
Thank you don, I will give him a shout and say you mentioned him. OC.
- 455 replies
-
- 2
-
-
- slightly modified
- greyhound
- (and 1 more)
-
Goodmorning/evening/day folks, not much work over the past 24 hrs we had some house types issues that kept me away from the bench, I will be back on her tomorrow, with a keen eagerness. Folks I have a question and really hope someone can help please, I am without any cannons/carriages for my build and I have looked through the normal parts sites like Cornwall Model Boats - checking out the different companies, Corel, mantua etc etc, but so far I can not find any 9pdr small 1/100 scale period cannons and carriages, for my build. Can anyone help with this please. OC.
- 455 replies
-
- 1
-
-
- slightly modified
- greyhound
- (and 1 more)
-
She is looking really nice, with the inside bulwarks you could try red ocre as I beliieve it was a faily normal paint medium, perhaps you could try that, (Its the same color as inside my bulwarks on my build). OC.
-
Hi there, no its my first planking, I thought it would be a good tool towards the second planking keeping it as tidy and experience towards the second planking, getting a feel for the flow of the boat and how her profile goes with the planks. OC.
- 455 replies
-
- 4
-
-
- slightly modified
- greyhound
- (and 1 more)
-
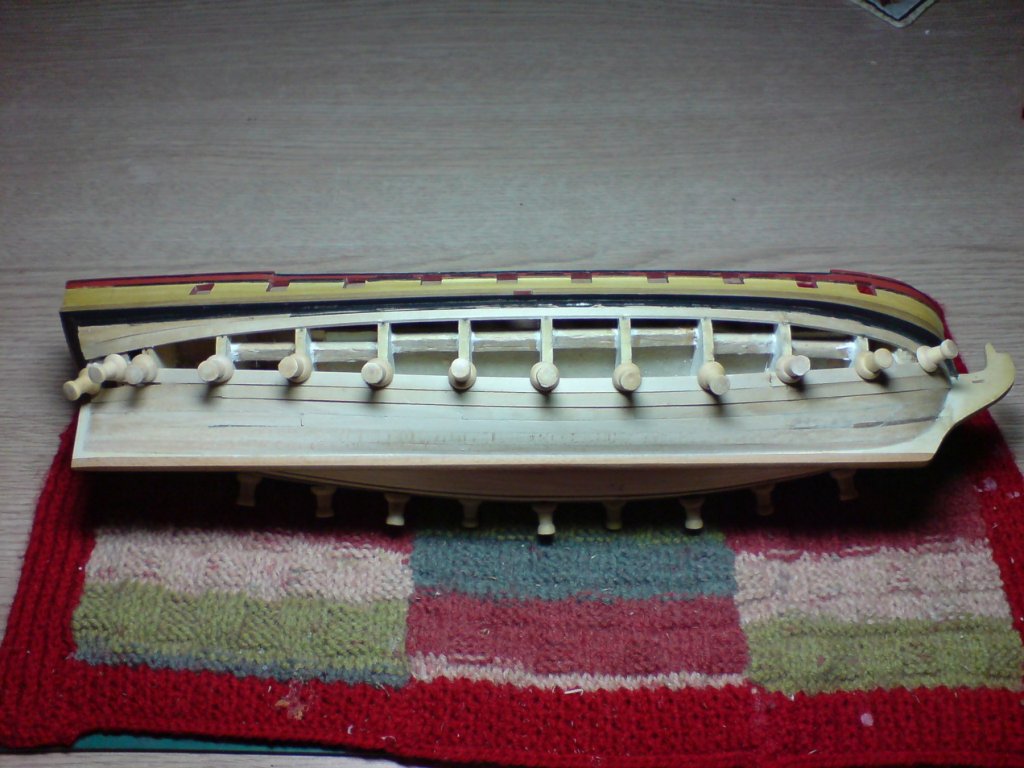
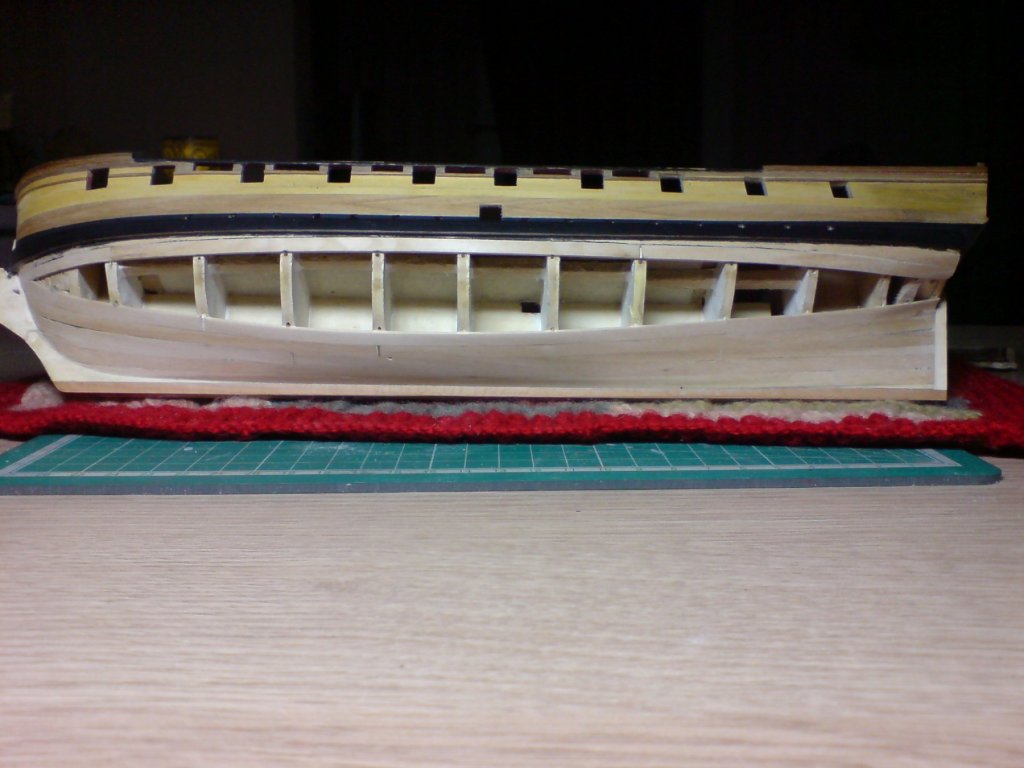
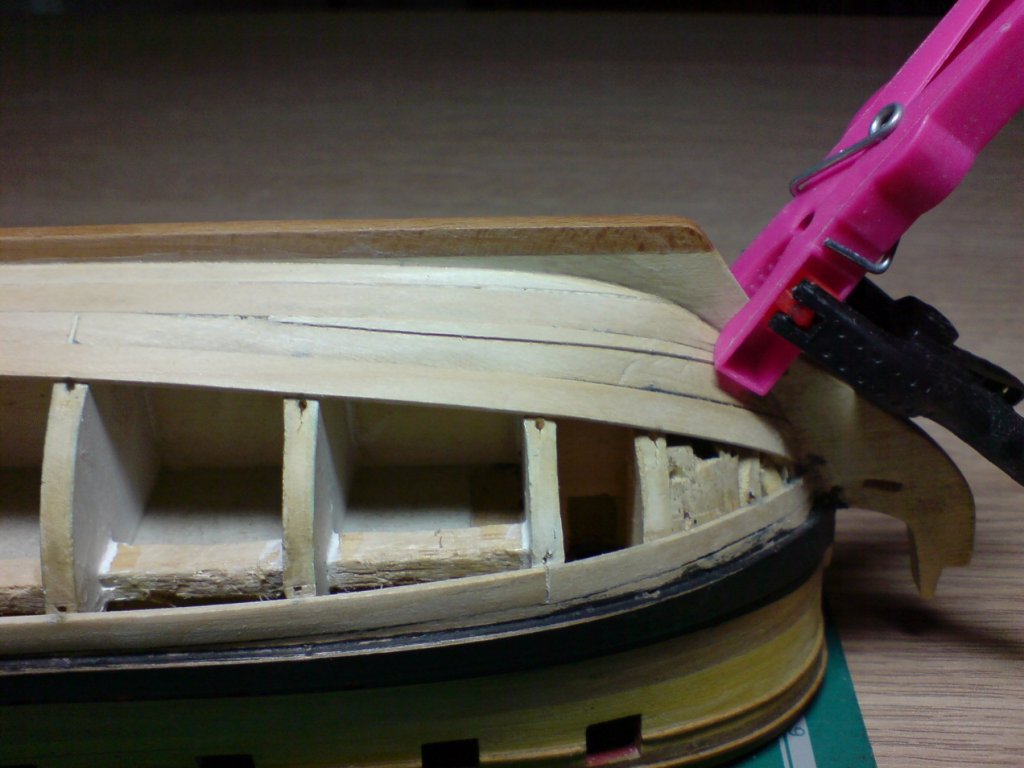
Hi folks more work on the bench(table) today, I started by removing the pins holding the last planks glued, after doing this and checking the joints, I sanded them flush with the other ones, then I decided to have a go at some dropped planks - this was a time consuming job measuring and checking then sanding, measuring and checking then sanding, then one by one I did three out of the four so far to be done. Here are the pics folks. OC.
- 455 replies
-
- 7
-
-
- slightly modified
- greyhound
- (and 1 more)
-
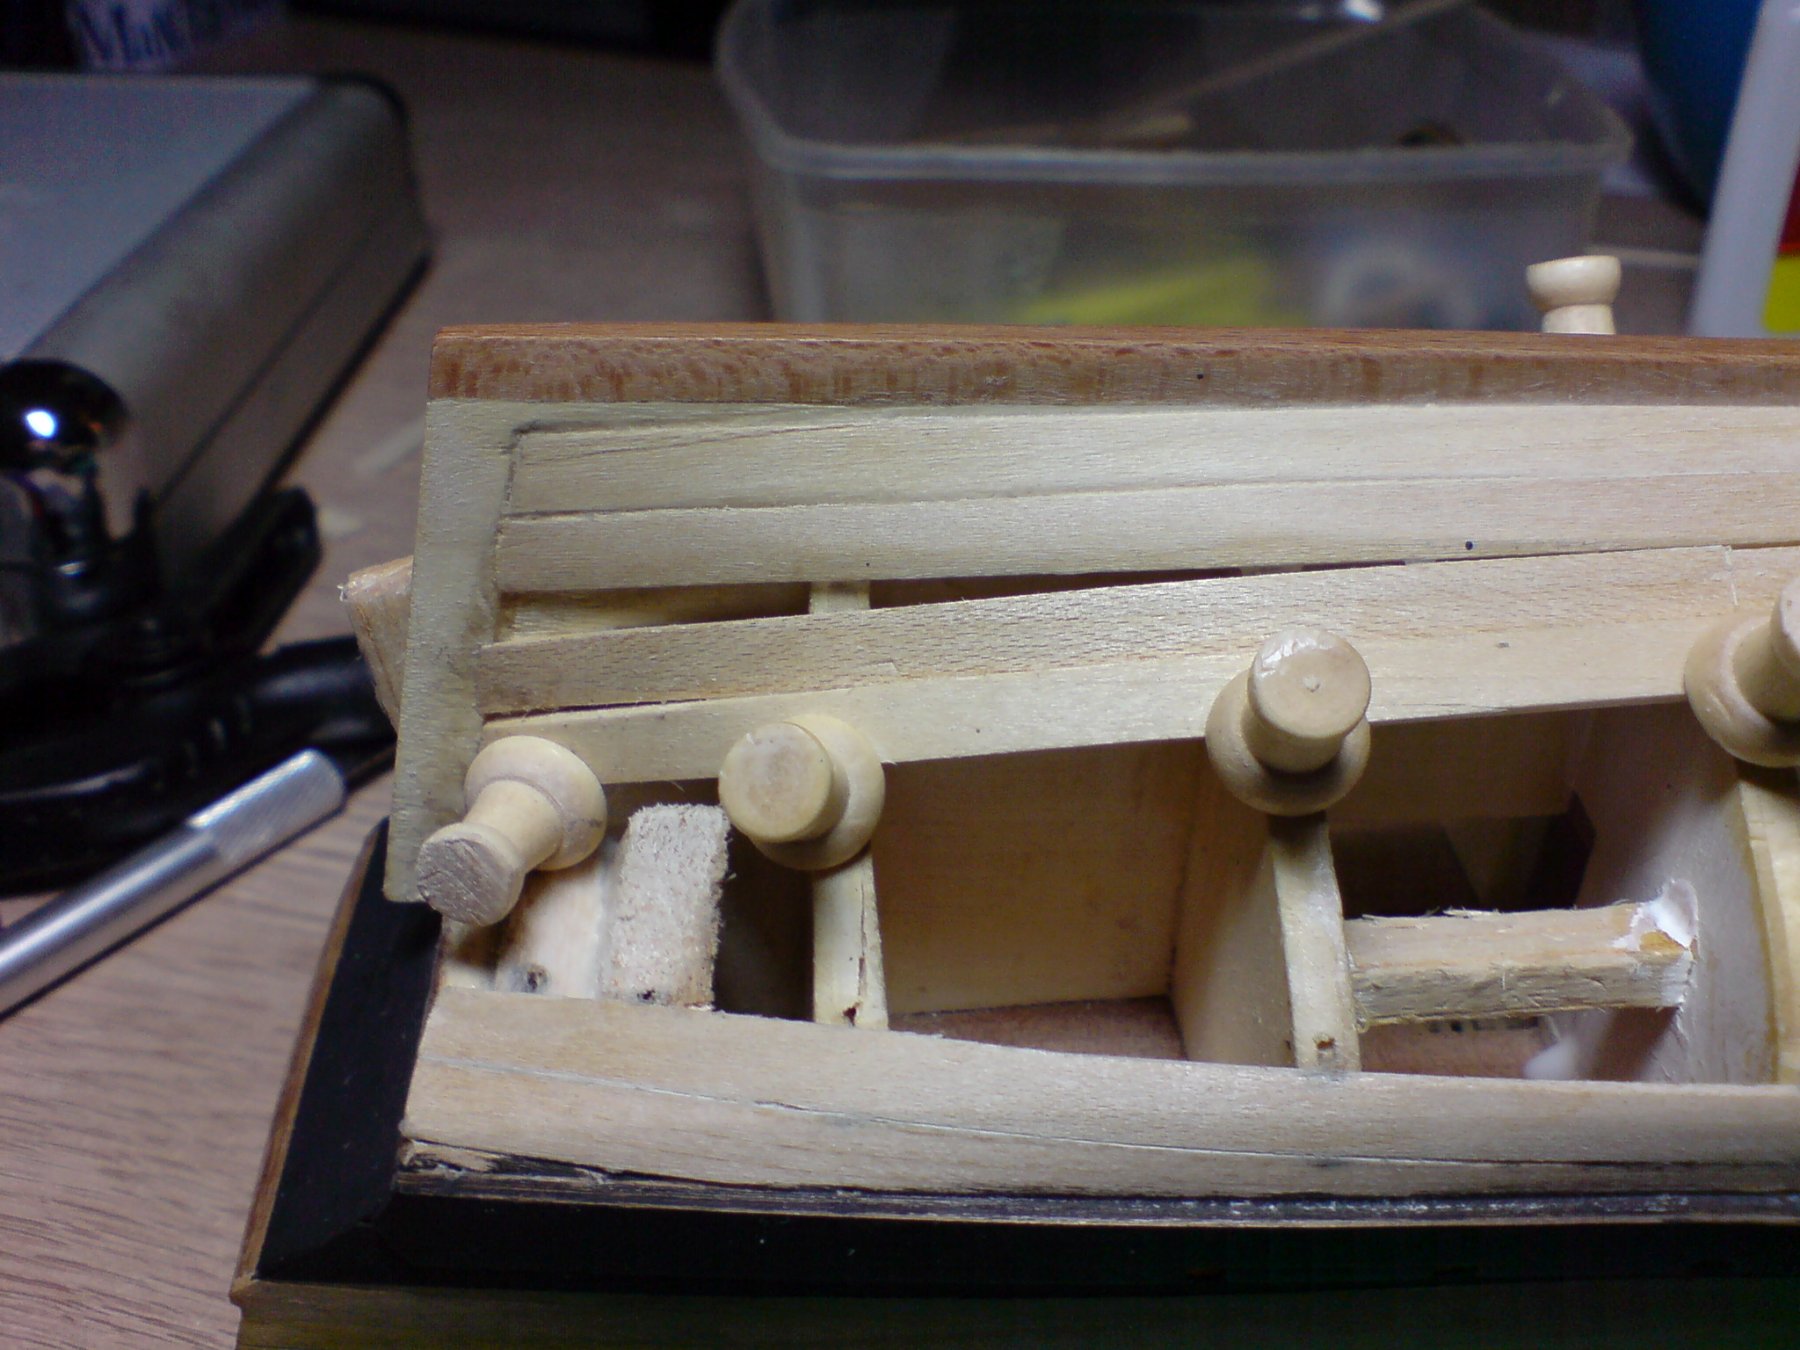
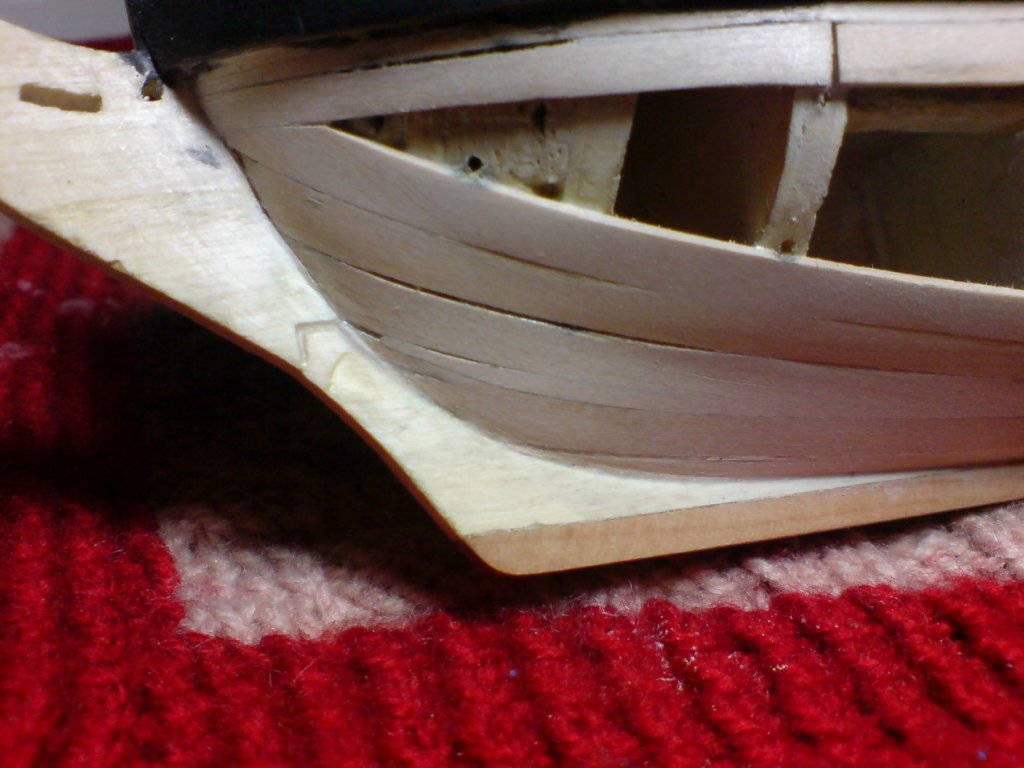
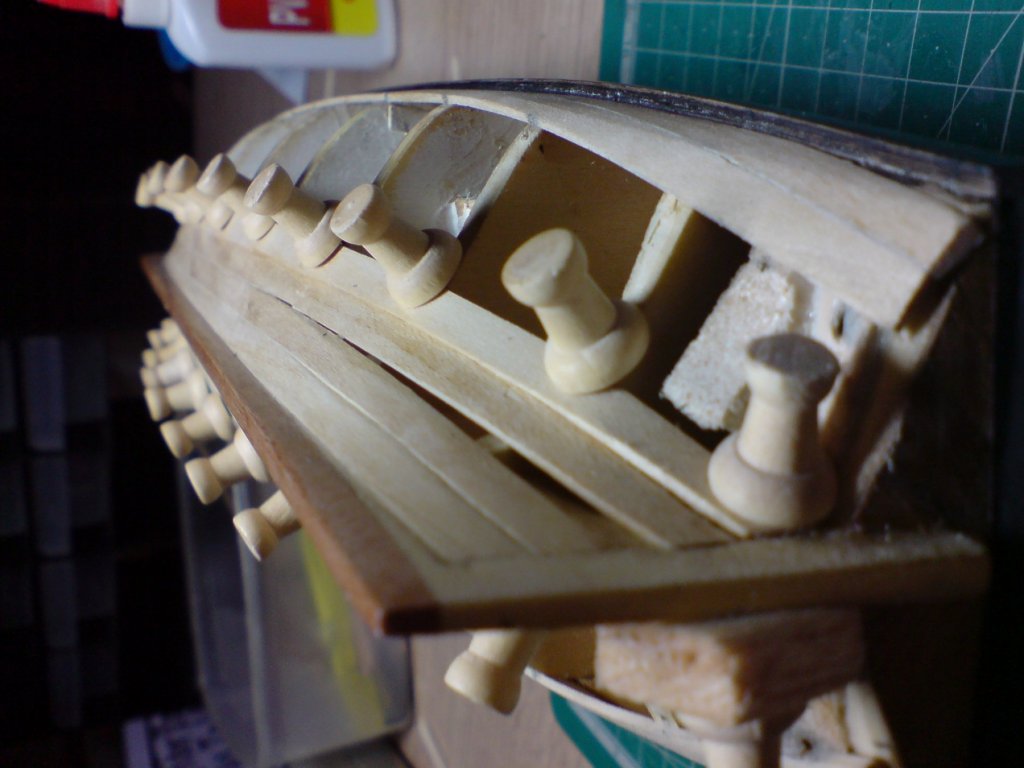
More work on the lower hull planking today, I decided to try the idea of working from the keel in rows upwards, till I meet the plank below the wale, it just took a little plank bending at both the bow and stern, but the middle section went on dry with no adjustment. Here are the pics - OC.


- 455 replies
-
- 6
-
-
- slightly modified
- greyhound
- (and 1 more)