


Old Collingwood
-
Posts
12,105 -
Joined
-
Last visited
Content Type
Profiles
Forums
Gallery
Events
Everything posted by Old Collingwood
-
 More work on the decoration today, I fitted two thin strips either side on the upper hull. Here are a couple of pics.
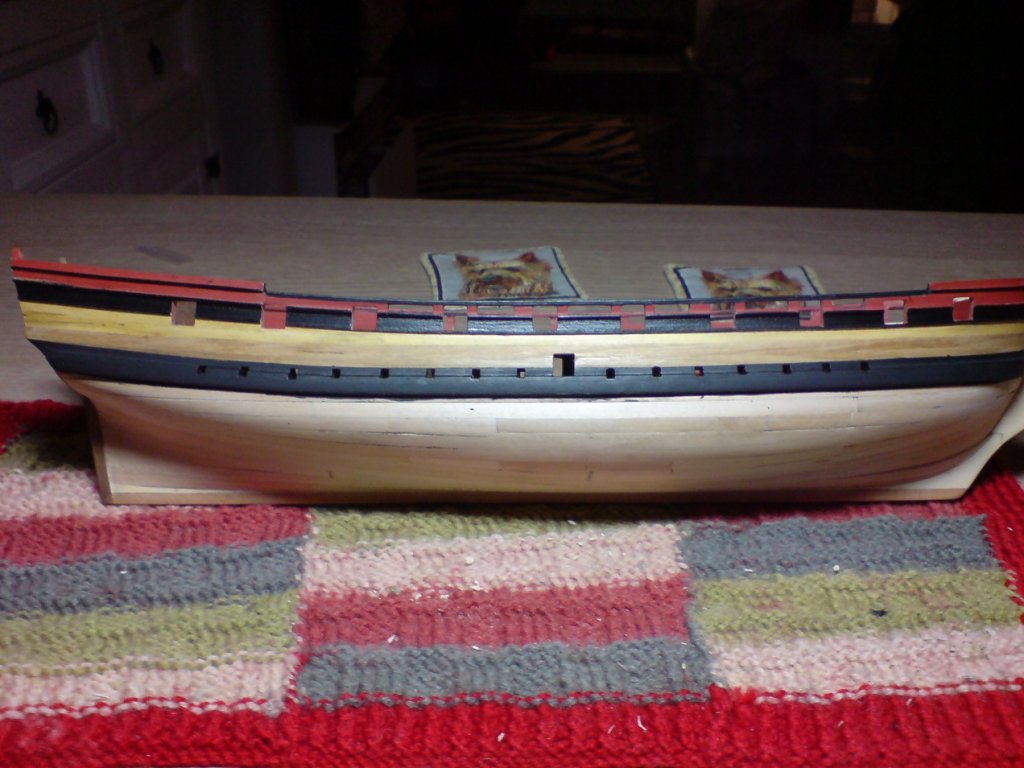
- 455 replies
-
- 8
-

-
- slightly modified
- greyhound
- (and 1 more)
-
Thank you for that, the decking was quite an enjoyable stage and fairly straightforward. OC.
- 455 replies
-
- 1
-
-
- slightly modified
- greyhound
- (and 1 more)
-
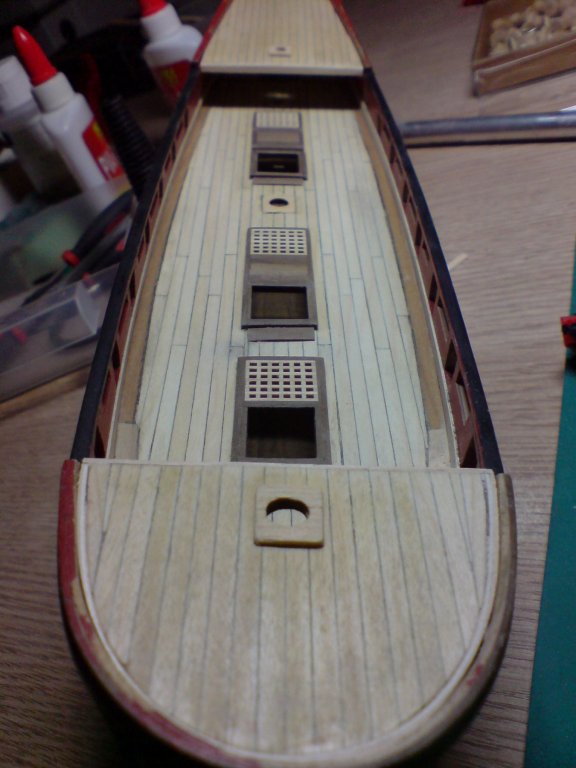
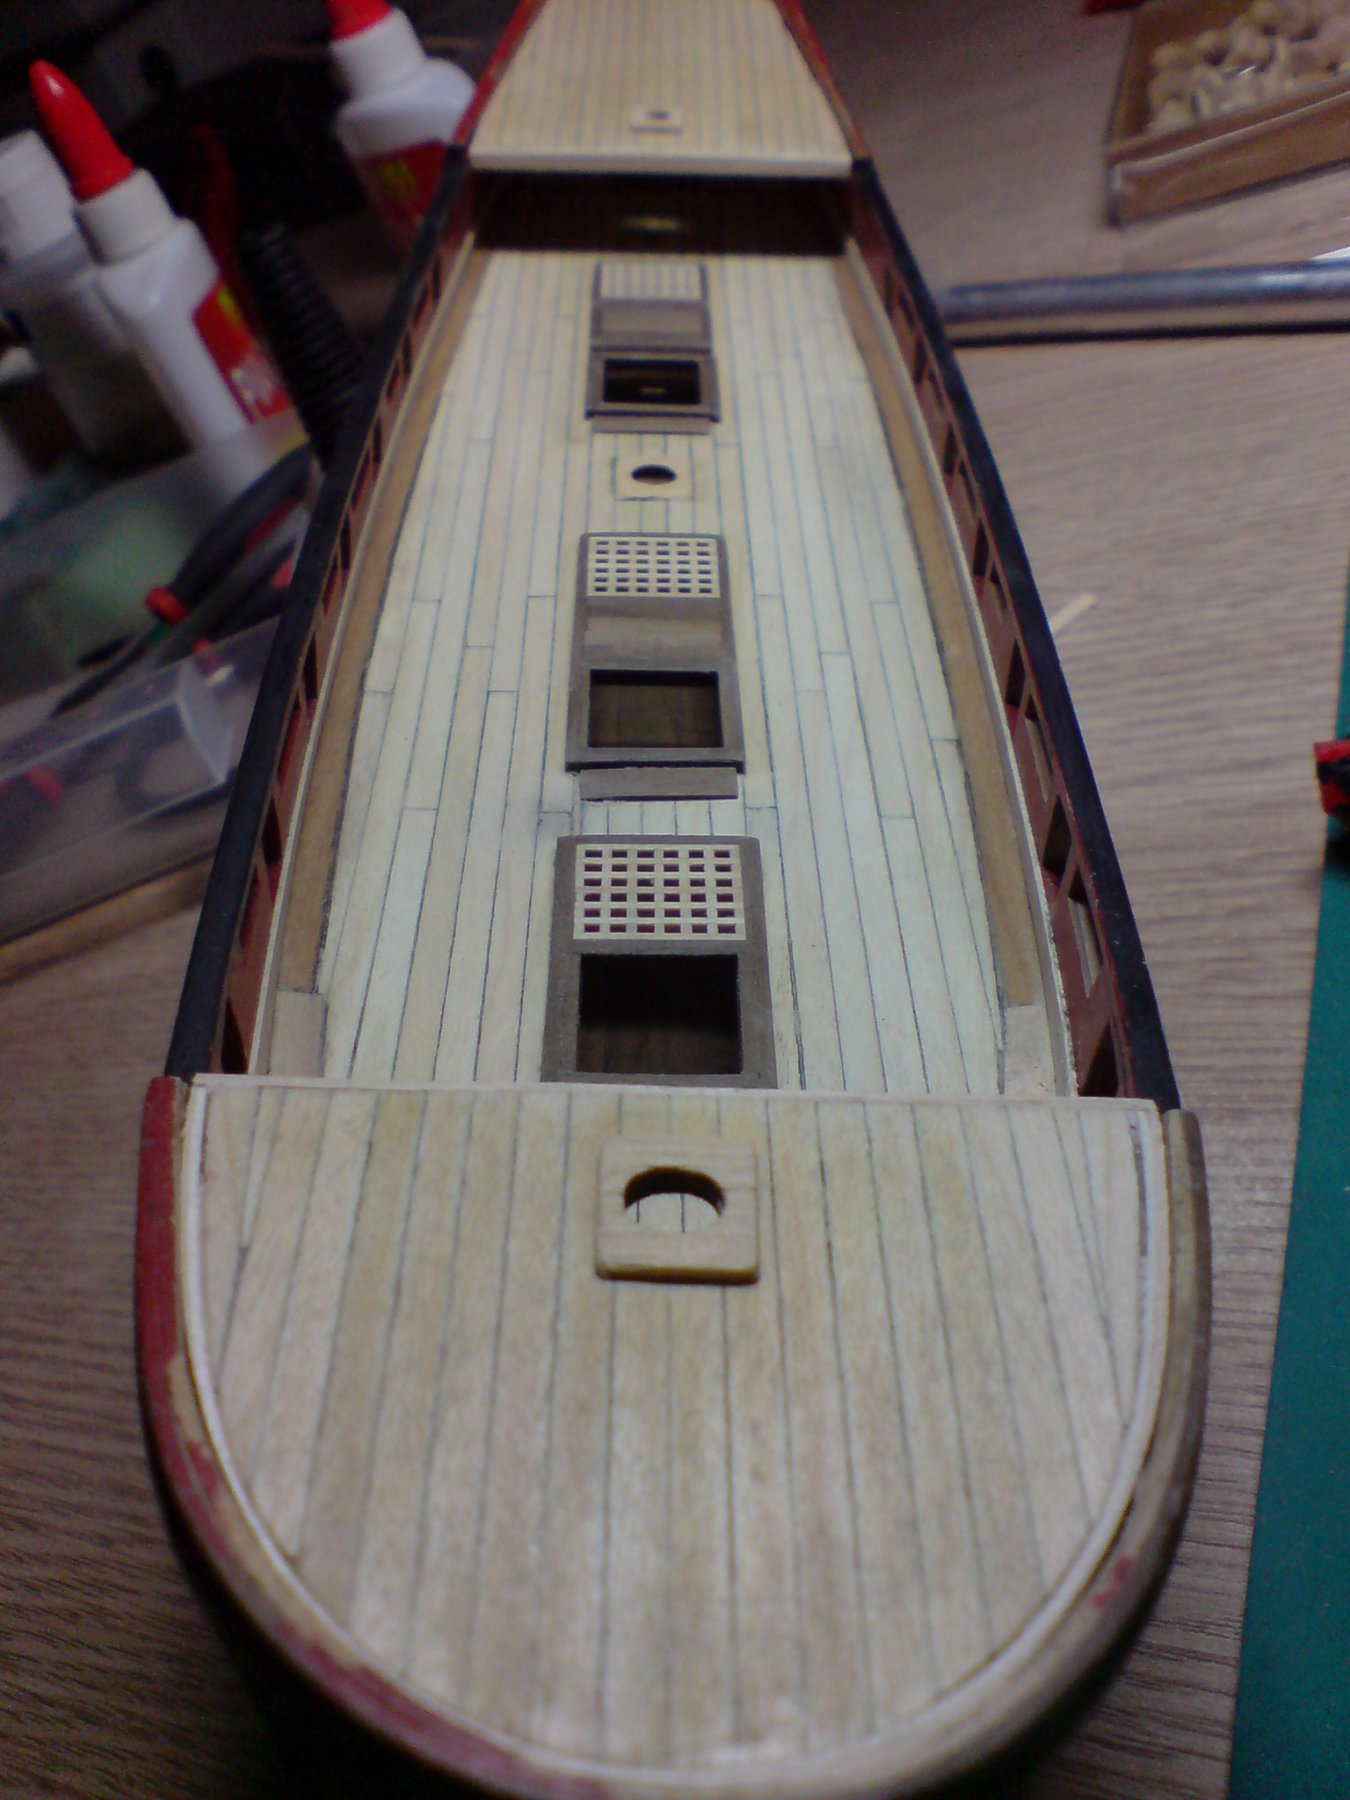
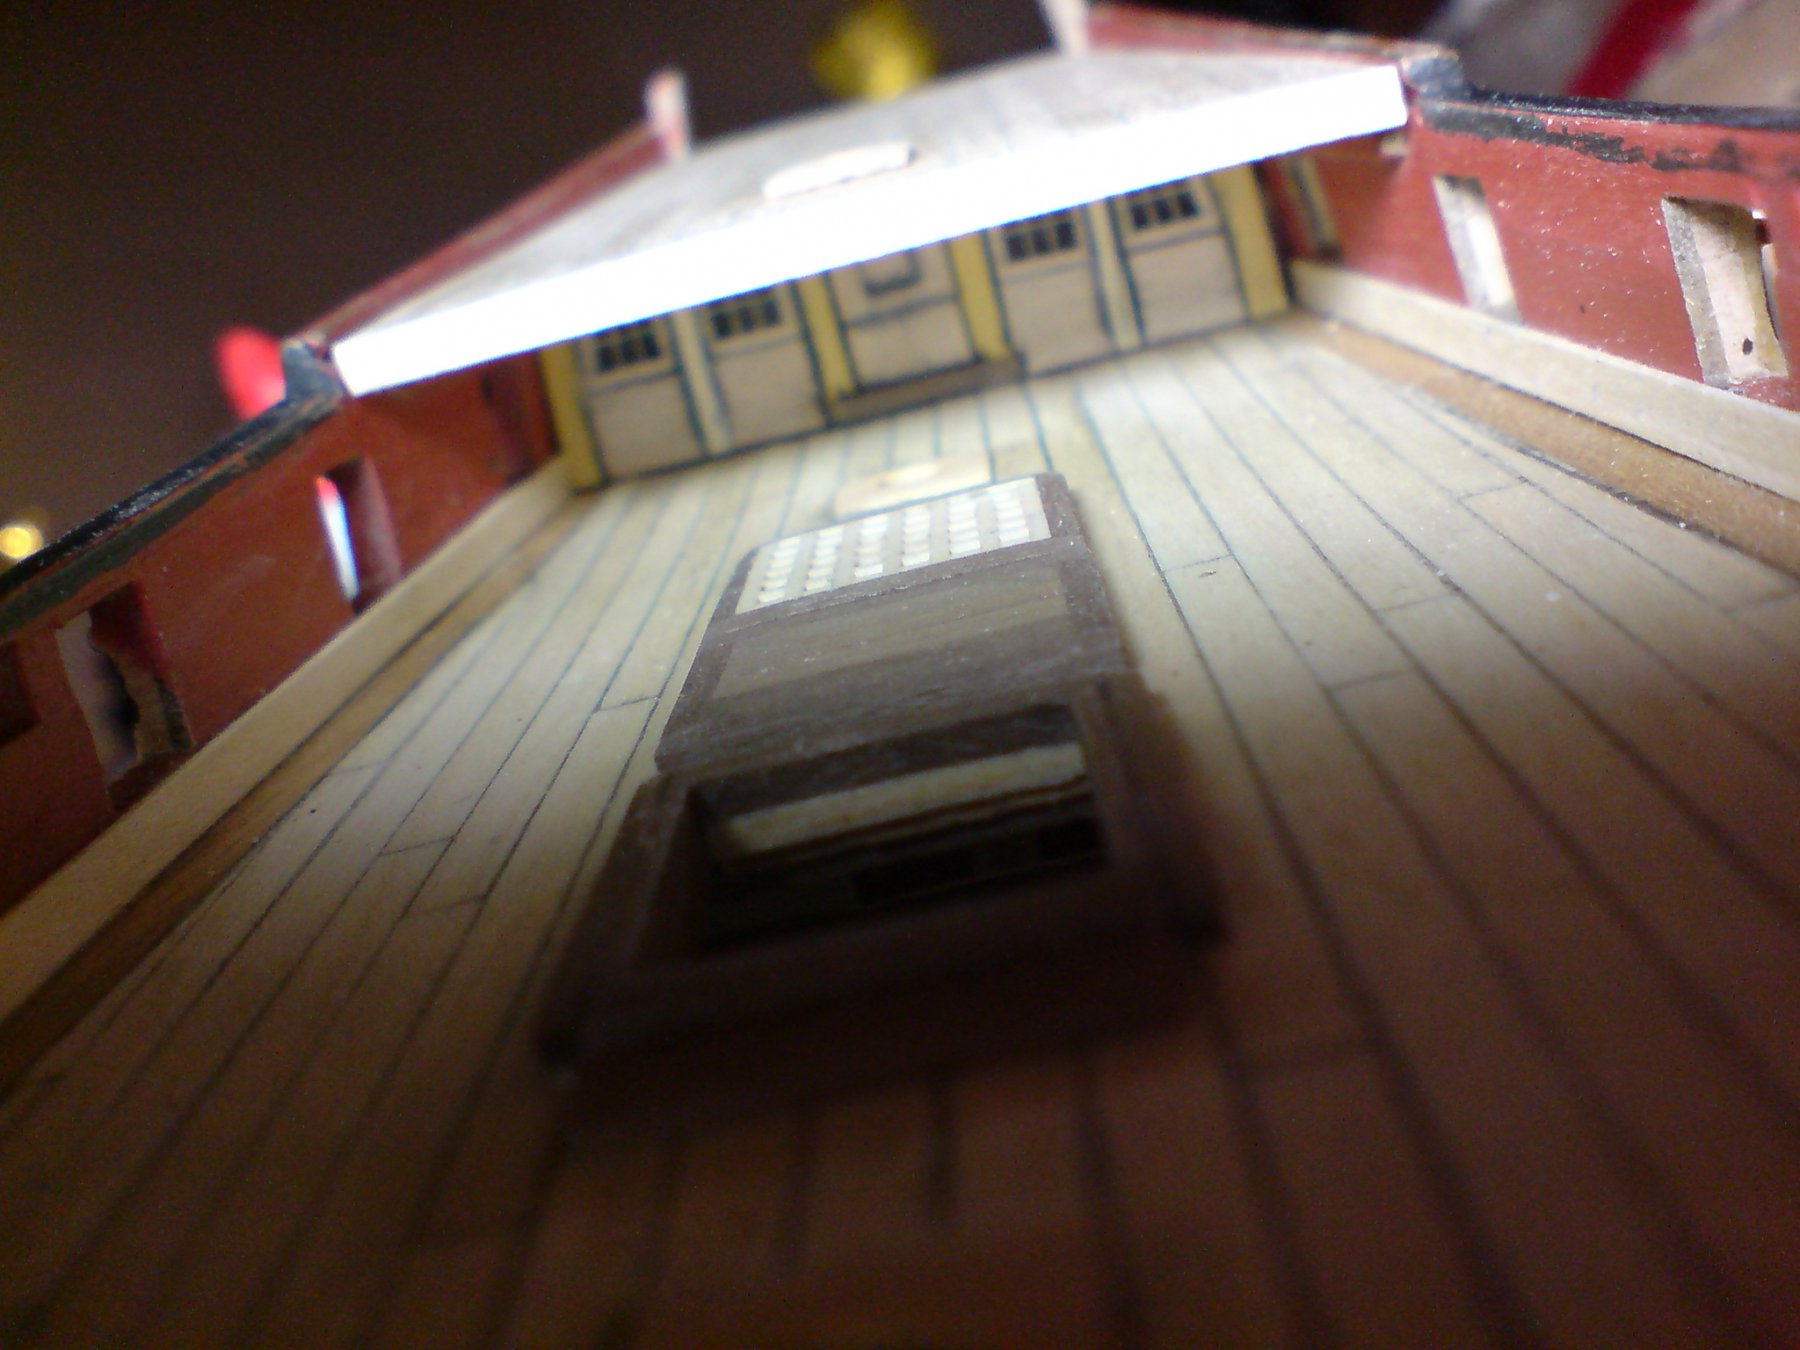
Evening folks, Slightly different tack today - I decided to tidy up both my poop deck decking piece, and also my forecastle section, firstly I created an edging strip for the poop deck section, this was cut and glued in place, then I looked over the forecastle deck section, this needed to be widened slightly but instead of using a flat curved plank to simply sit over the gap between the deck and bulwark, (this was going to be difficult as I had no spare wood sheeting and bending a wood strip against its grain on the widest edge - just wouldn't happen due to splitting), so I decided to build up a couple of strips stuck around the outside edge of the decking, these were held in place by some elastic bands till set, they then needed sanding flat with the deck and adjusted to fit the bow bulwark. After getting a good fit I made a front edging strip. I dry fitted both decks and also dry fitted the cabin bulkhead. Here are a few pics. OC.

- 455 replies
-
- 9
-
-
- slightly modified
- greyhound
- (and 1 more)
-
Thank you for your kind words, yep its torned out not bad for my first plamking work to this stage. OC.
- 455 replies
-
- 2
-
-
- slightly modified
- greyhound
- (and 1 more)
-
Good luck with the move hope all goes smoothly, the dinning room isnt so bad - its were my slip way is. OC.
- 310 replies
-
- 2
-
-
- cheerful
- Syren Ship Model Company
- (and 1 more)
-
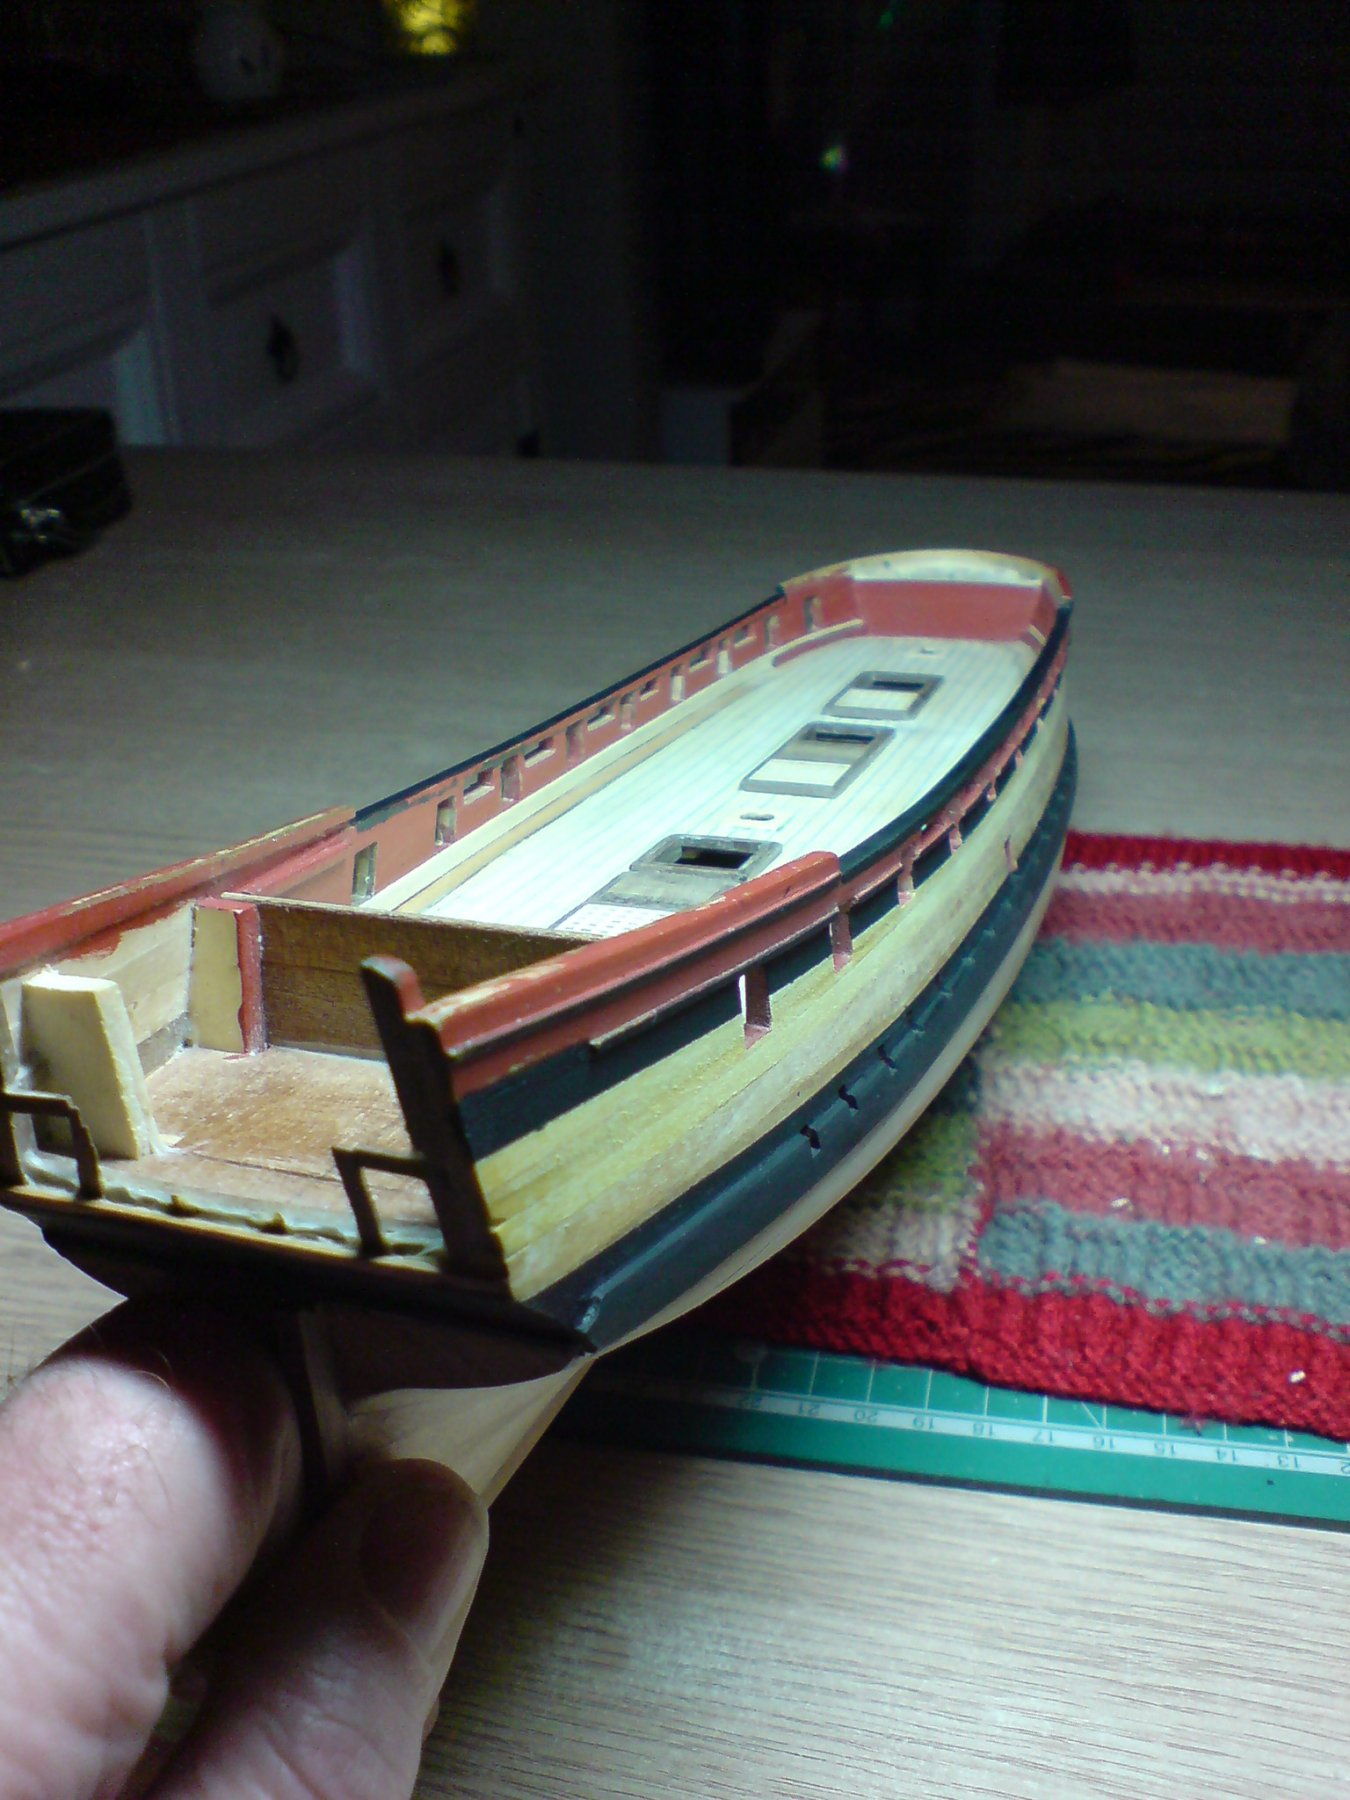
Evening folks, I decided to have a go at some painting today as I can not do any second planking till I get some more wood plank supplies and a plank bender I have ordered, I decided to paint the upper hull in a Black band and also did a few coats on the wale. Here are the pics. OC.

- 455 replies
-
- 10
-
-
- slightly modified
- greyhound
- (and 1 more)
-
Almost wants to make us work from the inside center outwards and upwards, so we wouldn't have to reach over. OC.
-
By all means pat there are many chairs left and I have installed a self service beverage machine - but we are low on popcorn though Think it will have to be hot dogs. OC.
- 455 replies
-
- 4
-
-
- slightly modified
- greyhound
- (and 1 more)
-
Its actualy quite relaxed work and getting the first planking done was my major hurdle, now thats out the way the rest of the build seems more relaxing. OC.
- 455 replies
-
- 5
-
-
- slightly modified
- greyhound
- (and 1 more)
-
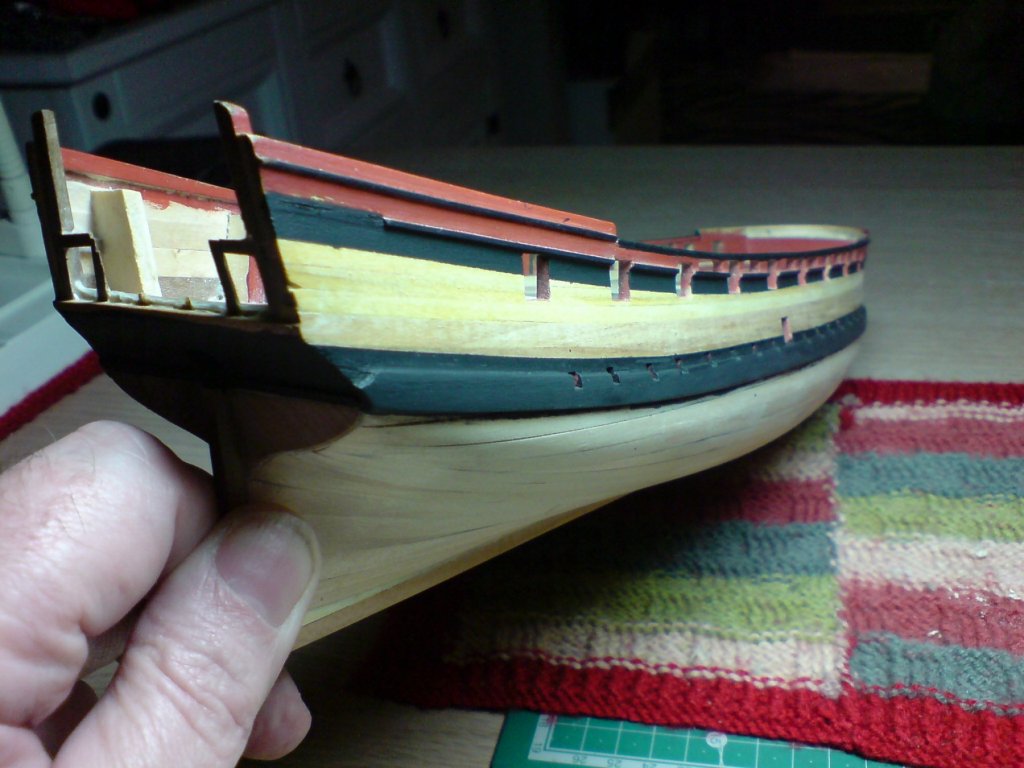
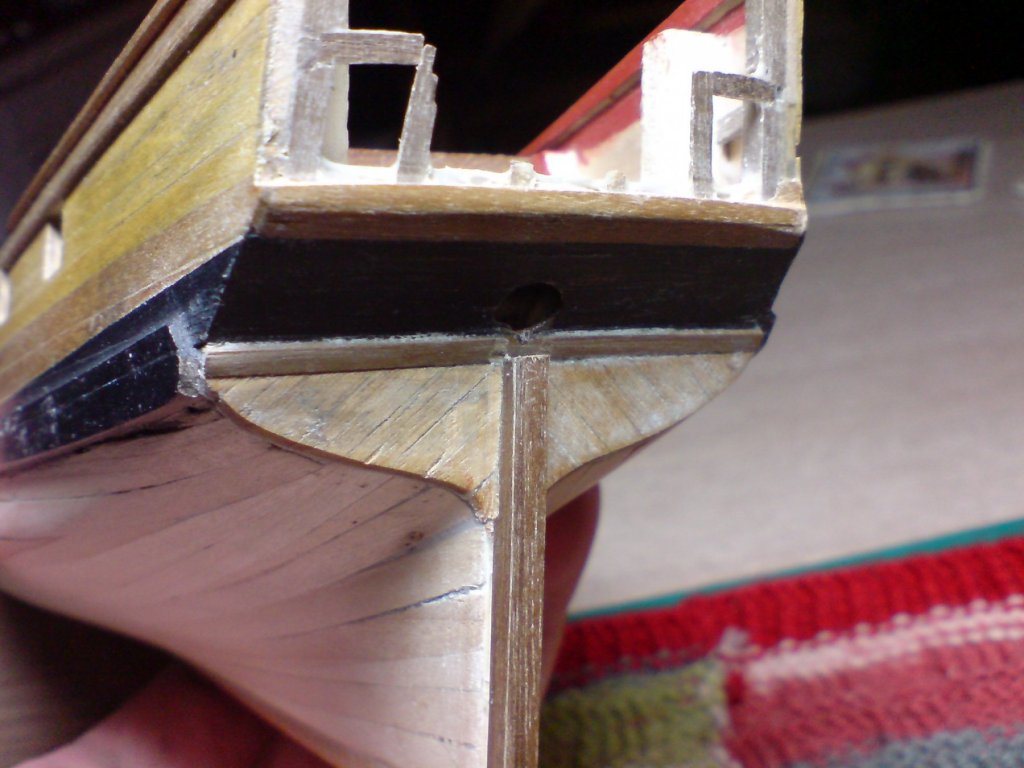
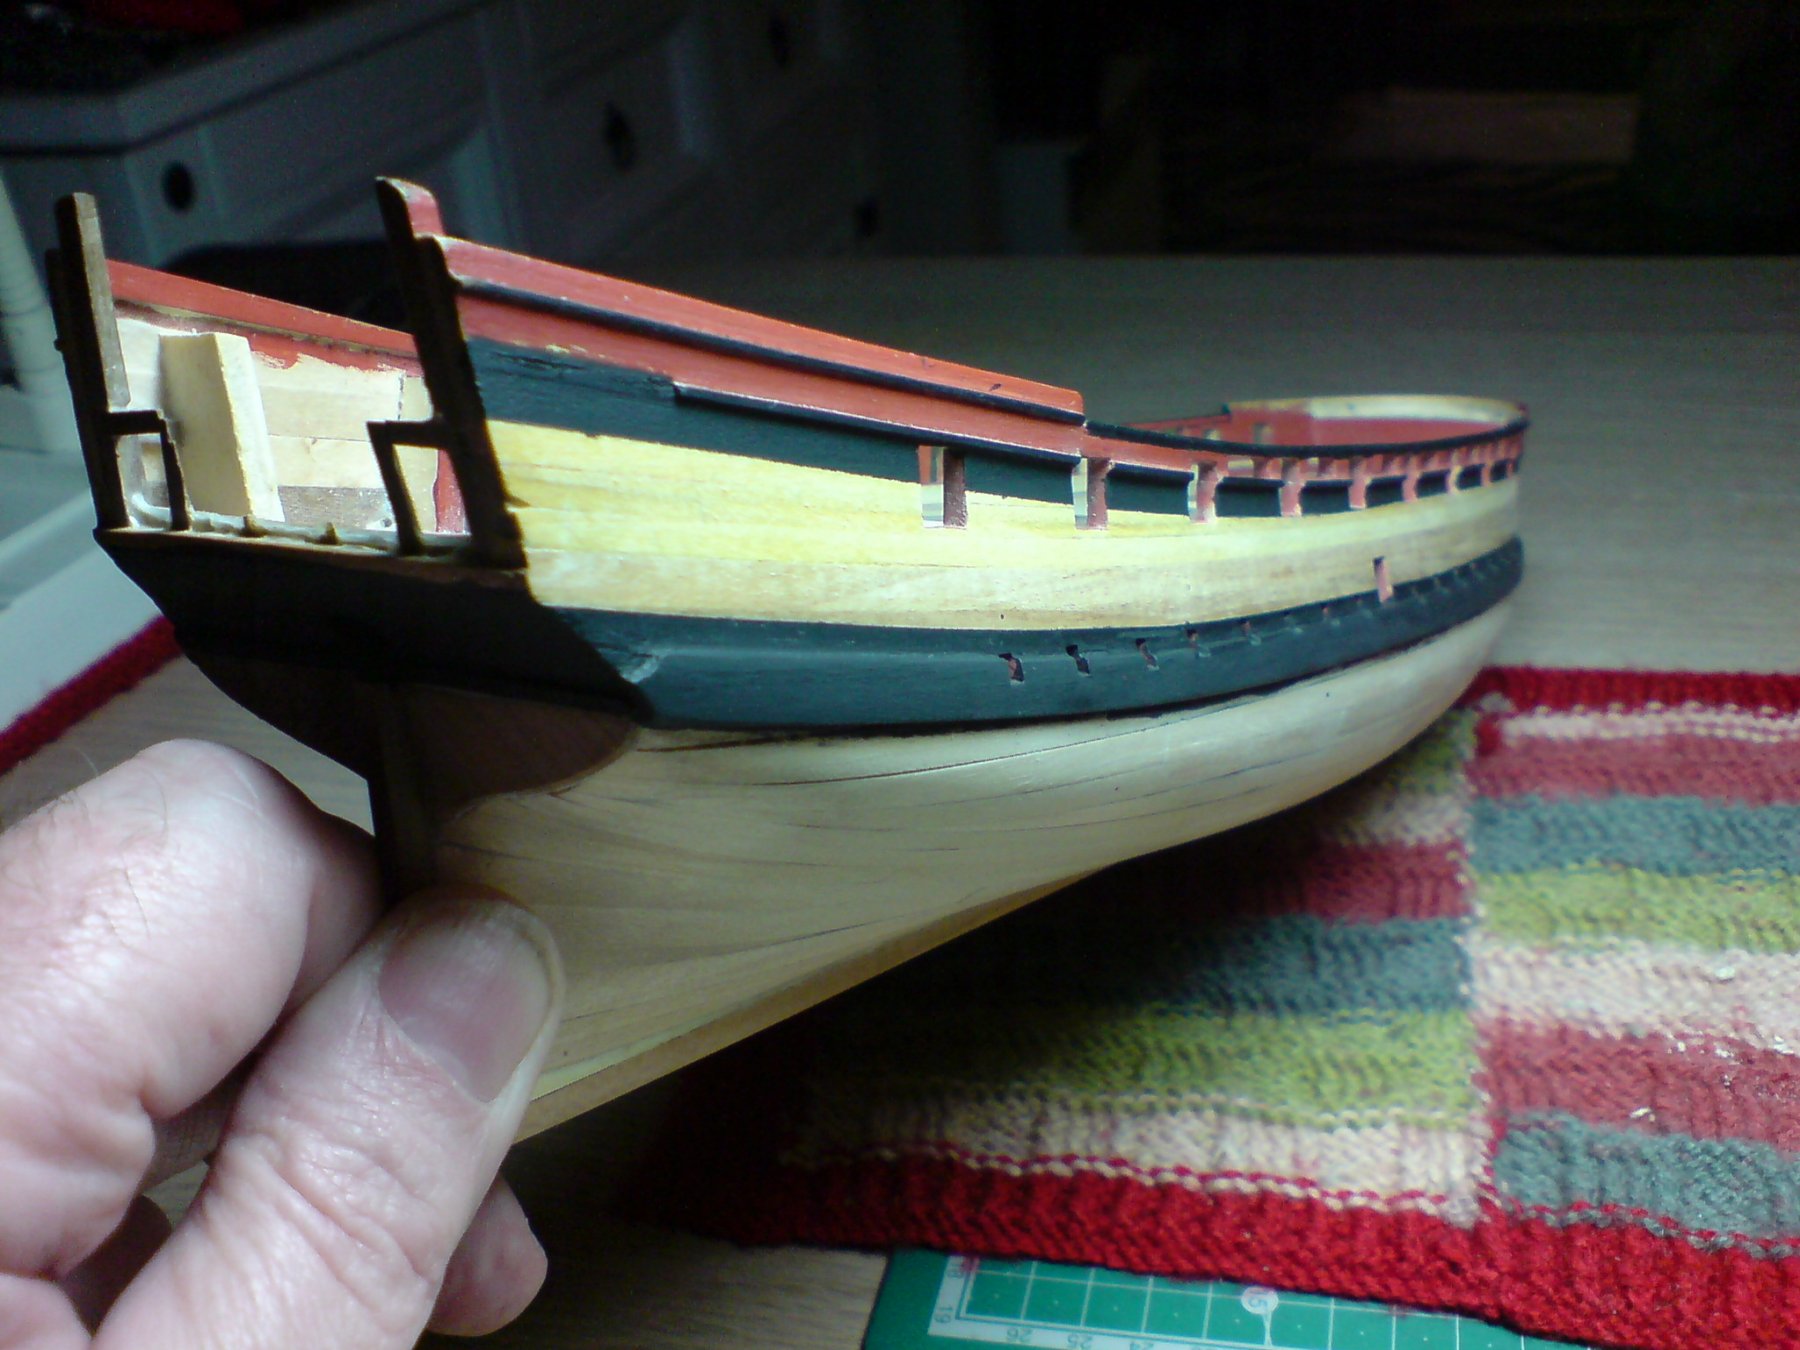
Good day folks, today I spent the time working on the lower transom relief area and the keel post, first off I had to sand the new planking area flush with the hull planking, then I fashioned a thein narrow plank and palced it between the relief planking and the lower transom. I then turned my attention to boring the opening for the tiller arm, this was a careful job as the lower transom planks were very thin and wanted to snap, I added a small amout of ca glue to strengthen the edge of the opening, then carried on sanding out the hole. After this was done I made up some planking strips to box in and tidy up the keel post, afterwards I sanded it smooth and square. Here are a couple of pics. OC.

- 455 replies
-
- 8
-
-
- slightly modified
- greyhound
- (and 1 more)
-
So work for tomorrow - sand the lower transom relief flush with the lower hull planking, then fashion a thin/narrow strip to cover the edge were the relief planking meets the lower transom, then study and cut out for the rudder tiller. Oh - also I will make some plank strips to fit in the rudder post section, this will give the second planking a nice edge to but up to. Many thanks to all the replies and likes folks - it sure does inspire one. OC.
- 455 replies
-
- 3
-
-
- slightly modified
- greyhound
- (and 1 more)
-
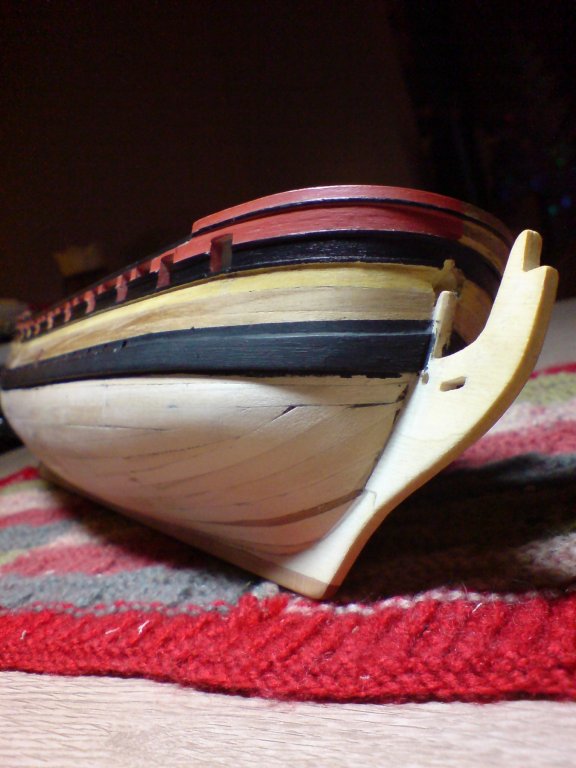
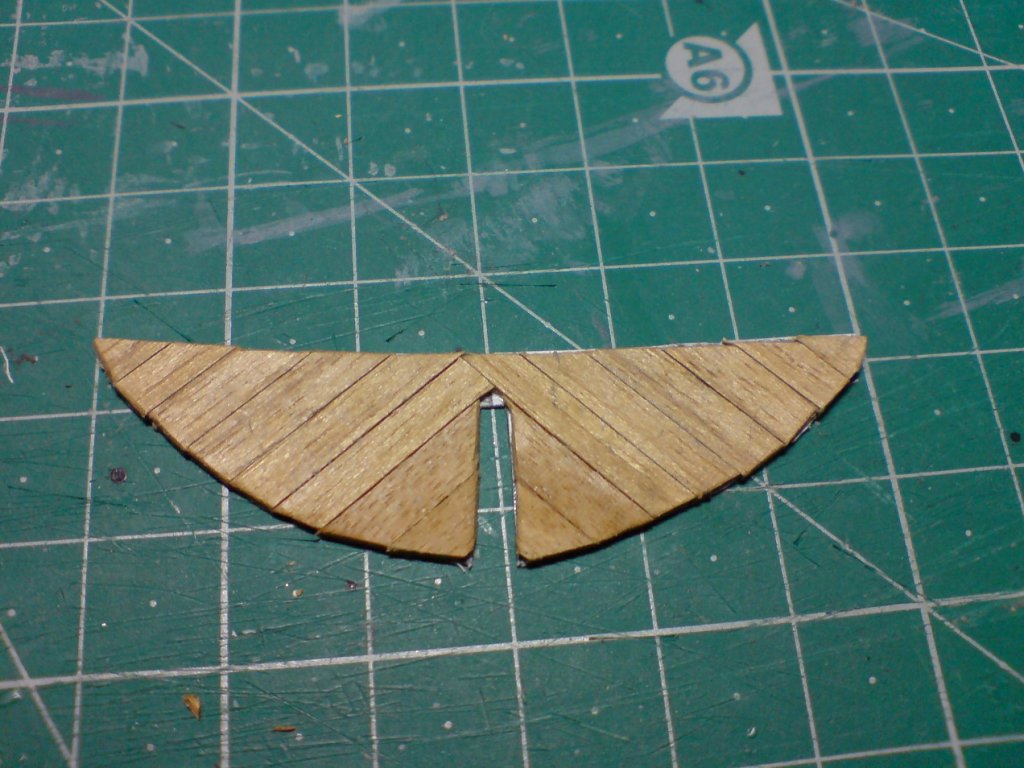
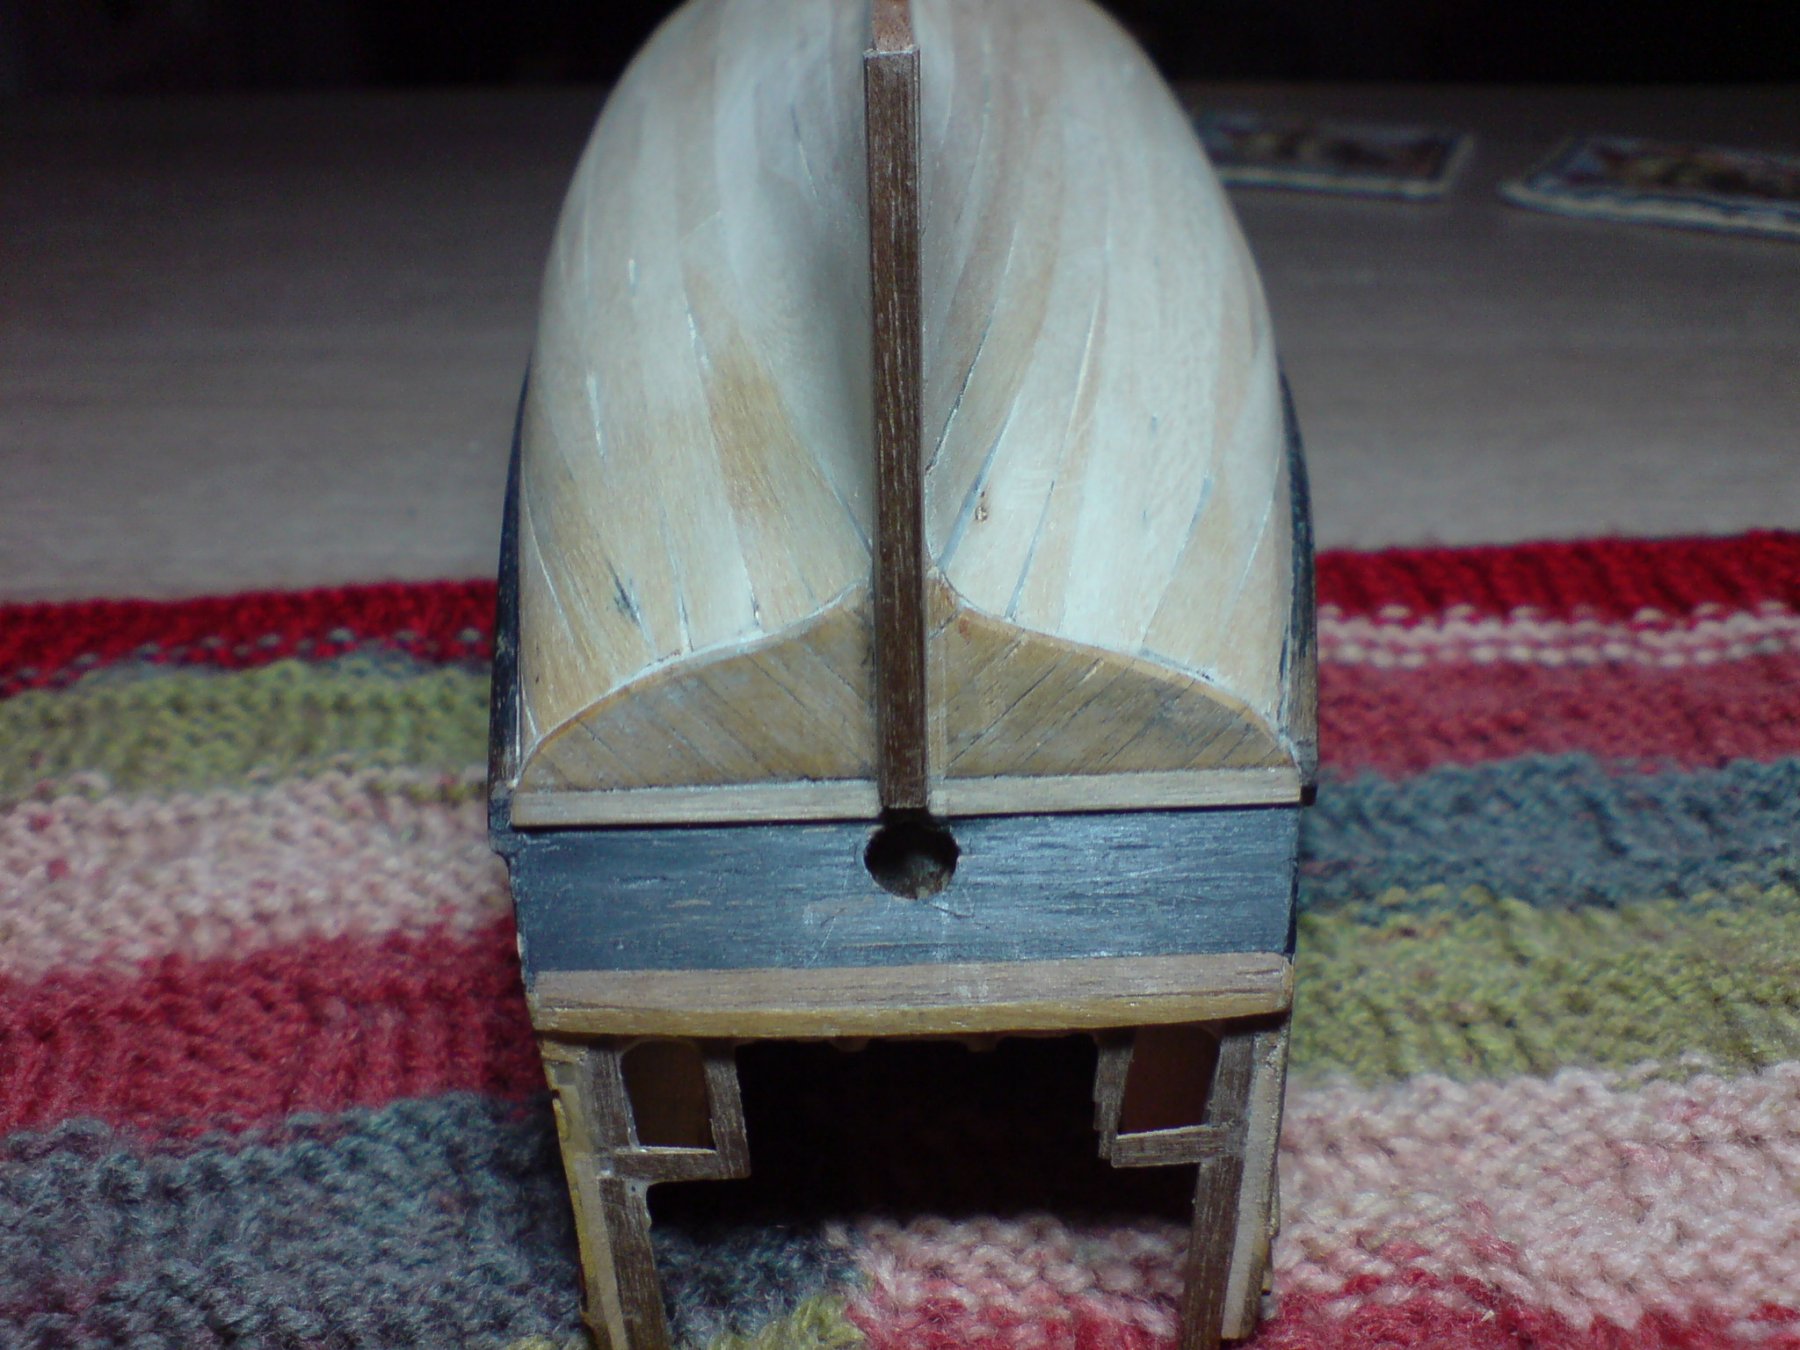
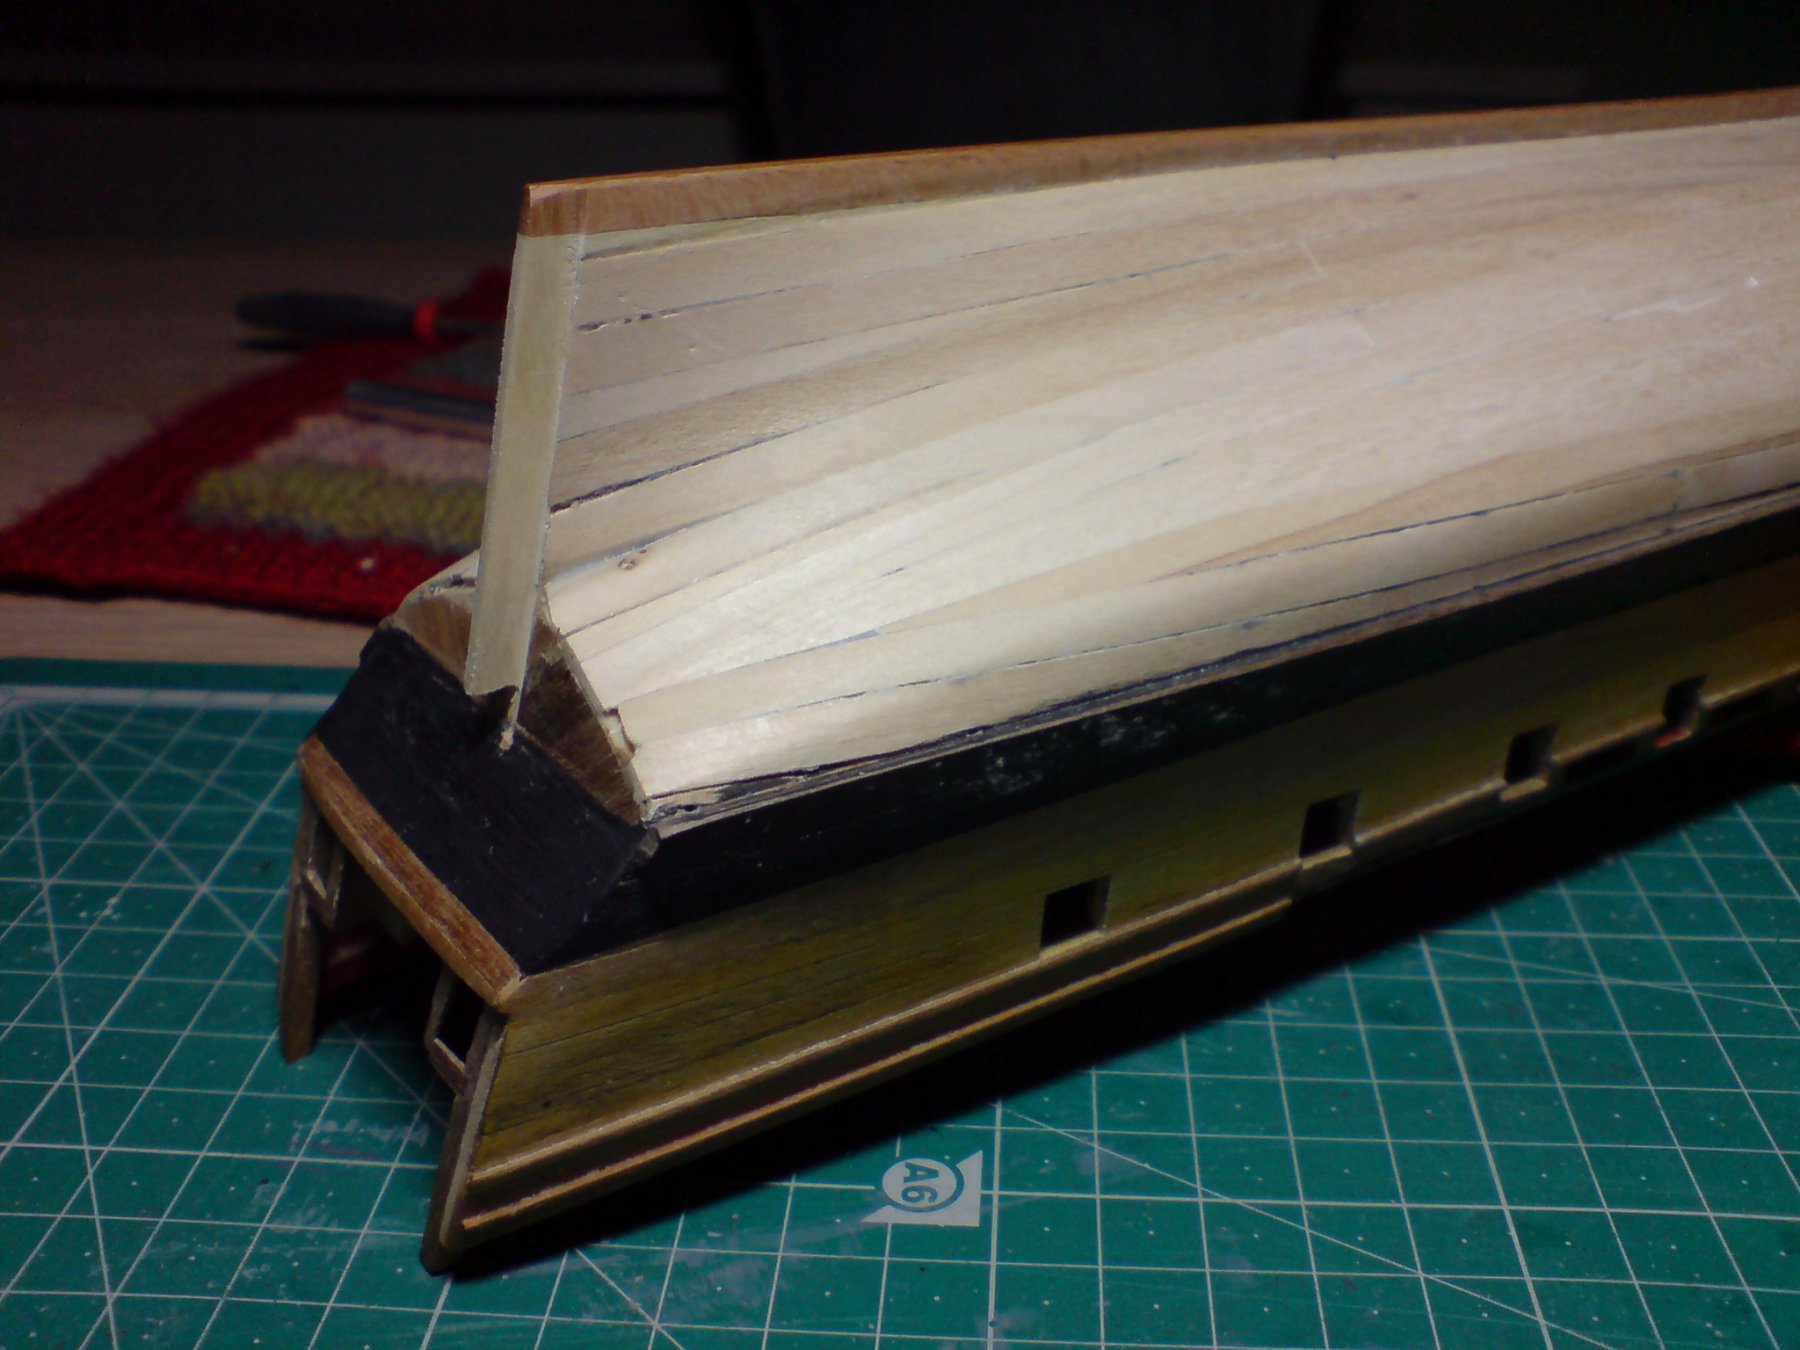
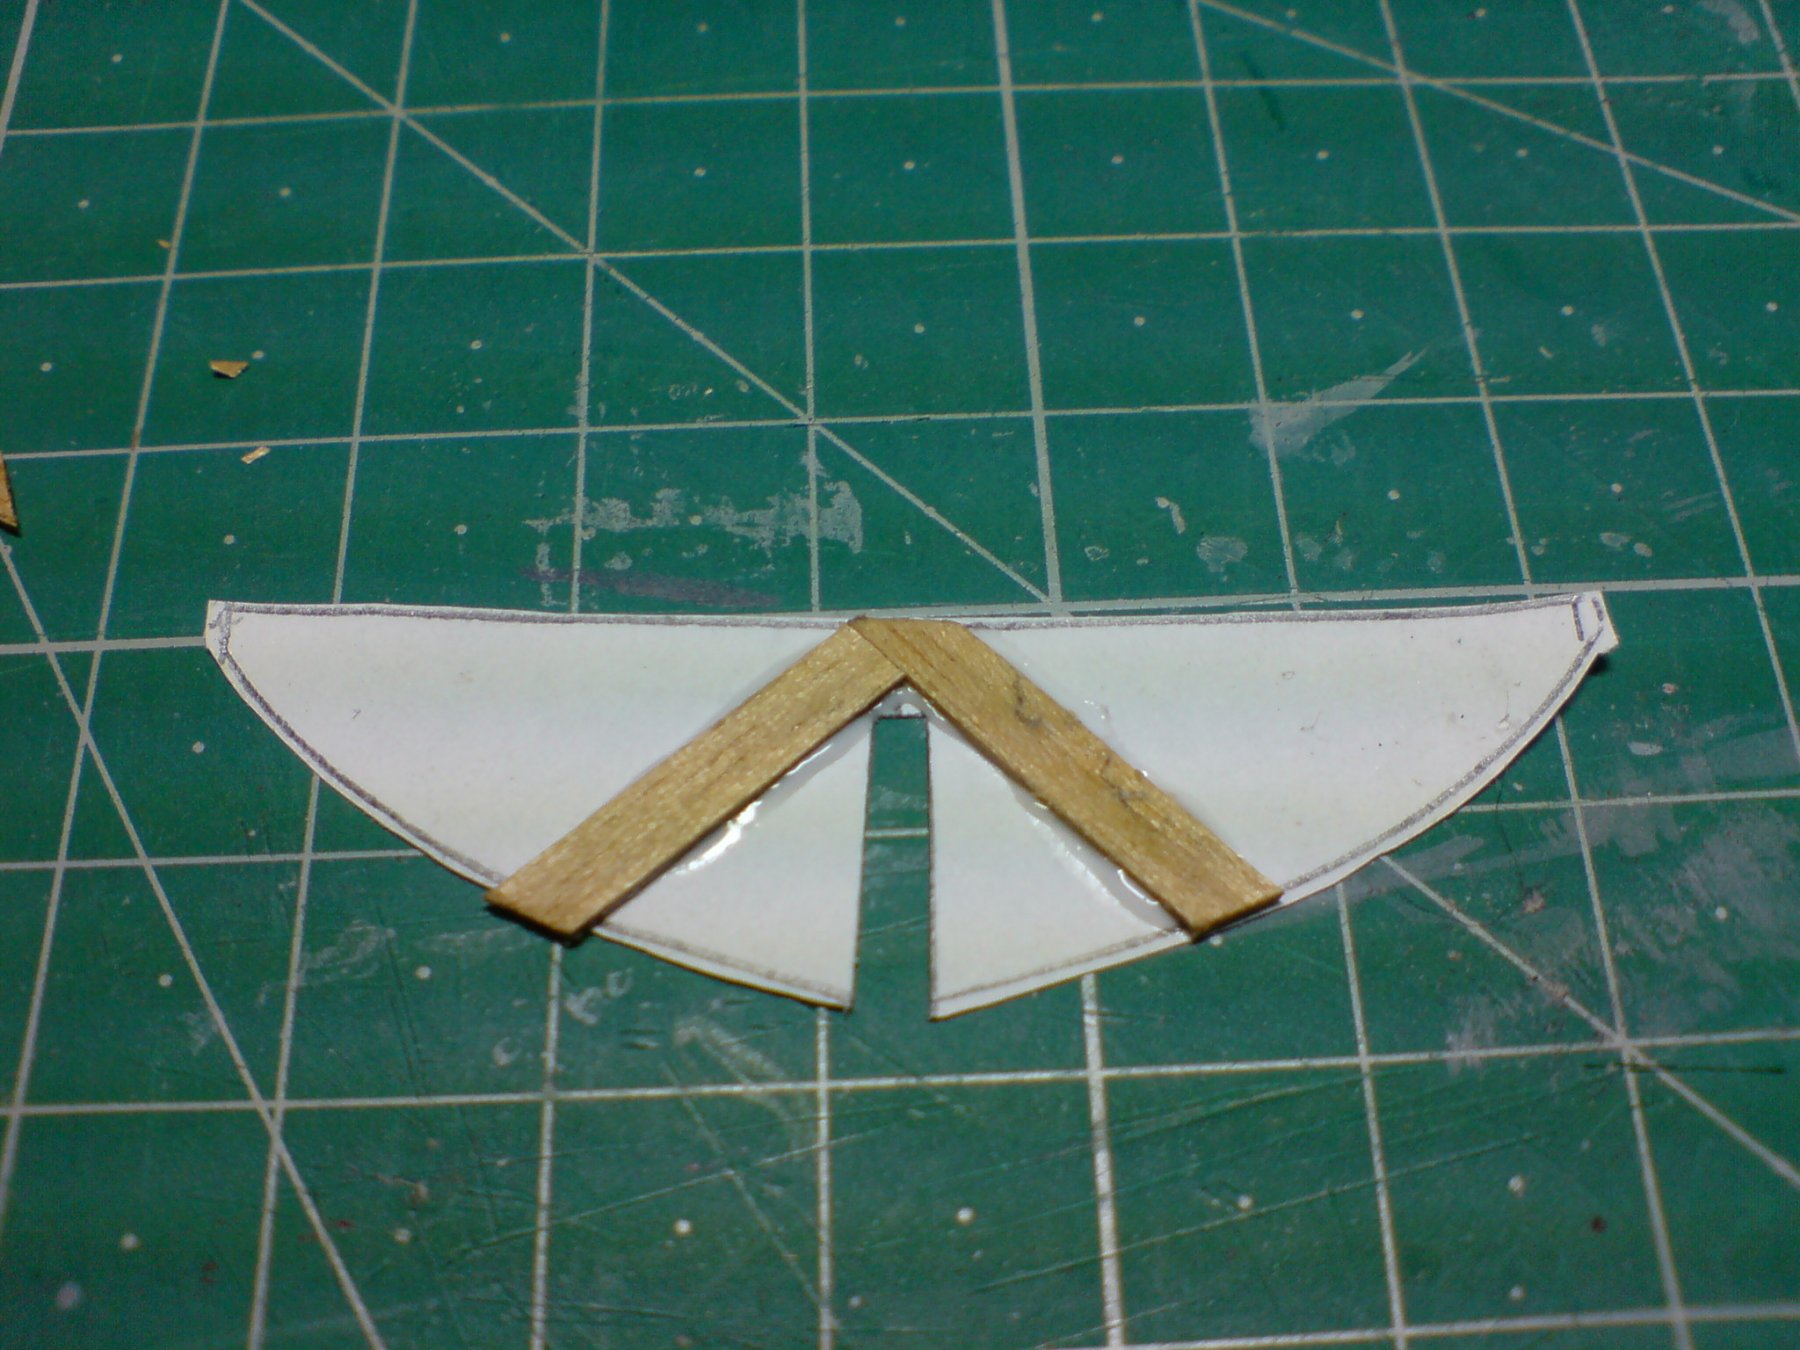
Right folks I managed to get outside (in the rain) and sand the hull - I was quite pleased at the result for my first wood build to this stage, also considering its only first planking stage, and I dont think it will need any filler. I also decided to re build the lower transom relief - first I made a paper template, then I used some old stock wood and layed them in diagnal strips, glueing them before cutting them flush at the bottoms. I then glued it in place and left to dry, it will need sanding flush with the hull though. Here are a few pics. OC.


- 455 replies
-
- 9
-
-
- slightly modified
- greyhound
- (and 1 more)
-
Very true - this hit what I was only thinking myself about my build and builds - how each step is a clearer step with more ability. OC.
-
Thanks carl, Im getting one of those heated plank benders for xmas (you know the one - contains a wooden shaped block, and a heated device like a soldering iron) it should come in real handy for the second planking where I will Try to be more precise. OC.
- 455 replies
-
- 2
-
-
- slightly modified
- greyhound
- (and 1 more)
-
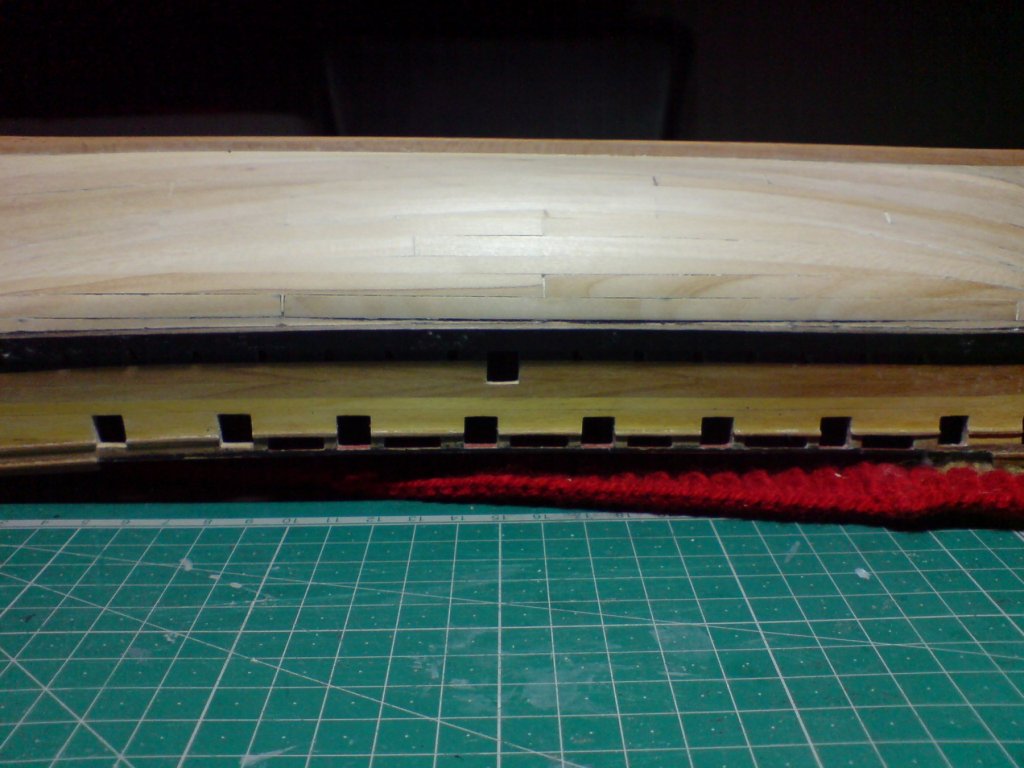
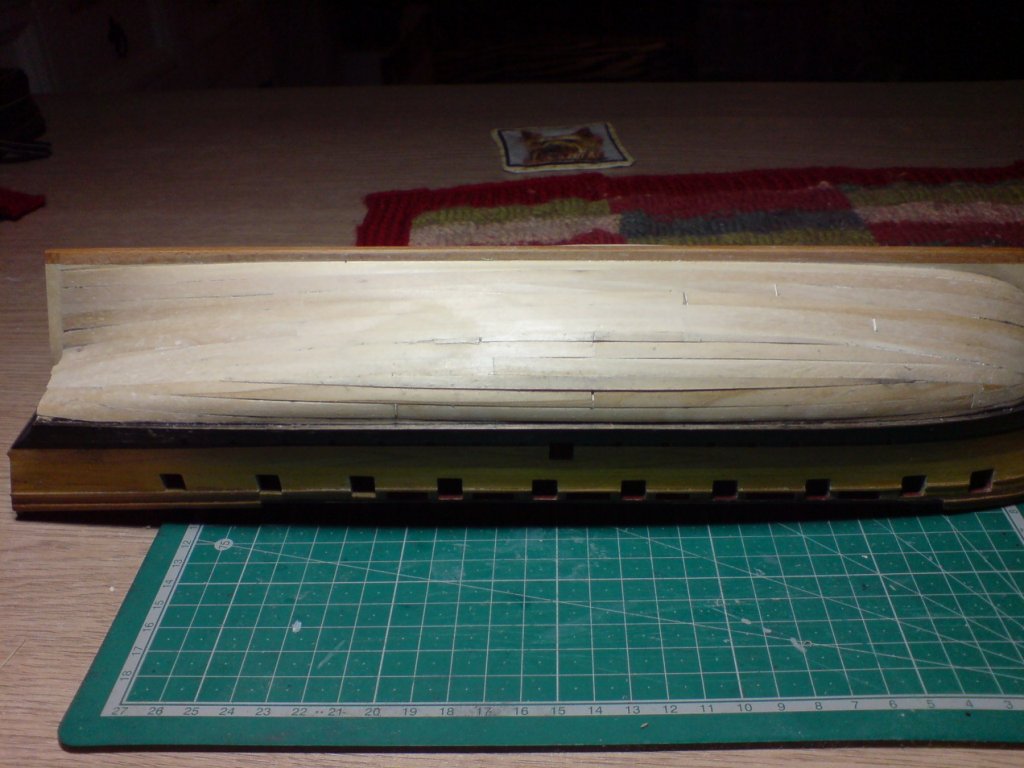
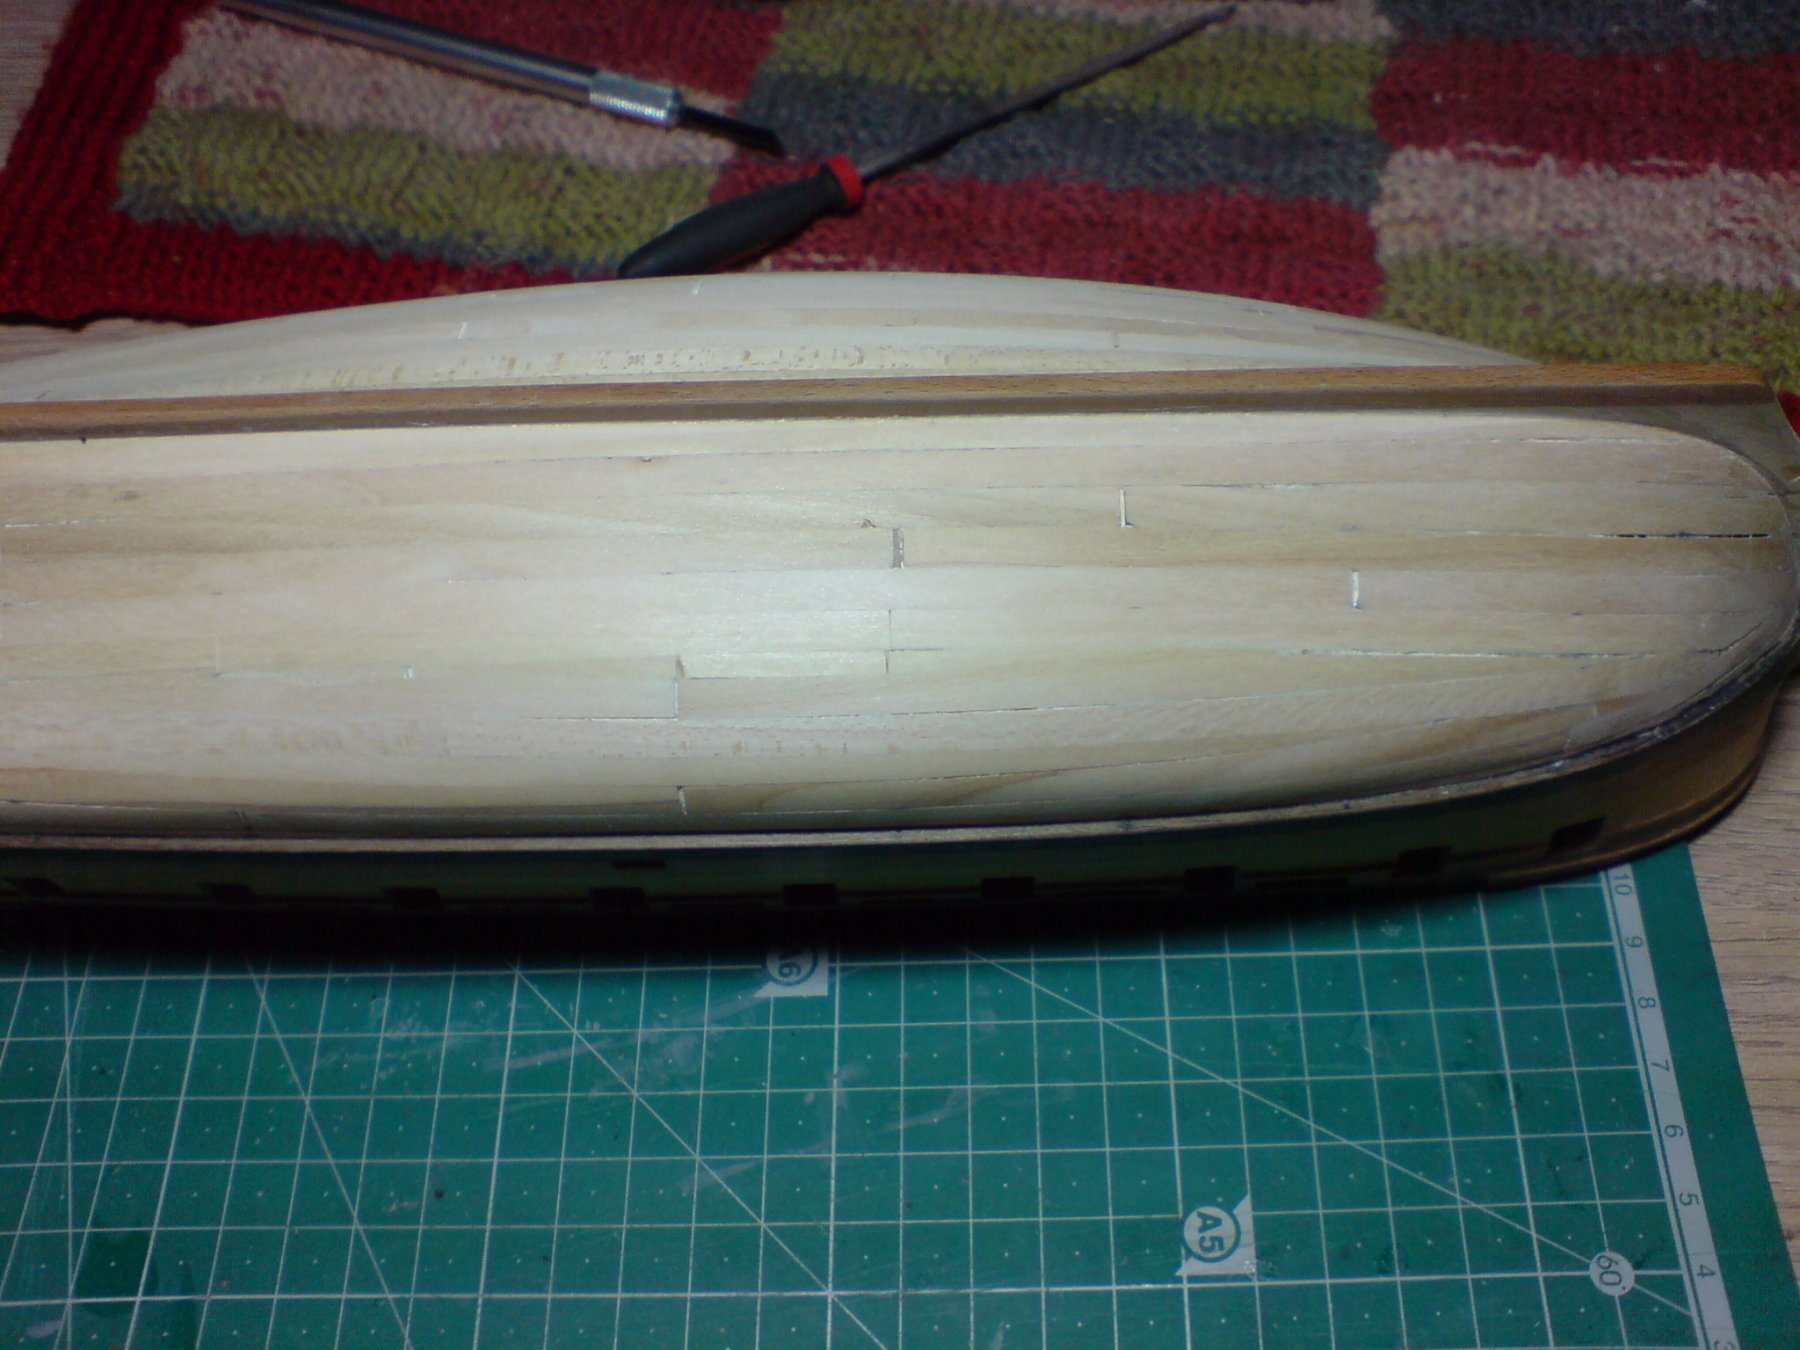
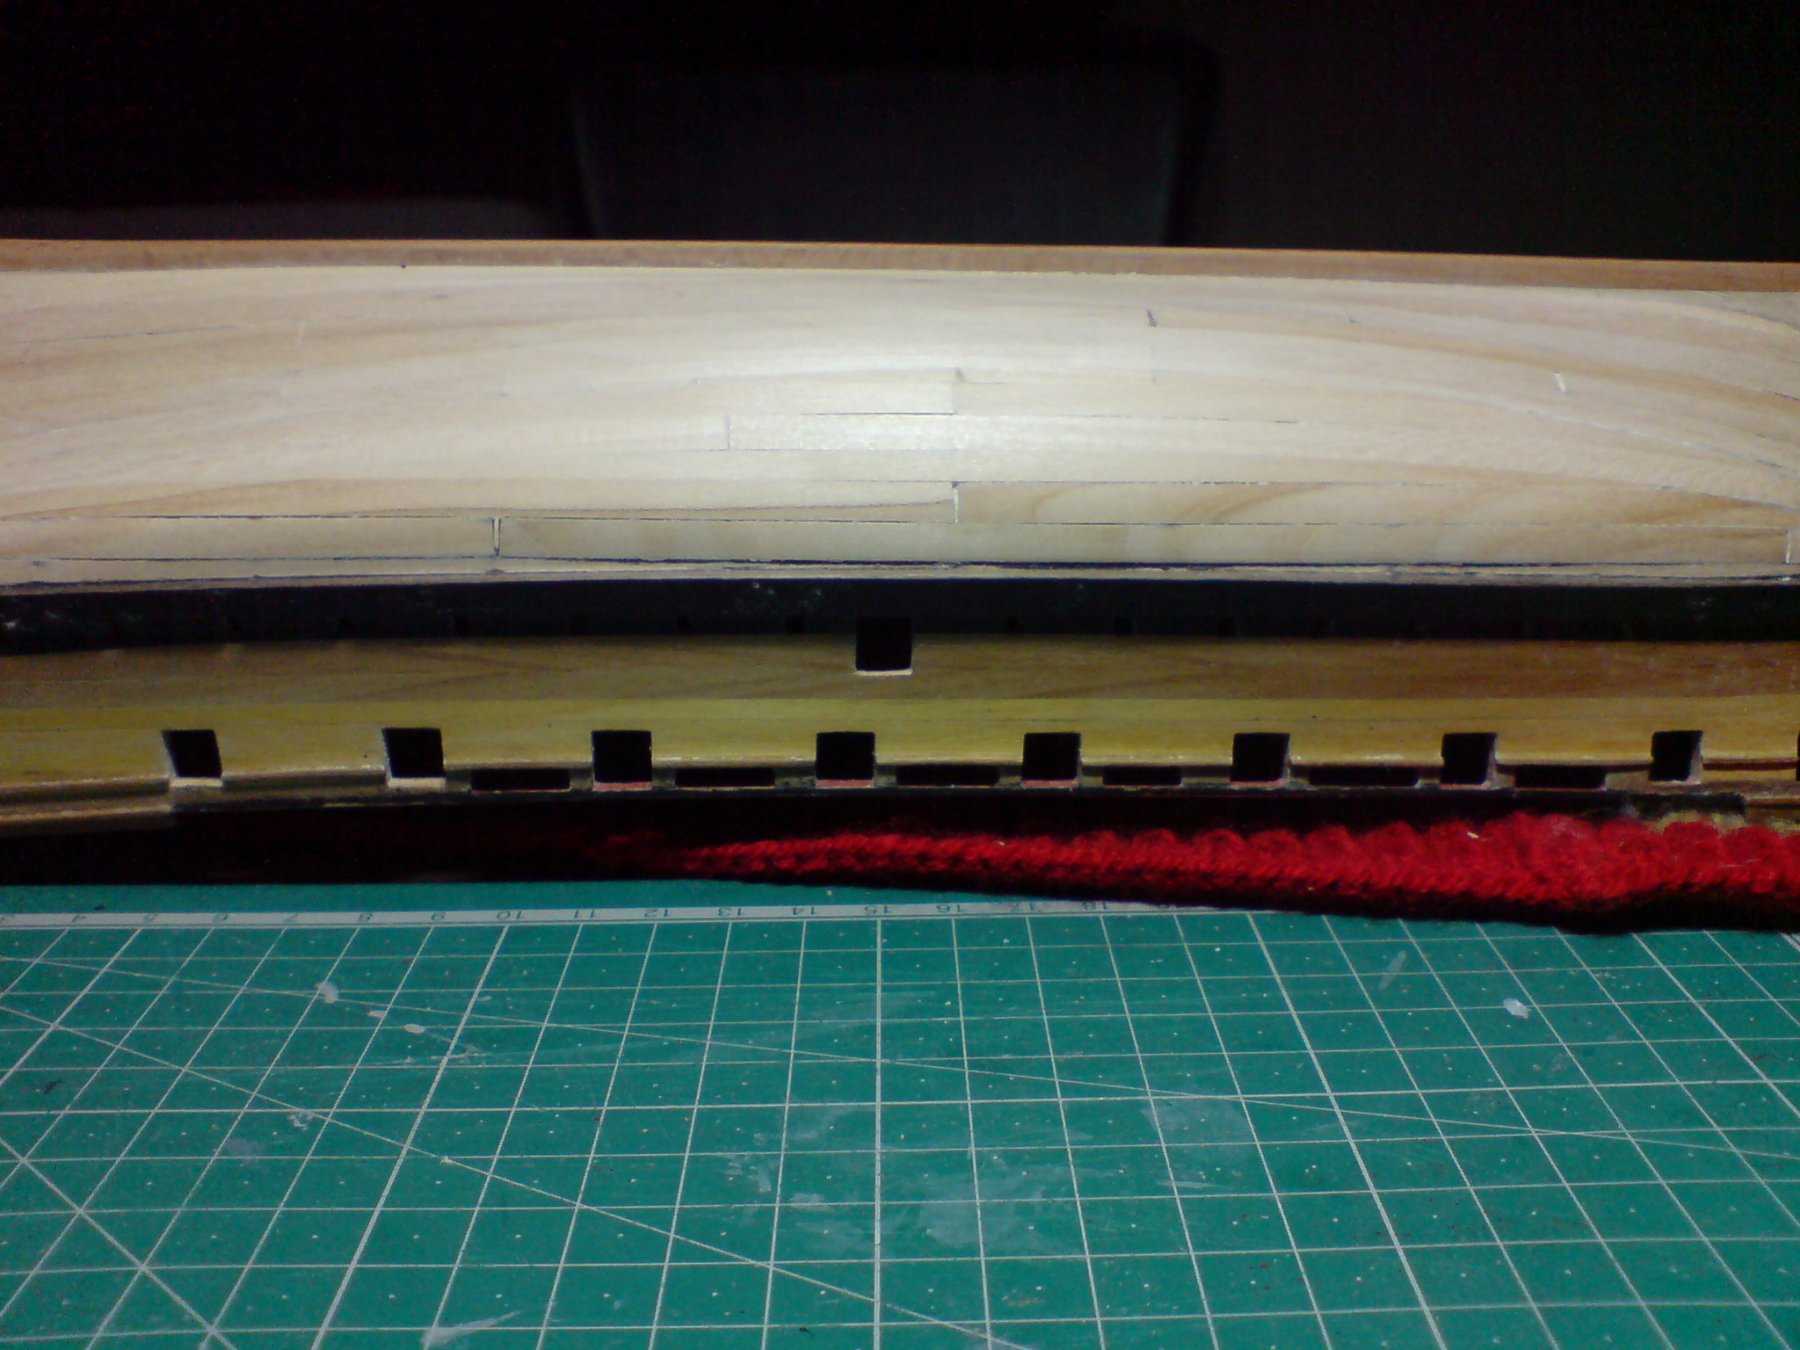
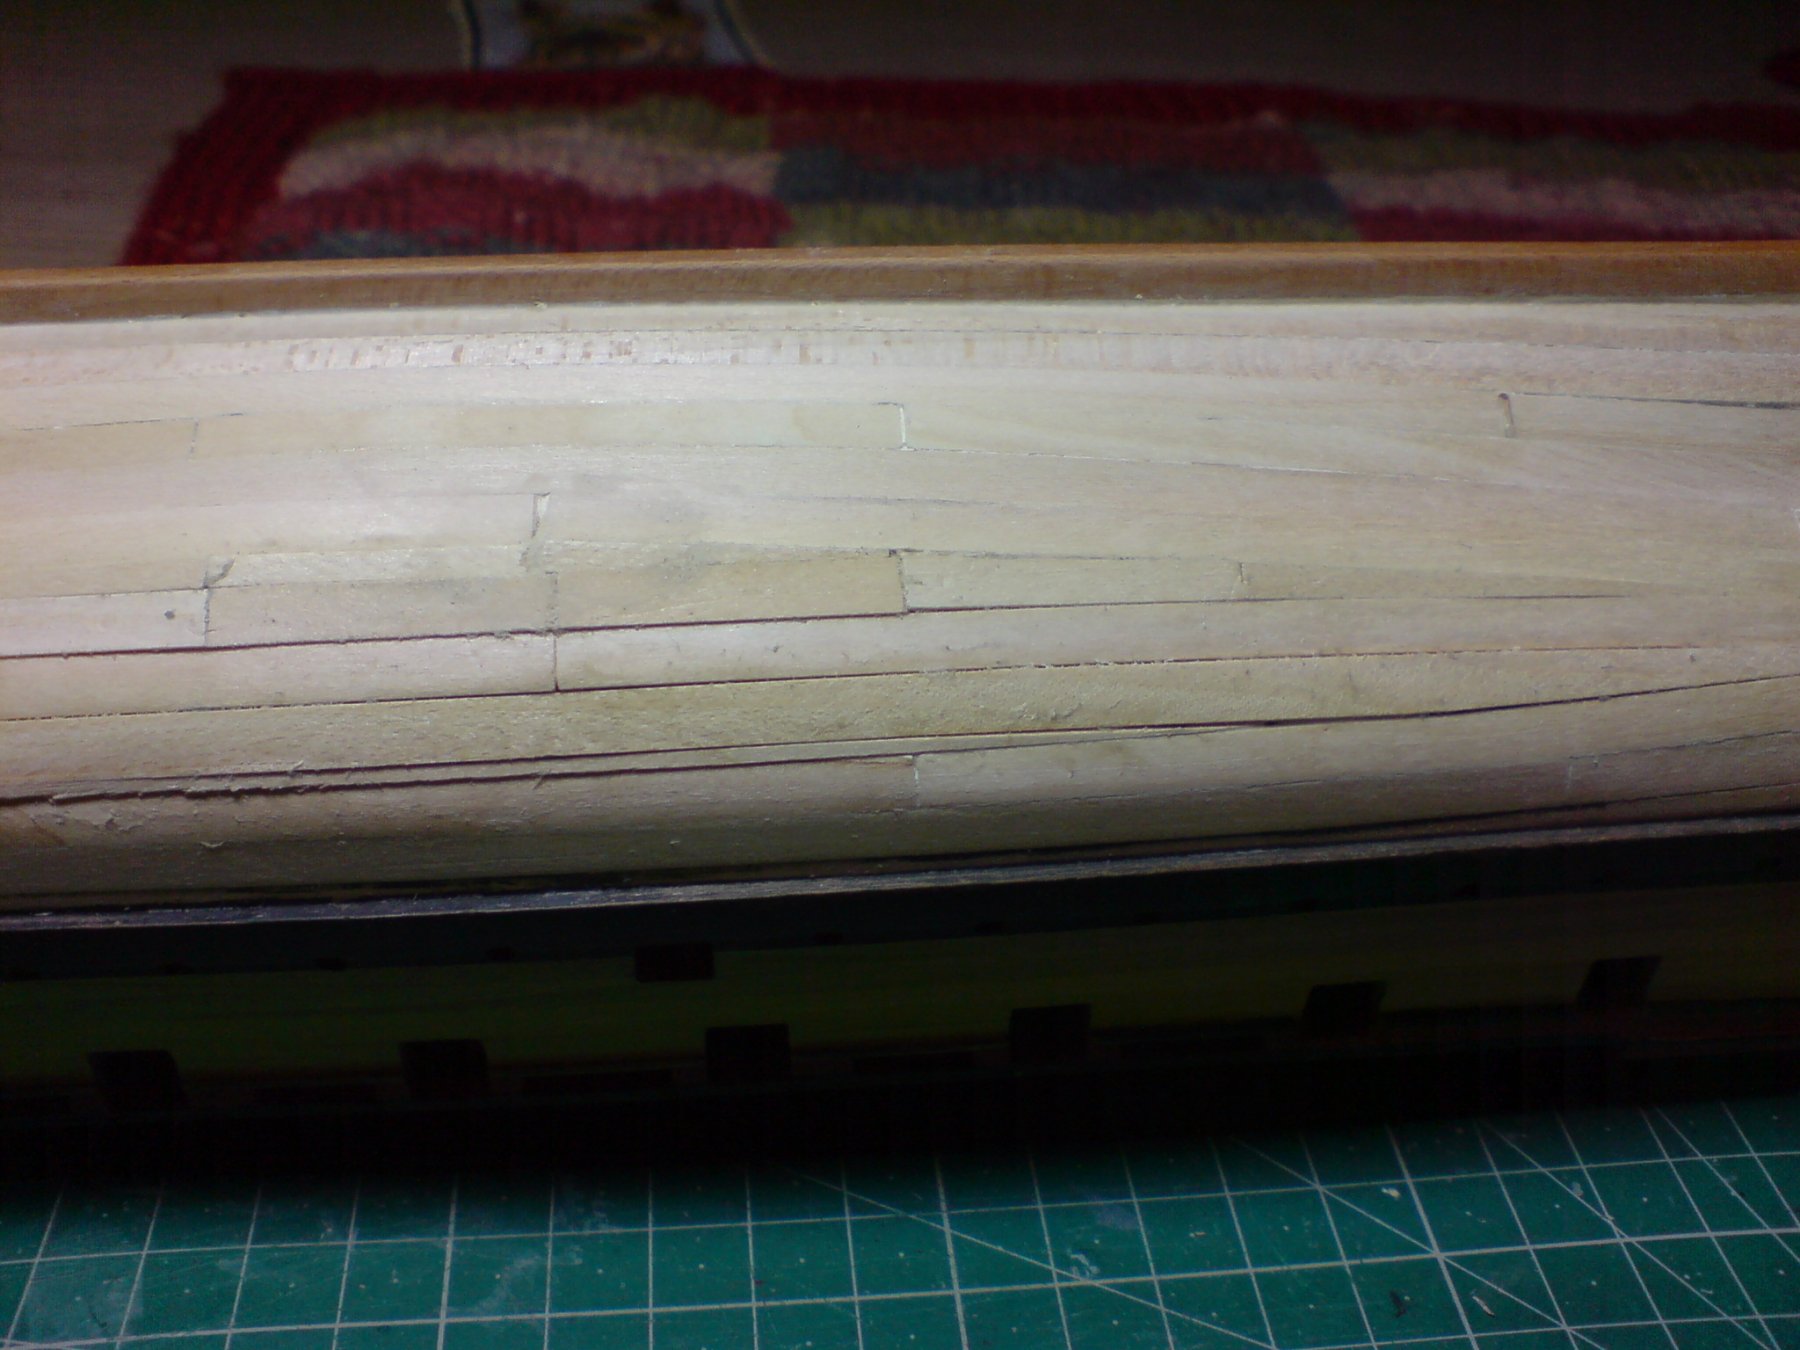
After a good nights rest on my hand I decided to have another bash on my hull, there was only a few slithers to drop in so it took a little bit of measuring then cutting - sanding and they were glued in place. So the hull is now first planked and just needs a little sanding prior to second planking. The rear section below the transom is not as rough and uneven as it appears, I will be re-planking over the rear section to bring it all even. Here are a few pics. OC.
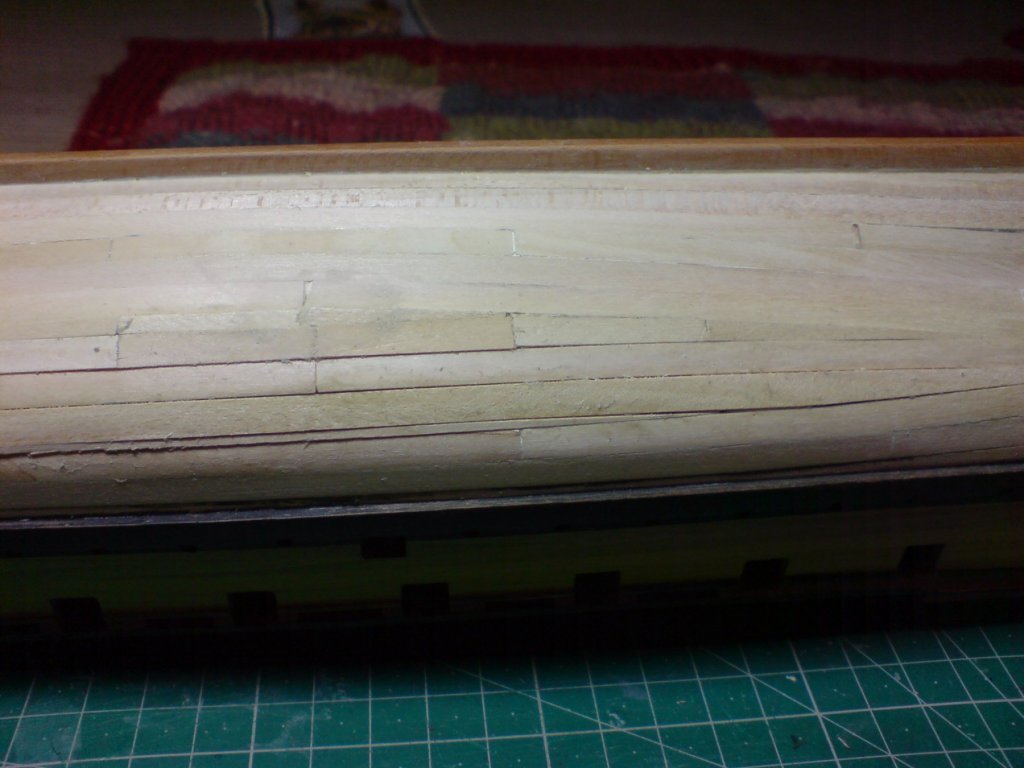
.thumb.JPG.bf2bcede3fcb130122881216ecfa8b6b.JPG)
- 455 replies
-
- 12
-
-
- slightly modified
- greyhound
- (and 1 more)
-
I think its the size of the PE parts at smaller scales, that causes the problem having to handle it, using wood seems less of an issue apart from yesterday. OC.
- 455 replies
-
- 3
-
-
- slightly modified
- greyhound
- (and 1 more)
-
Evening folks, I managed to put another couple of planks on the lower hull today, not far to go now, but my hand condition flared up again Dupuytren's contracture A couple of my fingers locked up and I had to massage them back again, not so much painful just stopped me having some fun while I was on a roll with my planking. There is always monyana. OC.
- 455 replies
-
- 2
-
-
- slightly modified
- greyhound
- (and 1 more)


.JPG.2f8510dd7c7ac48743428a0d64e264a7.JPG)