HOLIDAY DONATION DRIVE - SUPPORT MSW - DO YOUR PART TO KEEP THIS GREAT FORUM GOING! (Only 24 donations so far out of 49,000 members - C'mon guys!)
×


Old Collingwood
-
Posts
12,098 -
Joined
-
Last visited
Content Type
Profiles
Forums
Gallery
Events
Everything posted by Old Collingwood
-
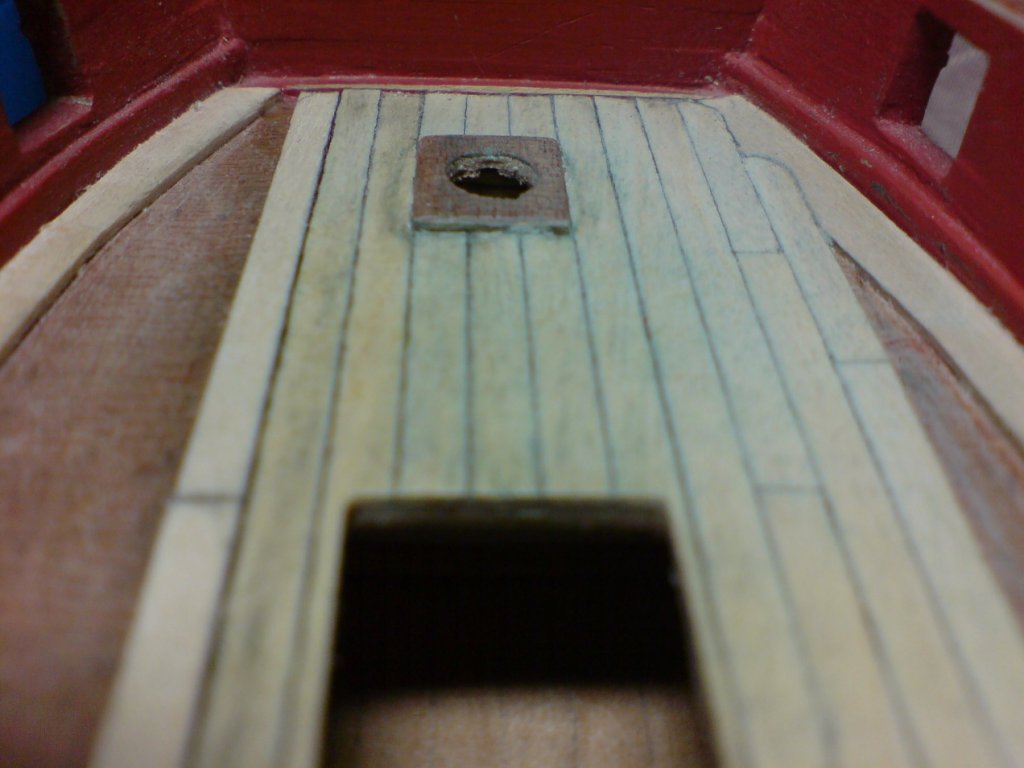
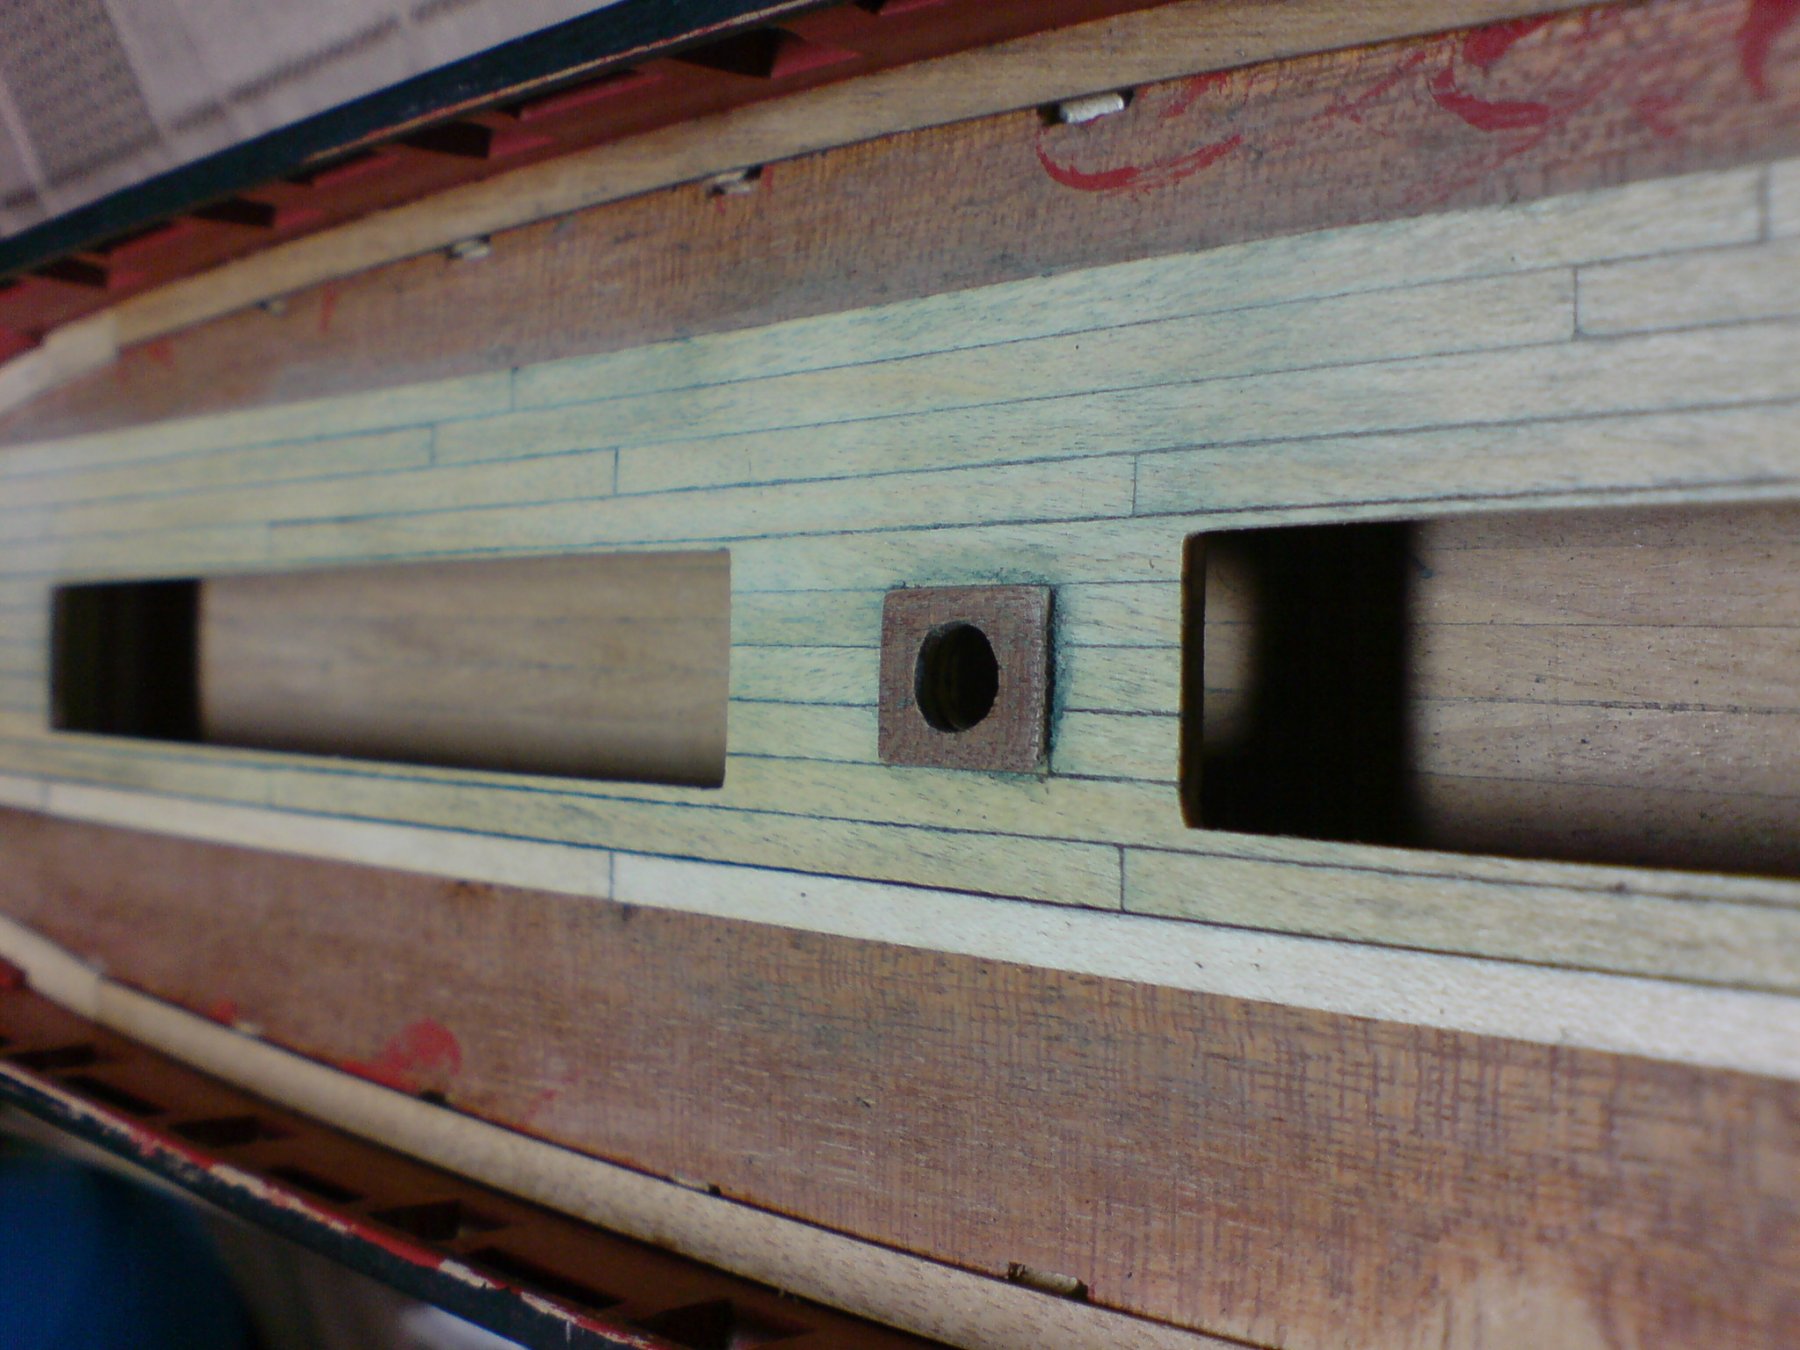
 Right folks a bit more work on the deck today, above I asked about filling any gaps between the deck boards, well I tried the idea of diluted PVA and wood dust, first I sanded down a couple of scrap deck strips onto rough sand paper, and collected the dust in a cup, then I mixed some PVA with a little water to make a milk thikness, then I used a small paintbrush and brushed into the gaps (one at a time) the pva then with the same brush I dipped it into the dust and rubbed it into the gaps. I did this into each gap then re applied to make sure the gaps were filled, I then put the hull aside to dry till tomorrow. Next will be to sand the deck again and check that the gaps have filled. OC.
- 455 replies
-
- 3
-

-
- slightly modified
- greyhound
- (and 1 more)
-
I should have commented way back then mark - but yes its my pleasure having you follow my work back then and still now. OC.
- 455 replies
-
- 2
-
-
- slightly modified
- greyhound
- (and 1 more)
-
What I found/find useful for sanding is those decorators sanding sponges (basically sand paper wrapped around a square sponge) they are great as they are flexible and bend with the hull shape, so you can get a nice smooth finish. OC.
- 91 replies
-
- 6
-
-
- kolderstok
- duyfken
- (and 1 more)
-
Thank you so much for the compliment and having a look over my build, its been a while since we last spoke, any ideas how I can fill a few of the gaps yet still retain the caulking look. OC.
- 455 replies
-
- 3
-
-
- slightly modified
- greyhound
- (and 1 more)
-
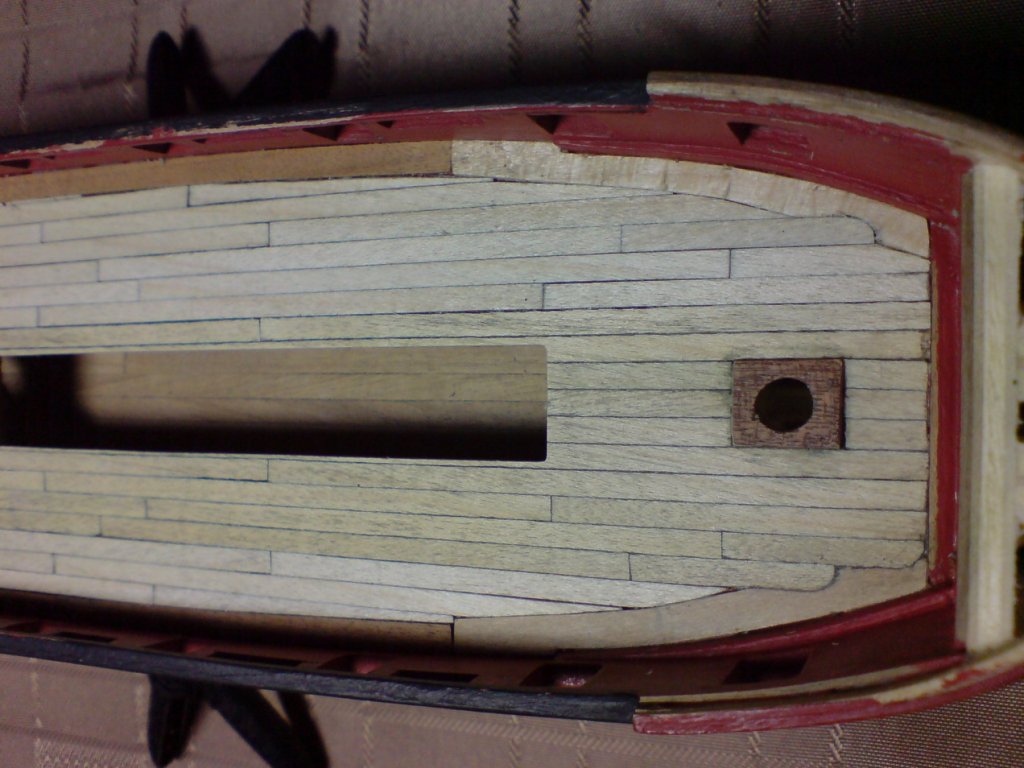
Hi folks, I had a good day on the build today - spent most of the afternoon continuing with the deck planking, this involved some quite intricate cuts and shaping, I think it has gone quite well just a few small gaps that should fill when I do some sanding to bring it all nice and level. OC.

- 455 replies
-
- 7
-
-
- slightly modified
- greyhound
- (and 1 more)
-
Excellent work don really tidy and so comprehensive. OC.
- 653 replies
-
- 5
-
-
- trabakul
- marisstella
- (and 1 more)
-
Excellent Excellent work greg I take my hat off to you they look Absolutely Superb. Well done. OC.
-
Looking great all that detail still cant believe its card (serious scratching head moment) OC.
-
Nice and tidy very claen work, what I did to support the skeleton was a length of 2/1" timber and made some blocks to support the false keel. OC.
- 91 replies
-
- 4
-
-
- kolderstok
- duyfken
- (and 1 more)
-
Thanks mate, I thought working on wood planks would be easier than PE parts at silly scale, kind of theraputeic and give my hands a bit of a rest, while still doing something. OC.
- 455 replies
-
- 2
-
-
- slightly modified
- greyhound
- (and 1 more)
-
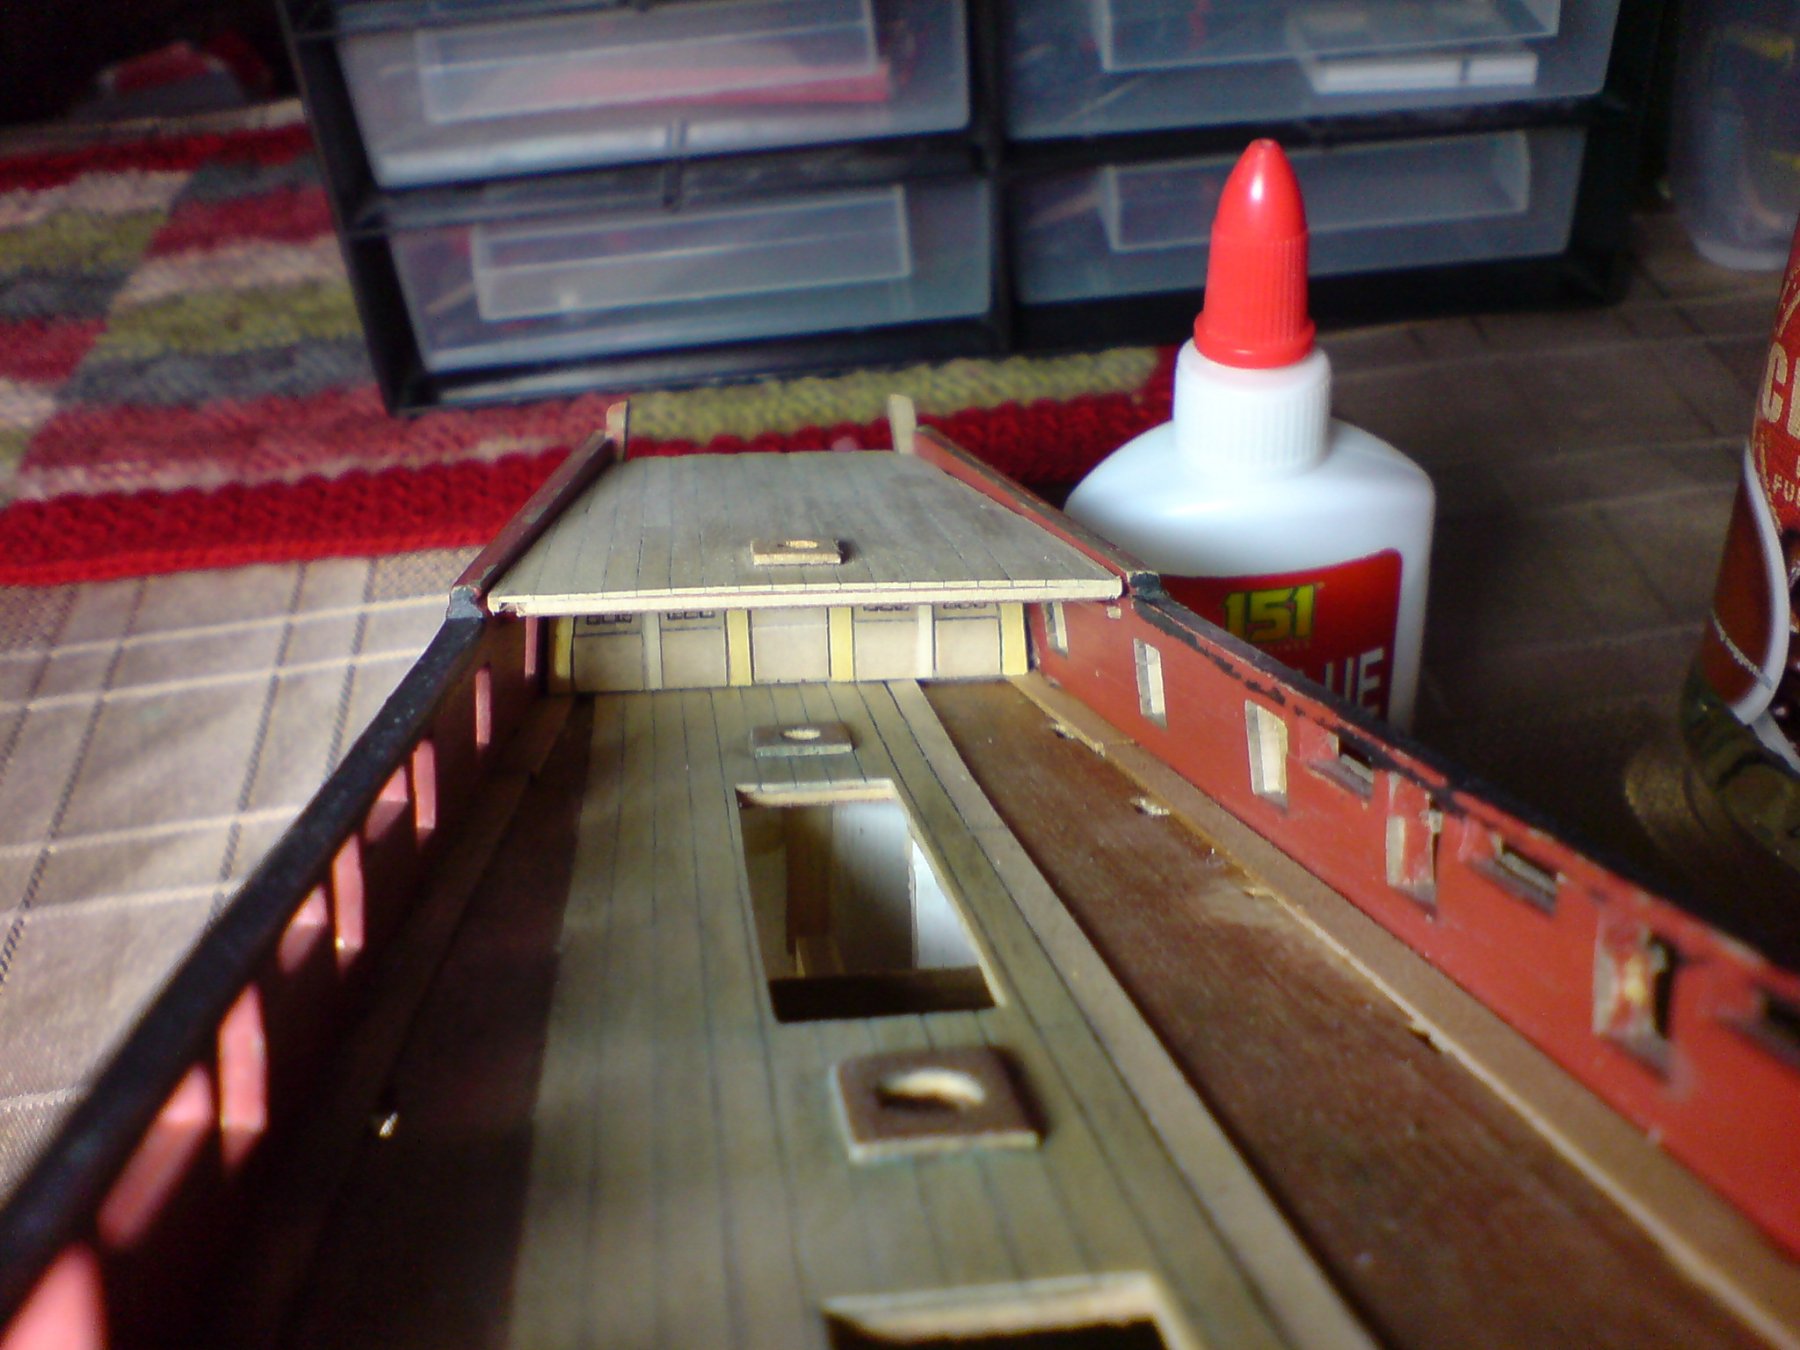
Hello again folks I decided to give my Warsite a little rest and do some more work on my wood build, first off I had to dust her down as I have not done anything to her for many years, all was still intact so I got my bits together and decided to continue with the deck planking. I first finished off the edge planks that are a slightly darker shade than what I was using before, but that wont matter to much, after a bit of measuring they were fitted both sides and held in place while the PA set. I also decided to carry on with the planking. So sofar I have done another length of planking and the edge planks. Well its a start and different medium from my warspite build. Here is a few pictures folks including one that shows the rear cabin bulkhead not fitted just dry fitted. OC.

.thumb.JPG.711e768a46c6533ccee09ed85bc6ba4a.JPG)

- 455 replies
-
- 6
-
-
- slightly modified
- greyhound
- (and 1 more)
-
Well done rescusing the decal situation "boy do I remember those annoying situations with decals" they just always seem to break up - fix where you dont want them or leave a silvering edge around them. She is coming on really well (dont foreget she is an old model not the same as modern kits) so you are deffo doing a grand job. OC.
- 133 replies
-
- 4
-
-
- jeanne d arc
- heller
- (and 2 more)
-
Looking great very tidy and those ribs sure look aligned, is it dry fitted or glued? OC.
- 91 replies
-
- 3
-
-
- kolderstok
- duyfken
- (and 1 more)
-
What a great idea tackling section by section including painting, its easier that way to get a quality job in a controled area at a time. OC.
-
Sand it off using a sanding stick thats been smoothed a bit to loose a bit of its grit, thats what I do. OC.
-
Looking Superb Danny really really good i think card is the ultimate in skill as it is so delicate, you are the master at this for sure. OC.
-
Wonder what that model in the museum archives is based on - is it a later version perhaps an update of SoS? OC.
- 192 replies
-
- 3
-
-
- sovereign of the seas
- sergal
- (and 1 more)
-
She is looking really good now all the hard work is paying off, and Wow how it makes a difference when you get some bits on here. OC.
- 133 replies
-
- 4
-
-
- jeanne d arc
- heller
- (and 2 more)
-
Hi john, we are creating quite a plastic army on here, its so good to find a home on here along with all the wood builds. OC.
- 133 replies
-
- 3
-
-
- jeanne d arc
- heller
- (and 2 more)
-
This will be a lovely thing to see develop into another masterpiece. OC.
- 91 replies
-
- 2
-
-
- kolderstok
- duyfken
- (and 1 more)
-
Hi there lovely build really tidy, I came across some pictures on the Royal Museums site at Greenwich have a look - http://collections.rmg.co.uk/collections/objects/66317.html OC.
- 192 replies
-
- 3
-
-
- sovereign of the seas
- sergal
- (and 1 more)
-
Hi folks I have probably shown this before - but this is the stage I am building her from - 1944 D Day off the French coast. OC.

-
Utterly Superb - what a fantastic job you have done. OC.
- 473 replies
-
- 4
-
-
- greek bireme
- dusek
- (and 1 more)
-
Very tidy work and thats a good fix of the problem you encounted, we all have these little spanners thrown at our works, that push us to find inspiration. I can ralate to your prop shaft rudder situation, I managed to break of one of the rudders and broke off one of the spinner blades(mine was a war related issue from a mine) OC.
- 133 replies
-
- 4
-
-
- jeanne d arc
- heller
- (and 2 more)


.JPG.605ac9886b333bc70ac5224da47bee80.JPG)