Alex M
-
Posts
360 -
Joined
-
Last visited
Content Type
Profiles
Forums
Gallery
Events
Everything posted by Alex M
-
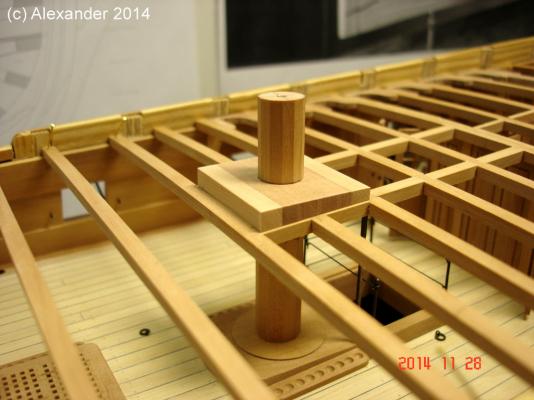
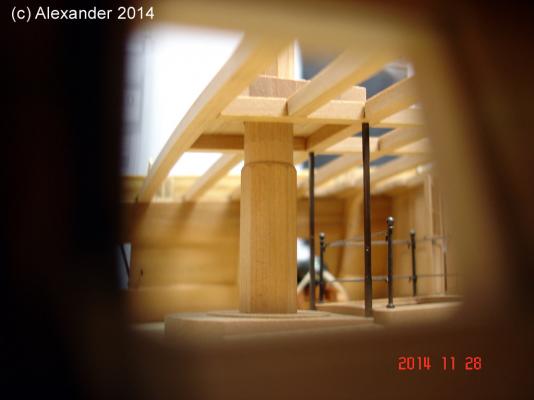
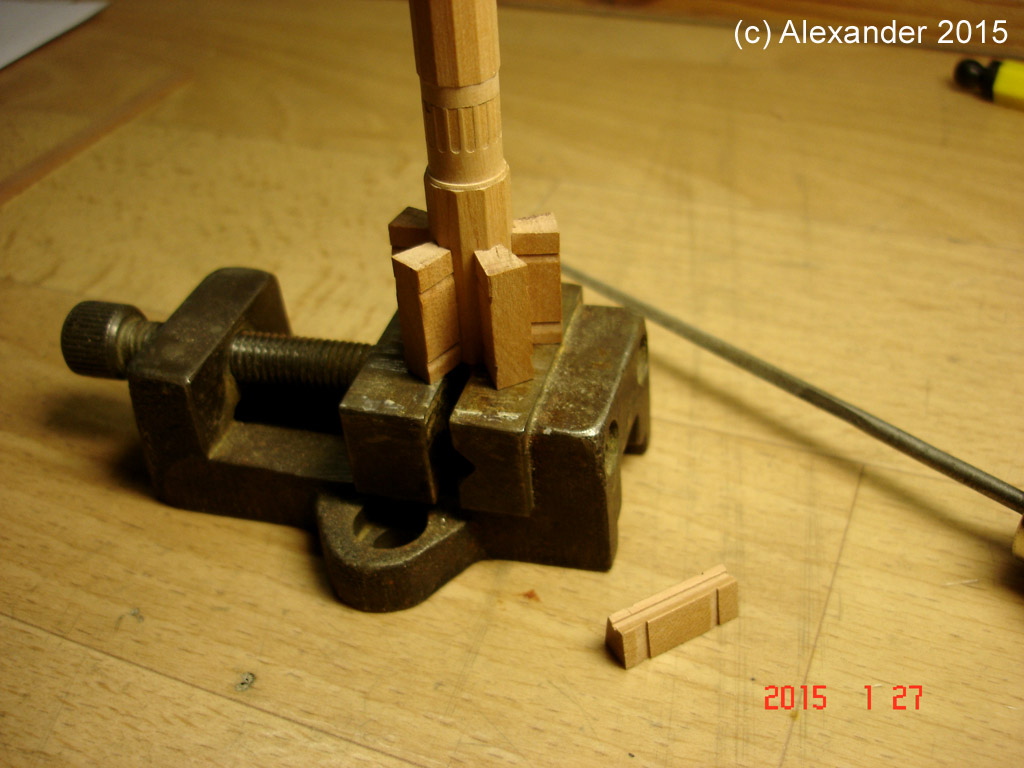
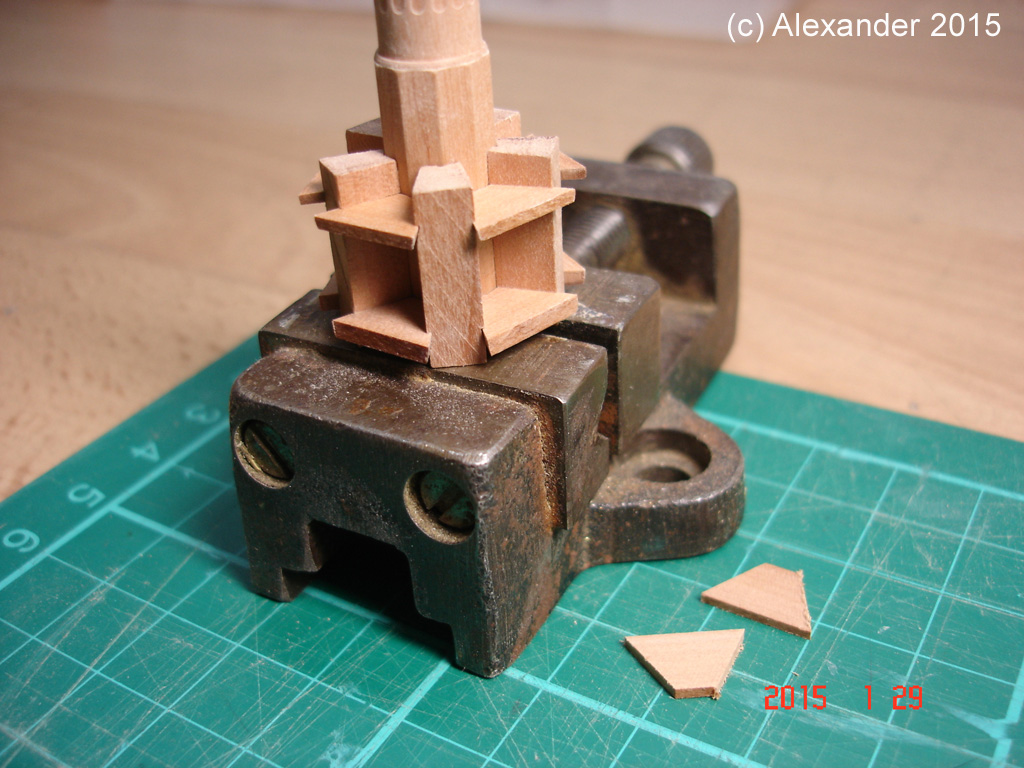
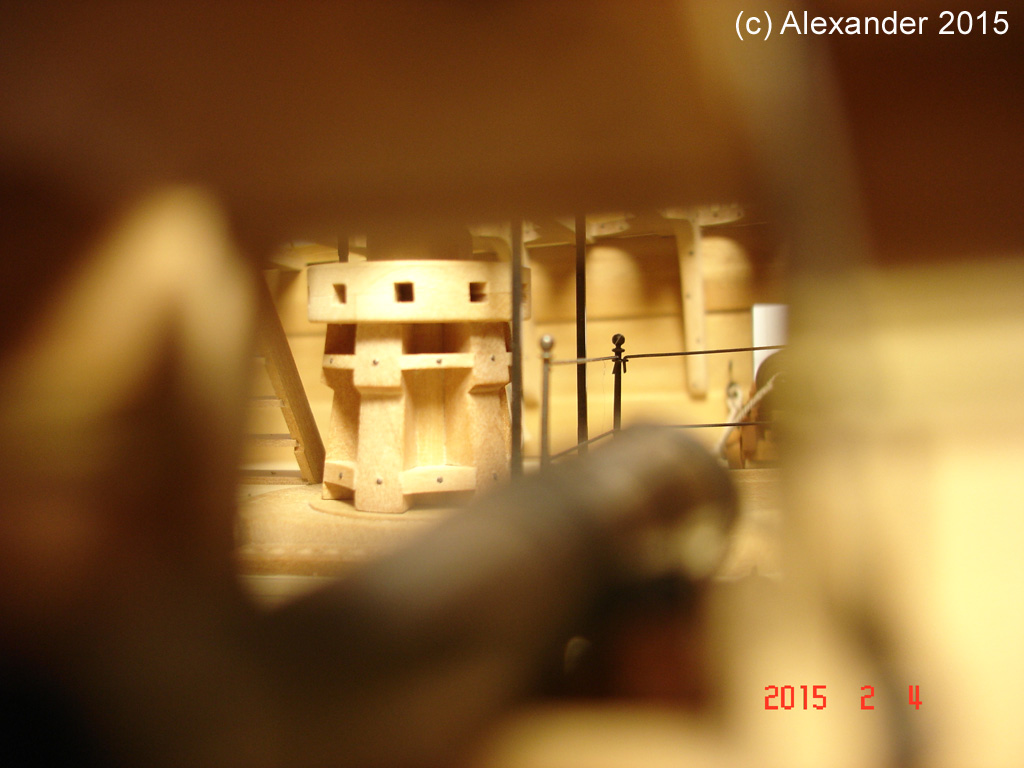
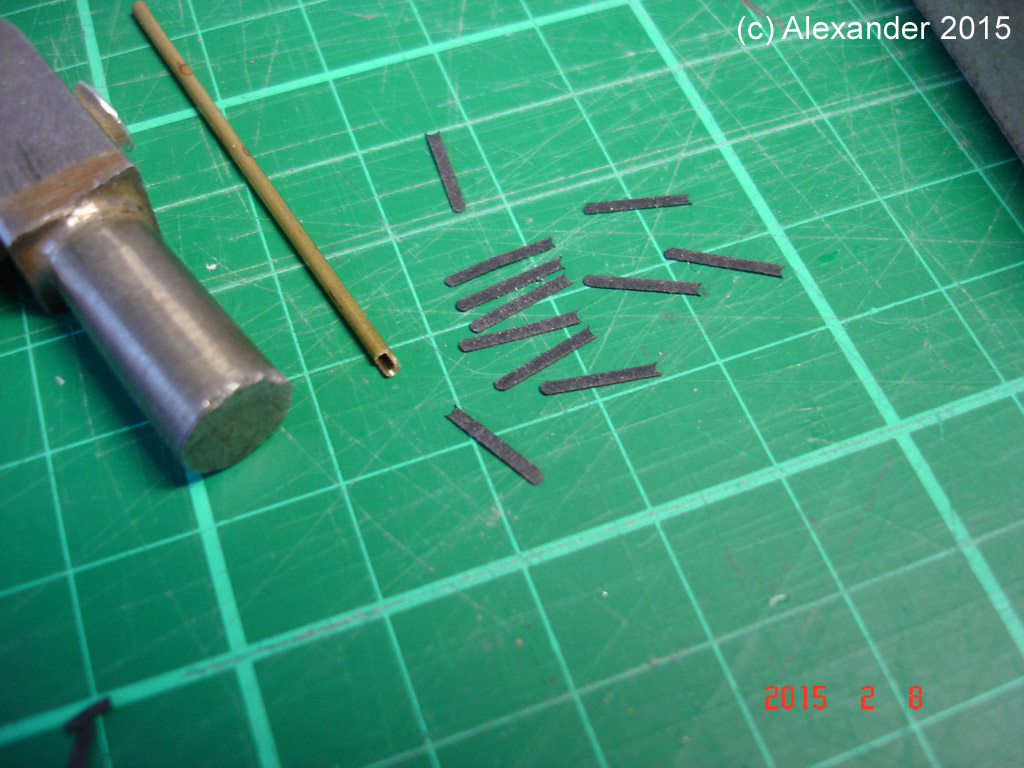
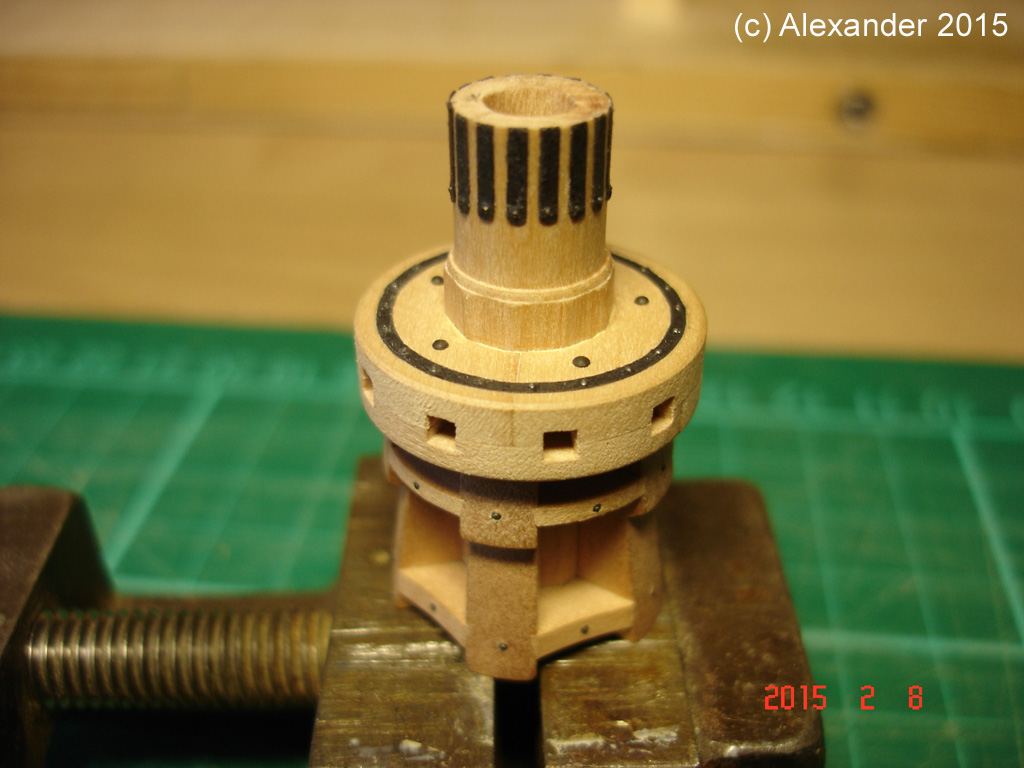
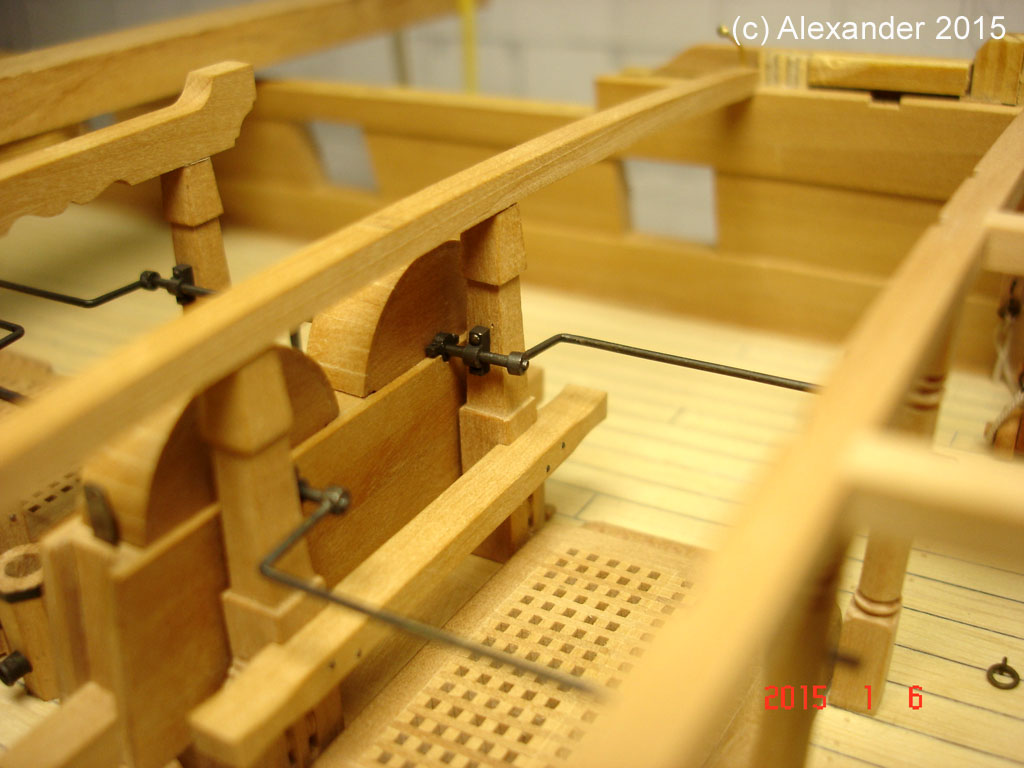
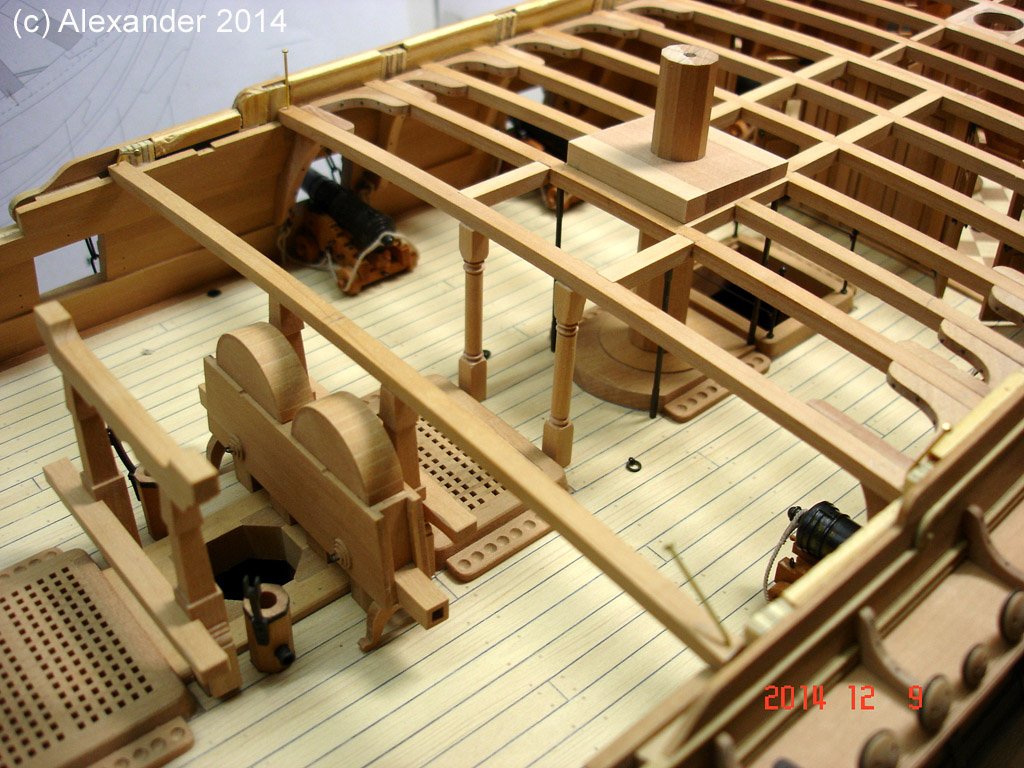
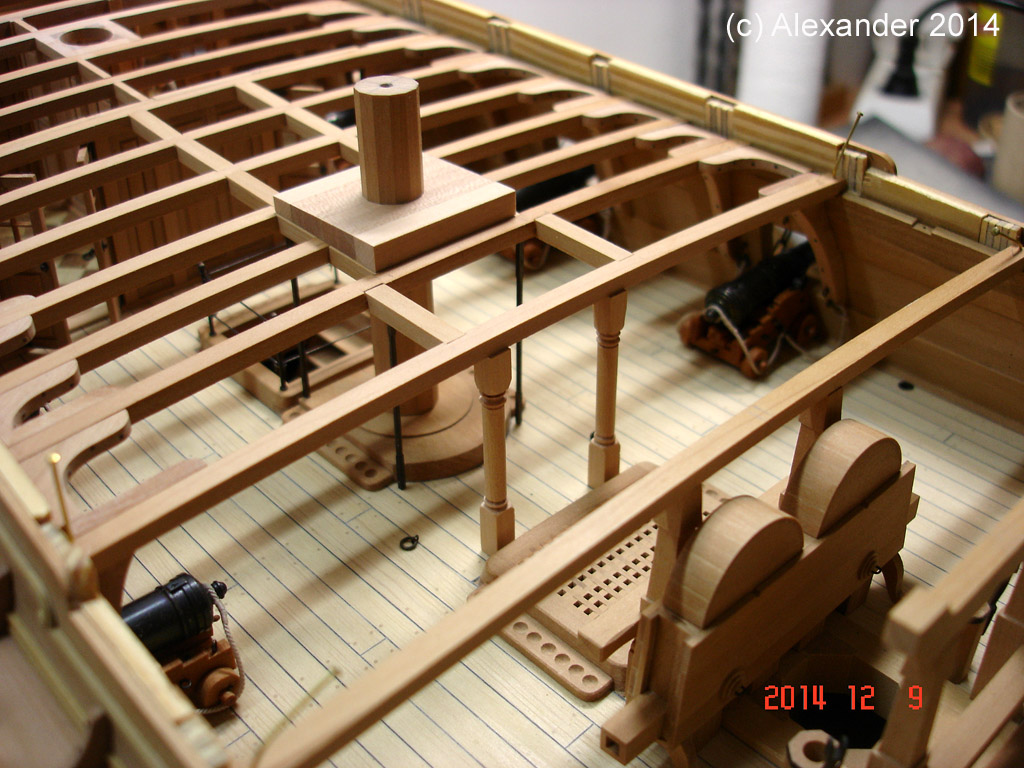
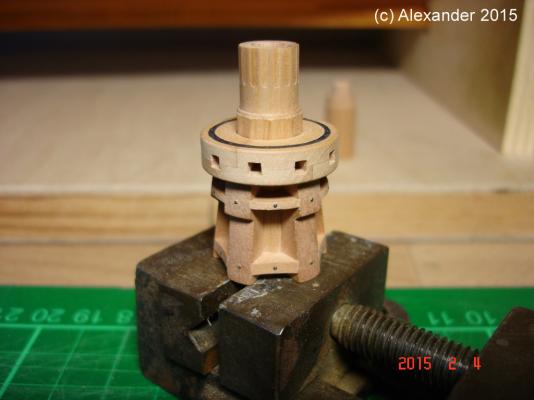
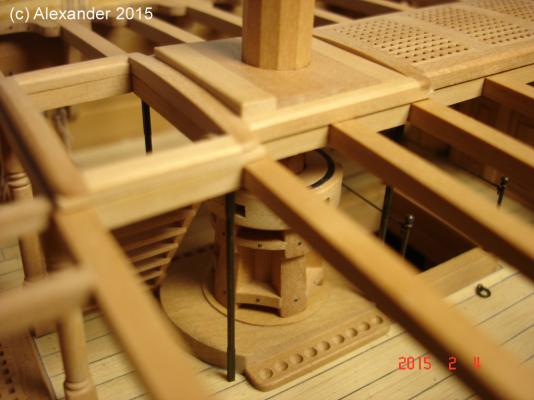
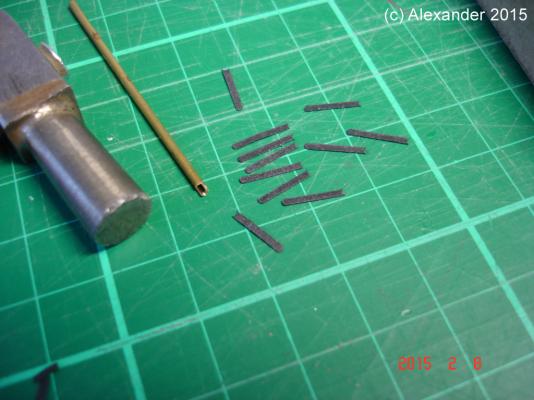
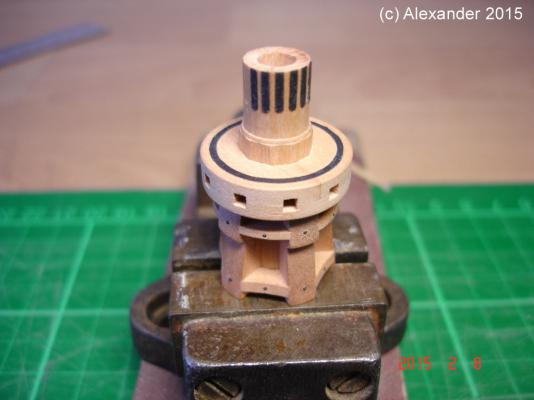
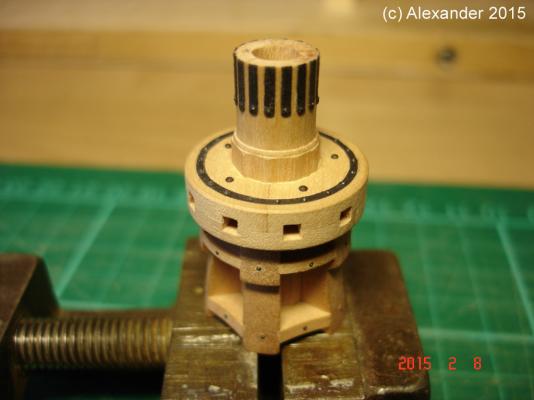
Hello, next update: the lower capstan. I cut a notch in to inner edge of whelps and then filed the edge to pass them to the barrel. The images show the process explanably I hope... The "metal" is black paper Regards Alex


-
HMS Alert 1777 by Jaekon Lee - 1/64
Alex M replied to Jaekon Lee's topic in - Build logs for subjects built 1751 - 1800
Very good planking, Lee! How many clinked hulls you have build? Can you show us fotos? Alex -
Perfect mast partner, very fine work, Remco! Alex
-
Hi druxey, I assume, that those technical drawings show the actual shipyard practice. Alex
-
I'm sorry if this make you less happy, but the whole is more complicate, as far as I know... The garboard plank was beveled in mostly cases to match the rabbet. As clearly shown in those drawings: http://collections.rmg.co.uk/collections/objects/85449.html http://collections.rmg.co.uk/collections/objects/80965.html http://collections.rmg.co.uk/collections/objects/80745.html here the later practice: http://collections.rmg.co.uk/collections/objects/80704.html and here a couple of frame drawings that show tre rabbet and garboard planks: http://collections.rmg.co.uk/collections.html#!csearch;searchTerm=Telavera_1818;start=10
-
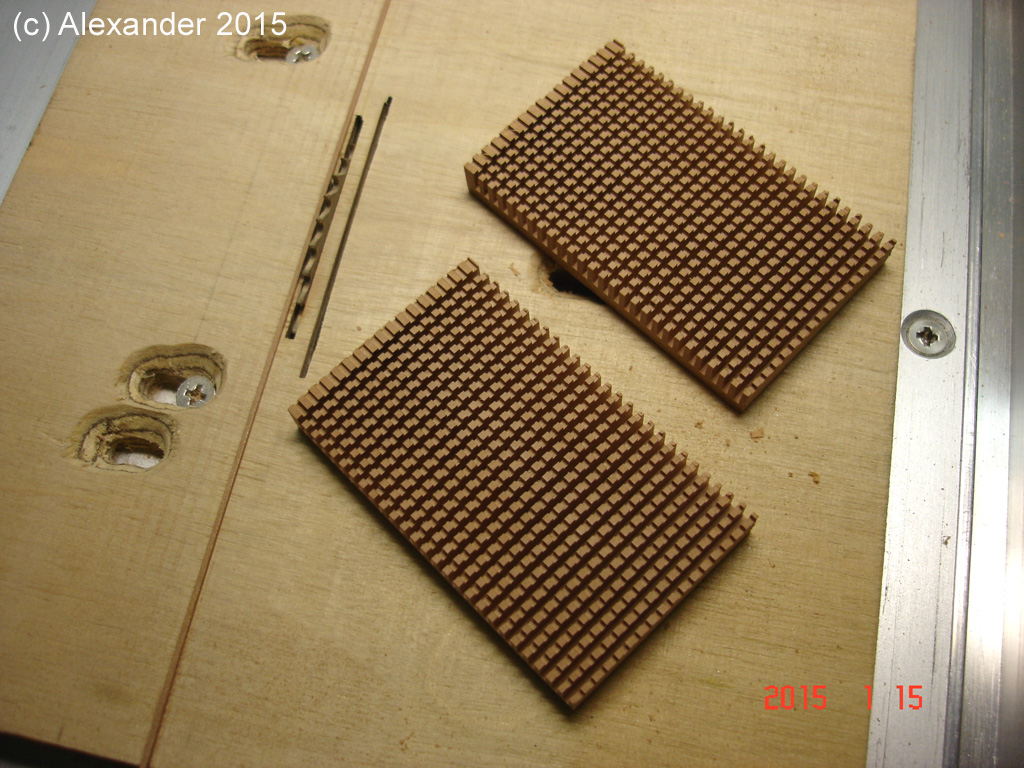
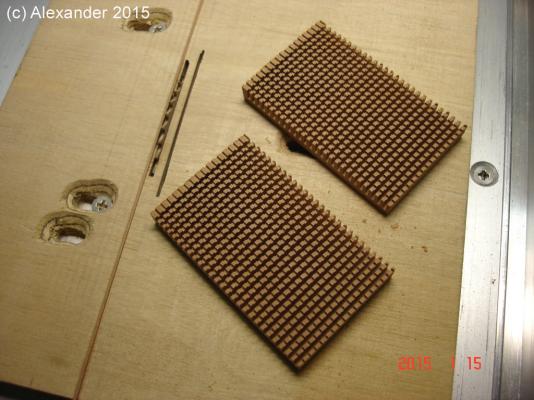
Thank you for warm words! Greg, no, not rubbing that were a task! "making gratings, day one: rubbing making gratings, day two: still rubbing"... :D I have trimmed the bottom on the circular saw, is much faster... Alex
-
Many thanks!!! Alex
-
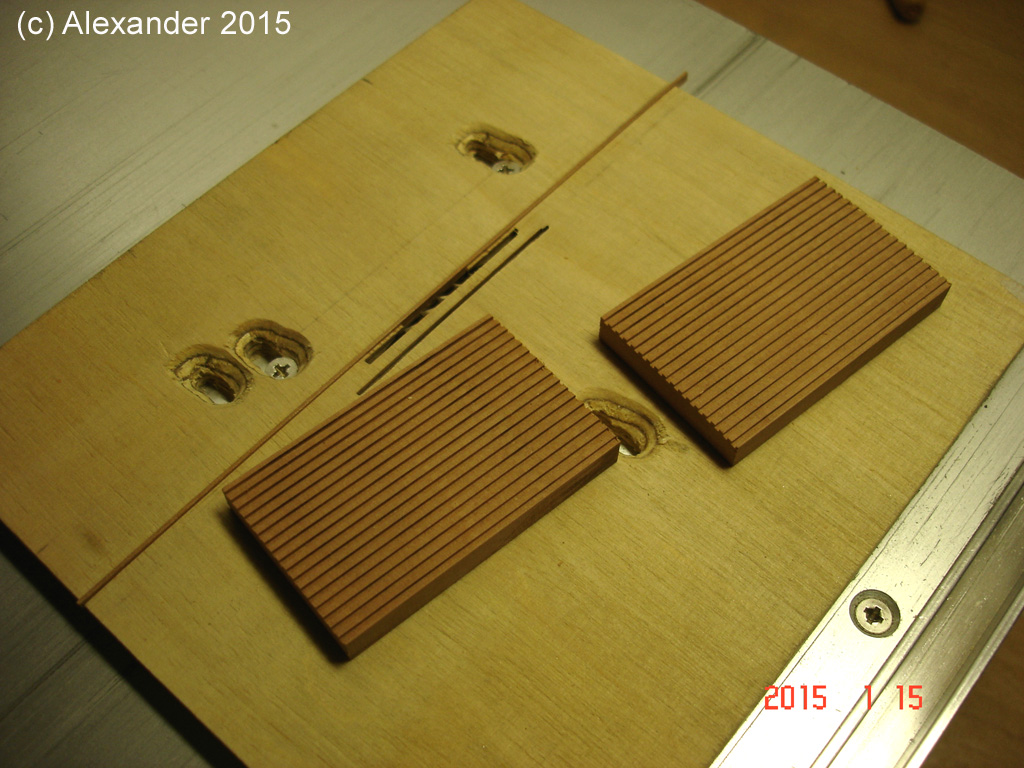
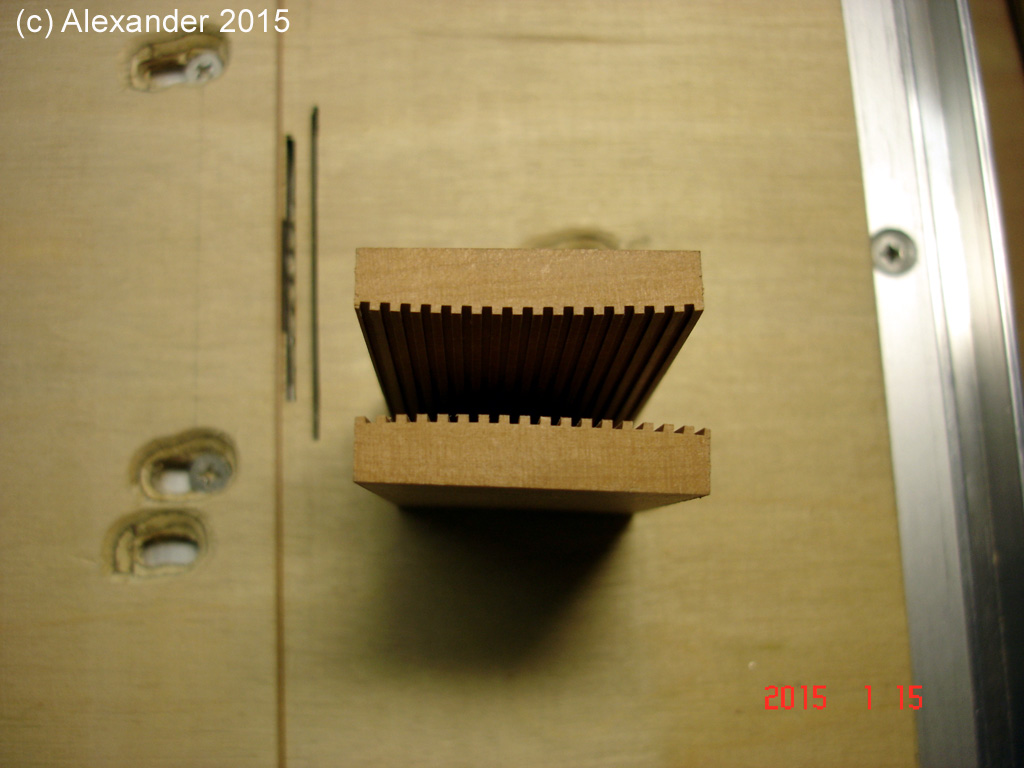
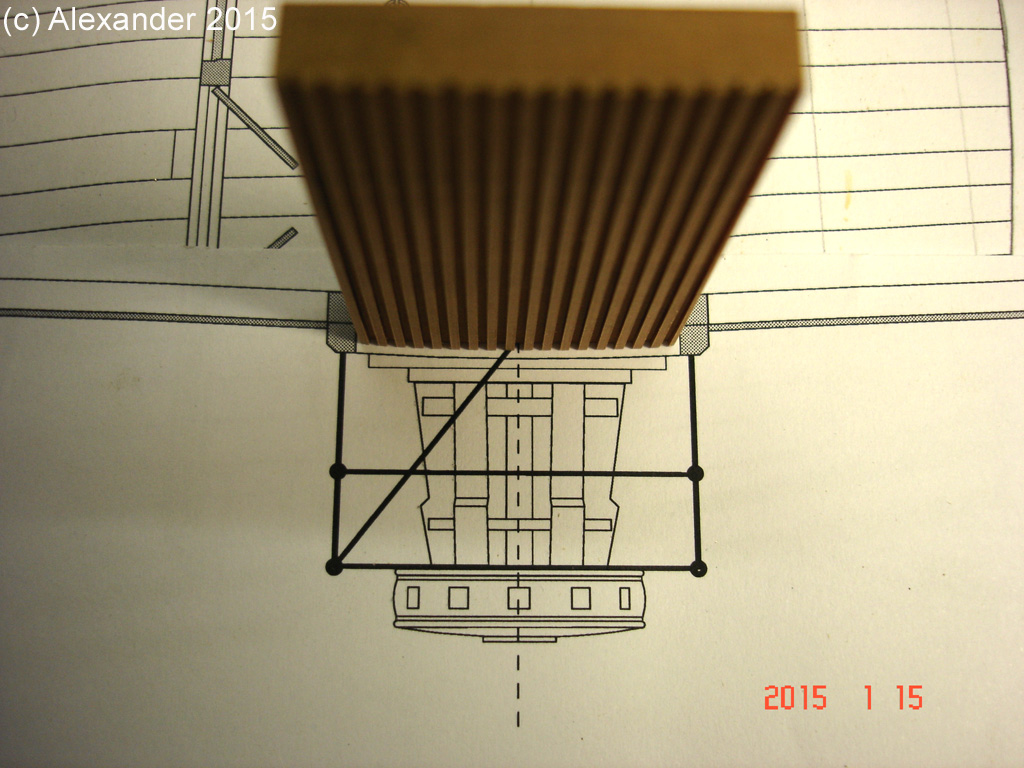
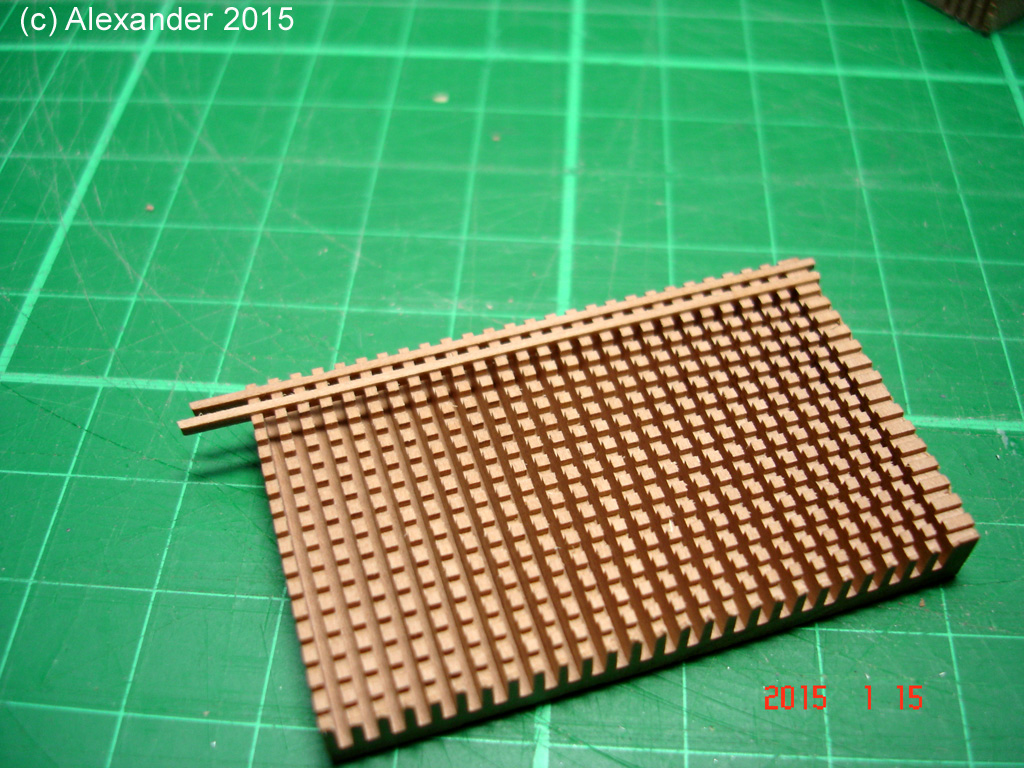
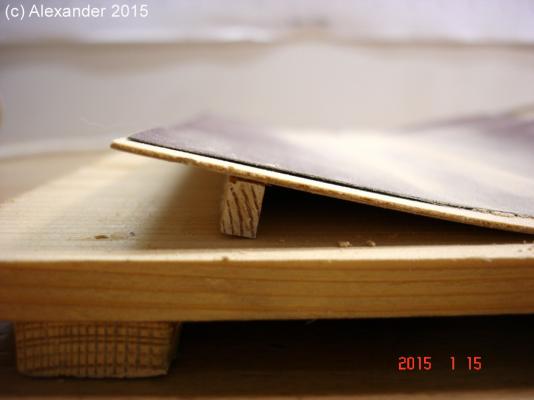
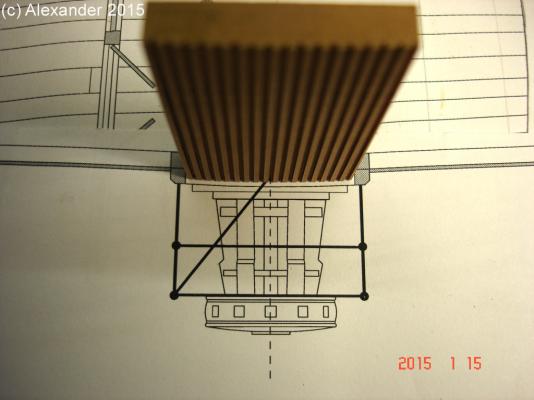
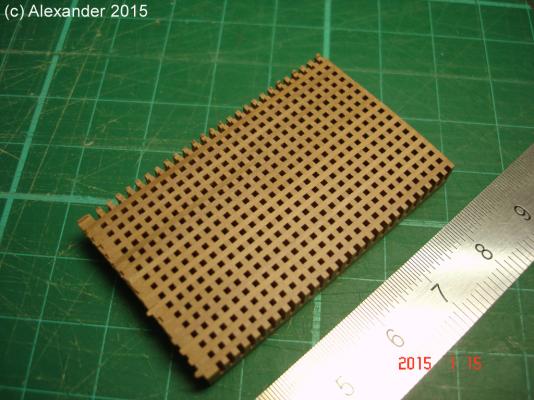
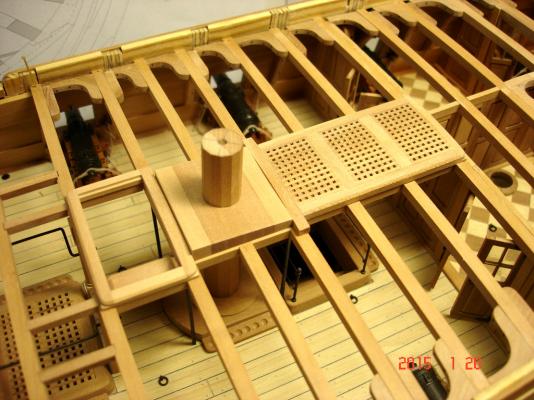
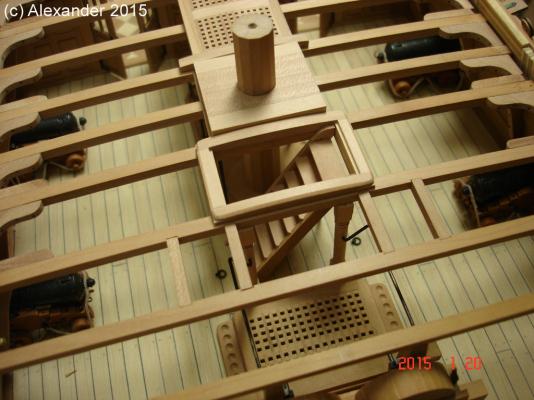
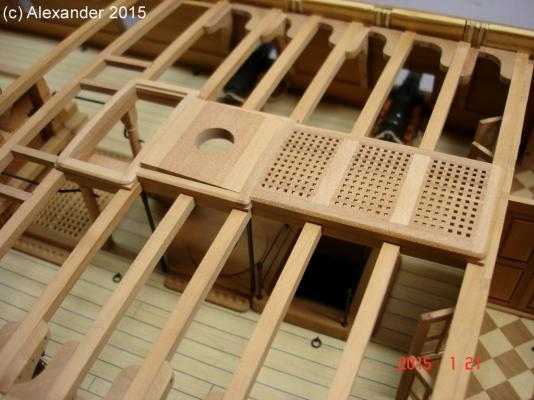
Hello, the work continues with the gratings and coamings of the quarter deck, and ladder way to gun deck. In this case the gratings should look like "real" and have proper thickness and shape. Follow images show the process. First the upper edge of the block was shaped on this jig: then cuts are done on tablesaw: then strips are glued and the whole was sanded again in the jig: Coamings are build around gratings, ladder way and coaming added: All is dry fitted now. Alex


-
Hello Johann, incredible details! just amazing. Alex
-
Chopping block work table
Alex M replied to qwerty2008's topic in Modeling tools and Workshop Equipment
Hi Lextin, I would screw two or three 2x2 inch boards of hard wood (oak as example) to the underside of table. You can also glue them all together before them. Important: bound boards tight all together with ratchet straps before screwing. I have one very similar to yours in my basement as workbench, is very solid and stable. Alex
-
HMS Alert 1777 by Jaekon Lee - 1/64
Alex M replied to Jaekon Lee's topic in - Build logs for subjects built 1751 - 1800
Hi Lee, looks very good! It's a lovely little and fine model! According to beams: I would highly recommend to cut them instead of bending. It's not soo much more work. Otherwise this can end with bad surprises later... Now it's a state where you can avoid some problems. Alex -
Hi Juergen, very neat planking! Your Triton is coming good along! I like the color contrast between planks and frames. Very good! Alex
-
Hi Johann, great work on breeshing rope! very nise details, and nice battery of carronades! Alex
-
HMS Sphynx by TBlack - 1:64
Alex M replied to TBlack's topic in - Build logs for subjects built 1751 - 1800
Hello Tom, thanks for warm words about my plans! I have folowed your build of Vinal Haven and should say, that you model looks very realistic. So please do'nt stop! I will follow your build! Alex -
HMS Sphynx by TBlack - 1:64
Alex M replied to TBlack's topic in - Build logs for subjects built 1751 - 1800
Hello TBlack, nice start! looks like my Sphynx at beginning Alex -
Many thanks for compliments! Mark, not sure if I have right understand the question... The bolts on wood parts are simulated, on brass parts they work as nails and really holds things... Alex
-
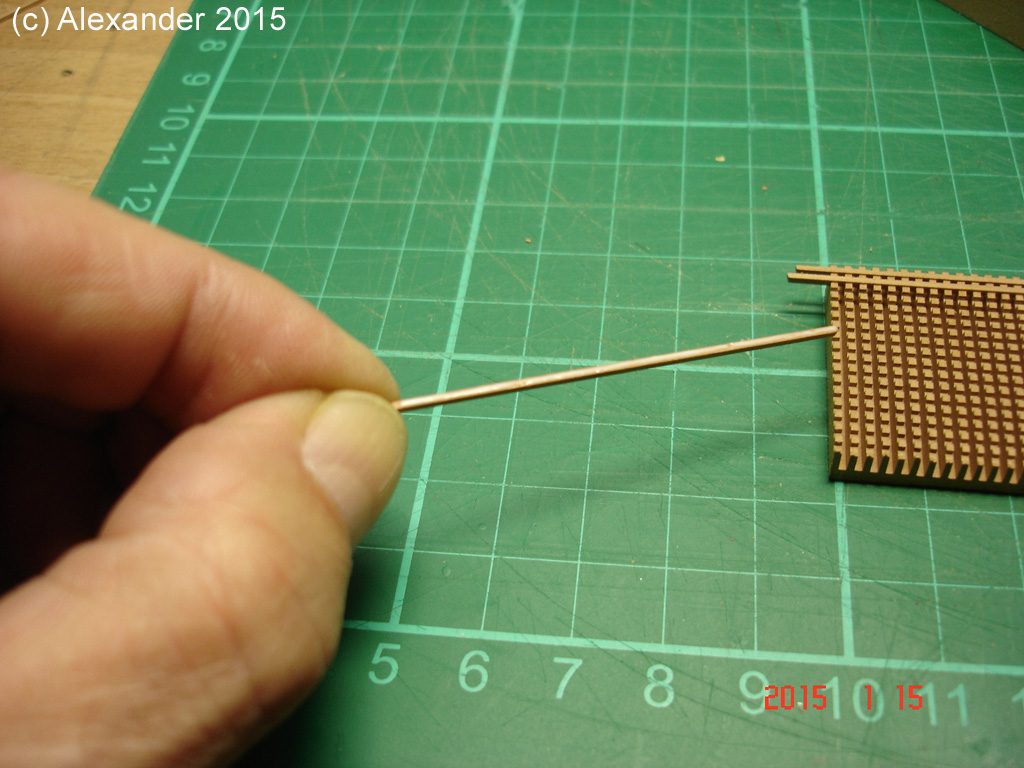
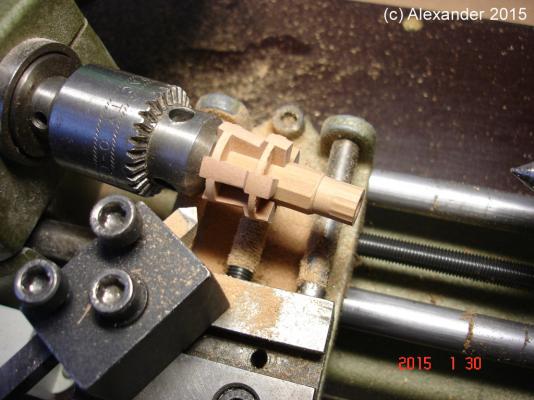
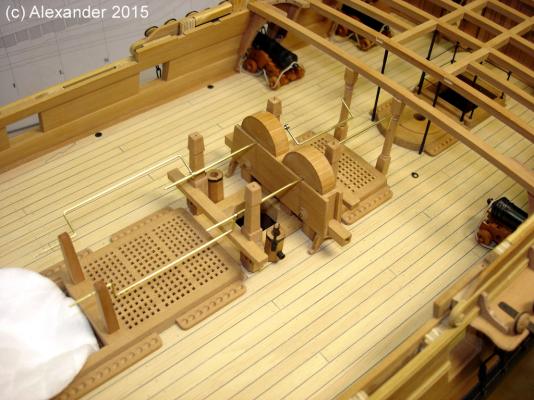
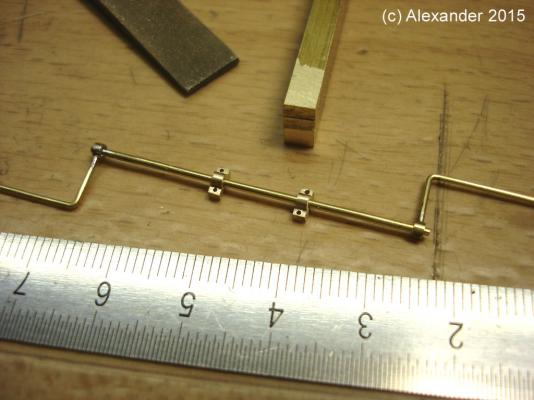
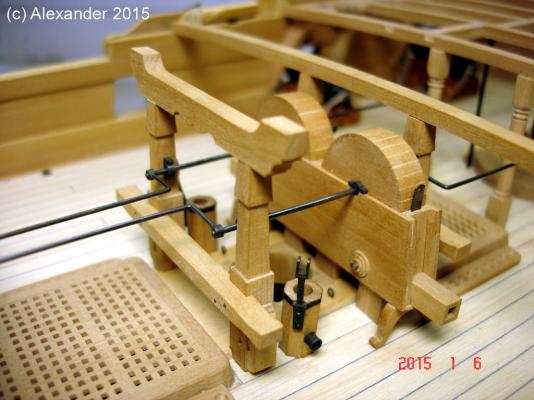
Hello and thanks marsalv for warm words! not much to show, only a little update: have worked on chain pump handles, so there the result. The images show main steps from alignment to installing. The axle is from 1mm brass rod, the crank handles from 0,8mm rod, all soldered together. Alex

-
Hi Mark, I know what you mean, it looks really odd and unusual. But doing this to show two ways of planking the wale, is probably an idea, if also a little odd Alex
-
That is a very fine drawings, Mark! A warm welcome and have fun :D :D the buts of two plank rows of main wale aft of main mast - shift the lower one further aft... Alex
-
Hi Greg and thanks! Alex
-
Hi Chuck, excellent planking job! Very clear and smooth! Christian, I'm not Chuck, sorry, but if you look at the image with red painted counter in Chuck's previous post, you will notice a small step between them and tuck. The tuck will be planked later, and all will follow the plan. Very smart solution, Chuck! Alex
- 1,051 replies
-
- 1
-

-
- cheerful
- Syren Ship Model Company
- (and 1 more)
-
Thanx John and druxey! Yes, I did make my own Alex
-
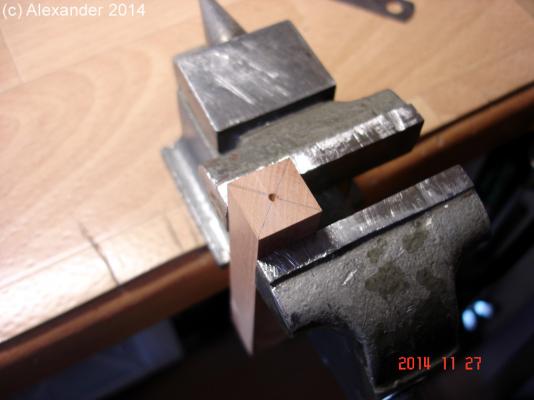
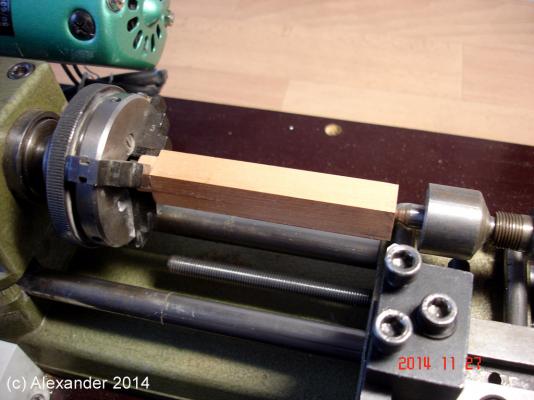
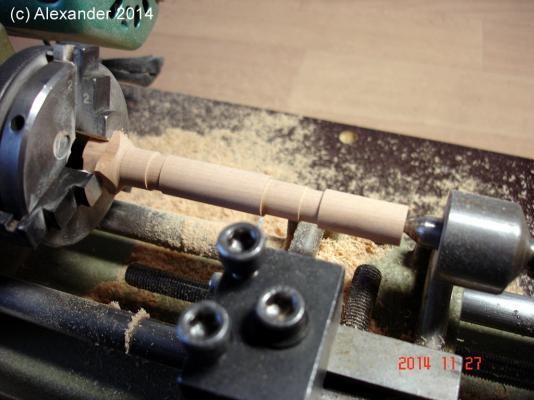
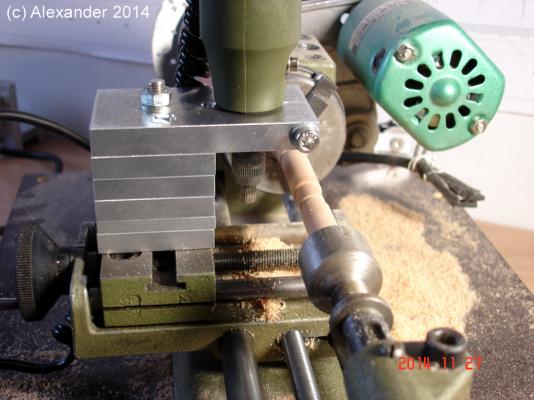
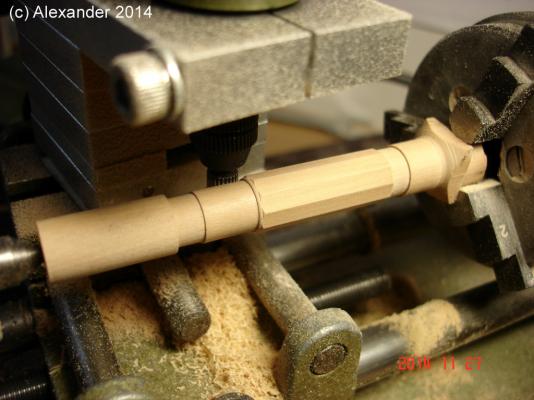
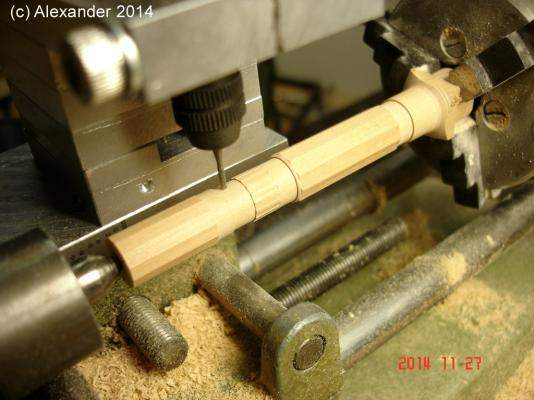
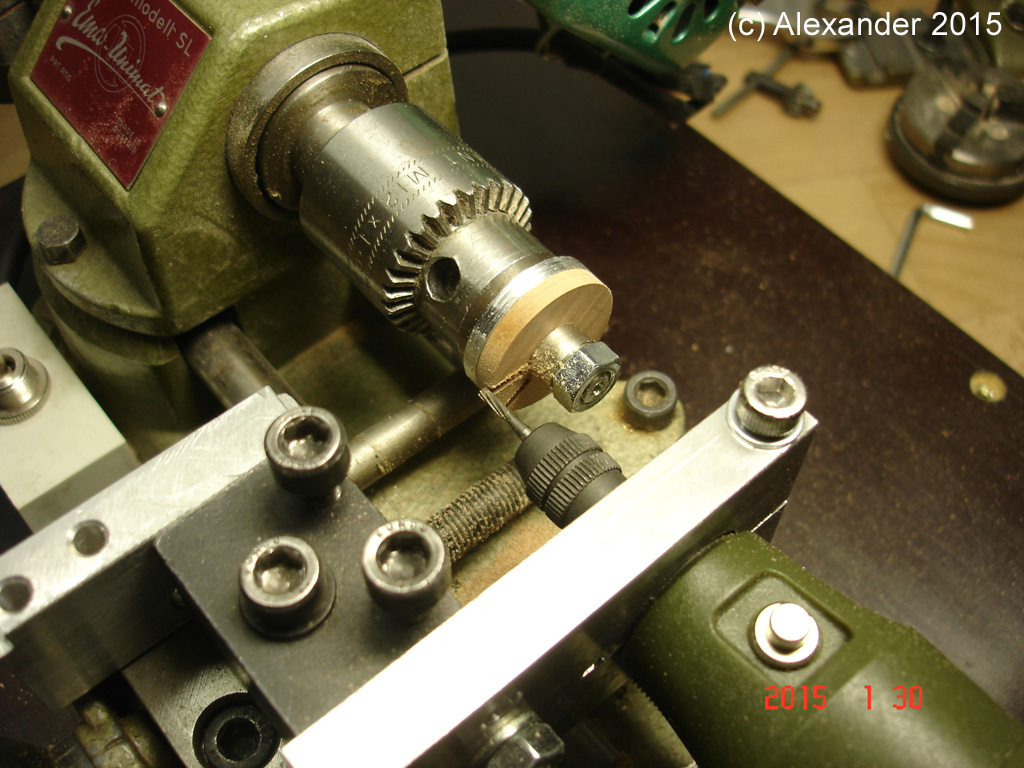
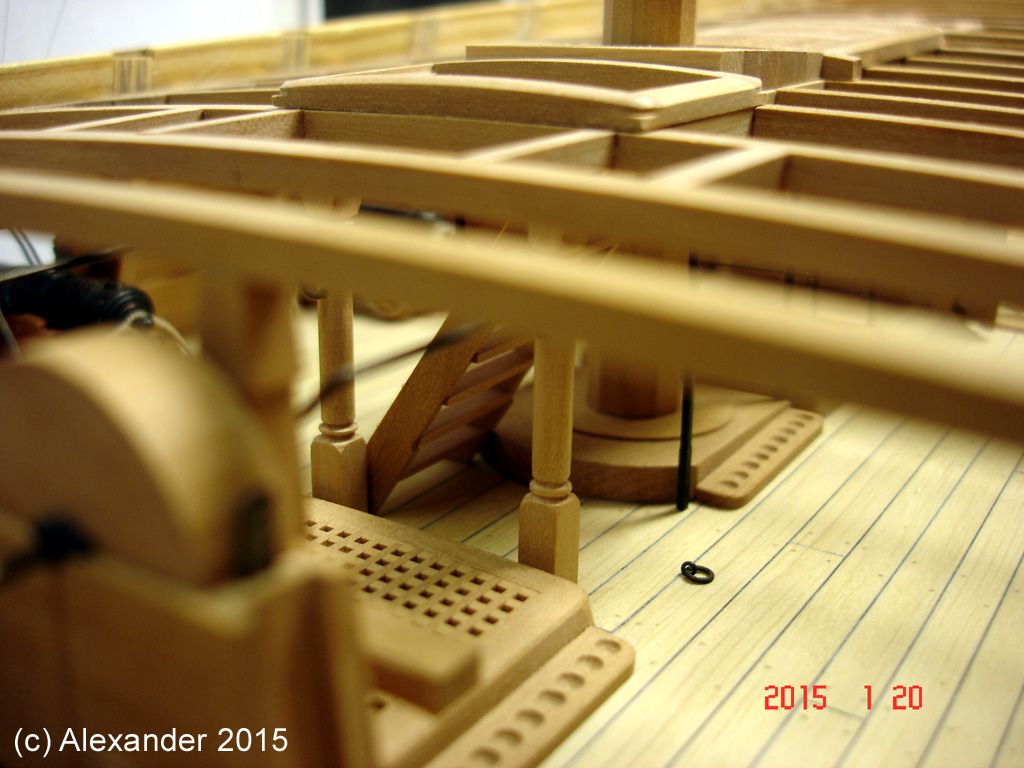
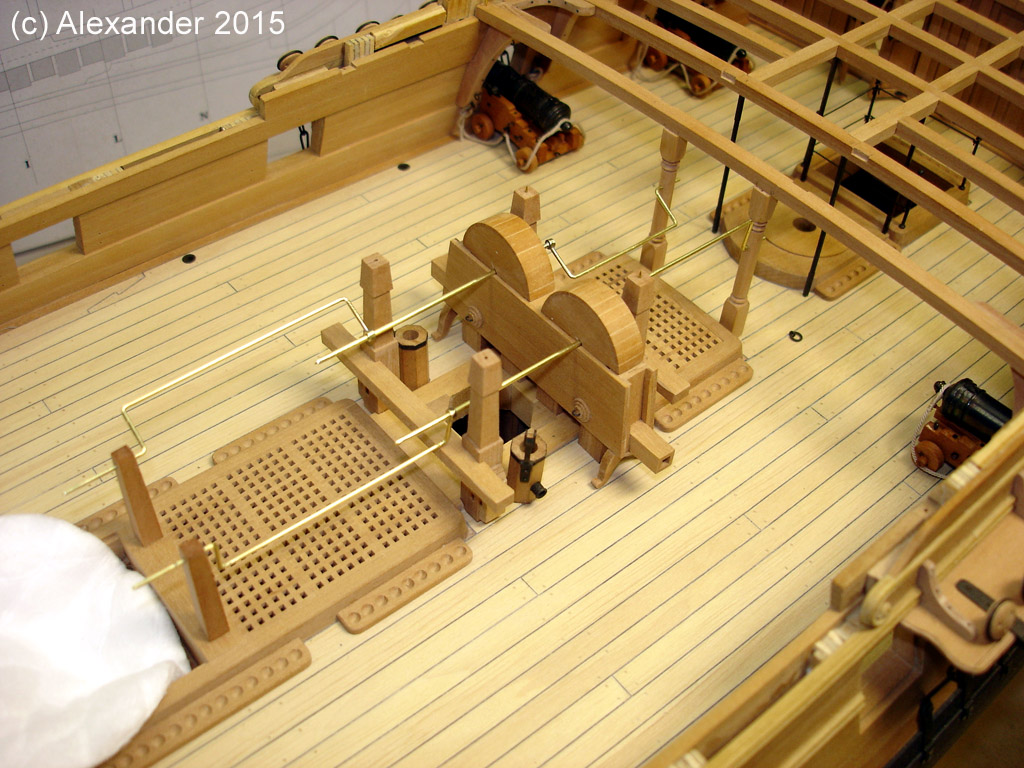
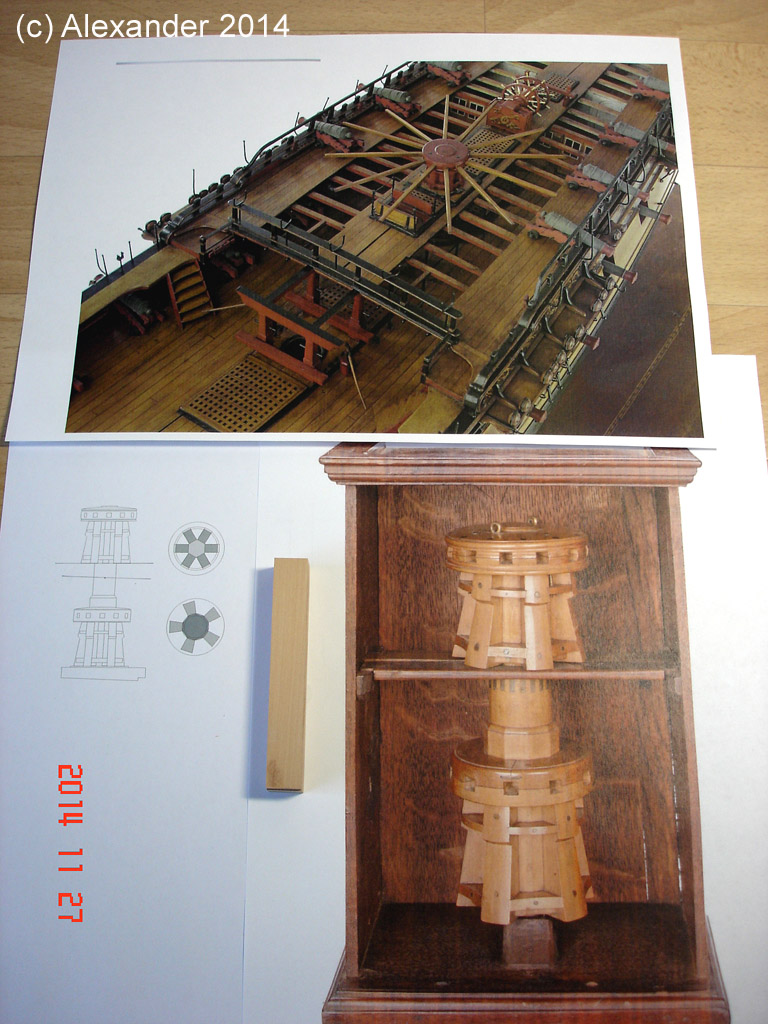
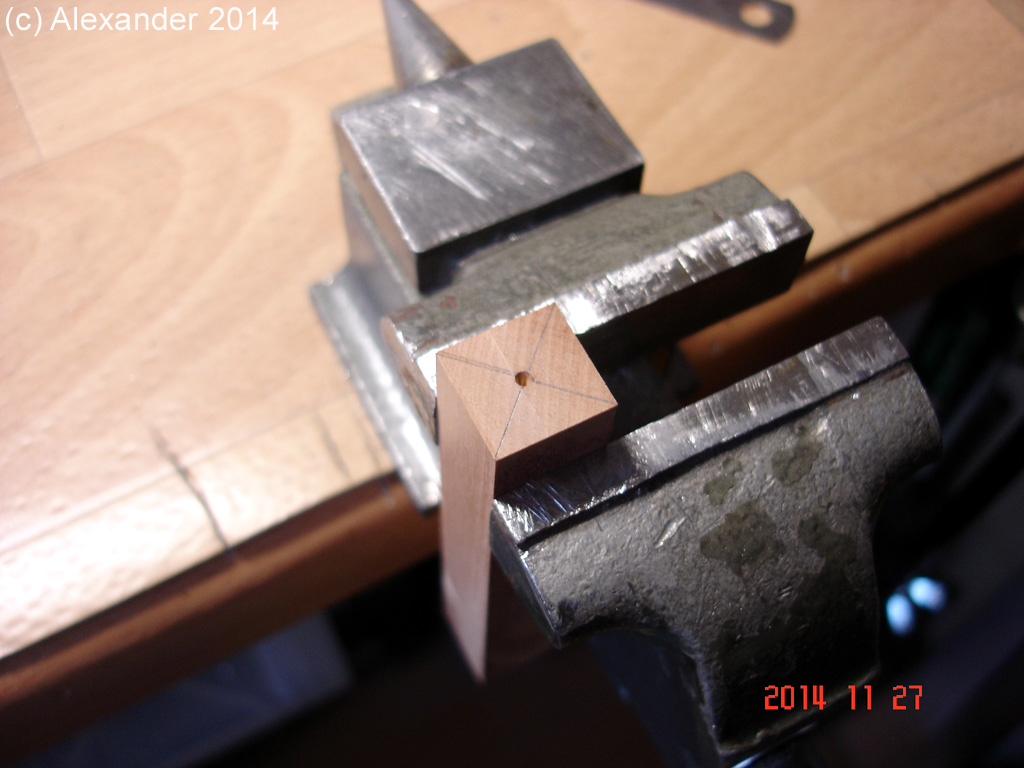
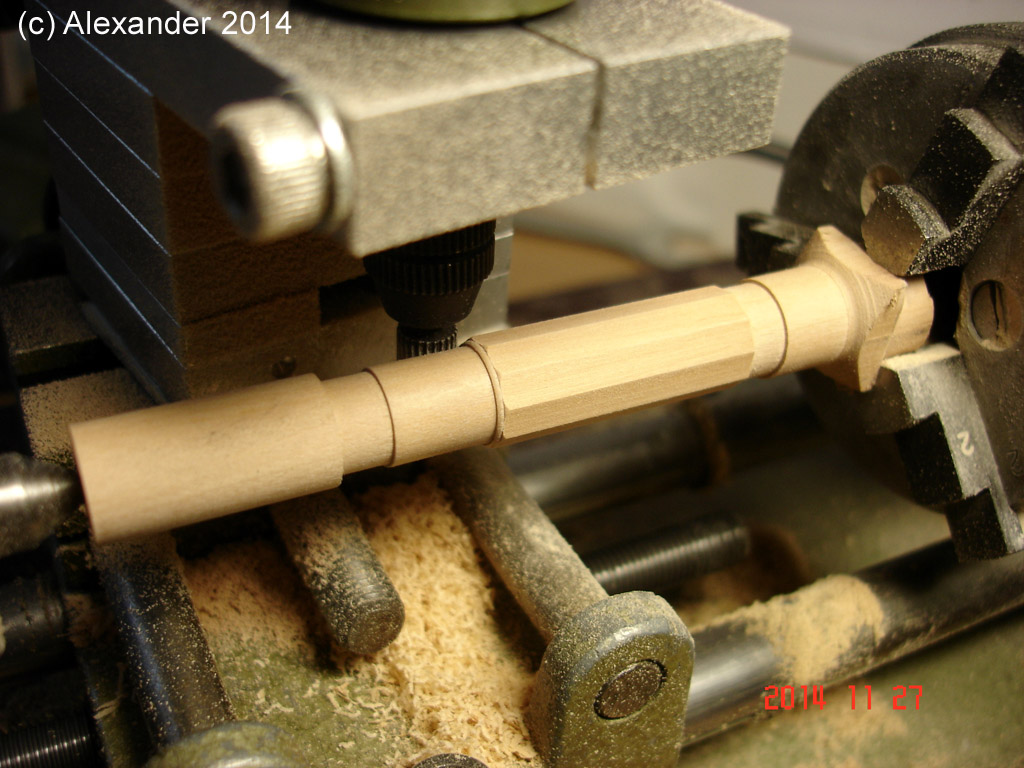
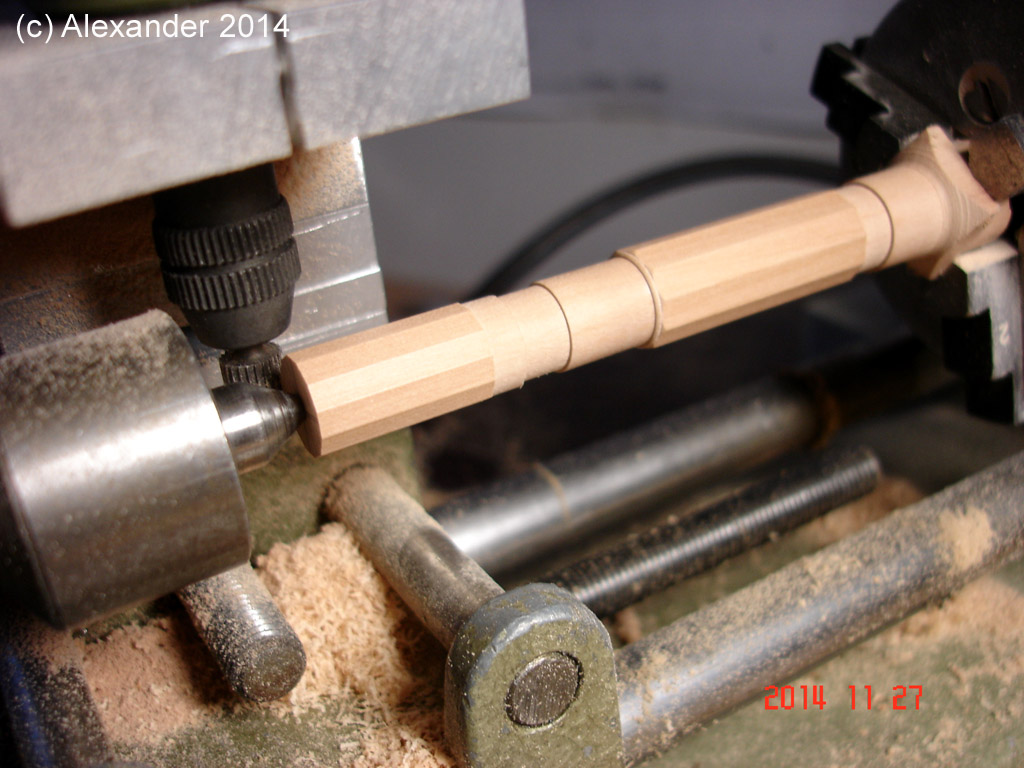
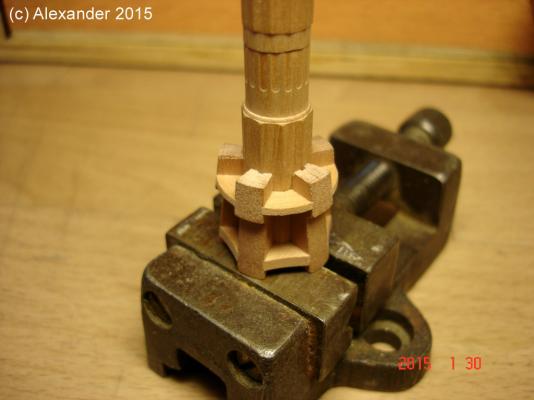
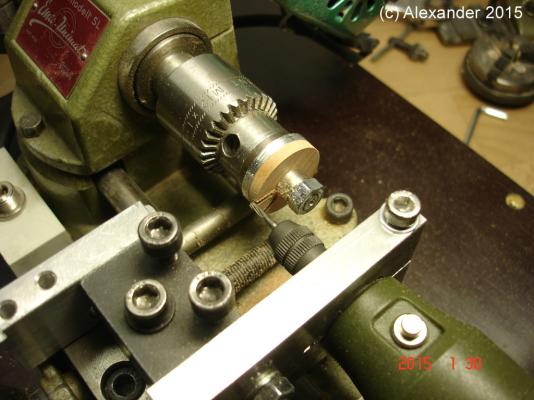
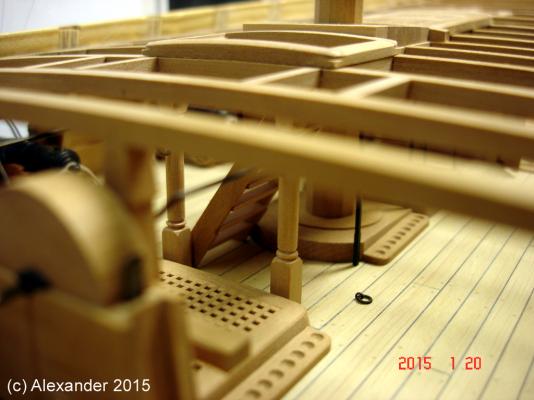
Hello guys and many thanks for warm words! It's time for update. Have prepared my Unimat to turn and mill the spindle for capstan. The images show the proces. Have also turned the stantions, as they served also to hold the pump handle, I will complette the pumps as next. Alex