


kpnuts
-
Posts
1,034 -
Joined
-
Last visited
Content Type
Profiles
Forums
Gallery
Events
Posts posted by kpnuts
-
-
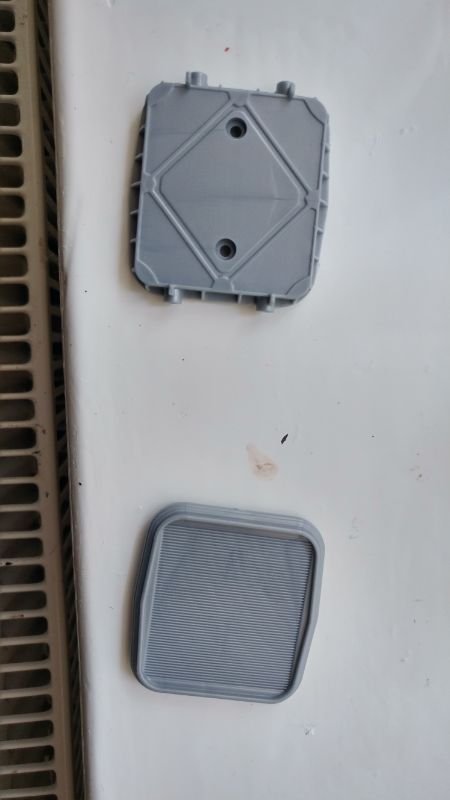
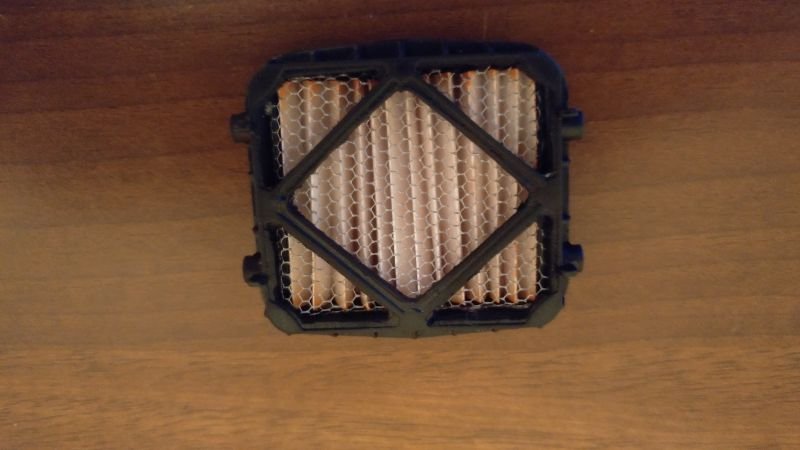
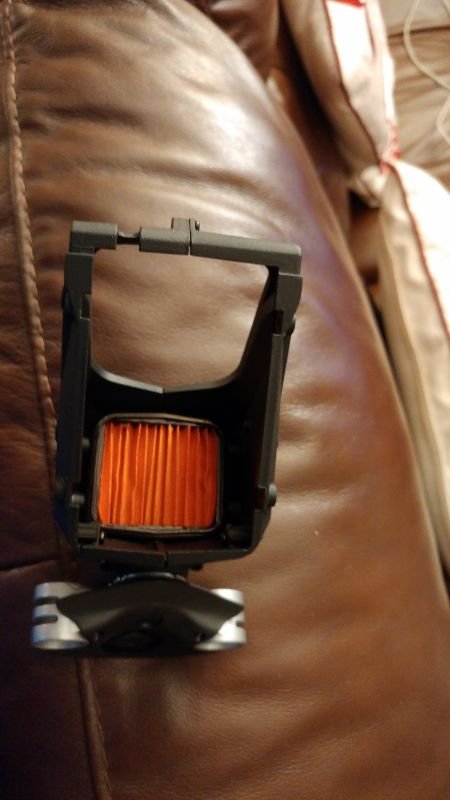
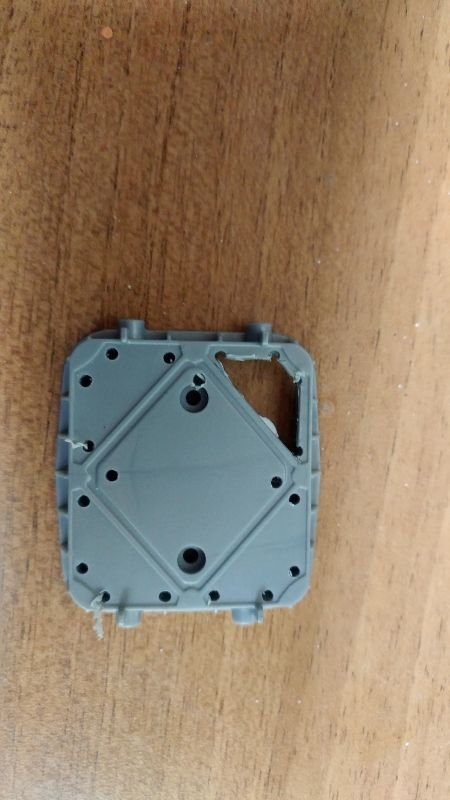
Work on the air filter the kit one is pathetic.
-
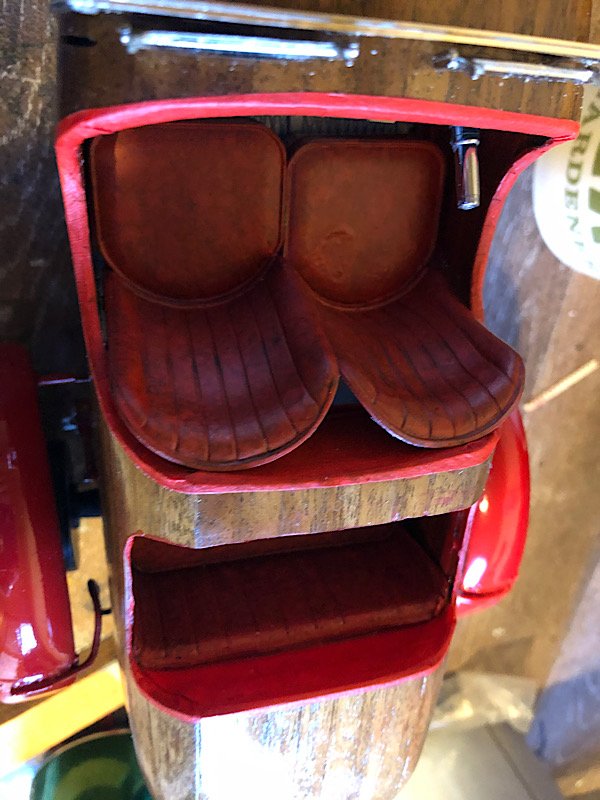
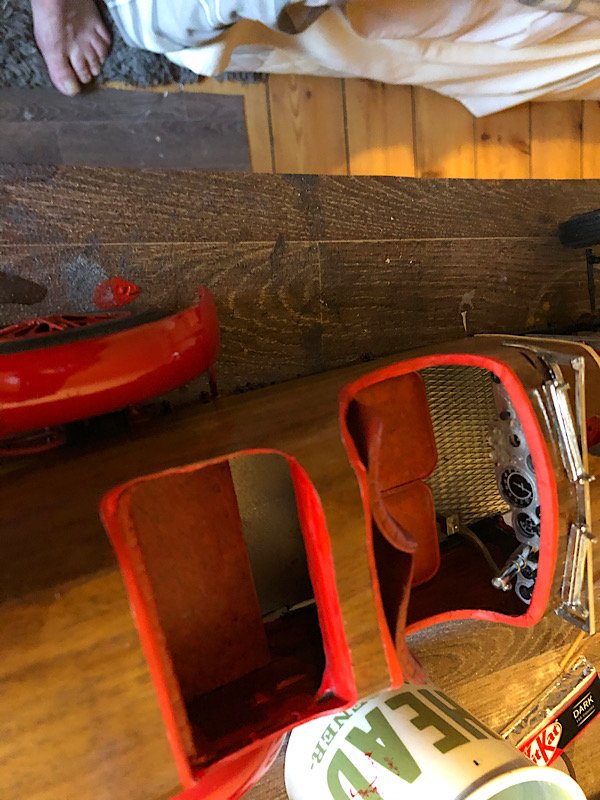
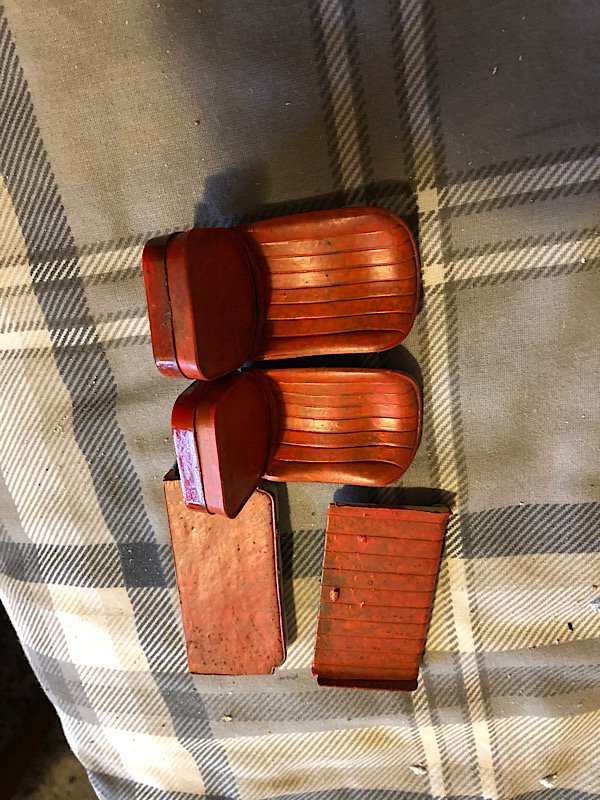
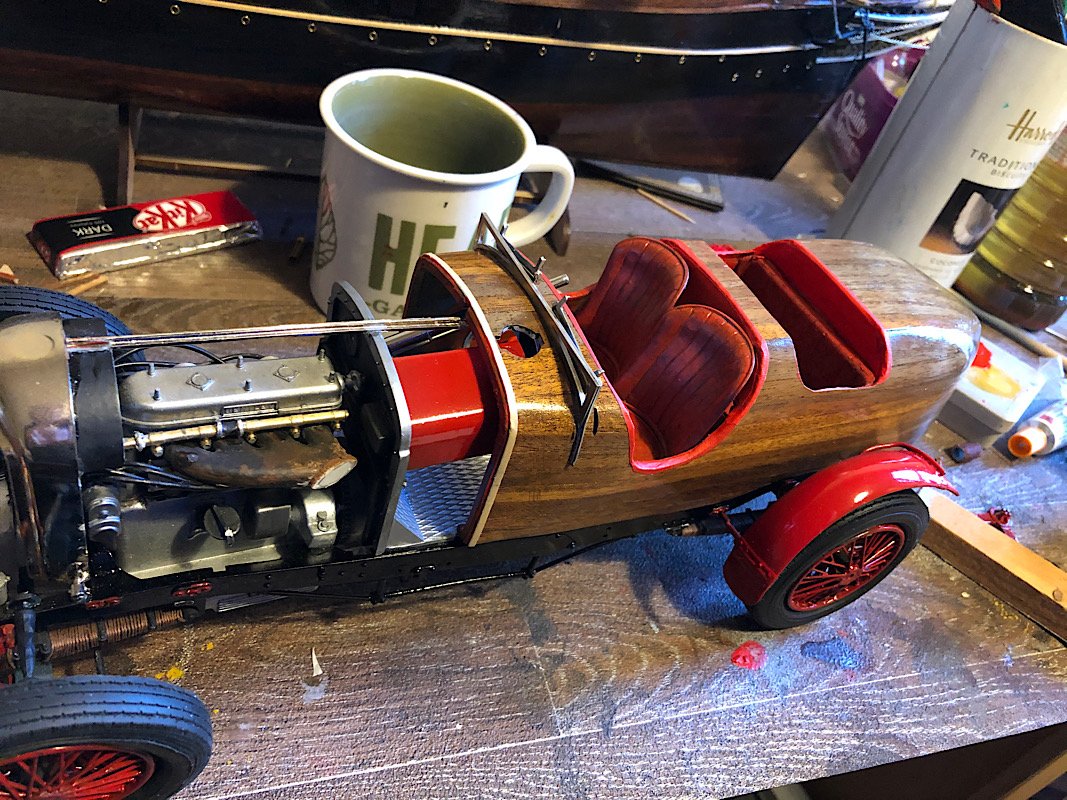
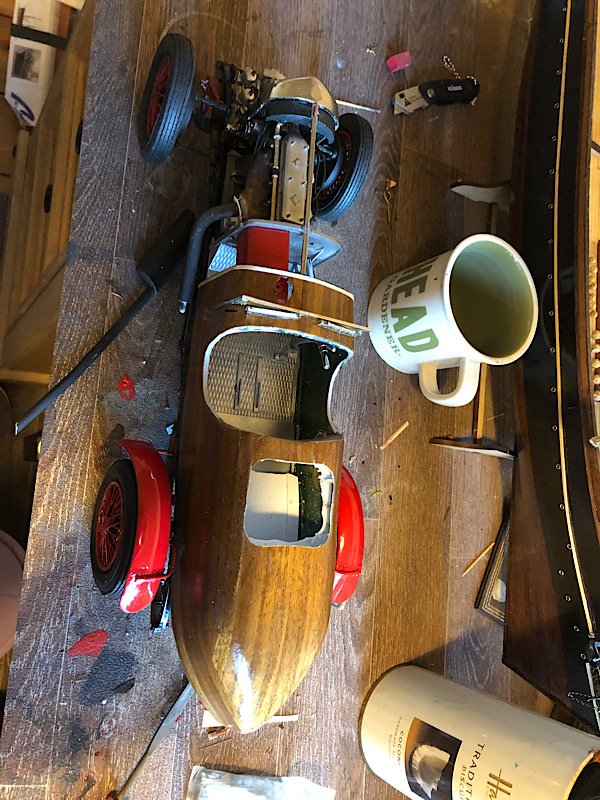
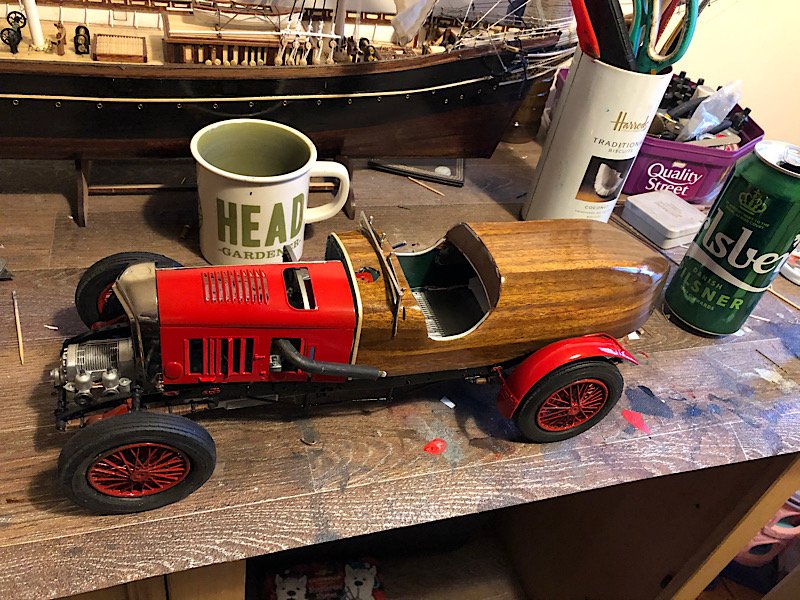
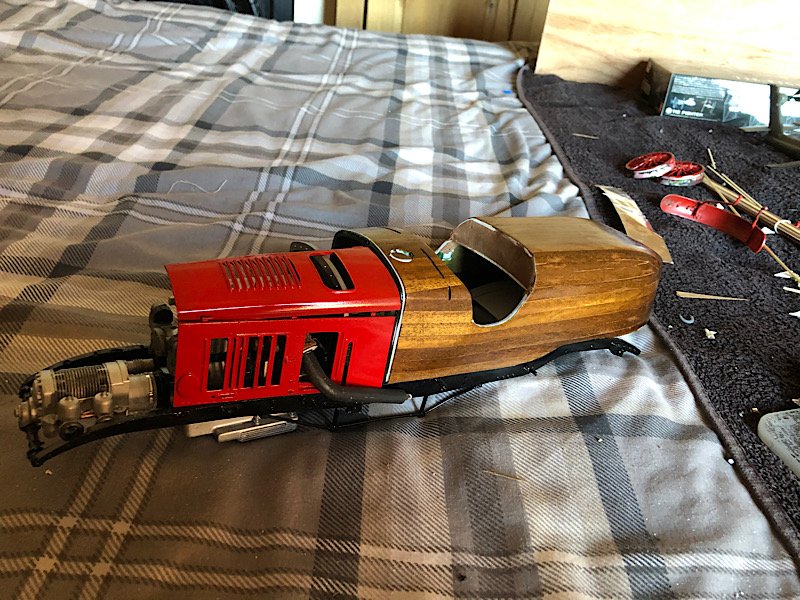
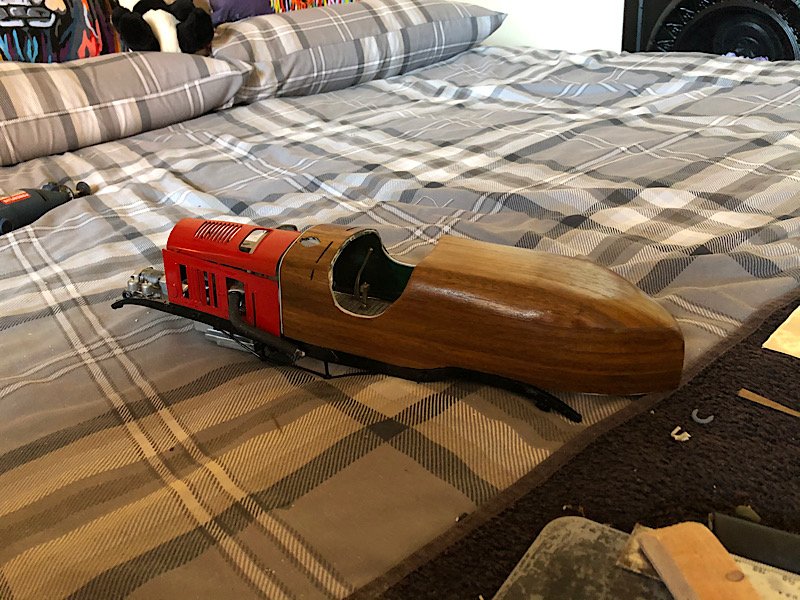
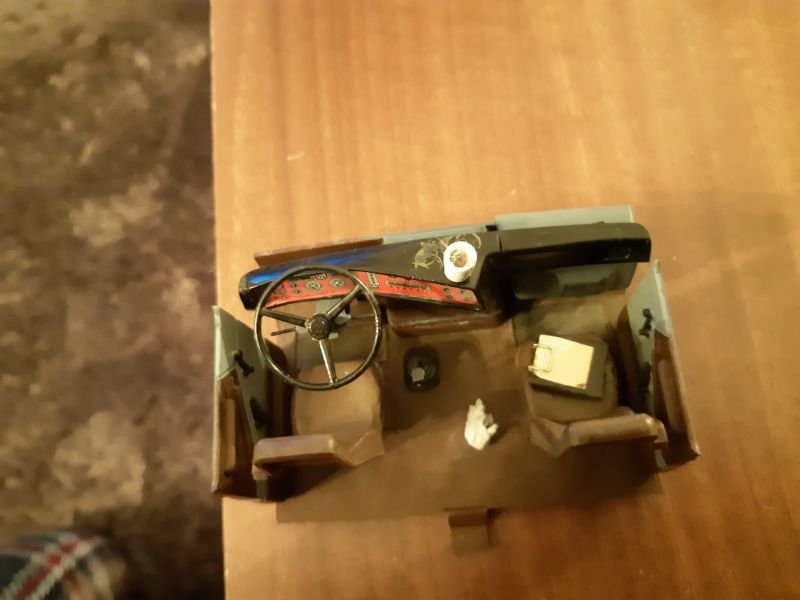
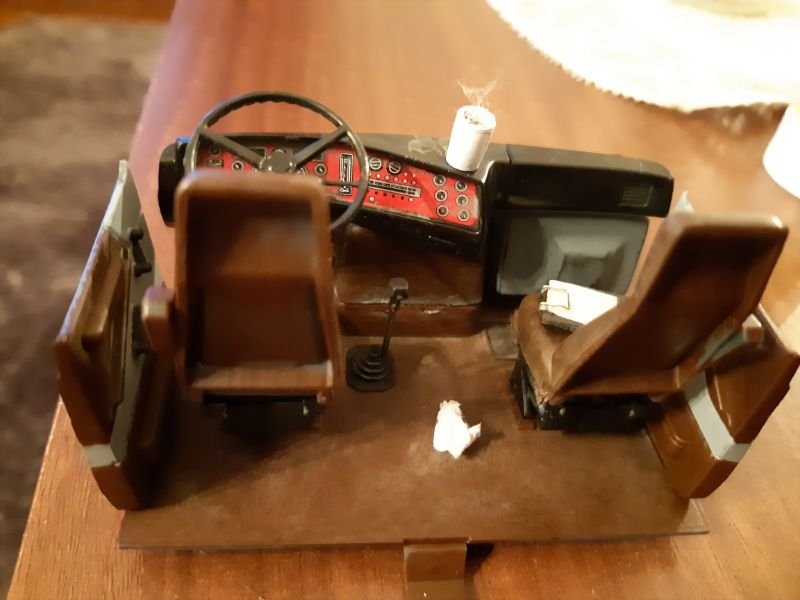
Started on the seats (I will be adding padding to the edges where the red paint is when I find something suitable) I didn't do too much weathering to the seats as its supposed to be well looked after.
- Egilman, mtaylor, Old Collingwood and 7 others
-
 10
10
-
-
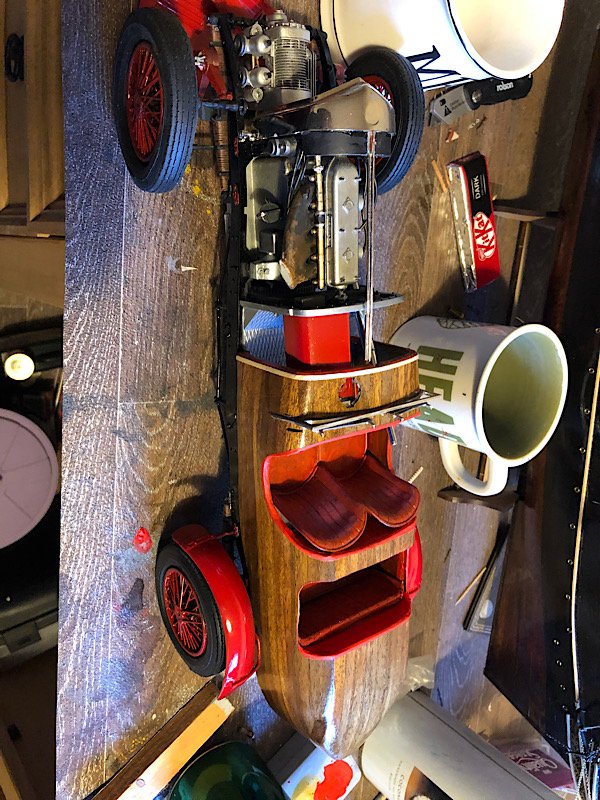
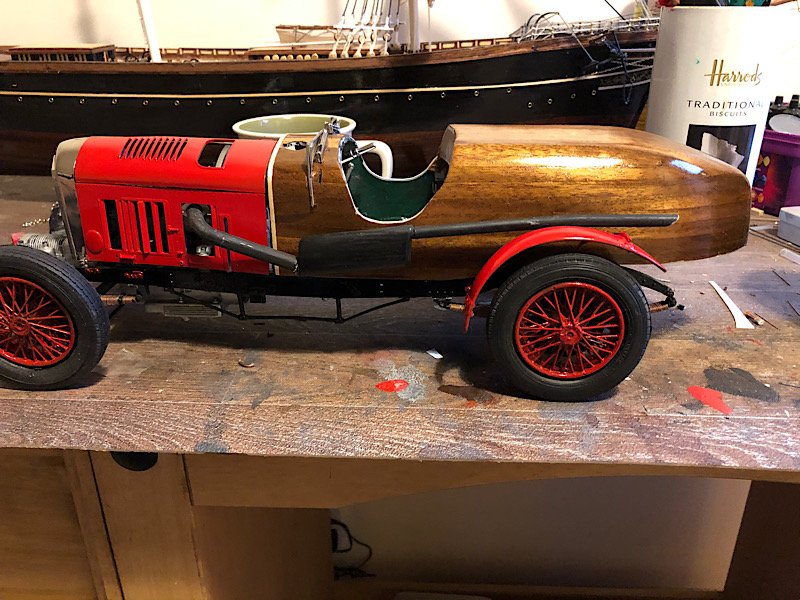
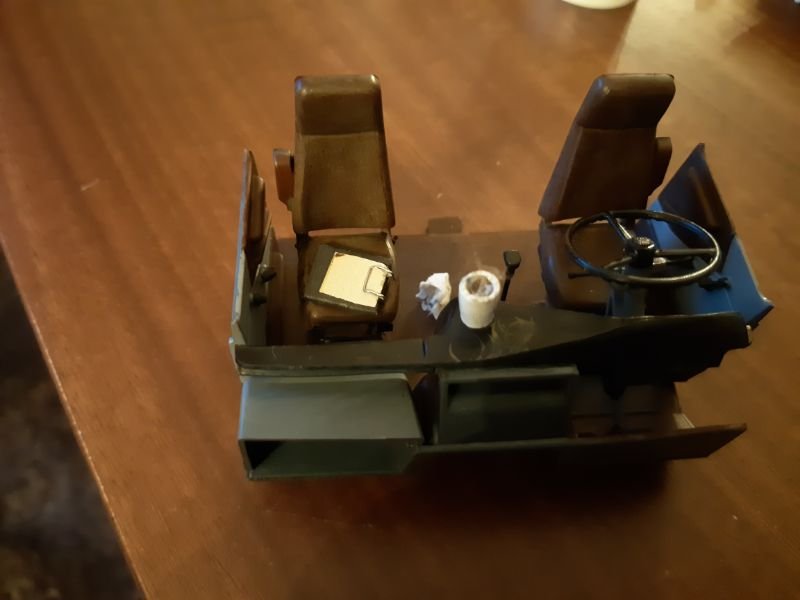
Hi all well I've made a big decision (I thought there was too much back end on it) so I've decided theres enough room for rear seats. There were lots of coach builders in those days and you could have it built anyway you liked if you had the money, so whose to say it wasnt like this.
The only thing now I've bitten the bullet is should I stick with a single seat or go with a double and have I gone back far enough.

-
Another update
- lmagna, michael mott, shipman and 9 others
-
12
-
Off ebay falcon workshop supplies
M2 2mm stainless steel socket button head allen bolts (I sprayed them black)
- lmagna, popeye the sailor, mtaylor and 3 others
-
6
-
I will check where I got them from (was quite a while ago will have to go through my emails. There are quite a few screws missing from the detail up kit.
- lmagna, popeye the sailor, mtaylor and 3 others
-
6
-
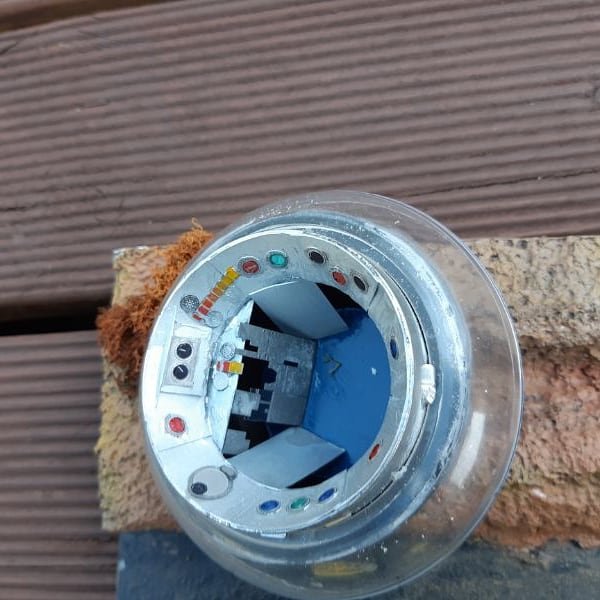
Remember the weird bit before anyone got any ideas.
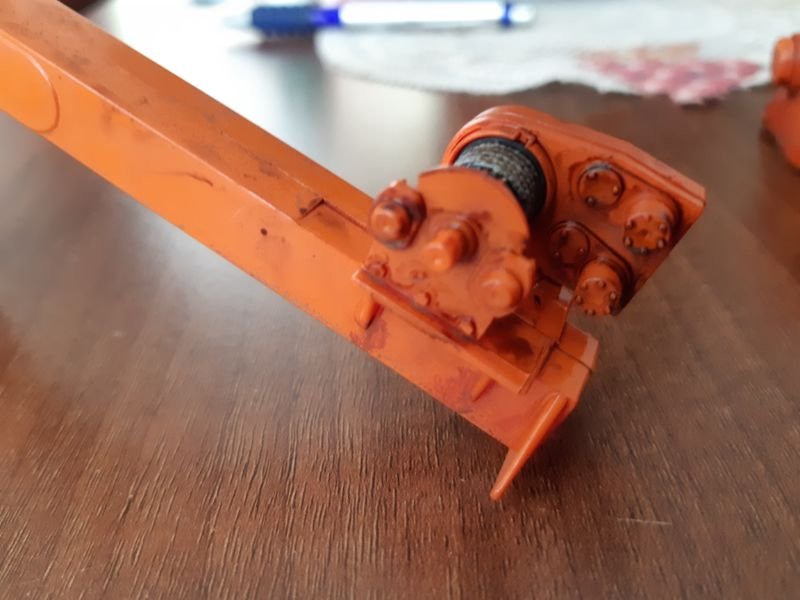
Bit of work done on the hoist
-
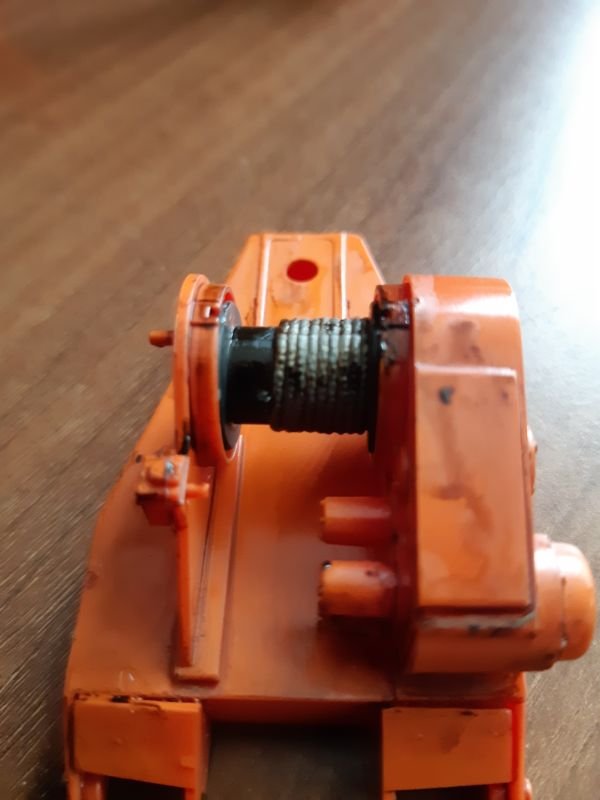
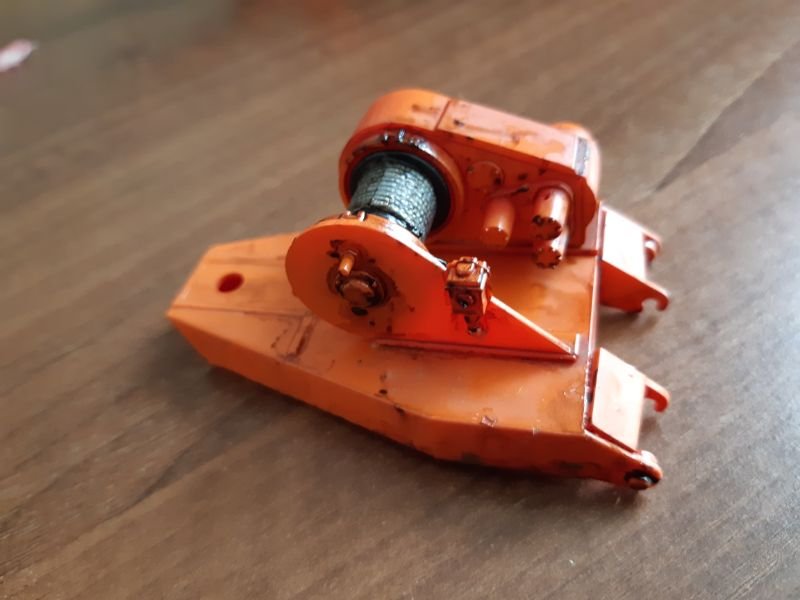
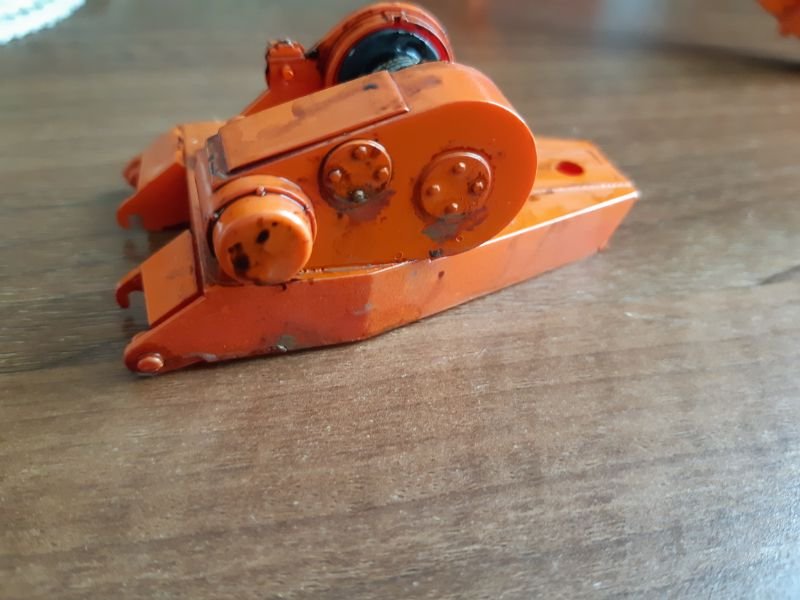
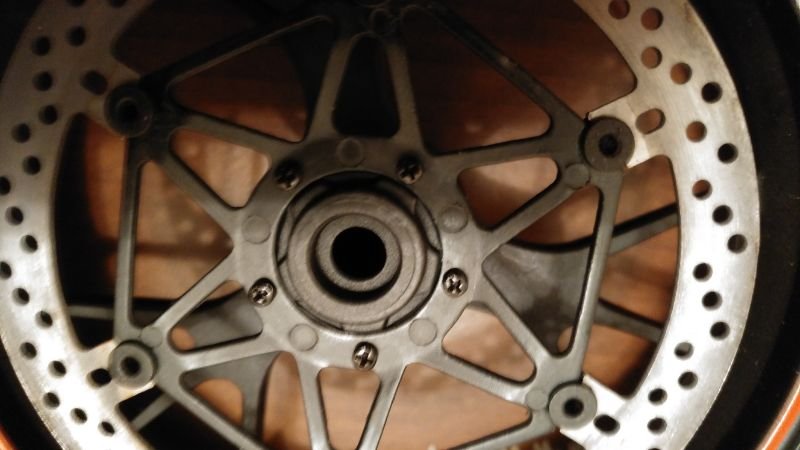
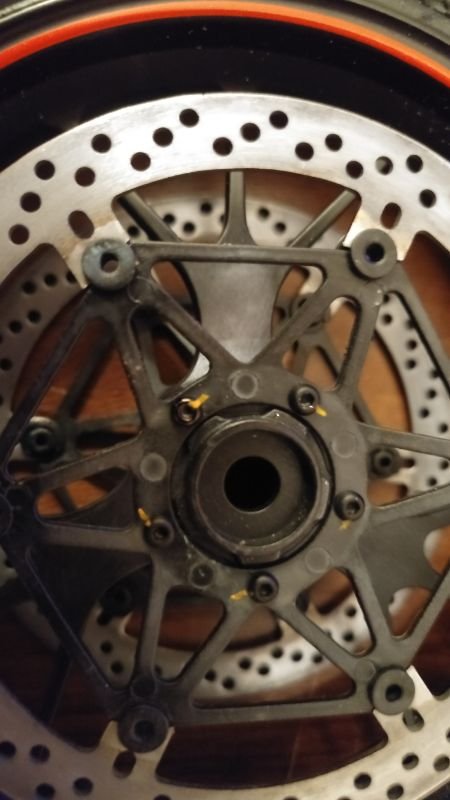
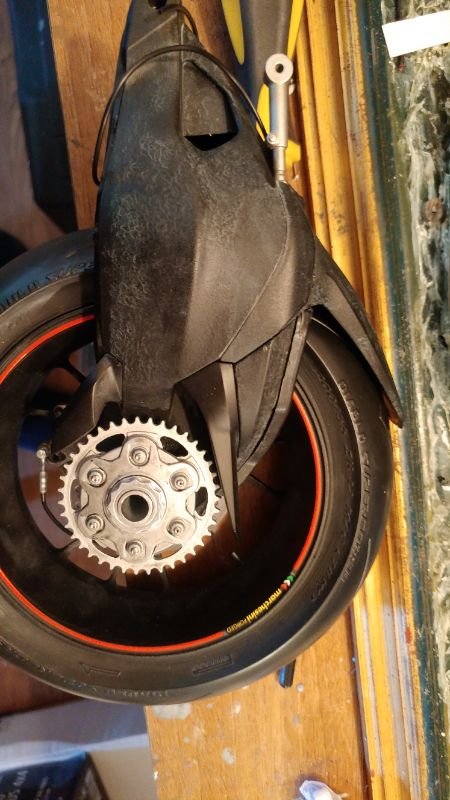
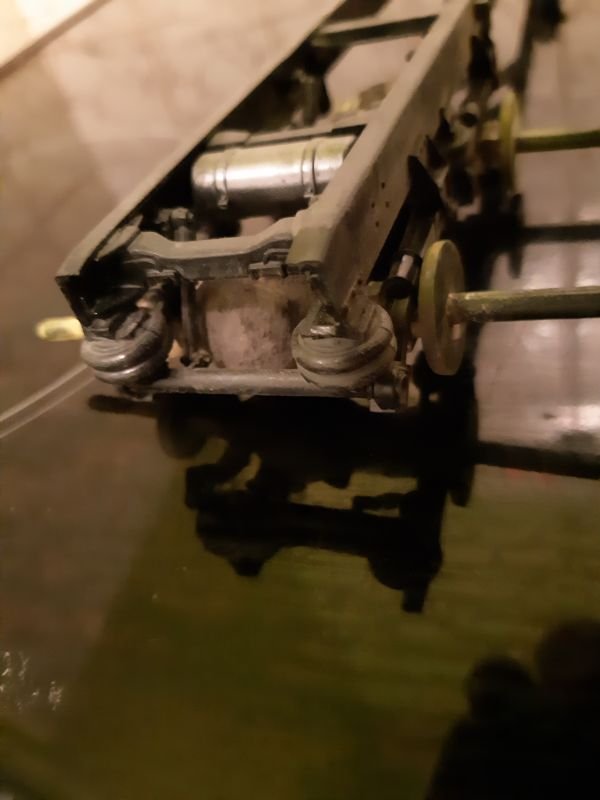
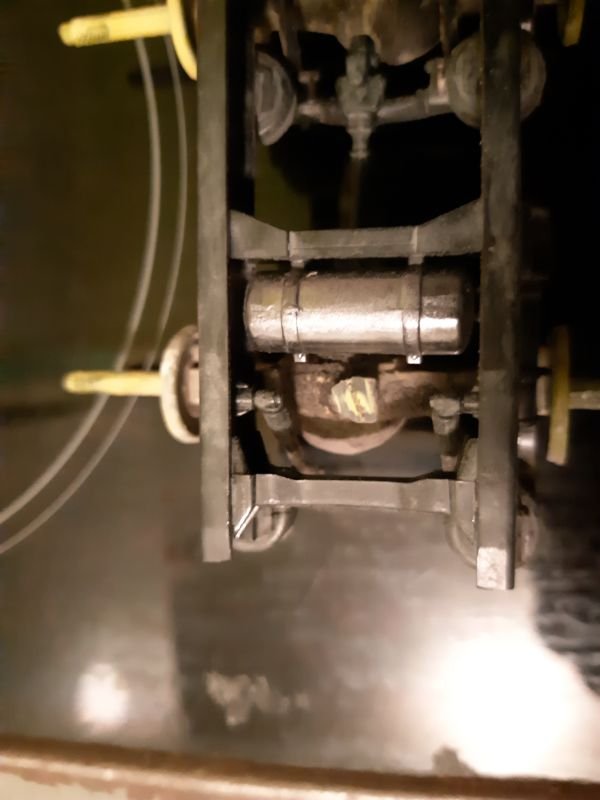
Next update working on the rear wheel this is what pocher would have you use.
So for the horrendously expensive price of £7.50(including postage)I got these.
Money well spent, the eagle eyed among you will notice I even put the yellow paint on the allen bolts to show if they have loosened. They would even have you attach the rear sprocket with Phillip's screws.

-
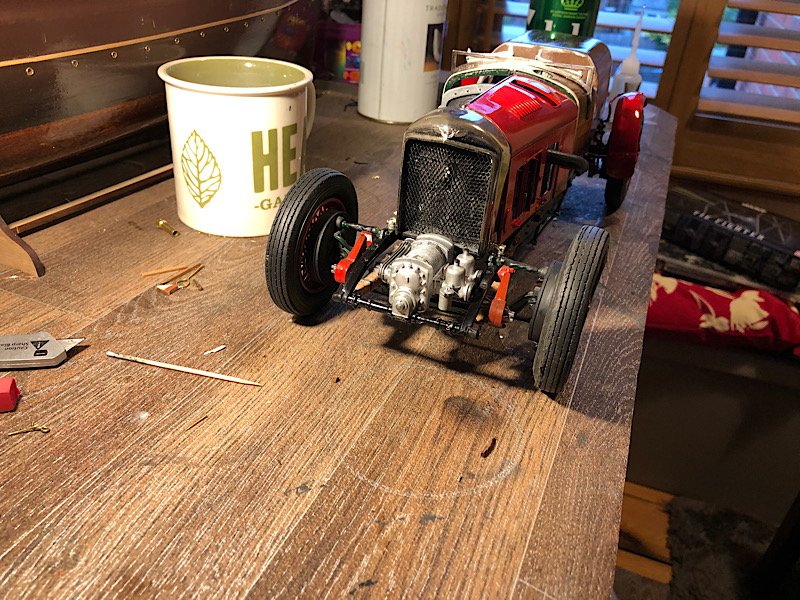
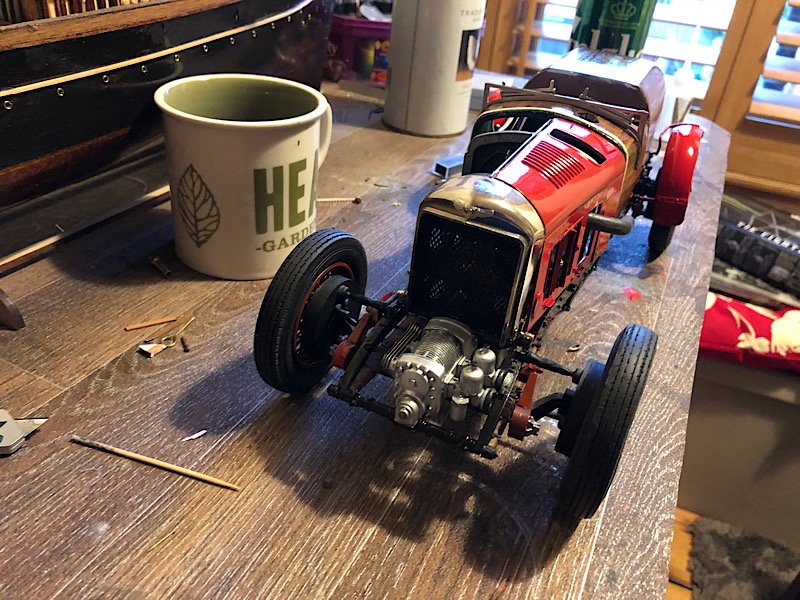
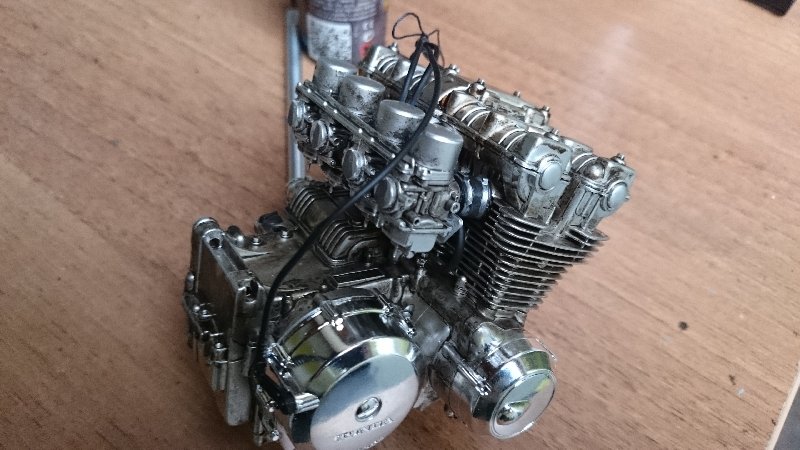
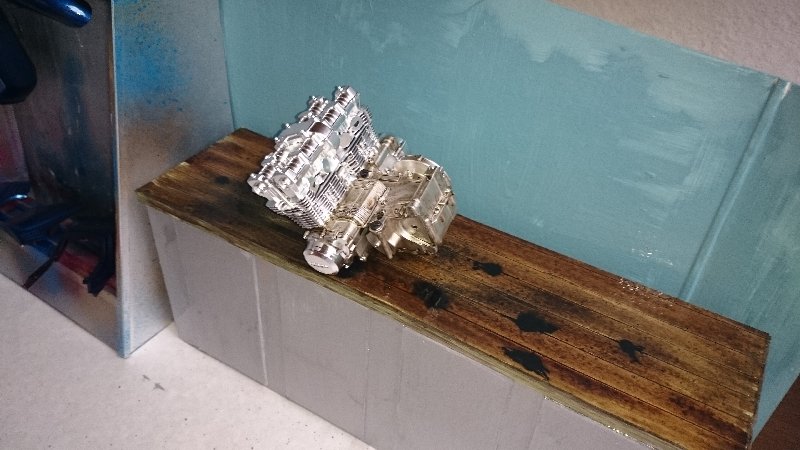
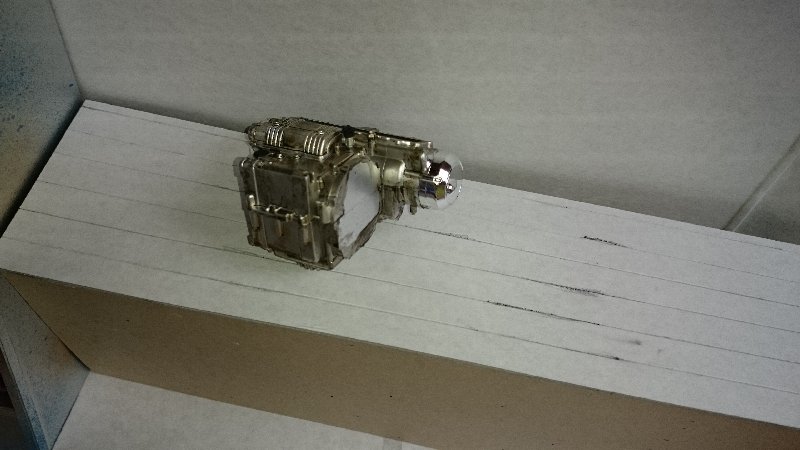
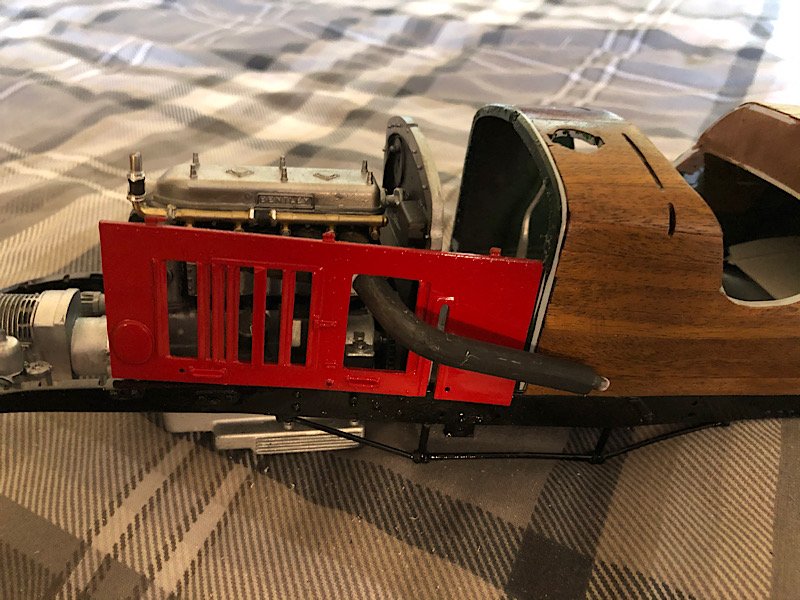
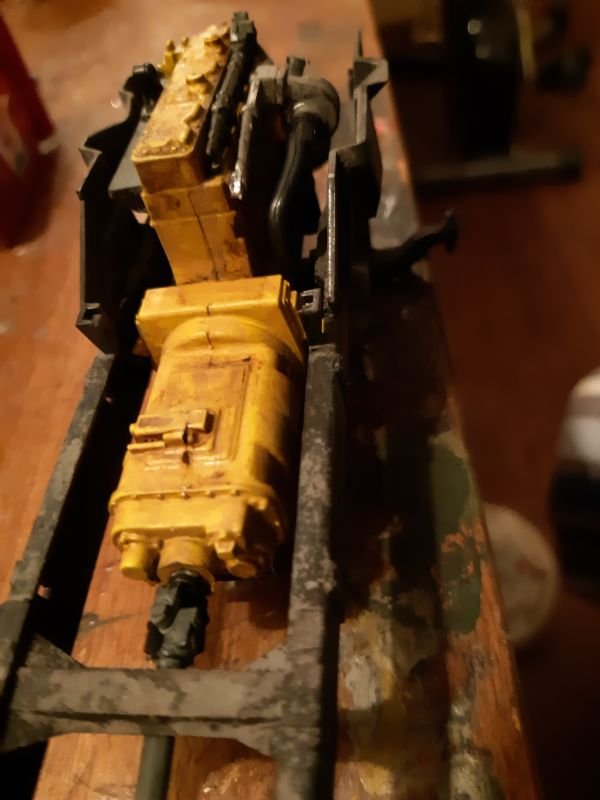
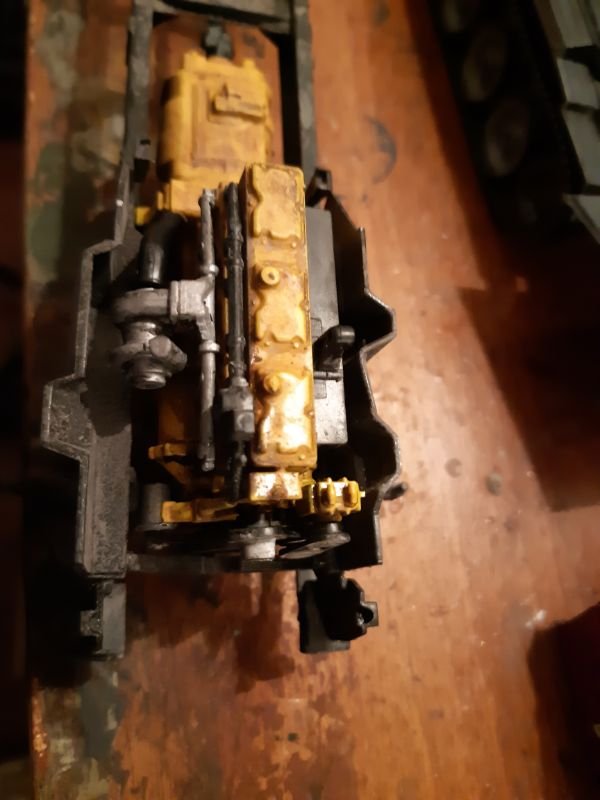
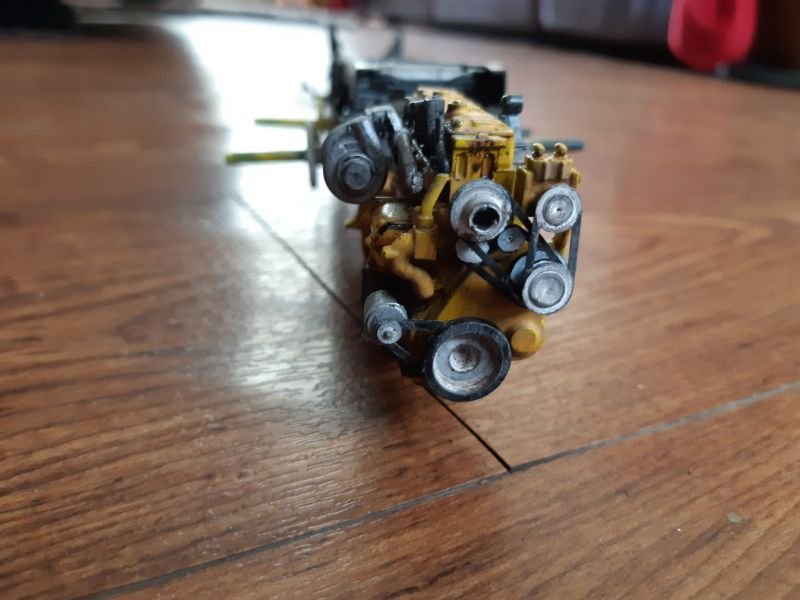
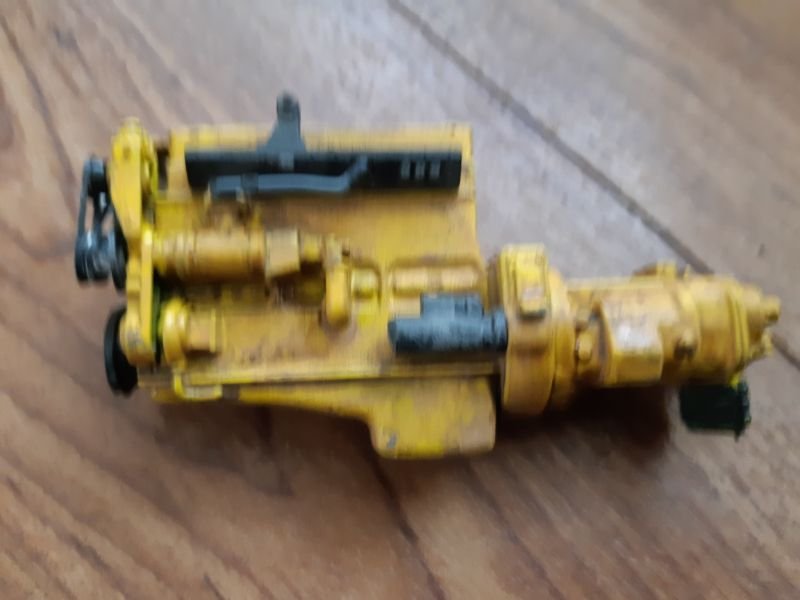
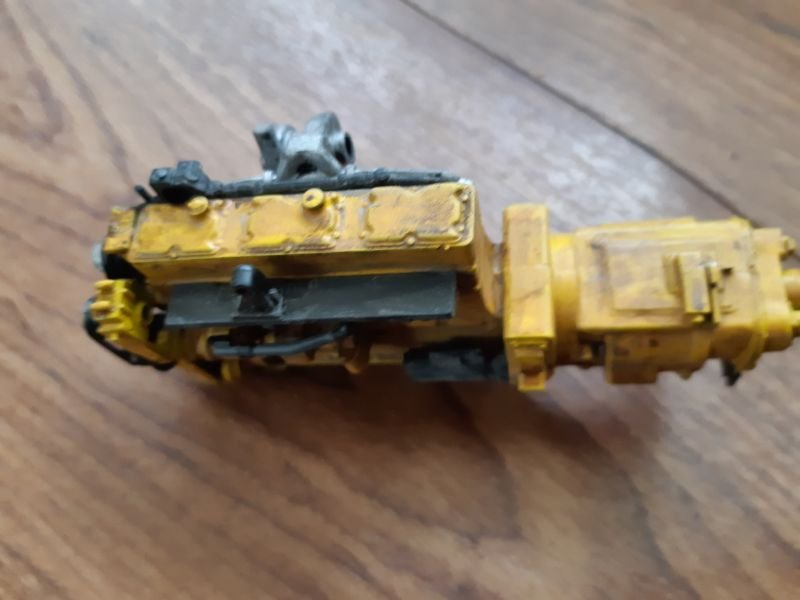
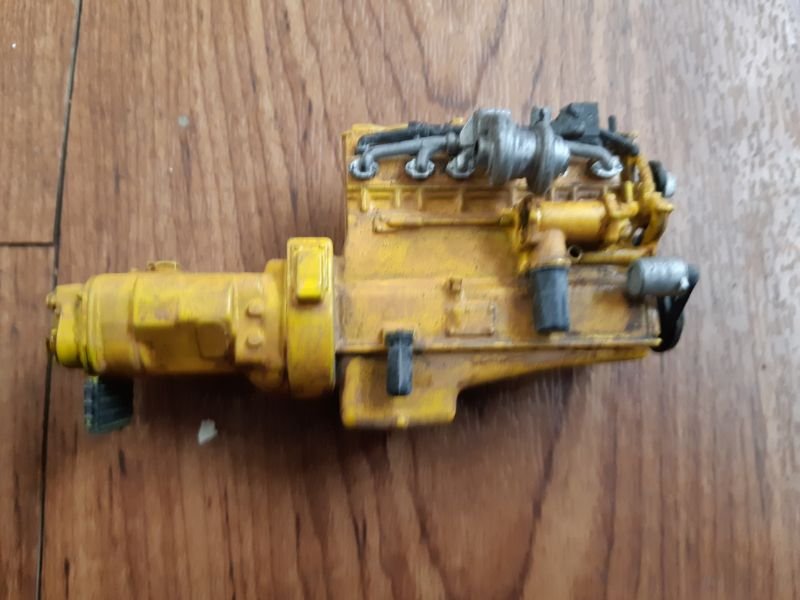
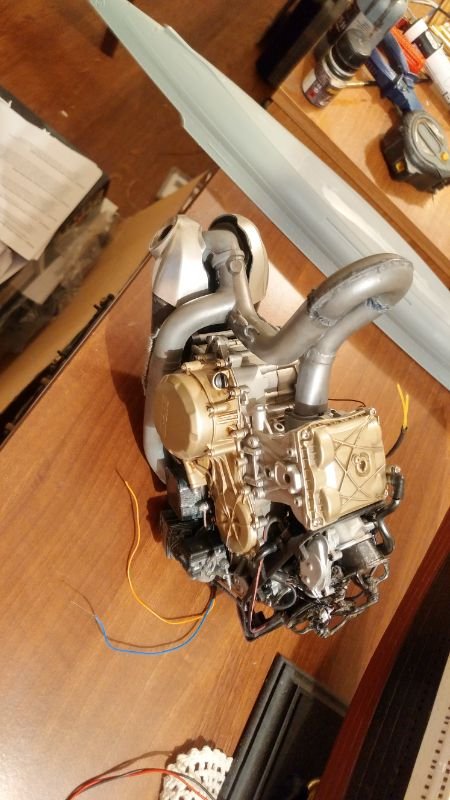
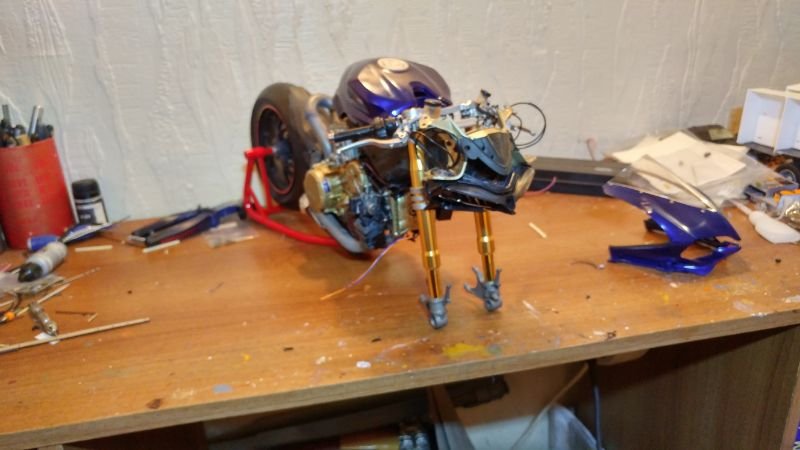
Did some work on the engine (as I said at the start because this kit was designed to be built complete I had to overcome some problems firstly the carb intakes were blanked off so I had to drill those out. Then of course I had to bung the hole up with some rag to stop the dust getting in there.
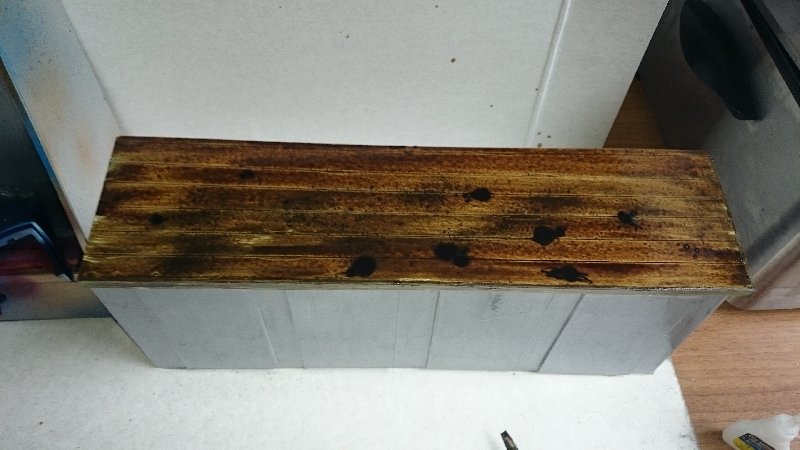
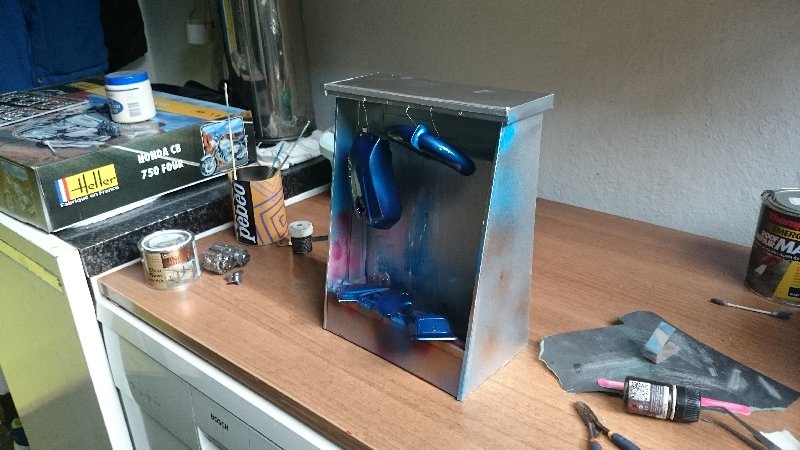
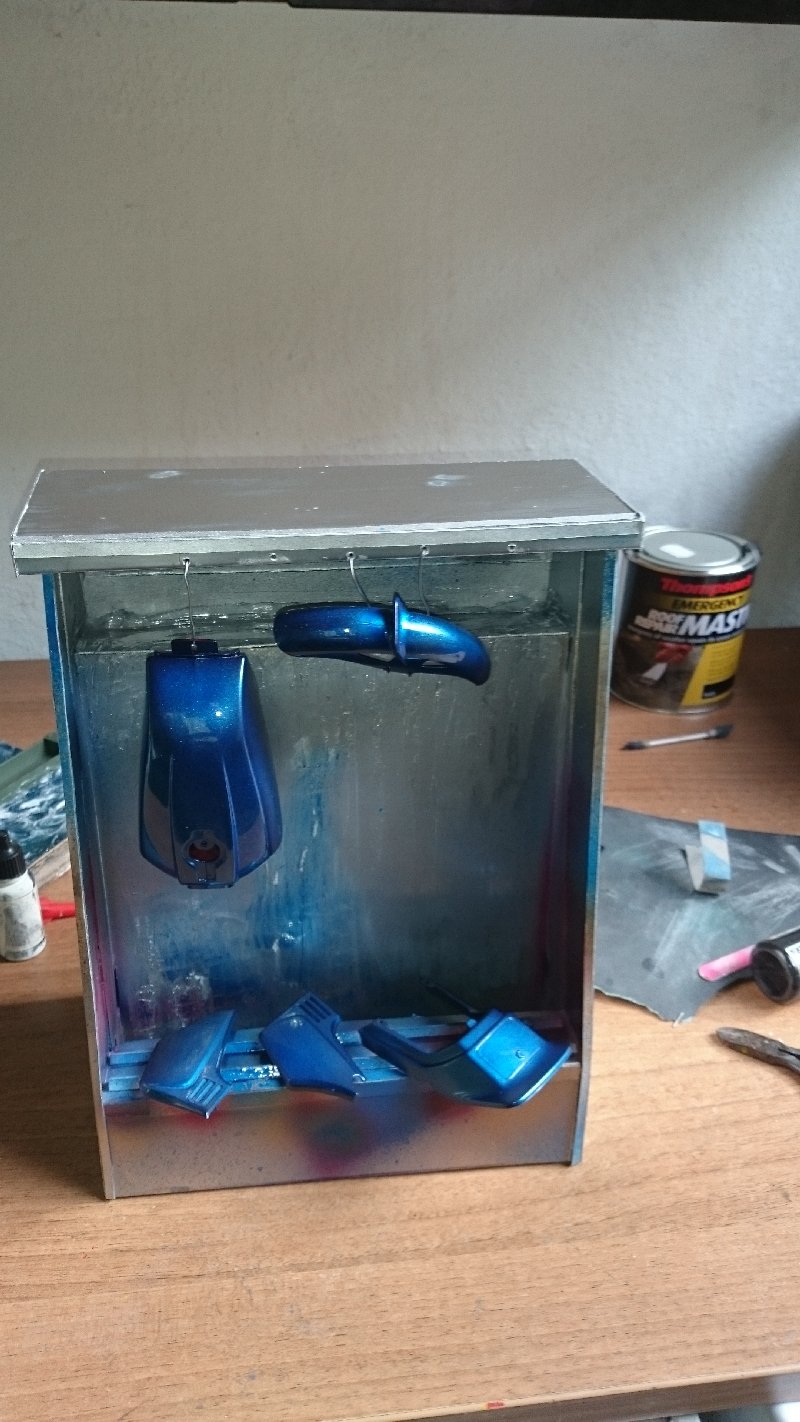
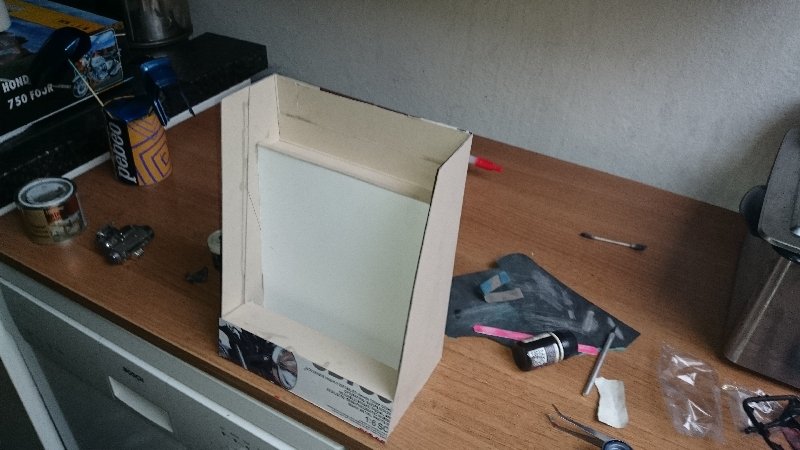
Of course all workshops need a bench.

- yvesvidal, Old Collingwood, mtaylor and 4 others
-
7
-
I think you're justified to have an ego on this there is some excellent modelling skills being shown here.
-
-
Thanks guys, yes it's based on and actual car.
- popeye the sailor, shipman, lmagna and 5 others
-
8
-
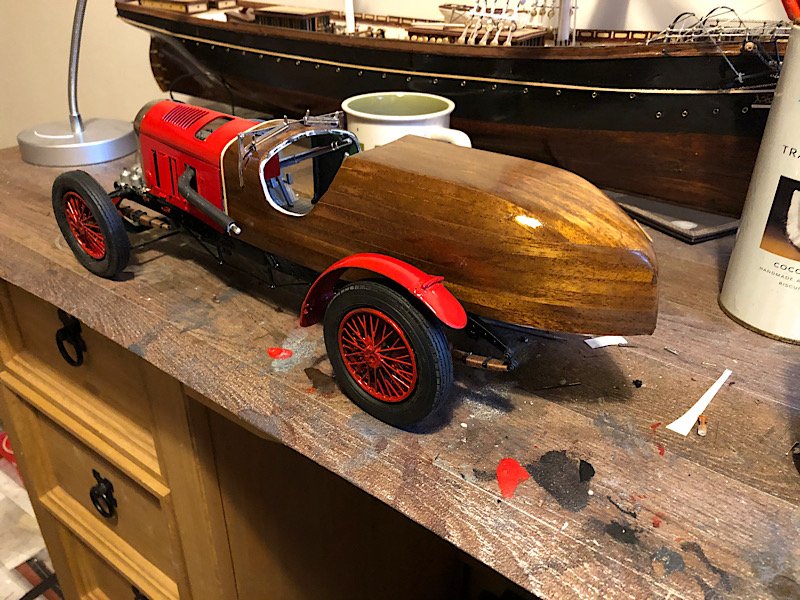
Hi all here is the next update

- marktiedens, oneslim, hexnut and 10 others
-
13
-
-
No guesses oh well. On with the build.
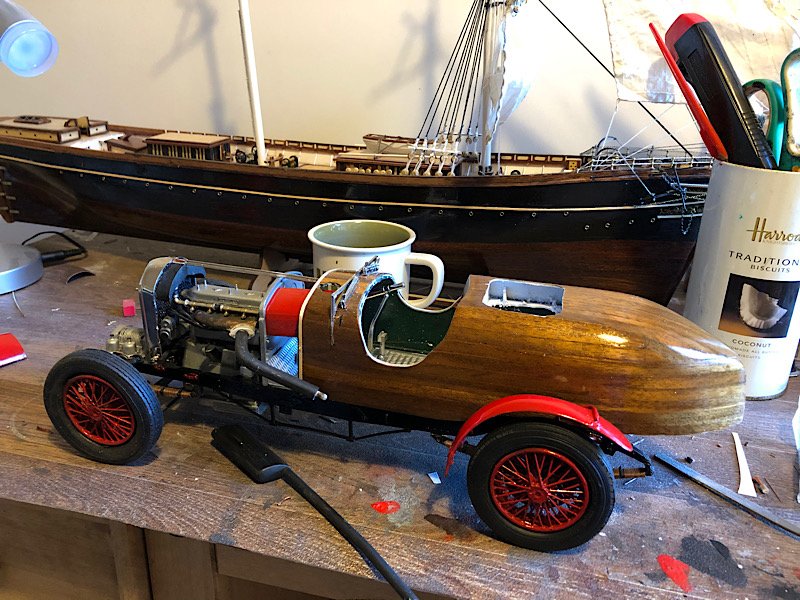
Joe likes a cup of steaming coffee.


-
-
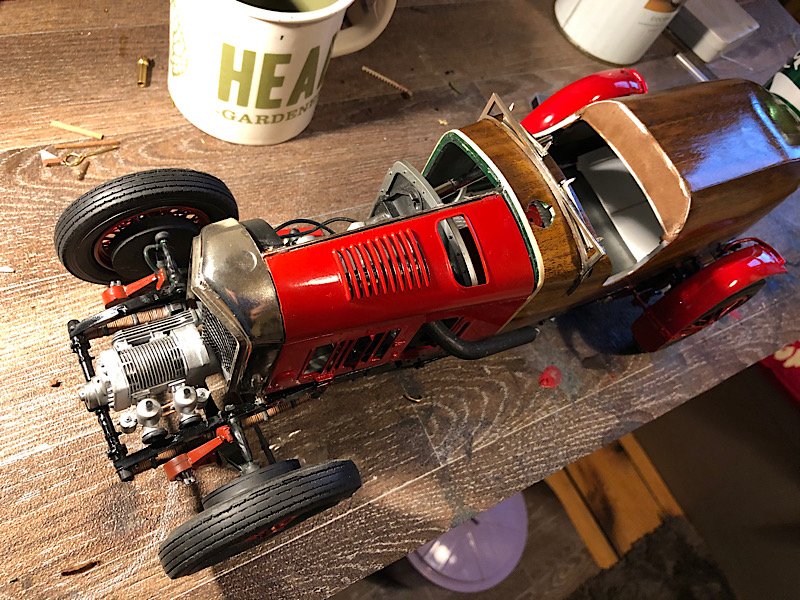
Well I've spent most of tonight working on the exhaust (it goes down and under the car on the original version) it has to come out through the side panel on this version and on the actual car would have nuts to undo in order to move the exhaust and open the side panel. On this I obviously cant glue the exhaust to the manifold as I wont be able to put the side panel on and I cant put the side I've managed to figure a way to do it similar to the way it would have been done on the real car (will post pics when I've painted it all)
- Old Collingwood, mtaylor, lmagna and 4 others
-
7
-
-
That's a super looking build mate.
- lmagna, Edwardkenway, Canute and 3 others
-
6
-
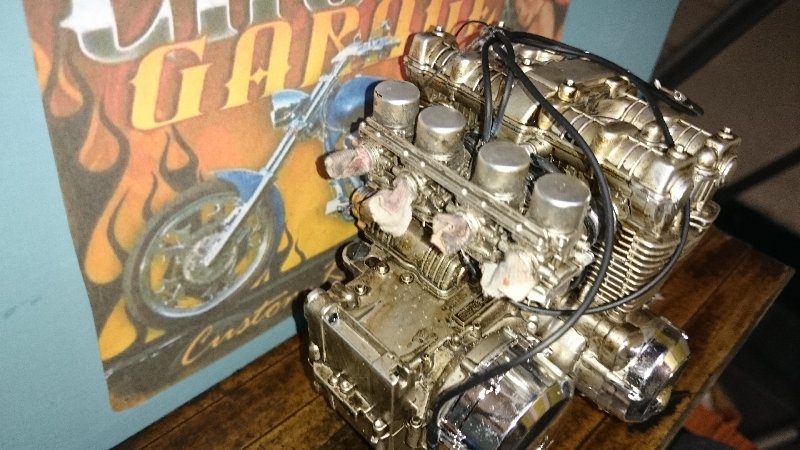
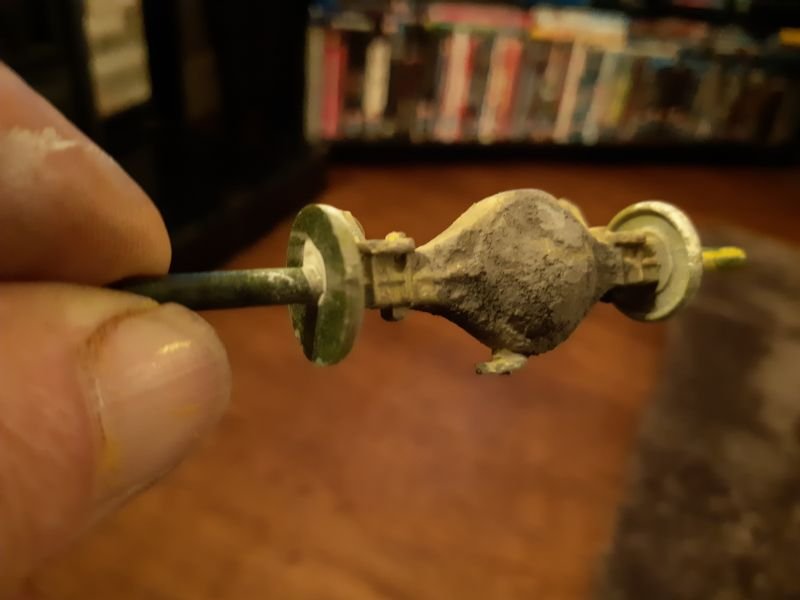
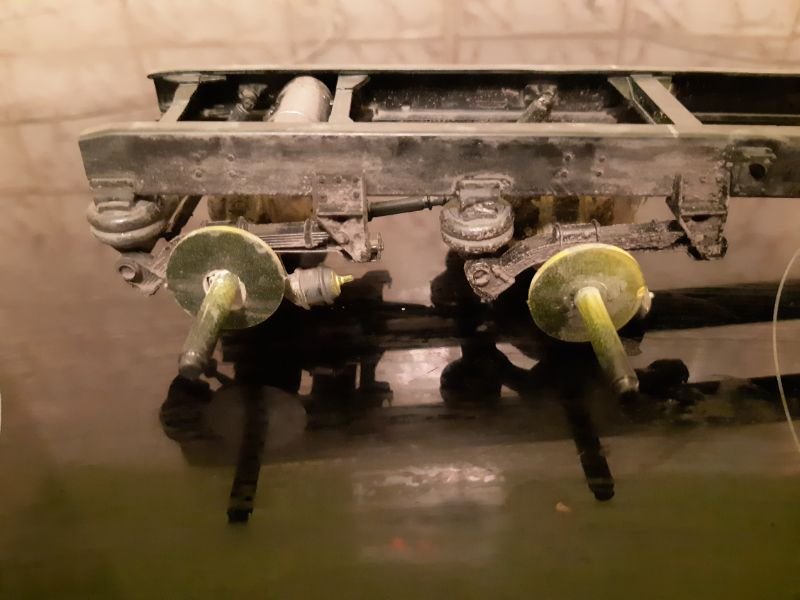
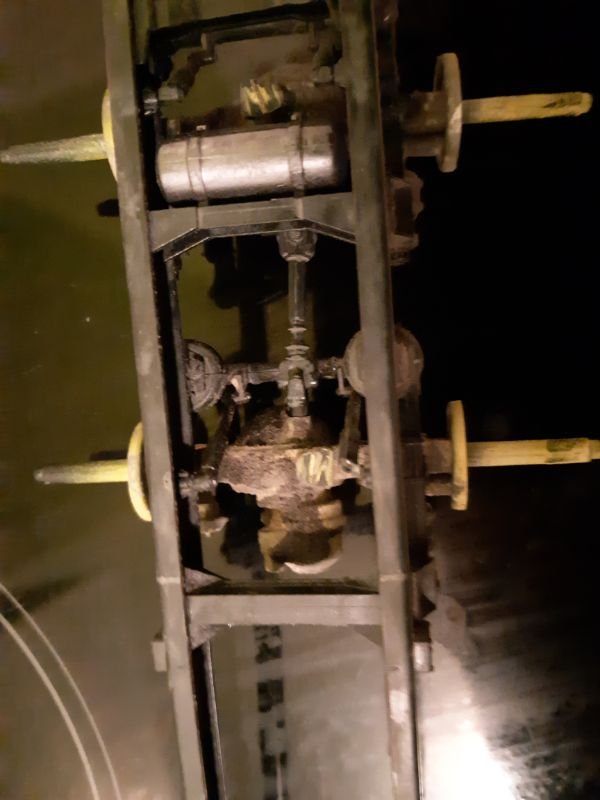
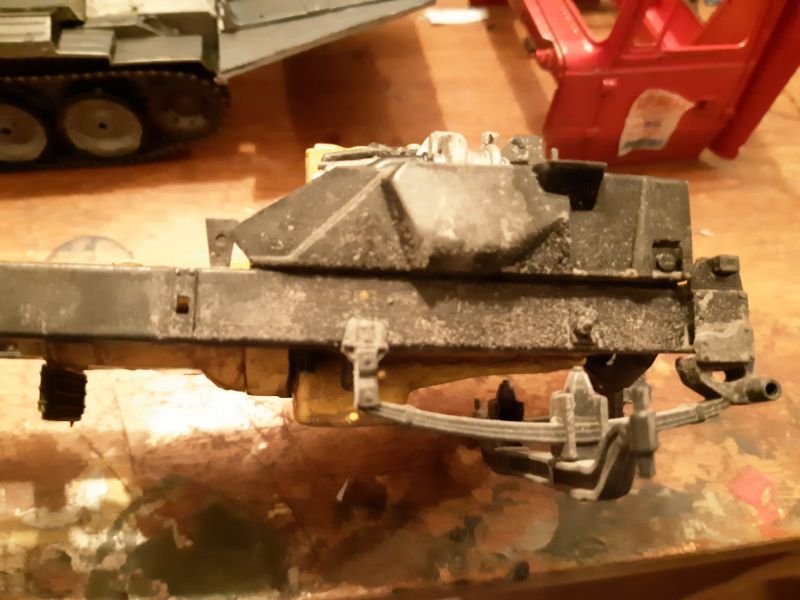
More dirtying up of the chassis and engine.
Poor old Joe's truck looks like it's on its last legs.
- marktiedens, lmagna, Nirvana and 6 others
-
9
-
Dont know what gauge it's just florists wire .
- popeye the sailor, Egilman, Canute and 3 others
-
6
-
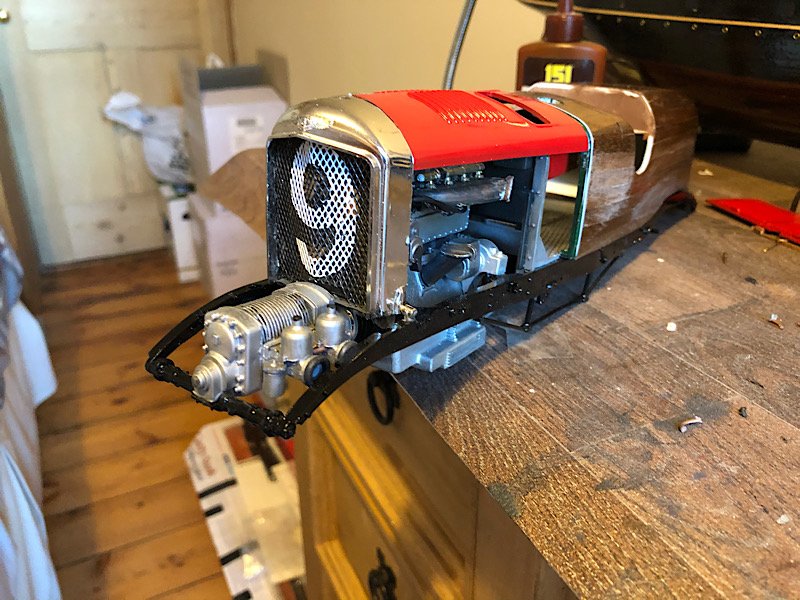
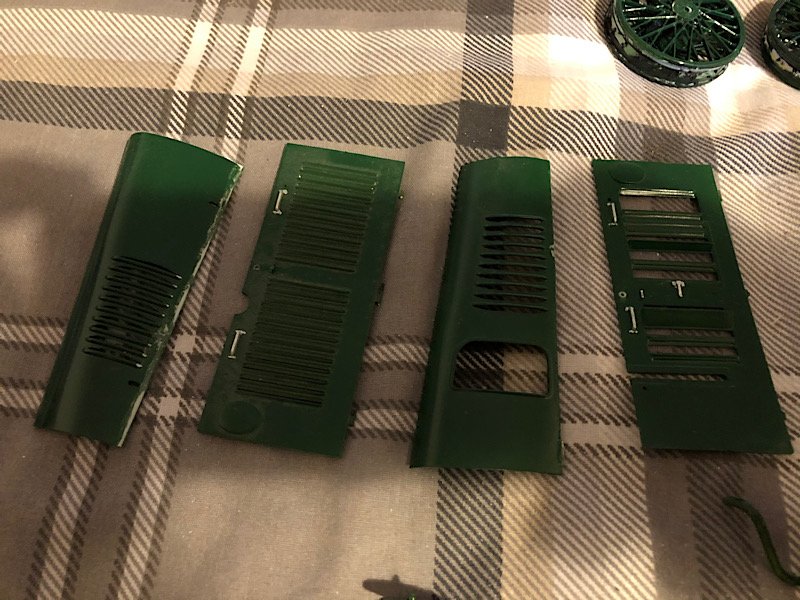
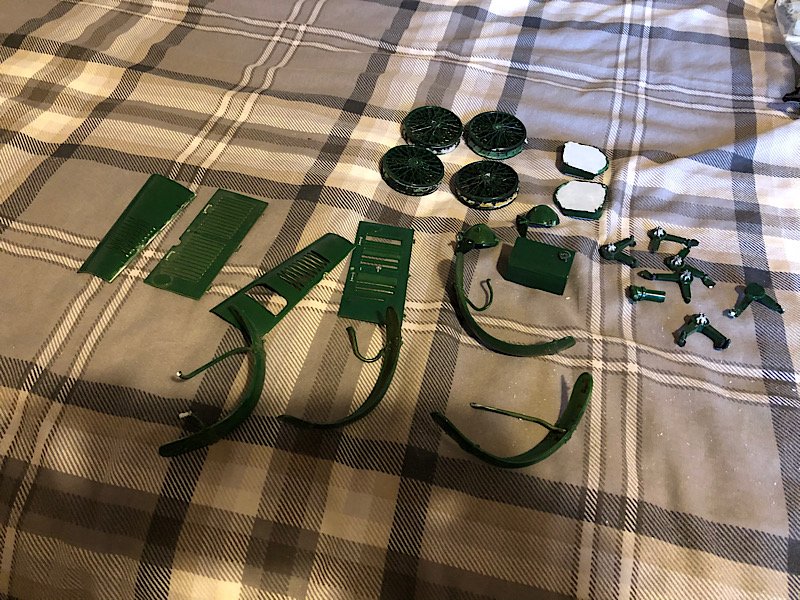
So I added the exhaust it was very difficult to show the bad fit in a photo but it took 3 days countless swearing and not a small amount of plasticard and filler to achieve a decent fit (I even took the spre plugs out so I could get at the screws holding it together to loosen them off and try giggling it to try and get it to fit)(and this is not the worst part of the kit) the radiator on this kit is a joke (wait till I get to it and you will see what I mean) dont get me wrong it's a huge kit with loads of potential but they did so much penny pinching on it.


- mtaylor, Old Collingwood, Canute and 7 others
-
10
-


American Wrecker Truck by kpnuts - Italari - 1/24 - PLASTIC
in Non-ship/categorised builds
Posted
Another teaser.