vossiewulf
-
Posts
1,477 -
Joined
-
Last visited
Content Type
Profiles
Forums
Gallery
Events
Everything posted by vossiewulf
-
 Thanks Peter! Studying the pics now
 -
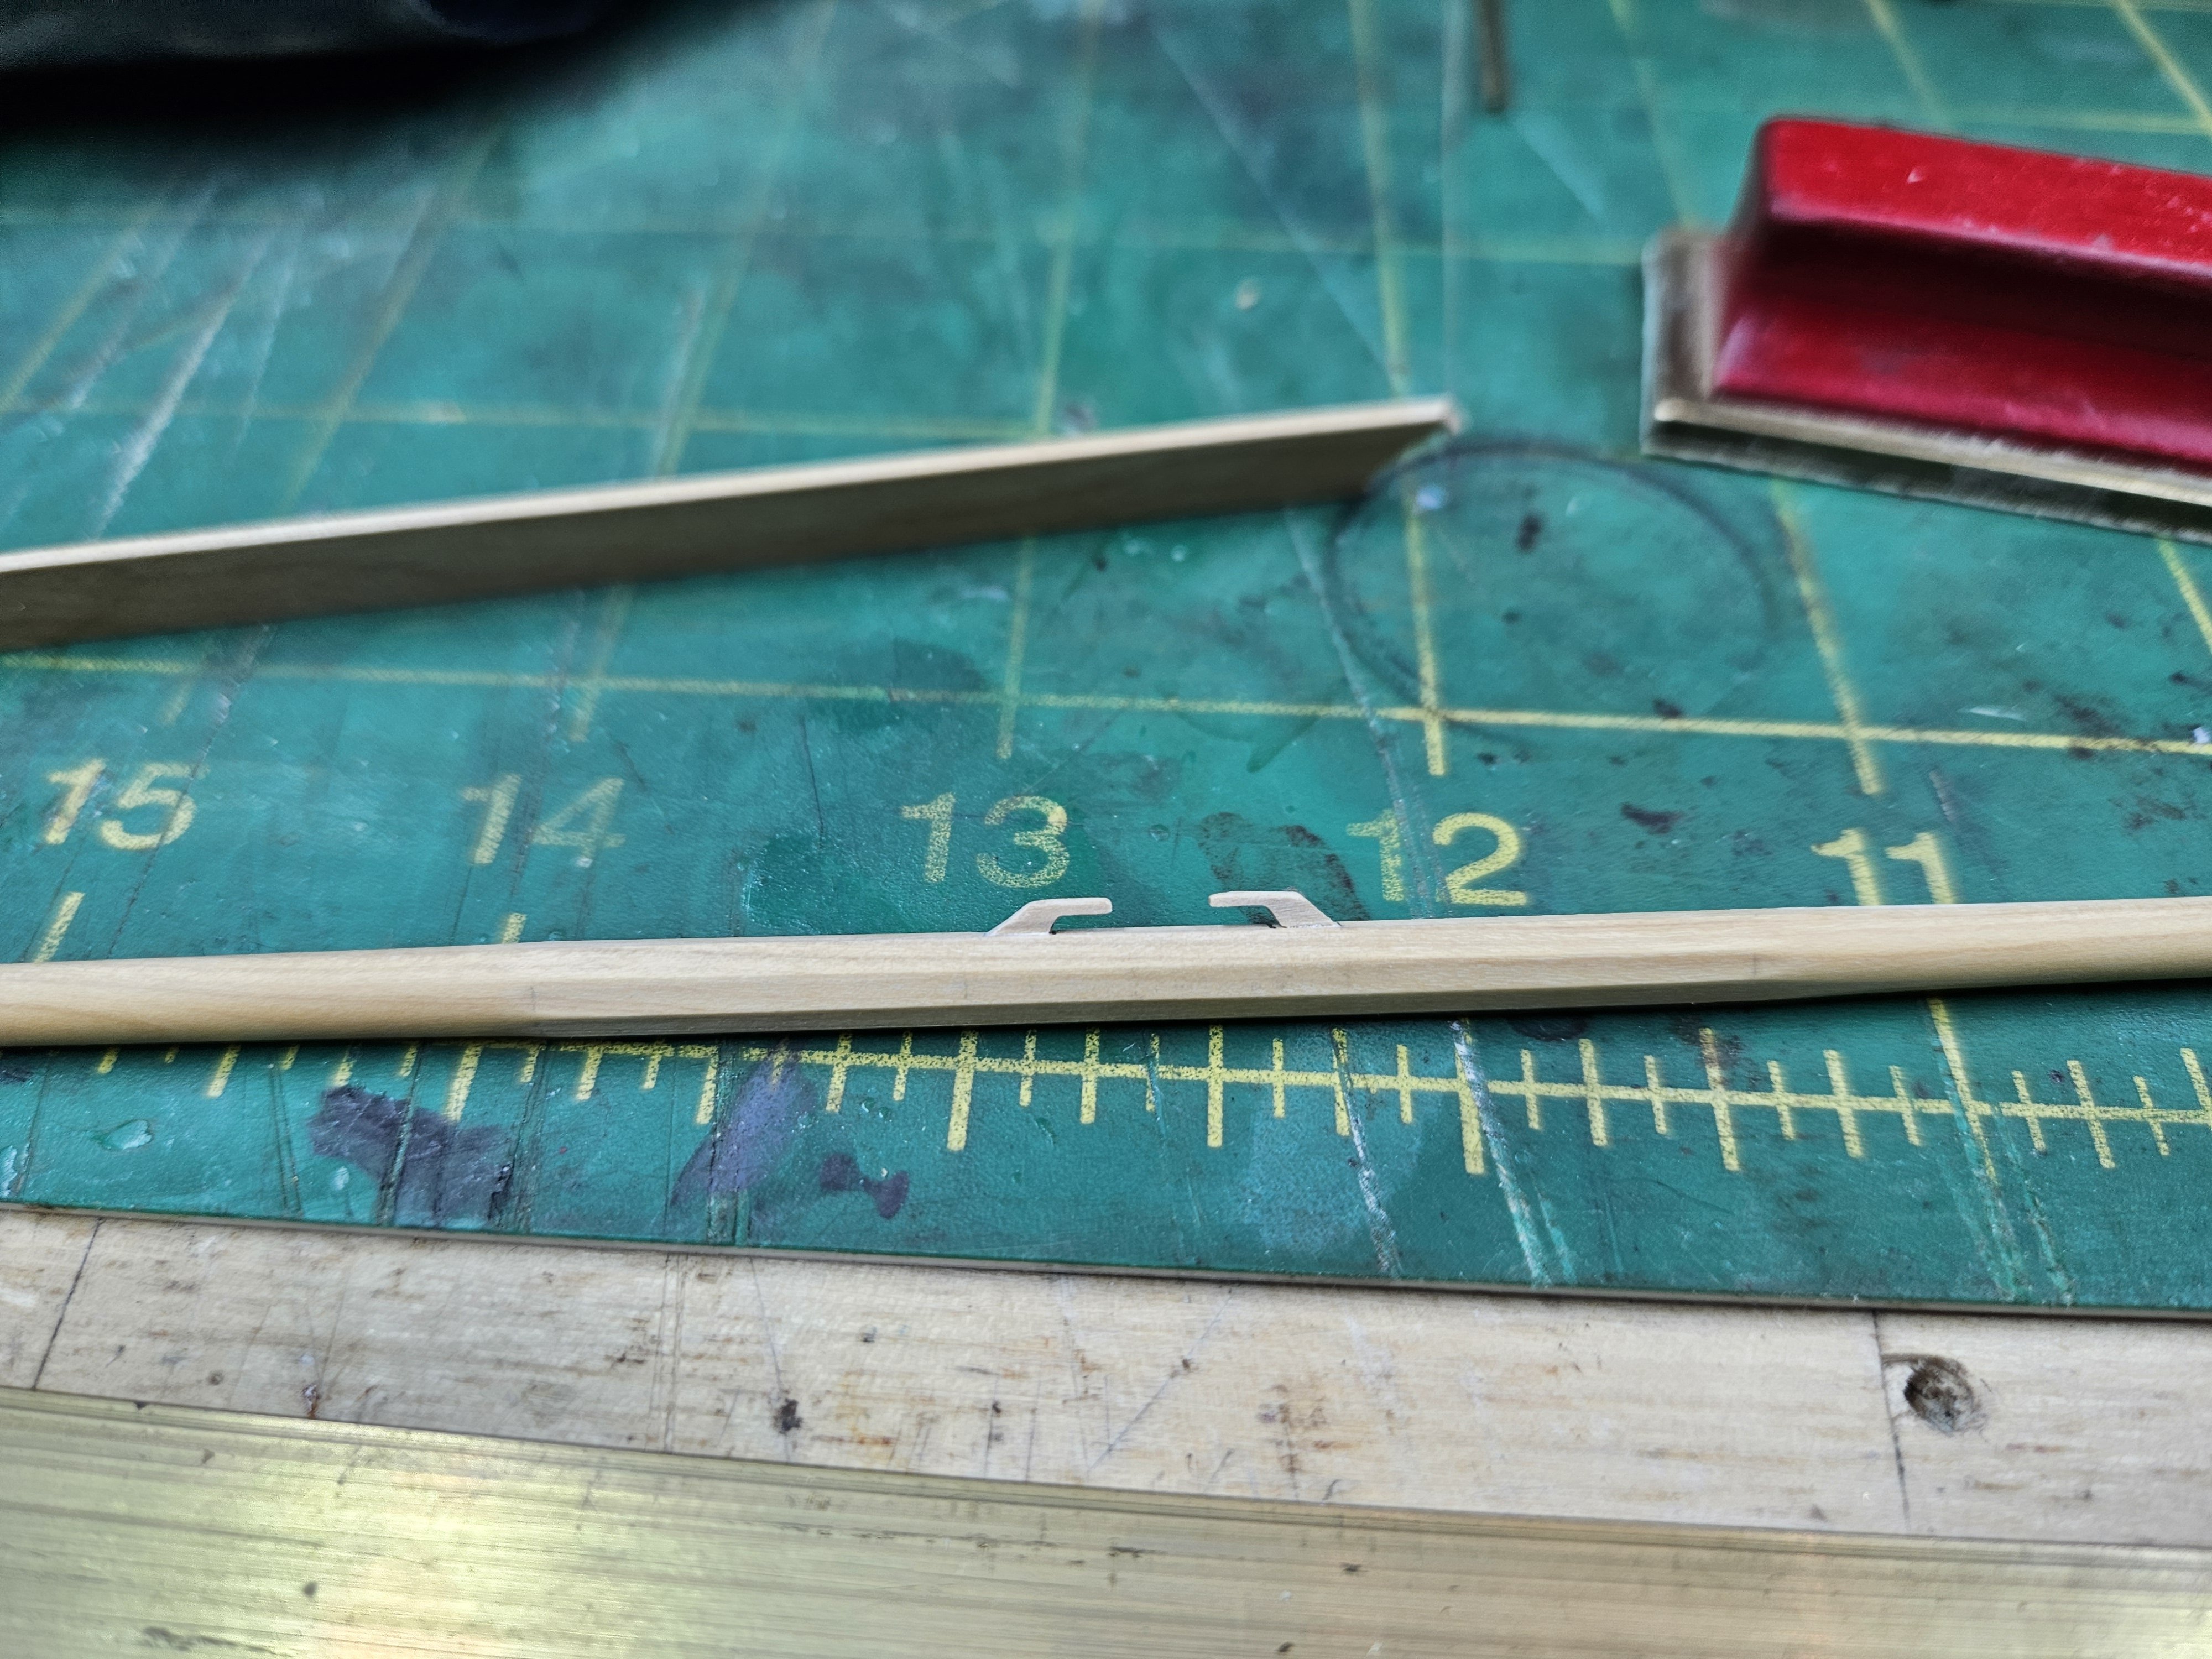
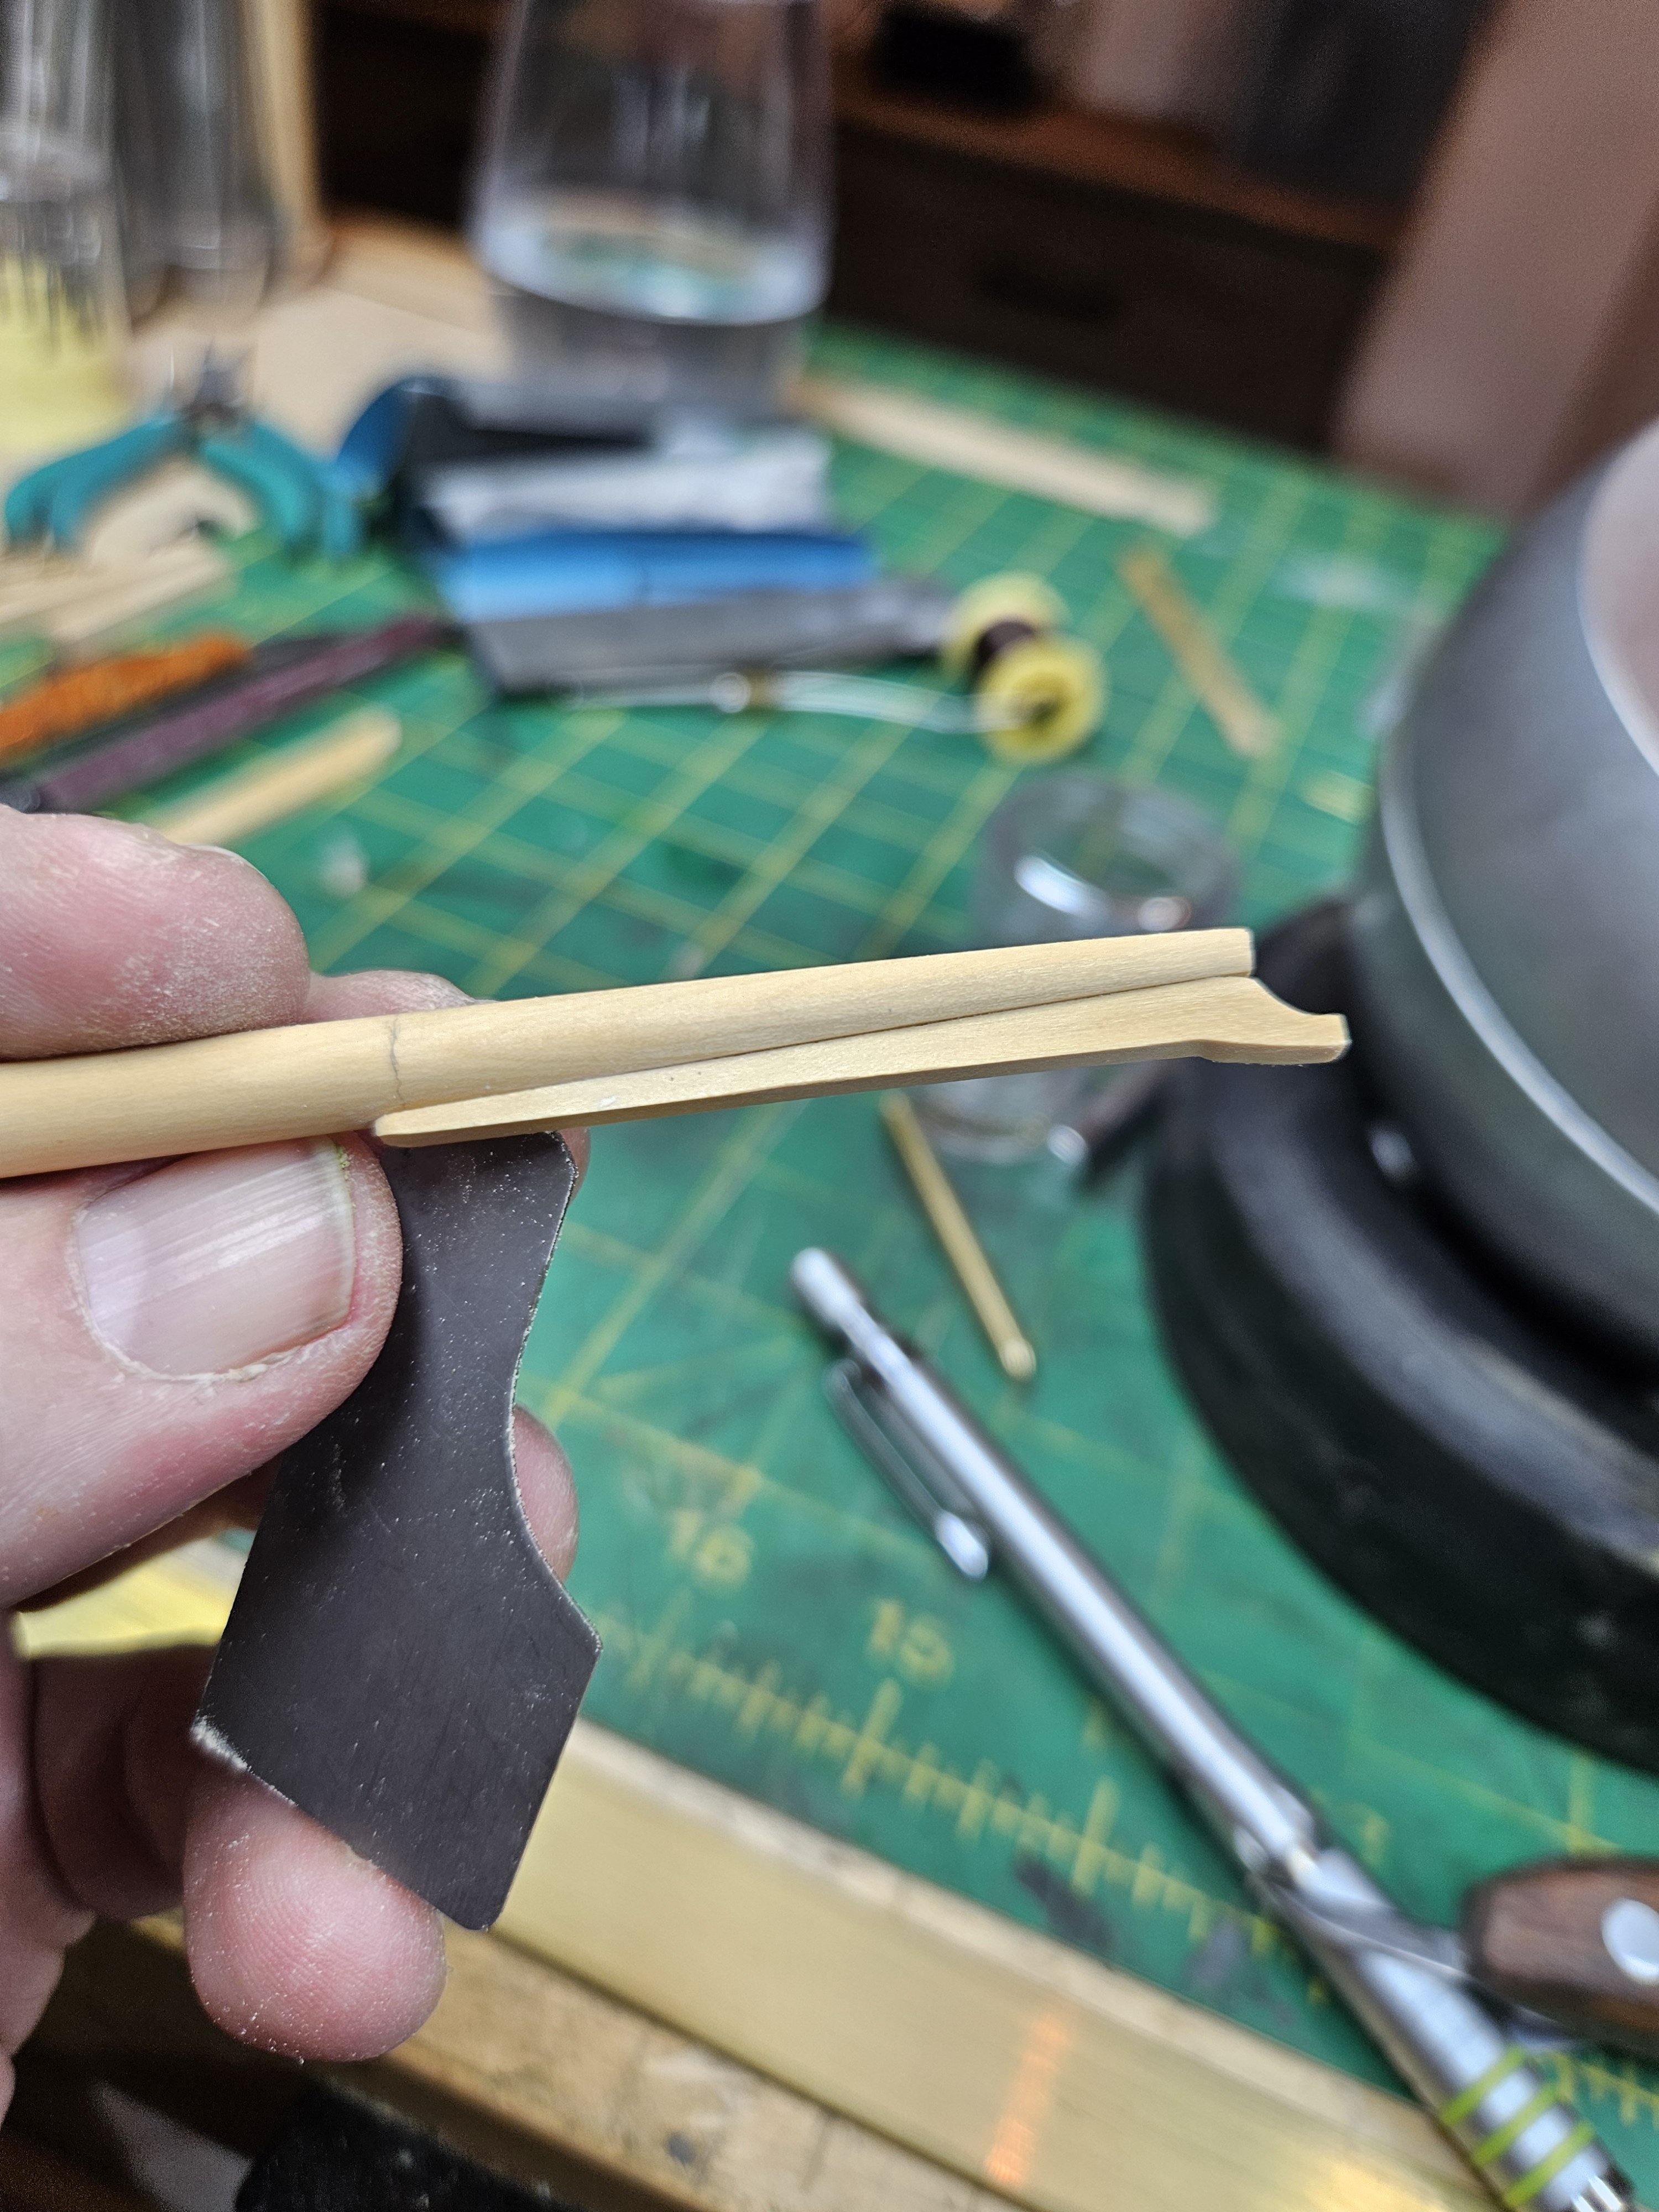
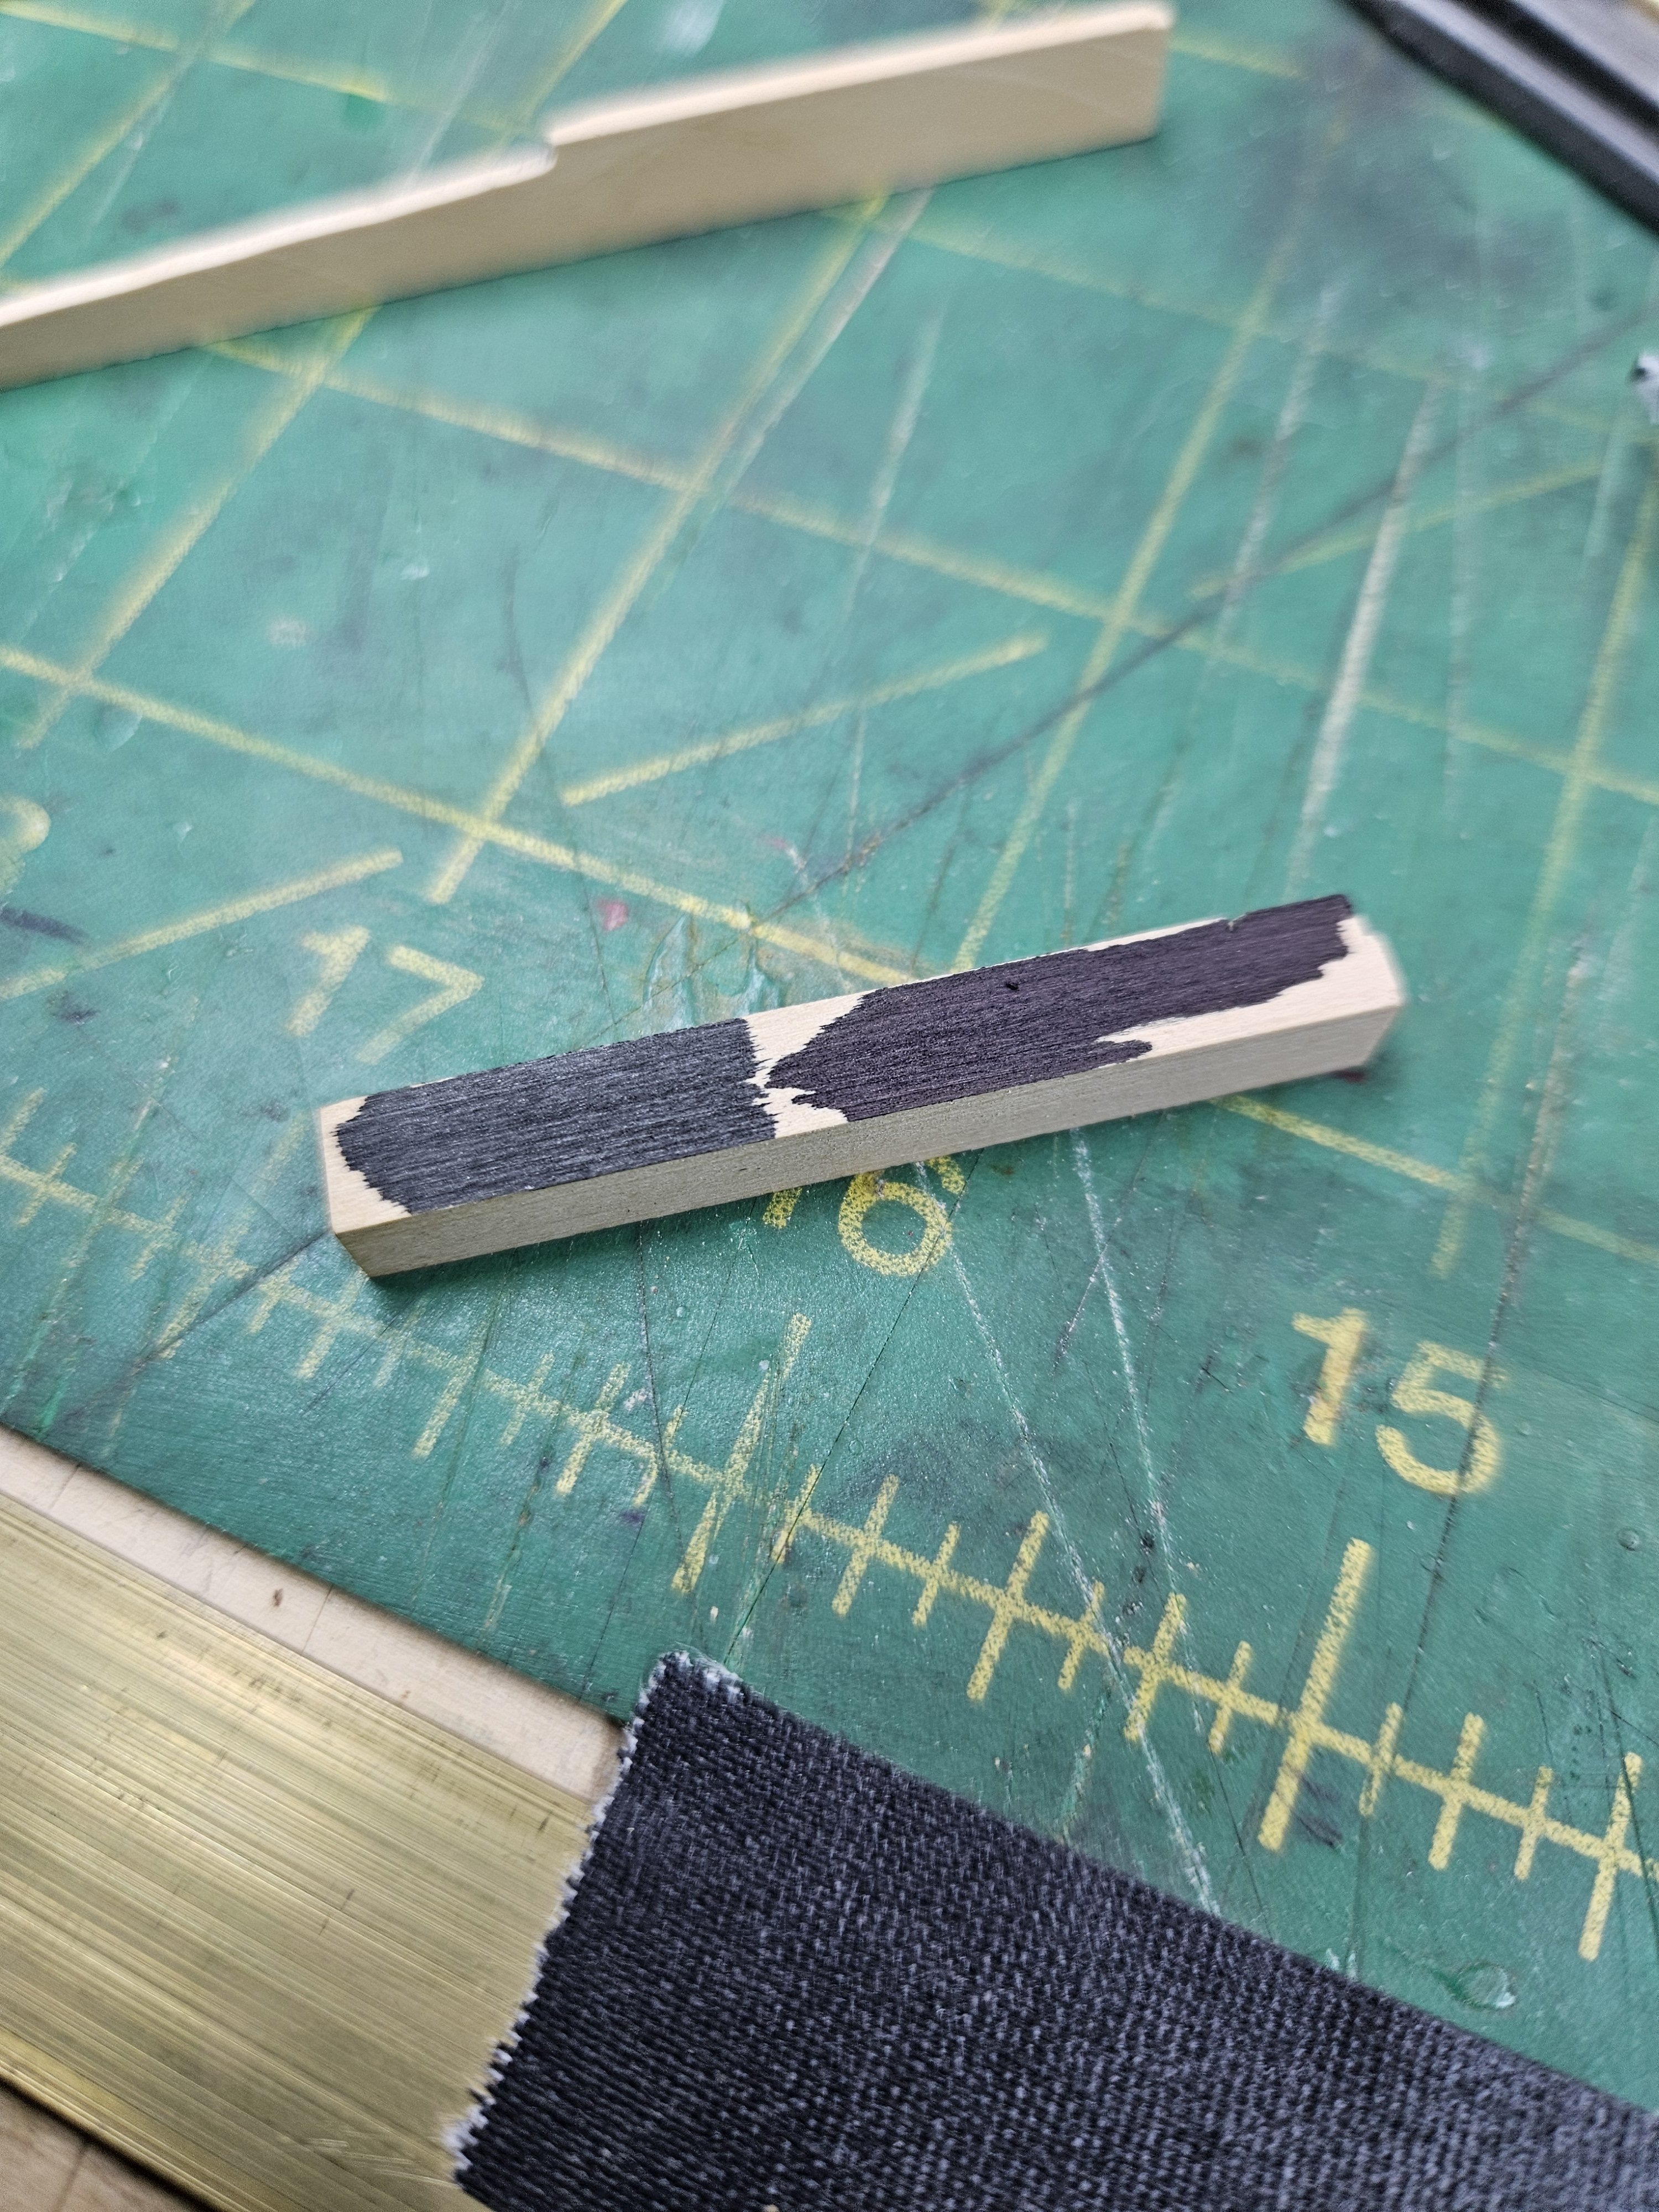
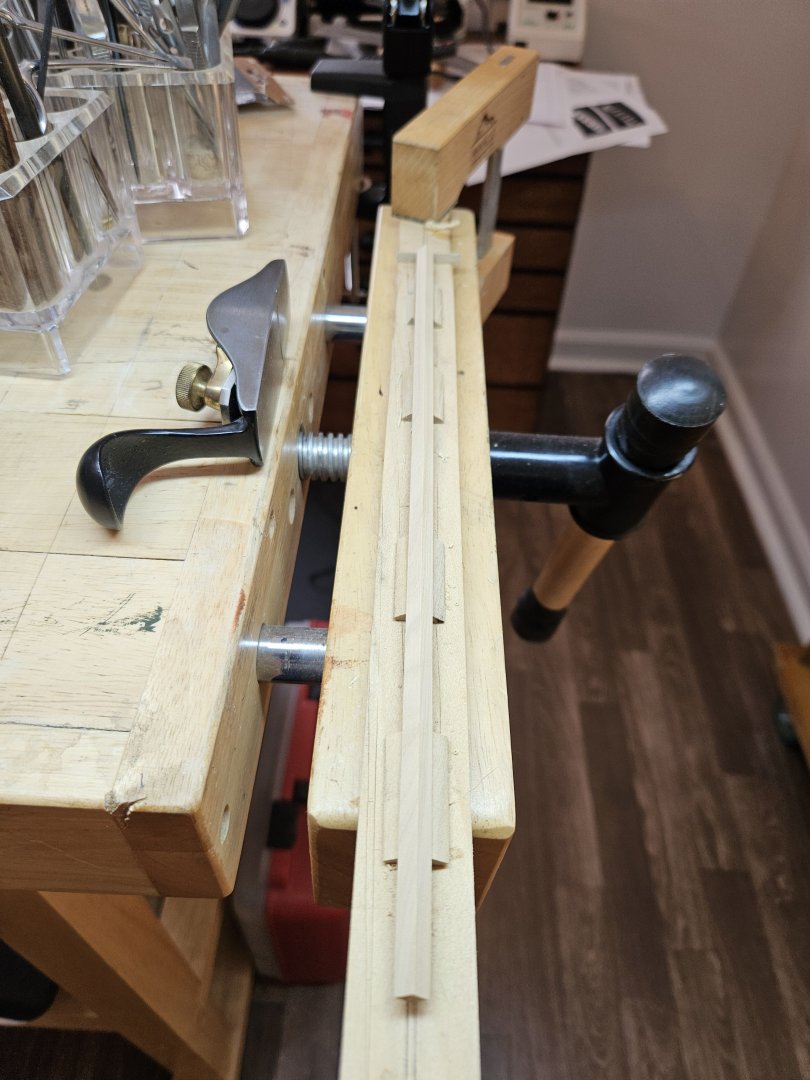
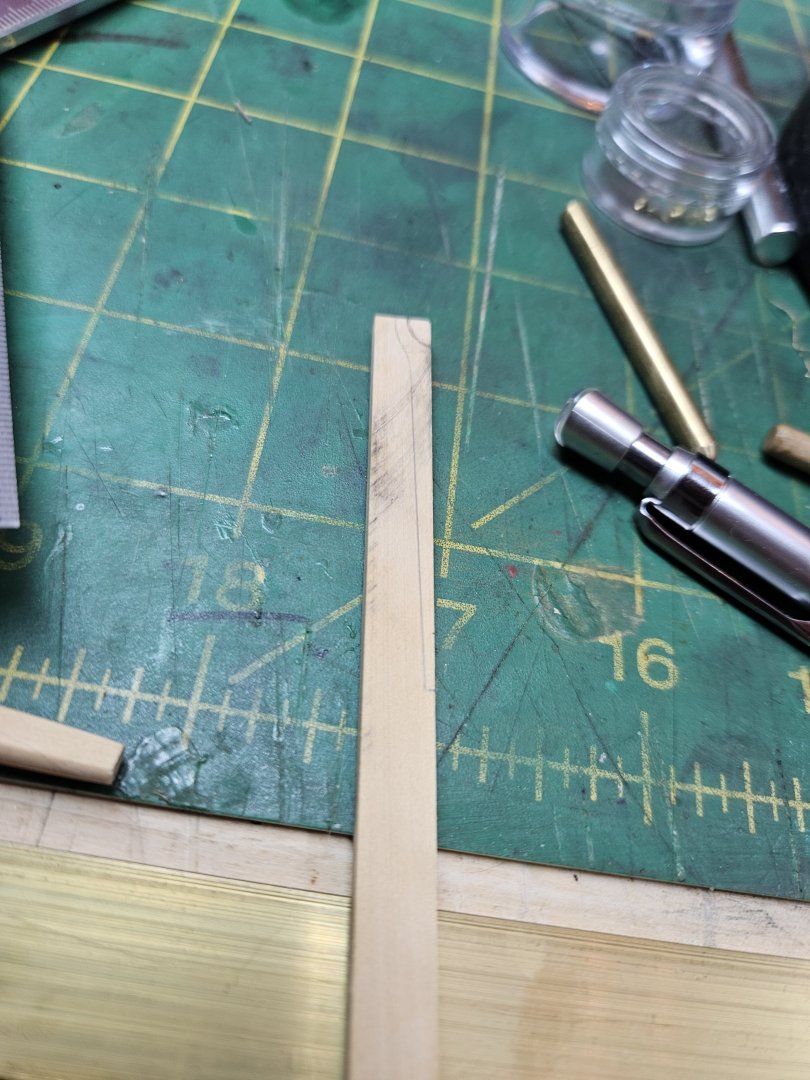
Another quick update, I worked on the yards today. I had never had to turn small scale square stock into small scale octagonal stock (no Lennarth Petersson, I am not doing hexagonal) so I had to make a little v-groove jig. I made it about 50% longer than it needed to be for these yards so it will be useful in the future on larger 1:64ish models. The plane is a Lie Nielsen model maker's palm plane. It's pricey like everything else Lie Nielsen but it's also very well made and is about the perfect size for ship modelers. One thing I really like is that the iron is 1/8" thick, very thick for this size, so you will get zero chatter with it. If you were going to buy a single plane for ship modeling, I'd recommend this one. Anyway, the v-groove jig worked fine and I was able to put a good octagonal shape on stock down to 3mm. I normally prefer dye stains to pigment stains, because dye stains are molecular, there is no pigment grit to be seen at small scales. But I'm going to try a gel stain from Woodcraft on my blocks. I've used General Finishes gel stain once before on a chest of drawers and it came out nice, so I'm hoping it might work better than the results I've gotten so far with the dye stains, which is very blotchy.

- 714 replies
-
- 7
-

-
- lady nelson
- victory models
- (and 1 more)
-
Are you sure it wasn't there before the first planking? The process you followed shouldn't have made it twisted but I would have kept up the two strakes on one side followed by two strakes on the other side in the second planking to be ultra sure.
-
Far as I know the anchor cables were always wrapped around the windlasses in a cutter, the crew would be out of luck if an anchor deployed with no windlass to recover it.
- 177 replies
-
- 1
-
-
- Sherbourne
- vanguard models
- (and 3 more)
-
😊Glad I could help.
-
Welcome back! WRT the pics, upload all your pics to the drag files here to attach or choose files area. Then write your text. Then move the cursor to where you want a pic to go, and click on that pic's thumbnail in the uploaded images area. Repeat until you've placed all images.
-
If you want more detailed info, I recommend R. Bruce Hoadley's Understanding Wood. I read it 30 years ago which means I've forgotten some of the details, but it is a really good explanation of the material we call wood and why it behaves the way it does.
-
Received the Faber pens and blackened the driver boom, then put a clear coat on it with Minwax Polycrylic. That turned out to be a mistake; although it had performed ok on a test piece, it didn't level on my driver boom at all and its sheen which was supposed to be matte is greater than I consider good for a satin finish. Now I'm waiting for lacquers from Mohawk, they mostly supply luthiers but I've found they're really good, level well and are very clear. We spray so little in a ship model that there really isn't much reason to avoid VOCs, while we do need finishes which smooth out well, are clear, and have a predictable sheen. I also made the gaffe boom from more square castello boxwood stock... ...and finally got the right size nails for my chainplate ends.

- 714 replies
-
- 6
-
-
- lady nelson
- victory models
- (and 1 more)
-
It's just natural oxidation, although II don't know why the darker strips seem to be affected more. Anyway, all exposed wood changes color over time- cherry goes from pink to light brown and all woods darken. You can take a look at my build log and scroll back a bit to see a holly deck after five years, it only changes slightly to a cream color from bone white. I imagine it will continue to yellow over time.
-
<squawk>Uhhhh... think we need an emergency CT scan for Glen , over<squawk>
- 301 replies
-
- 5
-

-
- Constitution
- Bluejacket Shipcrafters
- (and 1 more)
-
What's not to like about a neat holly deck Nice and quick work Greg.
-
I would not use the Danish oil, I would simply spray the whole thing with a matte or satin clear coat of your choice. You don't need any more stain at this point, you have nice colors already between the natural woods and painted surfaces.
-
Welcome to MSW!
-
New Member Dale Mierzwik of Northern Colorado
vossiewulf replied to DaleMierzwik's topic in New member Introductions
Welcome Dale! Model Shipways' easier kits are a great place to start. -
Remember Lutzow sank at Jutland/Skagerrak in 1916, I think the torpedo nets were still carried at that point.
- 78 replies
-
- 4
-
-
- Derfflinger
- Flyhawk
- (and 2 more)
-
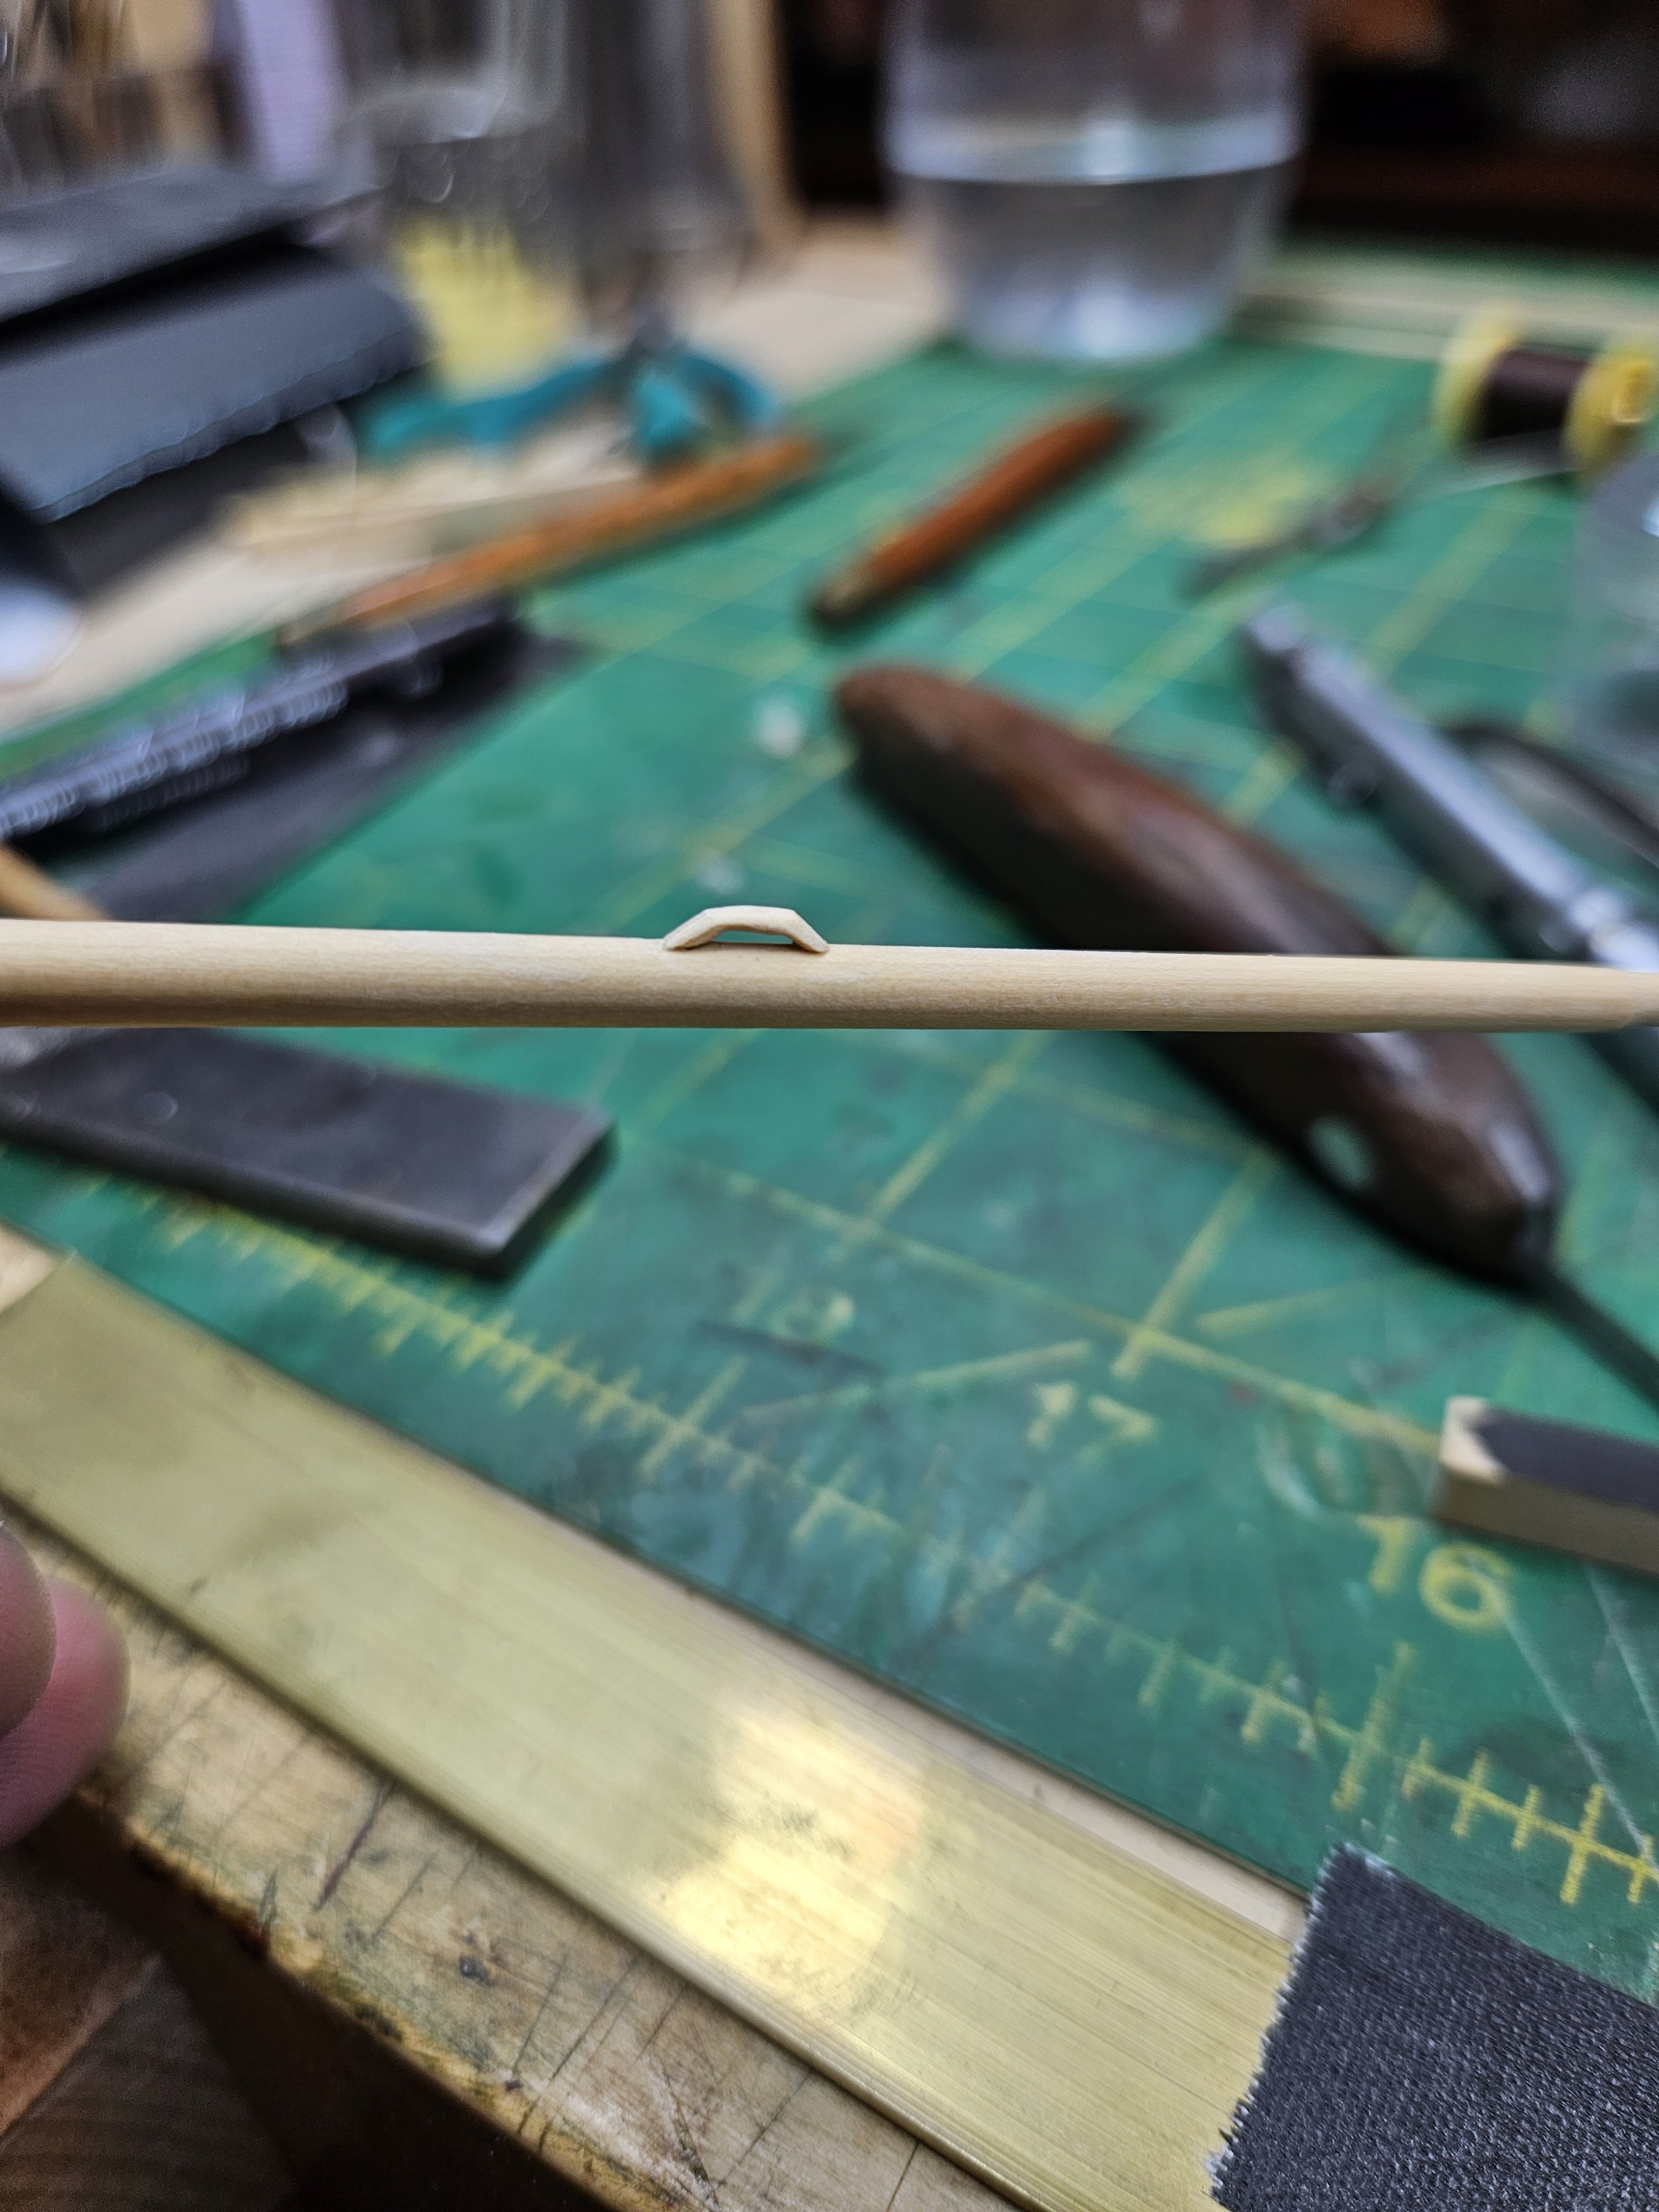
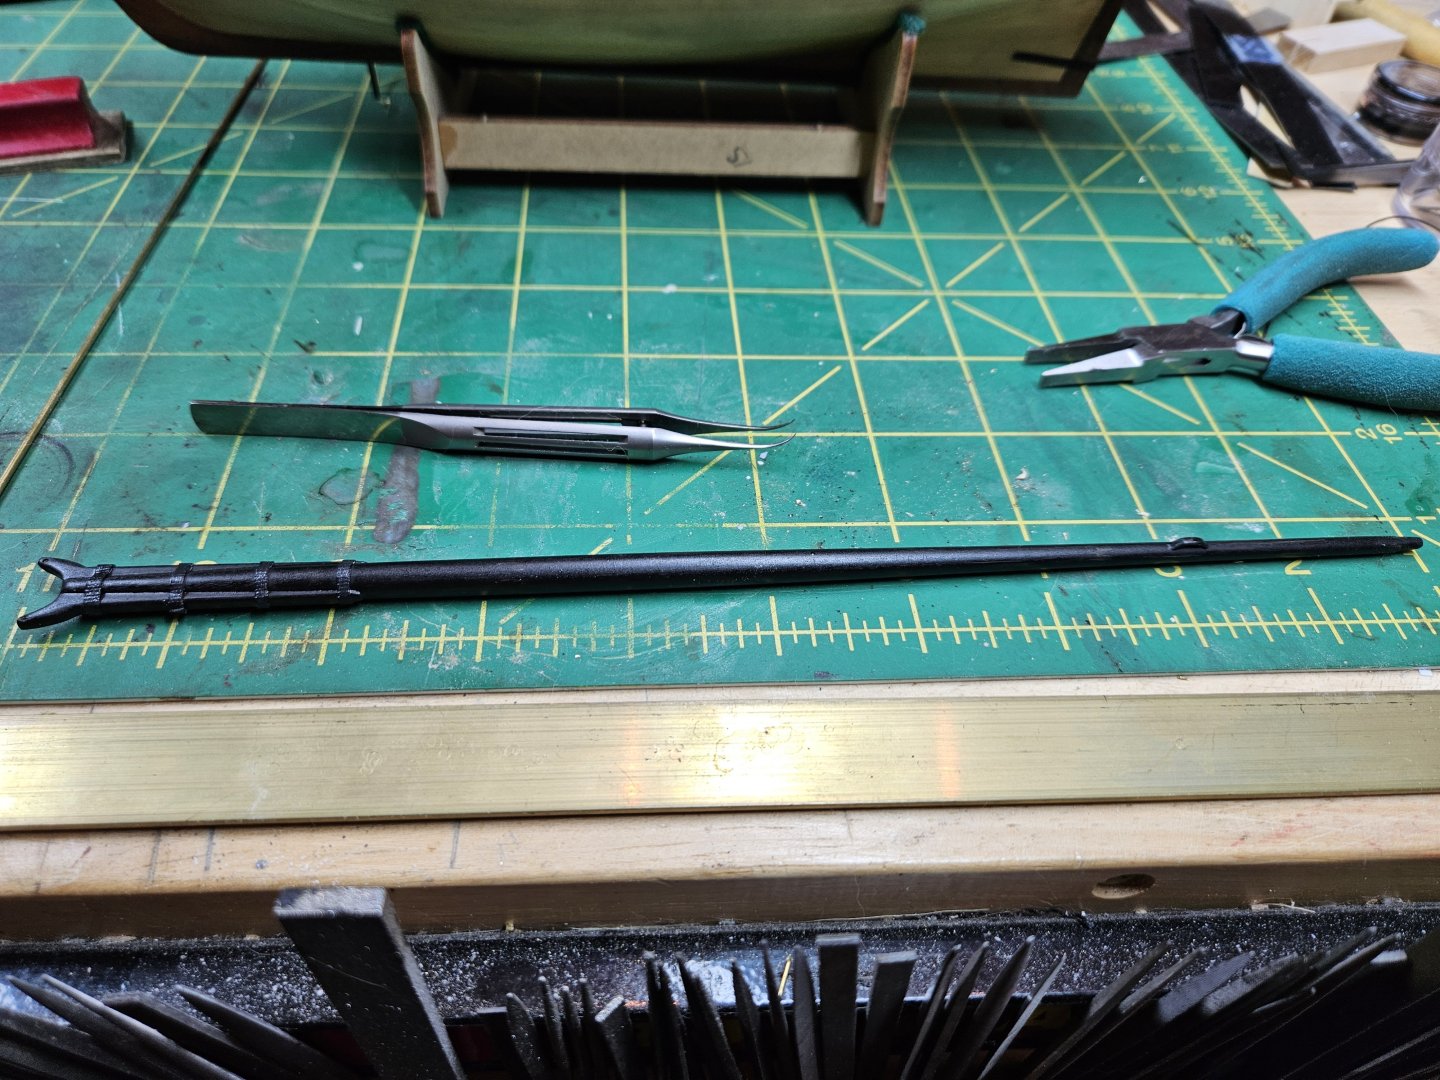
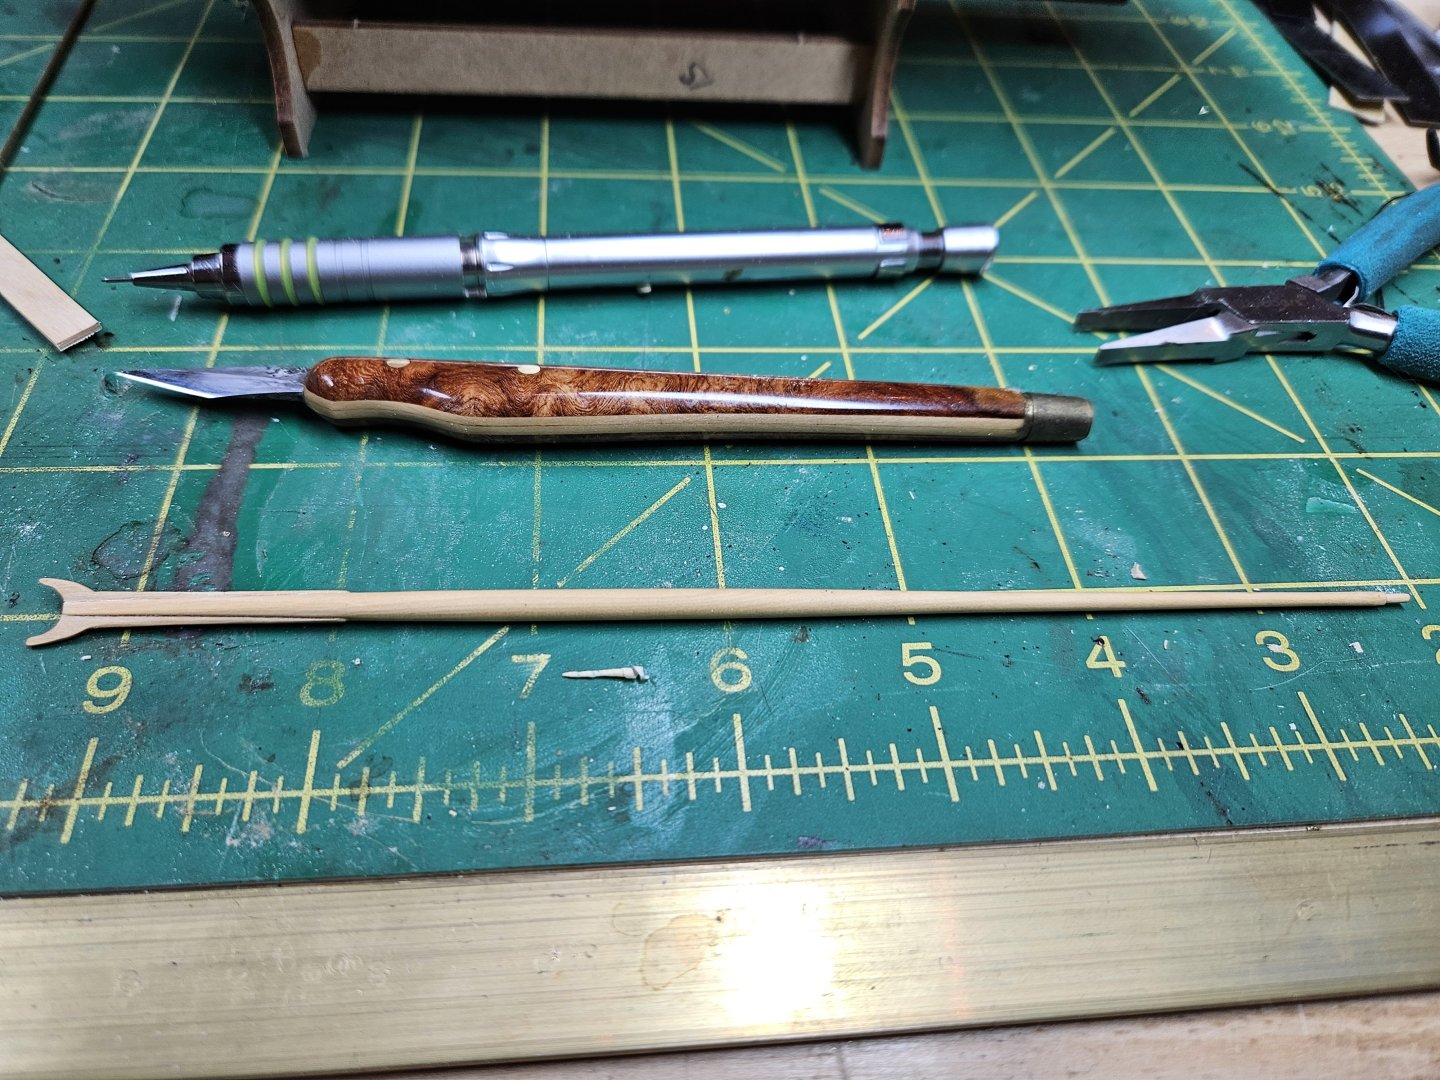
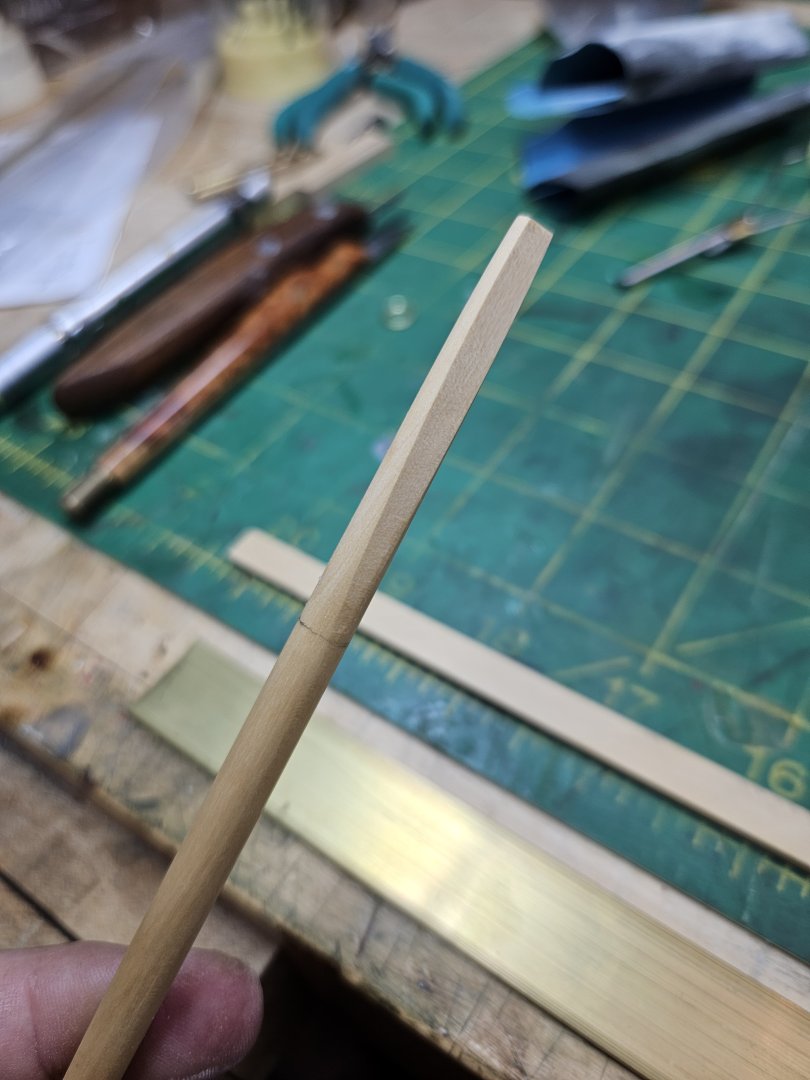
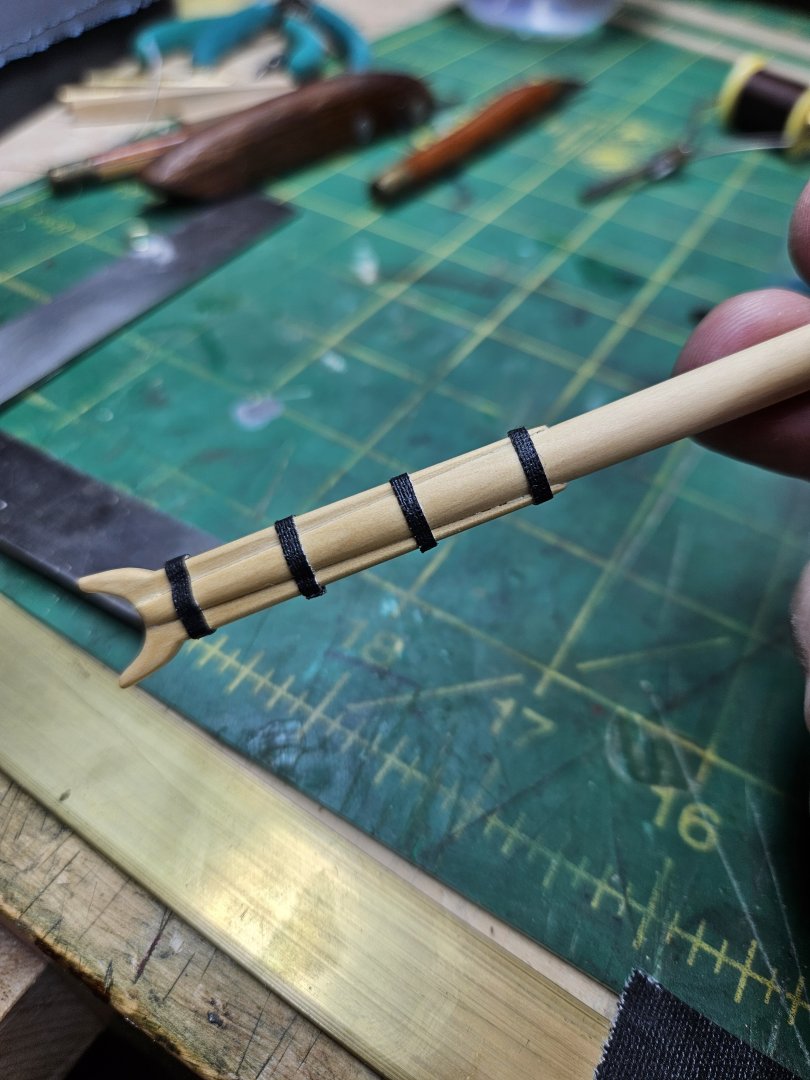
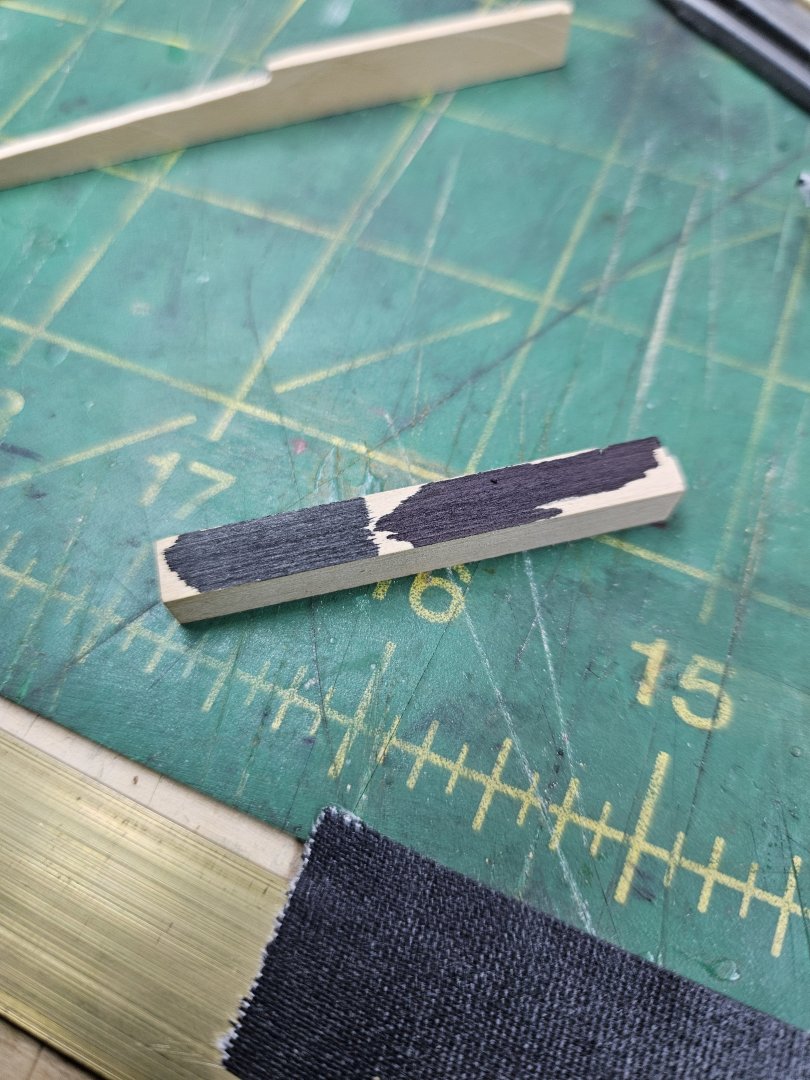
Been making the driver boom, I think that's what it is called, the main fore and aft boom, not sure why other than it's one of the things that needs to get done. I also received my Servomatic machine from Chuck, so I will be putting that together tomorrow, I need it to serve the stays as the intent is to have them fully served. Not sure how many people remember at this point but one of my crazy ideas that worked really well was the doing the black of the hull not via brush or spray, but via pen. I got Faber Castell india ink archival waterproof ink pens and colored in the hull like a 3D coloring book. It was very easy and low stress and I like the result better than paint- a single layer of paint at 1:64 scale is like 20 scale coats and detail is lost. The film thickness of ink is negligible. Anyway those original pens are long since gone and while I wait for Faber Castells from Amazon (Jan. 11?! bah) I tried some pens I found locally that also claimed to be india ink archival black pens. We can see at least one of them is lying, it's not black it's dark purple. That's like the "black" of Sharpie pens, it's actually dark purple. The other one is desaturated but it looks more dark gray than black. Guess I will have to wait for the Fabers. Like I said working on driver boom. For those interested in the process, I started with square Castello boxwood stock and made it octagonal using my model maker's palm plane. I then took it to the lathe, and rounded it and tapered it down at both ends, the thickest section is about 1/3 of the way along the boom. I then took it off the lathe, and used the same small palm-plane to create the two angled flats to accept the cheek piece thingies. I then ripped a piece of boxwood to about 2.5mm and drew out the side pieces, then cut them out with a fretsaw and touched them up with the Nakanishi micromotor. I used black gaffer's tape for the iron reinforcing bands, the white edges of the tape will go away when the whole boom is blackened. And then I made and glued on the small wooden cleat.


- 714 replies
-
- 6
-
-
- lady nelson
- victory models
- (and 1 more)
-
Wouldn't it be more likely that the second ring was used when the guns were stowed sideways for heavy weather?
-
Quality of Model Shipways Skipjack Ship
vossiewulf replied to acaron41120's topic in Wood ship model kits
Generally good, with good materials and instructions. -
Contenti, Rio Grande, Otto Frei all carry reasonably priced pliers sets that are made well and will last a lifetime. I long ago stopped buying any tools from model manufacturers/supply places because the tools they sell are pretty inevitably the cheapest versions of those tools and it's false economy to buy from them.
-
Looks like something I would have enjoyed when I was young and (believed myself to be) fully invincible.
-
Don't listen to the crazed part Short of going with very translucent water it's going to be nearly impossible at 1/700 scale for the average viewer to have any idea what those booms are doing around the ship. At least I think it would be a considerable amount of fiddly work that may not be fully appreciated by your audience. At least any audience outside MSW, we know all about torpedo nets.
- 78 replies
-
- 4
-
-
- Derfflinger
- Flyhawk
- (and 2 more)
-
As I recall the nets were only carried the first couple years of the war. Just say it's 1918, no nets
- 78 replies
-
- 3
-
-
- Derfflinger
- Flyhawk
- (and 2 more)
-
Thanks Clare, and yes I use CA on the ends of the served ropes. I pretty much use CA for everything. I'm using thread that says SHEER and it's made in the UK and it's 14/0, so crazy thin. But like I said, it looks pretty good wound around a rope. One thing I have noticed when serving lines with fly-tying thread is that the end result actually ends up a bit smaller than the starting rope, the fly-tying thread is very good at compressing the core down and it's flat thread so it lays flat on the core. Please let me know how it goes with your servomatic
-
If you have any tips about how to get the servomatic working using fly-tying thread, please let me know. I'm using fly-tying line to serve ropes at 1:64 and it looks good (to me) but it's time consuming, so I also bought a serving machine from Chuck that should be arriving in a few days. I wasn't sure it would work with fly-tying thread, considering his pics all show a heavier thread being used.