alde
-
Posts
1,028 -
Joined
-
Last visited
Content Type
Profiles
Forums
Gallery
Events
Everything posted by alde
-
 Lou, I think the blue is winning out. I like the look and it’s not out of place for a ship like this. Once the trim pieces are on it would be too hard to plank the area over. I think it will look pretty nice.
 -
Lou, I was tossing around the idea of the blue paint for a while. On the other hand double planking would be a great solution. Once I do the paint I'm stuck with it but some of the models I've seen with blue trim look great. I have to make my decision soon.
-
This is kinda what I had in mind but just the blue.
-
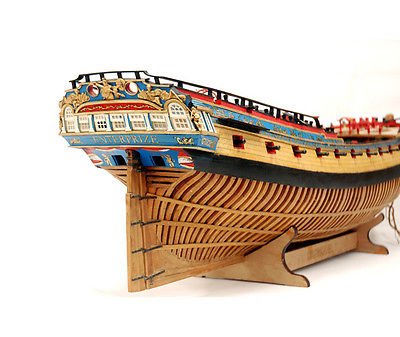
I was thinking of making that thin strip above the top molding strip a nice blue like I see on some of the builds of ships of this era like on some of the Swan class. Then the color on the stern would fit.
-
Mark, You can see under the hole a bit of the pear wood showing through.
-
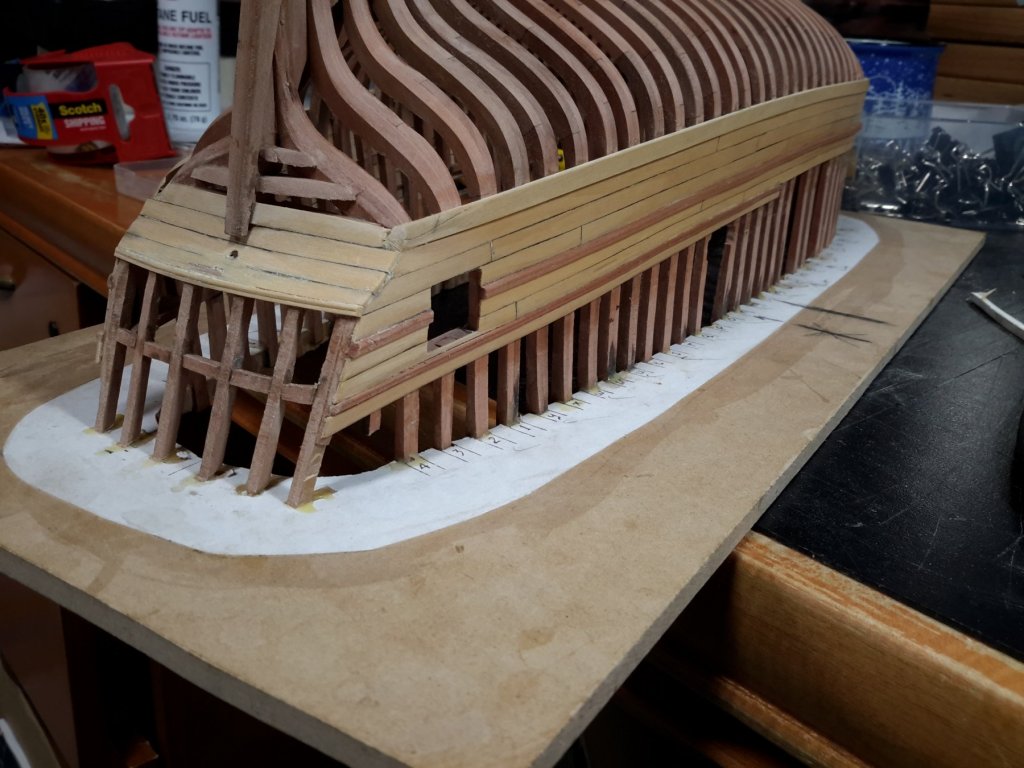
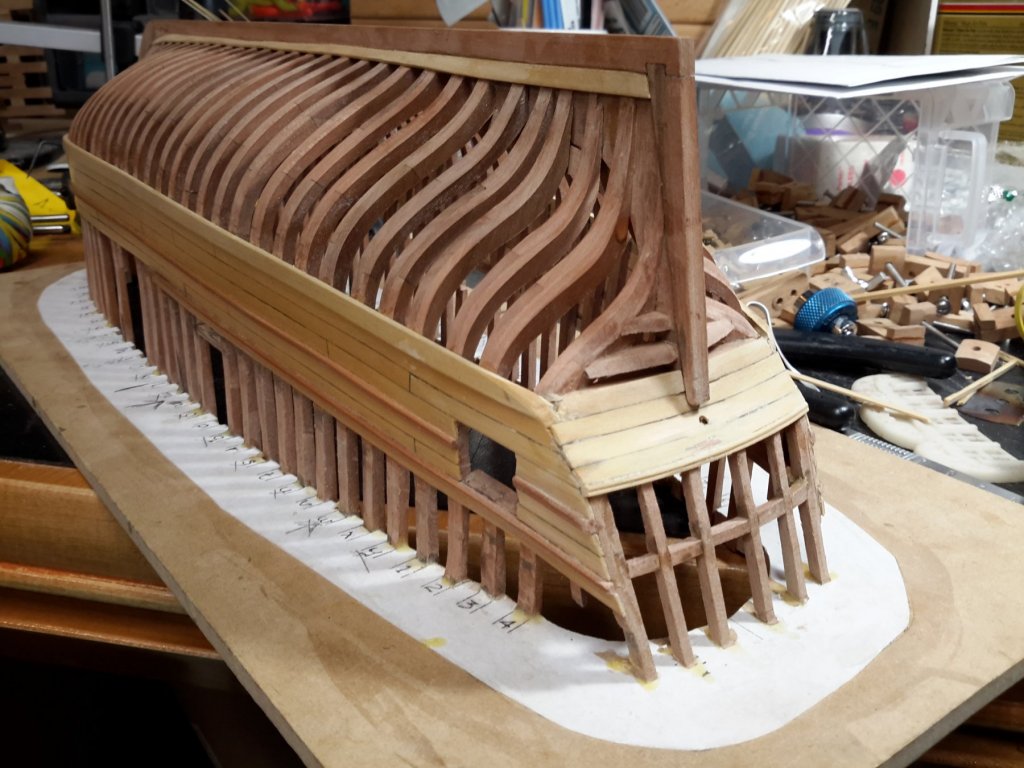
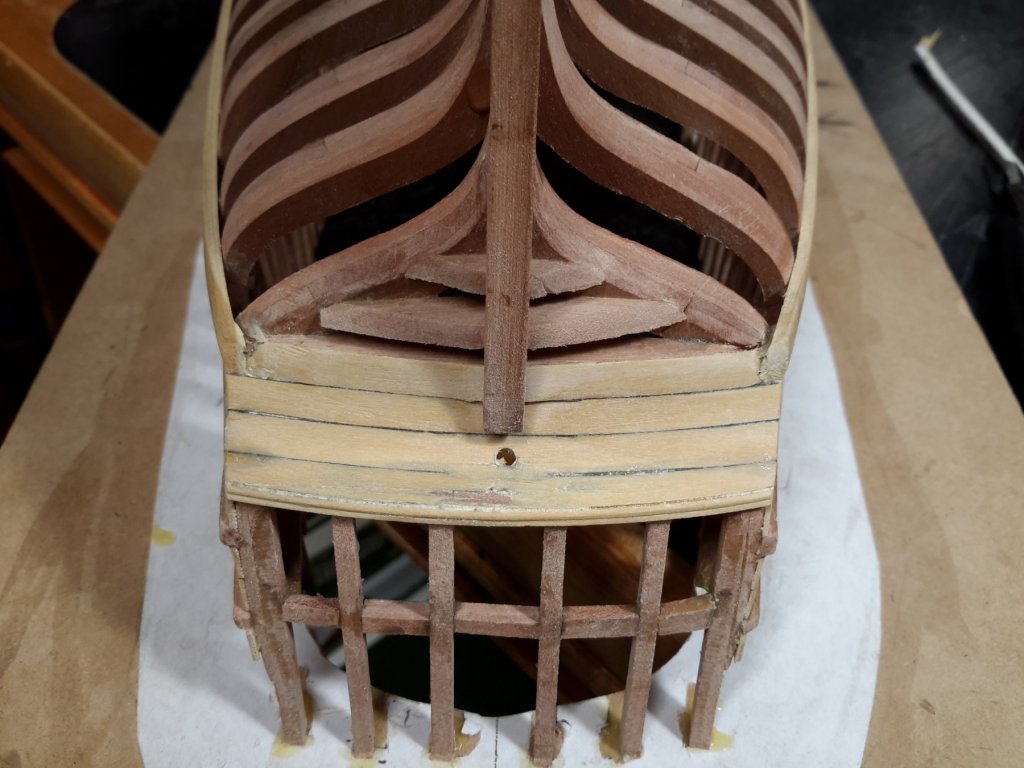
First I want to say how glad I am that I removed the old planking. The new is far from perfect but way better. I'm still working on the stern which has had its own issues. I think I finally got it figured out after 3 times. I was hoping for an opinion from you guys though. After so many do overs the planking on the stern has gotten thin. I really don't want to rip it out and start over. Would it be appropriate to paint the stern planks and if so what would be an acceptable color? When I look at my pictures ompaired to some other builds I realize what a wood butcher I am. It's getting better though.
-
When I was a kid I was walking across the carpeted living room. I felt a sharp pain on the bottom of my foot and started dancing on one leg. As i was hopping in pain my mom with a perfectly straight face said "oh, you found my earing". The entire stud was stuck straight in. We all had a good laugh about it later but I didn't think it was very funny at the time.
-
Now that would be fantastic. The CWM needs around 7 I think. It would be a huge improvement over the blocks of wood that come in the kit.
- 216 replies
-
- 4
-

-
- masterkorabel
- ships
- (and 3 more)
-
My understanding is that planks varied in length from about 20 feet to 24 feet. On my current build I'm making my planks 22 scale feet long.
-
Fantastic Chuck. Do you profile the boxwood shear strip before or after its applied to the hull? I would think it might be easier on the hull if your careful not to scratch the hull or protect it with tape.
- 421 replies
-
- 5
-
-
- medway longboat
- Syren Ship Model Company
- (and 1 more)
-
It's great that your shipyard move is about done. I'm looking forward to seeing some progress and especially your carvings.
-
Using a moulding scraper tool?
alde replied to alde's topic in Modeling tools and Workshop Equipment
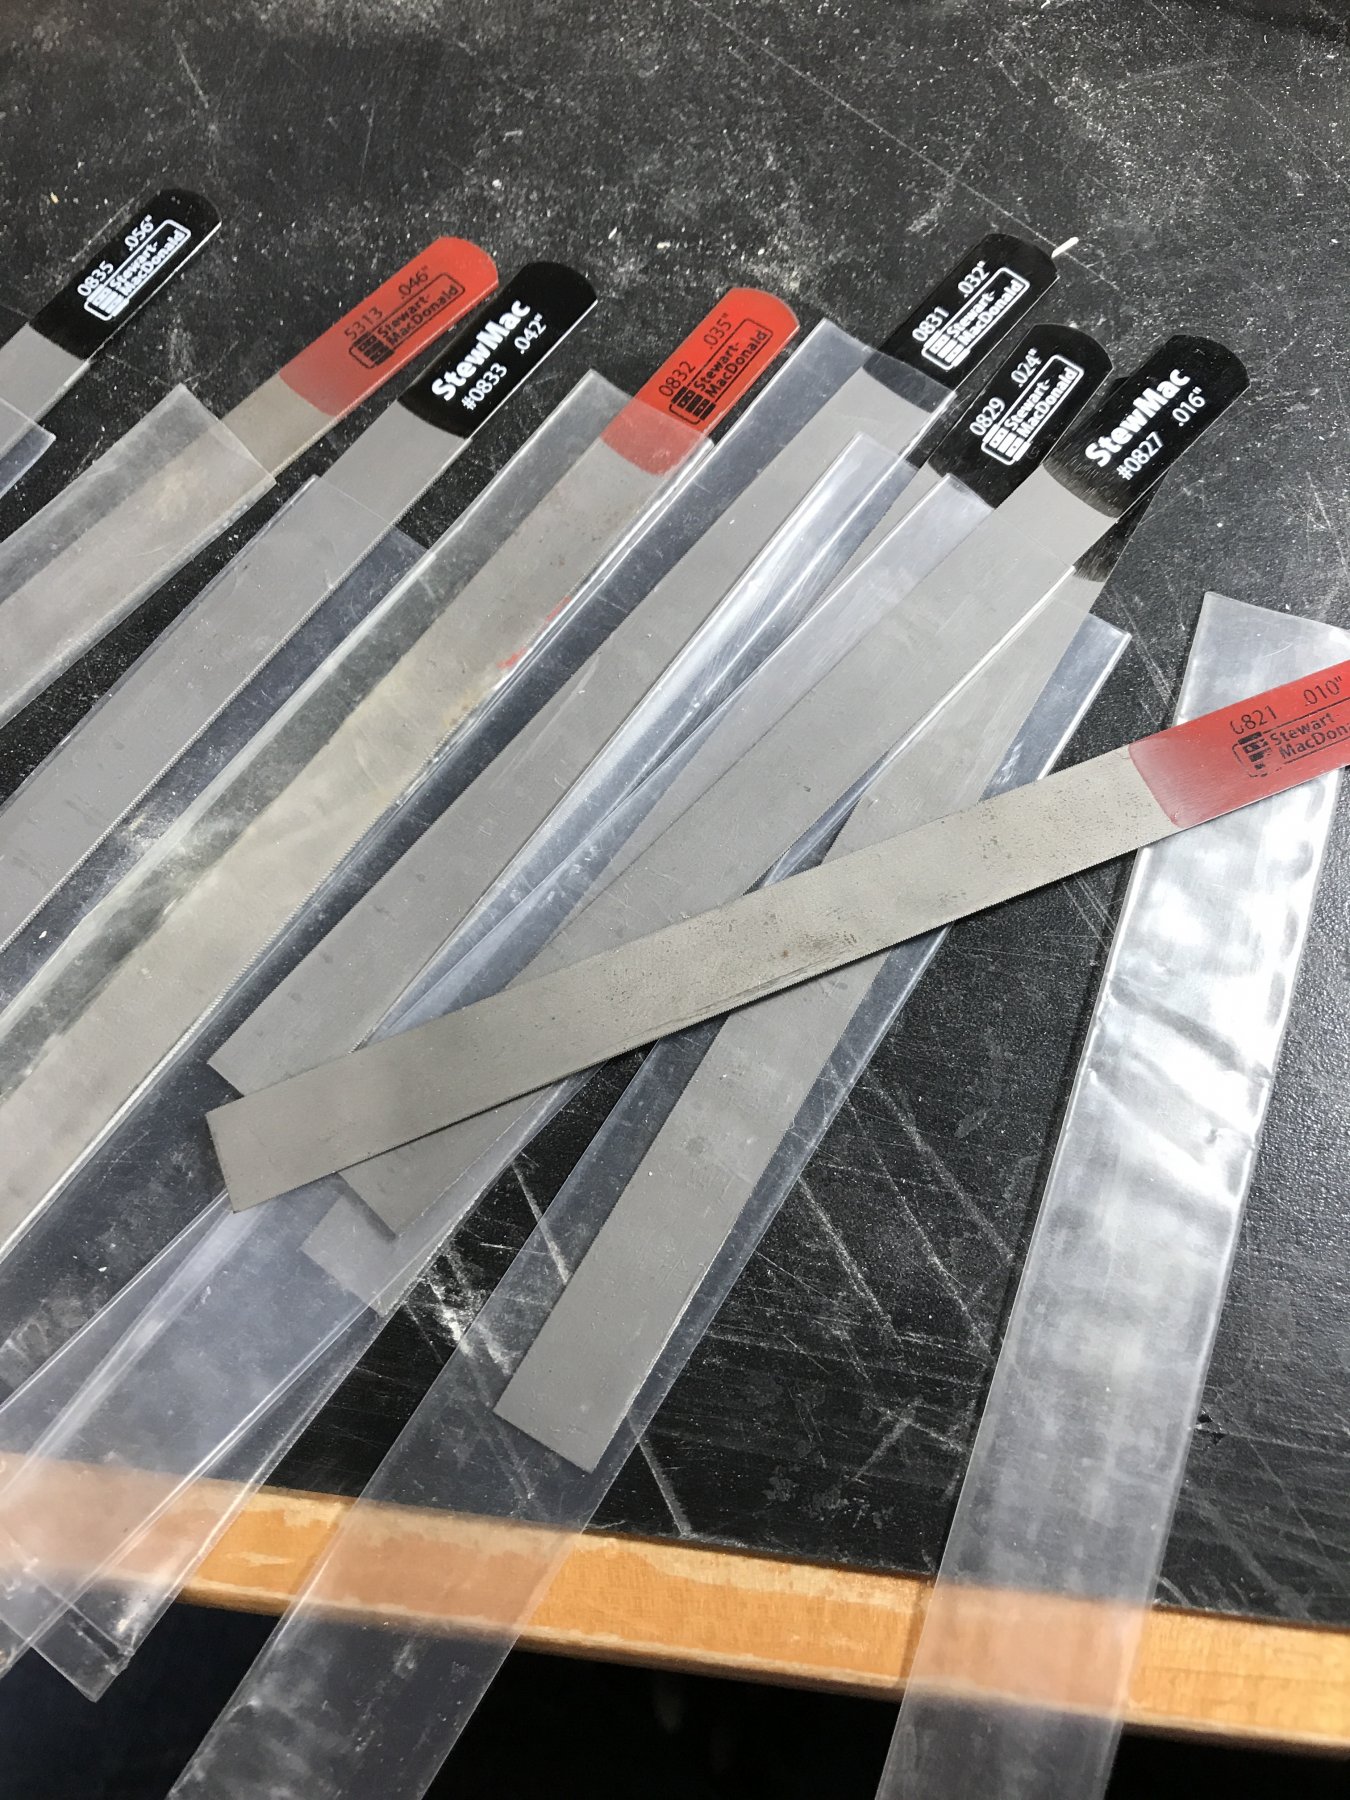
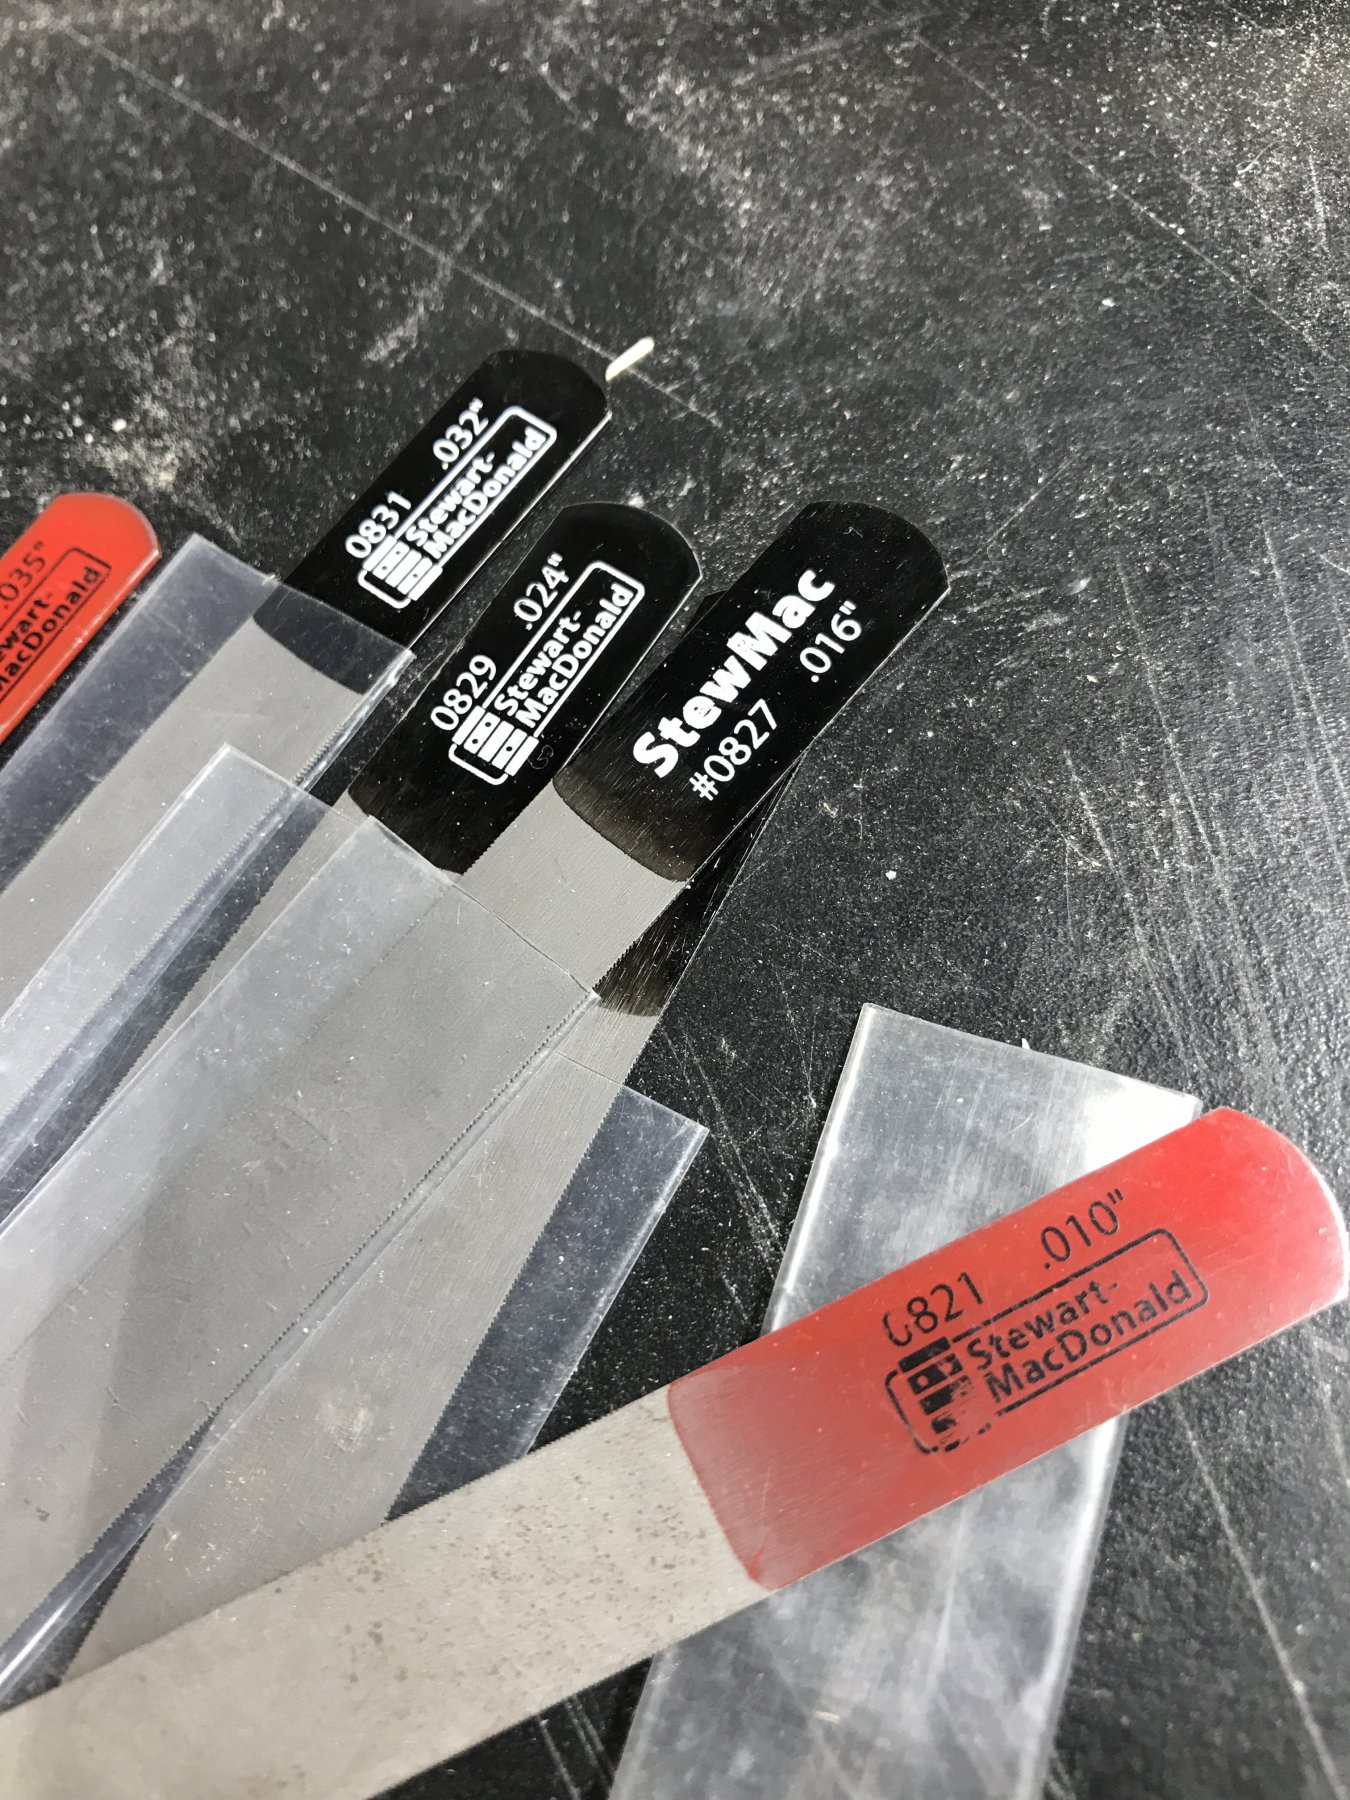
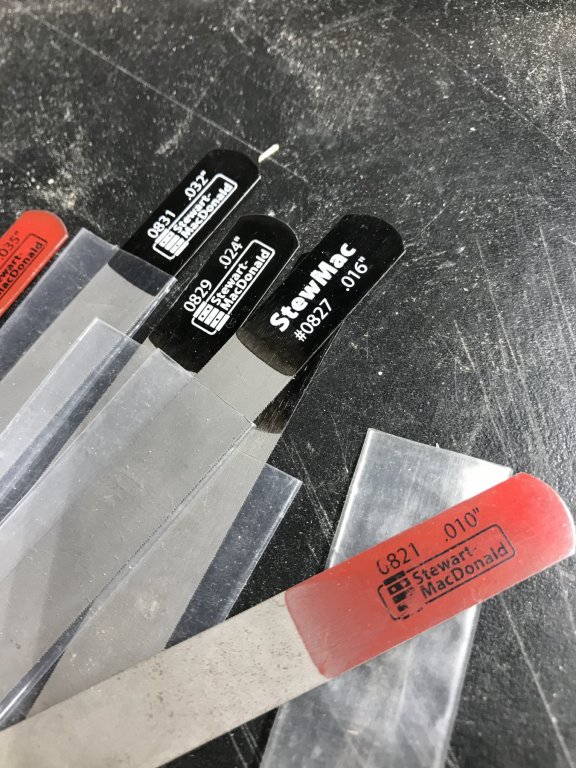
I dug out my guitar but slotting files for the heck of it. My smallest is .010” and the largest is .056”. They should work just fine if the metal is softened first. Here are a couple of pictures. The cutting surface is on the edge.
-
Using a moulding scraper tool?
alde replied to alde's topic in Modeling tools and Workshop Equipment
A cheaper alternative that may work is guitar nut slotting files. I didn't think of it until your post but I have a full set and they go pretty small. -
The planking I'm using the second time around is 1/32" thick. The sheets of boxwood I just got from you will be used to finish the job.
- 421 replies
-
- 7
-
-
- medway longboat
- Syren Ship Model Company
- (and 1 more)
-
Yes, that's about right. The pictures on my log are before I ripped off all the planking though. The ones you see were straight planks that were forced into place. I am now re-planking with spiled planks and it looks much better. I was not happy with it before.
- 421 replies
-
- 5
-
-
- medway longboat
- Syren Ship Model Company
- (and 1 more)
-
Thank you very much Chuck. That clears things up quite a bit for me. On my Halifax I have been spileing, fitting, soaking and clamping the wet plank to the hull until it's dry. Then I do a bit more fitting then glue with titebond and clamp again. The formed planks still have a bit of spring to them but clamp easily with very little additional bending. This is my first time really spileing planks so I'm still trying to learn as much as I can. Your willingness to share your knowledge is very much appreciated.
- 421 replies
-
- 7
-
-
- medway longboat
- Syren Ship Model Company
- (and 1 more)
-
Chuck, your hull looks amazing. A couple of questions if you don't mind. First, the lower shear strake fits perfectly snug against the plank under it. Is this strictly because the shear plank is perfectly spiled? Does it have to be forced at all? Also, how to you clamp the planks in place? I have seen several different clamping methods but your seems to really work well. With the planks that I have spiled I can get them to lay down pretty well against the frames but it's a challenge to get them to snug up tight against the previous plank.
- 421 replies
-
- 5
-
-
- medway longboat
- Syren Ship Model Company
- (and 1 more)
-
Great job Rusty and nice save on the dolphin.
- 120 replies
-
- 4
-
-
- queen anne barge
- Syren Ship Model Company
- (and 1 more)
-
Using a moulding scraper tool?
alde replied to alde's topic in Modeling tools and Workshop Equipment
I’ll try that. -
Using a moulding scraper tool?
alde replied to alde's topic in Modeling tools and Workshop Equipment
Yes they are. I think they are too big for most ship modeling applications. Now that I did it its really easy to make your own. I think I remember seeing Chuck make a scraper from brass. I'm going to try that next time. That way it can be done with files with more control. -
Using a moulding scraper tool?
alde replied to alde's topic in Modeling tools and Workshop Equipment
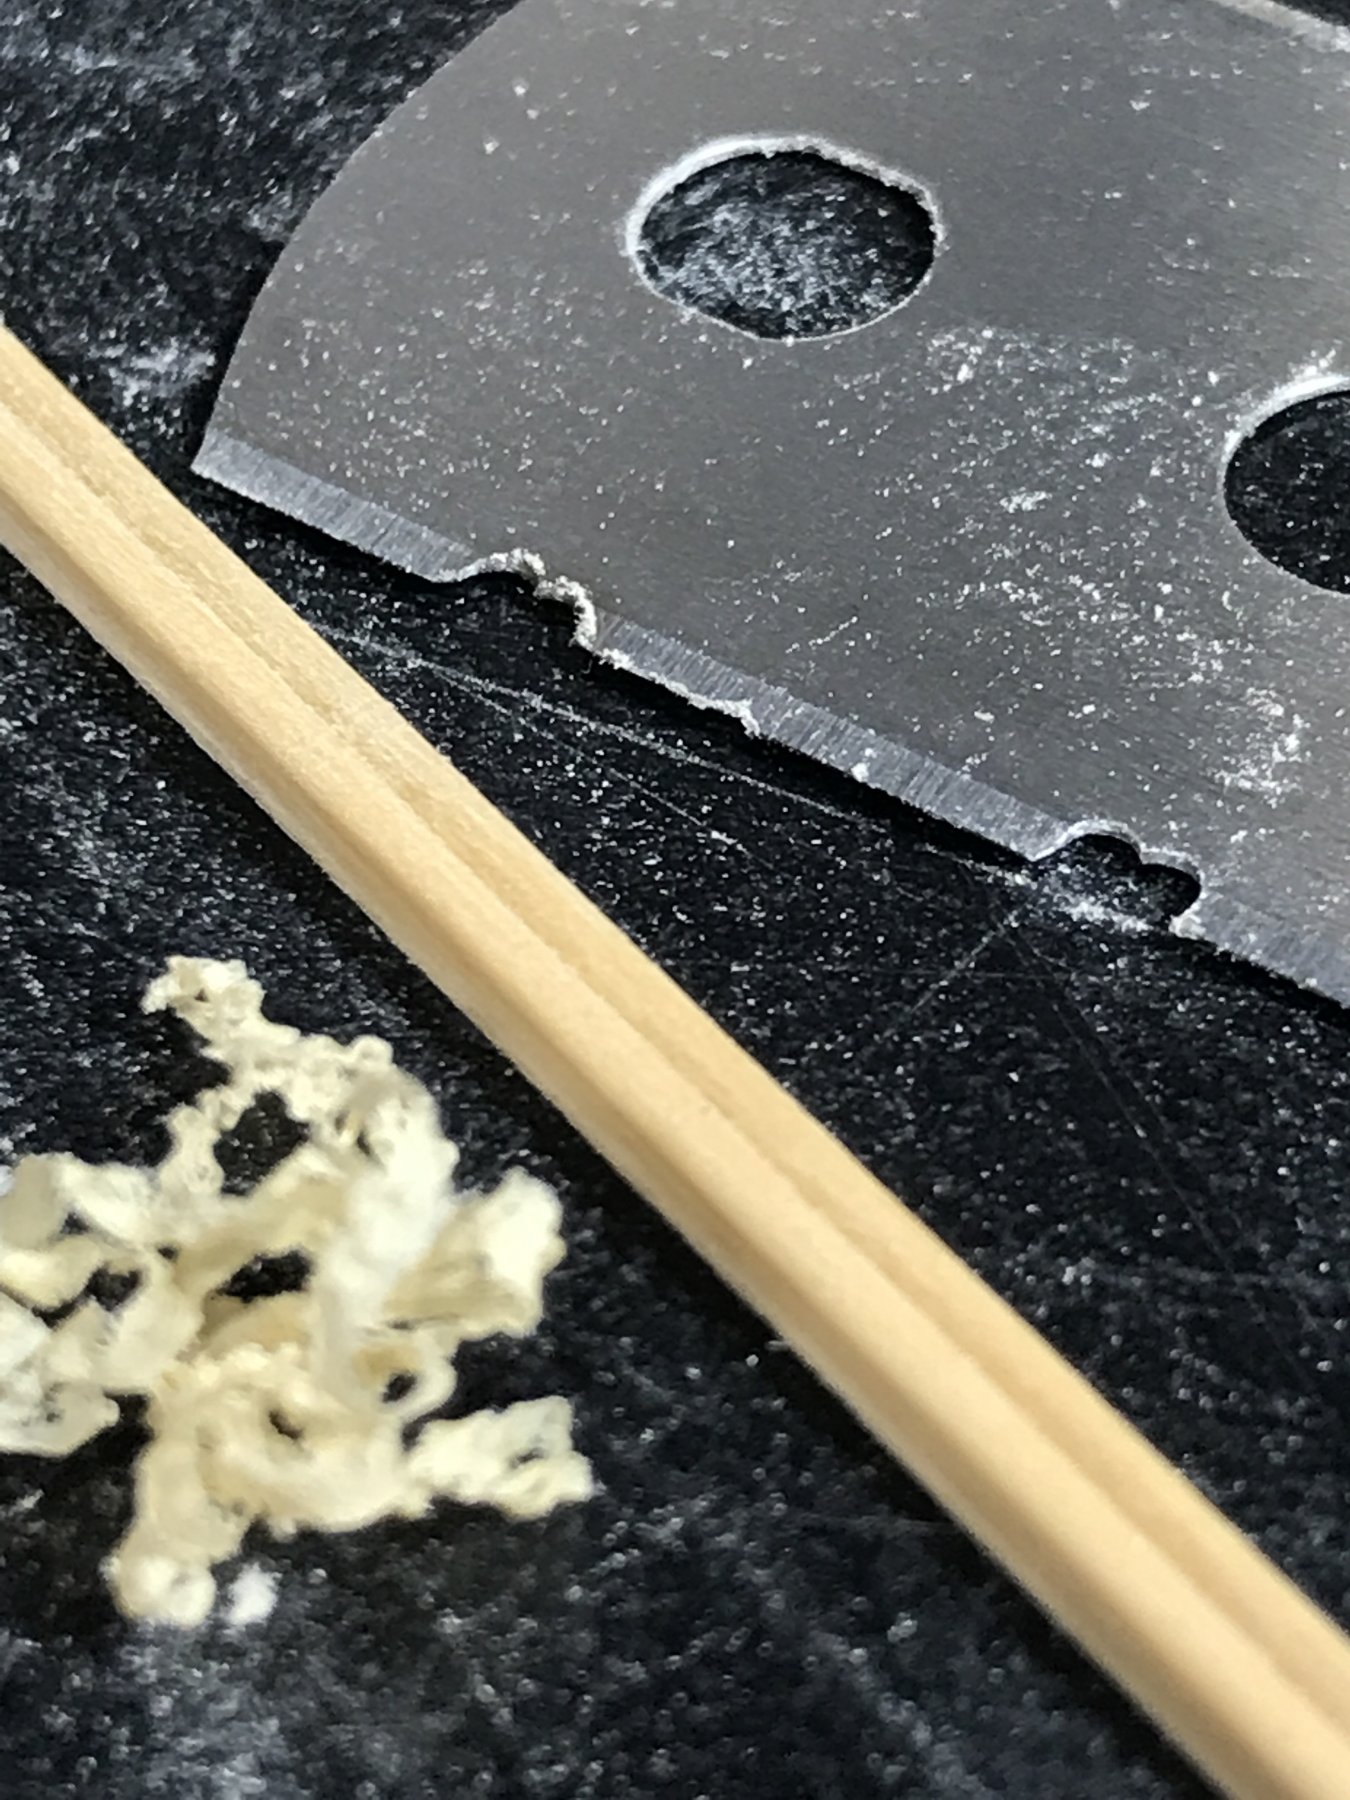
Thank you all for your help and great suggestions. I just finished making 2 moulding strips out of Swiss Pear and have them soaking in water to be bent to shape. The home made tool cut really well as you can see from the shavings in the picture. The diamond cutter had no trouble cutting the blade using the fastest speed on the Dremel tool. -
Using a moulding scraper tool?
alde replied to alde's topic in Modeling tools and Workshop Equipment
I made a scraper from a blade using a small diamond cutter on my Dremel tool and it worked very well. The boxwood strip is just 1/16” wide. It’s hard to see the profile in the picture but it looks pretty nice.
-
Using a moulding scraper tool?
alde replied to alde's topic in Modeling tools and Workshop Equipment
Absolutely beautiful Druxey. A true work of art. I'm going to try making my own scraper tomorrow. The factory made ones I have are the wrong size for my application and they do drift. I'll be carving my own decorations (very simple compaired to yours) and your work is an inspiration for sure. -
Using a moulding scraper tool?
alde replied to alde's topic in Modeling tools and Workshop Equipment
I was for sure applying pressure. Probably too much.