Search the Community
Showing results for tags 'medway longboat'.
-
I had been eyeing this boat for some time. I finally bought a kit a few weeks ago. There are many great build logs, I don’t plan to bring anything new to the project, I’ve seen many outstanding examples of fantastic craftsmanship. It’s an honor to build such a wonderful kit. I hope I can build it in a way it deserves, I will certainly try. I’ve had it all out of the box 4 or 5 times, it smells so good. This time when I got it out I kept going. Thank you in advance to anyone following, liking, or commenting. I tend to not be chatty in my responses, but I’m grateful for comments, tips, and encouragement. I printed out the sections a while back and have been reading them and marking notes to remember to do certain things. In an effort to not muck it up. So far, so good. Pictures I take and post are milestones for me and the build. I try to show the progression of the work, so someday I can look back and see how bad I was at this lol. I have my moments of a perfect fit, then I have to paint, paint is not a strong suit, yet. Wake up, let’s get started….
-
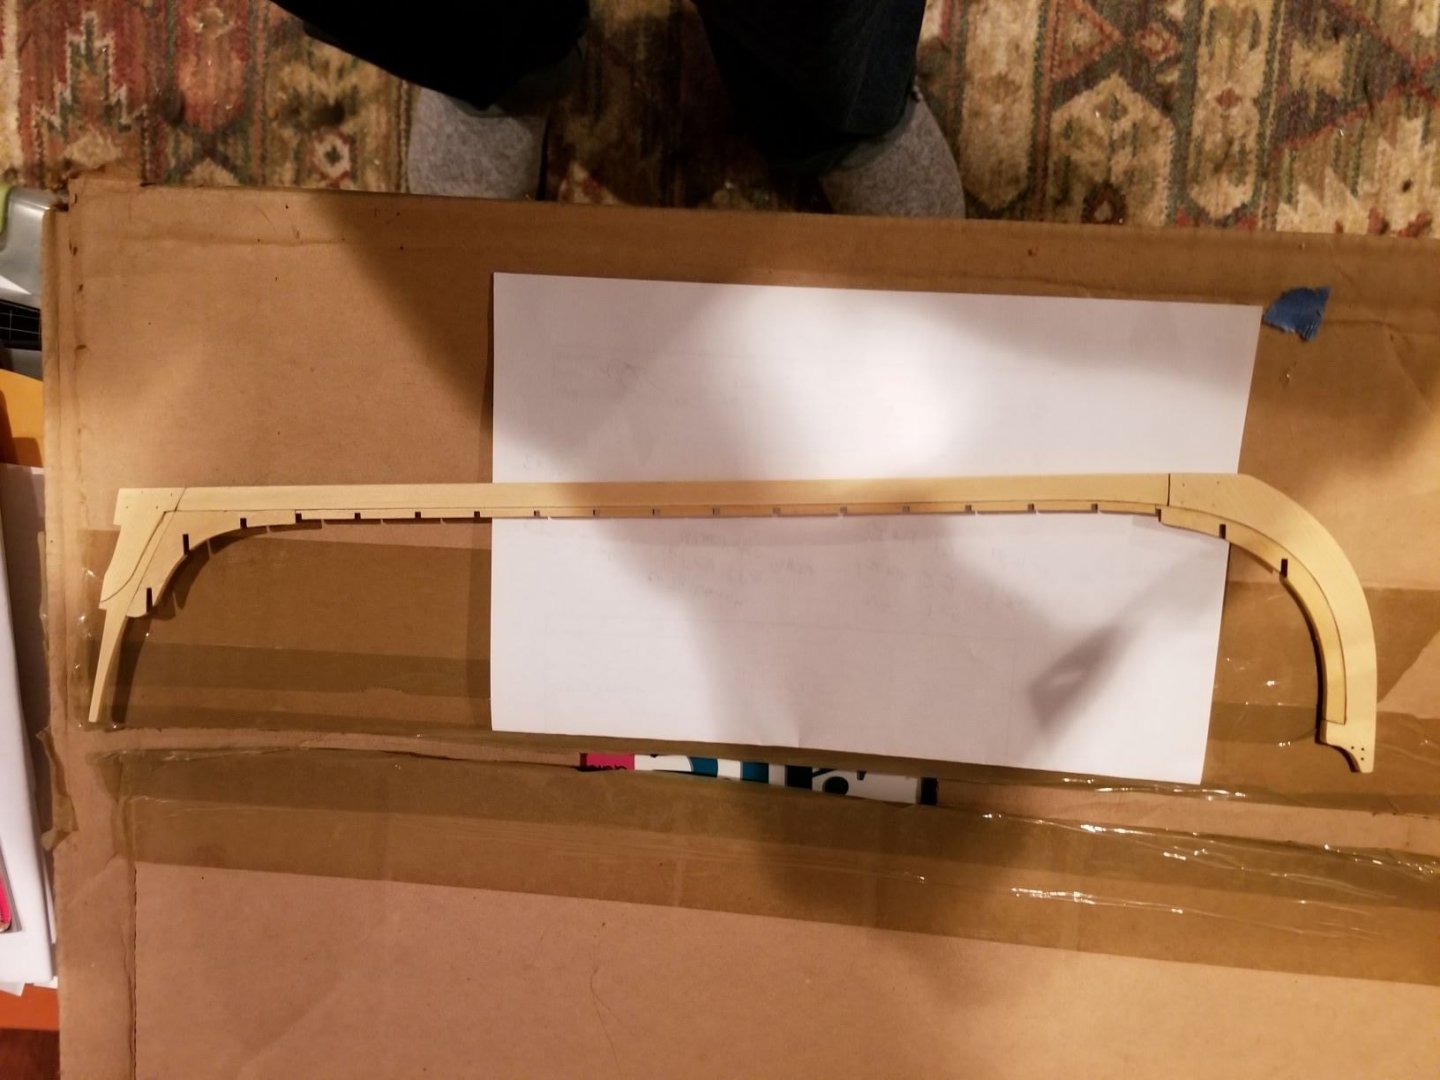
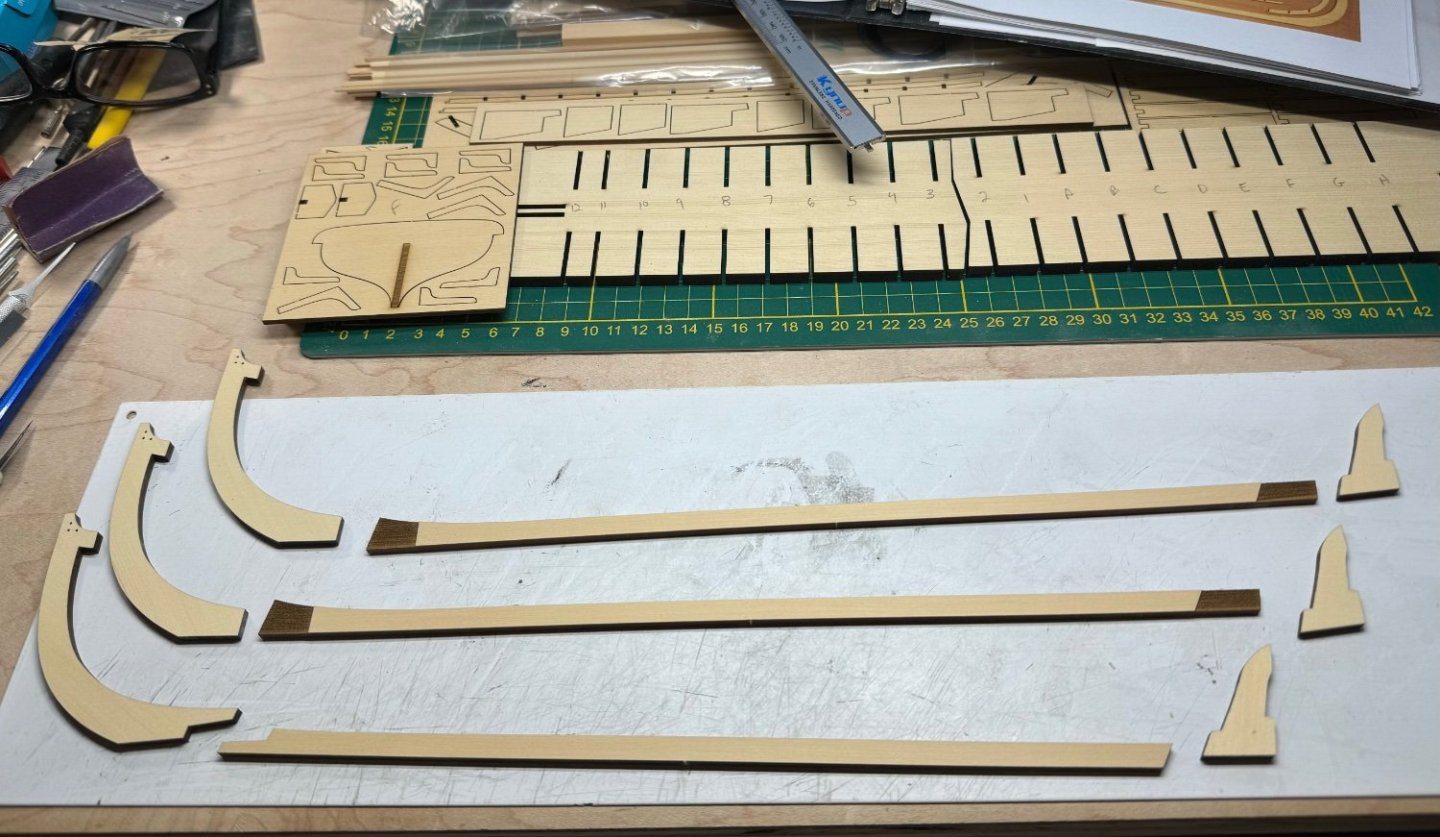
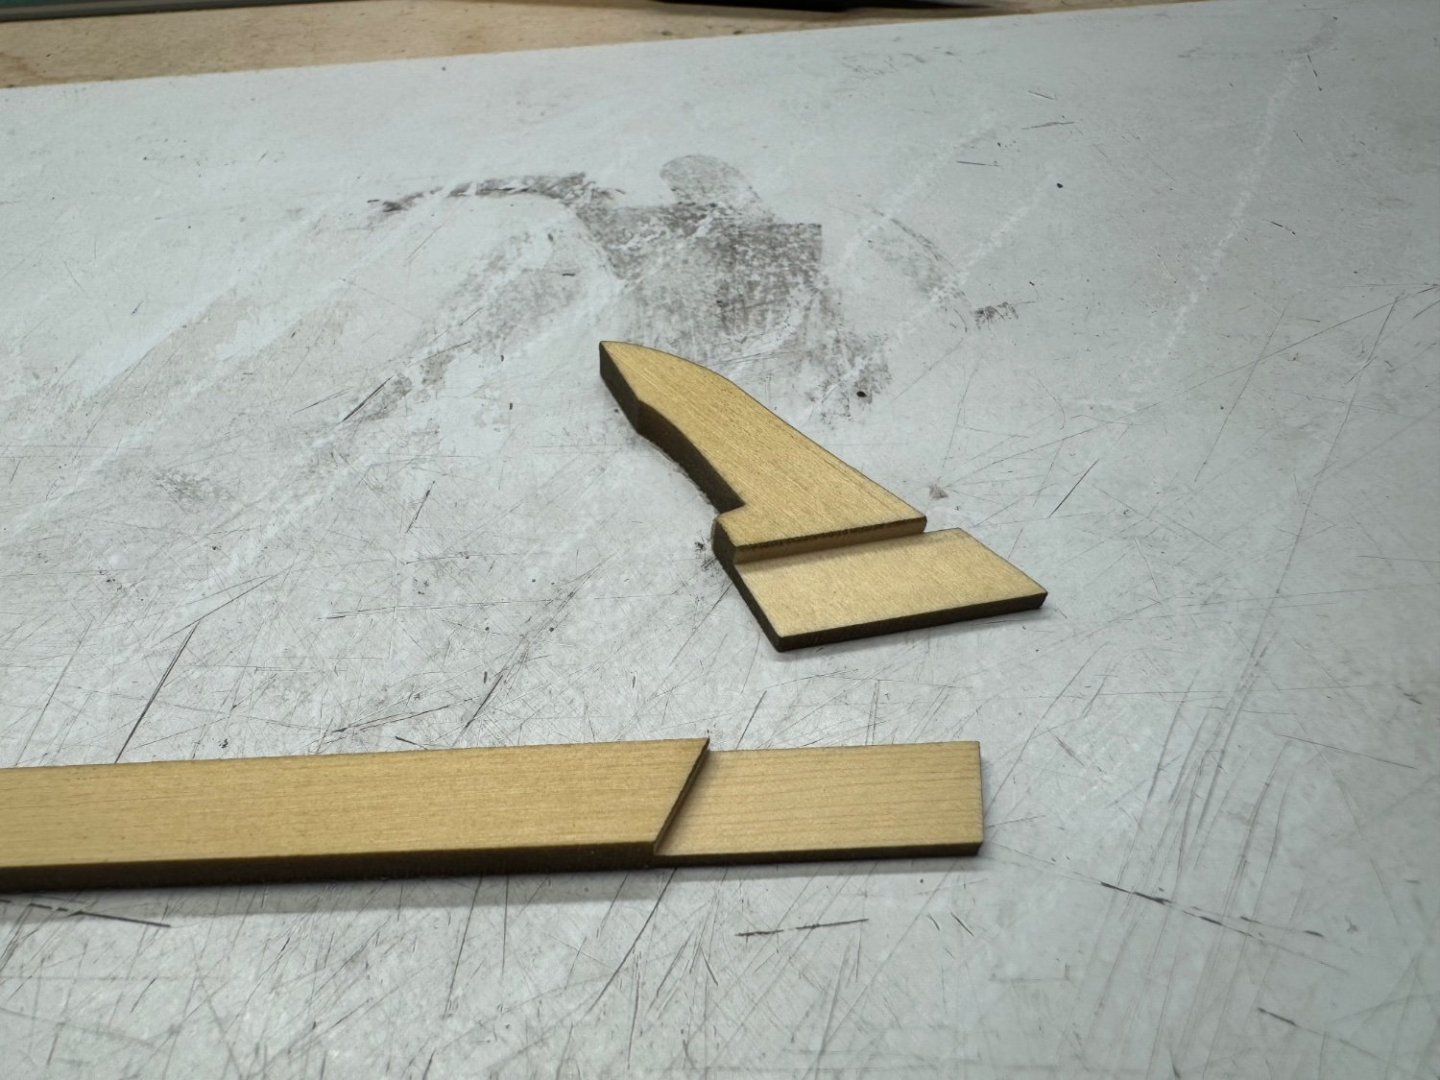
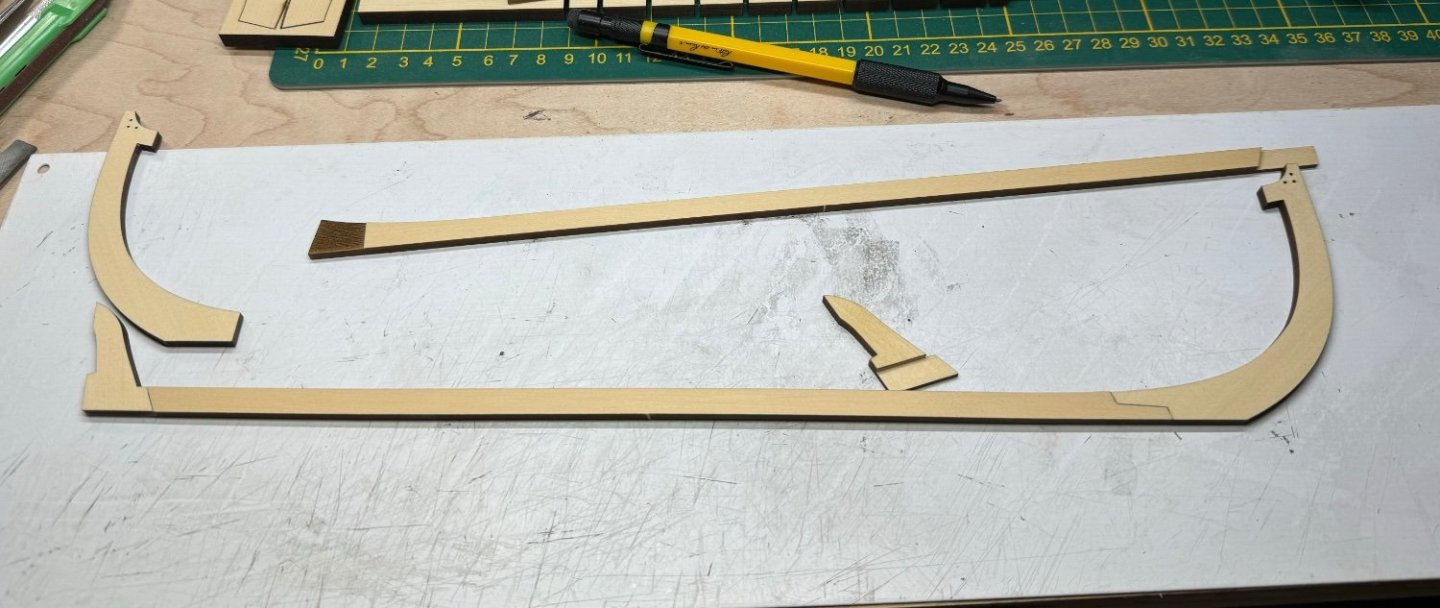
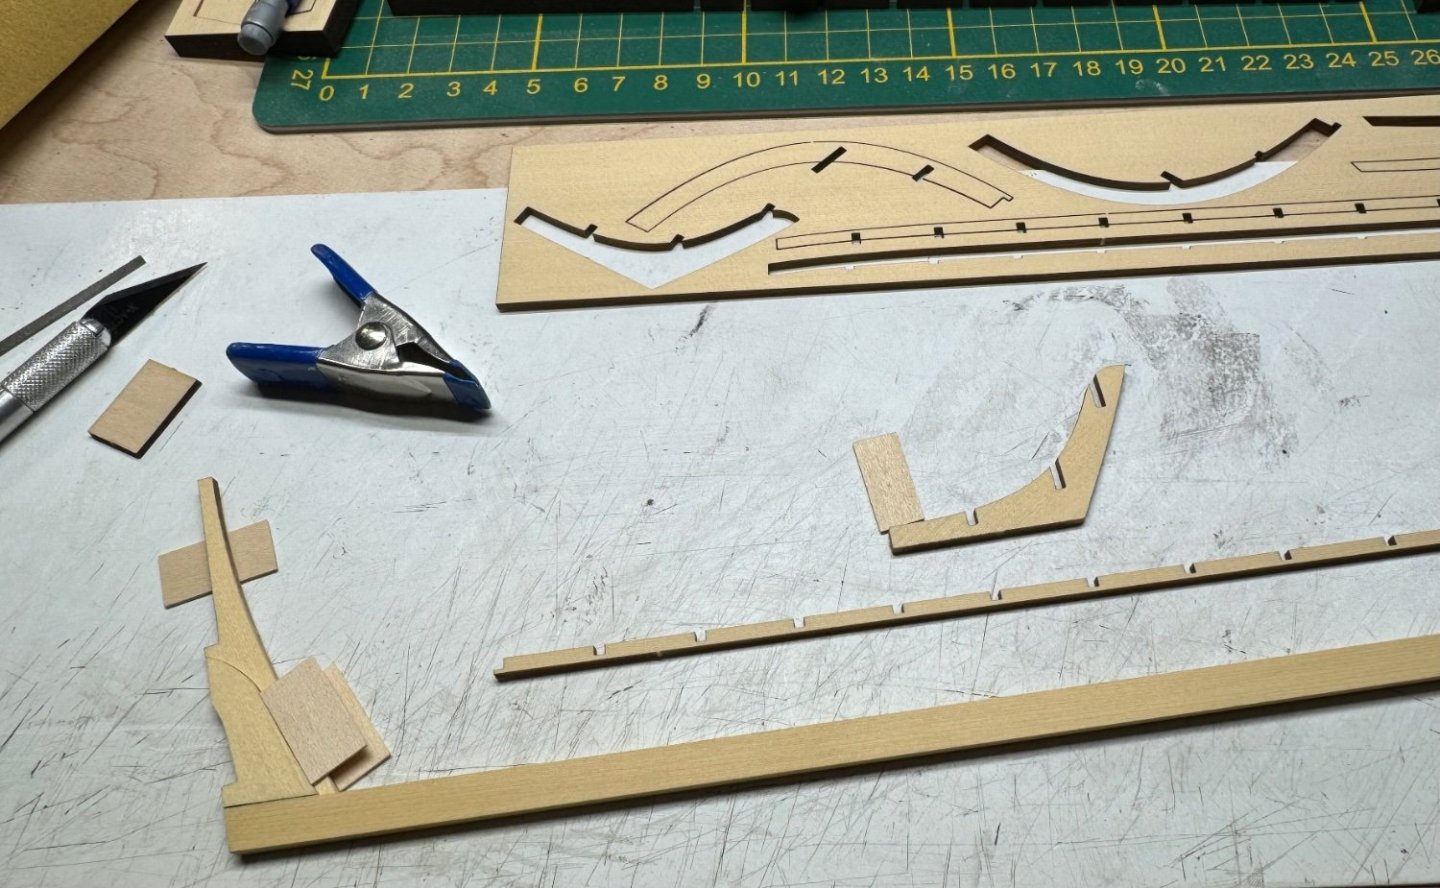
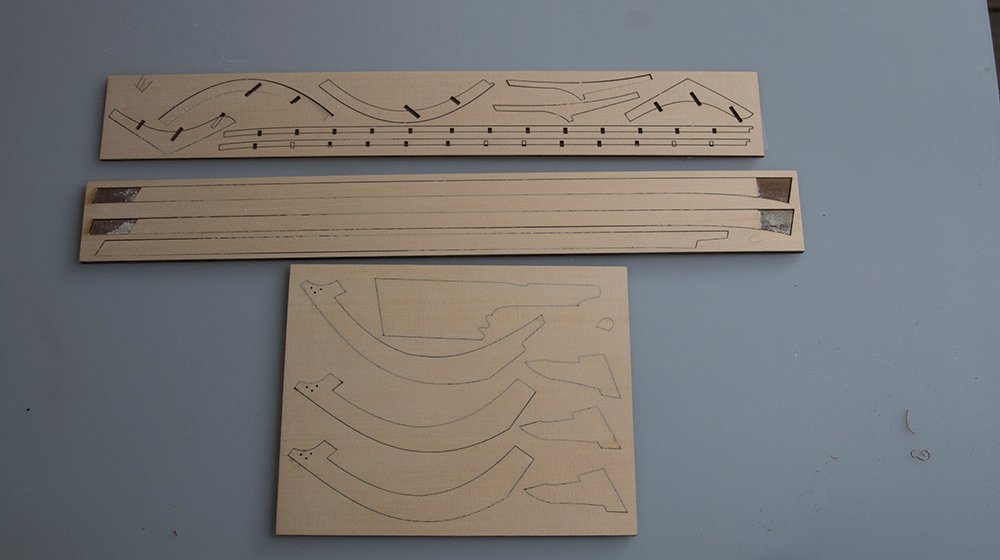
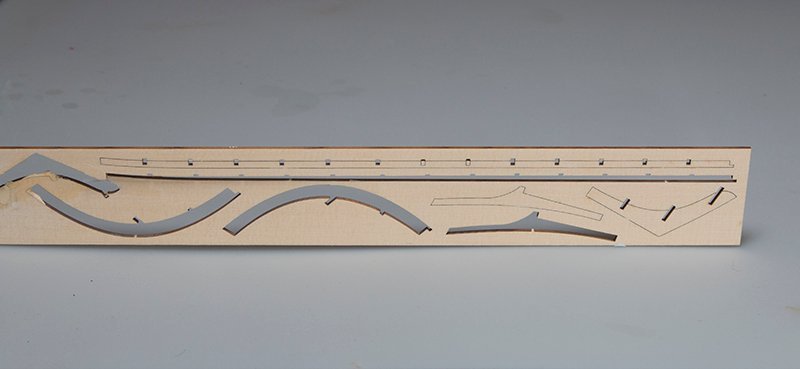
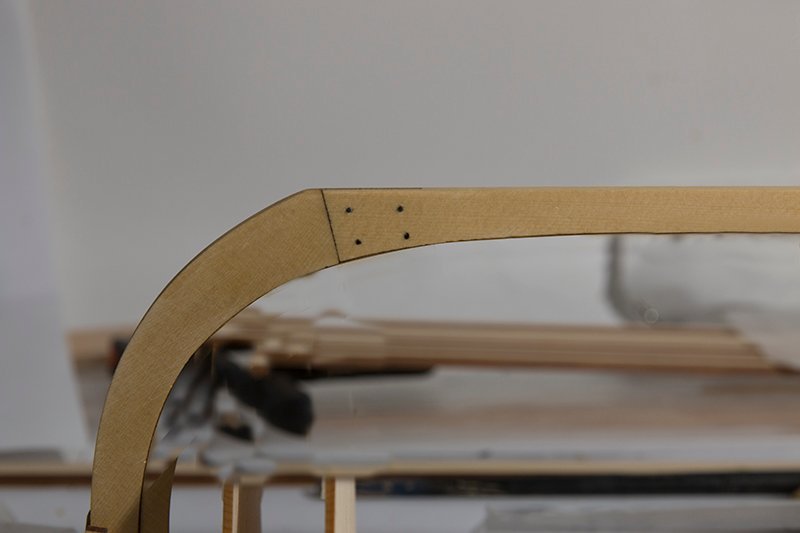
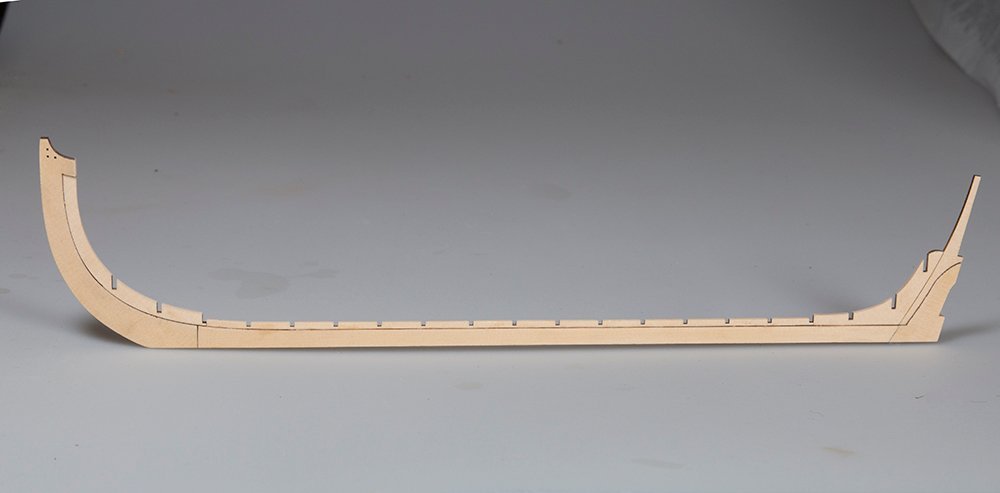
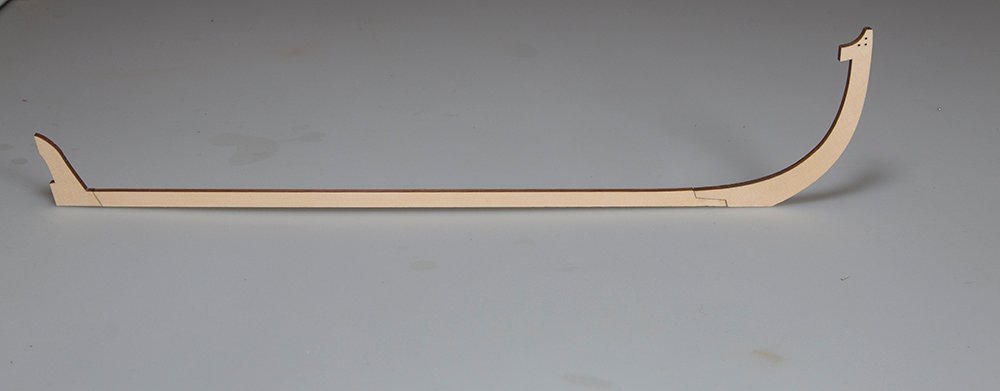
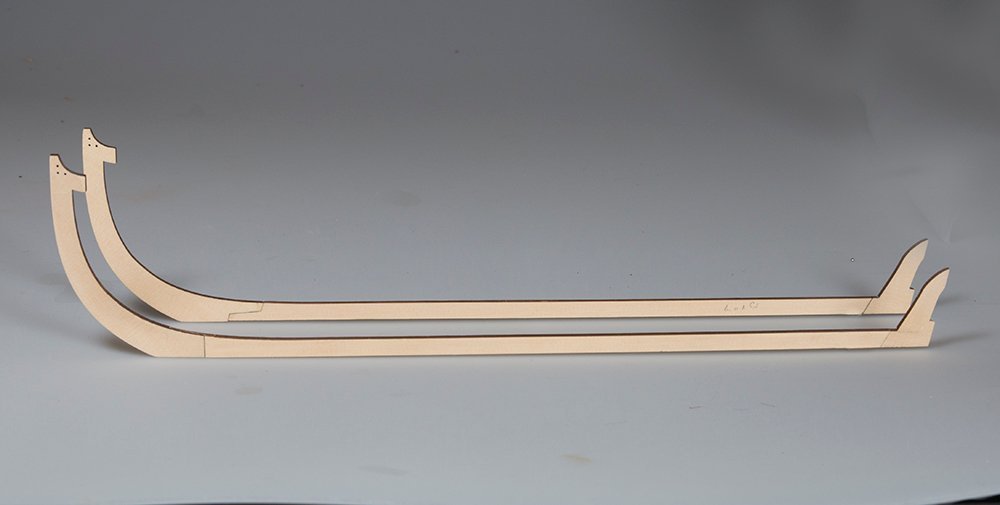
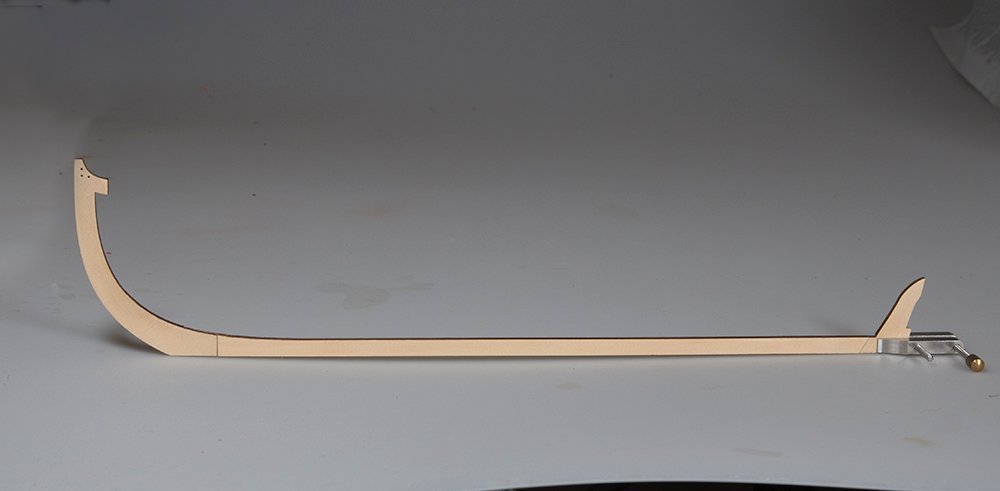
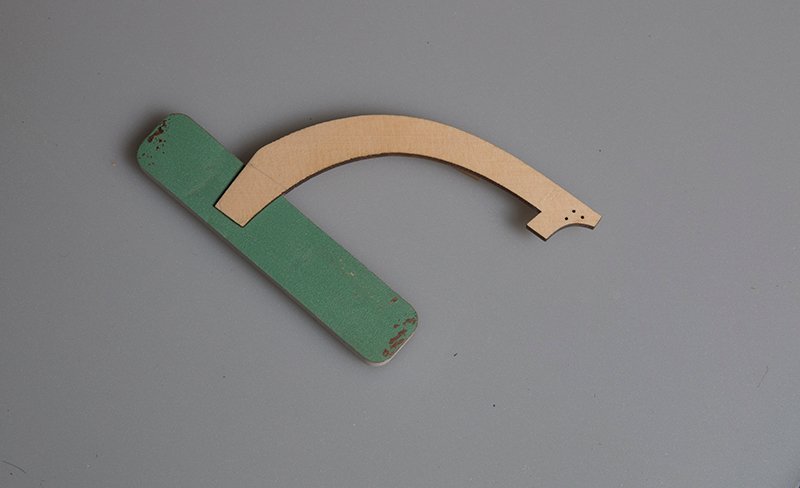
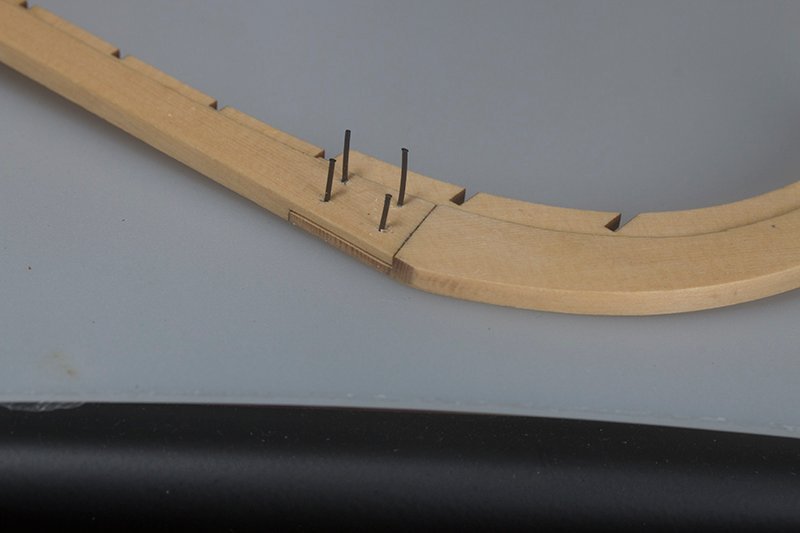
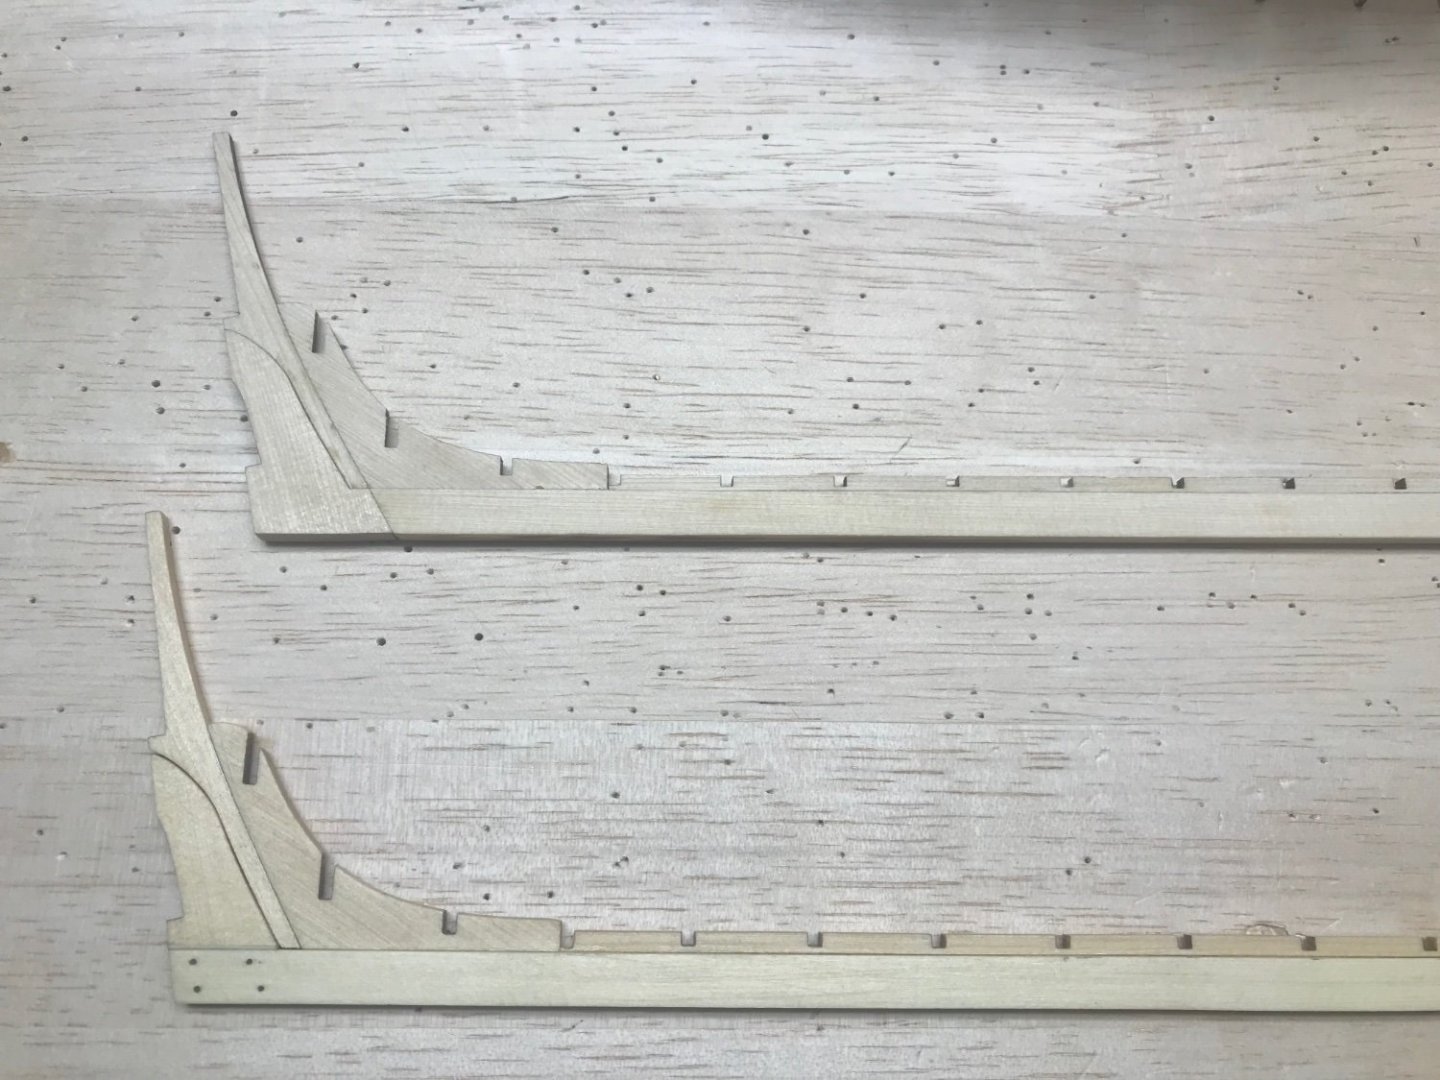
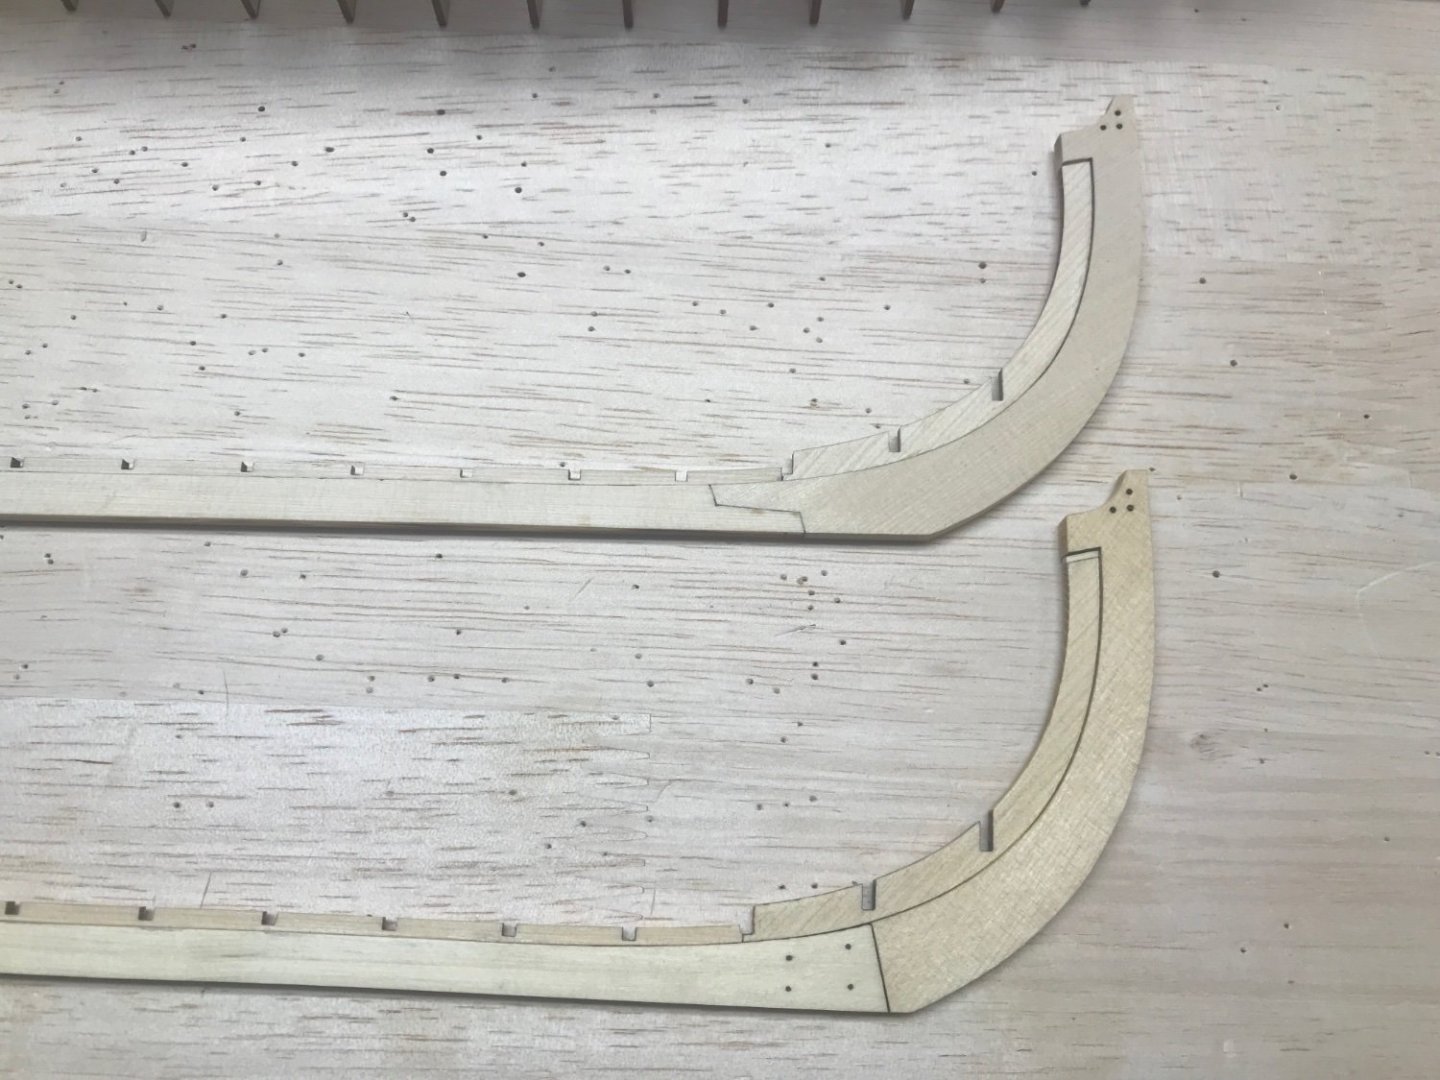
I am starting another of Chuck's builds today and am excited as I have never used this method of construction before. The first task is to construct the keel. There are two versions - one with scarf joints and the other with lap joints I am going to build both but hope to use the one with the lap joints. Here are the laser cut sheets involved: The Scarph version is quite simple: The lap joint version is more challenging. I started by paring away the joint with a sharp blade and then once close the required depth I finished it off with one of these sanding blocks which have sandpaper on the top only and not on the sides and the two joints assembled: The two versions are shown here: The lengths were identical so I concluded that the lap joints were OK. The parts for the notched keel pieces are nicely etched on the following sheet Bolts for the lap joints are simulated with black monofilament: These are then trimmed flush with the surface. After a coat of poly the completed keel looks like this: John
-
I received my kit in the mail yesterday and am about to embark on my build. On opening the kit it was discovered that the aft section of the build board had the end tab broken off. No doubt this happened in shipping. I have attempted a fix and will know tomorrow if it worked, and will then reinforce that area somehow. I have started on the keel and discovered that an hour in the shop seems like 5 minutes. Enjoying myself on my first ever build
-
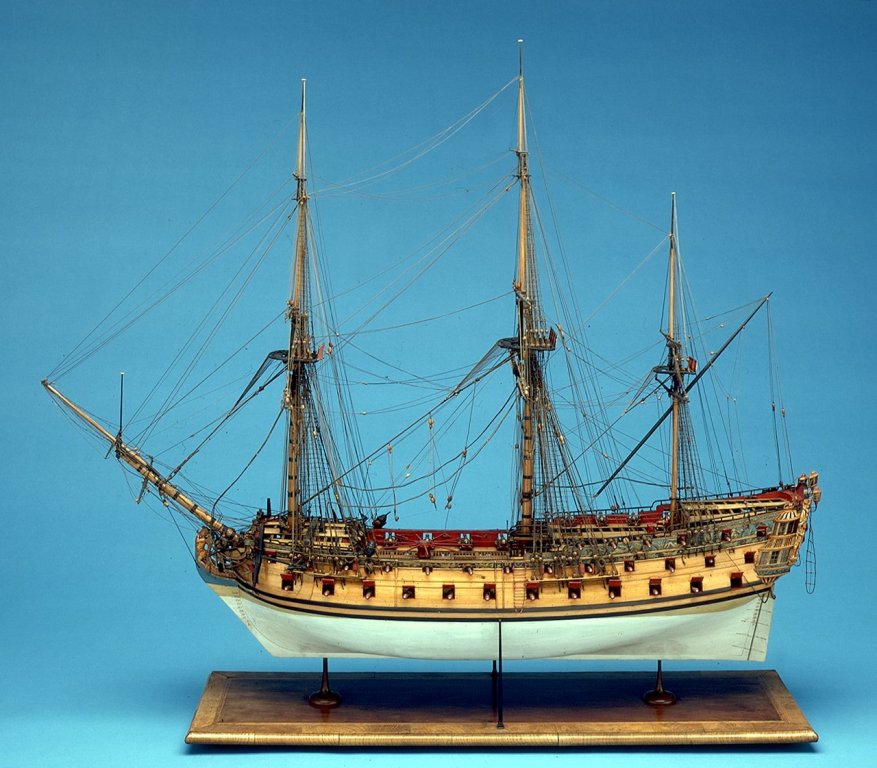
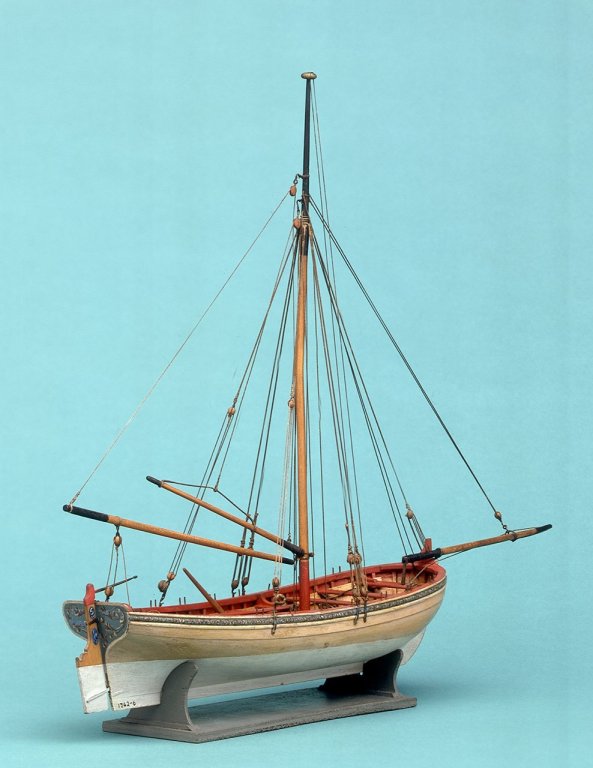
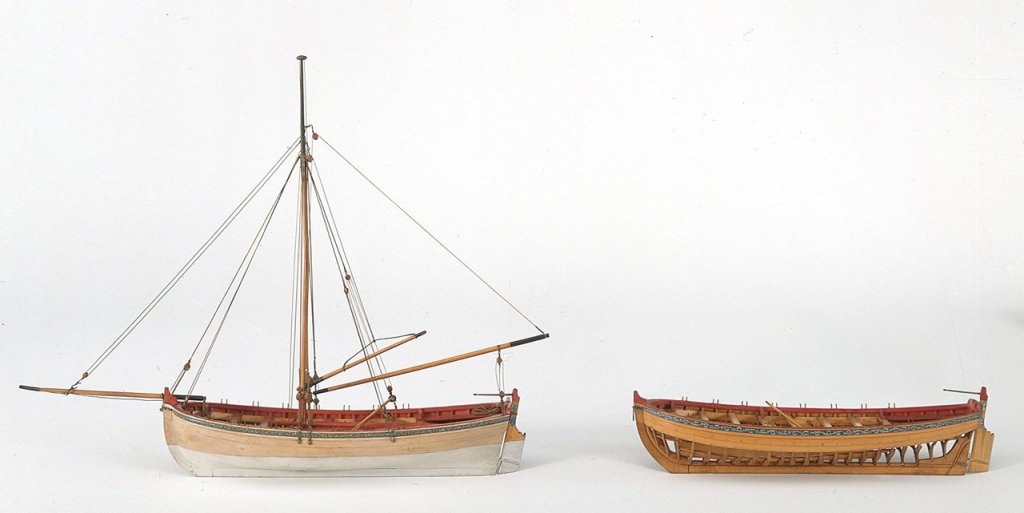
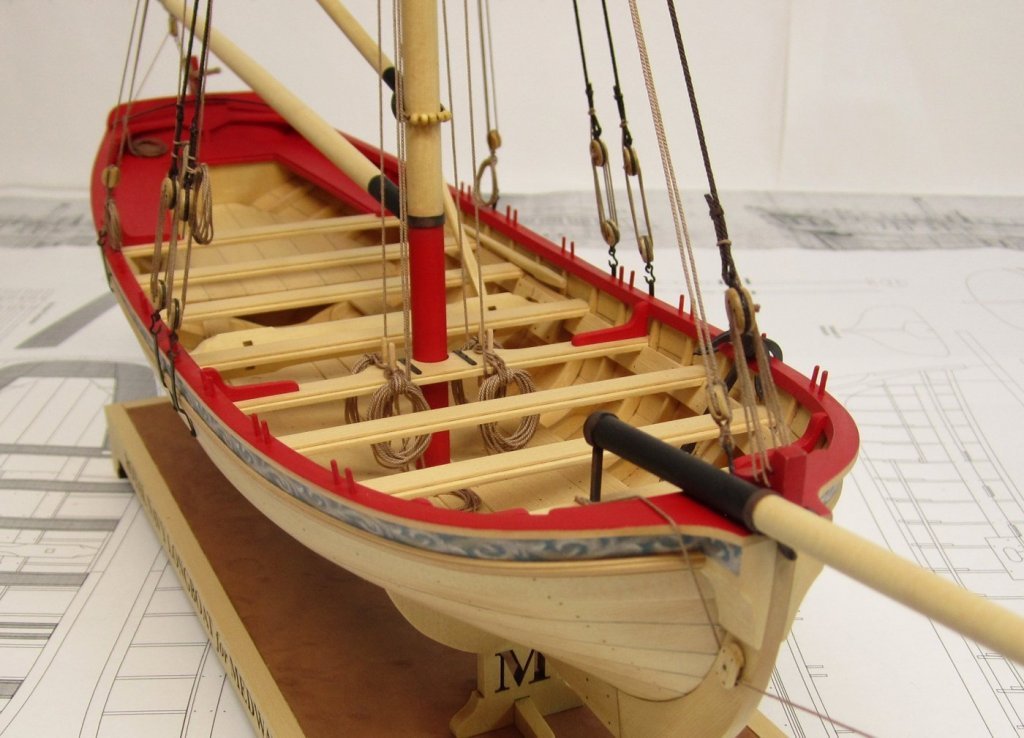
This is the start of my build for the Medway Longboat. There are two really special contemporary models in the NMM. This is a totally revamped and completely new longboat project with actually little in common with my earlier design for Model Shipways. It is based on an entirely different original draft and more closely resembles the contemporary models. In fact its almost identical as far as I can tell. It will be a true POF model with floors and top timbers. This model will be made from Alaskan Yellow Cedar with boxwood accents and molding. This model will be made both partially planked and fully planked eventually just like the two contemporary models. The fully planked version will show all rigging and also sails. Hopefully. A little about the contemporary models shown below. Scale 1:48. A contemporary full hull model of a ship's longboat, said to be from the 'Medway' (1742) (SLR0328), built plank on frame in the Navy Board style. The model is partially planked and equipped with a large windlass amidships for use when handling the anchors. It is mounted on its original veneered baseboard. Another model, SLR0330, shows the ‘Medway’ longboat rigged and fully planked. The longboat was generally the largest boat carried on board ship and could either be pulled or sailed. It was used for carrying personnel and stores as well as mooring and anchors work. When carried on board, the longboat was stowed in the waist between the fore and main masts lashed on the spare topmasts and spars. It was hoisted in and out by means of the large block and tackles rigged to the lower fore and main yards. A contemporary full hull model of the 'Medway' (1742), shown below - 60-gun two-decker ship of the line
- 421 replies
-
- medway longboat
- syren ship model
-
(and 1 more)
Tagged with:
-
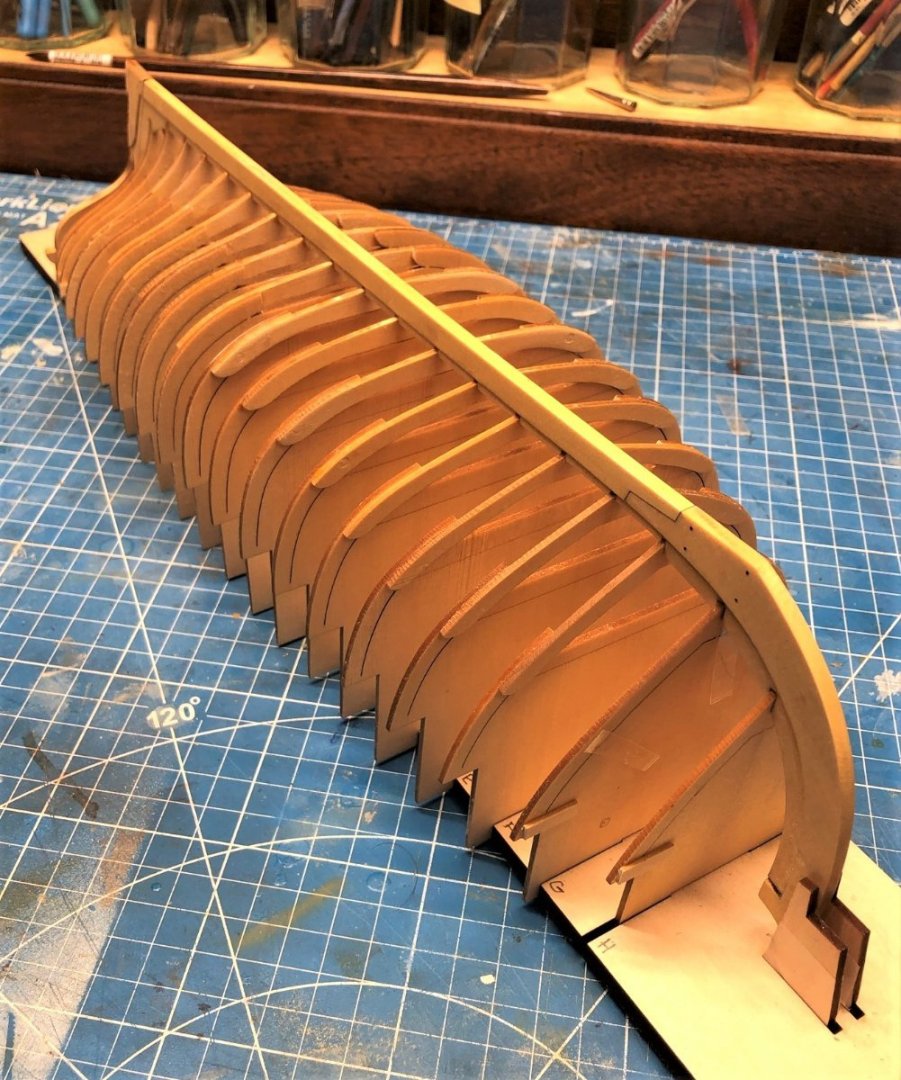
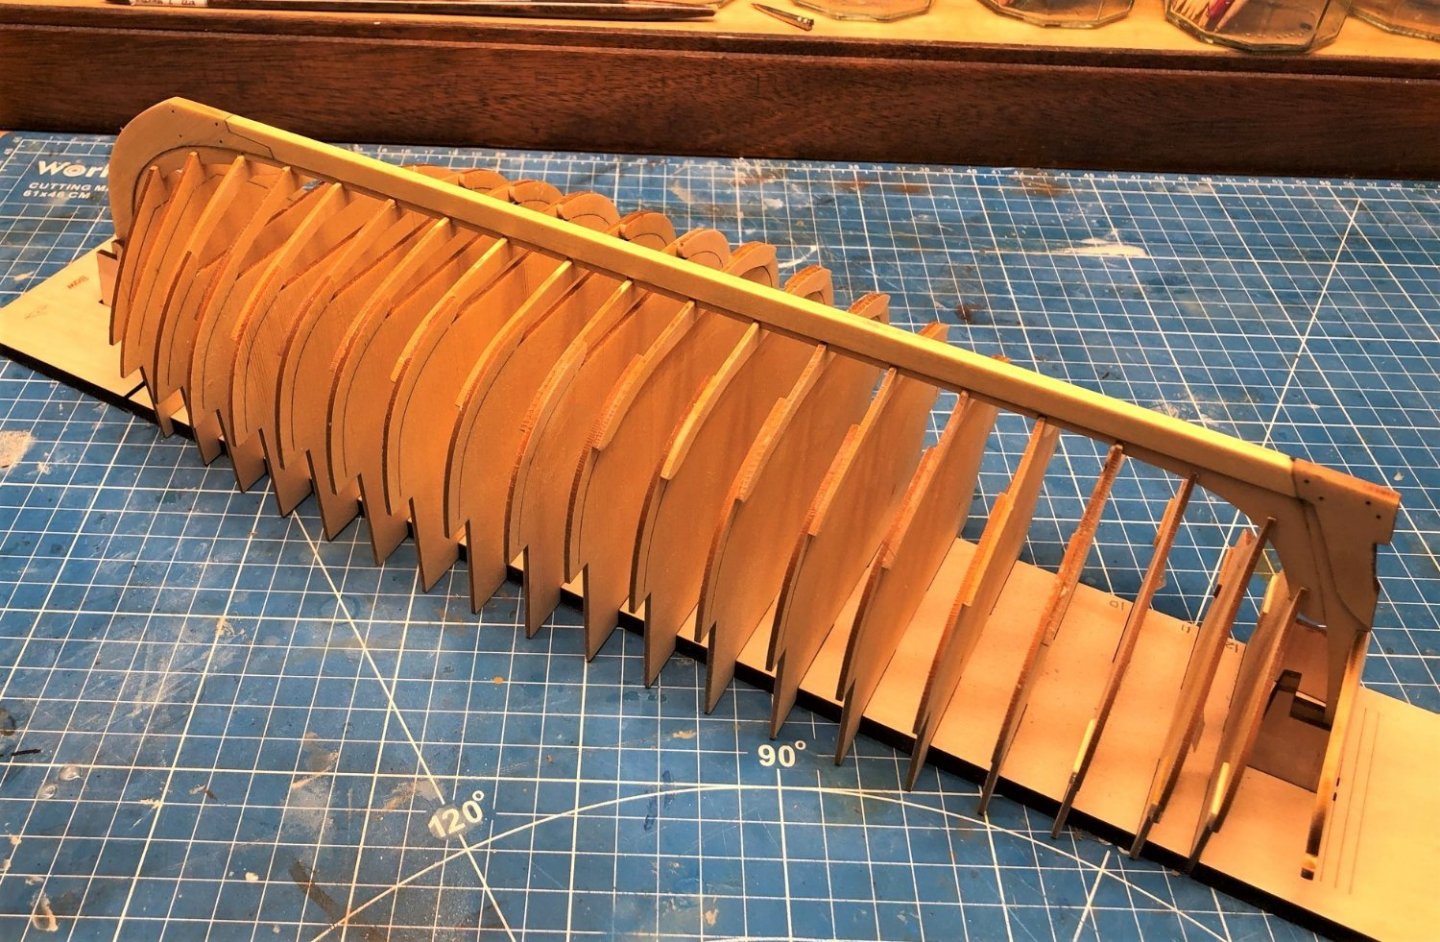
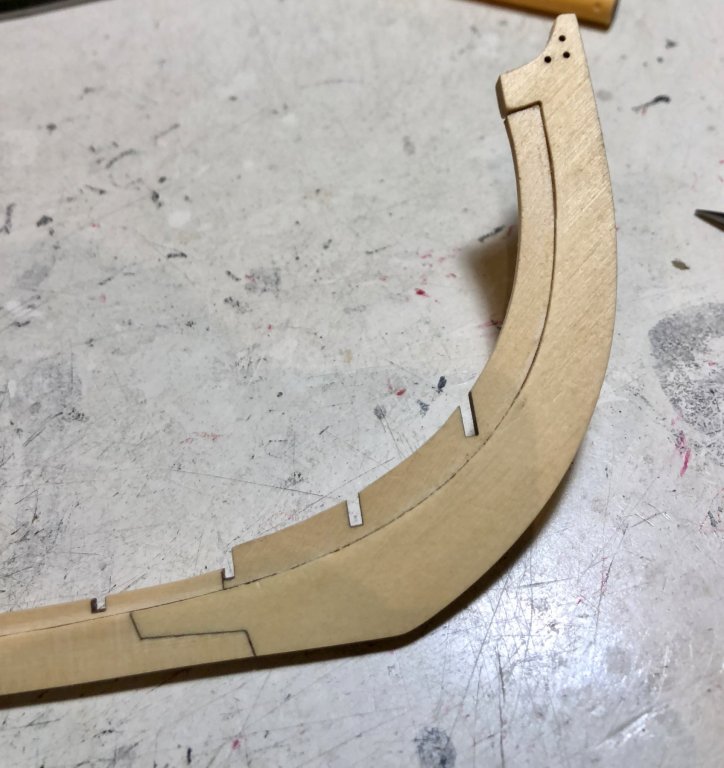
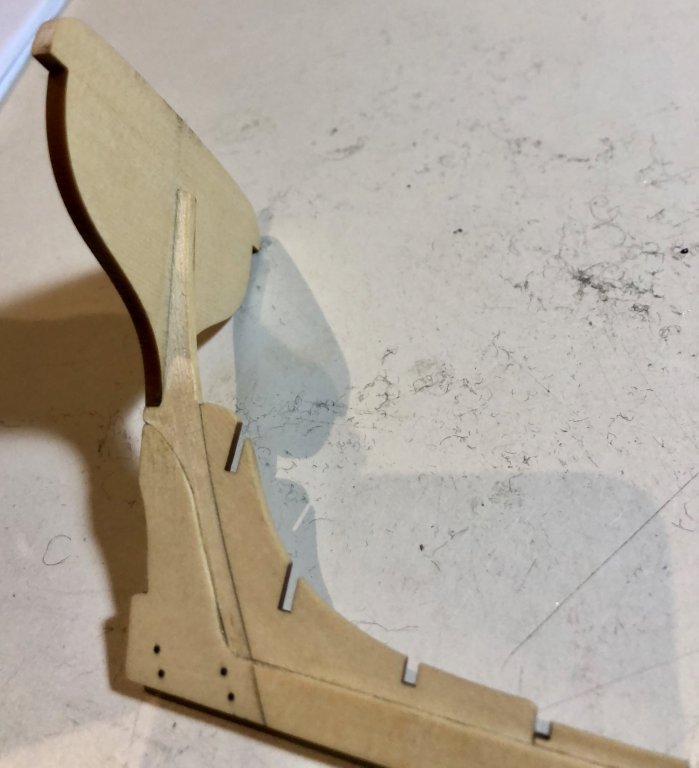
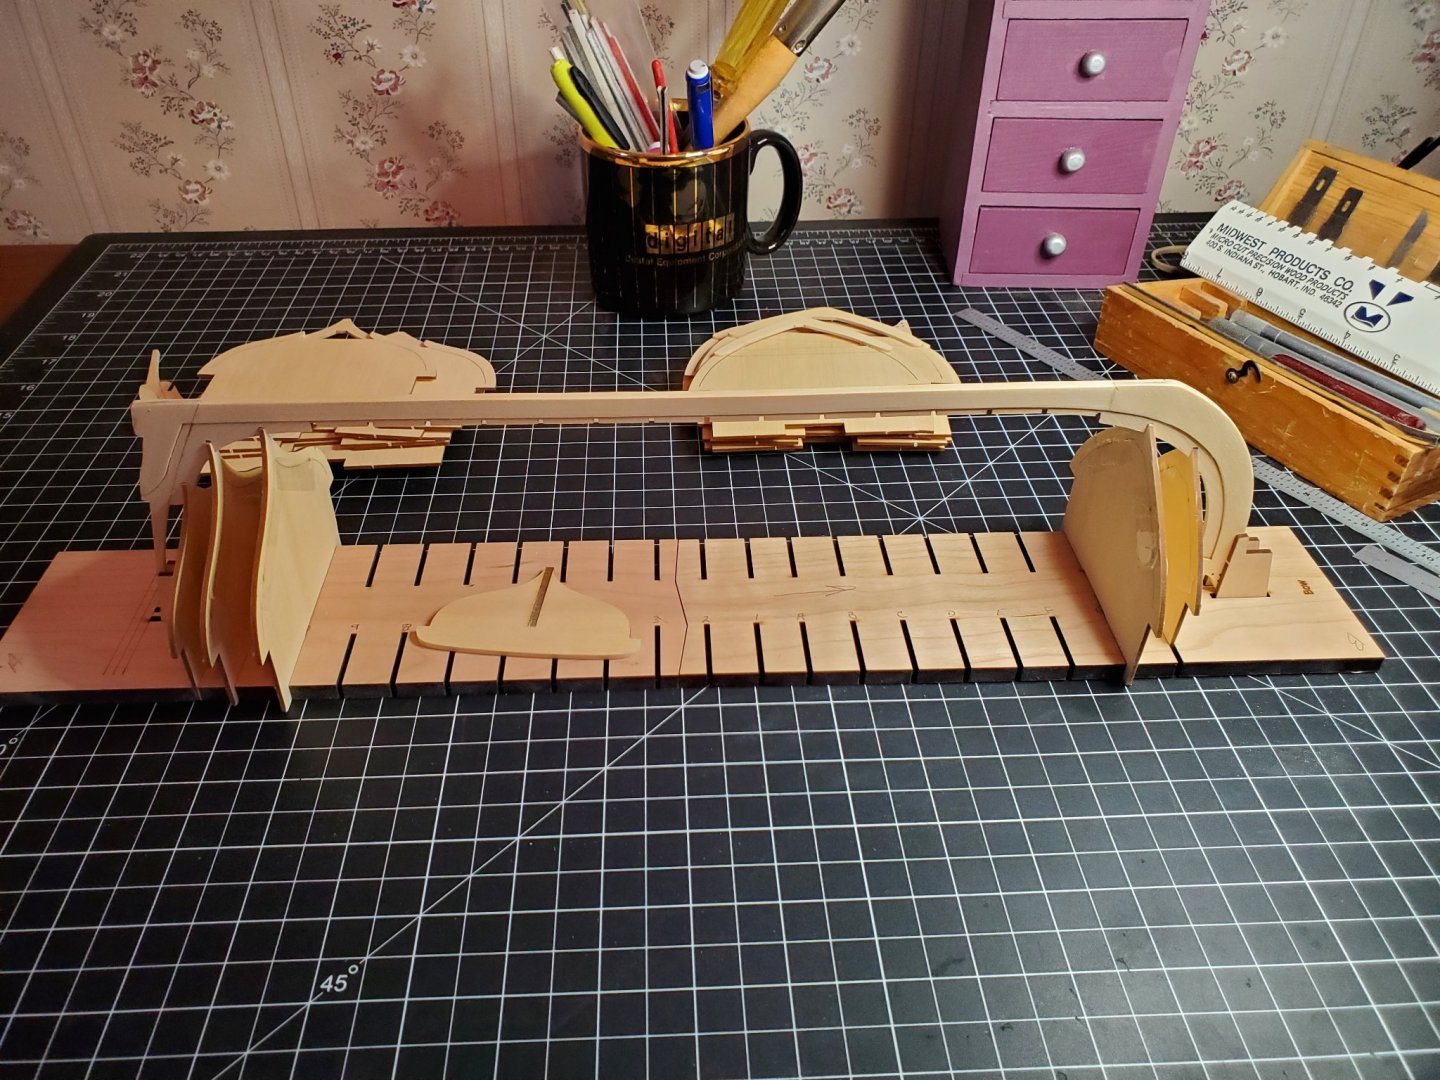
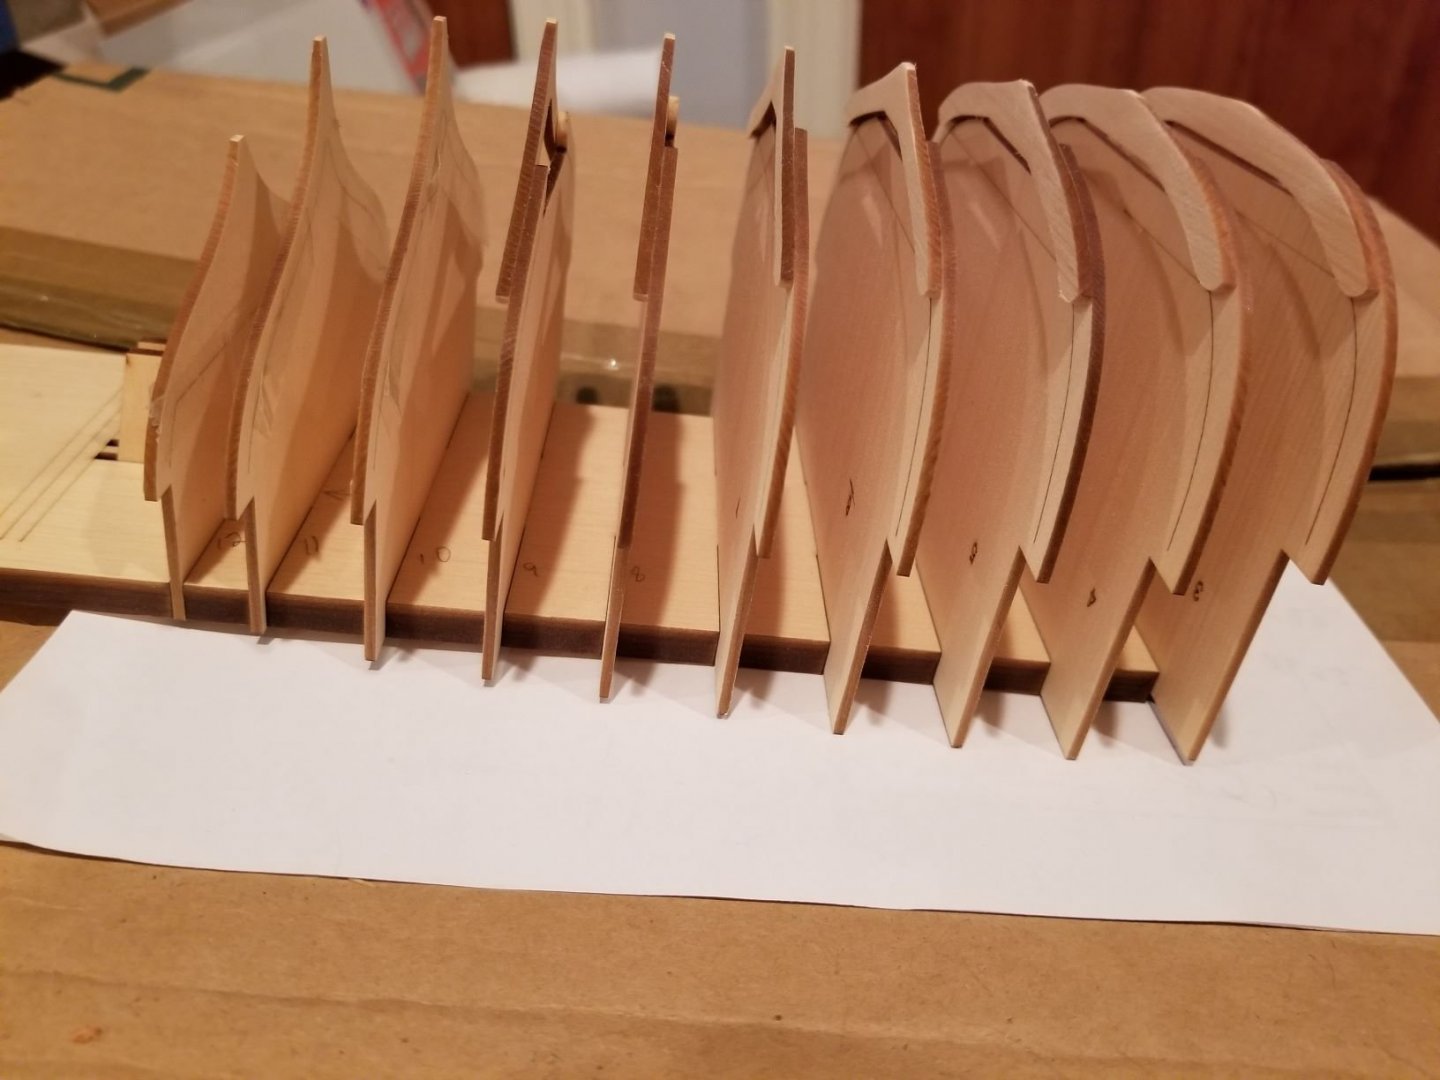
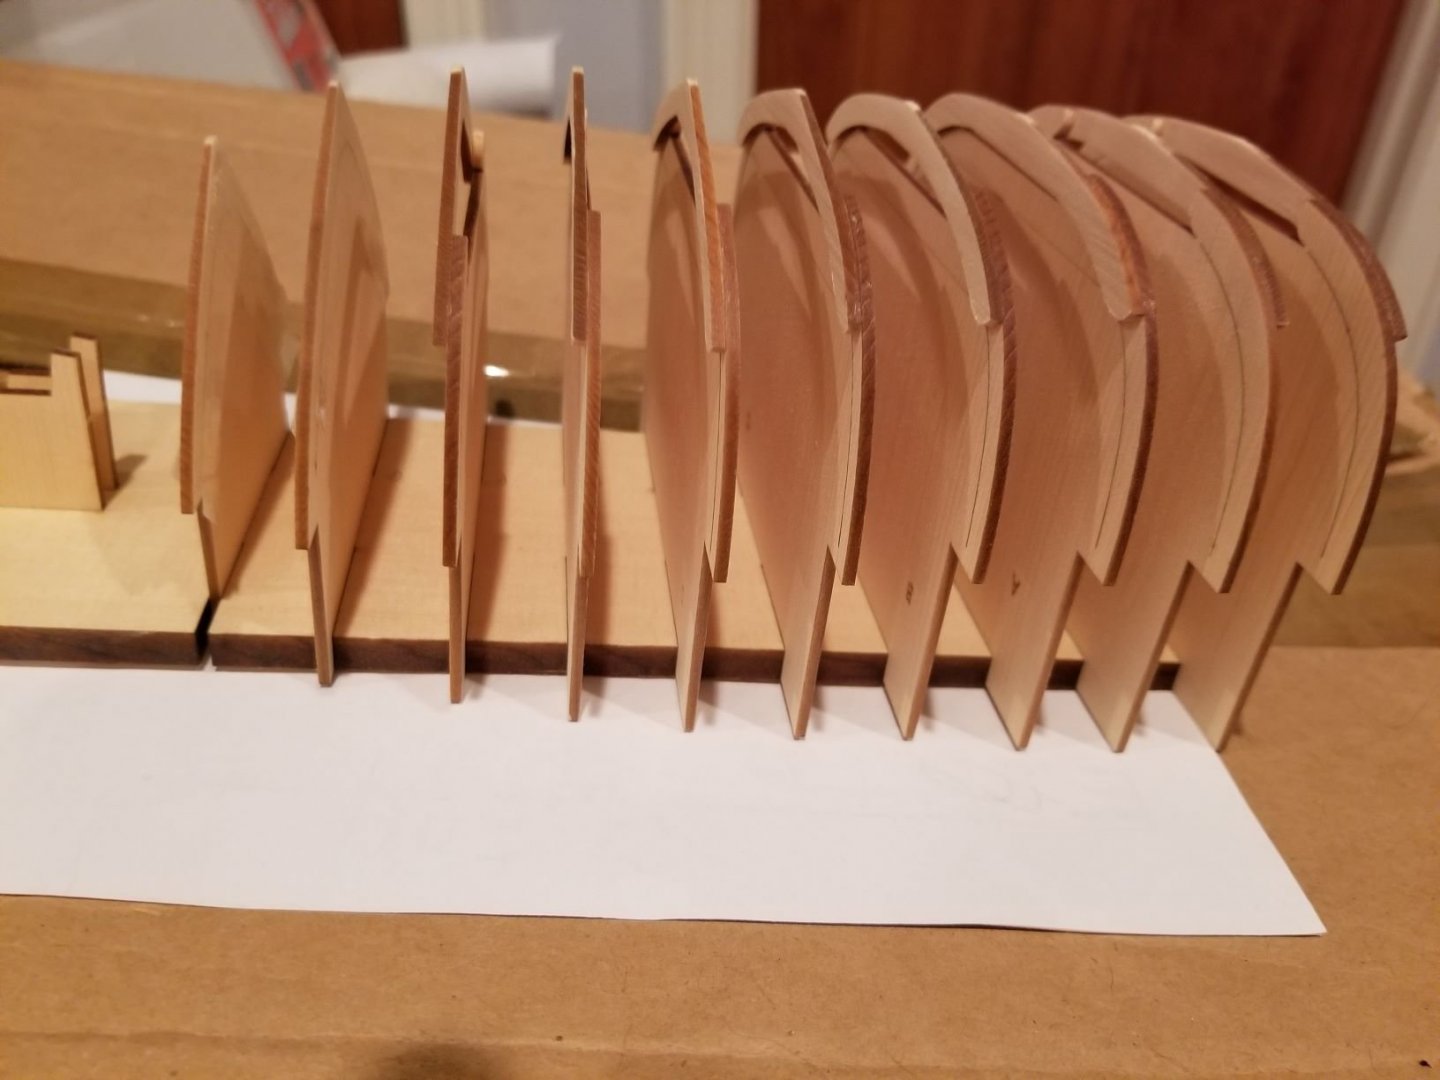
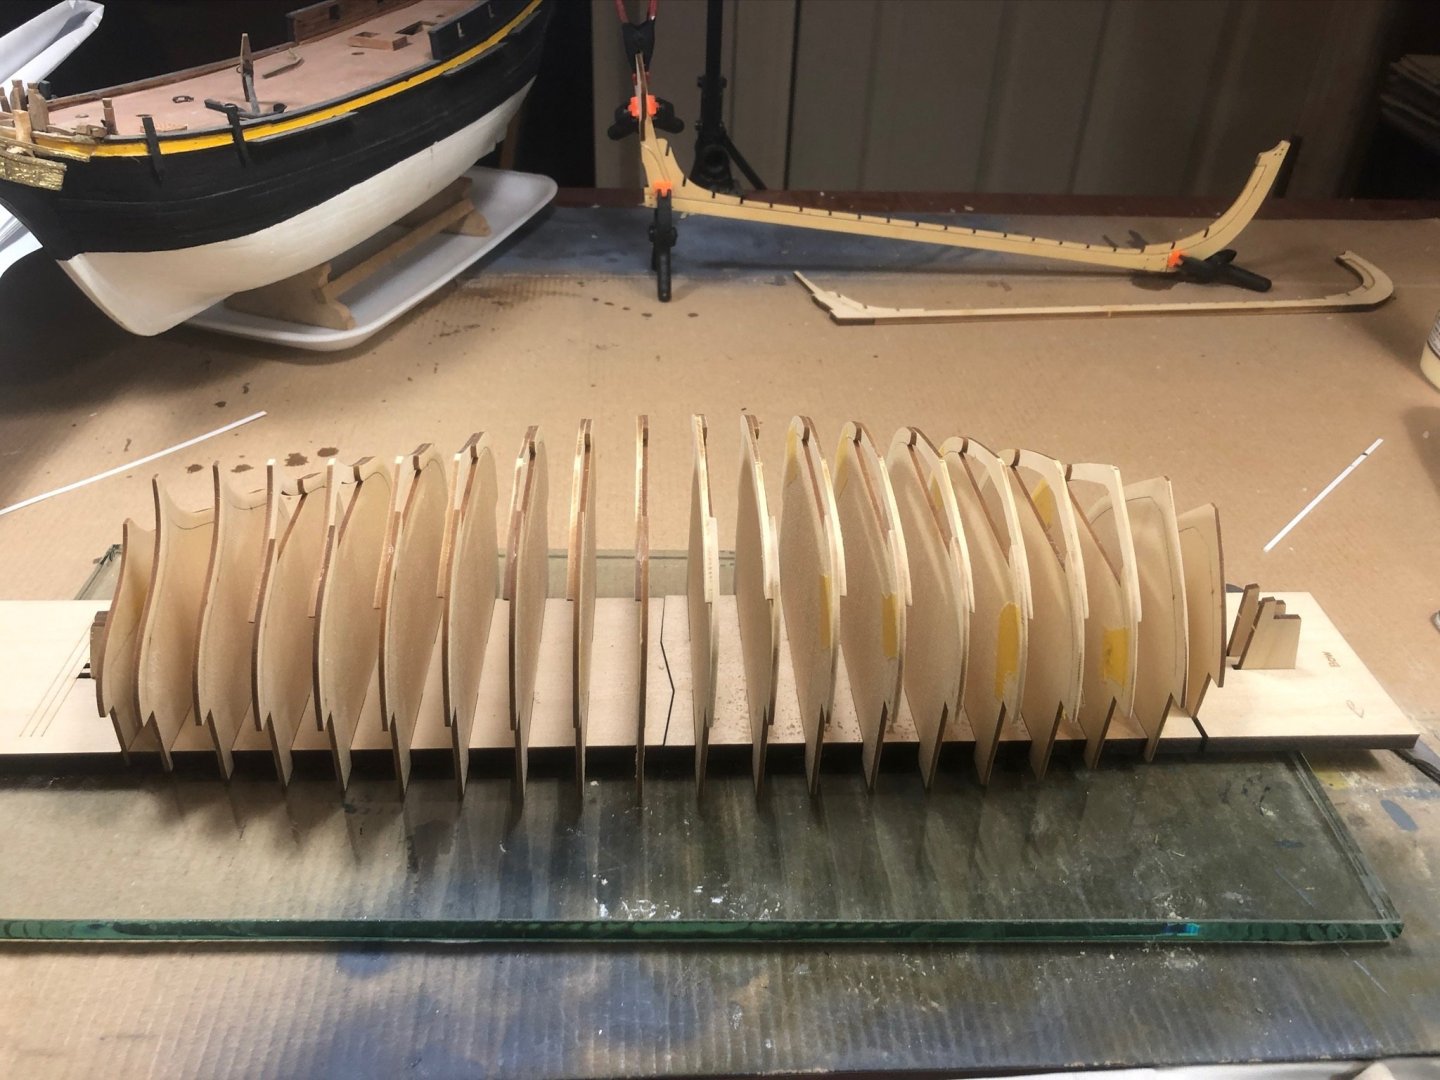
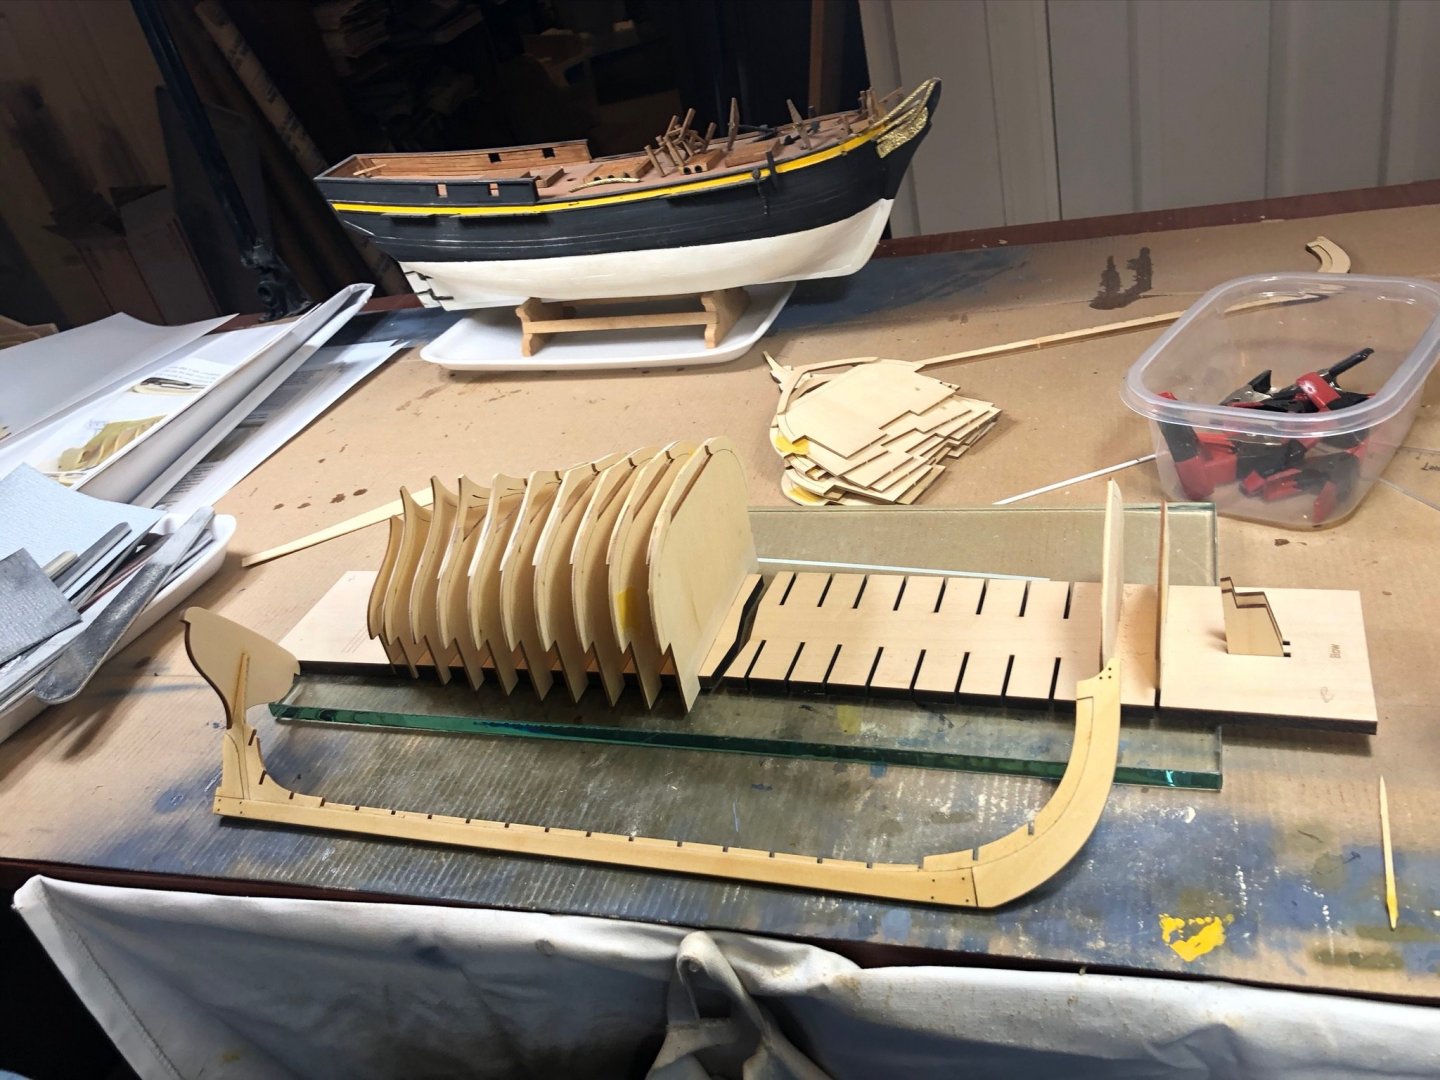
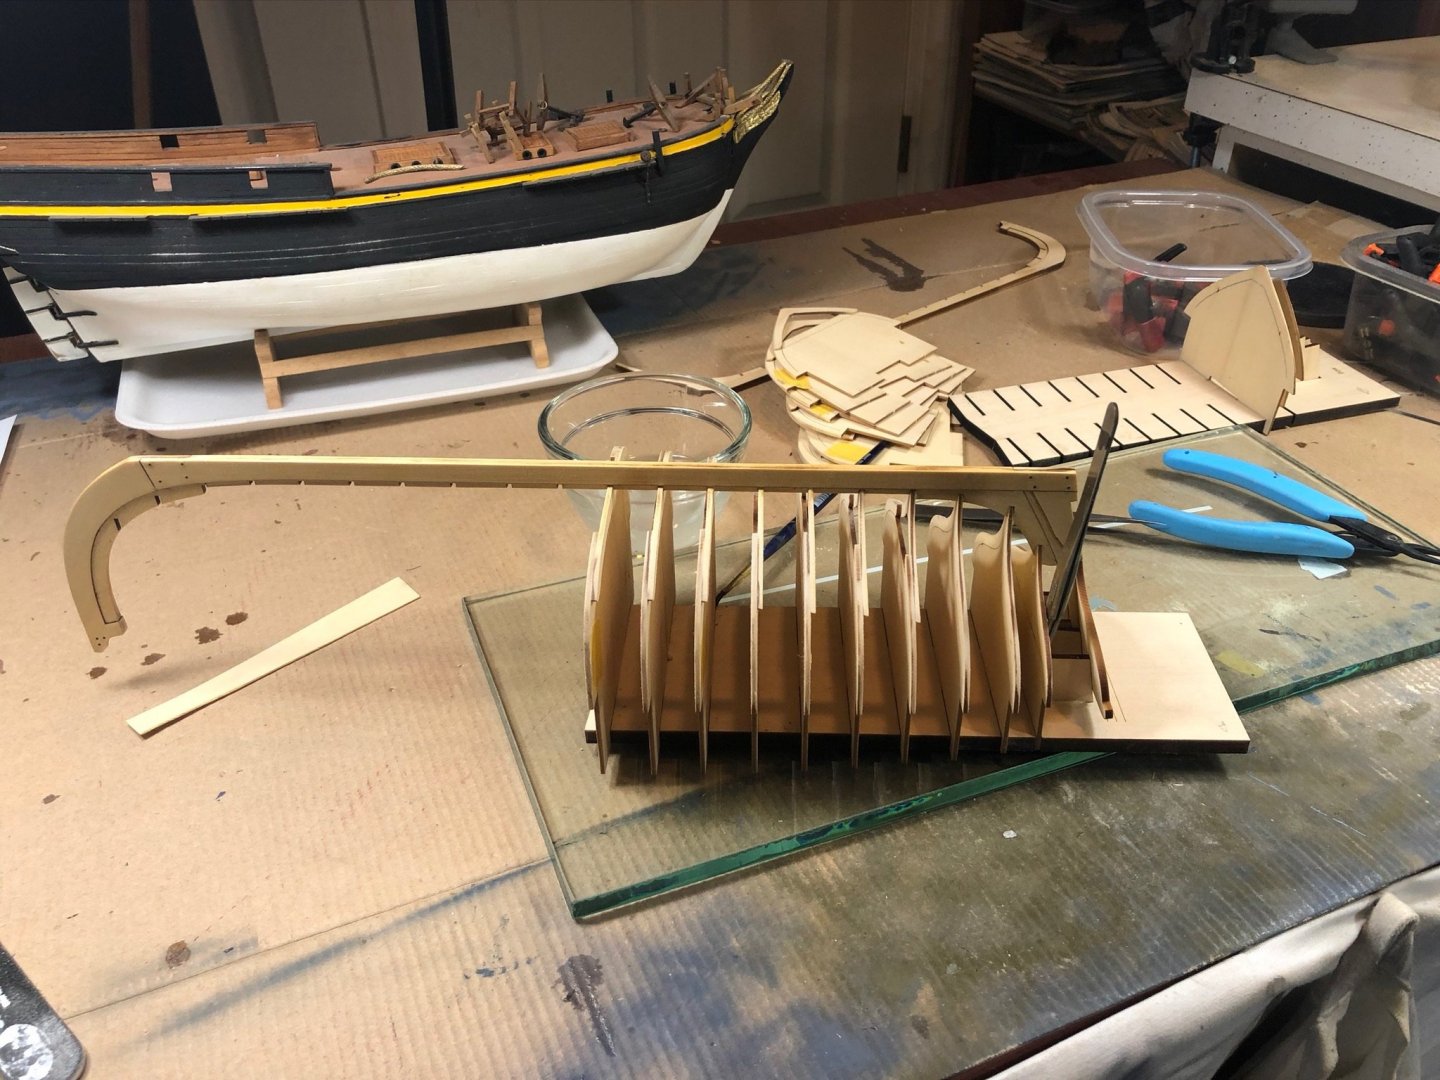
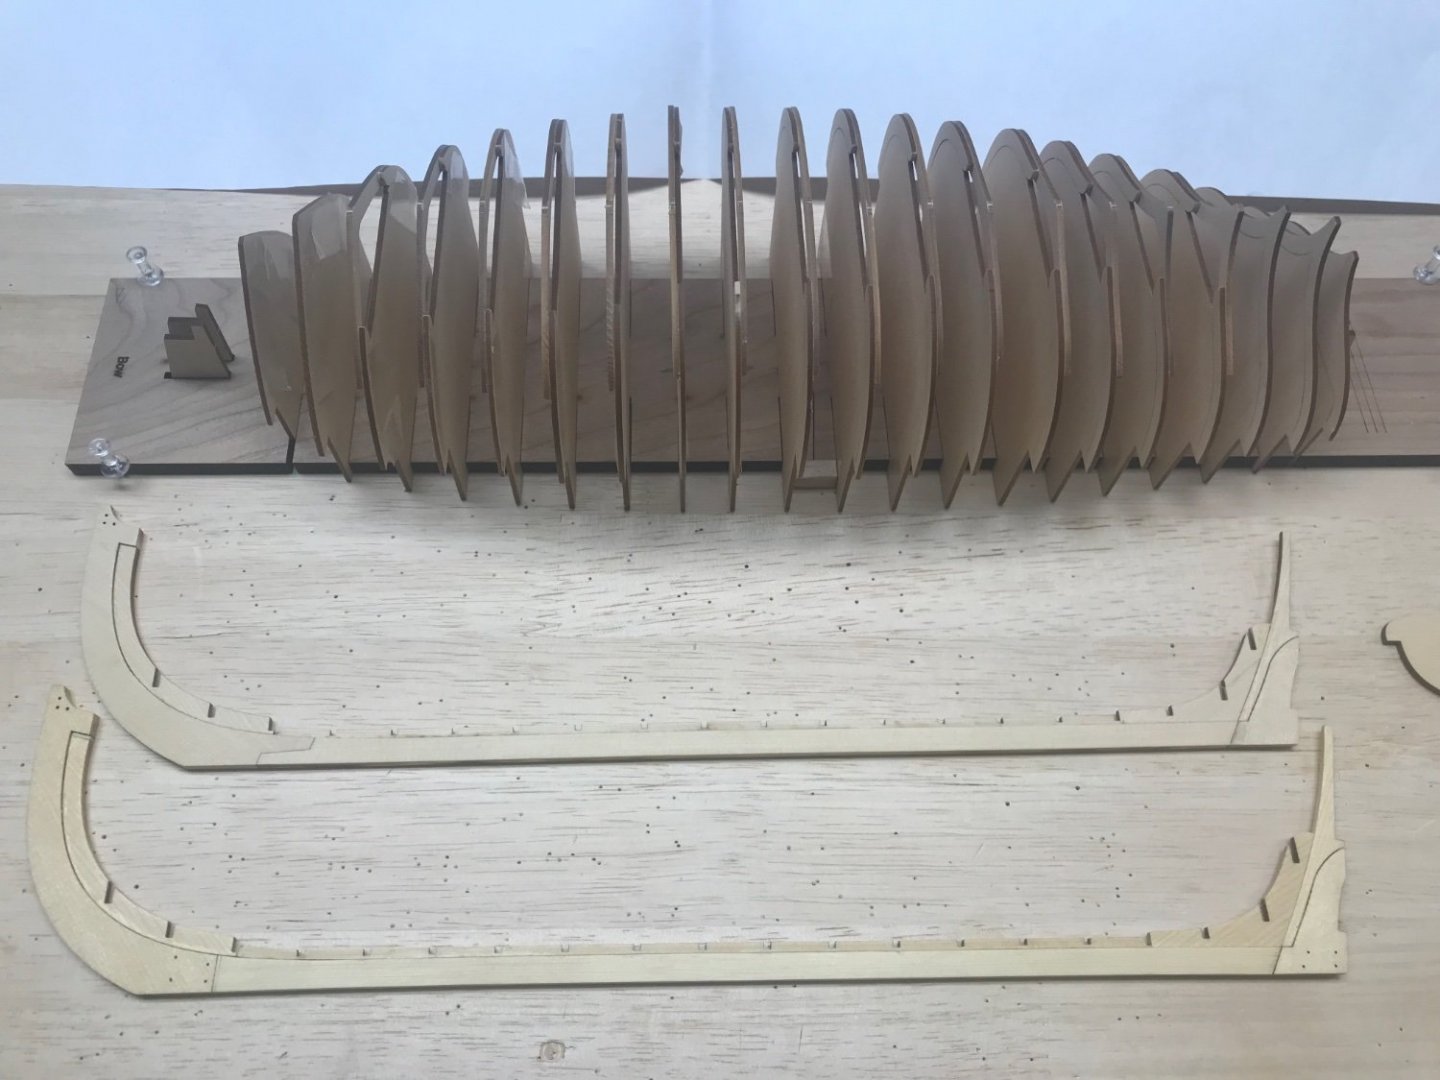
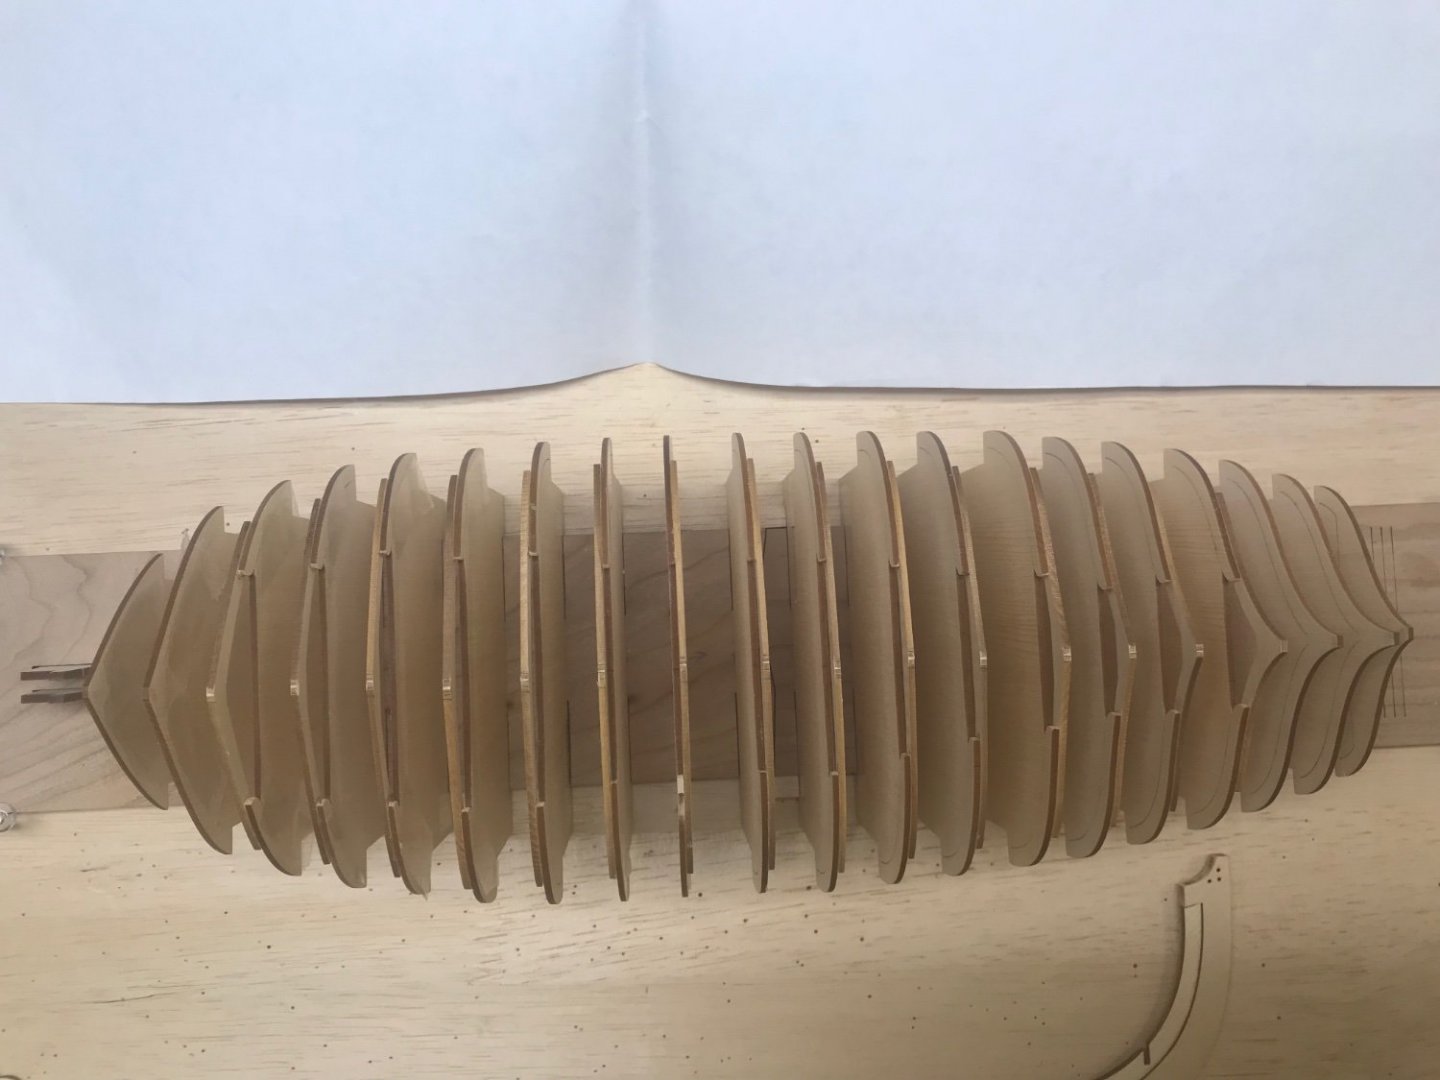
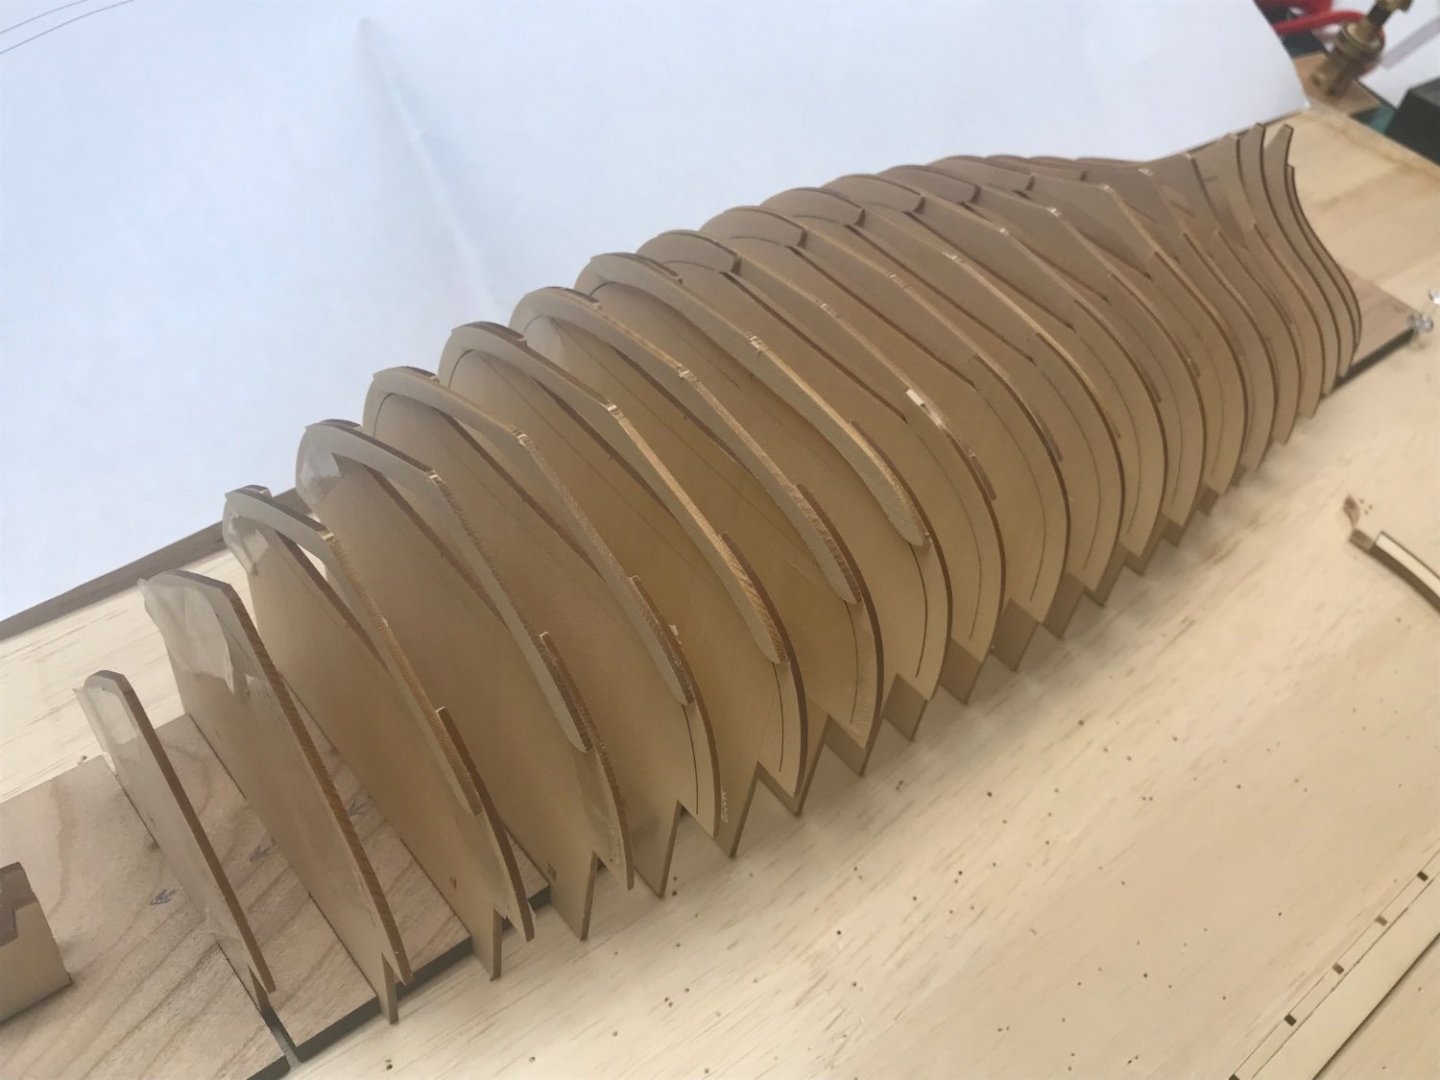
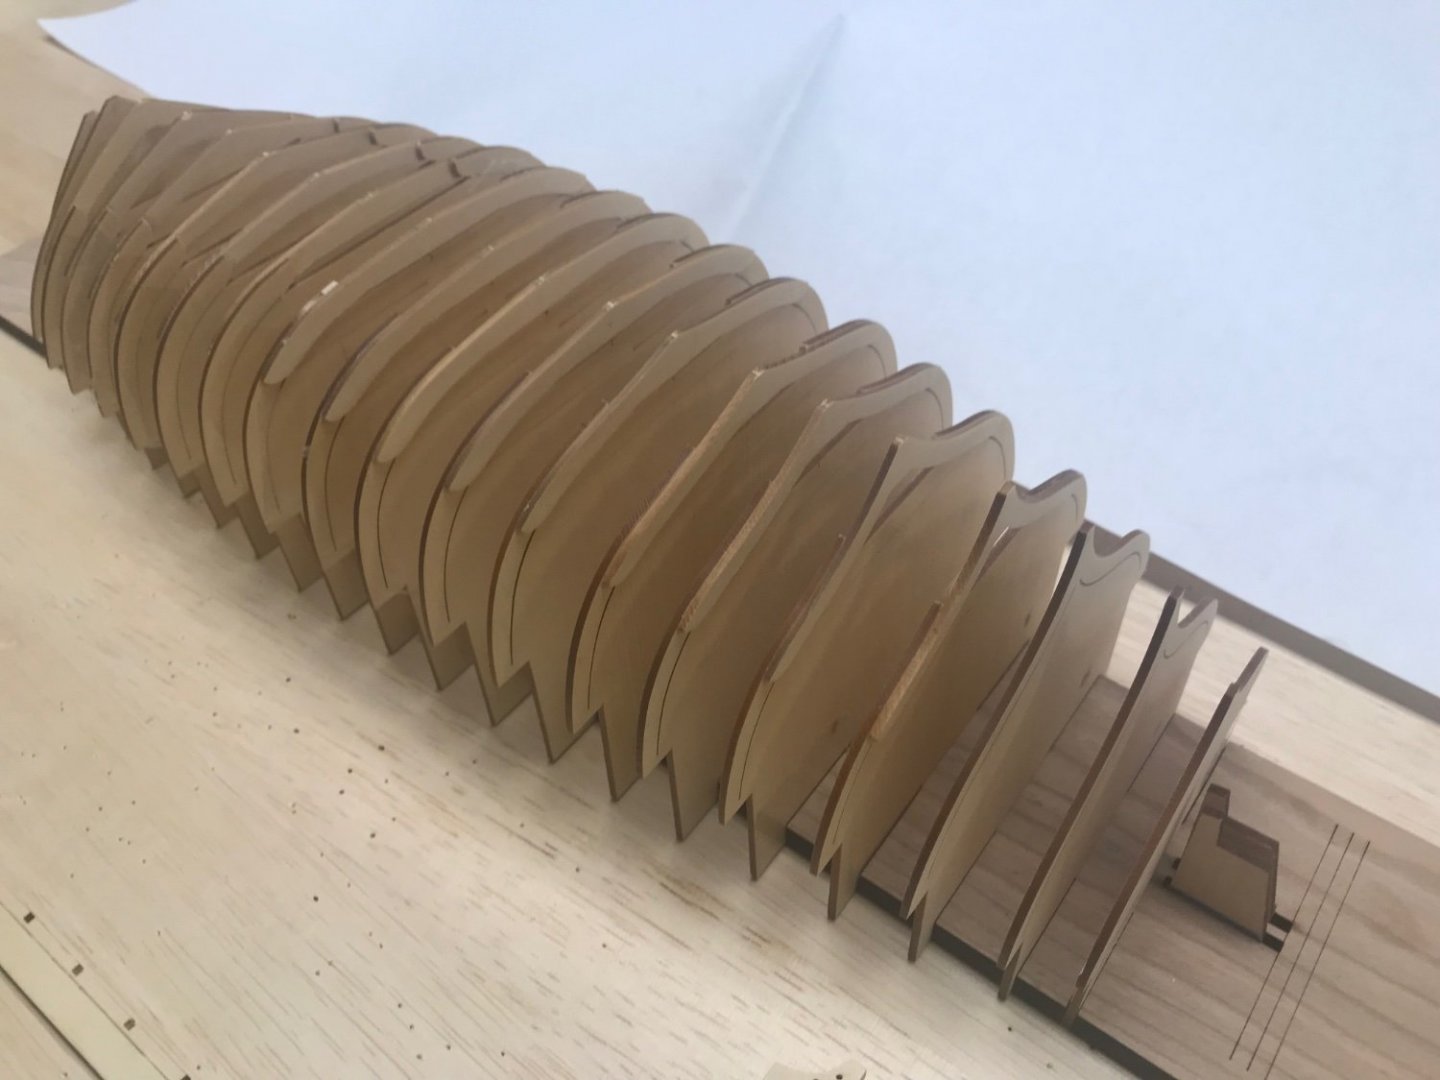
New year and my first wood build! A little about me, I’m a lifetime modeler, mostly R/C planes and scale helicopters. Back in the 80’s I also got into R/C subs and had a lot of fun/success. I won a lot of National awards with my scale helicopters and just love to build. I retired a year ago after over 40 years of building jet engines, so I have the time now to enjoy my building. About 40 years ago, I tried to build a Billings Cutty Sark and as can be imagined, I failed miserably. Now, after reading the way awesome builds on this site, I decided that now was the time to get started. For my first build, I decided on Chuck’s Medway Longboat, it’s such a beautiful project and it’ll help me develop skills I need for my next project, Chuck’s Cheerful. I like to start new projects on January 1, as it makes it easy to see how long it takes to build. Actually, I started this build about a week ago and it has been a wonderful change of pace. Chuck’s efforts in designing and implementing his designs are of epic proportions! I’ve never seen such detailed laser cutting and his practicums are fabulous, as is all of the fantastic builds on MSW. So without further ado, here we go. I'm going to pass on showing the kit parts, as there are many already posted in the group build. I started with the easy keel to ease into the build and then built the lap-joint keel. Frames have been assembled and fitted to the building board. Keel has been glued in place and is drying. I expect to start fairing the frames later tonight. A task I’ve never done. Enjoy! Regards … Rick
- 155 replies
-
- Medway Longboat
- Finished
-
(and 1 more)
Tagged with:
-
I have been harbouring this offering from Syren for nearly four years, so it’s time to come out from beneath my bench. My kit dates from 2019 and this will be my next project, and the third from the Syren SMC. Having thoroughly enjoyed both Cheerful and The Queen Anne Barge I am very much looking forward to the Longboat. I am not completely unfamiliar with the Longboat style as I completed the MS 1:48 scale version (also a Chuck Passaro design) back in 2017. 2780 I enjoyed that build and it makes a nice-looking model, but the ½” version is a significant step up in terms of accuracy, materials, and quality. I am a late arrival to the Medway Longboat party, and I doubt I can add anything to the wealth of experience as recorded in the public group forum for Medway, not only Chuck’s build, but also from others whose work I have long admired. I am fortunate to have all this to hopefully smooth my way along. I will spend some time reading thro’ the logs before I begin. B.E. 08/01/23
-
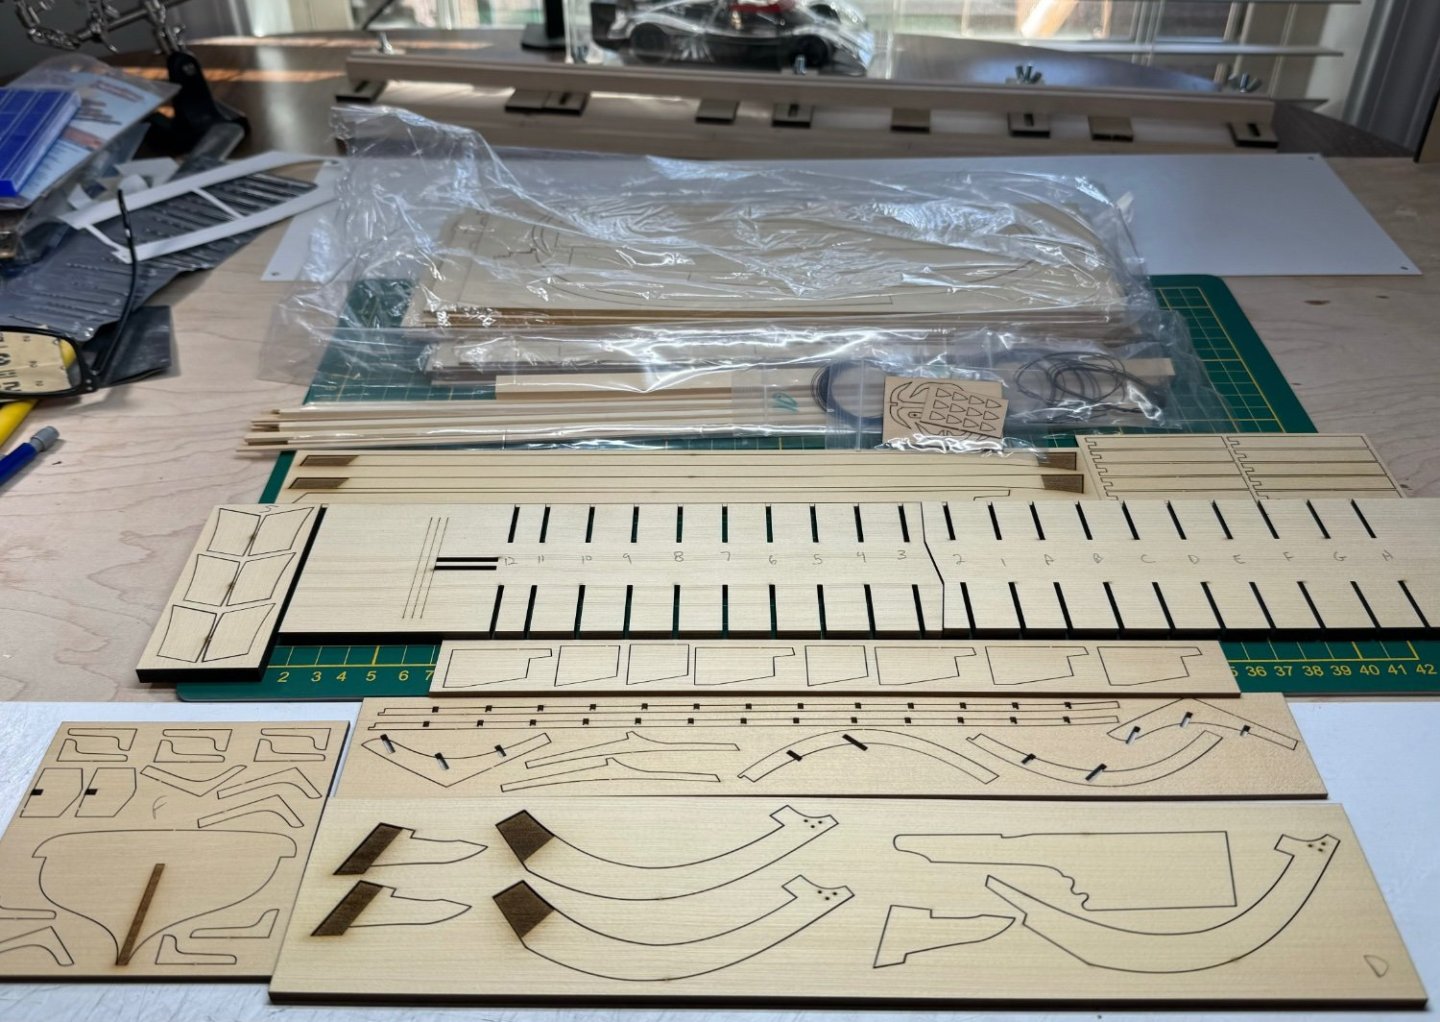
And so it begins. I just received my Medway Kit. And this is the beginning of my build log. I contacted Chuck a couple weeks ago and asked when he would have some kits in stock. He was kind enough to drop me an email telling there were 6 new kits. But the time I placed my order 4 were gone. 4 days later I received my kit. There is no comparison to receiving a Kit from Chuck and any other supplier. This is my first order from the Syren ship company besides parts & rigging. The quality is unmatched. The nice aroma of Cedar isn't bad either. I did the checklist (which by the way he provides for you). And of course everything was there and in good condition. So I have my first question - In reading other logs I have found a digital tool mentioned which appears to be a height gauge for a table saw. Can someone explain how you use your table saw for the Keel scarf joint? If I understand correctly you are cutting the depth and then cutting away the extra wood by hand? PS I have ordered the tool (we can never have enough tools). So I am waiting for my order from Rockler. It also appears that Rockler need to talk to Chuck. His package arrived 2 days ago. And still no sign of Rockler.
-
This will be the start of my Medway Longboat kit once I receive it. I have been following the development of this kit and it will be fun building it in a Group setting. I have watched projects being developed over the years by Chuck and each one gets better and more innovative than the one that preceded it. The first step in this build is to visit the downloads page which has all of the chapters of the build plus other information that will help you in the building of your Longboat. It can be accessed by going to the link below:
- 254 replies
-
- Medway Longboat
- Syren Ship Model
-
(and 1 more)
Tagged with:
-
The Medway Longboat by Syren is a very popular model. As designed, it produces a beautiful model and in a larger scale that shows significant detail. I was asked to produce a set of sails for the Longboat. This topic will lead you through a process that I use for making sails. I will point out in the beginning, that this method has been used many times. It is also a shop note in the NRG Publication "Ship Modelers Shop Notes". It has also been demonstrated in several venues including Northeast Joint Clubs. I have added a few of my own tweaks to this process. My chosen material is silk span. Silkspan looks like tissue paper but it is a fabric and it does have a specific weave. It is marked by Bluejacket as Model Span. More to follow. Download the entire sail Tutorial here....Sails for a Cutter Rigged Long Boat.pdf Tom
-
Greetings all, I was finally able to start my Medway Longboat project over the weekend. I have to say that my over-riding feeling after two days work is this: In the past 60 years, plus!, I've built many, many models, in a wide range of subjects and media, but few can match the quality and engineering of this kit from Chuck. Simply put, it is a joy to work on. No sweat, no cussin', no sending parts into orbit. Amen. I've read through all the build logs and there's nothing I can add. You gents have it all covered and my coming late to the party just means I get to take advantage of your experiences. One thing...I've decided to use Tung Oil to finish mine. I used it a lot when I was still doing furniture on commission and like the way it handles and the glow that results. I use Sutherland and Welles. It's pricey and it takes a bunch of coats to build up the visual depth I like, but, for the look I'm after, it's worth the time and money. I doubt I'll be able to get back to it before the weekend so here're some shots to tide you over. (I just keep going to the model rook to fondle it wishing I could stop work to keep going.) Cheers from NYC, Michael
-
Looking forward to starting this group project as soon as Chuck is able to supply the kits.
- 109 replies
-
- medway longboat
- syren ship model
-
(and 1 more)
Tagged with:
-
I have chosen the Medway longboat as one of two projects that I am going to start now. The other is the brigantine Lexington, a semi-scratch build based on plans by Clayton Feldman and a mini-kit from The Lumberyard. It is my current intention to begin the longboat now, but suspend work when I get the Lexington project started (Chuck's delivery time is considerably shorter than The Lumberyard). I will then take the longboat to New Jersey, where we will be spending a portion of the summer, and possibly early fall, and hopefully complete it there. So far, I have completed the keel assembly and transom, and am starting on the frames. I'm embarrassed to have to admit that I butchered one of the overlap joints on the keel and have to use the simplified joint version. Not a good start. Bob
- 78 replies
-
- medway longboat
- syren ship model
-
(and 1 more)
Tagged with:
-
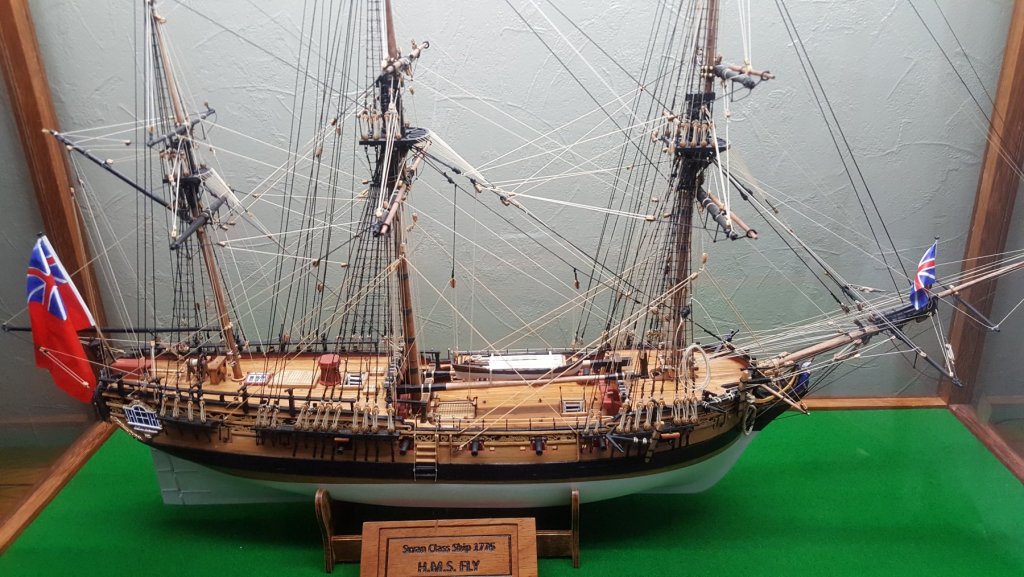
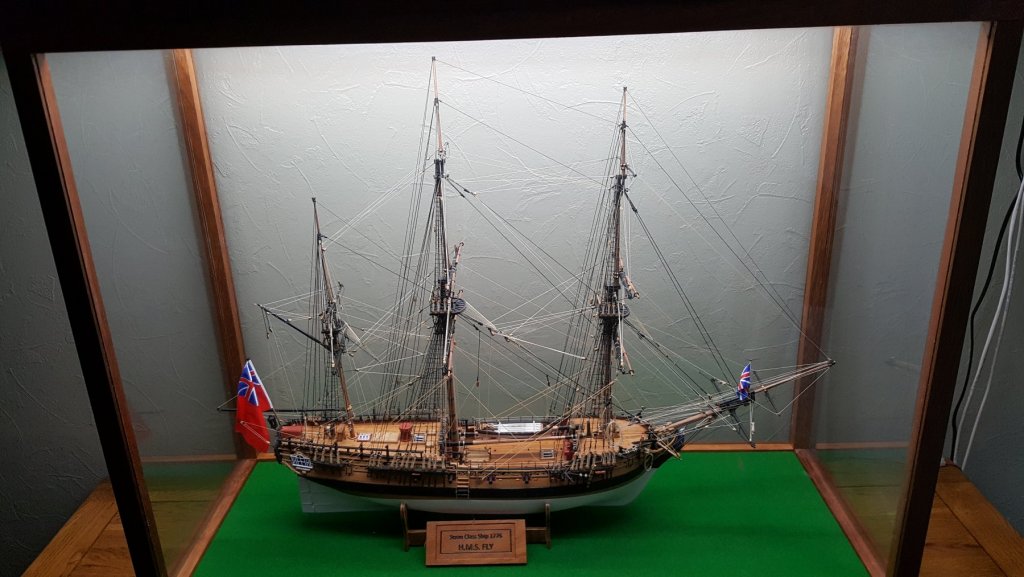
Hi there. I've been following Chucks build log with much interest and decided that it was time for me to jump in at the deep end and have a go myself. I have limited experience having only built the Sergal Presidant kit and then Victory Models HMS Fly, so be gentle with me. Looking forward to purchasing the kit and getting started.
-
Hello Everyone, I would to join this build group of fellow Medway Longboat builders. I have put my 1:48 scale Longboat on hold so as to better understand the spiling process since the strakes are pre-cut. I had some difficulty with small gaps with light showing through. Following are photos of my build. The build board and keel parts laid out. I have marked the slots in the build board because I got tired of counting them. Had to use tape to hold the guides in, they were loose and would fall out. Keel and stern post ready to join. Stem and Keel. False Keel parts had 1/32" scrape added when attaching to the keel to center them for the rabbit. The long piece glued to the keel. Attaching the Floors to the Top Timbers. Test fitting the frames and Keel. Head on view. Over all as she now stands. More to come. Bob W
- 87 replies
-
- syren ship model
- medway longboat
-
(and 1 more)
Tagged with:
-
I finally have had time to start on the Longboat. I found that this is a good re-starter kit for me - the last one was over 45-50 years ago and was never completed due to a whole bunch of things - mainly life. I did spend some of that time building flying models and some small furniture so i have some experience with wood. I am not a great craftsman by any means, but I try and a I enjoy it. To date I have built both versions of the keel just to see what I can do. I did build 2 versions of the half lap keel - the first not so good - the second is what I selected and I am now on my way. I have the first 5 frames fitted and have the rest of the frames built and ready to start fitting. I did leave the transom off for the moment so I can rough fit the frames without breaking it off - I'm sure I would. . I'd like to thank all of you for your build logs. I learned a lot about the tricks and pitfalls you all have found. Also - Chuck for the great well thought out kit Hope you all had a Merry Christmas and will have a great New Year. Tom
-
Finally decided to join in with the Medway Longboat project. I liked the lines, it'll teach me some fundamentals and it's designed by the Maestro, Chuck. The wood is excellent to work with and I've tried to keep my big mitts clean. I opted for the half lap joints to stretch my skills. I thought I did a pretty good joint and glued the stern together. Oops, it was bent. I figured out I only checked the thickness along the immediate outside edges but failed to check it was uniformly the 5/64" thick on each side. After an application of isopropel alcohol and dismantling the boo-boo, I made a little sanding fixture to keep the joints uniforms. Now, it's nice and straight. It's a piece of .040 inch styrene sheet with two .080 x .125 styrene strips. The .080 will allow me to get very close to the 5/64" dimension. I built up the keel and got it ready to add the bolts. I drilled the bolt holes with a #74 drill. Next step, wipe on poly. I worked on the floors and frames, making sure every one fit nicely, The fun will begin when I start fitting all of them into the keel. Bow frames. Stern frames I have to attach the transom, but have a question for the mavens. Do I remove the char in the groove to attach it to the keel. I cleaned up the char on the top edge and am contemplating how to keep the transom square to the keel. So far, it been a pleasure working with this wood.
-
O'k, I'm finally getting around to making my first build log after encouragement by some the members here. I've been reading the forum since the fall of 2014 but only began posting recently and I completed my first model boat two years ago. To date I have built a small dory by Artesania Latina, the Indian Canoe by Midwest Products and the Batelina by Maris Stella. I began working on the Medway Longboat about 3 months ago and I am about to start the rigging. None of my previous builds had any rigging so this will be completely new to me and I'm sure I will be able to use some good advice as I attempt rigging for the very first time. Even though I'm pretty far along in my build I thought I would go ahead add some photos and brief comments from the beginning. Perhaps in reading my log someone might find something useful for them. I've certainly benefited from reading build logs by others and, at least for me, photos can often be more helpful than words. I'll try and point out some of the stumbling blocks I encountered along the way and how I tried to overcome them. None of these difficulties had anything to do with the kit itself, they were all self-made by me and were just part of the learning process for me. As you probably know, the kit itself is simply fantastic in every way. This build has been a big step forward for me from my previous builds and that's been a very good thing. It has challenged me just the right amount for my continued growth in ship modeling. I'm learning so much and my confidence is growing with each completed step. Chuck describes the skill level for he kit as intermediate/advanced and it's certainly been that for me. It's been the perfect next step in the evolution of my ship building knowledge and skills and continues to be a pleasure to build. Any comments whatsoever are whole-heartedly welcome 100%. Thank you for reading if you got this far. I've completed the interior and am currently working on the rudder. Here are some fairly recent photos of where I'm at on my Longboat build: Bob
- 170 replies
-
- medway longboat
- syren ship model
-
(and 1 more)
Tagged with:
-
Current status of the long boat is “under the unfinished Swift”. Made some progress this weekend with the other cabin and bulwarks but I am reminded of how far I have come in hull building, and how far I need to go for rigging. The swift uses “torture the wood and do a second planking” technique and I am really looking forward to the better way to plan on the longboat.
-
Click on the tags in the title above (shown in black) for an instant list of all the build logs for that kit subject.
- 1 reply
-
- queen anne barge
- medway longboat
-
(and 2 more)
Tagged with:
-
Have just started this project after clearing my bench of the 1:200 Merit Hornet - that beast took years and I’m very much looking forward to a change!
- 45 replies
-
- medway longboat
- syren ship model
-
(and 1 more)
Tagged with:
About us
Modelshipworld - Advancing Ship Modeling through Research
SSL Secured
Your security is important for us so this Website is SSL-Secured
NRG Mailing Address
Nautical Research Guild
237 South Lincoln Street
Westmont IL, 60559-1917
Model Ship World ® and the MSW logo are Registered Trademarks, and belong to the Nautical Research Guild (United States Patent and Trademark Office: No. 6,929,264 & No. 6,929,274, registered Dec. 20, 2022)
Helpful Links
About the NRG
If you enjoy building ship models that are historically accurate as well as beautiful, then The Nautical Research Guild (NRG) is just right for you.
The Guild is a non-profit educational organization whose mission is to “Advance Ship Modeling Through Research”. We provide support to our members in their efforts to raise the quality of their model ships.
The Nautical Research Guild has published our world-renowned quarterly magazine, The Nautical Research Journal, since 1955. The pages of the Journal are full of articles by accomplished ship modelers who show you how they create those exquisite details on their models, and by maritime historians who show you the correct details to build. The Journal is available in both print and digital editions. Go to the NRG web site (www.thenrg.org) to download a complimentary digital copy of the Journal. The NRG also publishes plan sets, books and compilations of back issues of the Journal and the former Ships in Scale and Model Ship Builder magazines.





.thumb.jpg.6f665fb783d9c8f33a6312aab6074f93.jpg)
