


TBlack
-
Posts
1,285 -
Joined
-
Last visited
Content Type
Profiles
Forums
Gallery
Events
Posts posted by TBlack
-
-
That laser level is neat! I need one of those. Think waterlines?
- mtaylor, Keith Black, Retired guy and 1 other
-
 4
4
-
-
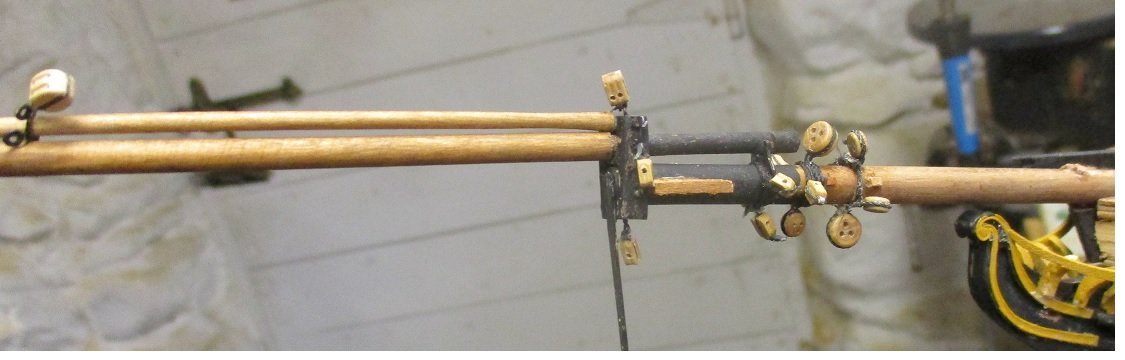
I've gotten the hardware on the bowsprit/jib booms. At one point there is a need for 4 deadeyes in one loop around the bowsprit. Again, I'm resorting to Derek's method of getting them in the right positions: 12 o'clock, 4, 6, & 8. I managed it, although maybe the one is at 3:30. Always good to be a little early!
Now I'm on to the fore masts.
-
-
-
I've been working on the hardware to the bowsprit: chocks and blocks. I'm not using the PE chocks supplied by the kit; making my own wooden ones. At the same time I'm borrowing a technique from Delph (Derek) on the problem of placing 3 blocks on the bowsprit: one on the bottom, one on either side, and how to get the spacing just right. Derek has a smooth solution that I've copied:
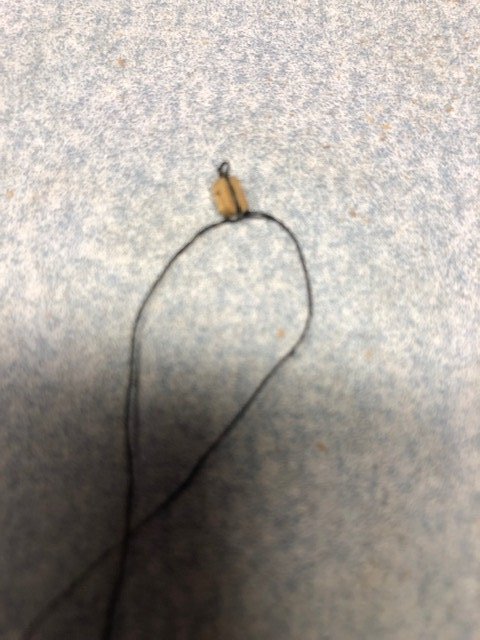
make 3 blocks like this:
Then thread them like this:
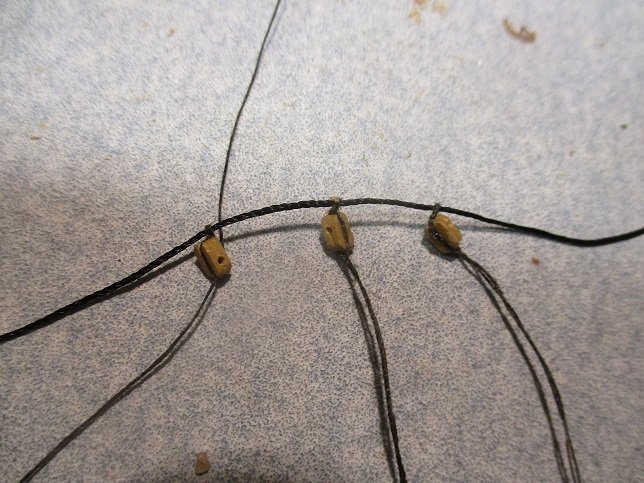
Then it's a simple matter of wrapping the larger line around the bowsprit and sliding the blocks into position. Incidentally, I, apparently have an older version of the Speedy kit because, as you can see, the blocks are of the rudimentary type. I thought I can live with that, but I can't. I'll leave the ones on the bowsprit, but I've just placed an enormous order with Chuck P. for something that looks better for the rest of this craft.
The other interesting thing is that Chris Watton has no record of selling me a kit; which makes me wonder how I bought it in the first place.
Tom
-
Interesting way of sorting out the problem.
- FriedClams, KeithAug, Retired guy and 2 others
-
5
-
Must be an old kit. I have one of those and the newer one with separate planks.
-
T, I used a light oak stain with a drop of walnut. Applied it liberally and then wiped it down. It’s not a perfect match, but I imagine that in real life the masts weren’t a match either. BTW, in the book Aubrey mentions that Sophie carried royals. This doesn’t sound right, and I’m going to write that off to O’Brian’s lack of knowledge.
- mtaylor and Keith Black
-
2
-
-
-
Keith,
Yes, spars off the model. My camera is a canon "powershot" (pretty rudimentary). I'm not sure what you want to see but, here are a few "close-ups":
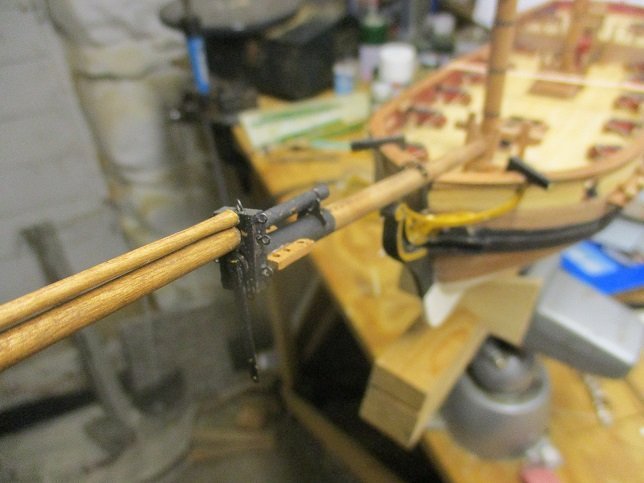
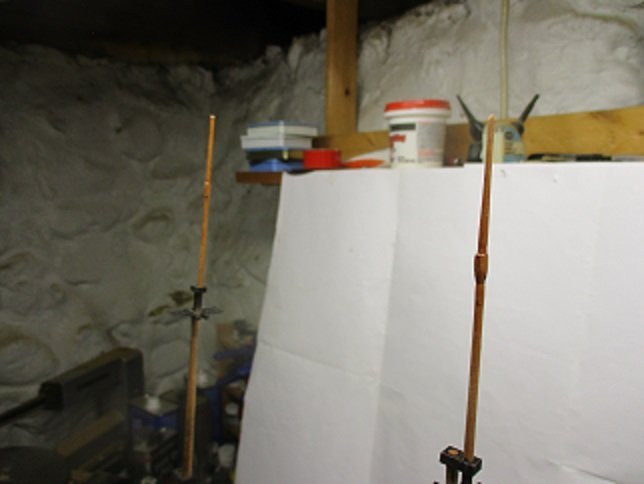
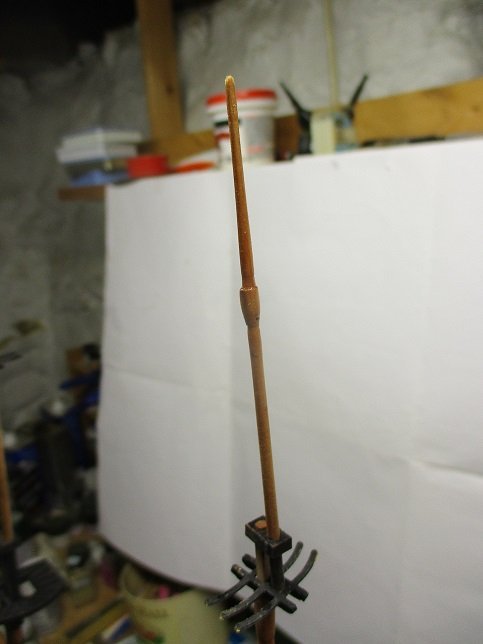
The smaller 1/4" dowels made work much easier. I decided not to obsess over the color of the masts. I've gotten it pretty close. I did learn that when Chris says 3mm, he means it. Even a coat of paint can be too much!
You can see that I've replaces the PE bees with my own. I'll do the same with the various chocks.
- yvesvidal, mtaylor, Knocklouder and 7 others
-
10
-
After several attempts and re-do's (I'm a slow learner), I've got the masts and bowsprit/jib boom assemblies made. Nothing is glued together until after all the hardware is attached. My next project.
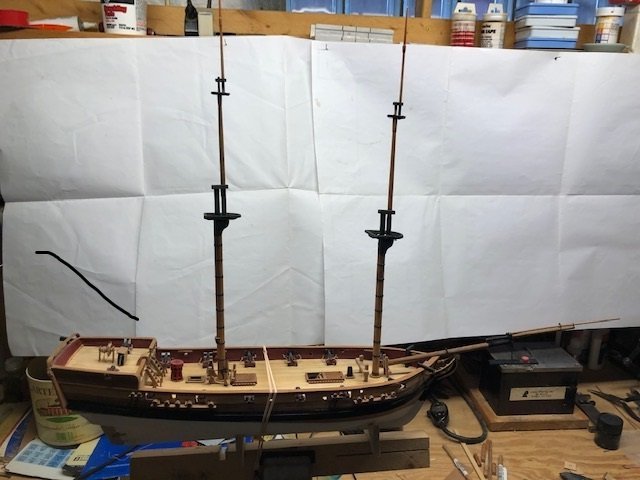
Incidentally, in the book Aubrey mentions that Sophie carried royals. I'm going to write that off to O'Brian's lack of nautical knowledge and not include them on the model.
- Theodosius, chris watton, mtaylor and 9 others
-
12
-
-
-
-
Looks like your ambidextrous. Great work!
-
I’m looking at the third photo of the interior and can’t wait to see how you are going to replicate that!
- FriedClams, Keith Black, Veszett Roka and 5 others
-
5
-
 3
3
-
3 hours ago, Keith Black said:
She told them that if they continued to use the thickener she was going to quit drinking. That's the girl I married!
")
You two have had some high hurdles in life to get over. It sounds like you are getting over them. An inspiration for all of us!
-
Oh dear Keith, my spiritual brother stay strong. My prayers are with you and Maggie. I’m reminded of Saint Paul’s words wherein he reminds us that God sends these hurdles not to destroy us, but to make us stronger. I am confident you and Maggie will prevail.
-
I've always thought there are 3 tests: 10 foot test, 3 foot test, 3 inch test. It looks to me as though you've passed all of them. Good at the math; sharp tools; steady hands. Where are your weaknesses?
Tom
- mtaylor and Wintergreen
-
2
-
Mighty nice. Wish you had shown us how you had built that hull.
Tom- Keith Black and mtaylor
-
2
-
-

HMS Sophie by TBlack - kit-bashing Jack Aubrey's first command from the Vanguard Models HMS Speedy
in - Kit build logs for subjects built from 1751 - 1800
Posted
I've gotten all the hardware on the various fore masts:
The topmast is posing, it's not affixed yet until after the lower shrouds and stays are looped around the foremast. I'll turn to the hardware on the main masts now.
Tom