


usedtosail
-
Posts
2,271 -
Joined
-
Last visited
Content Type
Profiles
Forums
Gallery
Events
Posts posted by usedtosail
-
-
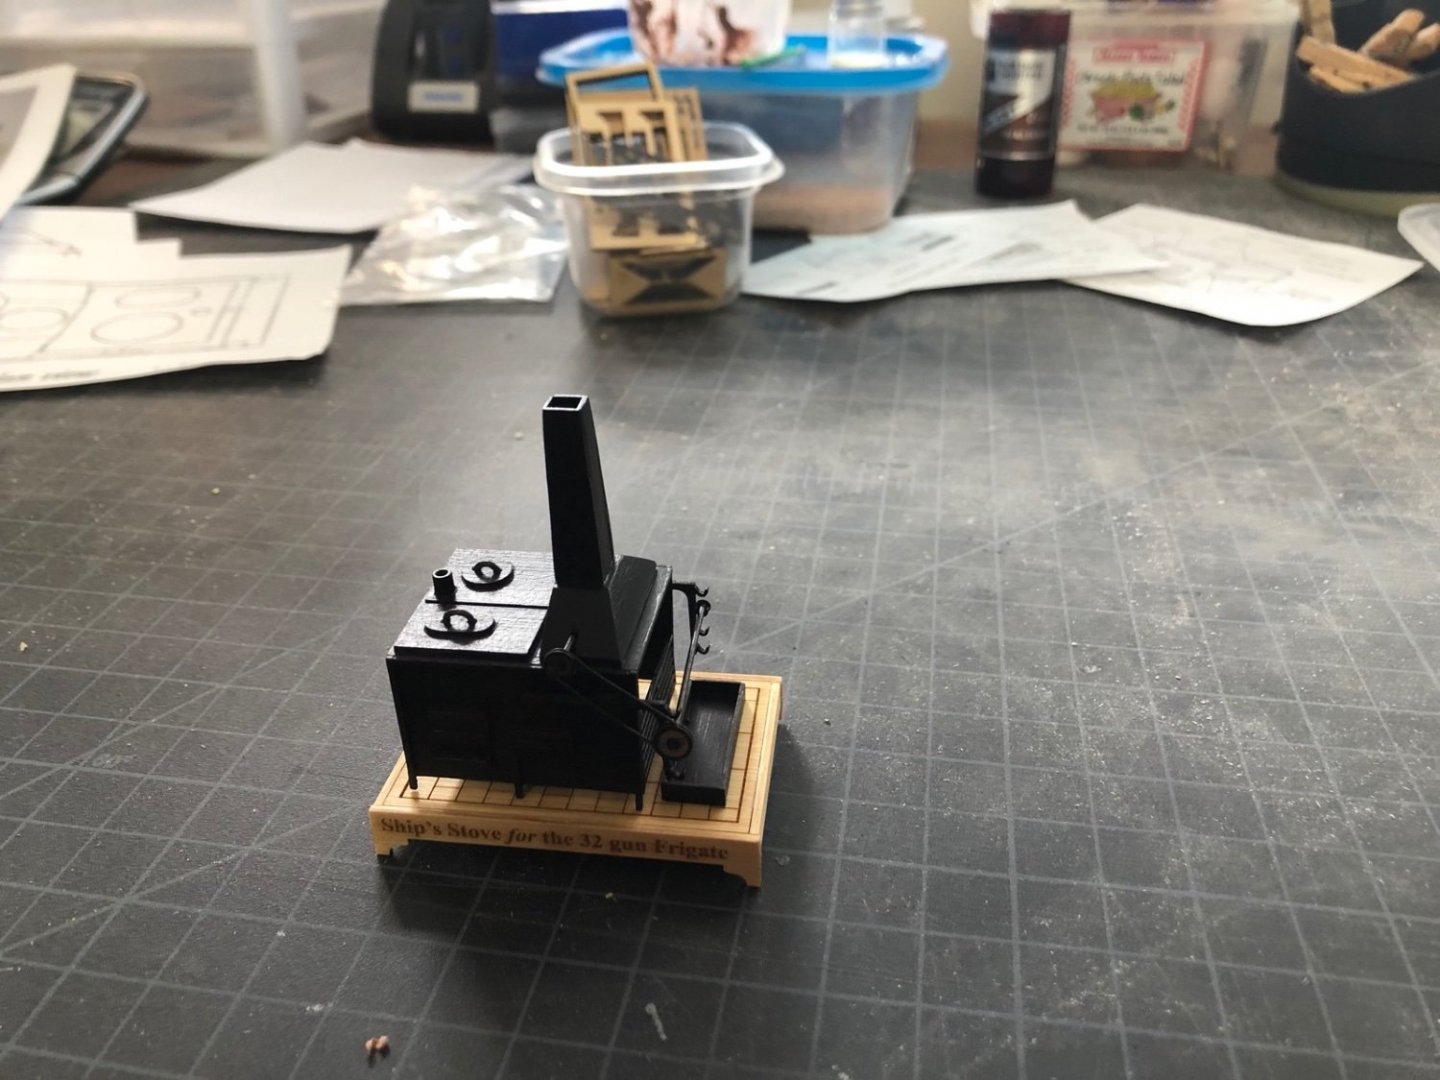
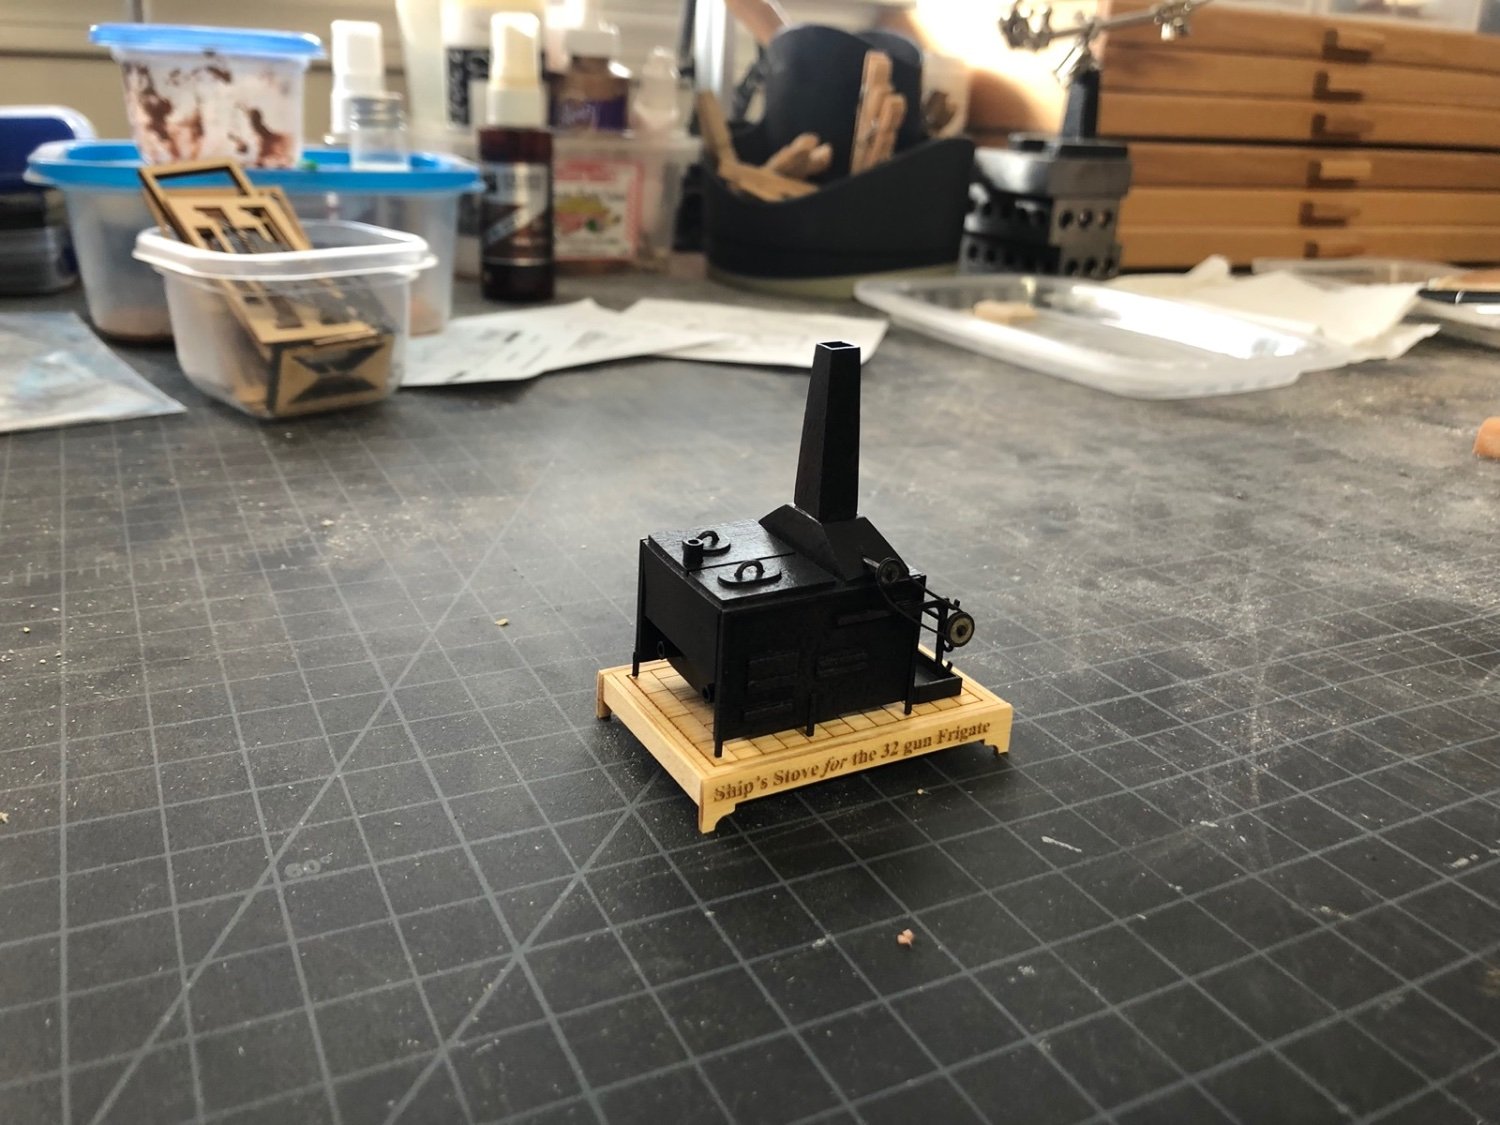
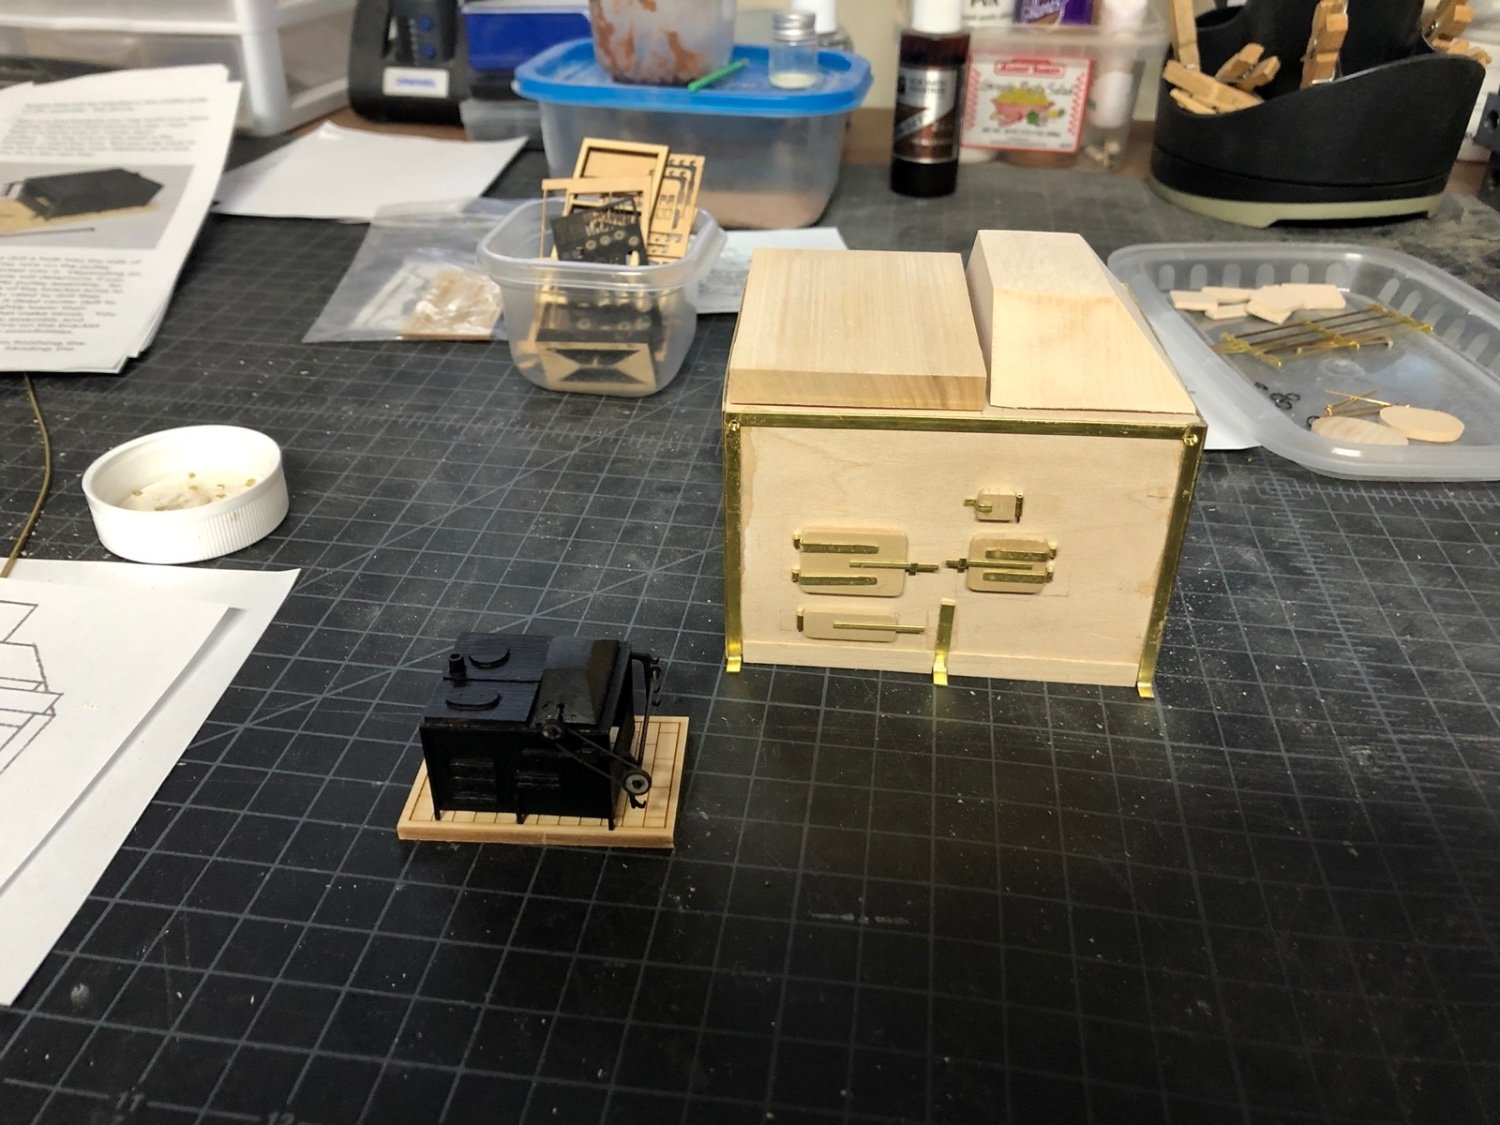
I finished up the small kit stove by applying some gritty black and rust red weathering powders to the stove and drip pan, then giving them a light spray of matte finish. I glued then to the display board after I gave it a coat of wipe on poly.

I can now focus on the 1:16 scale stove. I gave all the brass parts that I have attached to the stove a coat of Binn primer. I also primed the grates, stack, and a piece of brass tubing for the still connector. When this dries I will give the wood a coat of diluted gesso as a primer.
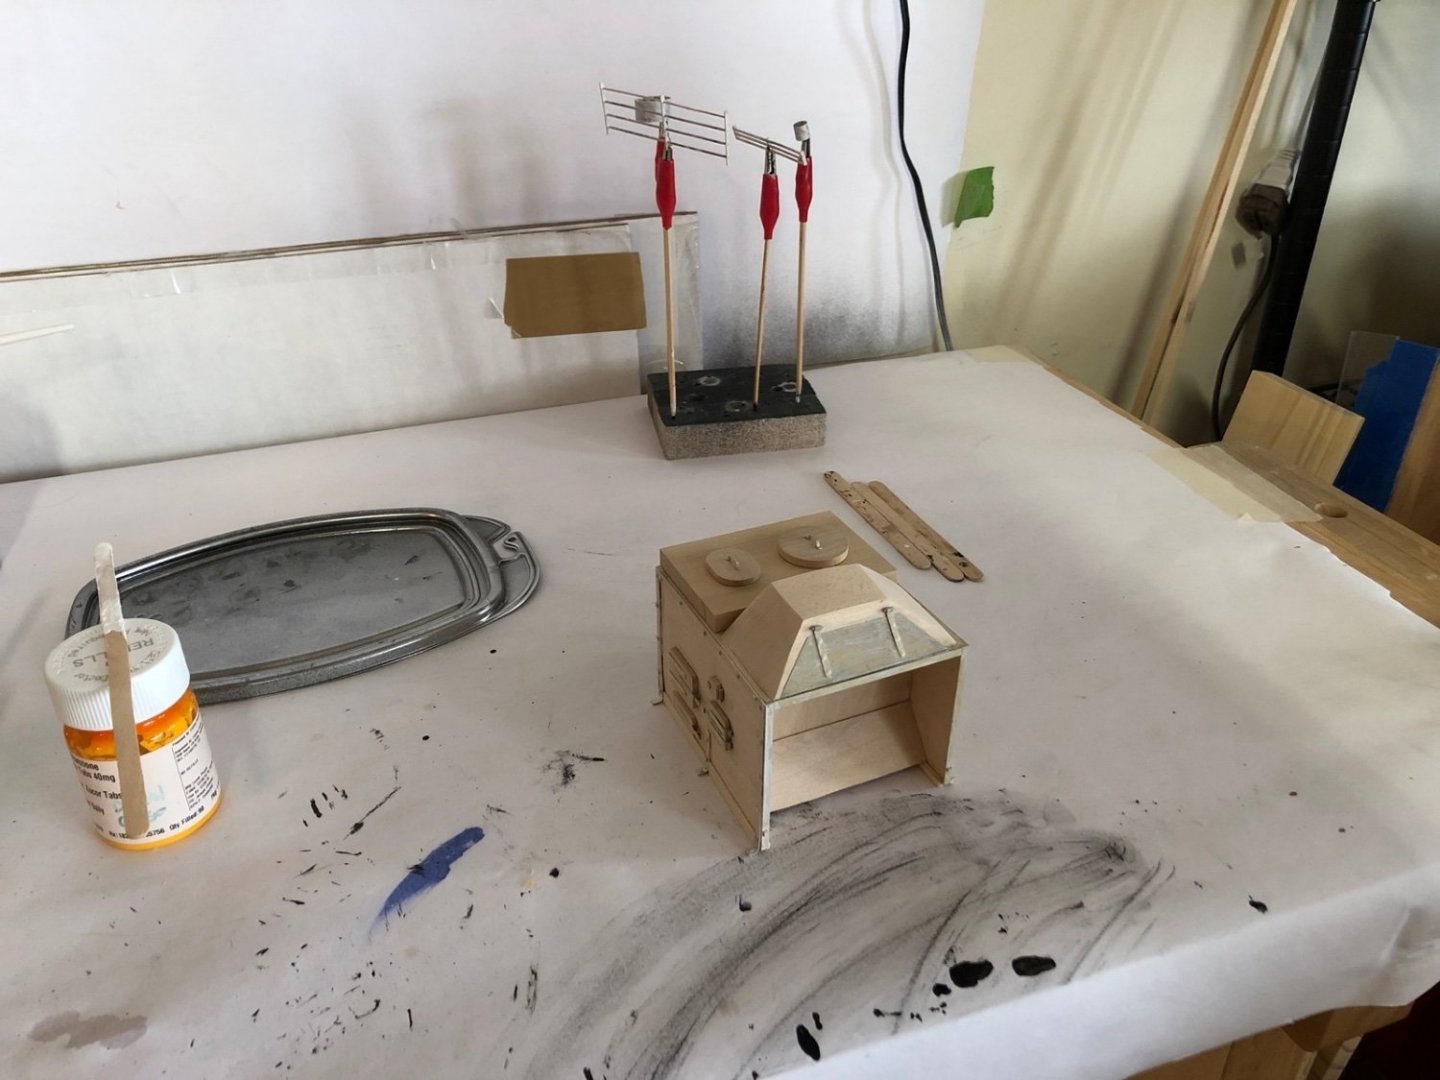
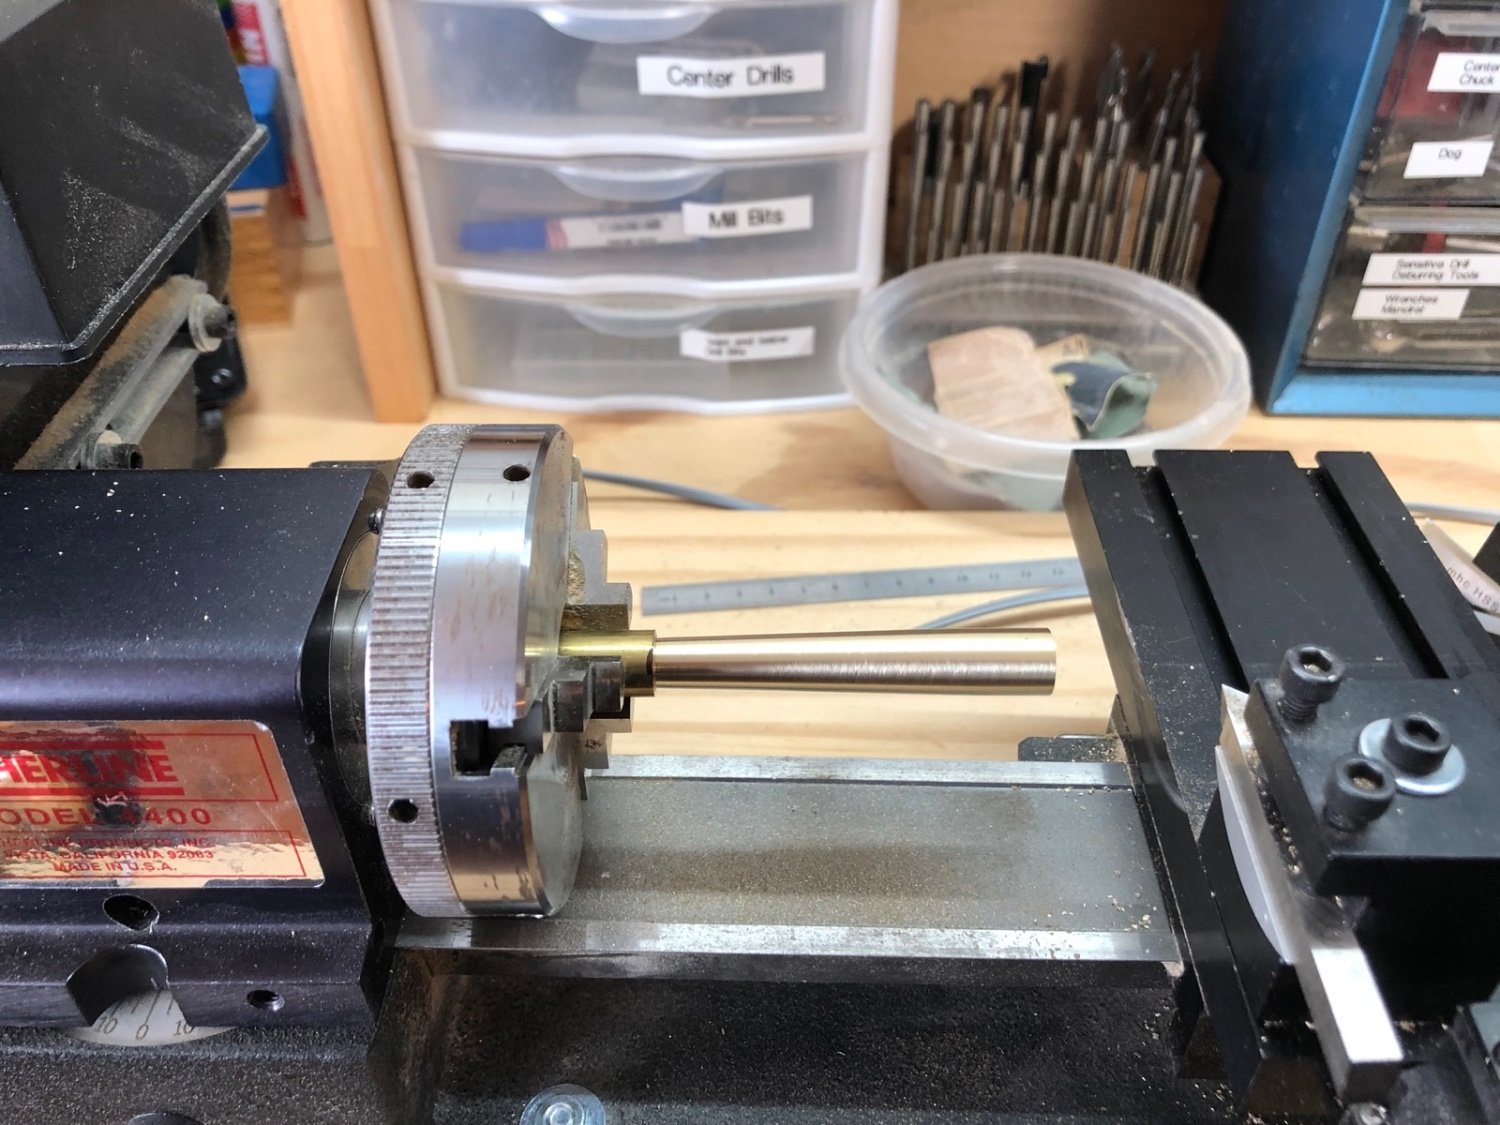
I starting working on the still while the primer was drying. I was thinking I would use brass tubing for all the components but then I found a piece of solid brass rod that was thick enough so that I could turn the outside piece in the lathe. I turned the head slightly so I could cut the taper into it, then drilled holes in each end for tubing to connect to it.

- Keith Black, Cathead, AON and 7 others
-
 10
10
-
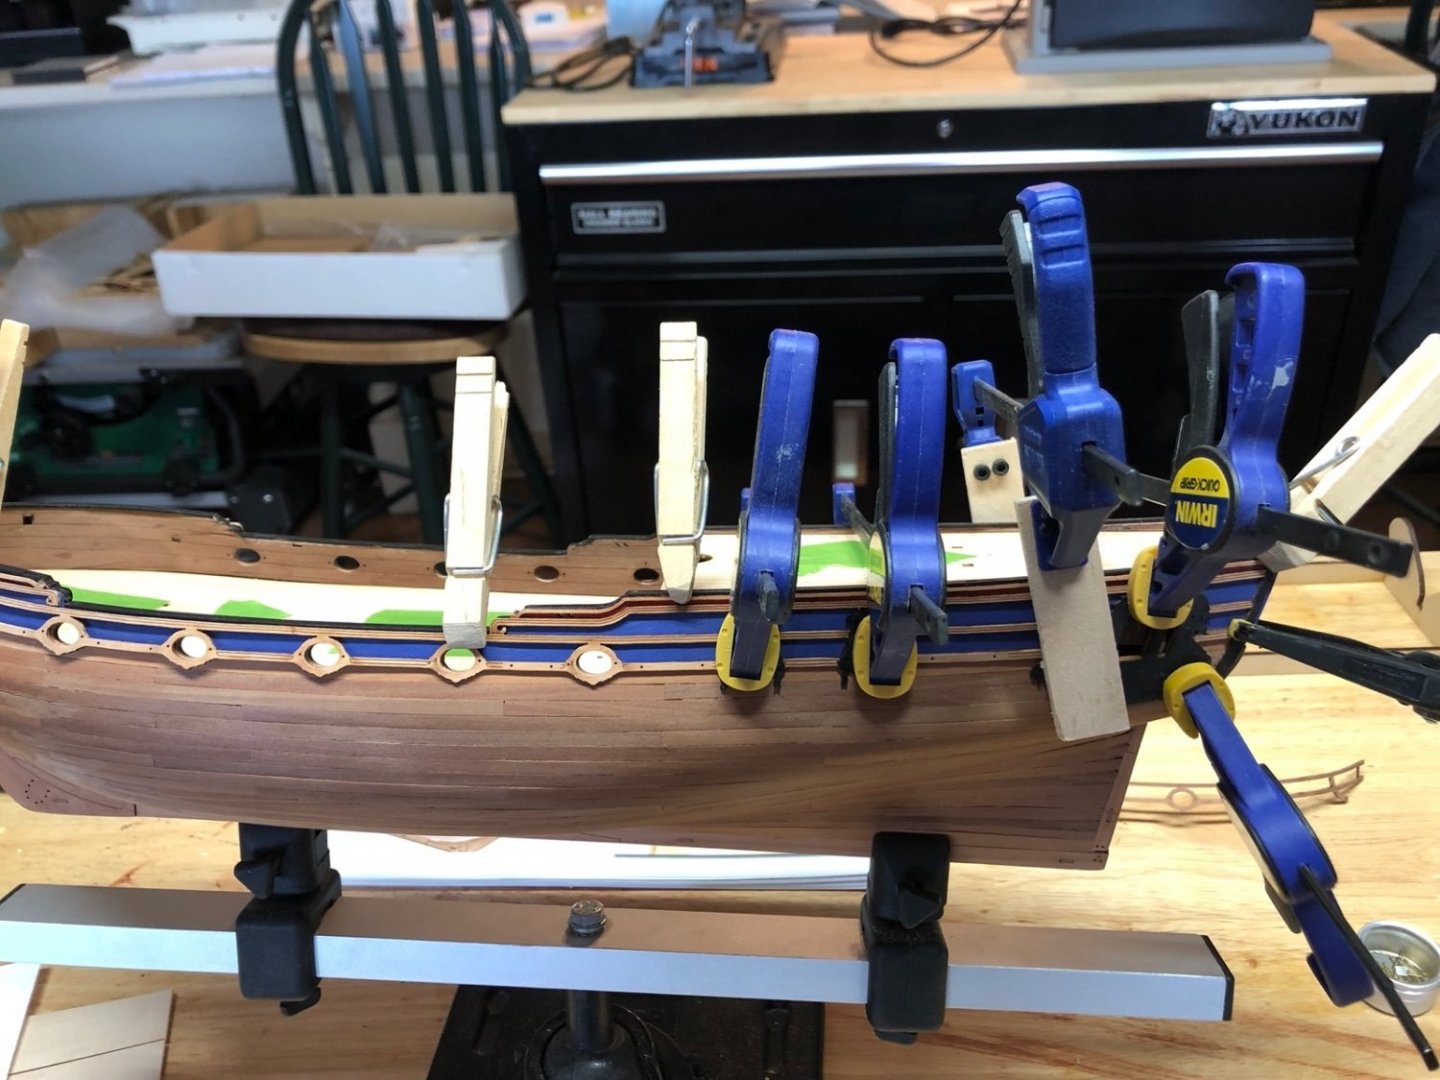
After touching up the red and blue paint one more time I started gluing the port side window trim to the hull. I first used pins in two of the gun port openings to align it, then I trimmed the bow end to fit. I then glued the aft portion to the hull using wood glue and clamped it. When this is dry I'll work my way toward the bow.
- Gregory, Theodosius, BobG and 3 others
-
6
-
I do the same. Just make sure the hole isn't too much larger than the shaft of the eyebolt.
- mtaylor, Canute and Keith Black
-
3
-
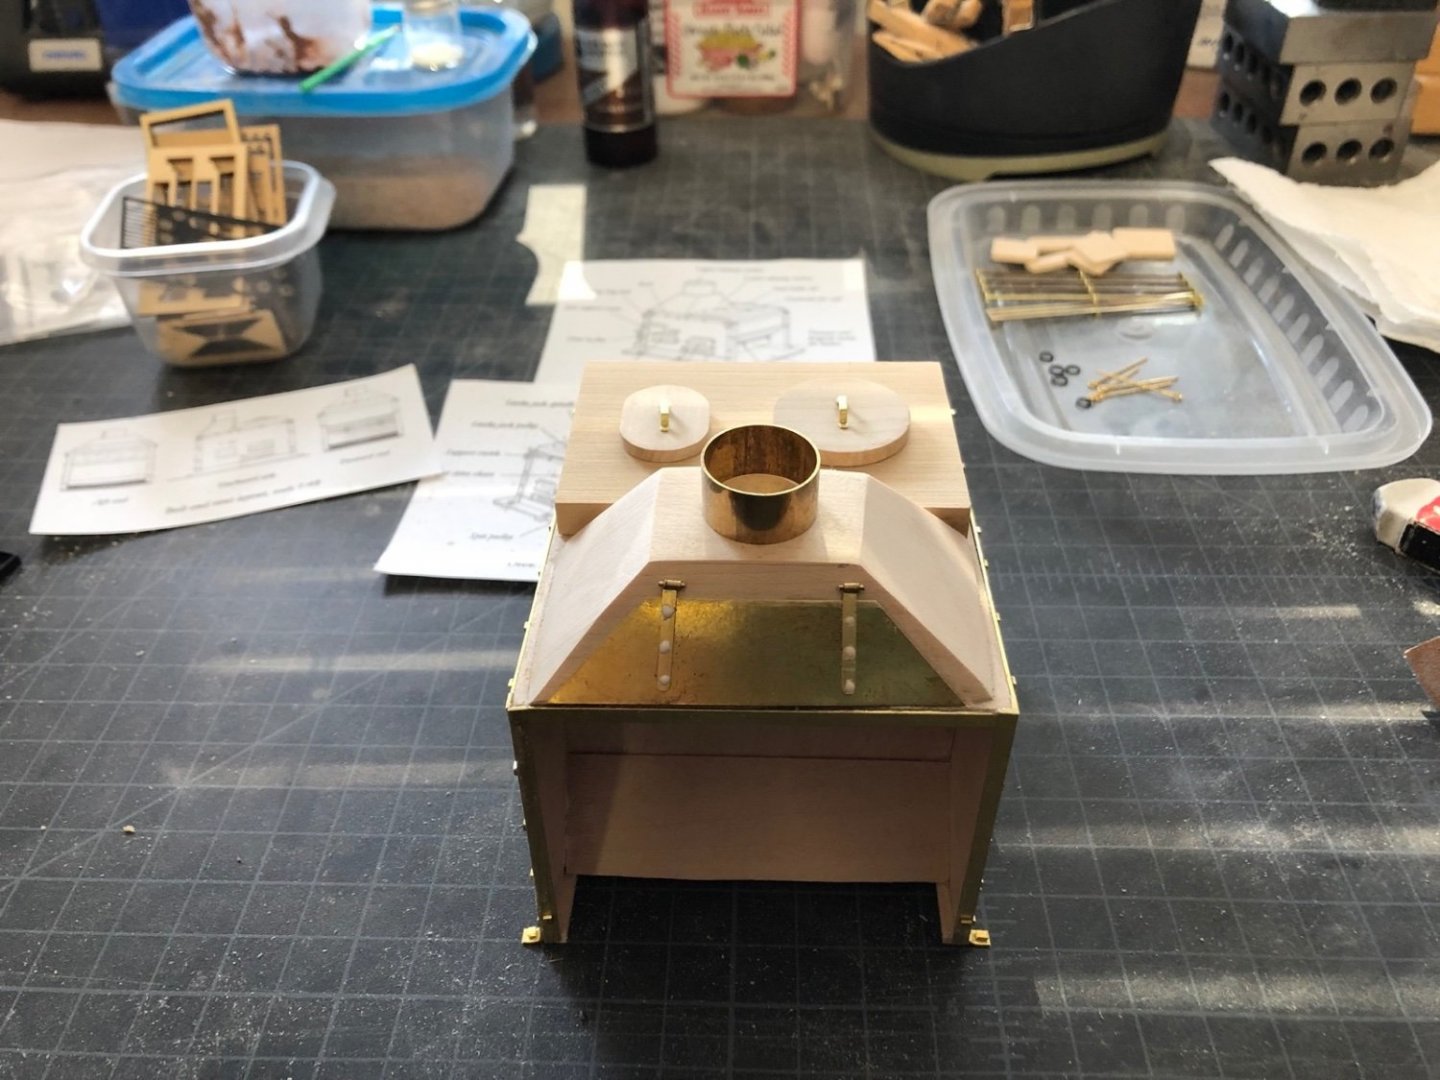
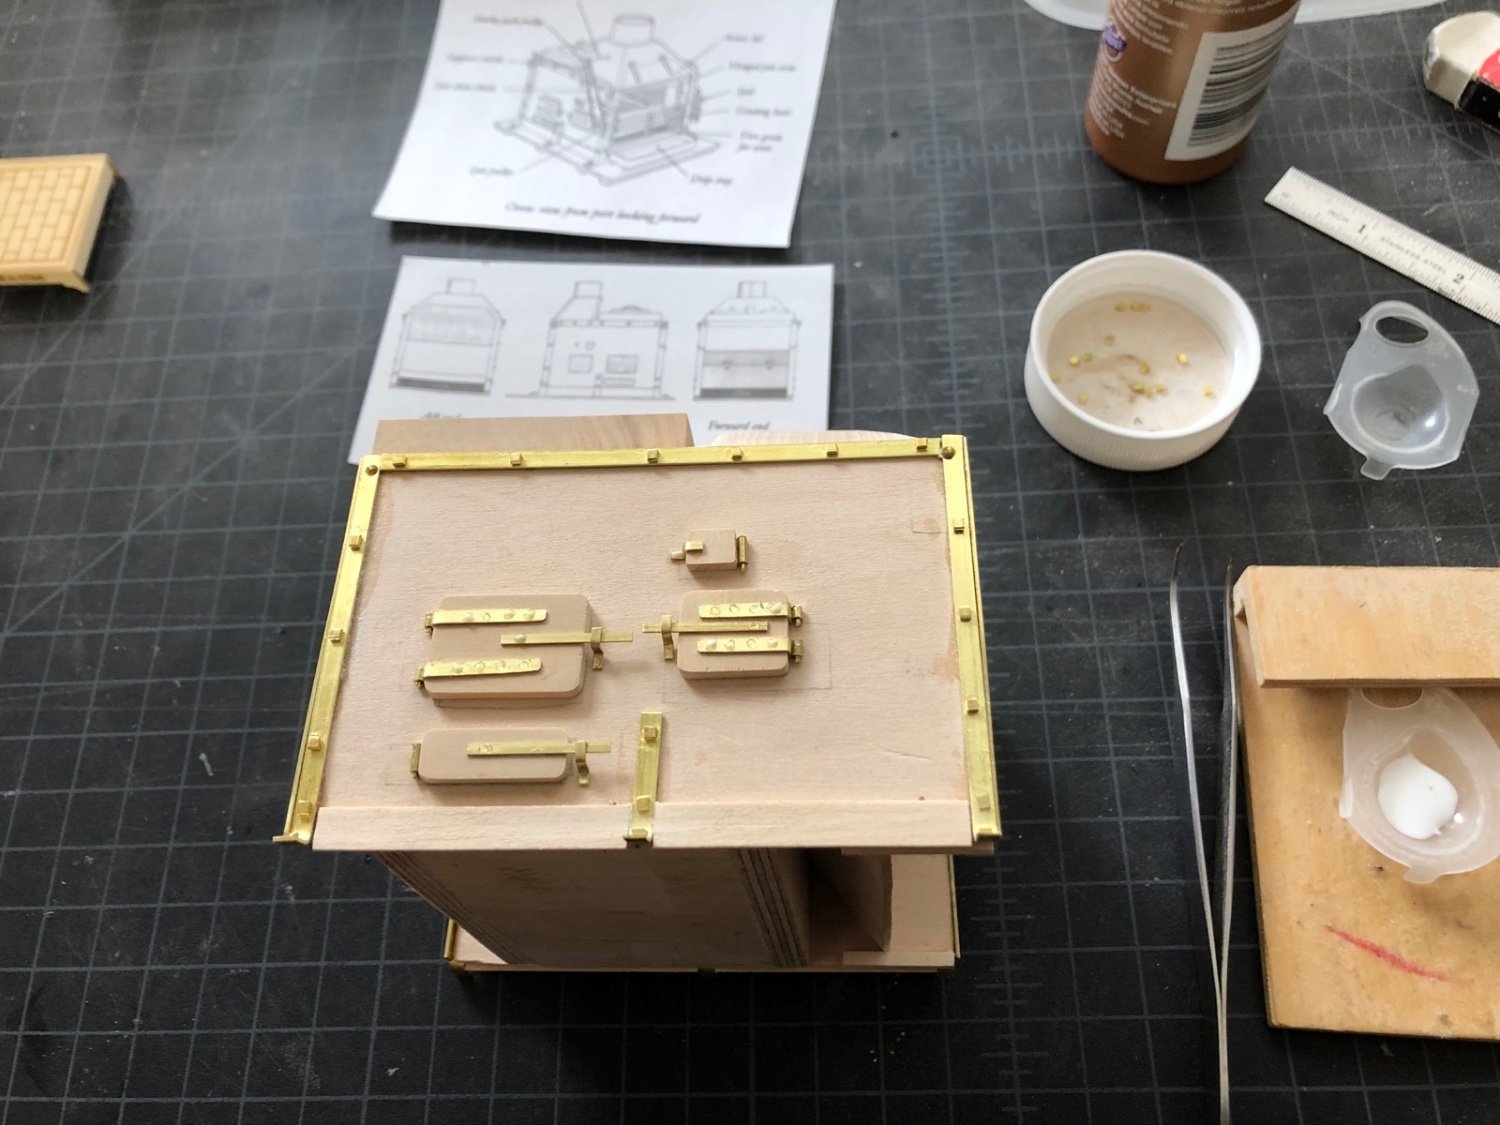
All the square bolt heads are now installed on all sides. I found a piece of brass tube that is just the right size for the stack. I also made the chimney access door from a thin piece of brass sheet which I cut out with scissors and glued to the chimney. I then made the hinges and glued them onto the door. I glued the pot lids with handles to the boiler top too.
-
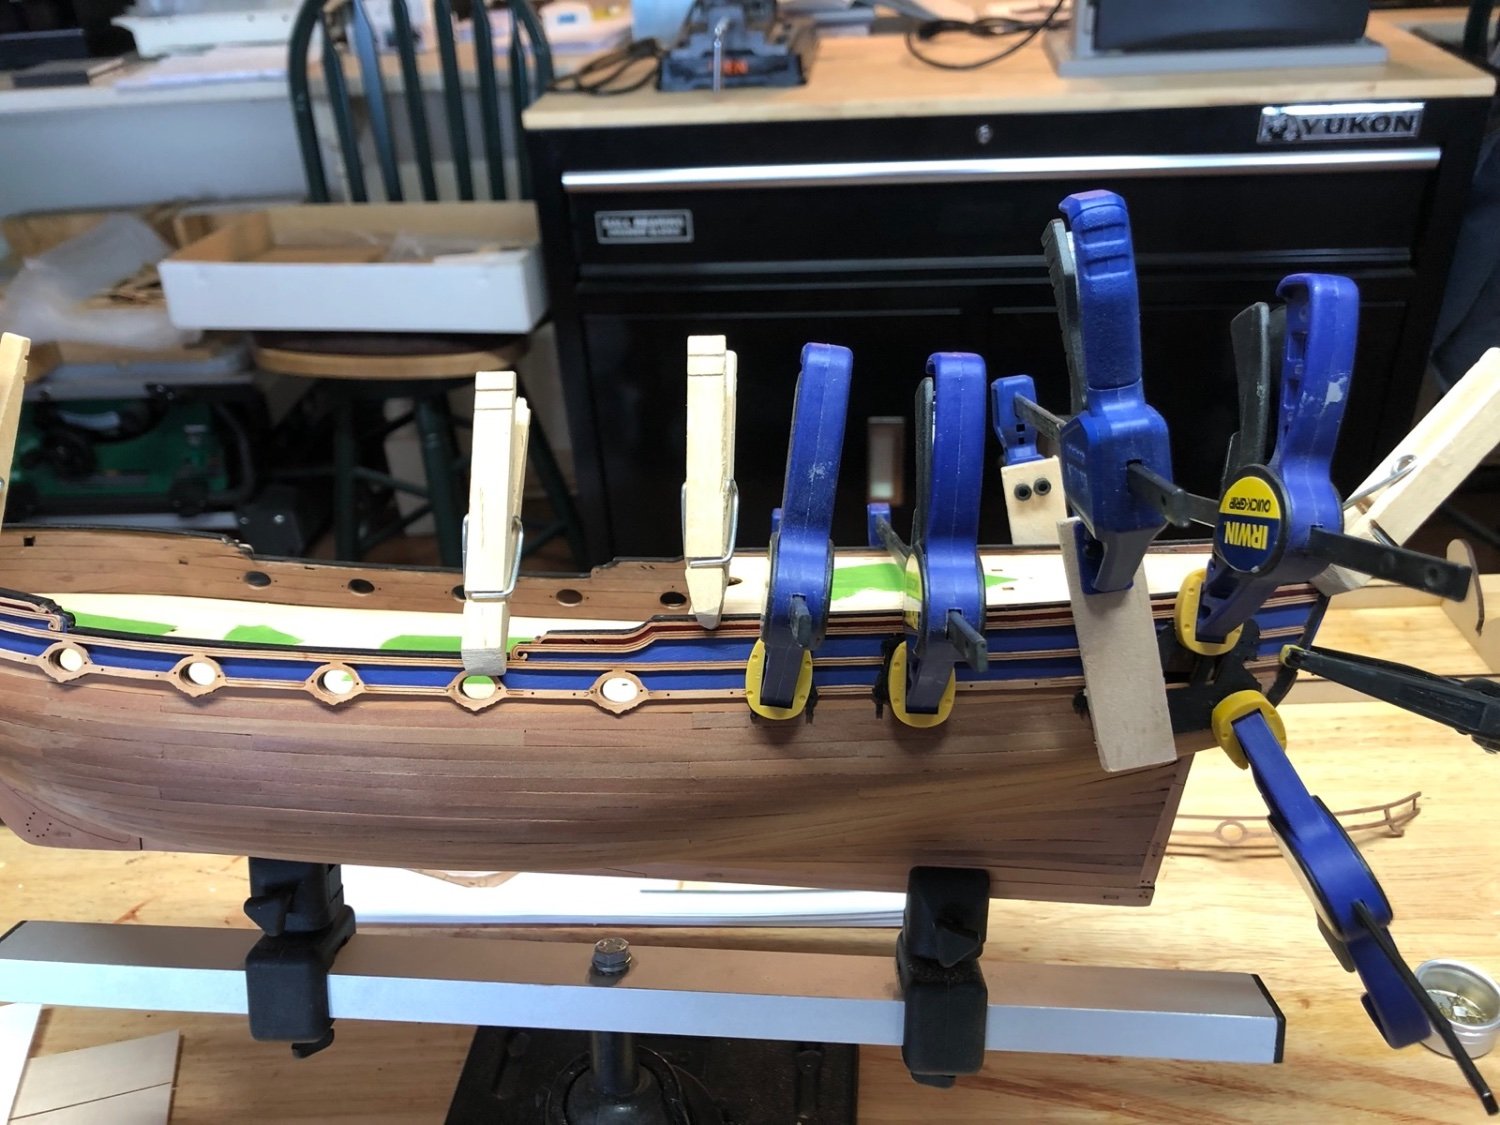
Here is the starboard side window trim being bent to the hull. The port side came out nicely even though I had already painted it around the windows. I thought I could bend these as I glued them down but the bend was more severe than I originally thought.

- BobG, yvesvidal, Theodosius and 3 others
-
6
-
I touched up the black paint on the completed kit stove after attaching the stack. I have also started assembling the display stand that came with the kit. All that's left is the weathering.
I have added the square bolt heads on one side of the large stove. I also redid the round bolt heads on the hinges and closures using Tacky glue, which seem to hold it's shape better than the medium CA I first used. I also have glued the boiler top and chimney to the top of the stove. I made handles for the pot lids from brass strip and glued them to the lids.

-
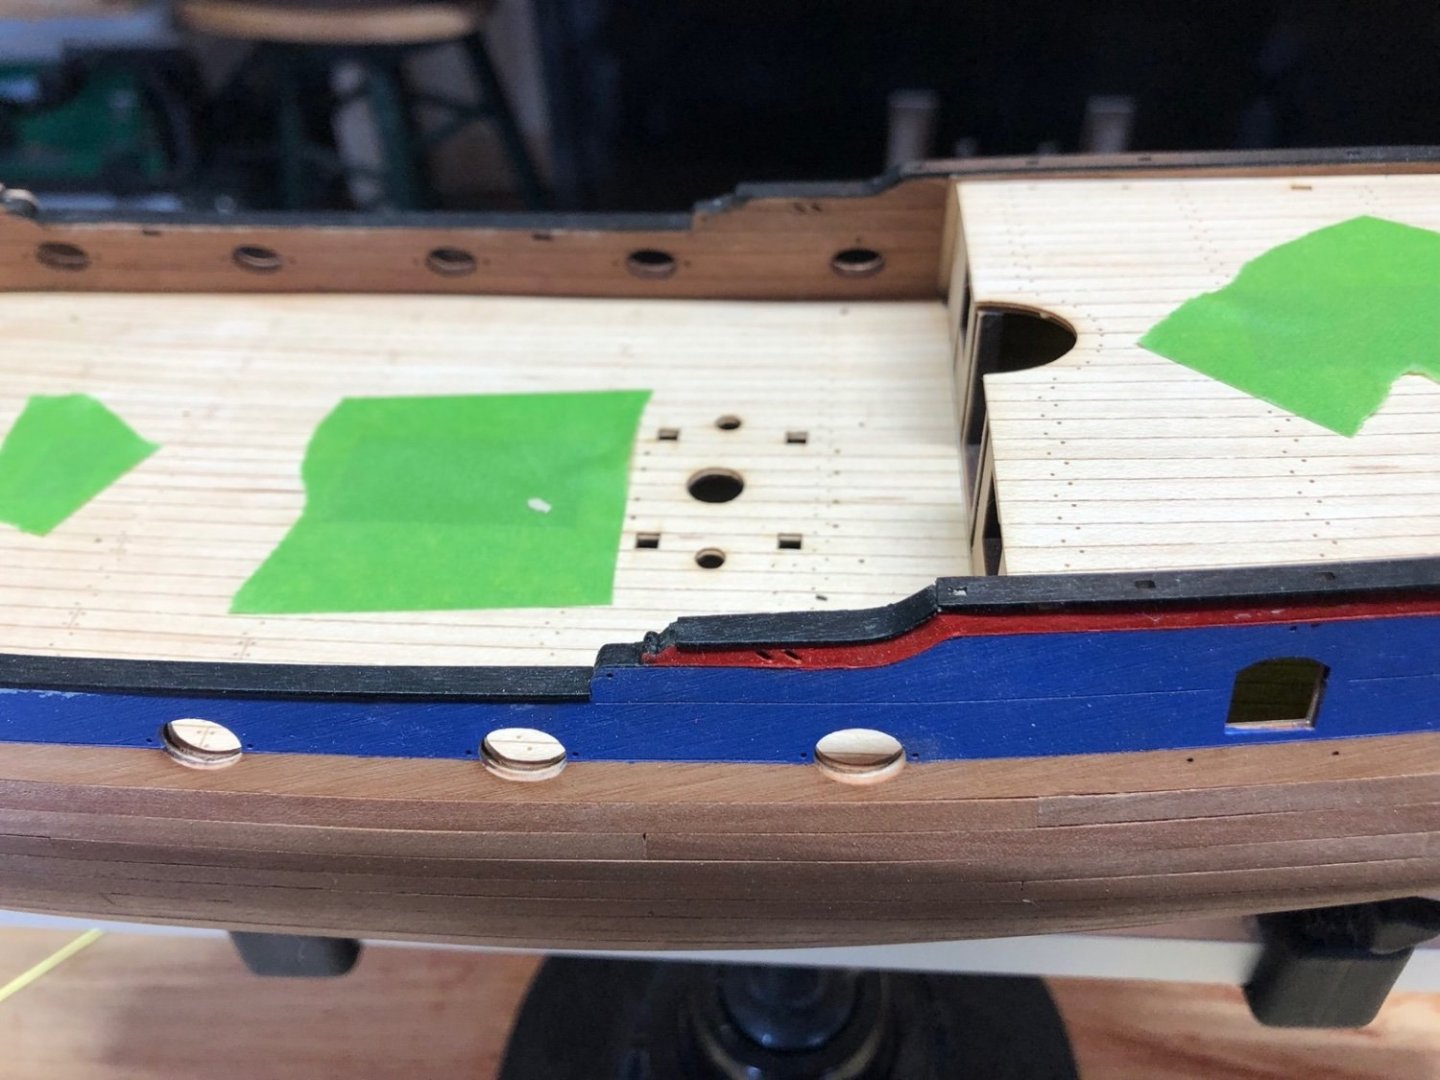
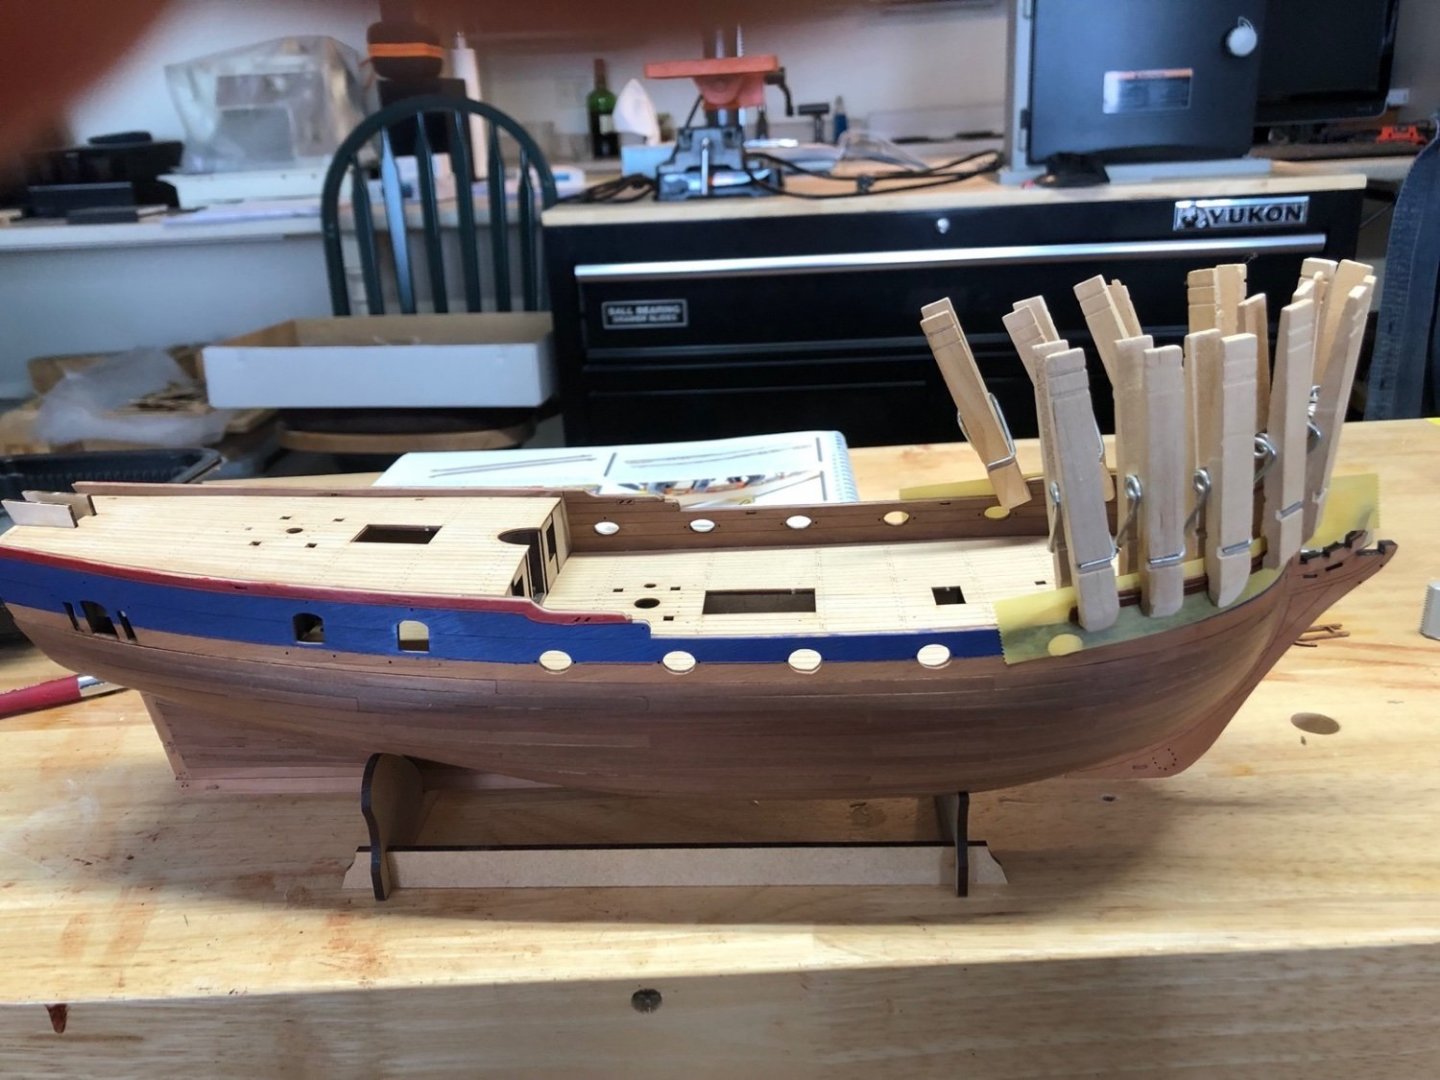
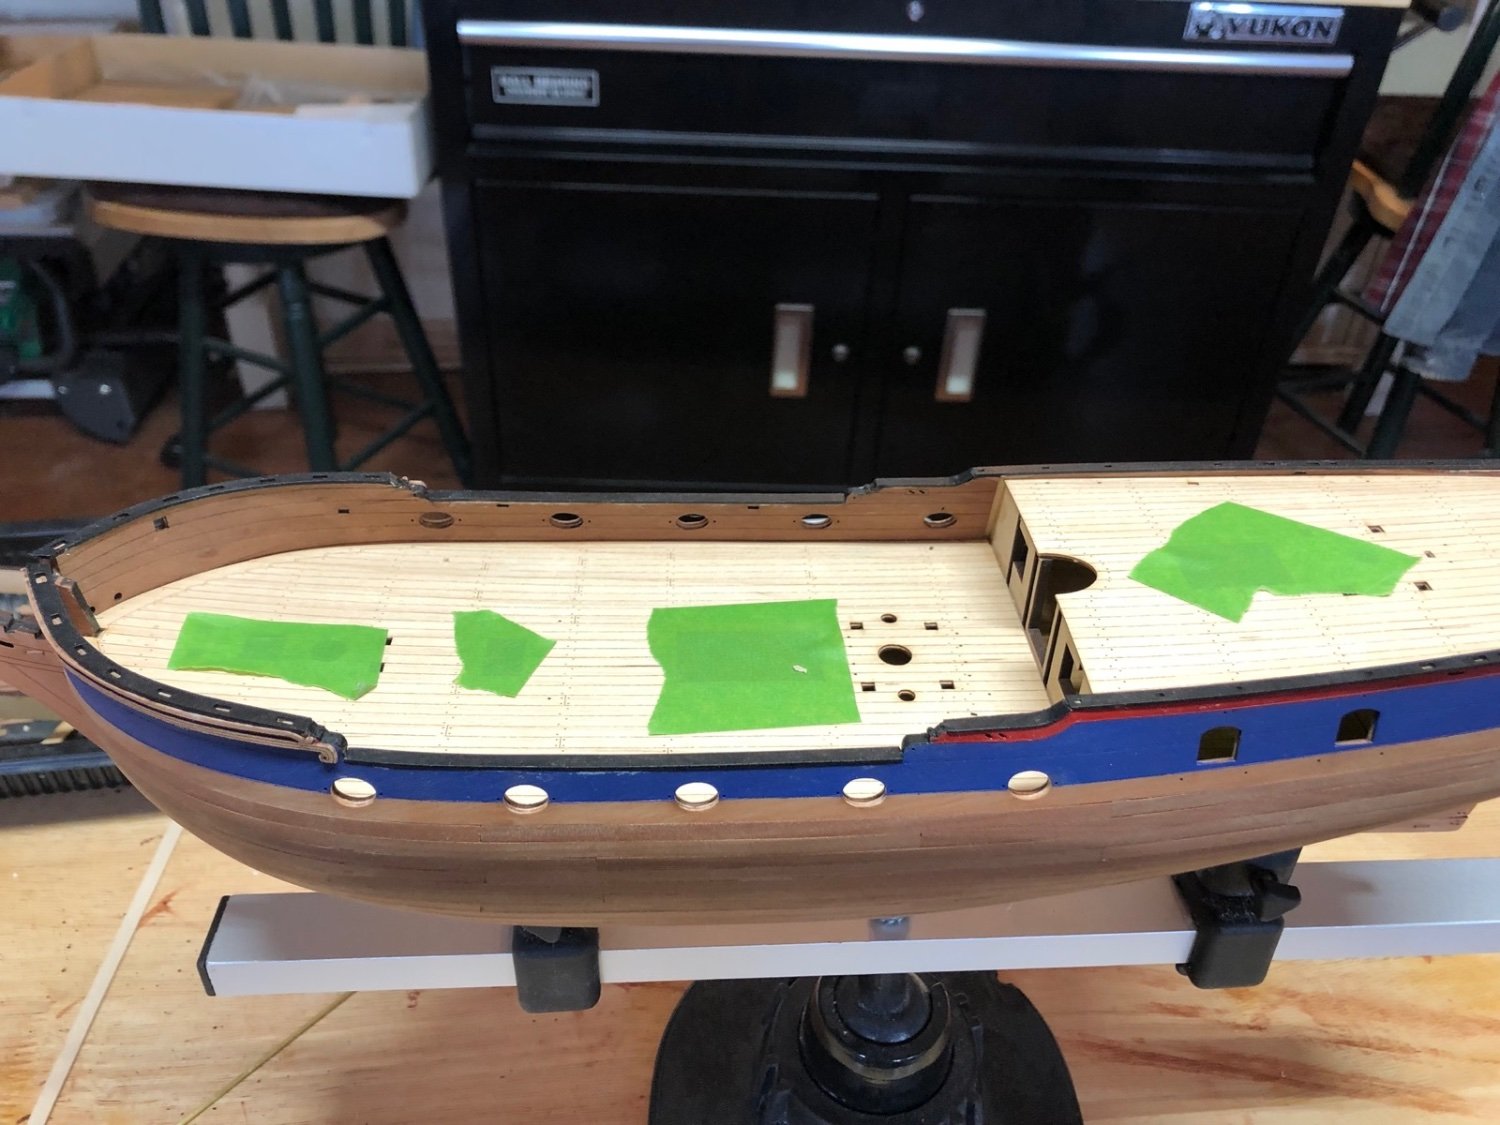
Since the last update I have painted the counter with the blue paint and glued the bulwark cap pieces in place. I didn't like the look of the exposed edges at the hanses so I bent a 1/64" thick piece of basswood to fit and used thinned wood filler to cover the rest of the exposed edges and feather these areas into the caps. I have glued on the first set of bow trim and am in the process of bending the aft ends of the long window trim pieces to fit around tight to the hull.

- chris watton, yvesvidal, BobG and 4 others
-
7
-
Thank you Gary. I am about to do something I have never attempted before - weathering - on the small stove. Based on your Stonington Dragger model, I consider you the resident expert in that field. Any tips would be greatly appreciated. I have the Doc O'Briens weathering powder set and a very soft brush to work with.
- FriedClams and mtaylor
-
2
-
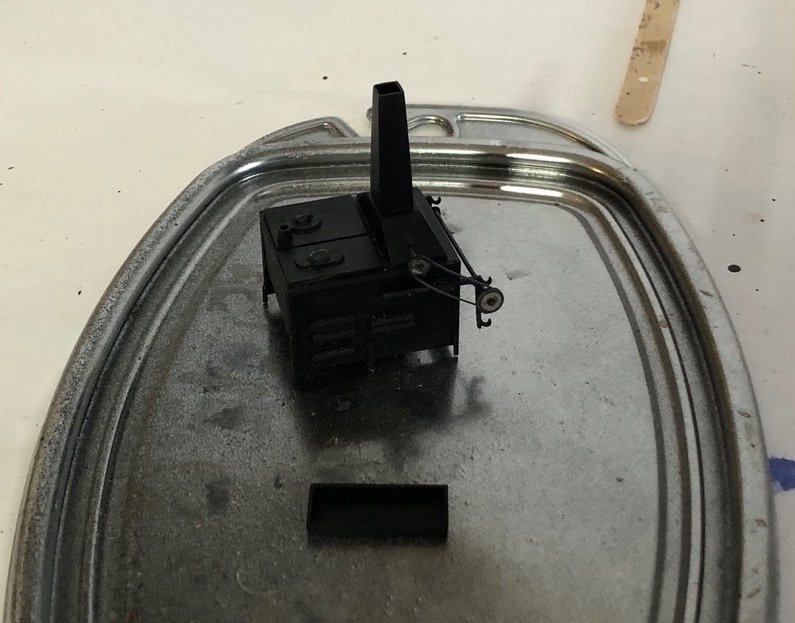
Progress on both stoves continues. On the small kit stove I have added the spit assembly which was a bit fiddly. The pulley pieces with the fake chain are very fragile and I did manage to break the chains off the small pulley, but was able to glue them back onto the pulley. A few more steps and I'll have that one finished. One the large stove I drilled the holes for the ring bolts and cut all of the square bolt heads I'll be adding around the edges. I have made the boiler top and chimney too, but they are only set in place on the stove for now. I made the boiler top out of boxwood but for the chimney I used a chunk of basswood. These will also be primed then painted black along with the rest of the stove. I'll be adding the bolt heads next.

- mtaylor, Keith Black, popash42 and 9 others
-
12
-
-
Thanks for the tip Allen. I have never used Liver of Sulfur but remember it from Ed's build logs. I made the decision at the beginning of the project to not blacken the brass trim pieces on the stove. I will be priming and painting them along with the rest of the stove. I may blacken the grates but I haven't made that decision yet.
- FriedClams, Cathead and mtaylor
-
3
-
I glued the doors on and then added the hinges and latches. Here is how they look before being painted black.
- GrandpaPhil, Cathead, Keith Black and 9 others
-
12
-
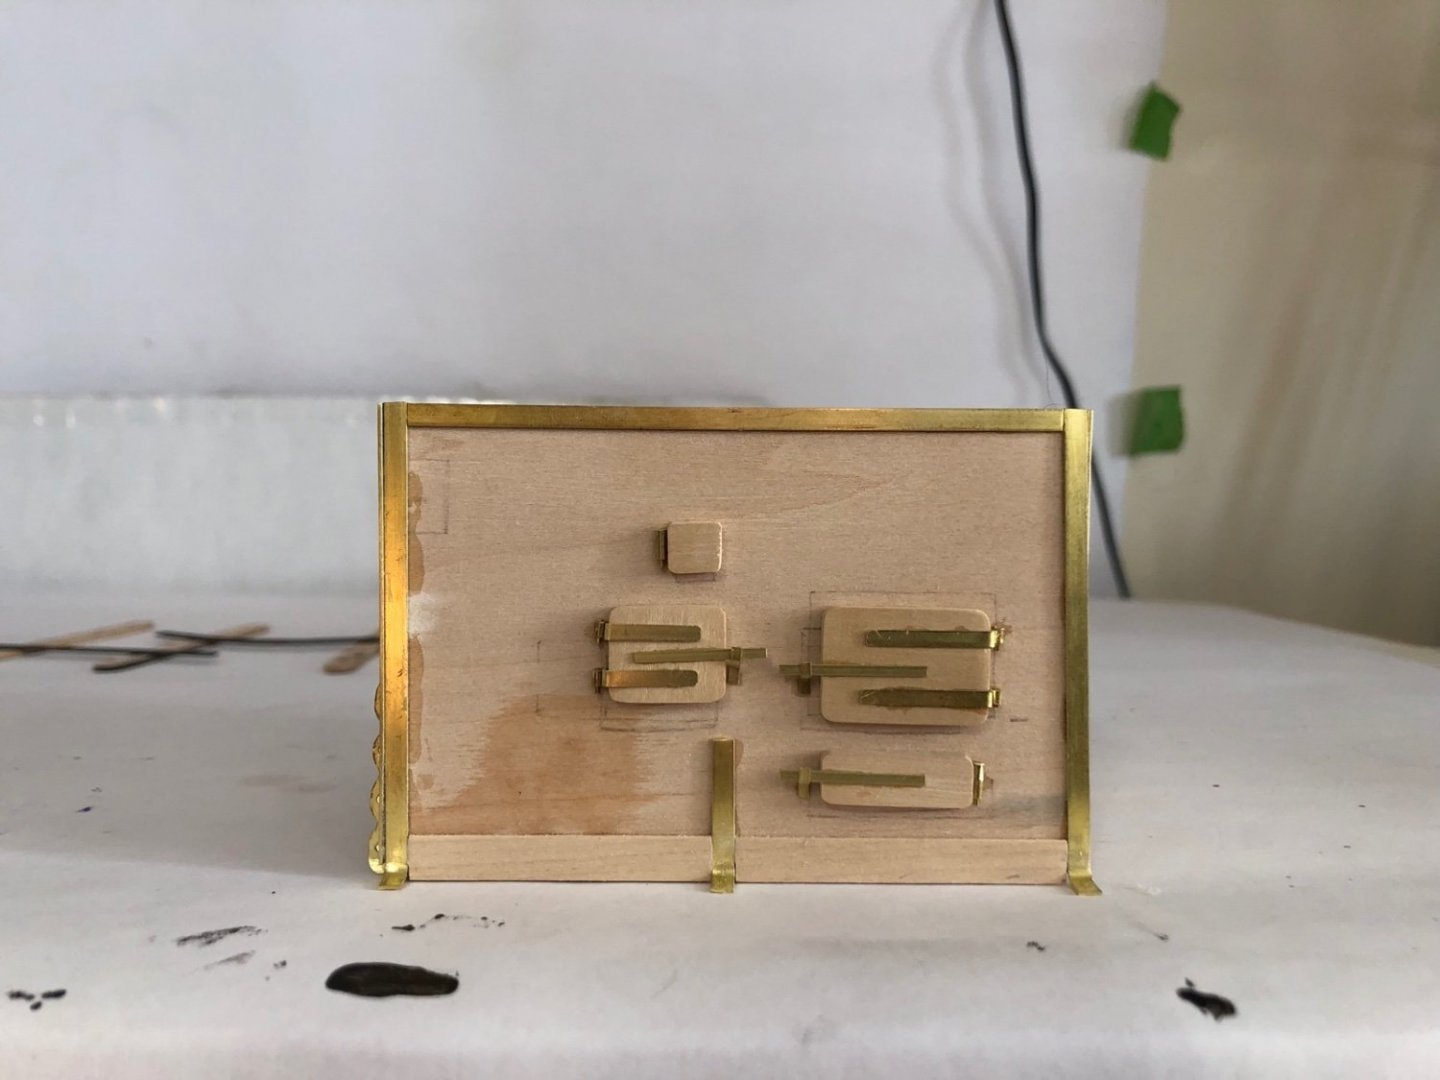
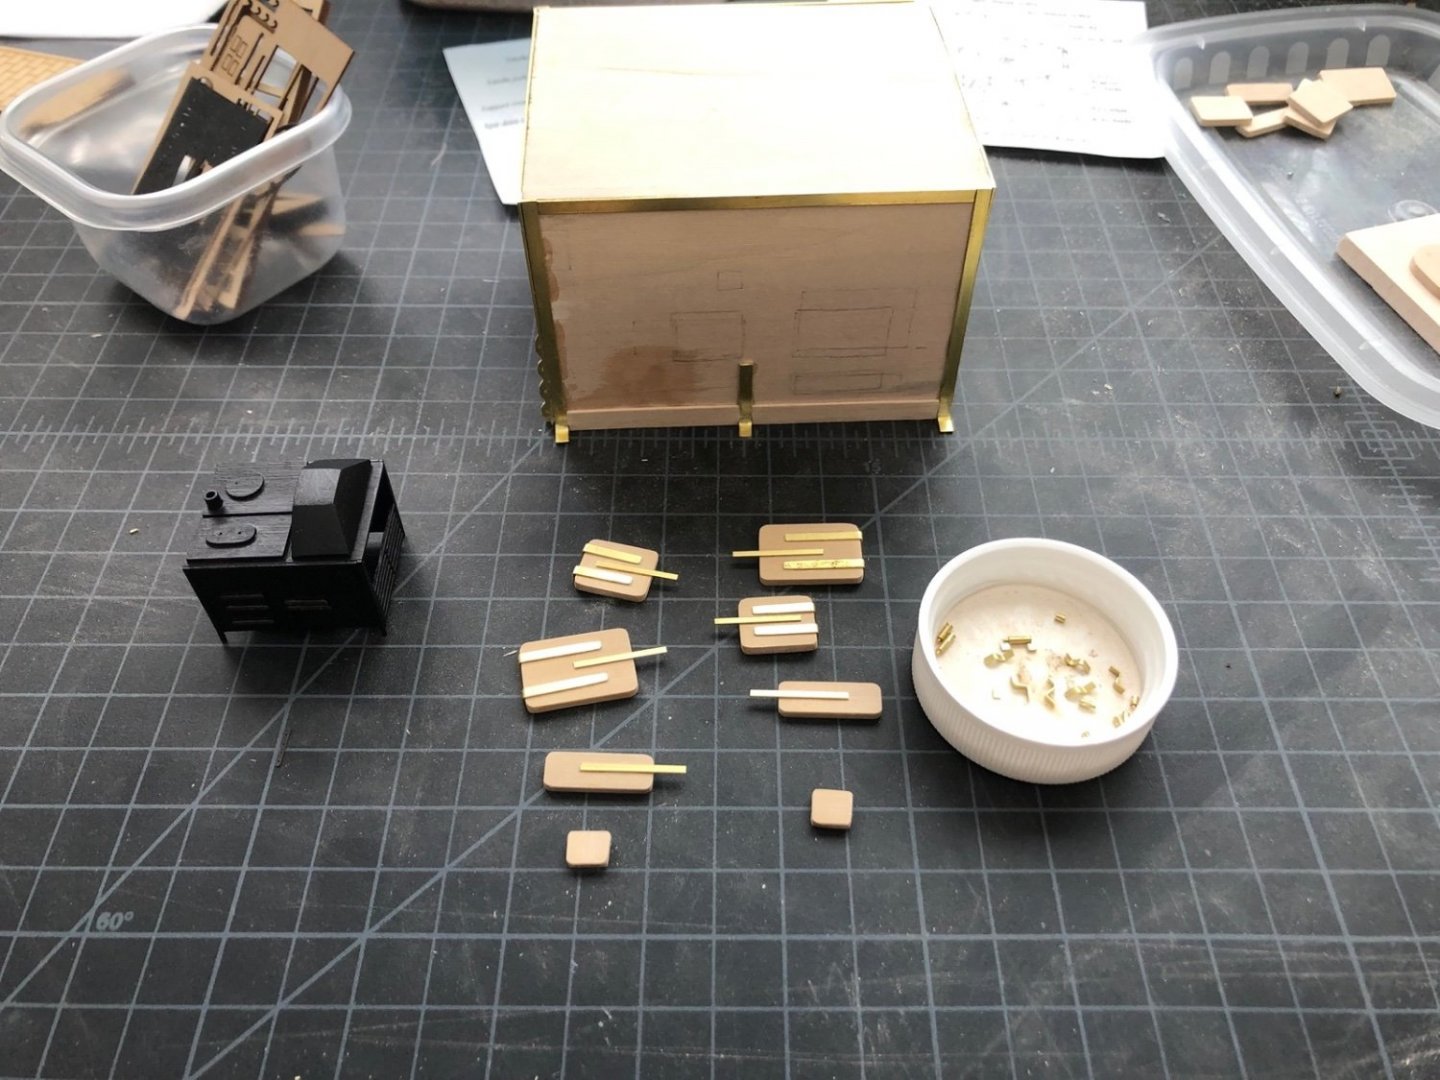
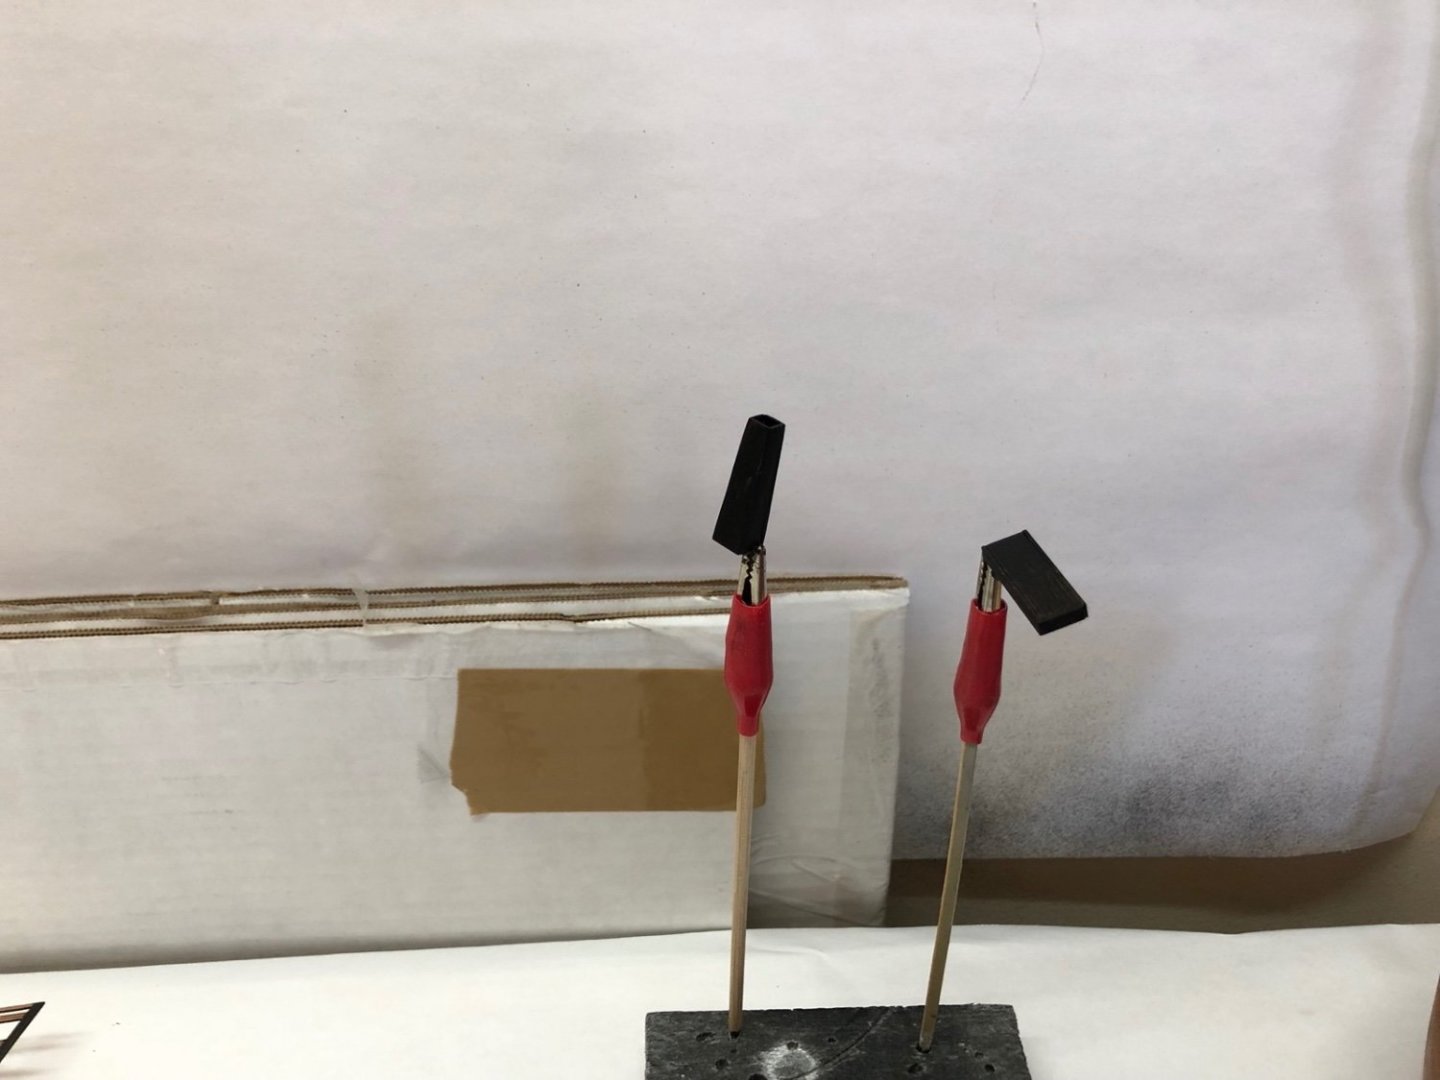
I had cut all the doors out of boxwood a while ago but now I have been experimenting with how to make the hinges. I came up with this arrangement which is a strip of brass tapered toward the end and bent around the door, cut flush with the back of the door, which I have glued to the doors before I installed them. After the doors are glued to the sides I will add a piece of brass tube with another piece of brass rod sticking out the bottom next to the brass strip. You can see them in the little cup next to the doors. The smaller doors will only have the brass tube for a hinge. I also glued a brass strip to the doors for the closures. These will have a catch glued to them and the sides which you can also see in the little cup.
The small kit stove was painted black and then had the hinges glued to the doors, but with these the hinges were glued on after the doors were installed, as per the instructions. I need to paint them black now.
-
Nicely done. I also will use these additional details when I get to the deck fittings. Thanks to you and Derek.
-
-
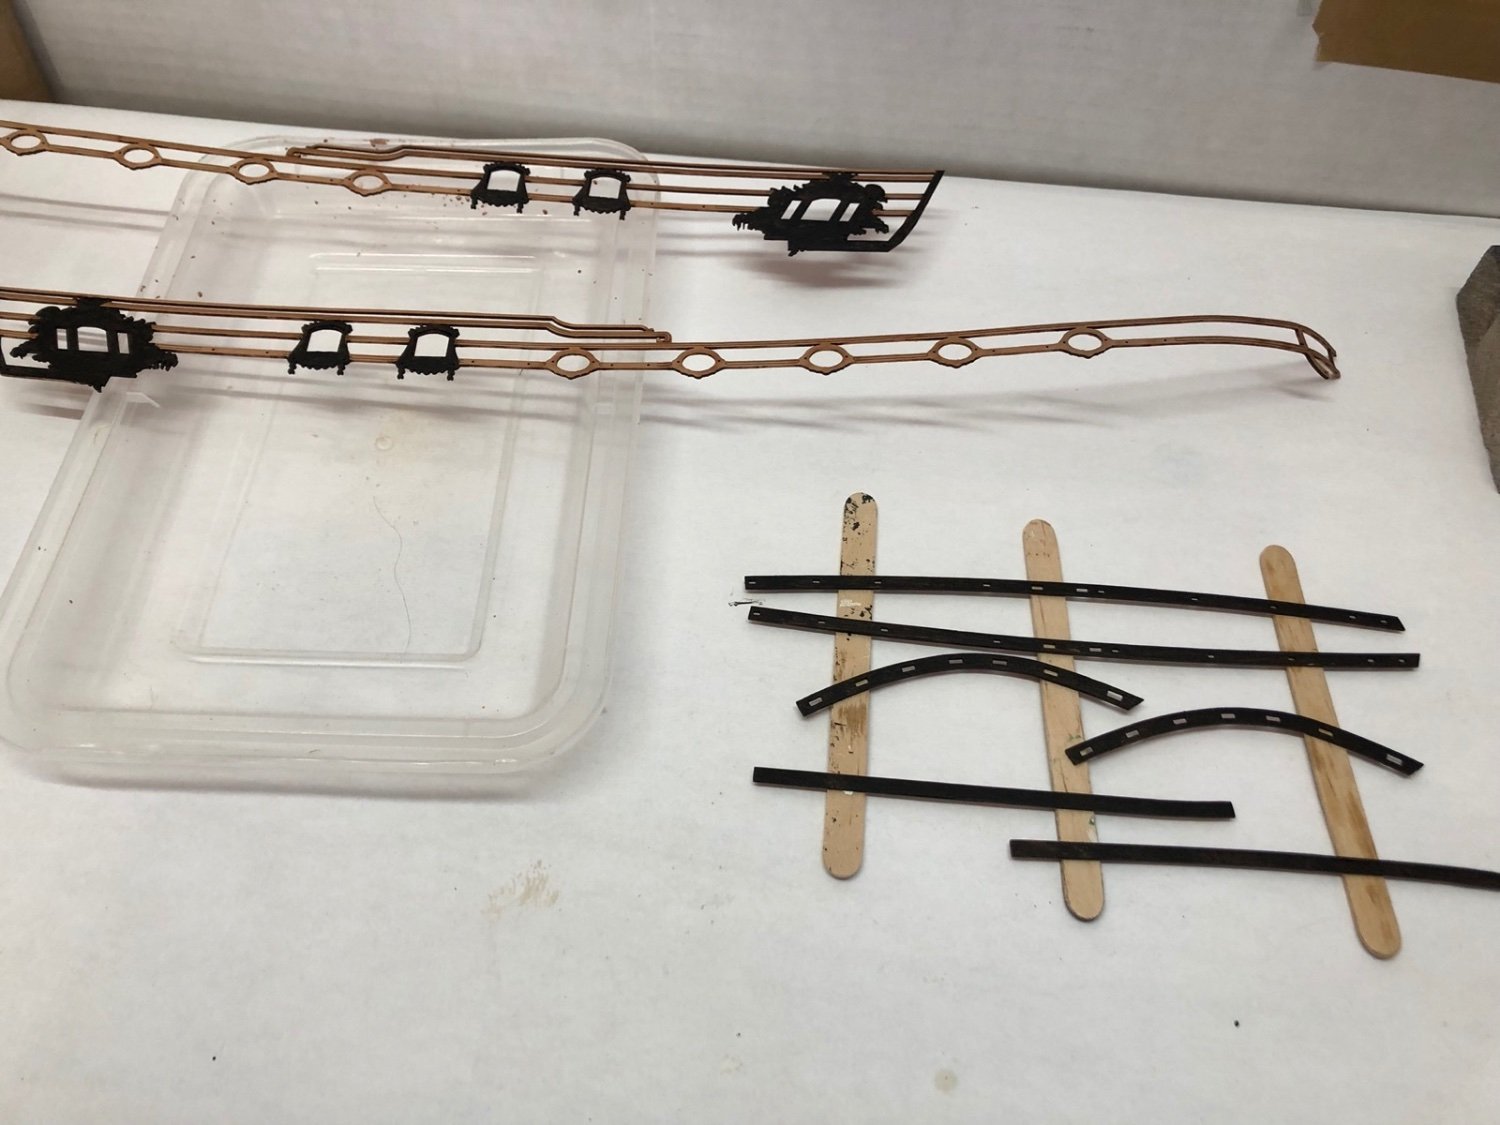
I made the vertical grating today using brass strips for the supports. I drilled a series of holes in three strips using the sensitive drill attachment on the mill, then sandwiched the three strips using brass rod to hole them in the vise to shape them. I used a round and some flat files to shape them all at the same time. I added the brass rod in the holes and used thin CA to hold it all together instead of soldering them.


And here are both grates temporarily in place on the frame.

I also have started experimenting with painting using parts from the Syren kit stove. This is a black acrylic paint which so far looks good.
I think I'll tackle the doors, hinges, and door closures next.
- FriedClams, tlevine, wefalck and 9 others
-
12
-
I painted the window trim and the pieces that fit on the bulwark tops black. I noticed that the window trim doesn't extend all the way back to the transom, which I think it should. I am not sure how I will deal with that but maybe I'll just paint the area between the trim and the transom black. I also have the counter masked off to paint it blue.
- BobG, Theodosius and KurtH
-
3
-
Thank you for the likes.
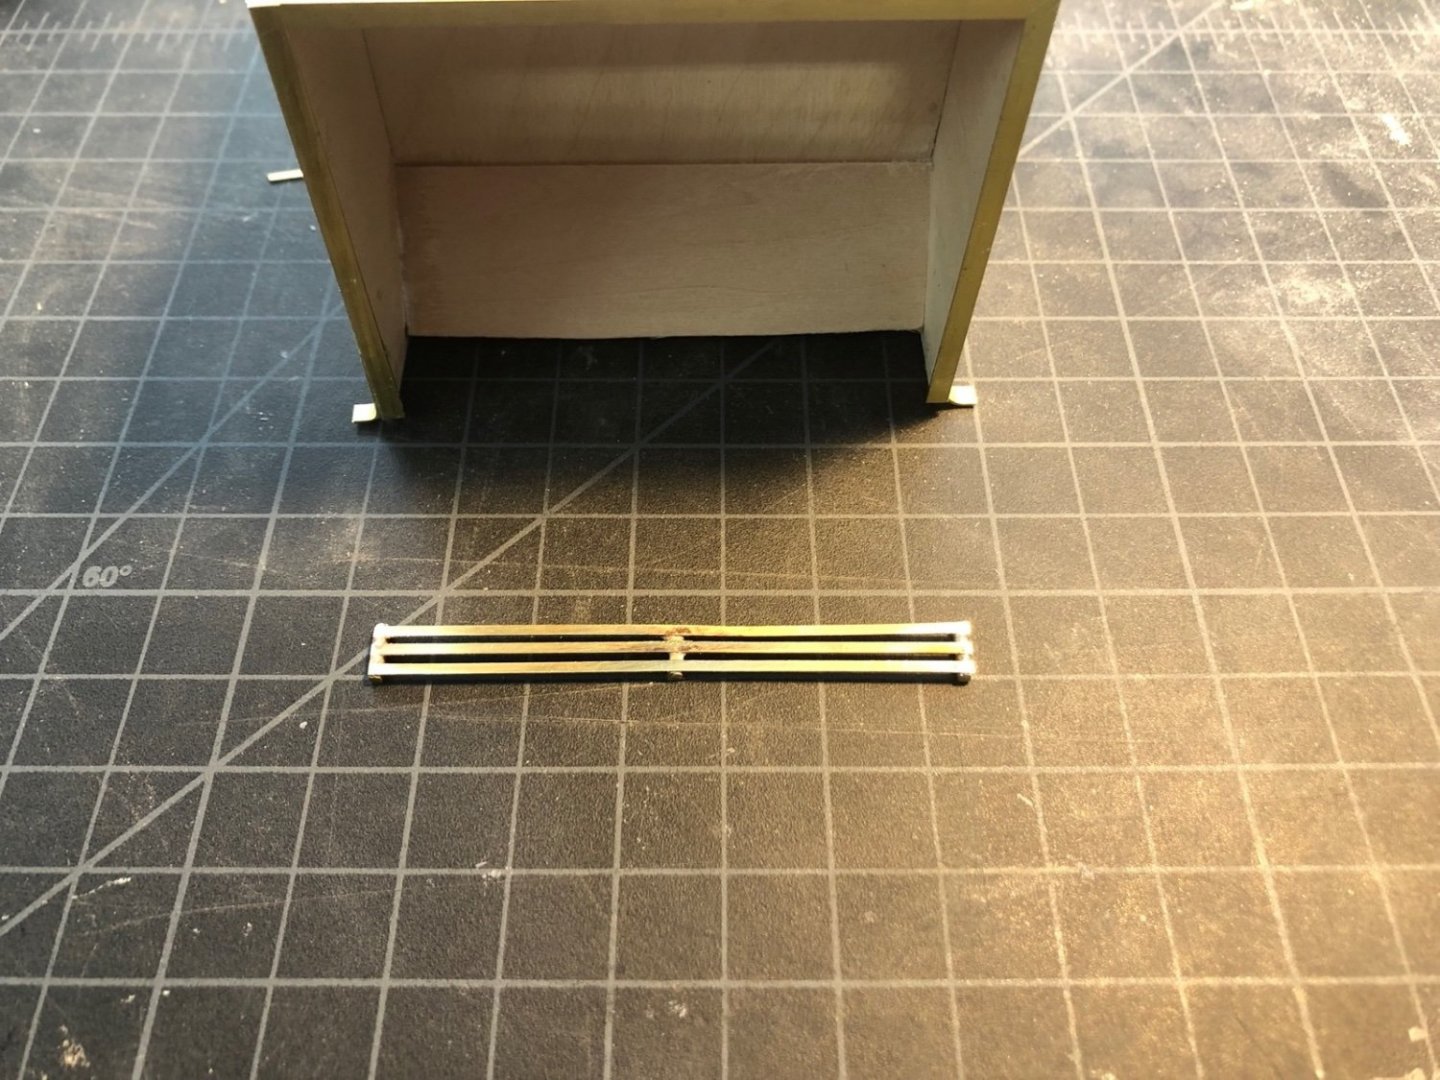
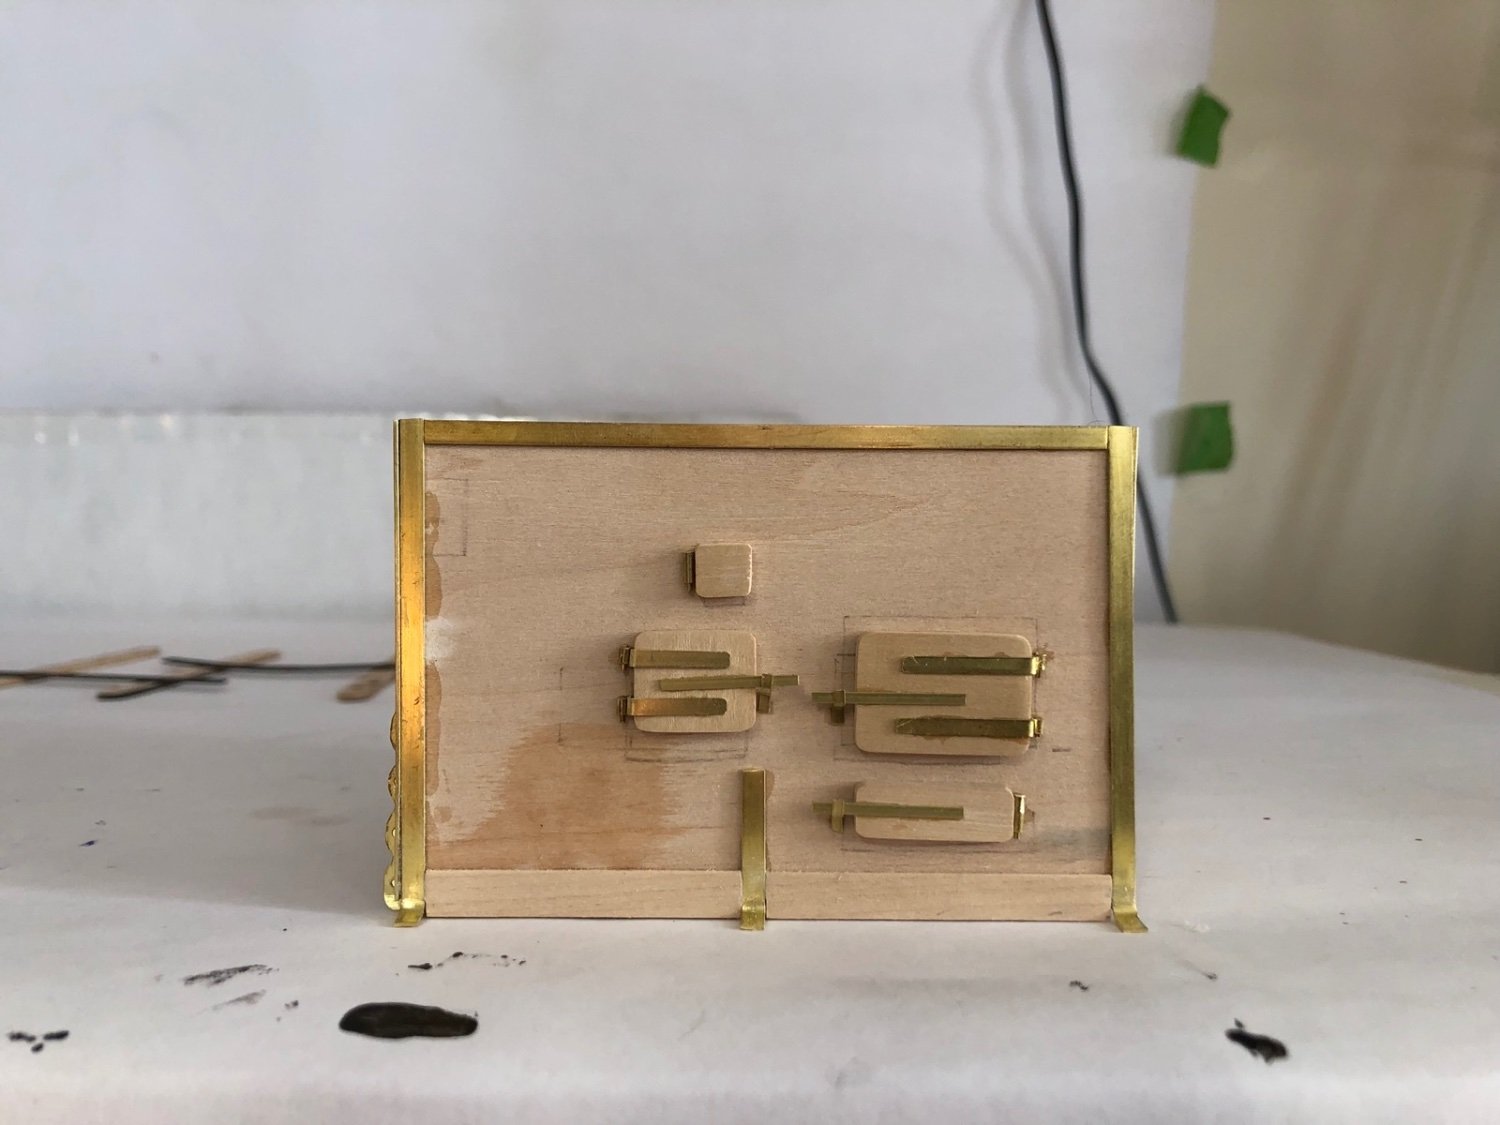
I added the rest of the brass trim along the edges and also added the two middle feet. I then made the horizontal grating that fits in the fore opening. I used three pieces of square brass rod and three brass strips which I soldered together.
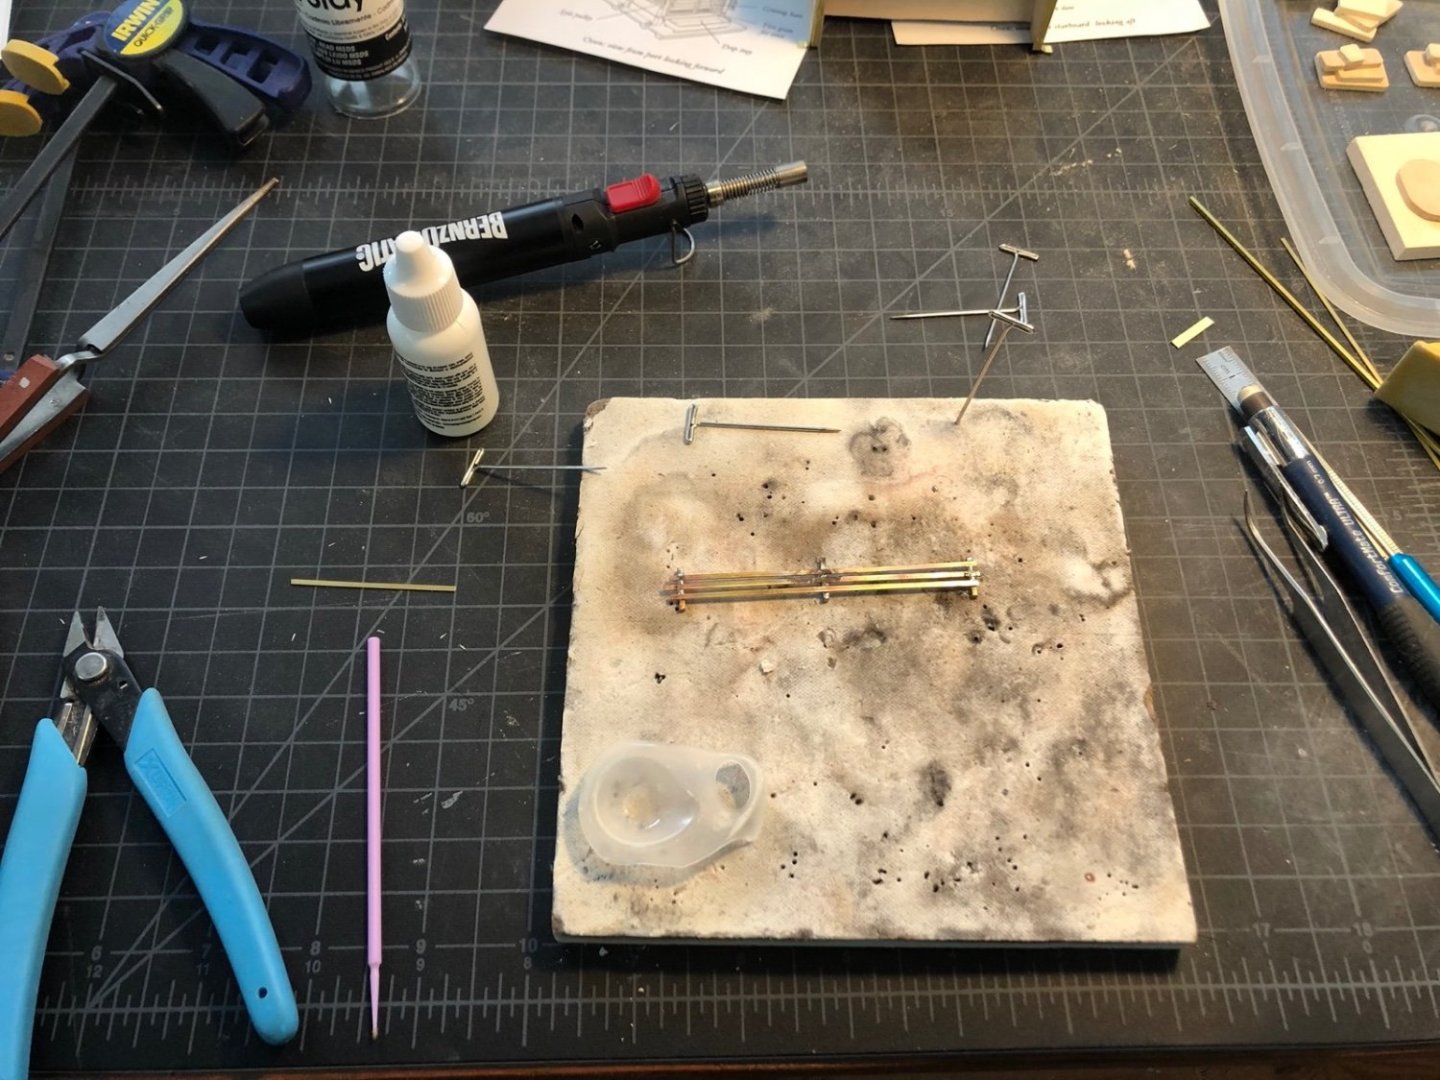
I left all the ends long then trimmed them off after the solder cooled. I used the disk sander to finish the ends. Here is how it came out after some clean up with a file.
I will be making the vertical grating next as well as adding the square bolt heads to the trim. I have some thick brass strip that I will cut into squares for the bolt heads. I am also working out how I want to make the hinges and door latches.
-
-
I bent four pieces of brass strip for the legs and glued them to the frame along the edges. I then glued four more strips next to them on the adjacent sides. In this photo you can also see the Syren stove in the background that I am building in parallel. I am further along on that one. The stack is just resting on the stove top for now. I need to add the chimney under it.

-
Thank you Elijah. It has been fun so far. I especially like the amount of detail provided and the real thought that has gone into the design of it. @chris watton has done a fantastic job on the kit.
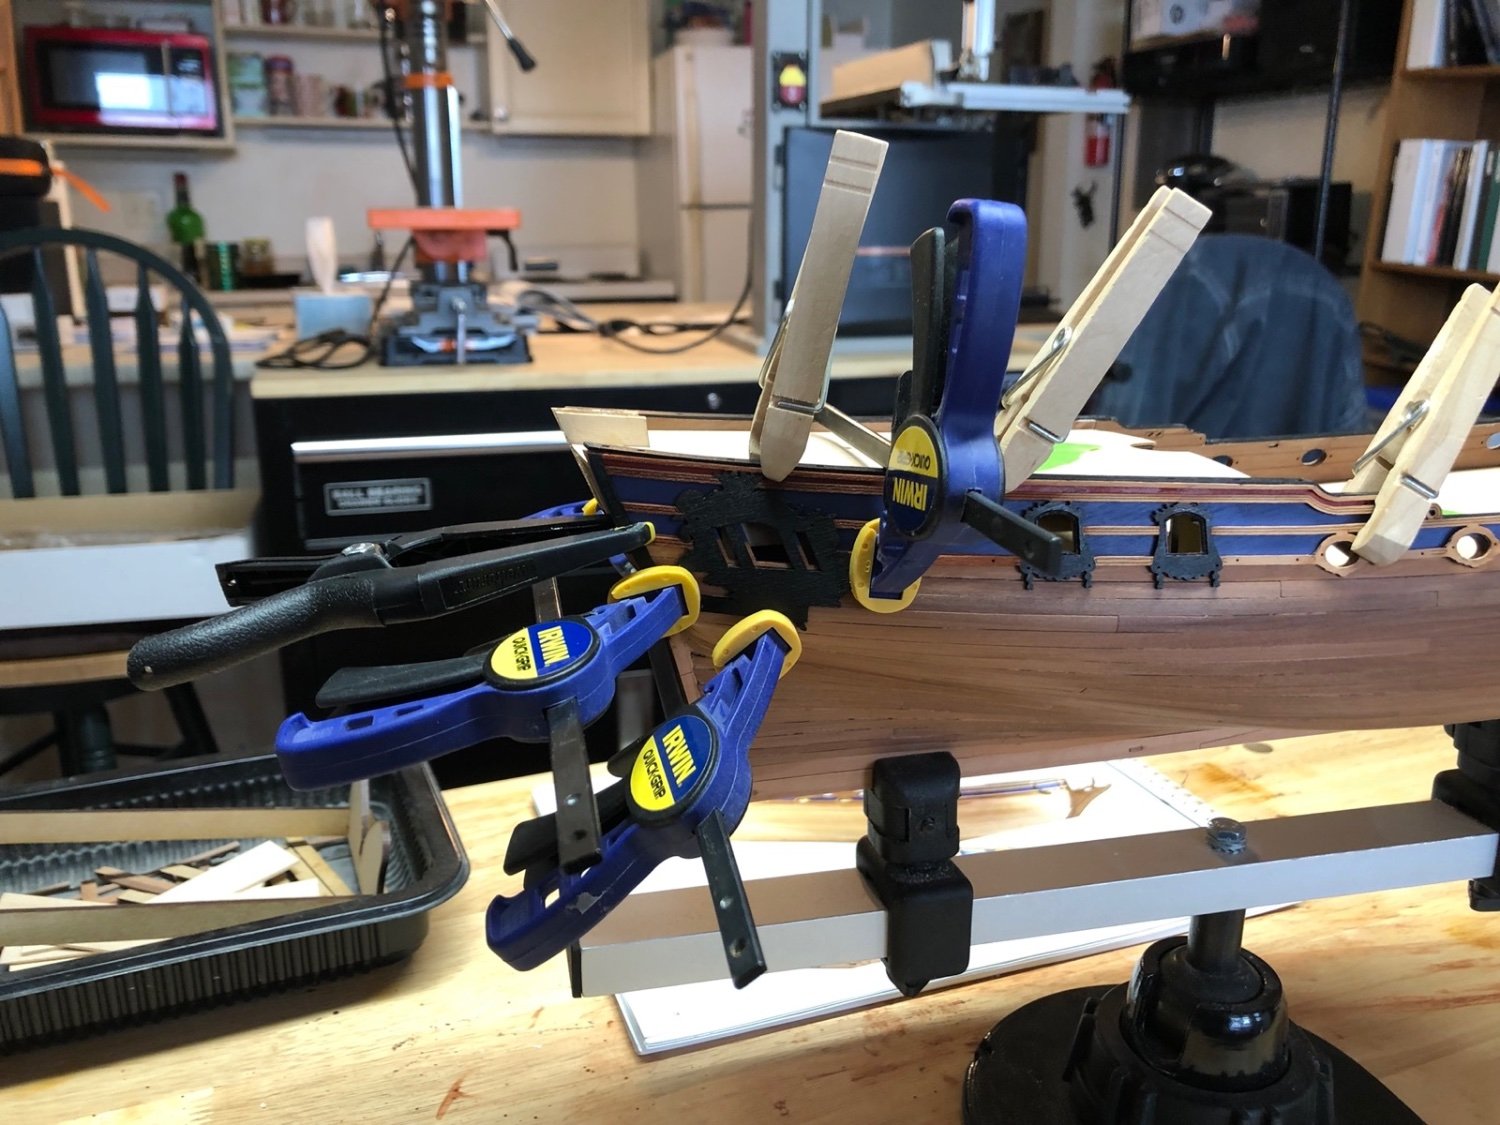
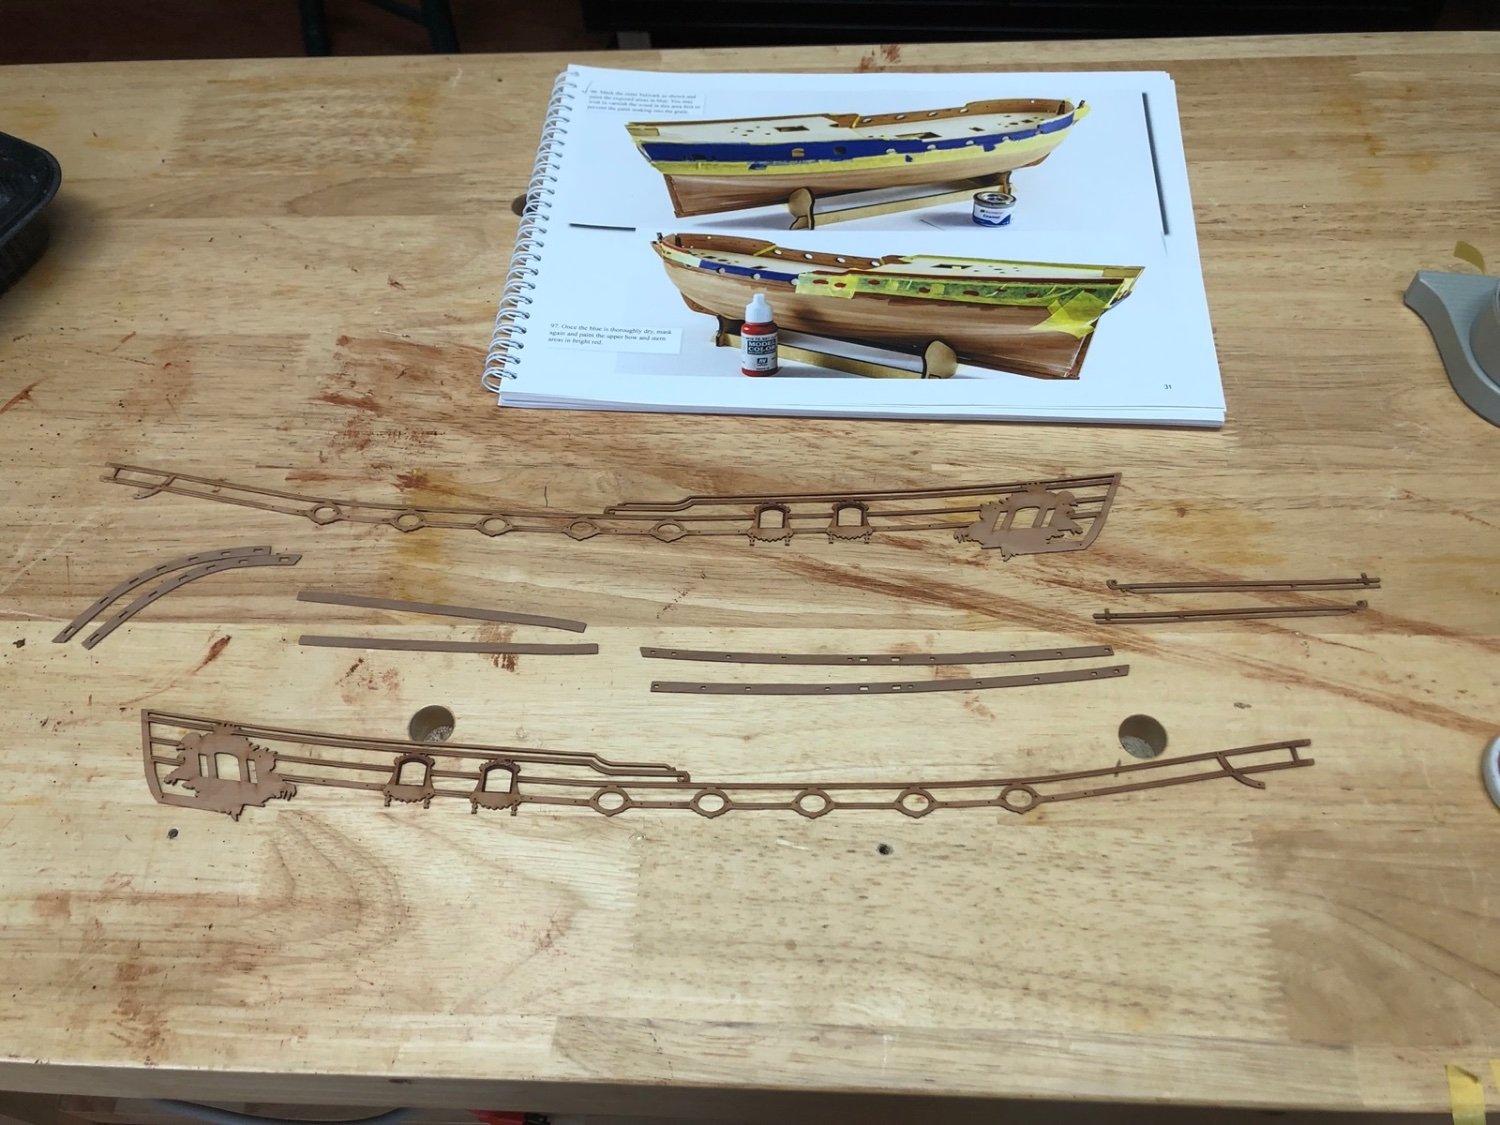
I masked off the top of the blue paint and added the red paint at the top of the bulwarks. I then soaked the top bulwark trim in hot water for 30 minutes and slowly bent it and clamped it to the hull. I will let this dry overnight and then do the same thing with the larger trim that goes below it.
- KurtH, Dave_E, Theodosius and 3 others
-
6
-
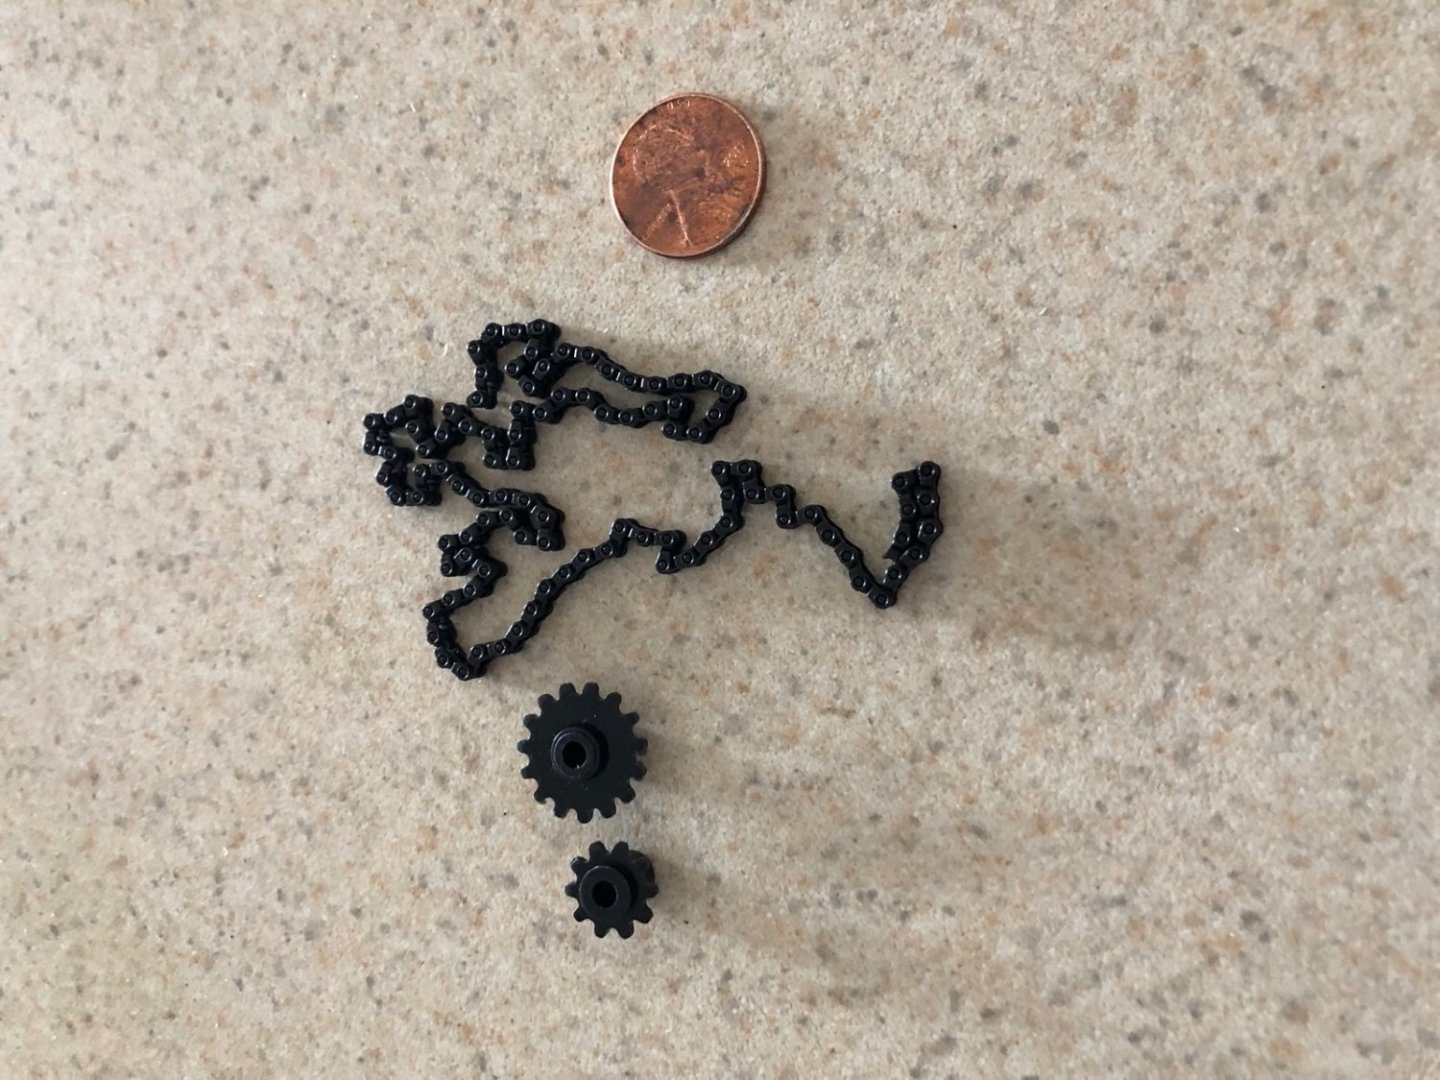
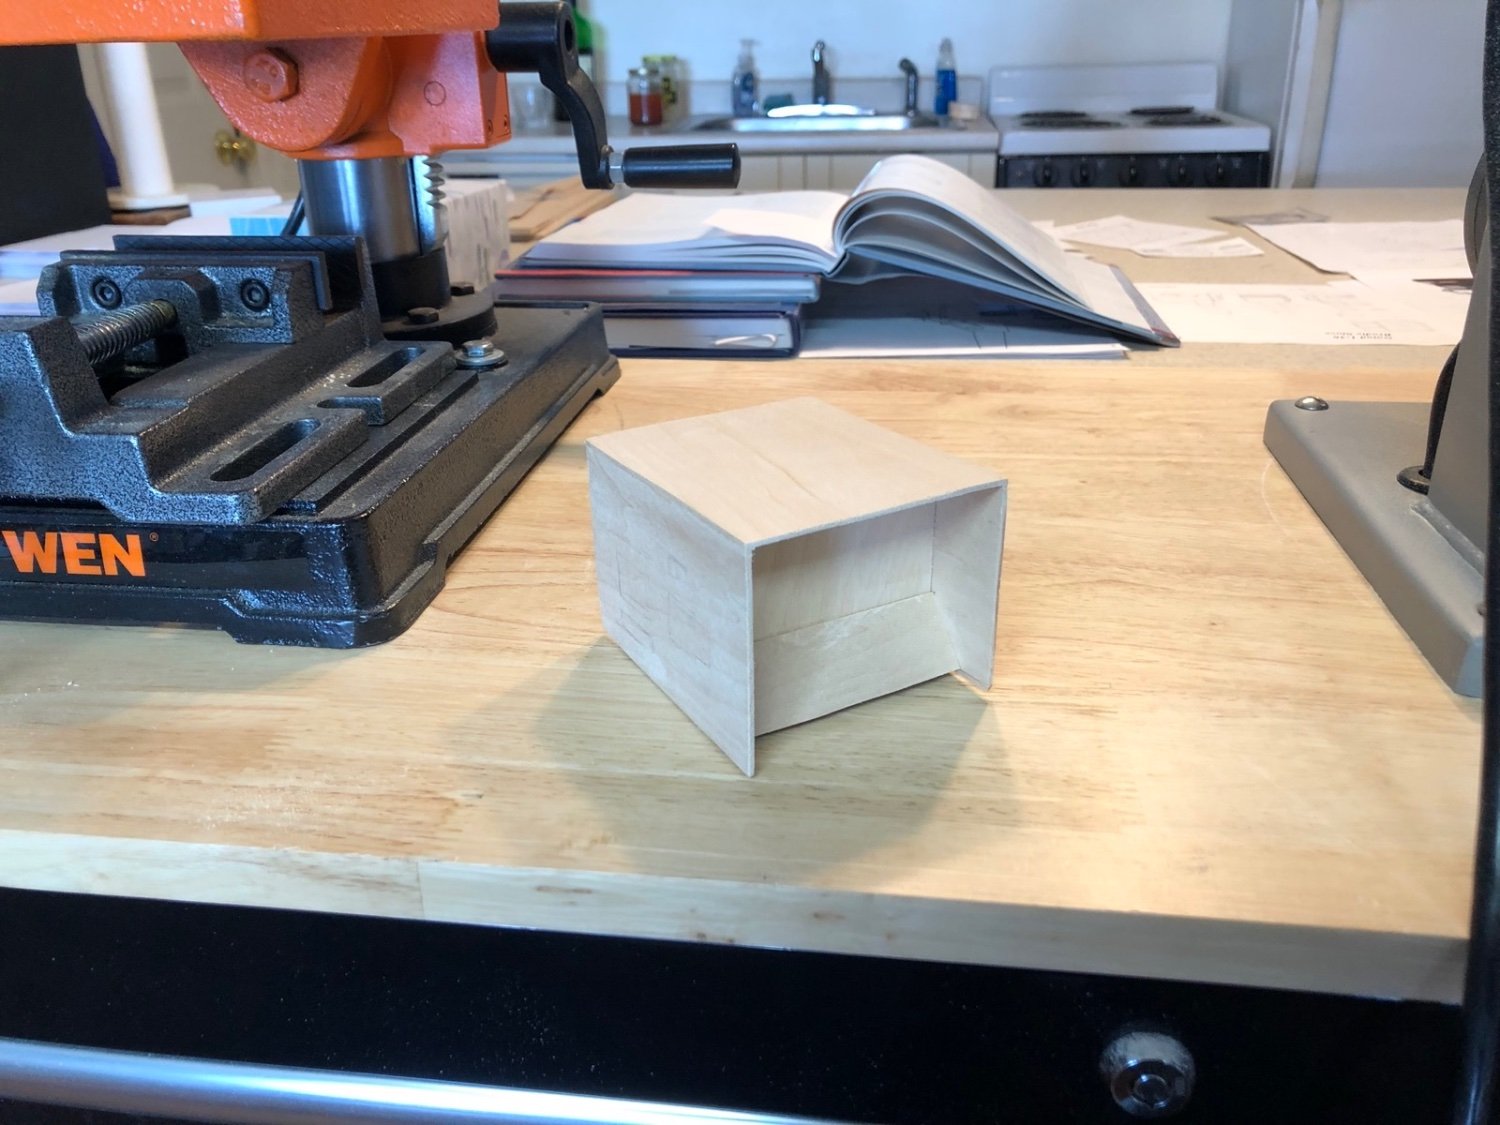
I have just about finished the frame for the stove. Here are the aft and fore views.

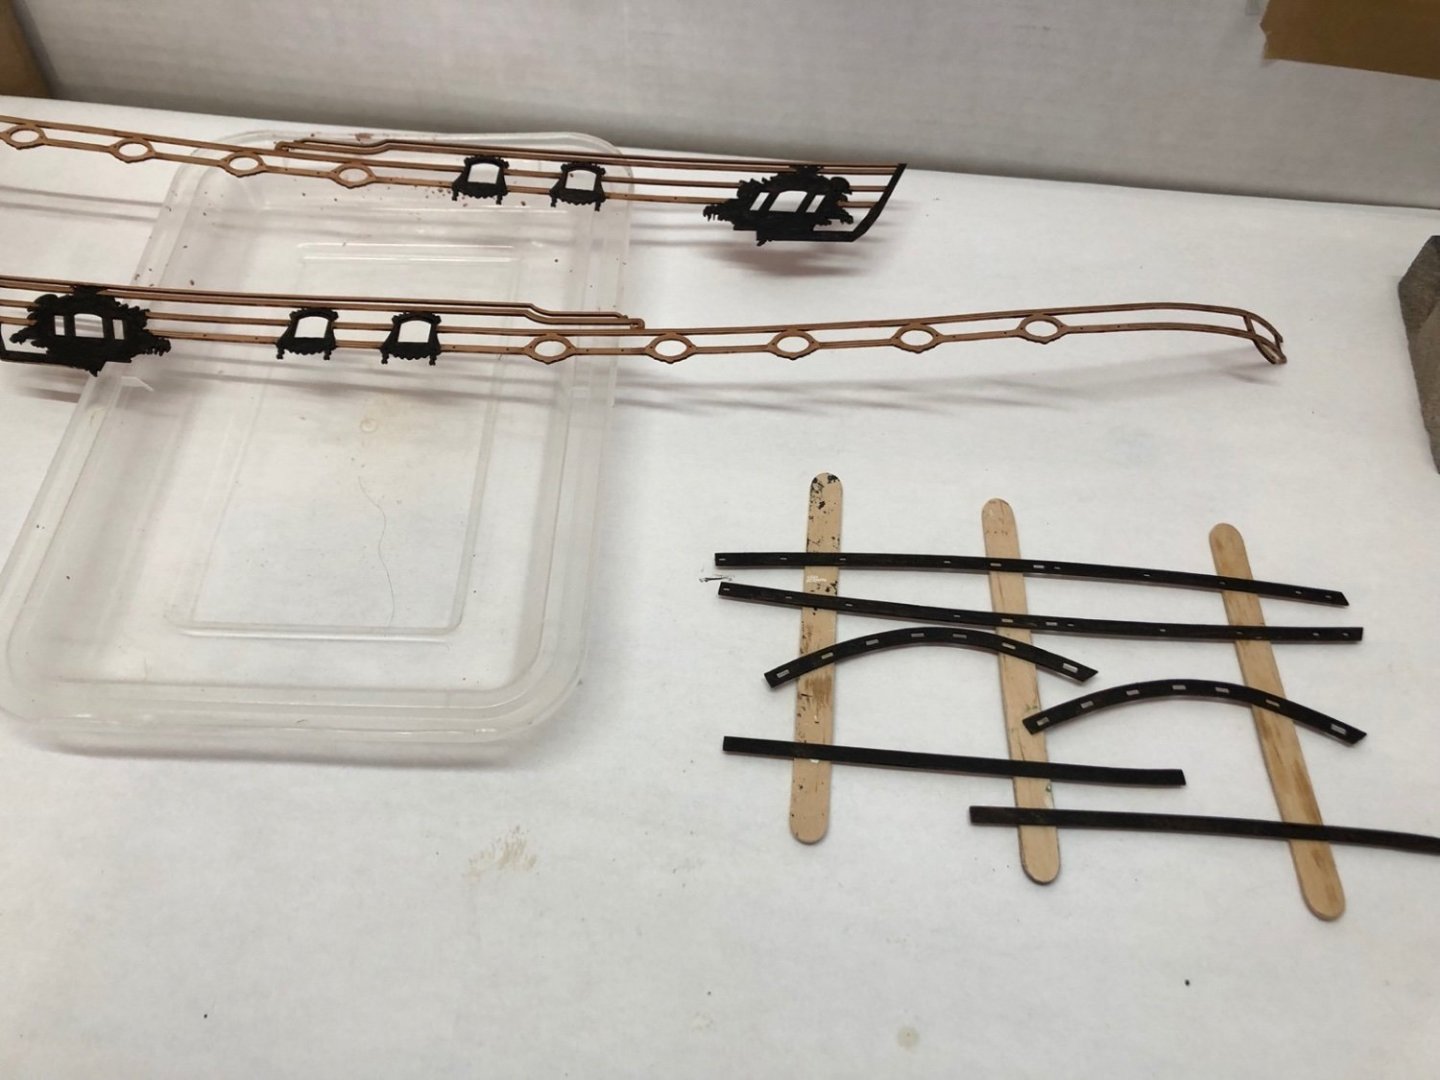
I have also made all the blanks for the doors from boxwood. The next step will be adding the details around the side edges and making the grates for the fore side. I was able too find some miniature drive chain from MicroMark which will work nicely for the spit drive. I bought gears with it but I am not sure they would look accurate as all the plans I have show pulleys used. I may make some pulleys to use with the chain instead of the gears.
-
I removed the masking tape today after a second coat of blue paint yesterday and I was relieved to find a nice paint line all the way across each side of the hull. I am going to wait another day for the blue paint to fully dry before masking it off for the red sections along the bulwarks.
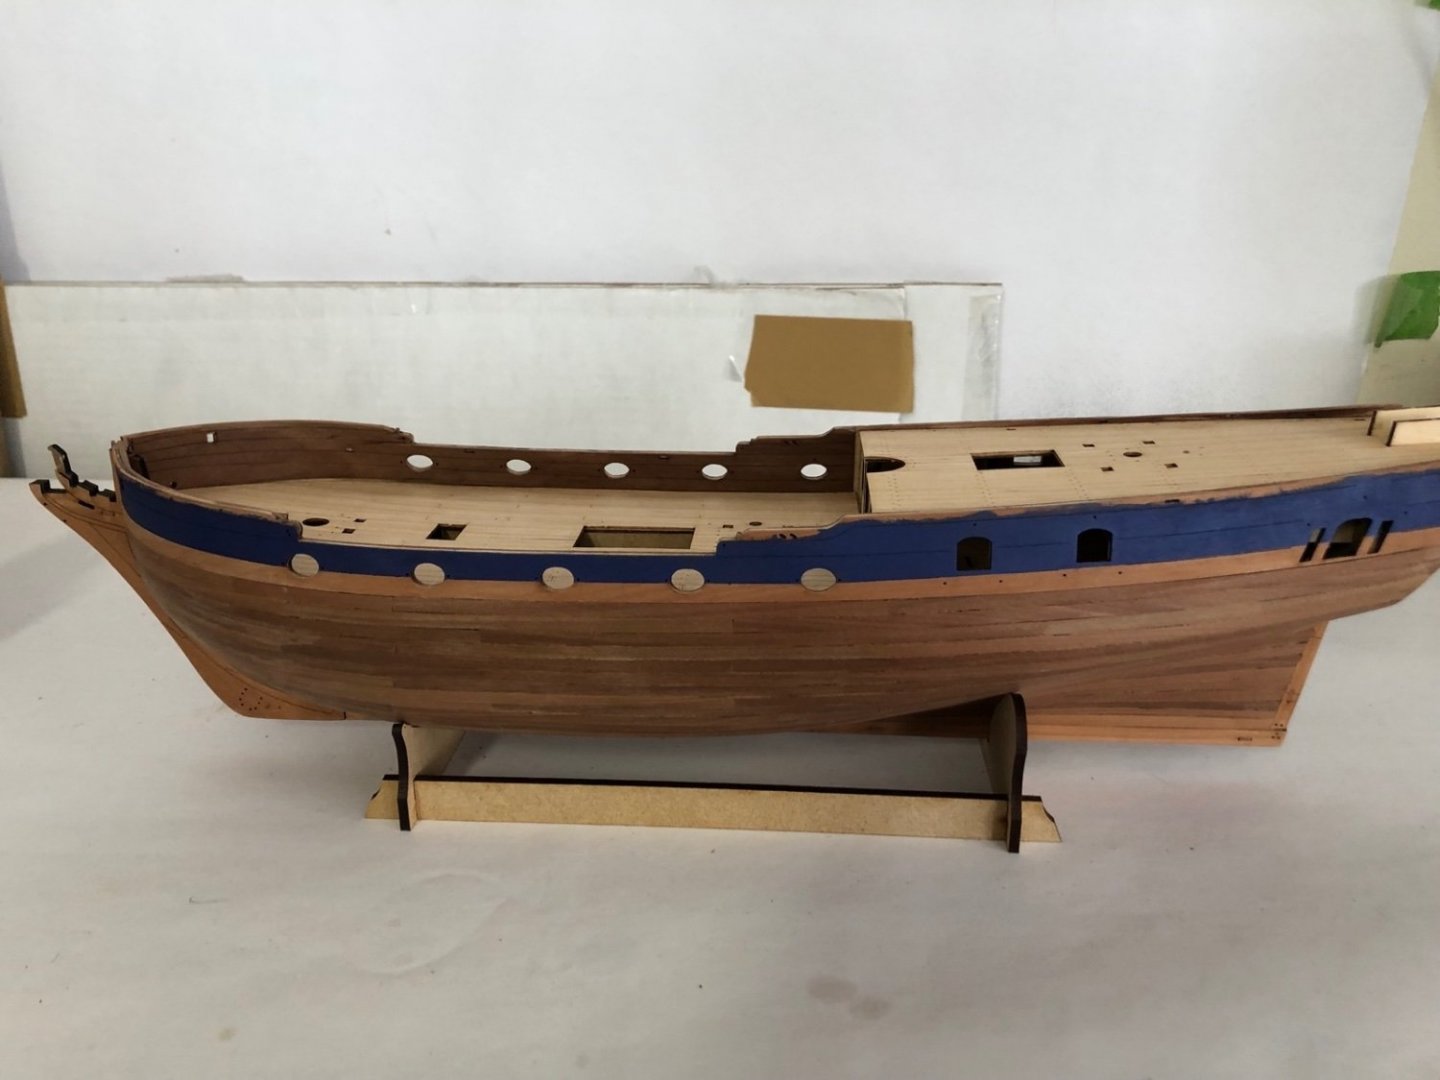
While waiting for the paint to dry, I cleaned the char off the outer trim pieces and the tops of the bulwarks. This was tedious work, but I managed to not break anything while doing it, which again surprised me. I am going to try soaking and bending these as they are now once the red paint is finished. There is still char around the window frames because these areas will be painted black before the trim is added to the hull.

- Theodosius, Dave_E, Elijah and 5 others
-
8
-
Love it Alan - that is my favorite movie.
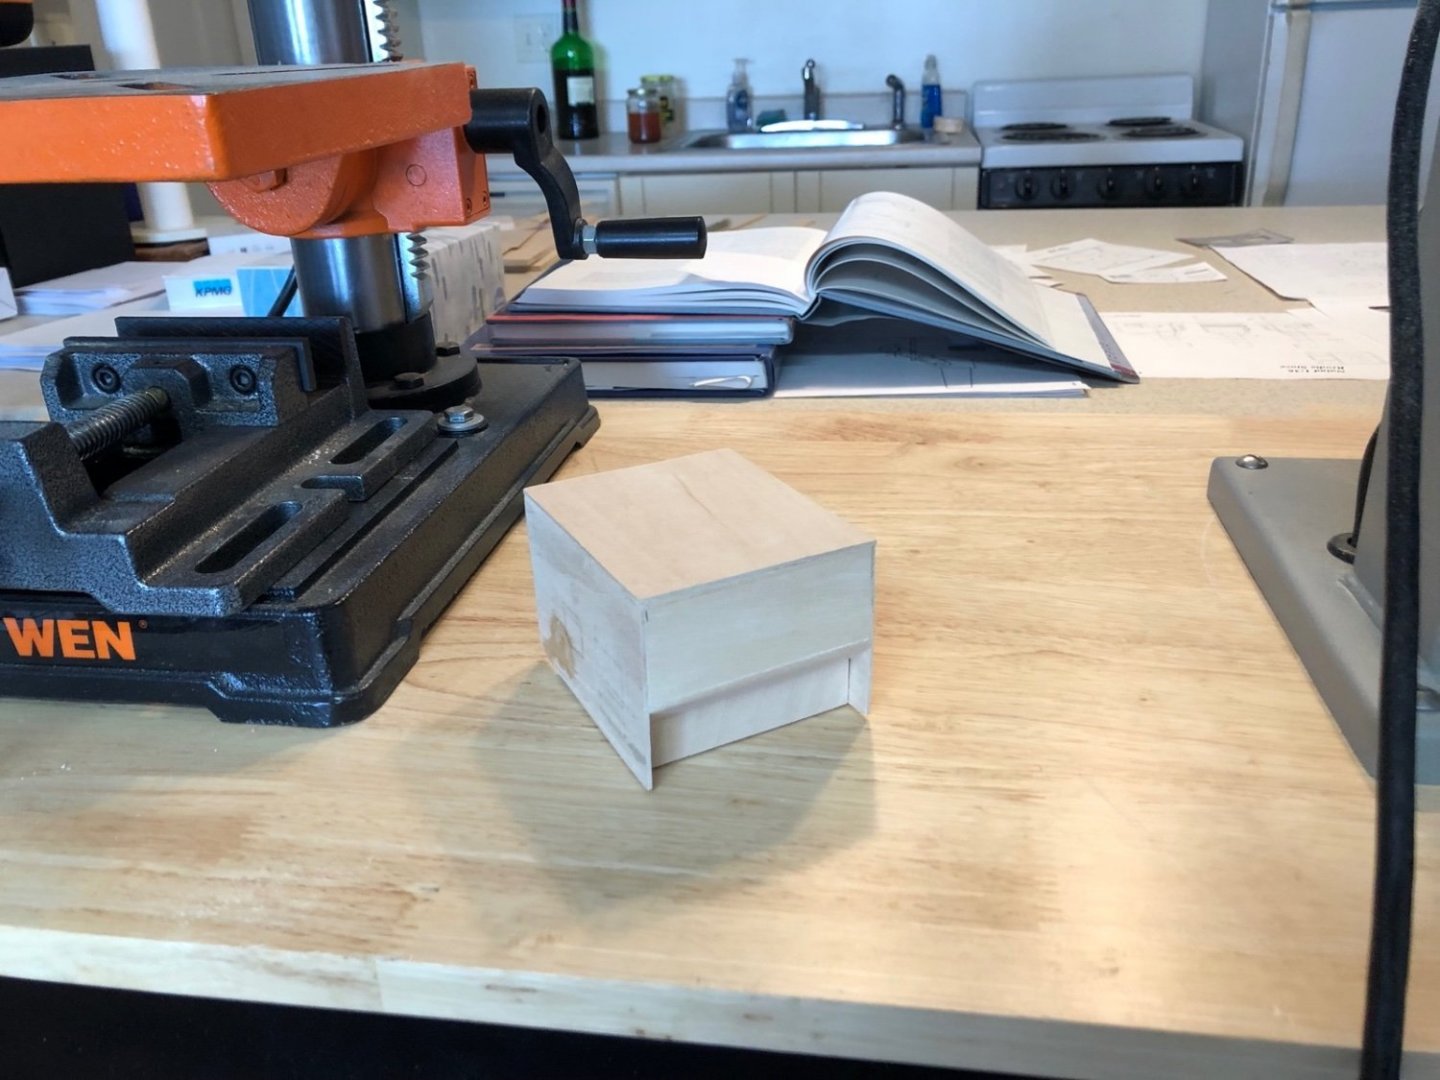
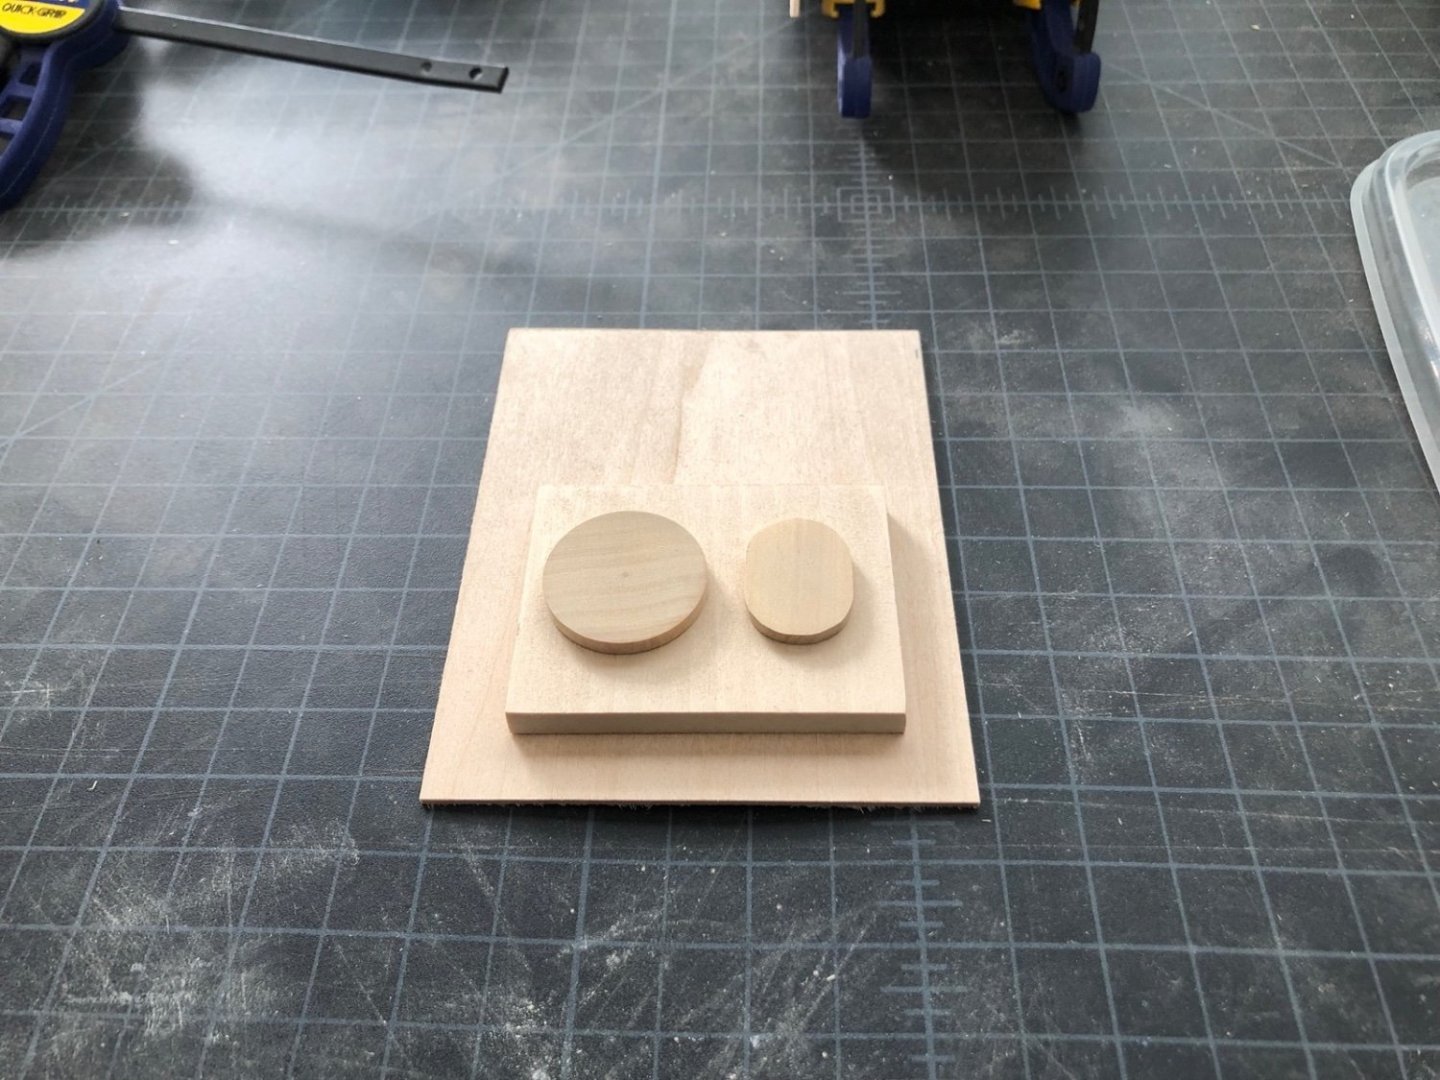
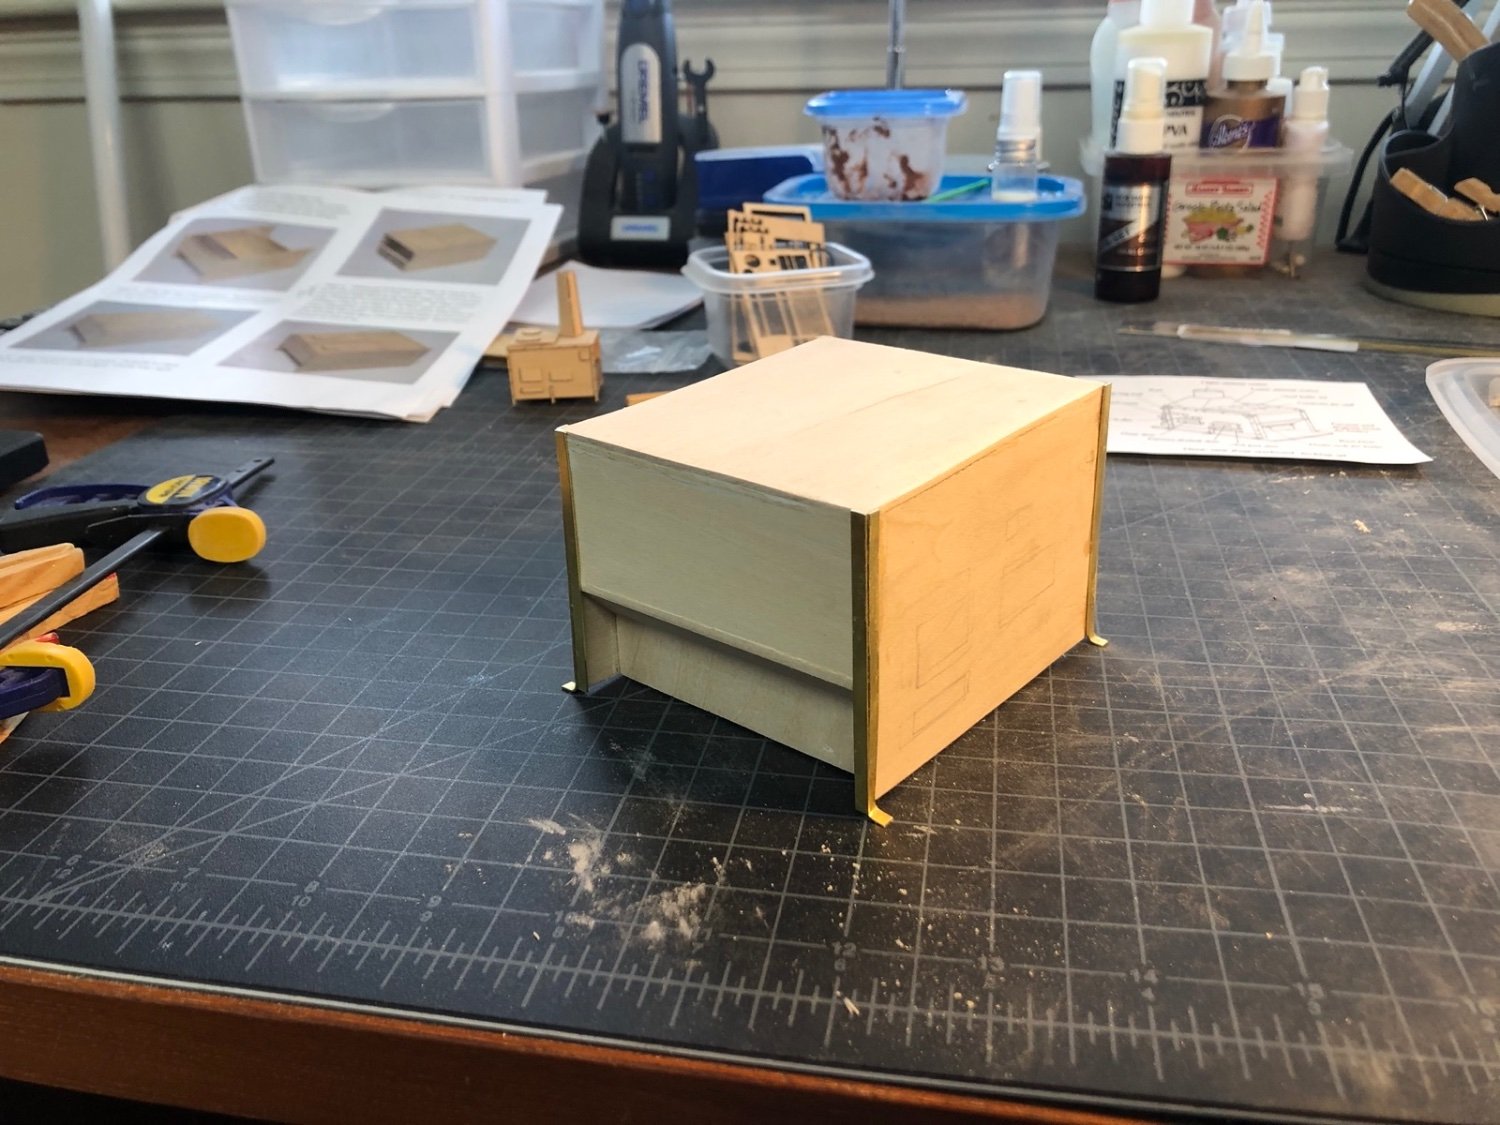
I have the sides glued to the base and the top will be next. In the mean time I made the top of the boiler from a piece of 1/4" basswood and the boiler covers from some boxwood. The round cover was turned on the lathe using a chunk of boxwood I had left over from the capstan project and the oval cover was roughly cut and sanded to shape on the disk sander.
- Cathead, JpR62, FriedClams and 3 others
-
6


Ships Stove Project by usedtosail - FINISHED - 1:16
in - Build logs for subjects built 1751 - 1800
Posted
Thanks so much Gary. I really appreciate the tips and help and I think they will help me a lot.