HOLIDAY DONATION DRIVE - SUPPORT MSW - DO YOUR PART TO KEEP THIS GREAT FORUM GOING! (Only 20 donations so far - C'mon guys!)
×

FrankWouts
-
Posts
535 -
Joined
-
Last visited
Content Type
Profiles
Forums
Gallery
Events
Everything posted by FrankWouts
-
 Getting hungry seeing that stove! Feel like throwing in some pork, chicken and beef! Nice pint of grog or beer with it would be nice too…🍗🥩🥃🍺😉👍🏻
 -
Looking good Steve! You earn 100 points extra from me when scroll sawing your own keel and bulkheads…I cowardly bought the laser cutted stuff from Chuck and it is spot on, I couldn’t beat that in a thousand years with my sawing talents…But then ofcourse now I again miss some practice. So I’m already thinking of after this first one in Alaskan Yellow Cedar, build a Cherry version, both wood colors are so beautiful! Perhaps you can correct that very small bend in your keel when gluing the bulkheads? Or are you afraid risking good precise made bulkheads on the bent keel? Anyway, very warm welcome and I’ll be following your build log as well! Frank.
-
Thanks!
-
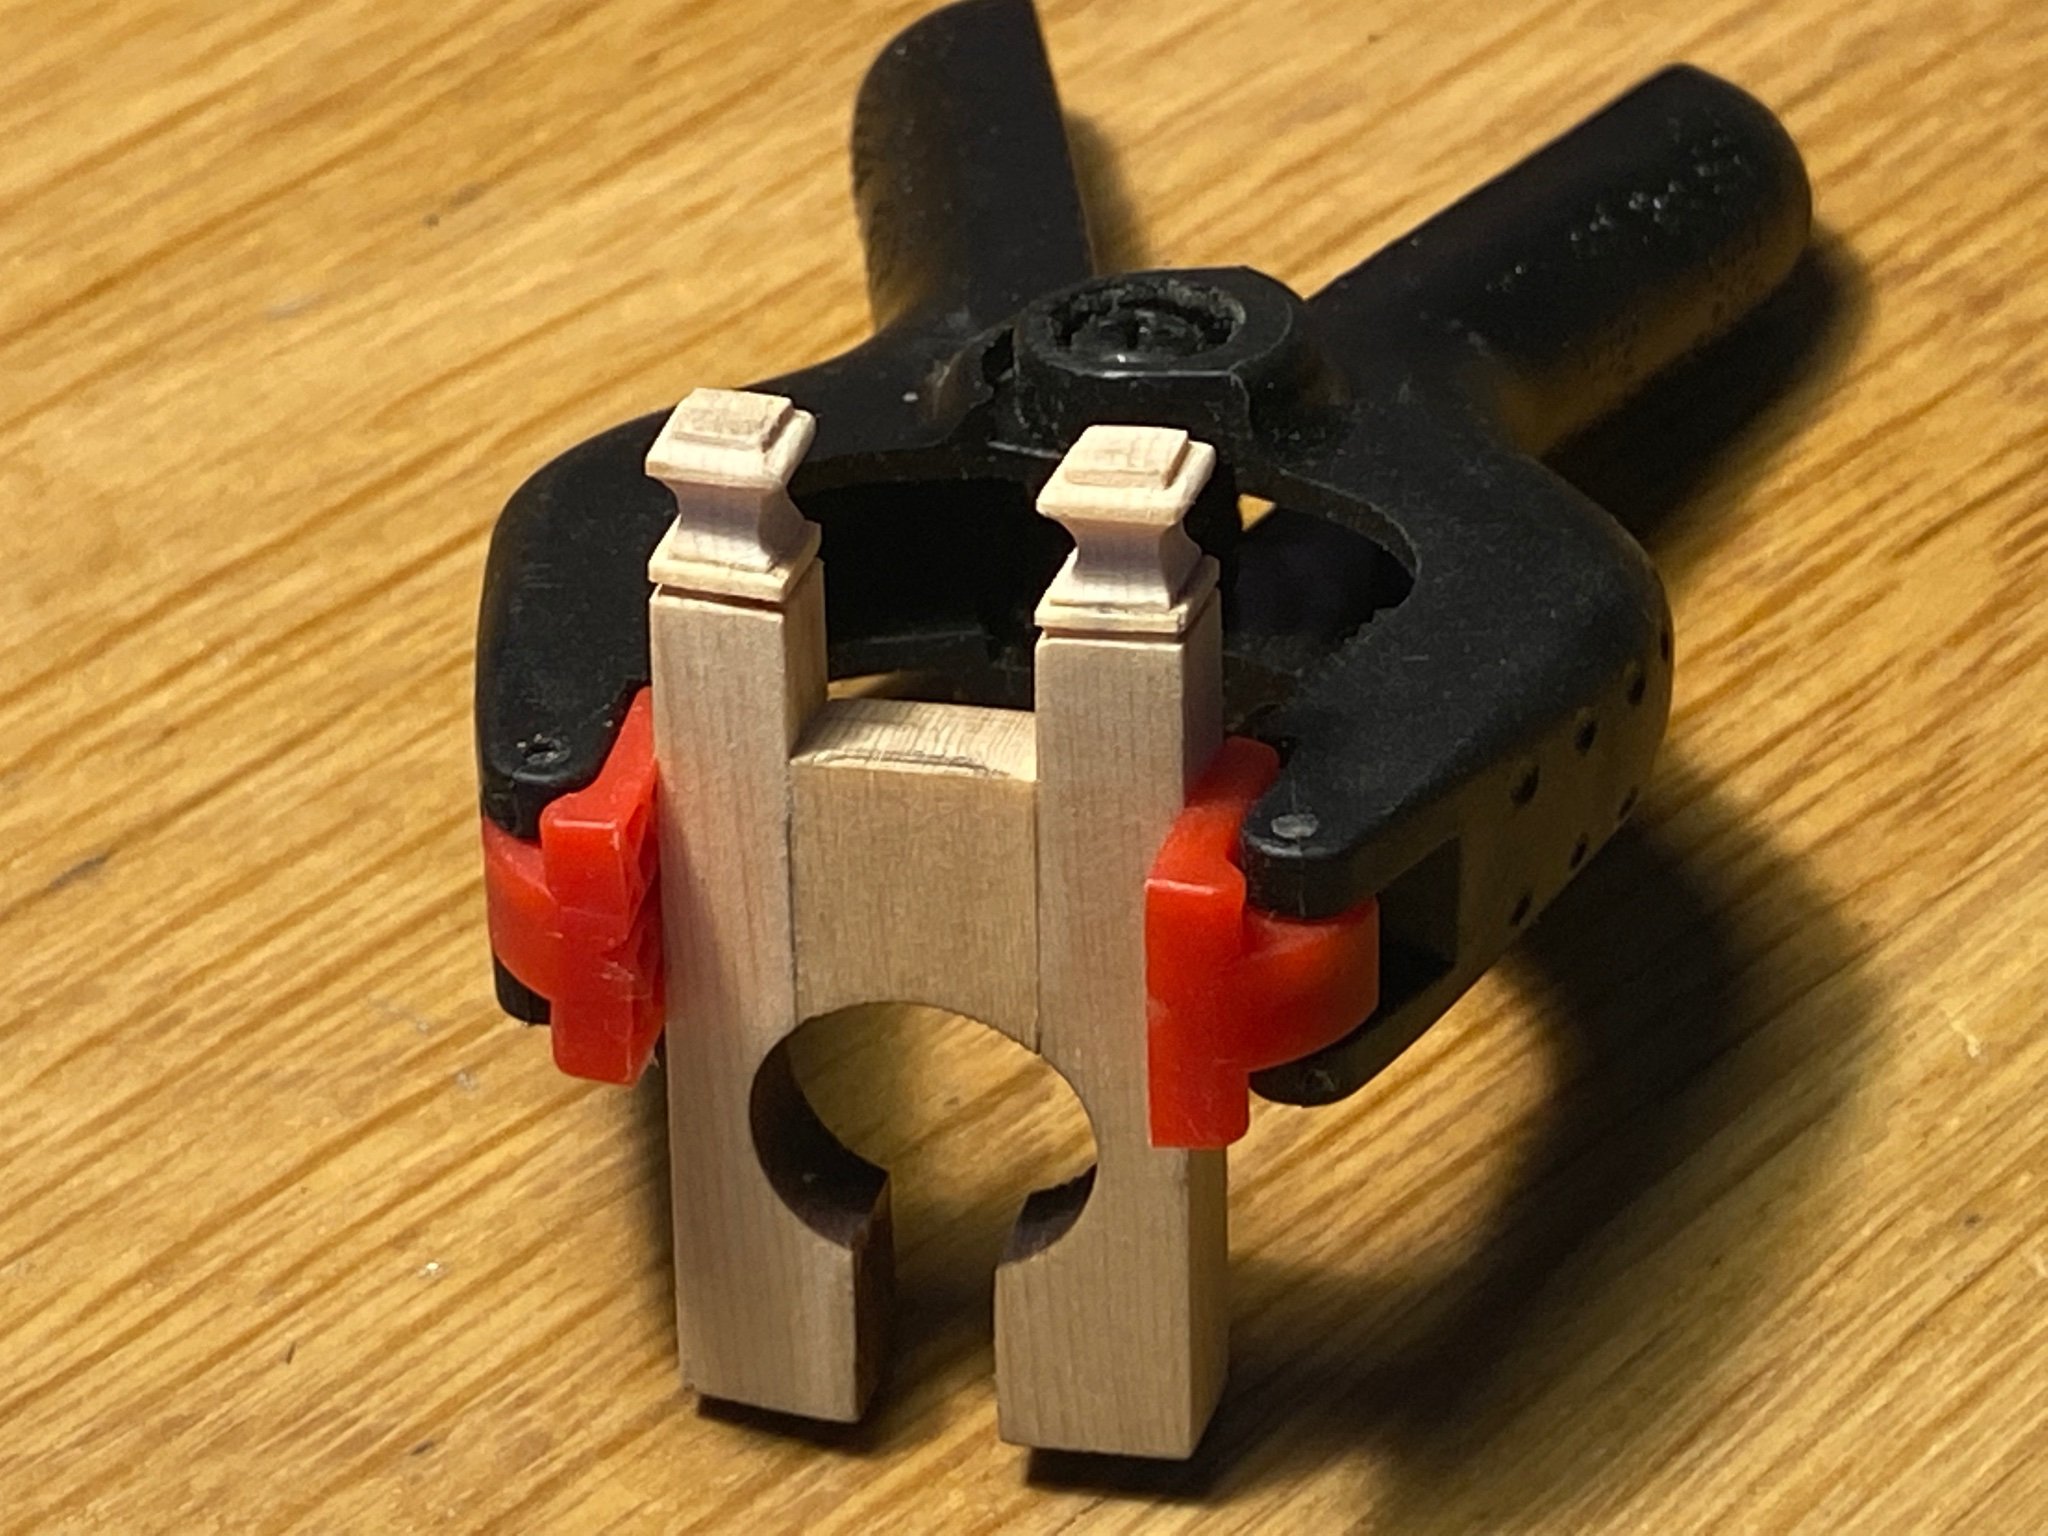
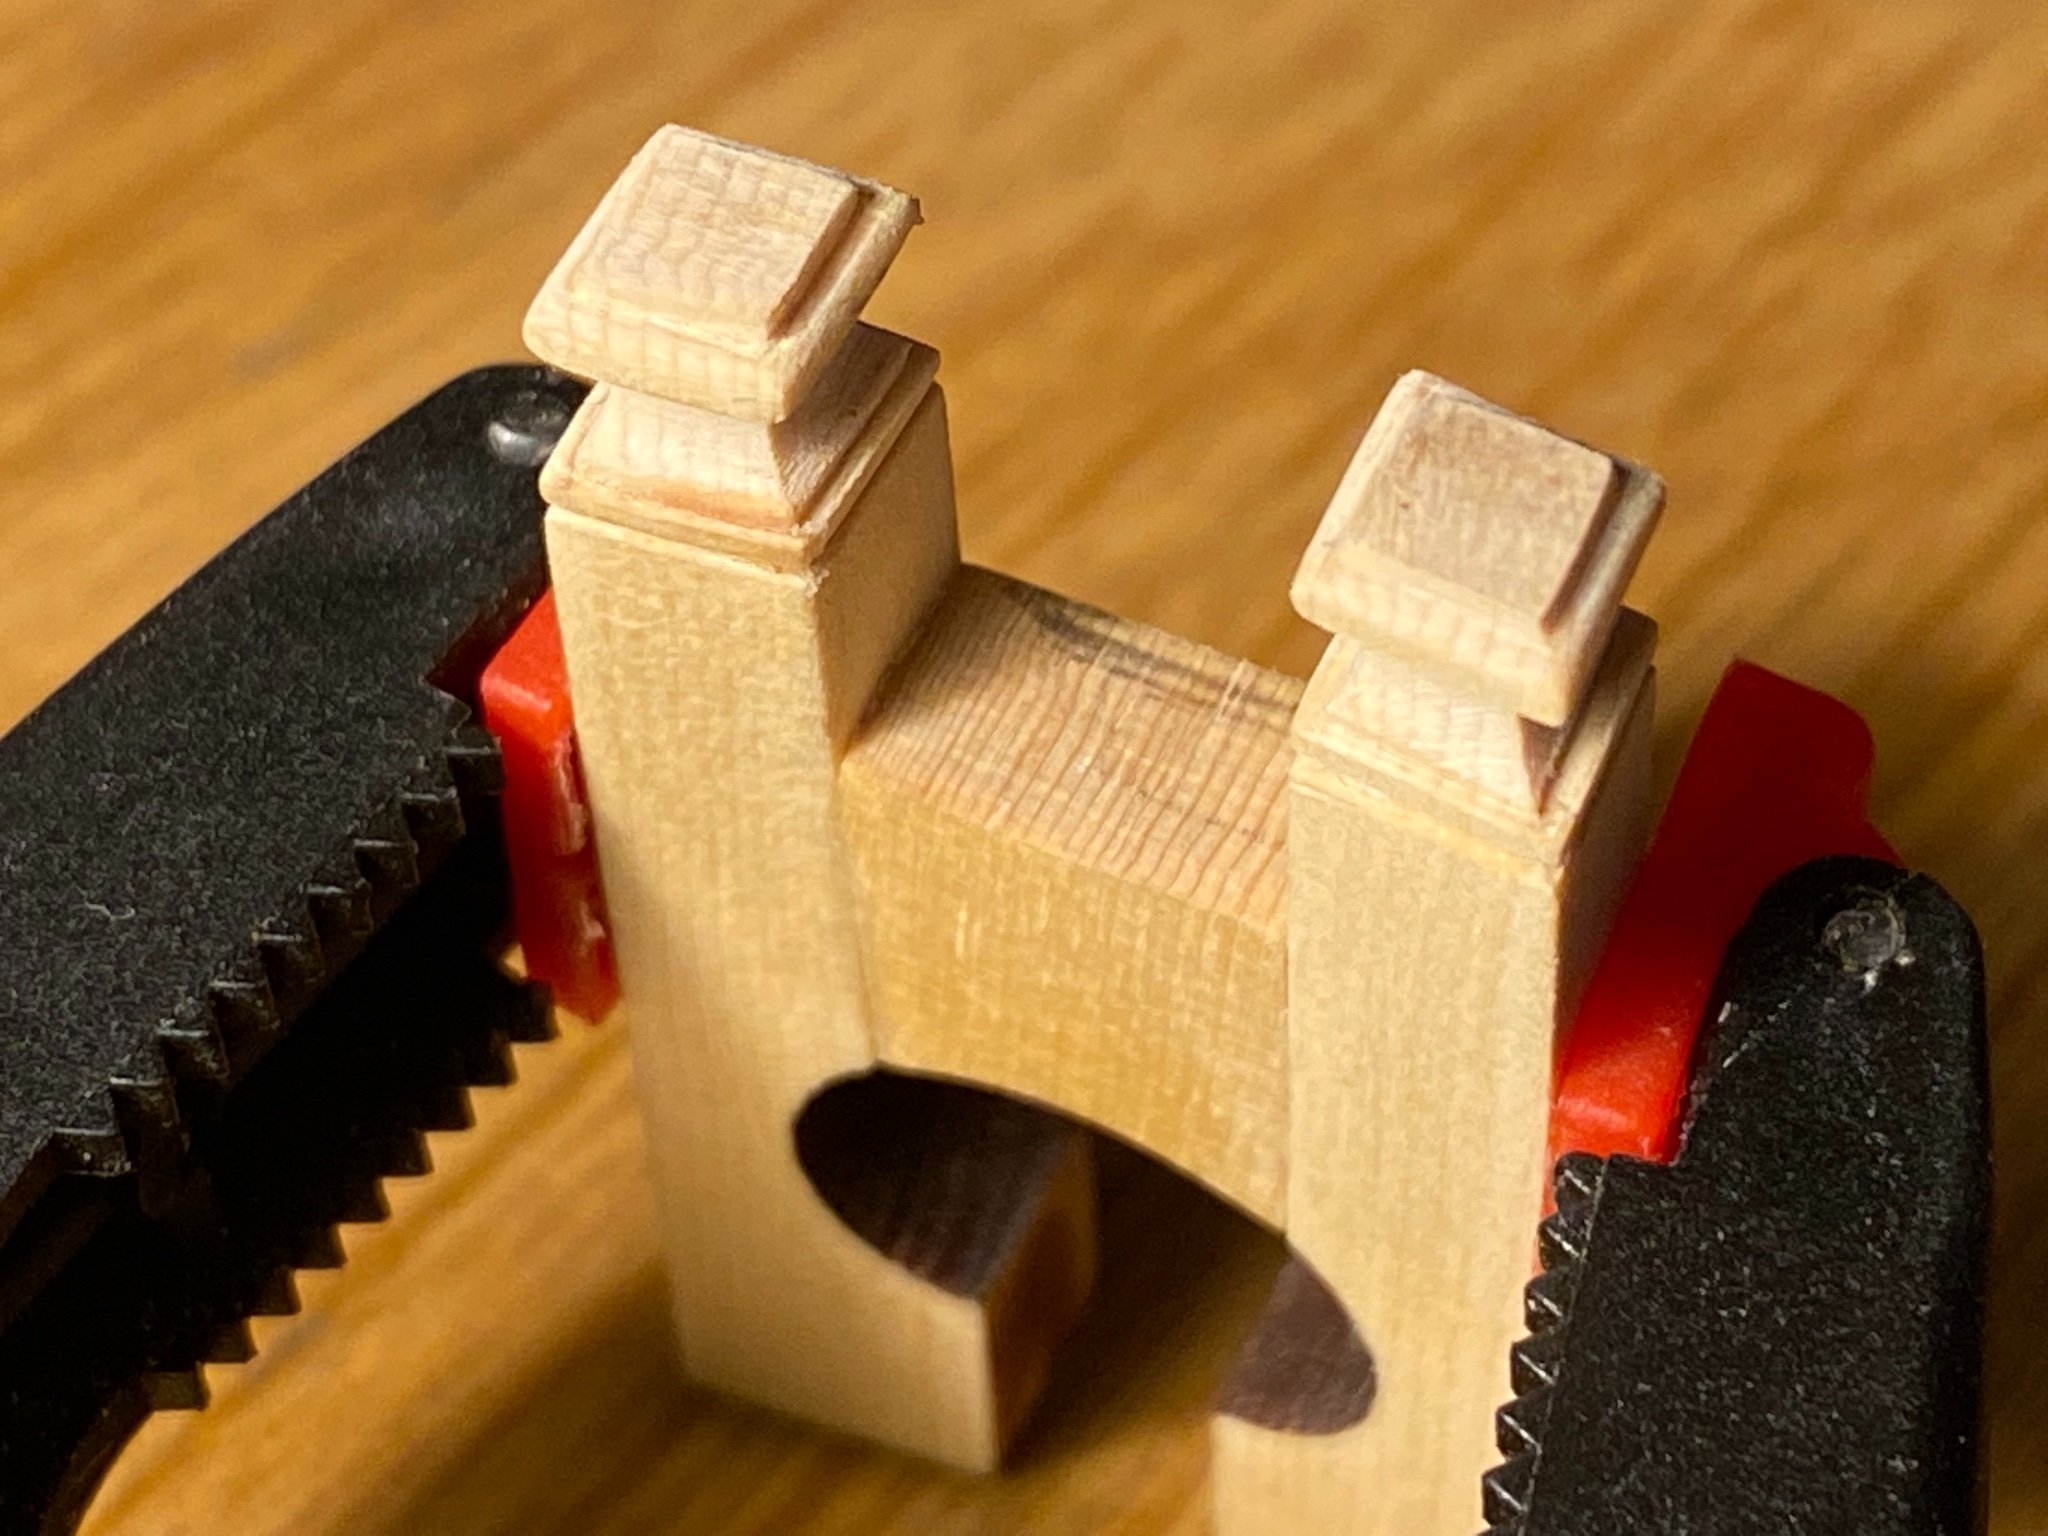
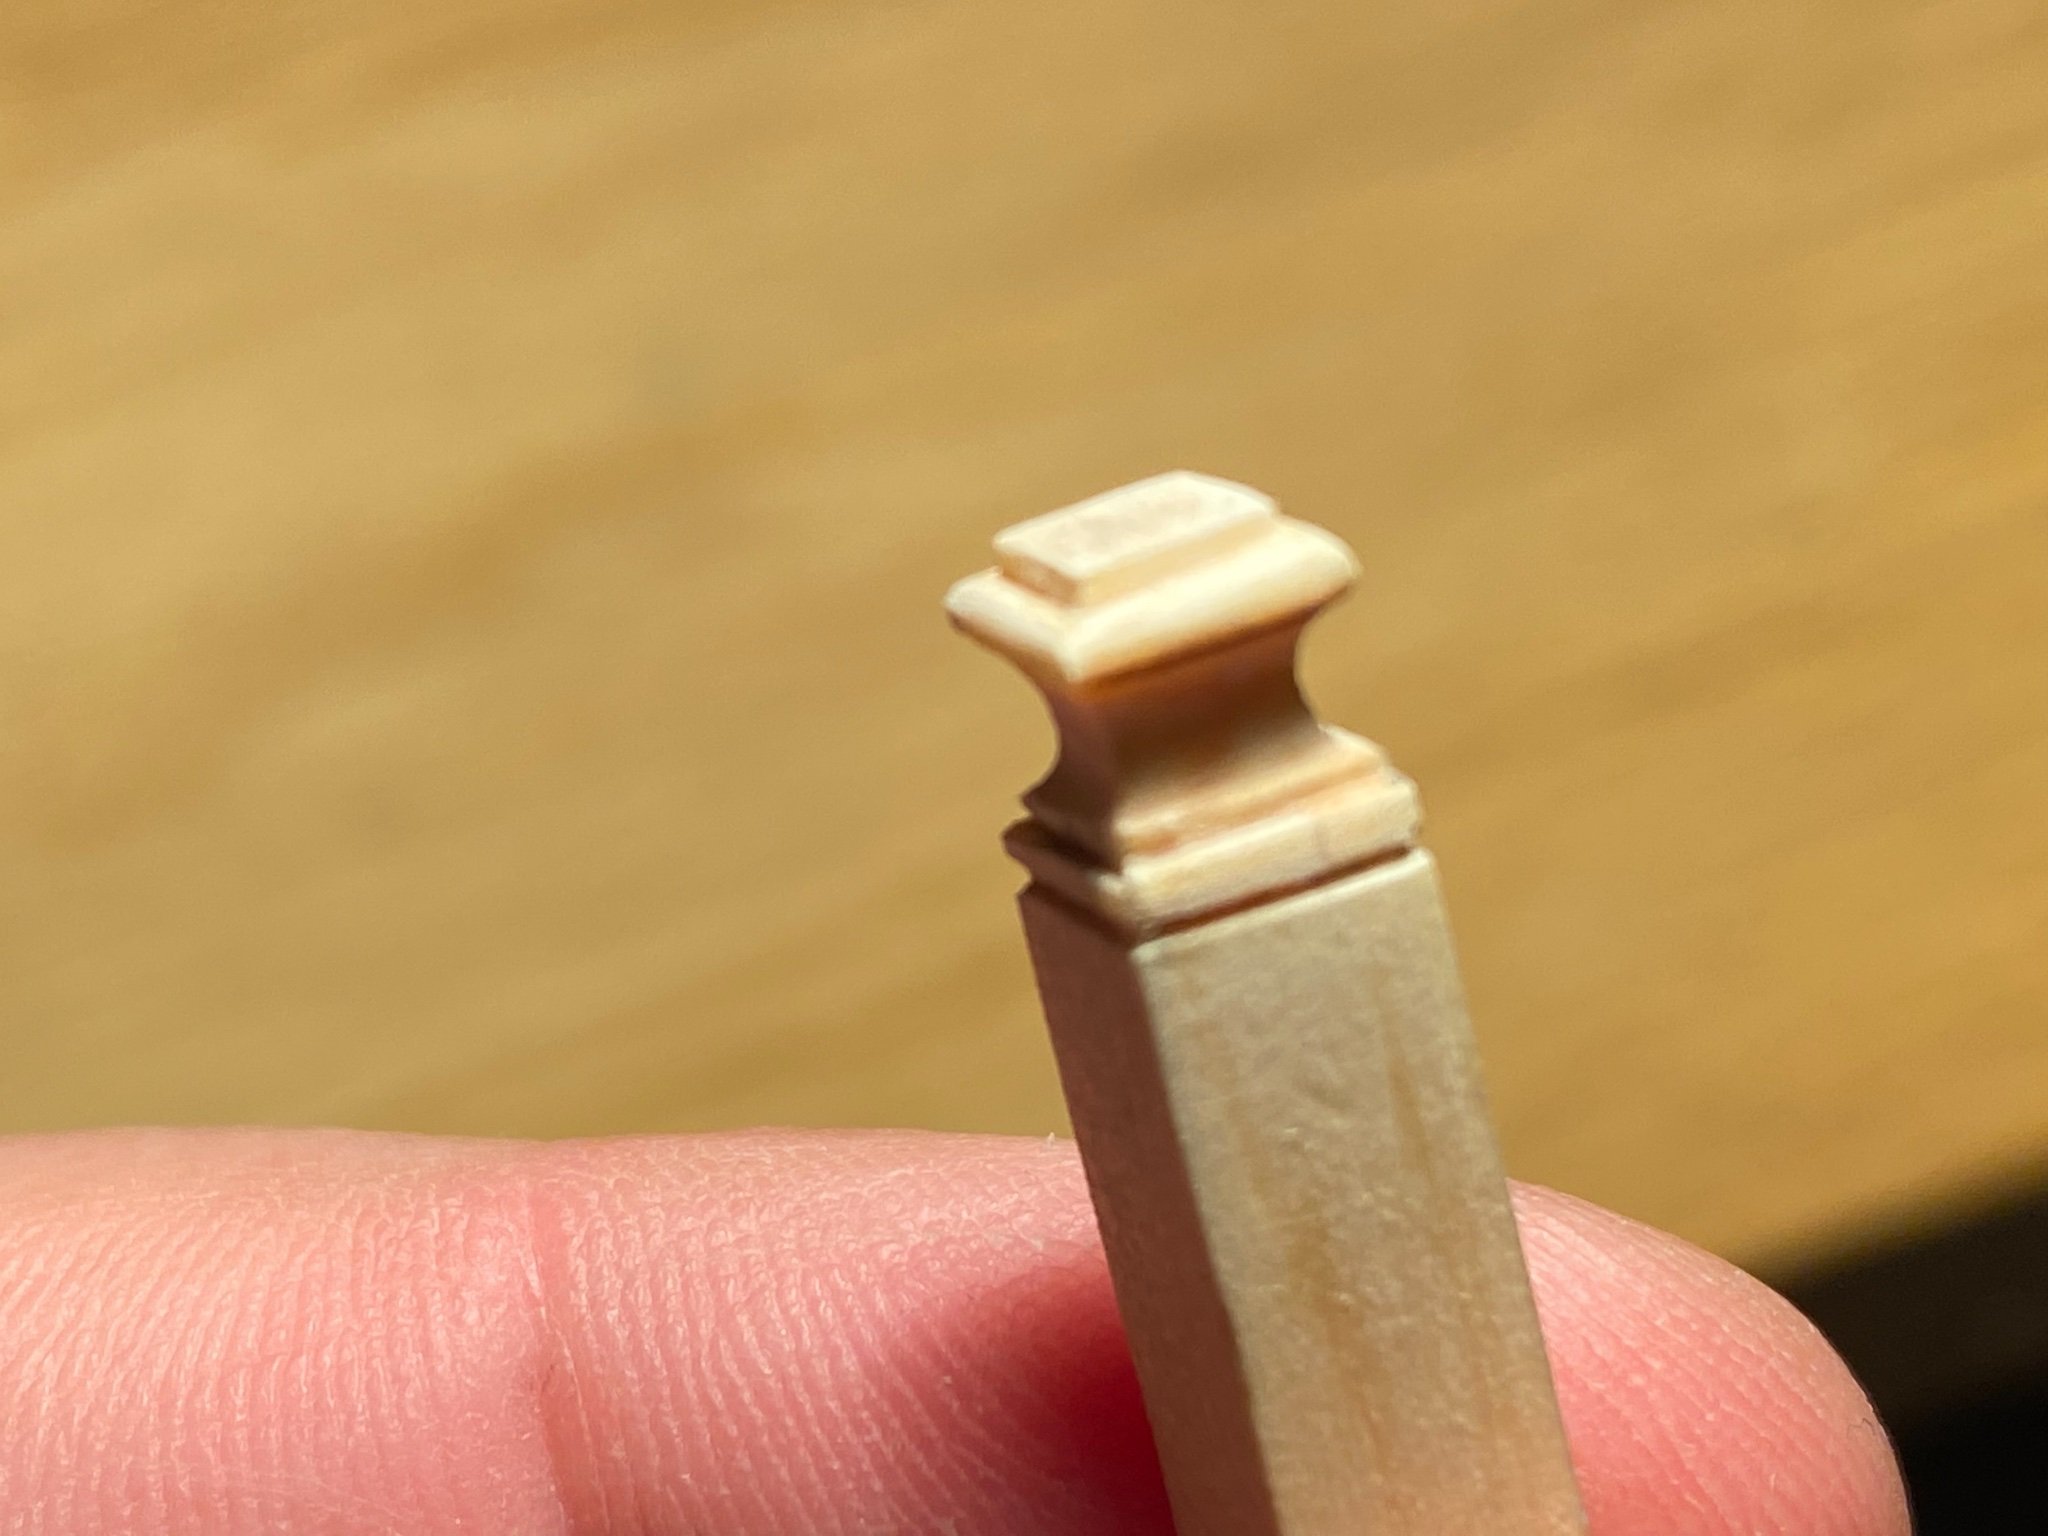
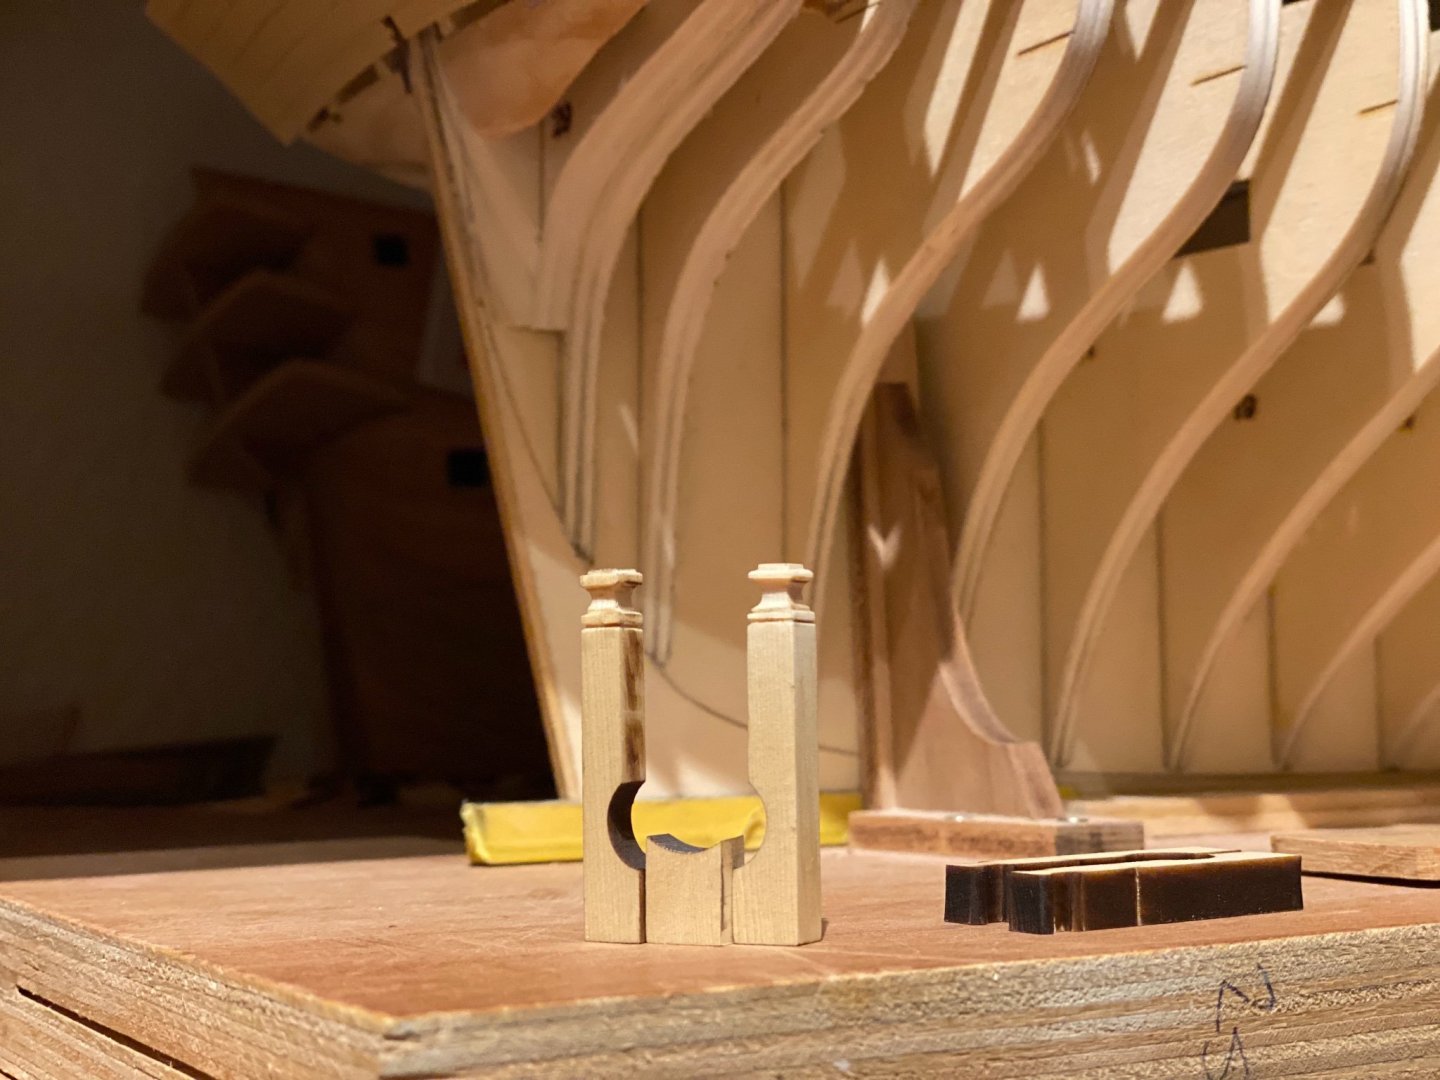
Small update on the bollards.

-
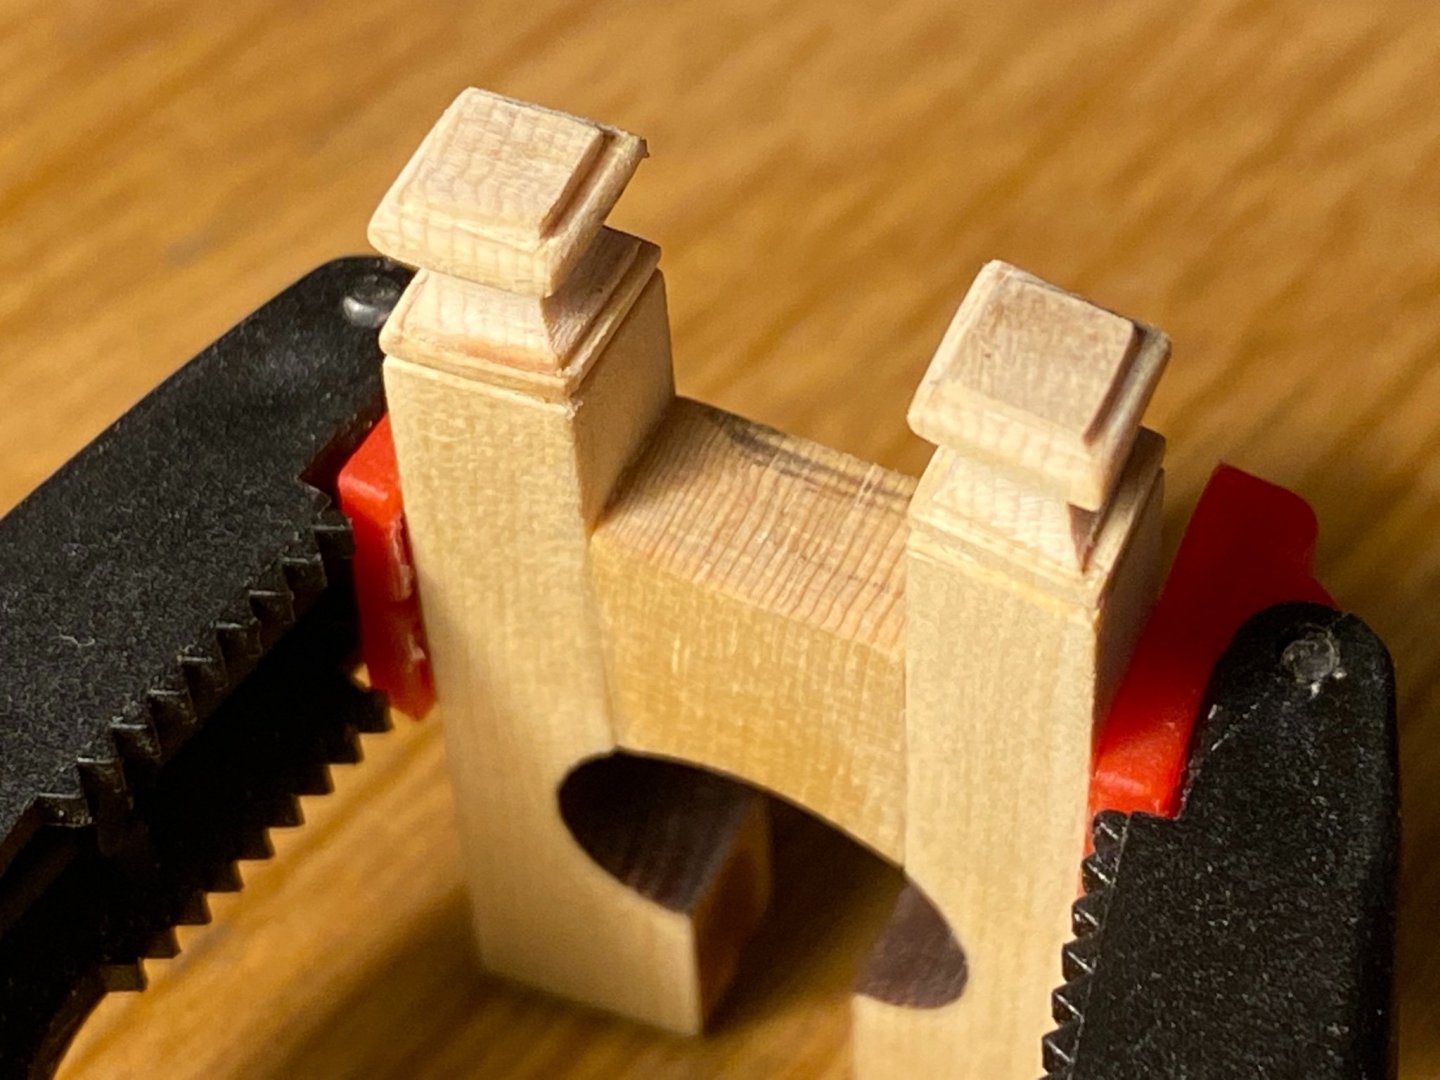
Thanks Chuck, then my next challenge is mirror the other one exactly now. Frank.
-
Small update cutting the bollards. First version, I think the head’s a little too thin or small In this version compared to other pictures here, now I see mine on picture, not? Frank.


-
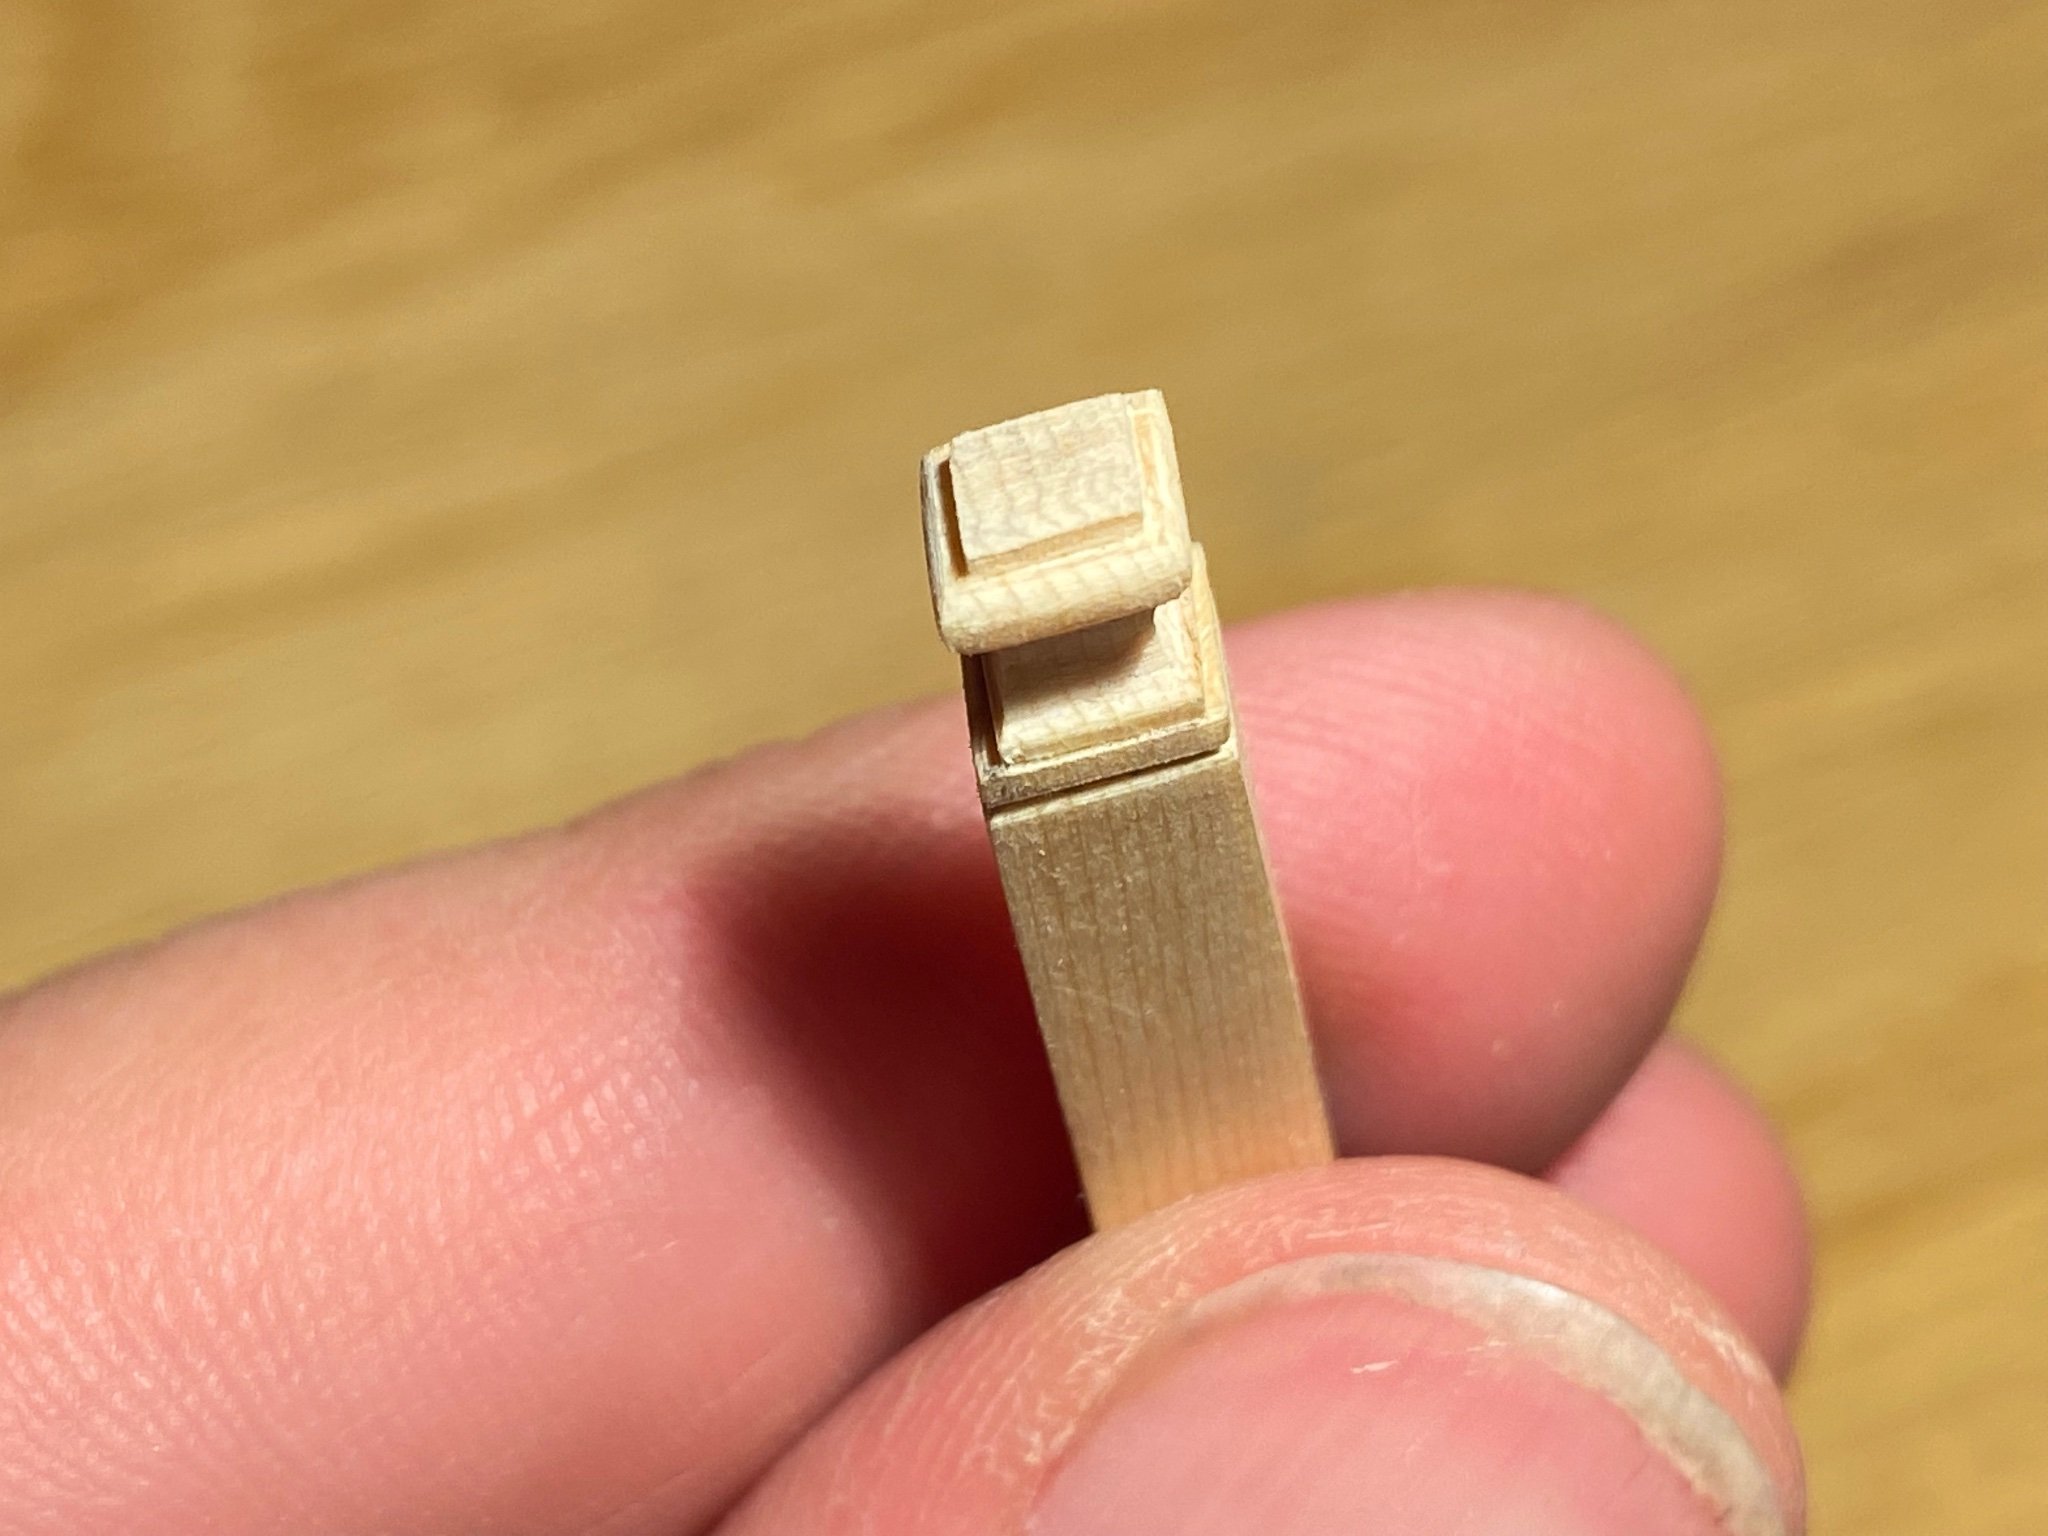
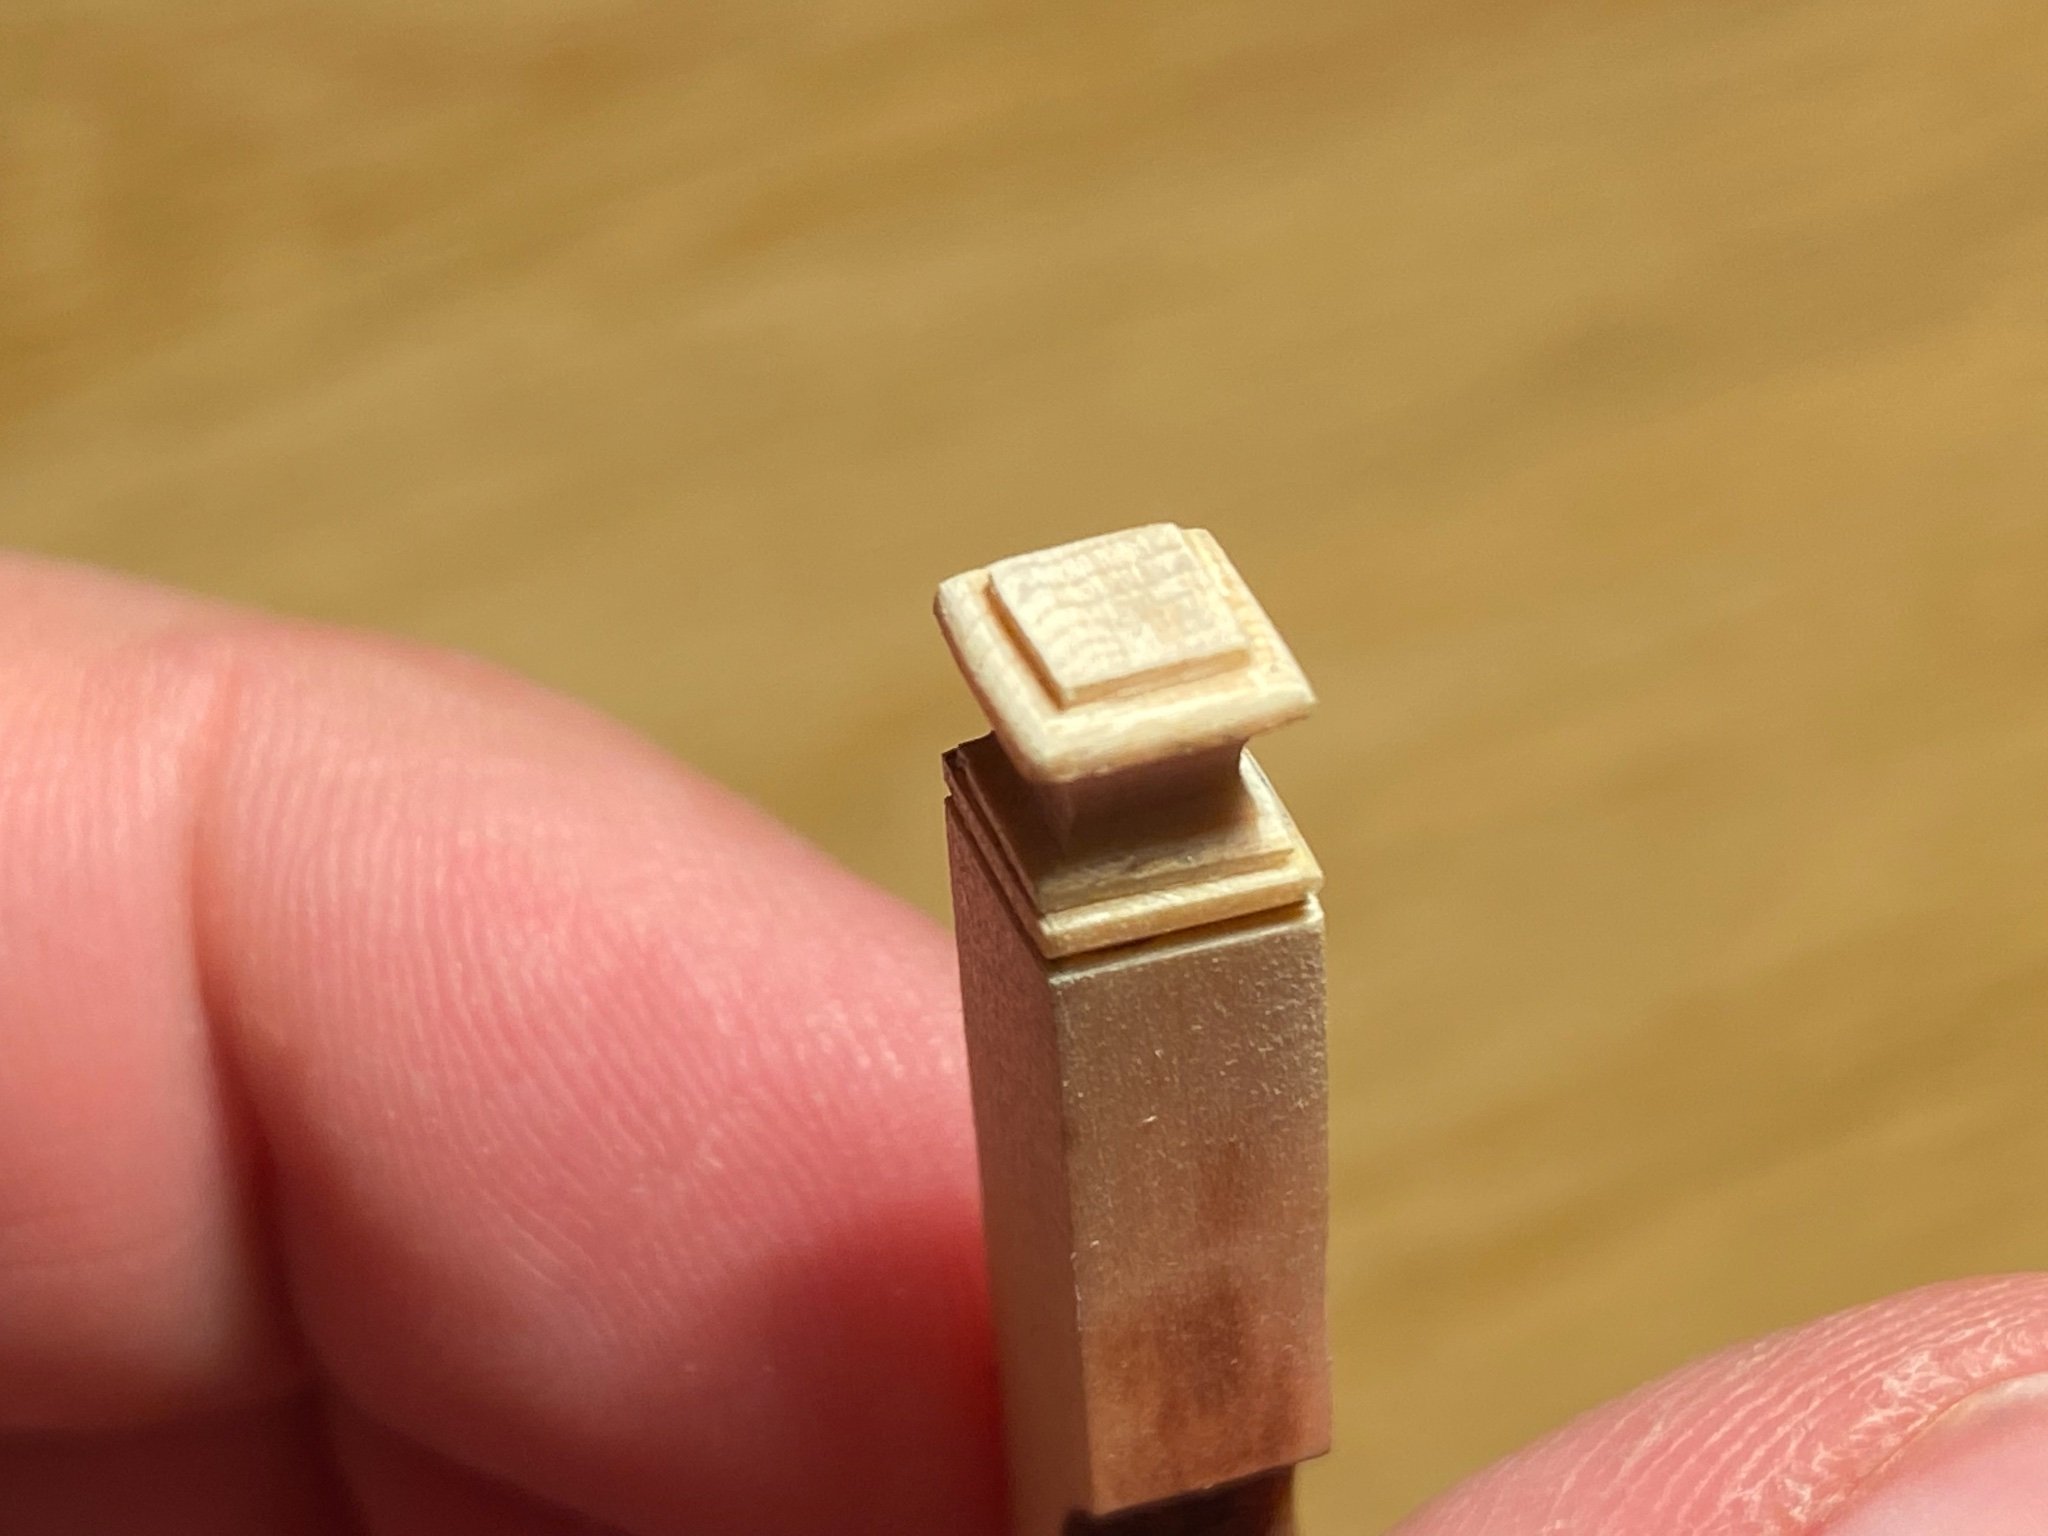
Me neither, I wish I was, as this is so beautiful! But I'm still taking my time cutting the bollards. Also cut my finger last week cutting making the second version of the pair of them. Will update soon, the version without blood on the parts ofcourse...
- 1,784 replies
-
- 4
-

-
- winchelsea
- Syren Ship Model Company
- (and 1 more)
-
I'm glad to read you're starting another build Glenn. I admired your HMS Vanguard and was sorry to read that your seventh build would be your last' and that you 'were done'... Luckily Chuck succeeded tempting you to build another one! I'm following your build and will check your updates. P.S. that's a very nice, clean and light workspace you have there!
- 840 replies
-
- 3
-
-
- winchelsea
- Syren Ship Model Company
- (and 1 more)
-
Hi Paul. Good to see another Winnie build log started! Welcome and I already love your beautiful precise and clean work! I'll certainly pull up a chair and follow your log! Frank.
-
Any updates to share with us Tom? Frank
-
Hahaha Matt, first the sneeze wood, then giving your old ugly kit(s) away to someone you don’t like, then the carving and headreail porn and now the green bananas. I feel we must go to the pub sometime together and have some large pints! And your latest updates look awesome and very beautifully build Bob! It’s a piece of art already and if it were to stay the way it looks now, I would definitely display it in my living room! I like reading these Winnie build logs for ever more reasons day by day! Frank.
-
As soon as this Amati HMS Victory kit comes available, I’m in for one! Frank.
-
No idea yet how I’d tackle all this headrail and carving beauty, but I have eight or nine chapters to think and contemplate on it and cowardly watch you guys all donit before me I guess. I will sure take all the time it needs like I’m doing right now with the bollards . But I agree with the apparent consensus : no compromises to detail nor quality, let’s take the hard road!
- 1,784 replies
-
- 4
-
-
- winchelsea
- Syren Ship Model Company
- (and 1 more)
-
Le Soleil Royal by Nek0 - 1/72 - Marc Yeu
FrankWouts replied to Nek0's topic in - Build logs for subjects built 1501 - 1750
Très, très belle, formidable et superb! Any chance you might want to share some early drawings with us Marc? Just name your price!- 208 replies
-
- 3
-
-
- le soleil royal
- 104 guns
- (and 2 more)
-
I always make sure I hold my iPhone 11 horizontally, with the camera push button at my right thumb, both pictures and movies are upright and can be watched on a computer screen or tv upright and full screen, that is, no small vertical phone recordings. Even uploading to this site can be done without problems.
- 105 replies
-
- 1
-
-
- winchelsea
- Syren Ship Model Company
- (and 1 more)
-
Either way is beautiful and historically plausible, so build it as you please Matthias, your work is all beautiful, so who are we to criticise how you like to build it, with or without those panels?
-
Hi Jeff, Yes, please keep the updates coming as I can learn from you as well and enjoy your beautiful cherry version (I'm doing the Alaskan Yellow Cedar). I, and I'm sure we all do, hope that you're well!? Frank.
-
Ok, I'll do that and sand that smooth twist in it.
-
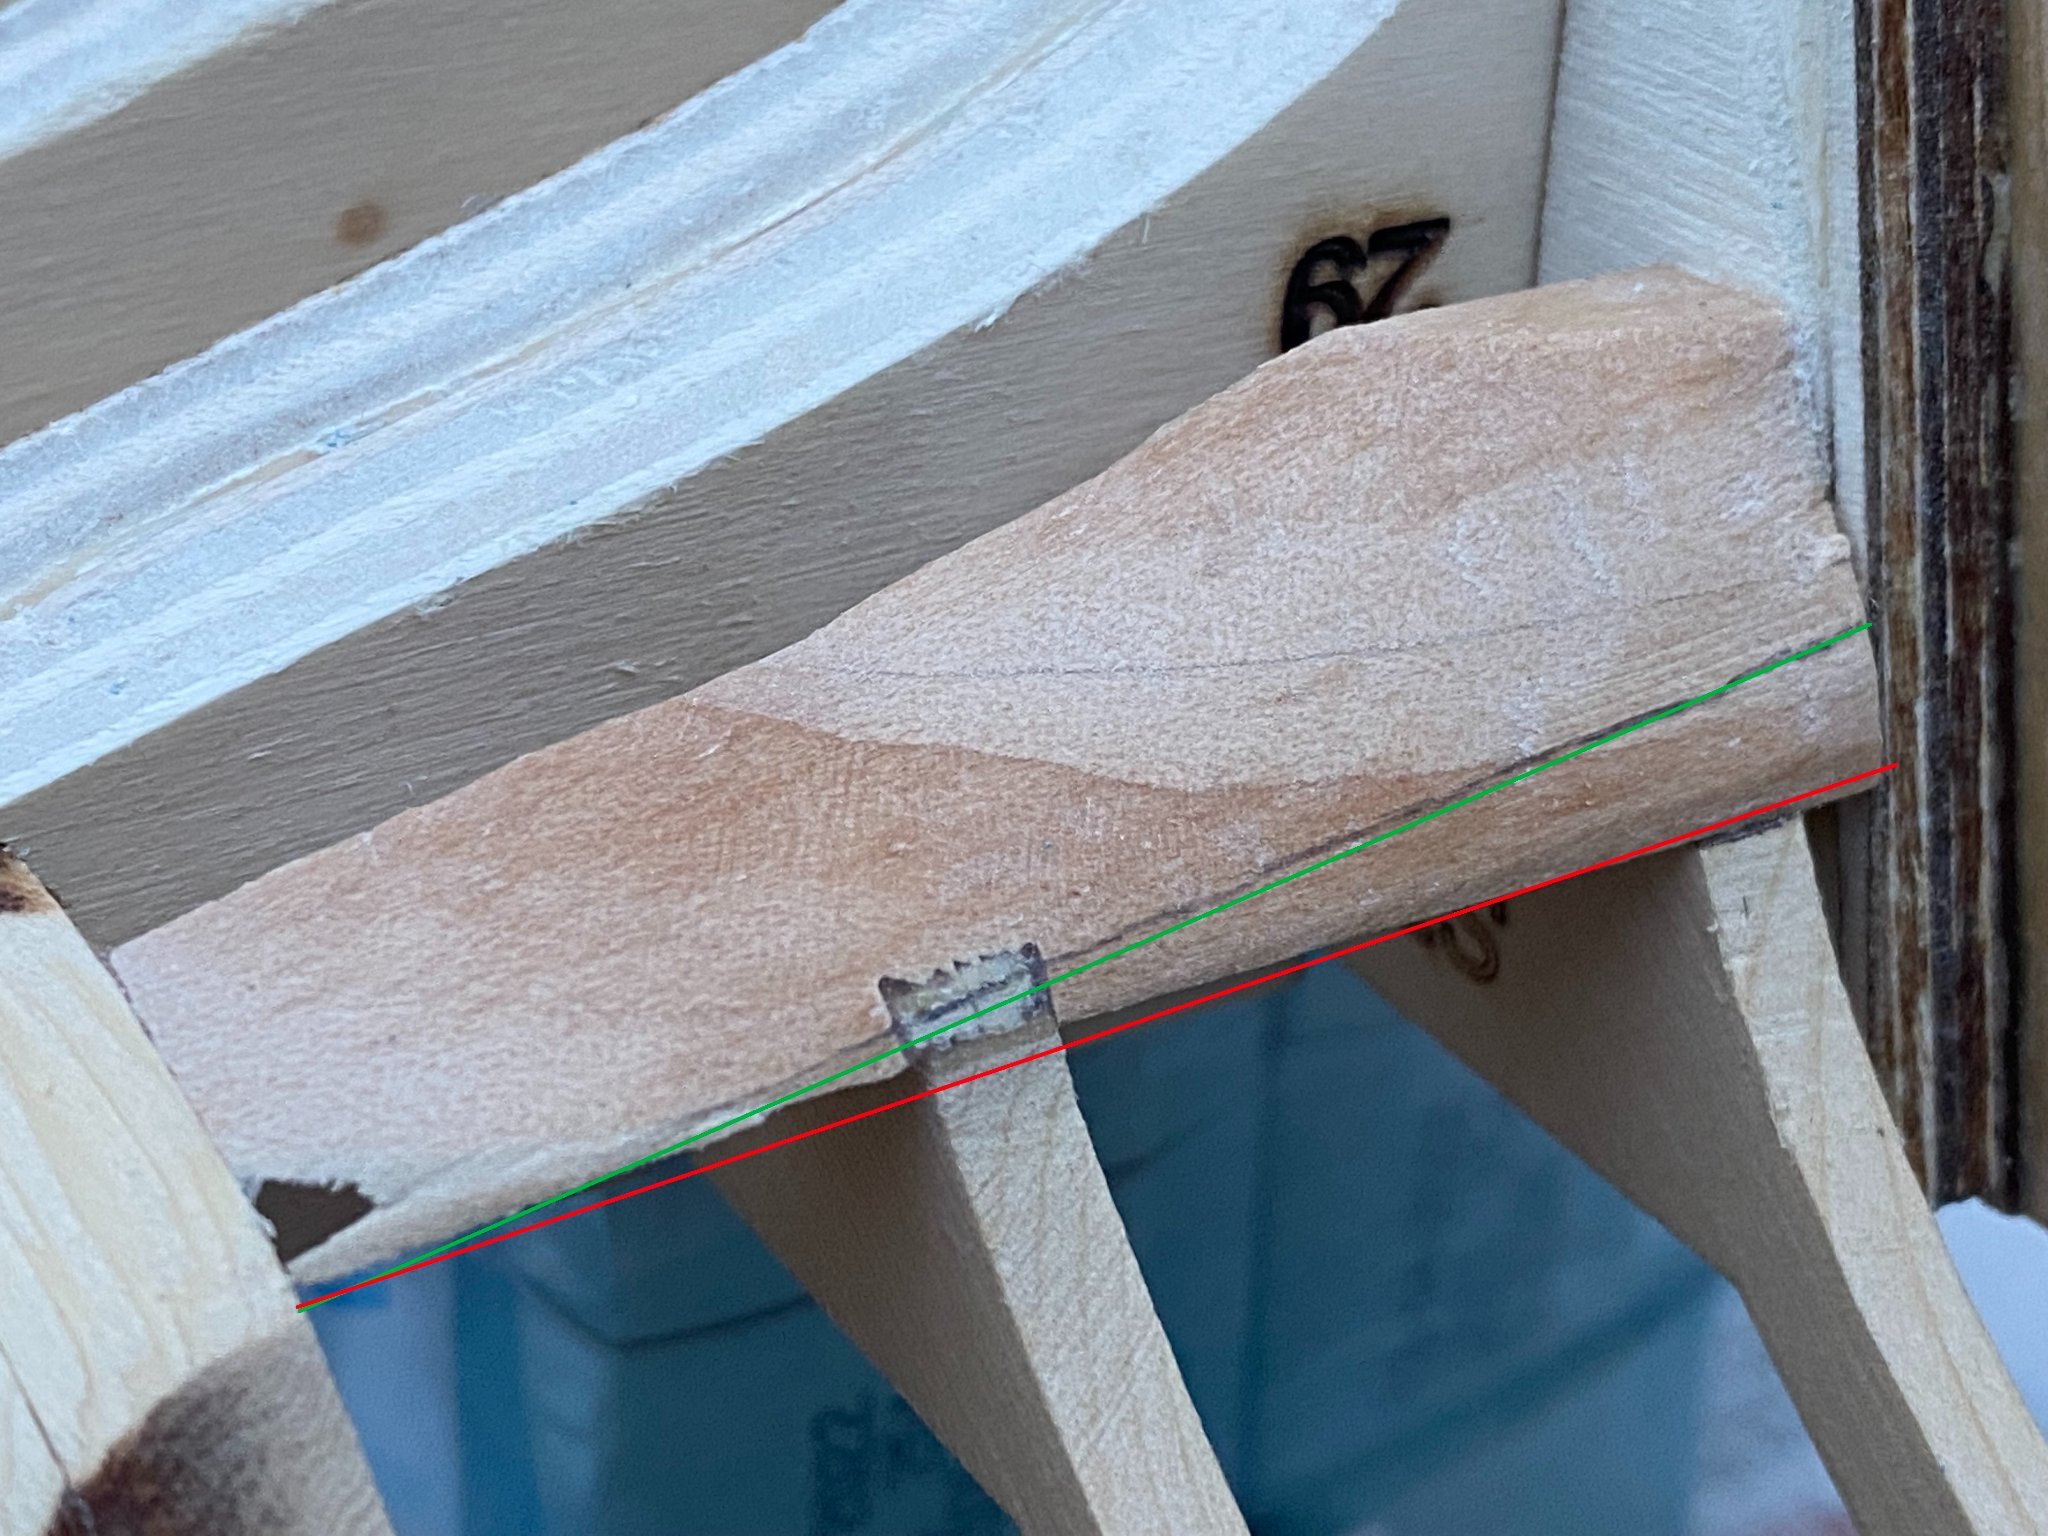
Ok thanks Chuck. Yes, I'm glad too to be working on her again and defenitely determined to finish her! I understand, but the plank that will end exactly in the corner cannot touch the filler piece this way and will not be in line with the rabbit strip, but beyond it as the red line is more towards us that the green one: the green one lines up with the back of the filler piece, the reds one is 1,5mm 'loose' from the filler piece.
-
Hi all, I was finally able to do some work on my Winnie this weekend after being very, very busy working long hours past weeks. I think I made a beginner's error or perhaps not, thus I have a question before I proceed and maybe not being able to correct. The bottom lowest corners of the stern frames don't line up in an exact straight line from the outer stern frame to the inside line between the filler piece and vertical rabbit strip. The area between the red and green line on the picture comes out almost 1,5 mm from the back end of the filler piece and is as far out as the rabbit strip itself... This is obviously not correct, I think it should be in a straight line, or not? Should I chisel the area between the red ( probably wrong line) and green line (probably right line?) away into a straight line? In that case, I also must sand the rounded holow curves of the stern frames some more...

-
Looking very good Bob! What, chapter nine? I'm only about to finish chapter one soon... I should work more and harder! 🙂
-
What a beautiful and different approach! It takes guts to dare doing it like that! Following with great interest Jorge! Keep your updates coming! Frank.
-
That doesn’t only look great, it’s unbelievable: I thought there was going to be a little metal kit as well… I’ll put away my soldering iron for now then. Frank.
-
Yes exactly the width till the dotted line on the plans.
-
Hi Chuck, Mike, okay, I’ll check and do both!