


Chuck Seiler
-
Posts
1,878 -
Joined
-
Last visited
Content Type
Profiles
Forums
Gallery
Events
Everything posted by Chuck Seiler
-
 I am thinking these are more "sweeps" than "oars". Sweeps generally appear narrower, but that is probably when compared to what we think of as a smalll boat oar. In reality, that is quite a bit of surface area that has to be pulled against. ...and as Messis said, a greater number. The "oar holes" were made to support the oars/sweeps, not vice versa. It didn't matter how wide the sweeps were, the holes would have been made big enough to permit passthru.
 -
You are making me want to get back into the garage and do work on Cardydog. Oh, wait, it's 100 degrees in the garage. Maybe next week.
- 179 replies
-
- 4
-

-
- shipyard
- wütender hund
- (and 1 more)
-
Stealers
Chuck Seiler replied to Sheerline's topic in Building, Framing, Planking and plating a ships hull and deck
Glenn, Good question. I was quoting your post but was recommending to Sheerline. I prefer boxwood, but who can afford/obtain that anymore, eh? I have had some success with beech, but Alaskan Yellow Cedar is my new go-to.- 23 replies
-
- 2
-
-
- hms victory
- corel
- (and 1 more)
-
Stealers
Chuck Seiler replied to Sheerline's topic in Building, Framing, Planking and plating a ships hull and deck
I have had some success with edge bending. One problem I see is that you appear to be using walnut as your outer planking. I have found this to be brittle and hard to edge bend. Too late now in the process to change, but consider another wood for exterior planking in future models. PLenty of wood discussions on that topic. Good luck.- 23 replies
-
- 2
-
-
- hms victory
- corel
- (and 1 more)
-
Stealers
Chuck Seiler replied to Sheerline's topic in Building, Framing, Planking and plating a ships hull and deck
Very often, admiralty style models are not planked below th wale, except maybe the garboard strake. 'They' say it is to reveal the interior of the model. That's their story and they are sticking to it. I think it is because they didn't like spiling. 😄- 23 replies
-
- 6
-
-
- hms victory
- corel
- (and 1 more)
-
Do you have any rule of thumb for length of plank stock? HobbyMIll stock was 24" if recall. I always had problems and had to lop off 6 or more inches before ripping. Syren stock is shorter.
-
I don't see a photo.
-
I agree with Steven/Louie. Marvelous work. Somewhere down the line I am planning to build a model of an English cargo ship used for transporting immigrants to America in 1683. It appears to be based on a pinas, similar to the flyte in many respects. I am using Ab Hoving's plans but will be relying on your build log for inspiration. ...but first I have to finish the 2 cogs and 1 carrack currently on the drawing board (that Louie tempted me into).
-
New to ship modelling? But what do you build first?
Chuck Seiler replied to MSW's topic in Wood ship model kits
Not size, but complexity. It involves single layer planking that you can see both inside and outside. The planking job must be perfect and that only (usually) comes with practice. Stick with it and enjoy the process. The hardest part of shipmodeling is what you are working on right now. It takes all your attention and skill to get it right. That which you finished yesterday is mastered and behind you (particularly the ones you had to do 2 or 3 times because you dropped the part on the floor, never to be seen again...except maybe your foot). Those things you need to do tomorrow are nothing more than a vague cloud of endeavor that will plague you at a future date. -
New to ship modelling? But what do you build first?
Chuck Seiler replied to MSW's topic in Wood ship model kits
The painting process is part of the building process. Agreeably, early on it is just a matter of applying paint and giving it color. Later on it becomes: what to paint and what to leave natural, what type paint, what color (for instance, there are a bazillion shades of red), how to get the perfect finis, and so forth. -
If you don't mind a suggestion, I recommend swapping out basswood in place of cardboard for your hull. It is a soft wood so it cuts easily, like cardboard, but is much stronger. It is available in most hobby stores here in US. I'm not sure of availability in Germany. We have many modelers from Germany in this forum and I am sure they can help. You may want to post a question in the wood section as well. In another area, you mentioned you were working on deadeyes next. I would recommend finishing the hull first. You will face several challenges-particularly planking. I find that it is easier for me if I progress logically from one step to the next. That way I don't get distracted.
- 19 replies
-
- 1
-
-
- golden yacht
- card
- (and 1 more)
-
Strelock, It is not unusual for the first attempt at a model to be a "prototype" with your lessons learned used to do better next time. I am not talking about 'the first model you build', rather the first run at any particular model you are working on. In my case, I have to un-glue wooden parts and disassemble part of the model. I am currently working on a cardboard model and found cardboard does not un-glue as easily as wood. 😢 I am sure many modelers do not have this problem, but it is not all that unusual. Good luck and keep building.
- 19 replies
-
- 1
-
-
- golden yacht
- card
- (and 1 more)
-
FINISHED= you have completed construction on it (as originally planned). If your intent is to not have masts and rigging, then your model is finished. In this case your VICTORY would NOT be finished, because it is missing a couple decks. 😁
- 4 replies
-
- 11
-
-
It sounds to me like he is describing carvel planked (flush) and clinker/lapstrake (overlap). The first three strakes (garboard, broad and #3) were carvel and the rest clinker. The sources I have read do indicate that in estuaries and such, the cog could/would settle onto the river bottom. The flush planking would facilitate that. 'The garboard strake lays flush to the keel and were not connected to it'. Might that mean 'not physically nailed or bolted to the keel, but fitted into a rabbet'? I know with viking longships and I believe with cogs, the floor frames were attached to the keel and the lower strakes attached to the floor. After that (in this case strake #4 and above) were attached to the strake below it clinker style and only after the shell was complete were the first and second futtocks added.
-
I noticed the pink lipstick, but didn't mention anything about that either.
-
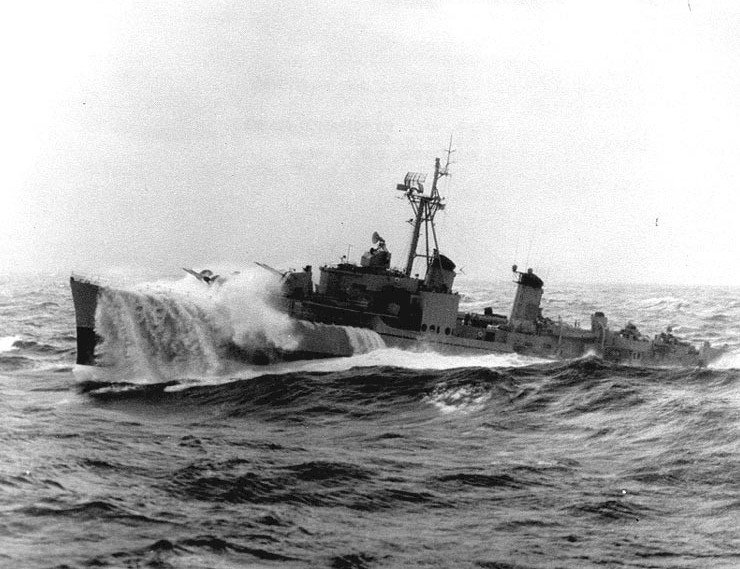
Captain Gump, I suggest taking down that jackstaff while steaming around the North Atlantic in the winter. You are liable to lose it.
-
Tony, Good question. My brain knows what I am talking about. My fingers apparently do not. The process I use is to take a 2 inch piece of bamboo BBQ skewer and quarter it so that I have 4 narrow pieces about 2 inches long. It would be more efficient to 1/6th it or 1/8th it, but I always screw that up. I chuck the bamboo into the Dremel and using fine sandpaper and Dremel on low, sand down the top 1/2 inch or so. Fine sandpaper=because course tends to grap the fibers. Dremel on slow or medium speed because it gets hot. I hold the sandpaper in my fingers and hold fingers around bamboo. I will take a picture and insert it. The result is NOT a nice 2" long treenail. That would snap off very easily. I keep it short and use part of it, then sand more.
-
Yes, I know, I have 2 Byrnes draw plates. Dremel is still faster.
-
I disagree. Several years in a row, when I worked with our club at the county fair, one of our members was demonstrating how to make trunnel using the draw plate. Unless you can cut your original stock very fine, you need to draw it thru 2 or more every decreasing holes. By the time he completed 2, I completed 8. Maybe not perfect, but at 1/2 millimeter, close enough for government work. As I recall, bamboo doesn't work well with draw plate. I may be wrong.
-
Billings Boats has a Santa Maria?
-
An alternative to a metal pin is a bamboo treenail. Using pieces of a good bamboo BBQ skewer, a Dremel and fine sand paper I can get a trunnel down to .5MM. That and an 80 micro drill bit will work with really small parts. You can go thicker with the larger parts. I like bamboo because you can get very fine, yet it maintains strength due to it's fiberousity.
-
Leave it black.
-
Salt water on a slick painted deck even under normal at-sea conditions could be hazardous. In rough conditions: very dangerous. Non skid paint was/is used on weather decks where people are likely to walk. It is too expensive to use on the whole deck. Similarly, ladder treads have either non-slip diamond tread or non-skid-like tread. I don't know if it will work on 144 scale, but black 400 or 600 grit sand paper words great on 1/96 scale.
