Landlubber Mike
-
Posts
4,547 -
Joined
-
Last visited
Content Type
Profiles
Forums
Gallery
Events
Everything posted by Landlubber Mike
-
 Thanks Roger! And yes, it's interesting going through pictures of the IJN WWII ships. For ships that were moving, you'd think they'd all have smoke plumes, but a good percentage of the ones I came across did not. Your point about the boiler tenders makes perfect sense as to why. Thanks for passing that along - saves me from having to go down that rabbit hole and plucking hairs off cats.
 -
Looking forward to this one Jack!
-
Another stunner from you Chris - great job! Beautiful work on a really sweet plane. I particularly love those with the yellow noses. Do these kits come with the clear parts for the canopy, or do you have to make them yourself?
-
Great job OC - like the variety of poses your figures have. Well done!
-
Looks really nice - great job on the rigging so far!
-
Not sure how I missed this one - what a spectacular build! I'm so impressed with your work in card, especially with all the compound curves. Really well done!
-
Thank you Lou, really appreciate it and all the help you've had with ship and plane stuff over the years. And thanks for the tip on the felting wool. I'll have to look into that. Already dyed helps a lot!
-
Thanks Alan, Glen and Canute! Really appreciate the kind words. It was a lot of fun putting it together, minus dropping PE on the ground and spending an inordinate amount of time looking for it on my hands and knees.
-
Thanks Alan and Glen! Alan, I moved away from Vallejo primers on metal as it seems to have a tendency to peel off, especially if you need to tape it. I just got the glass bottle and rattle can of Mr. Metal Primer so will give it a shot.
-
Thanks Canute, I’ll have to find some pictures. I don’t think the Asashio had too much damage from the bomb as I believe it managed to limp back to Truk, but I’m looking forward to figuring something out on this.
-
Thanks Kevin - the rigging was tough! Took me a while to figure out how to do it. I finally figured out it was best to dab CA on the spot to be glued, attach the line with tweezers in one hand to that spot, and then have the second hand ready with a toothpick dipped in CA accelerant. That made things much easier! I used Infini's Fine rigging line. Oh, we were talking the other day about sagging rigging. I saw that VeryFire has a "memory metal rigging" thread. Not sure what that is, but I'm wondering if it's super fine wire. It might just be similar rubber thread that is intended to represent metal rigging. I ordered some so will try it out on my next build.
-
Thanks Ron! Good tip on the cat hair - though I'd worry about possibly sneezing around it from my mild allergies! I tried using cotton balls that I pulled and stretched out. It actually didn't look too bad. I painted probably a dozen samples, with black, dark grey and light grey. I found you had to flatten it before painting otherwise if you tried pulling post painting, the inner white cotton would show. But once you pull and stretch it, it loses some of its integrity and then you have to try to reconstruct a three dimensional smoke plume. It might be worth spraying hair spray on it or some mild adhesive so you can shape it. Something for the next build I suppose. Thanks Craig, really appreciate it. I owe a big thanks to you for all your help over the years in getting up the plastic model curve.
-
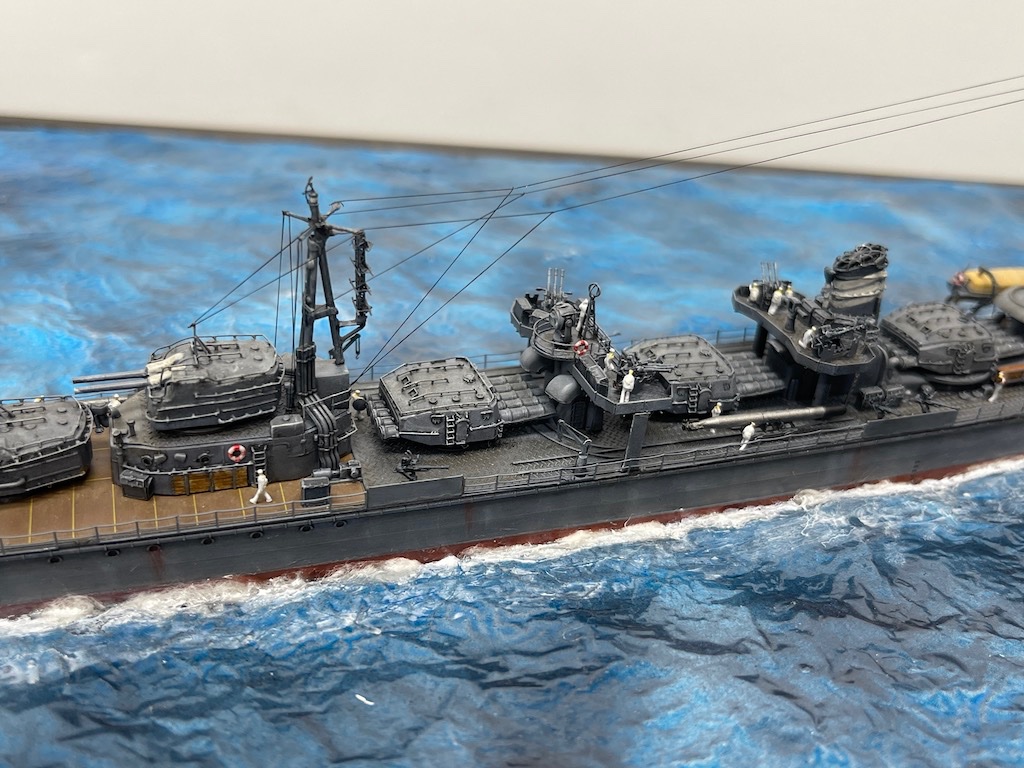
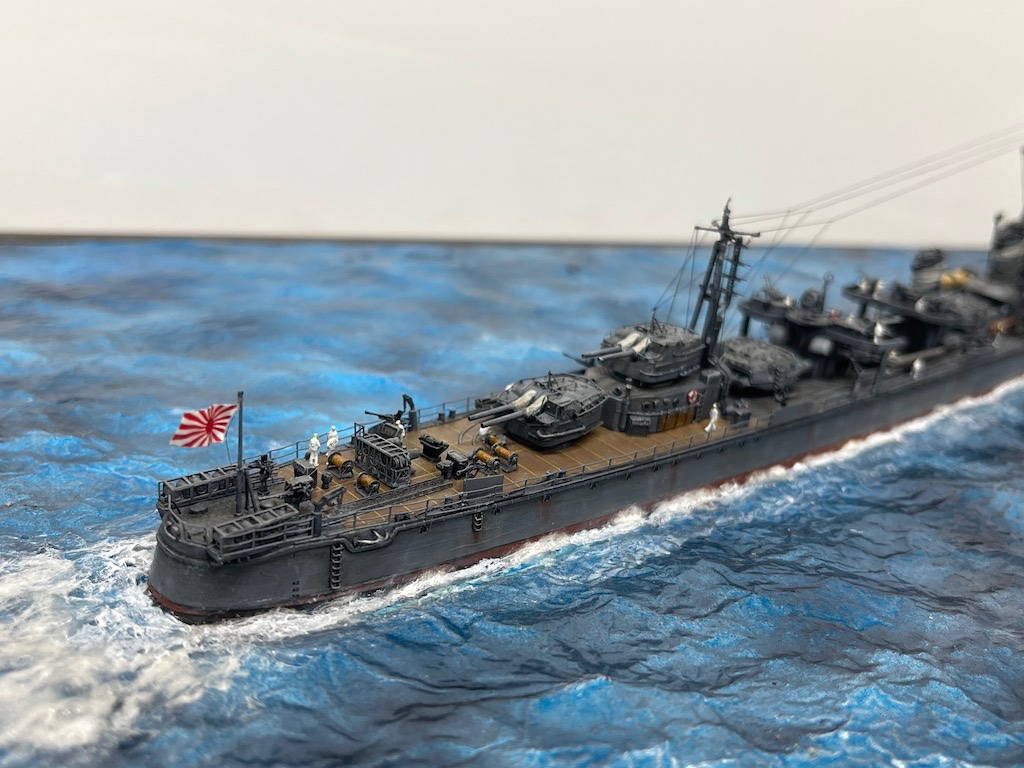
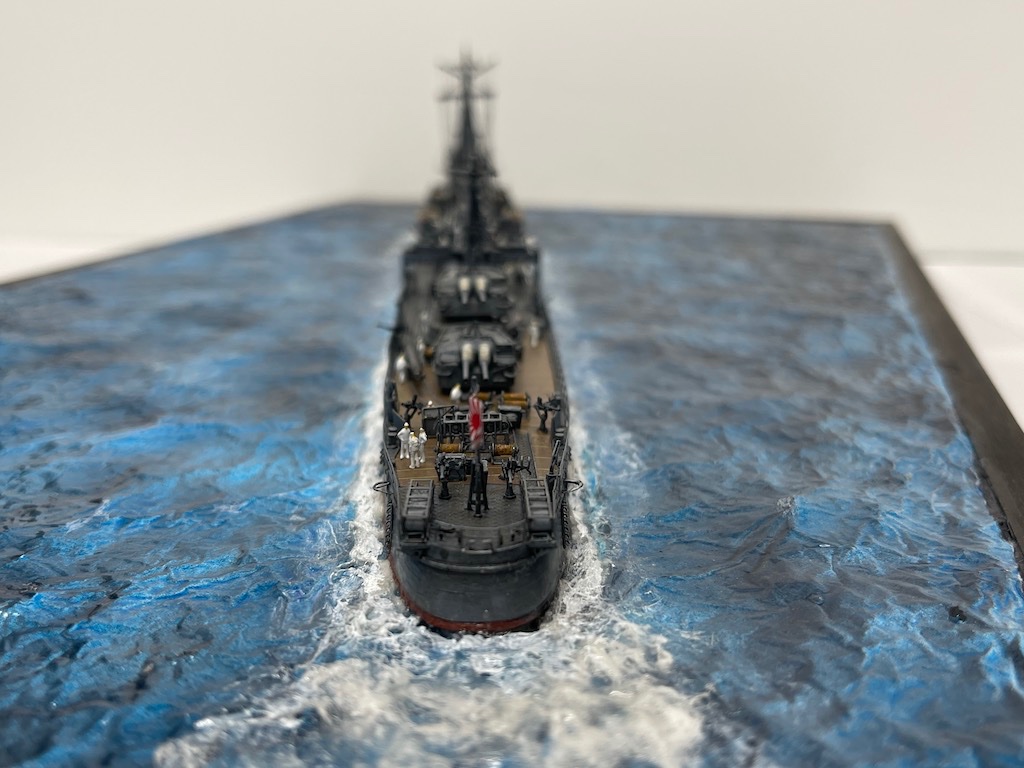
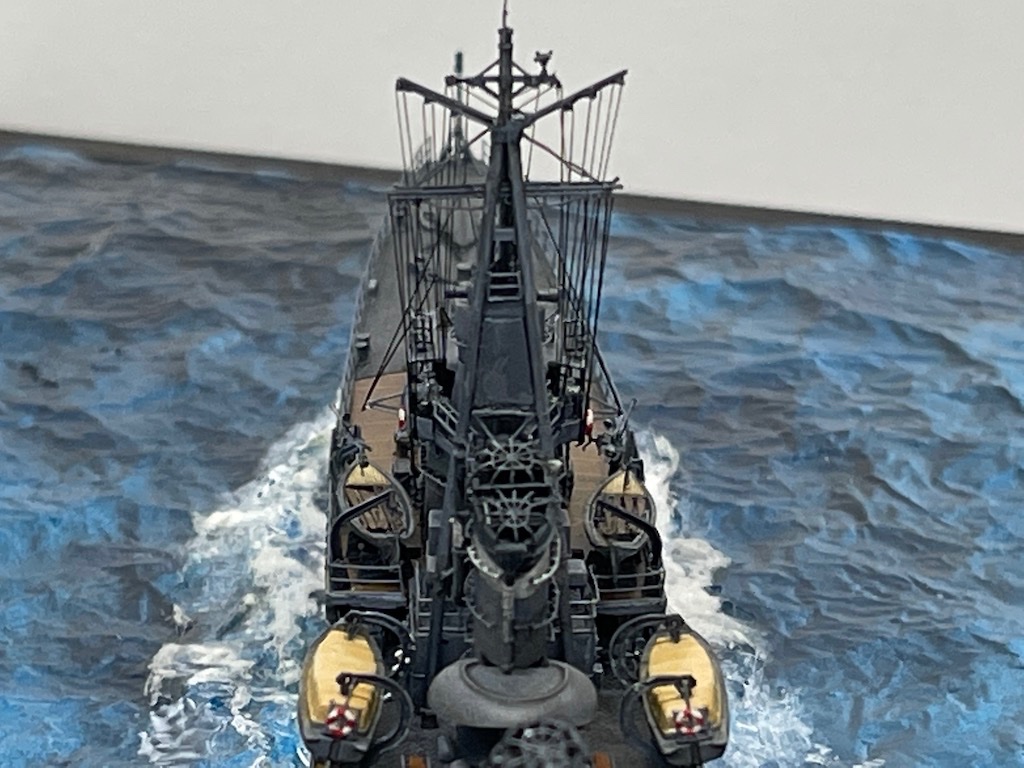
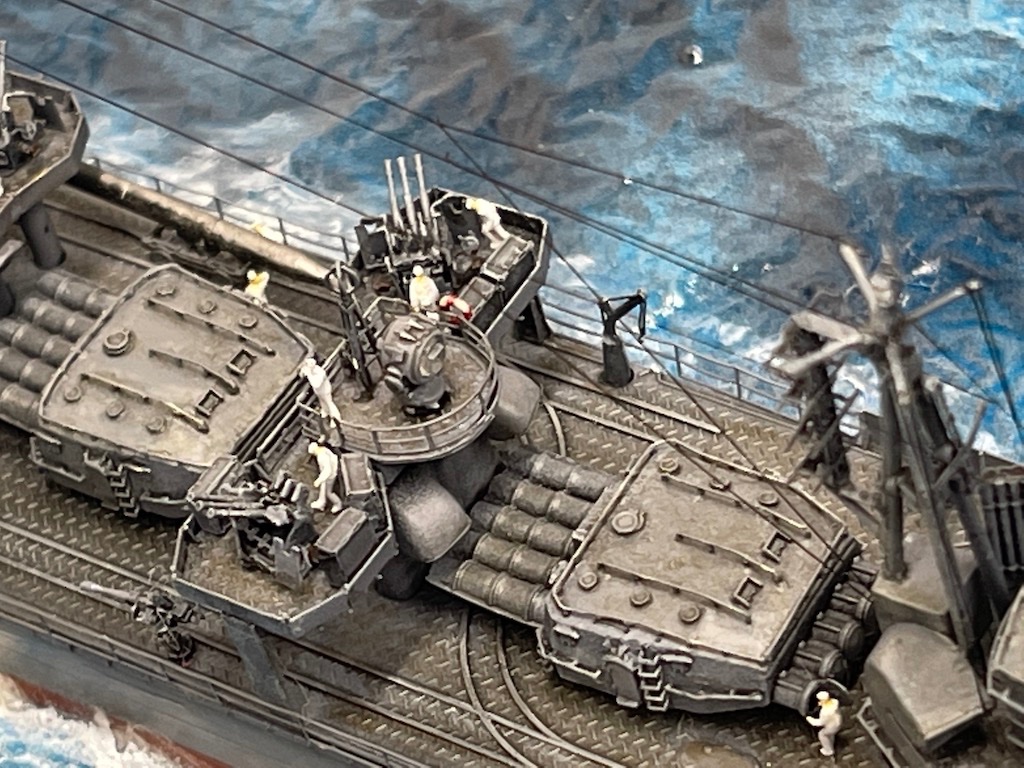
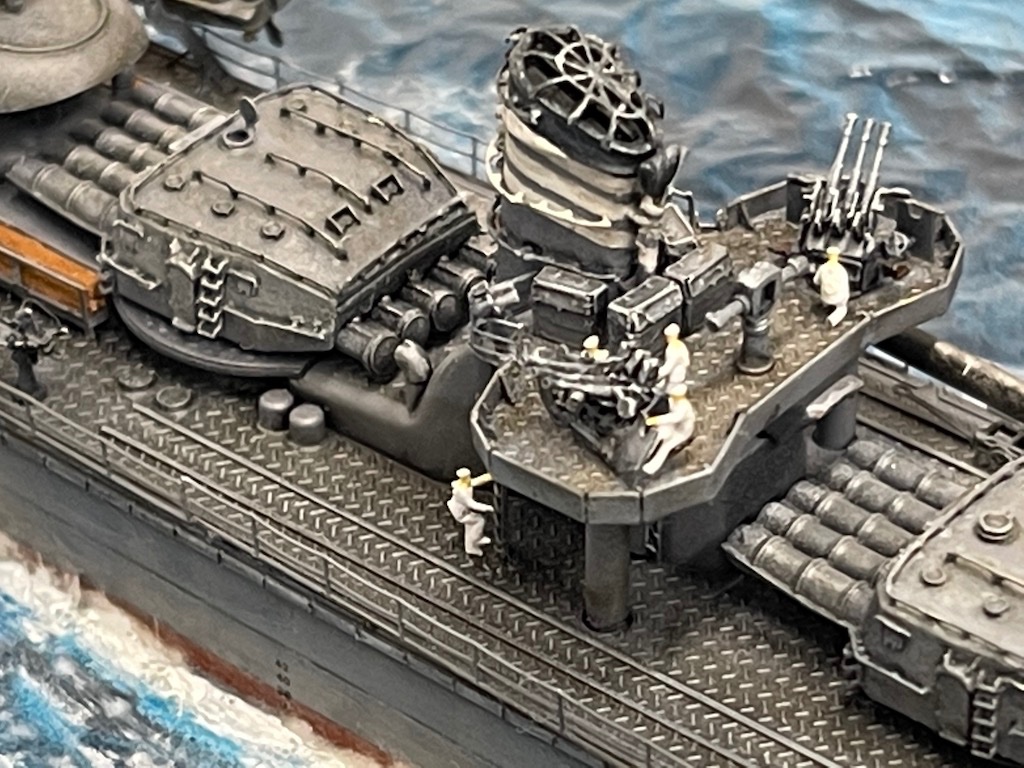
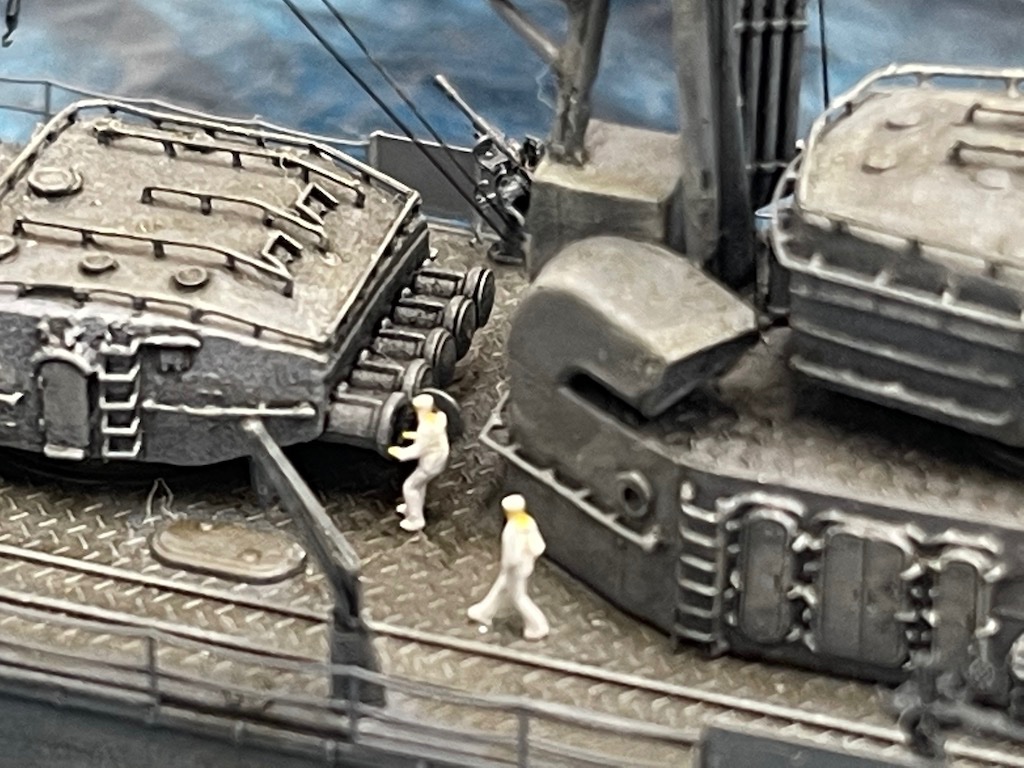
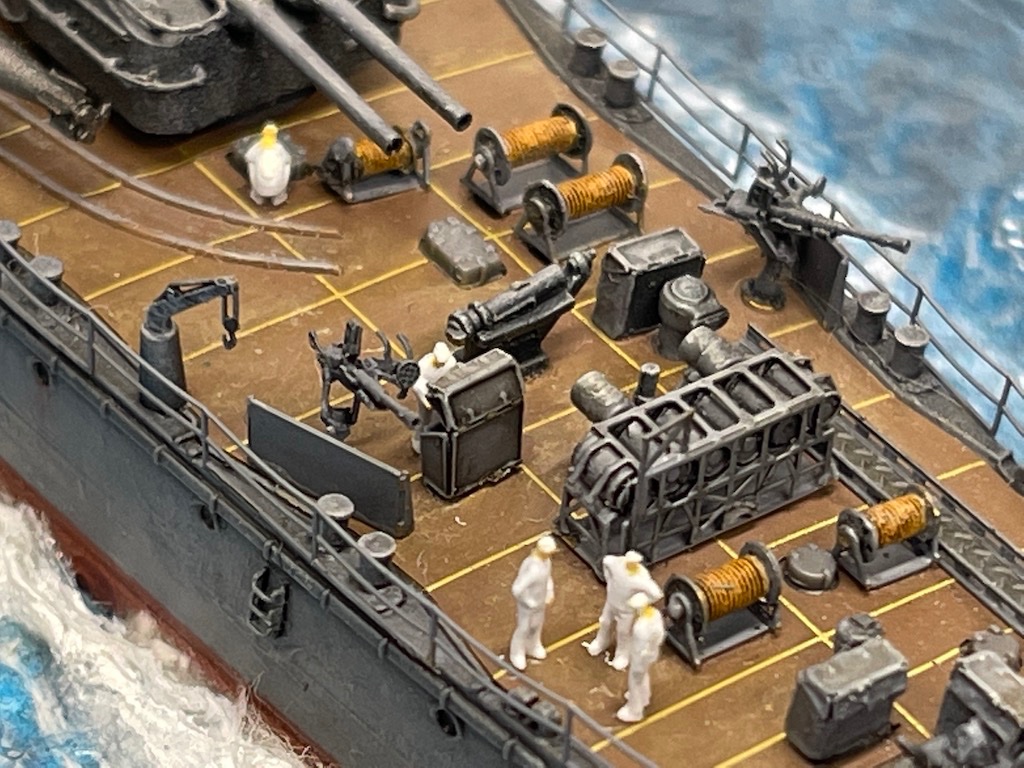
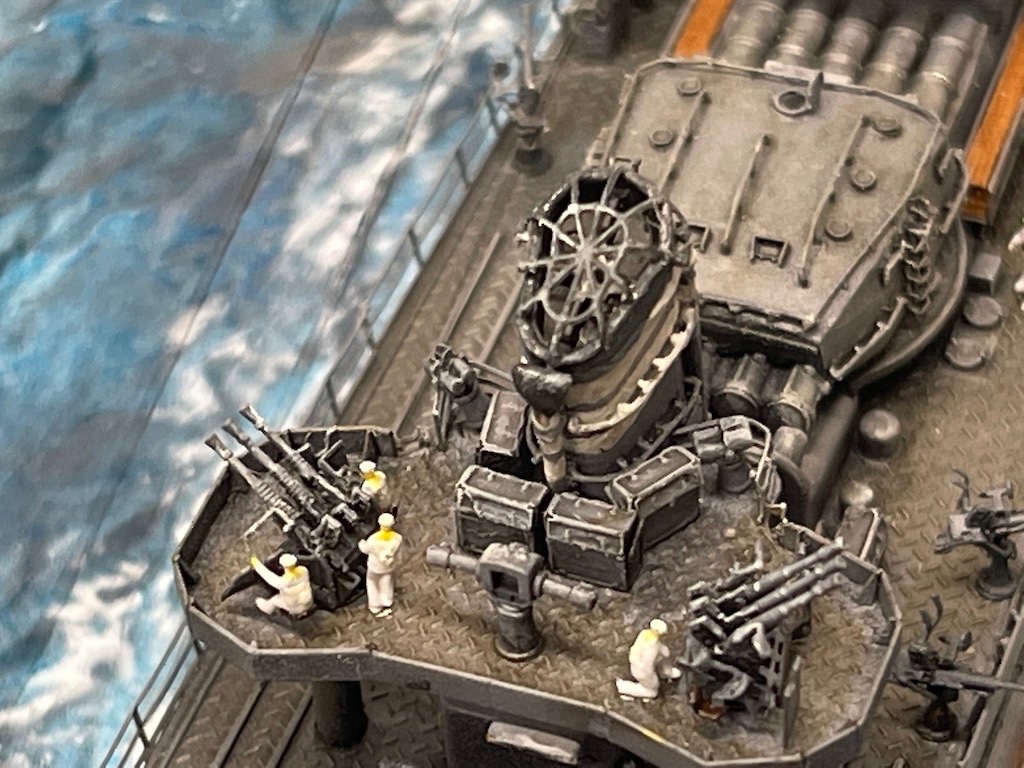
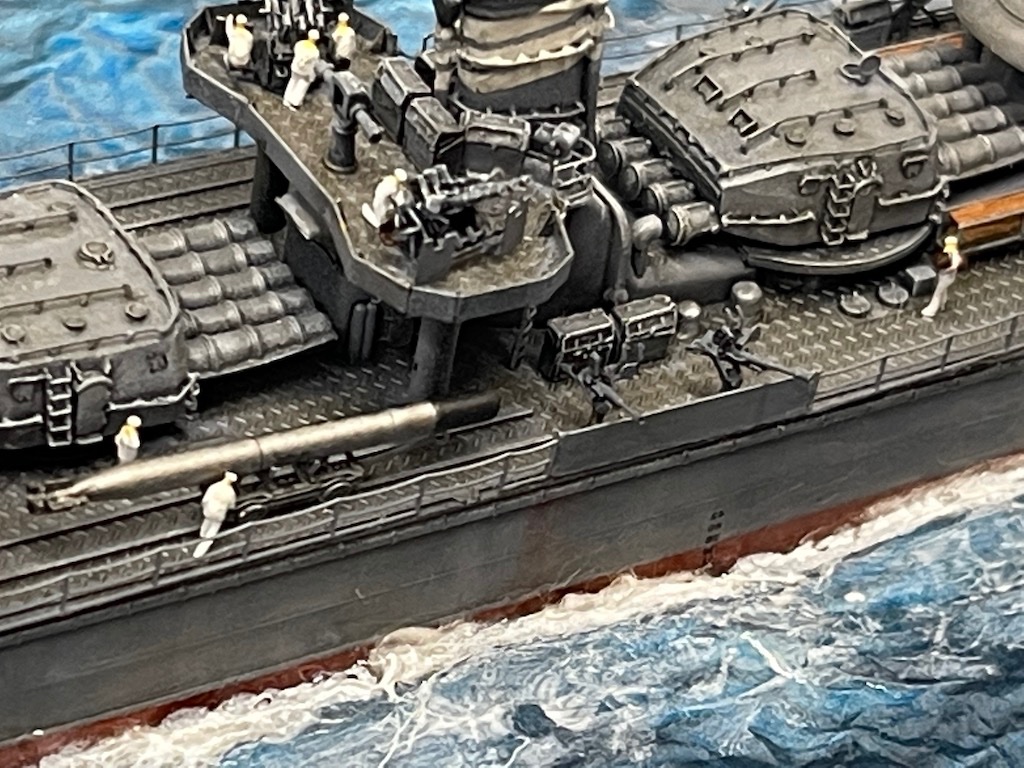
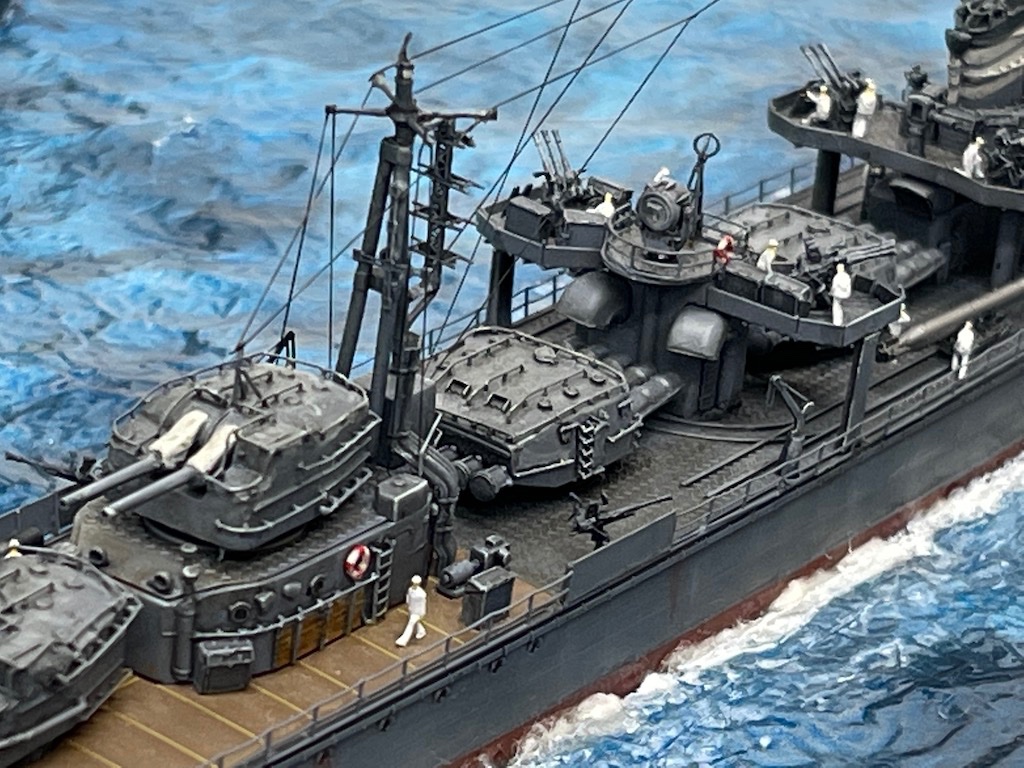
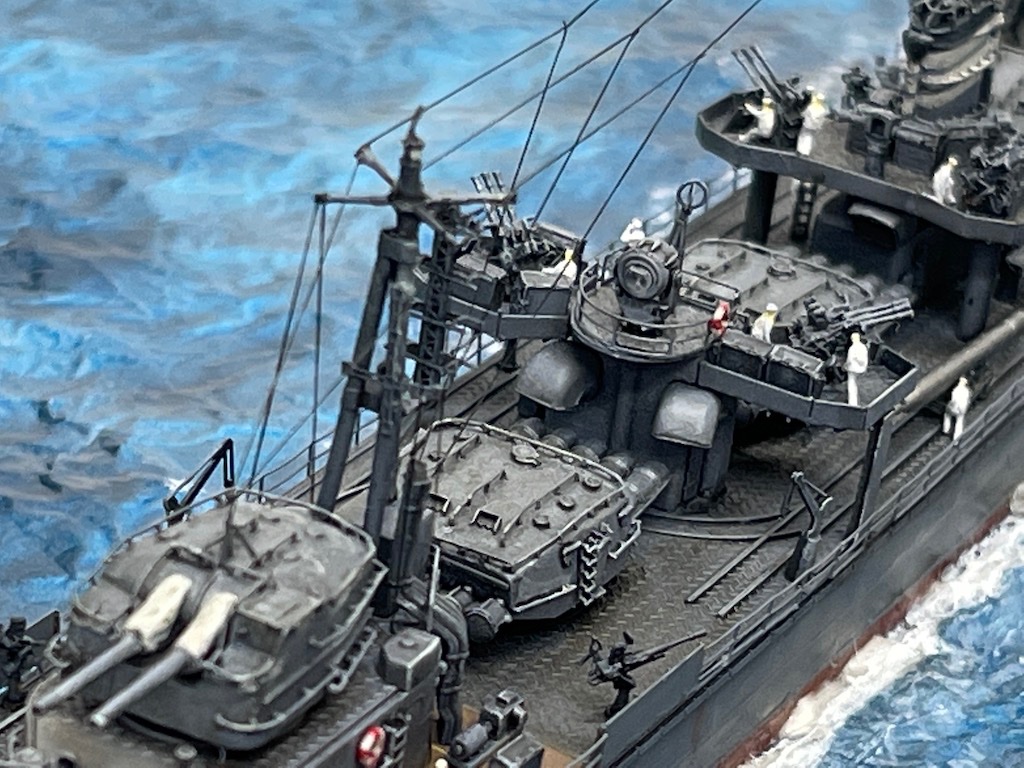
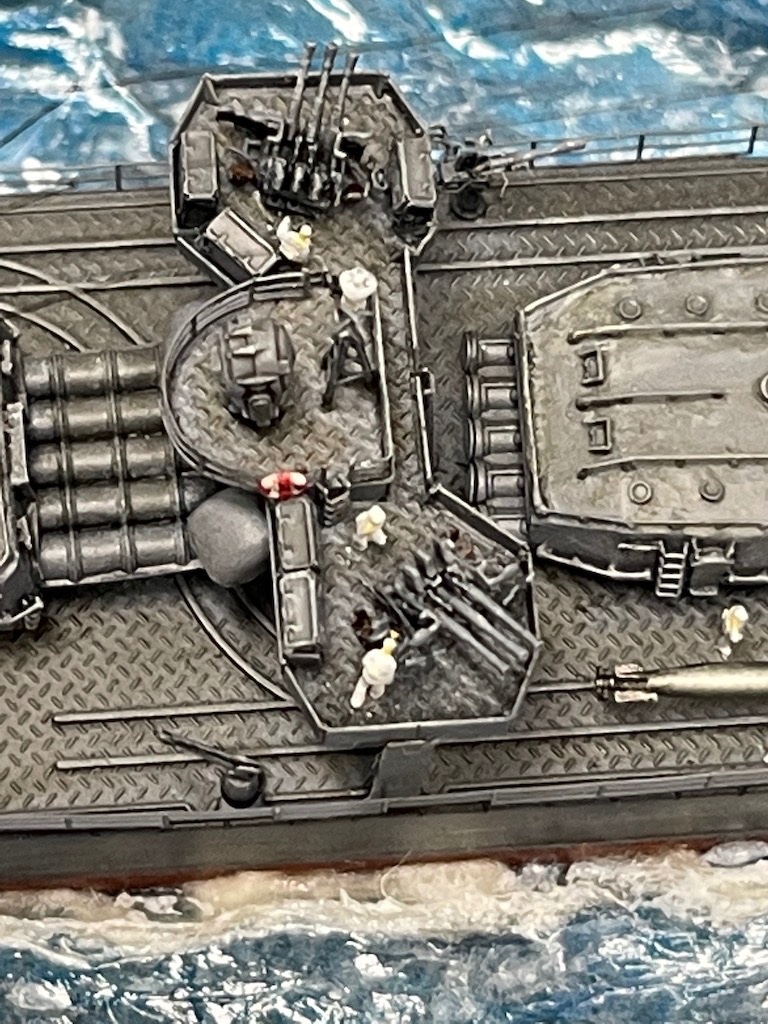
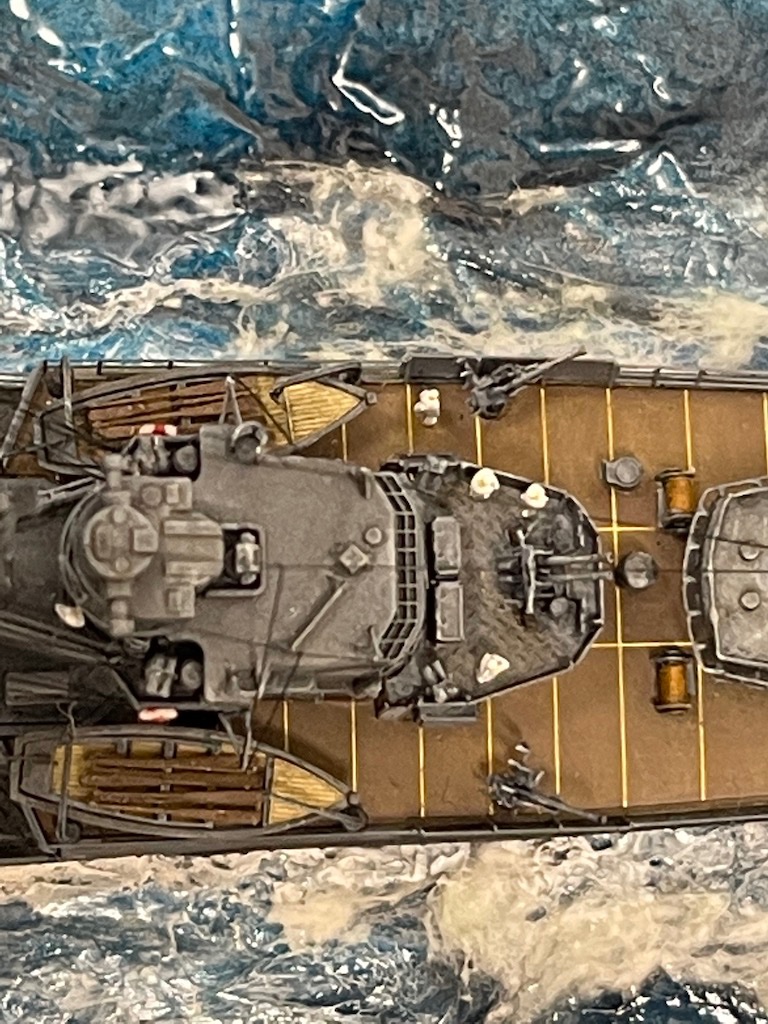
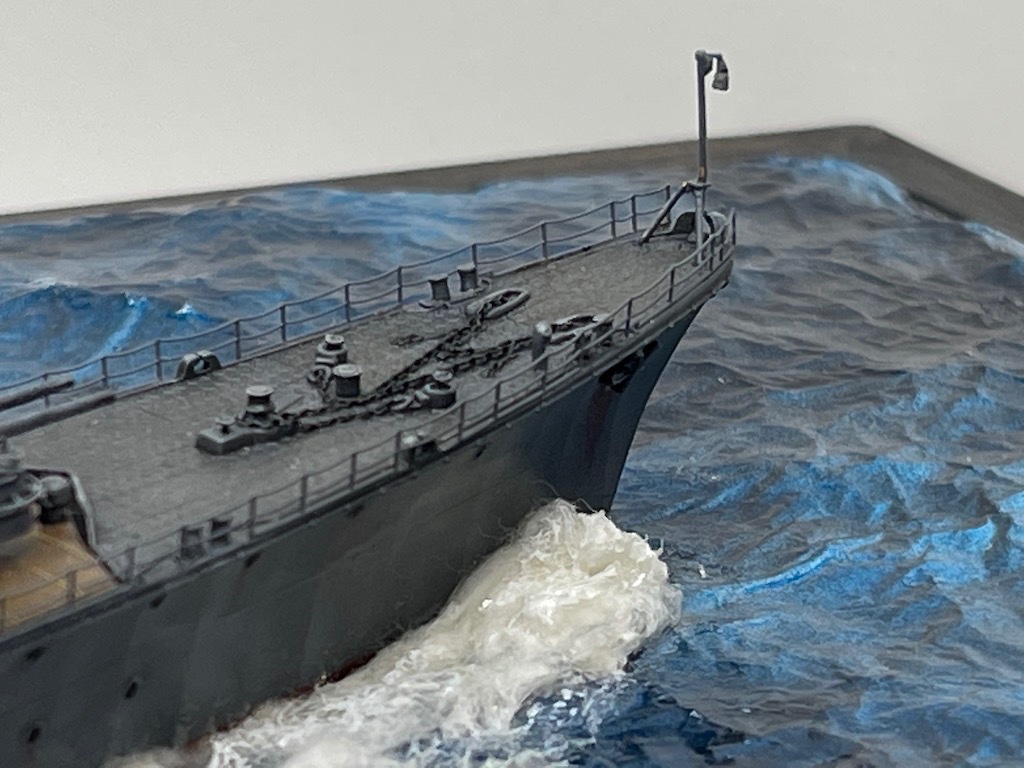
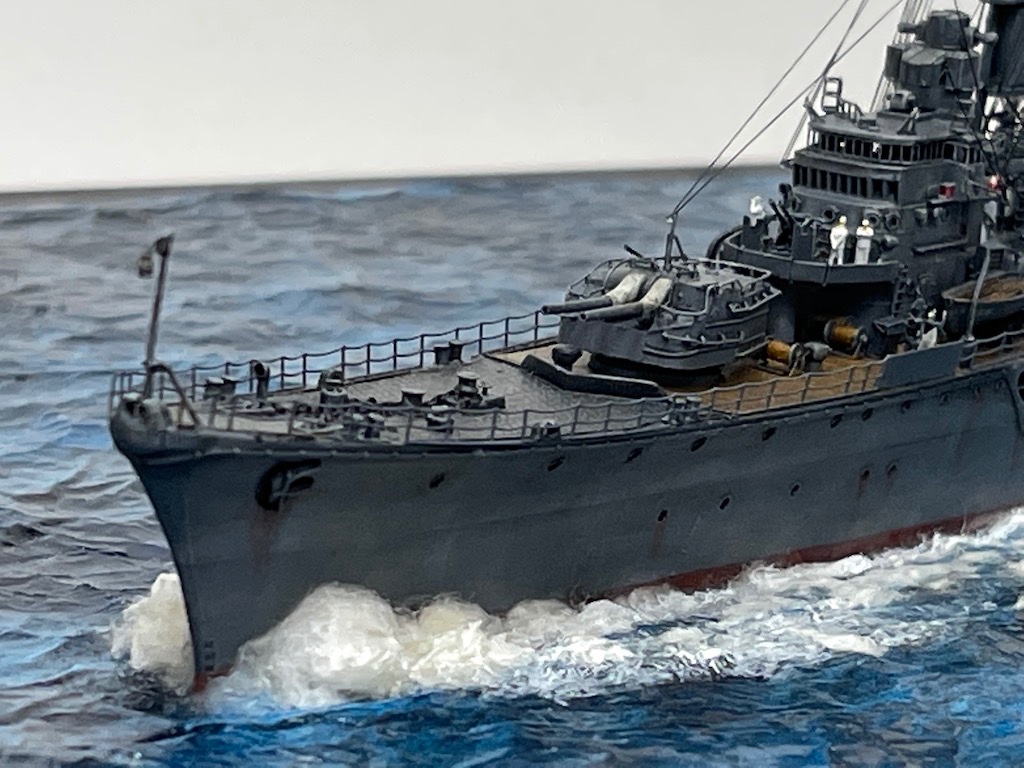
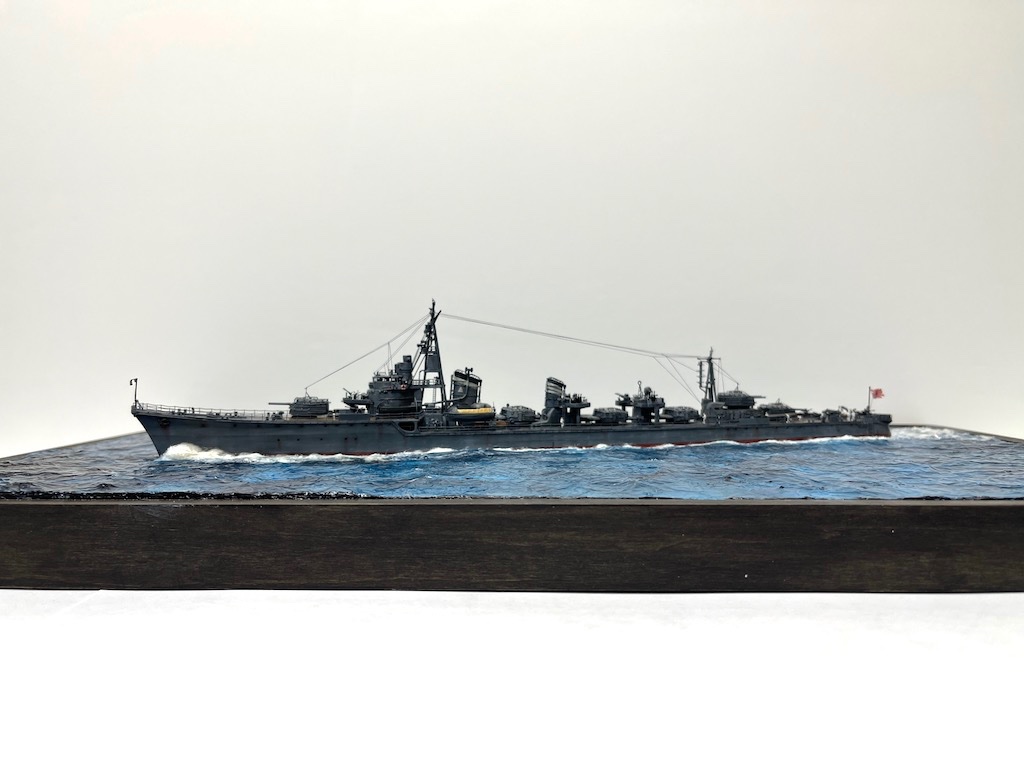
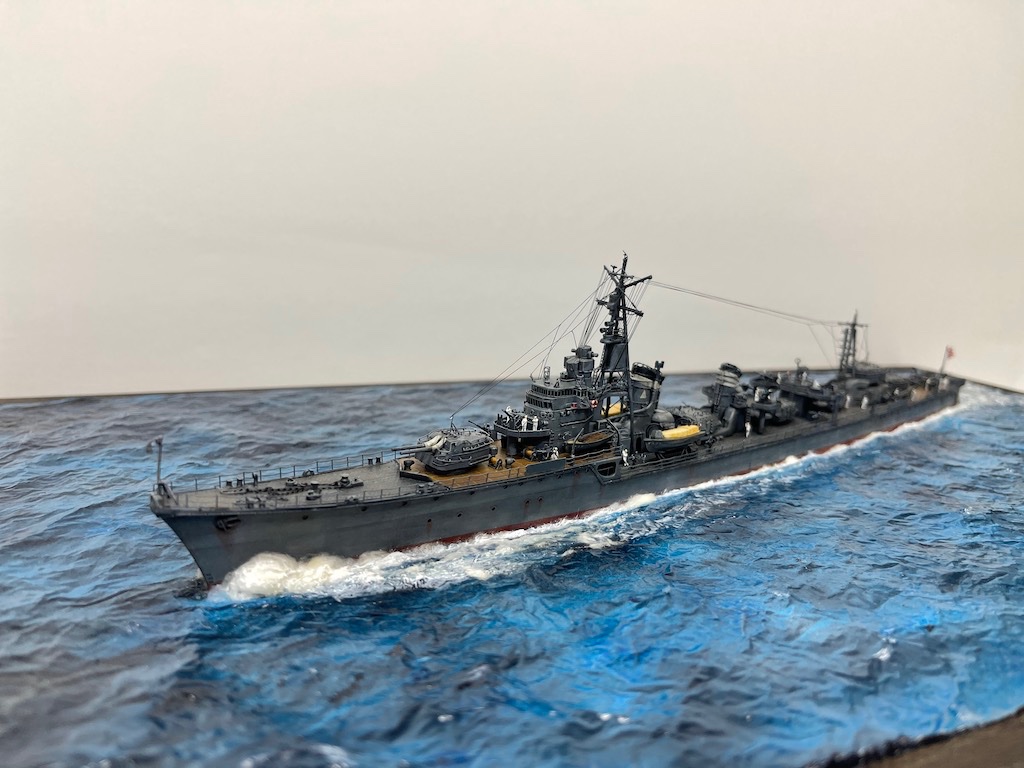
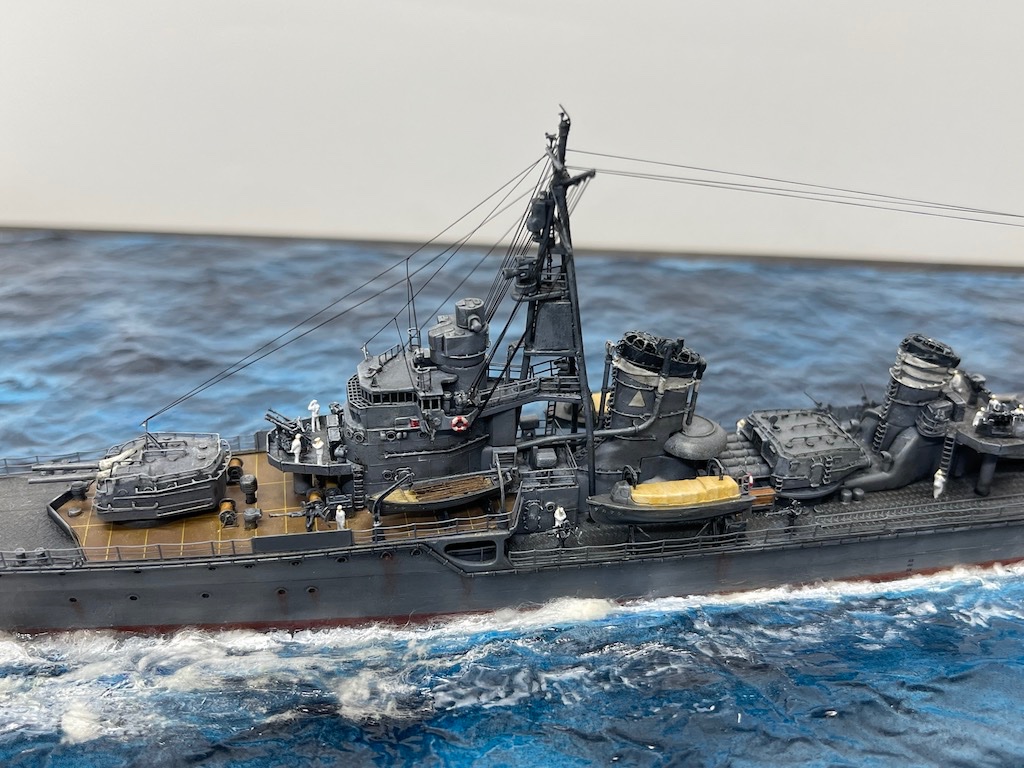
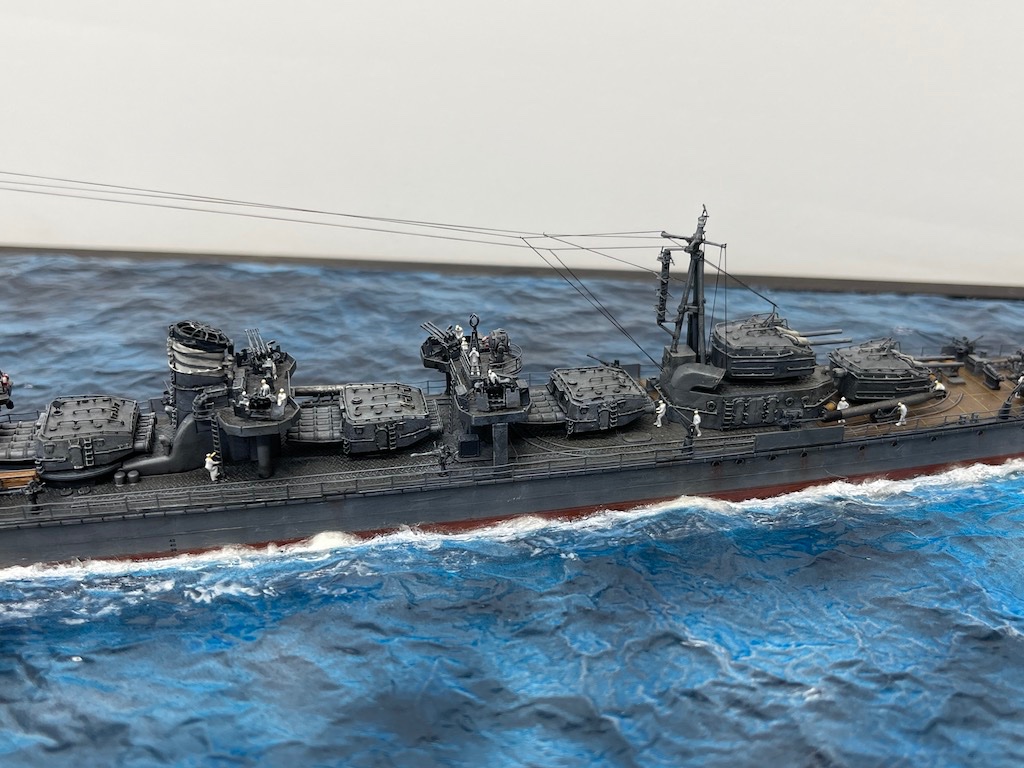
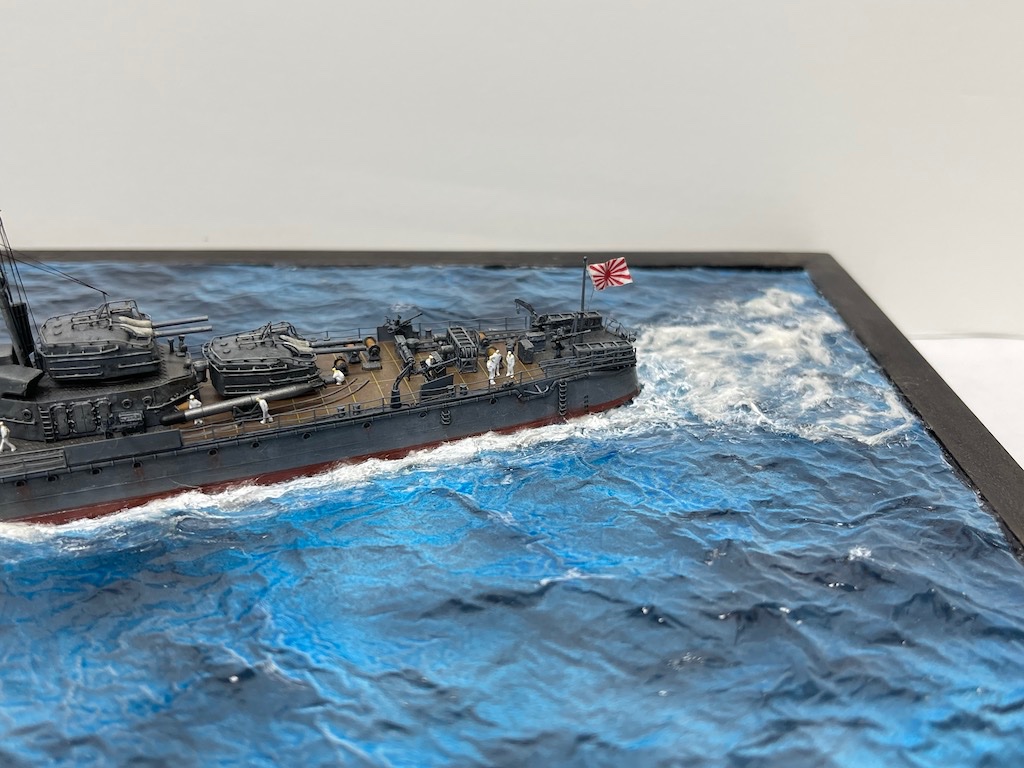
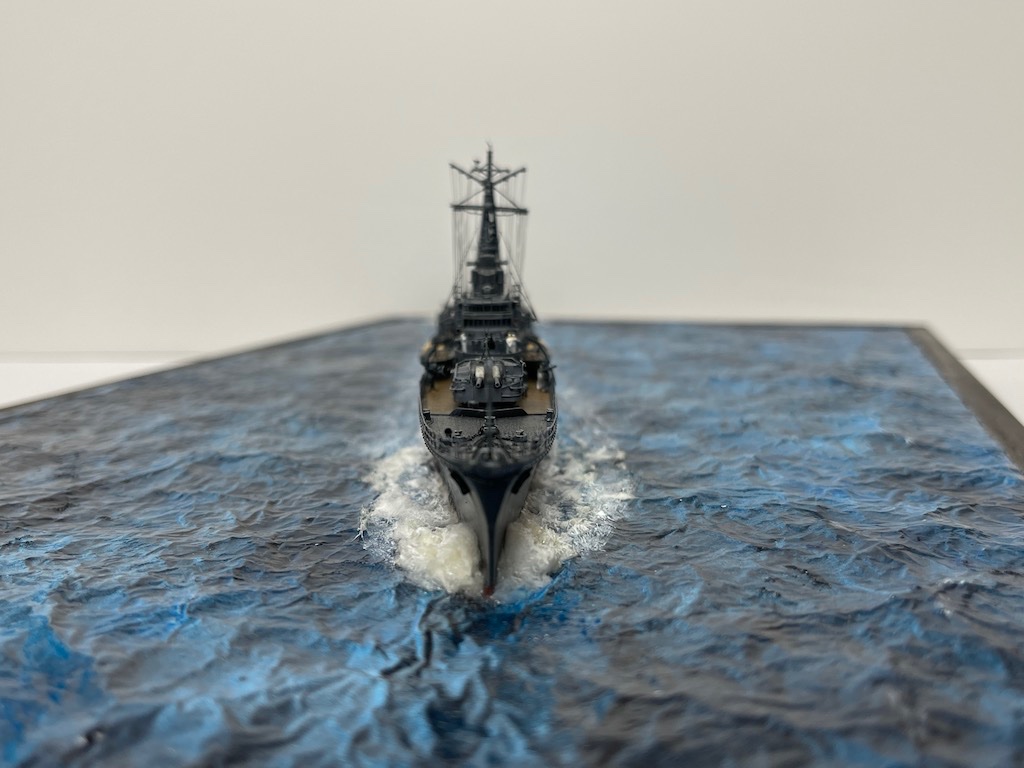
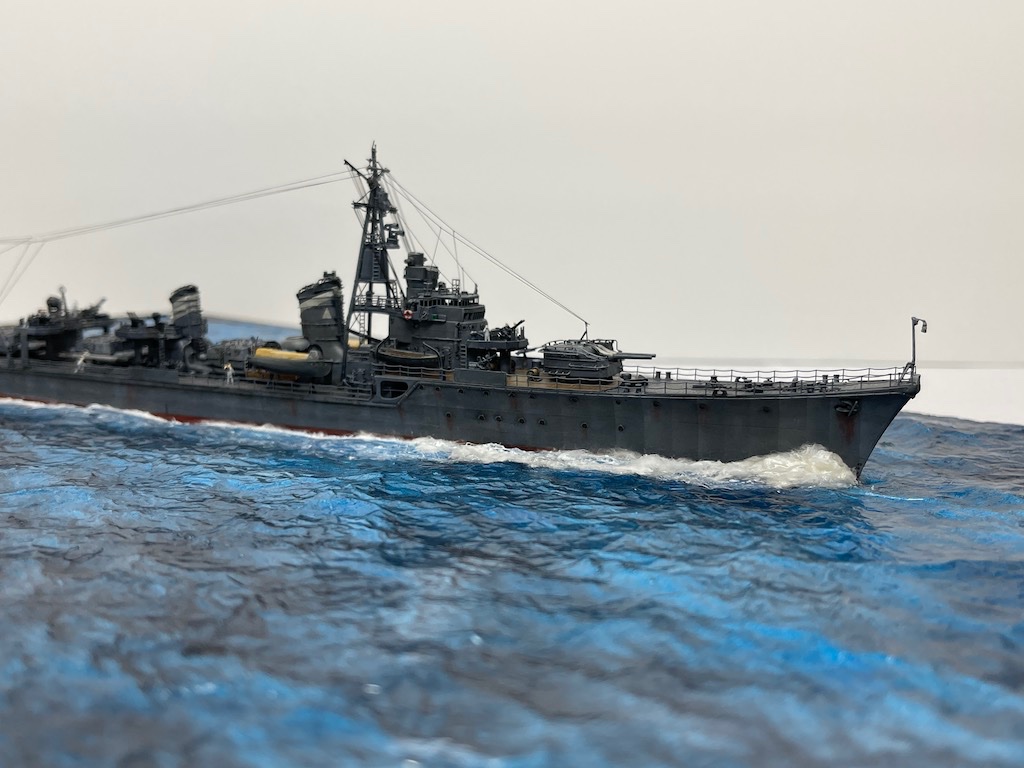
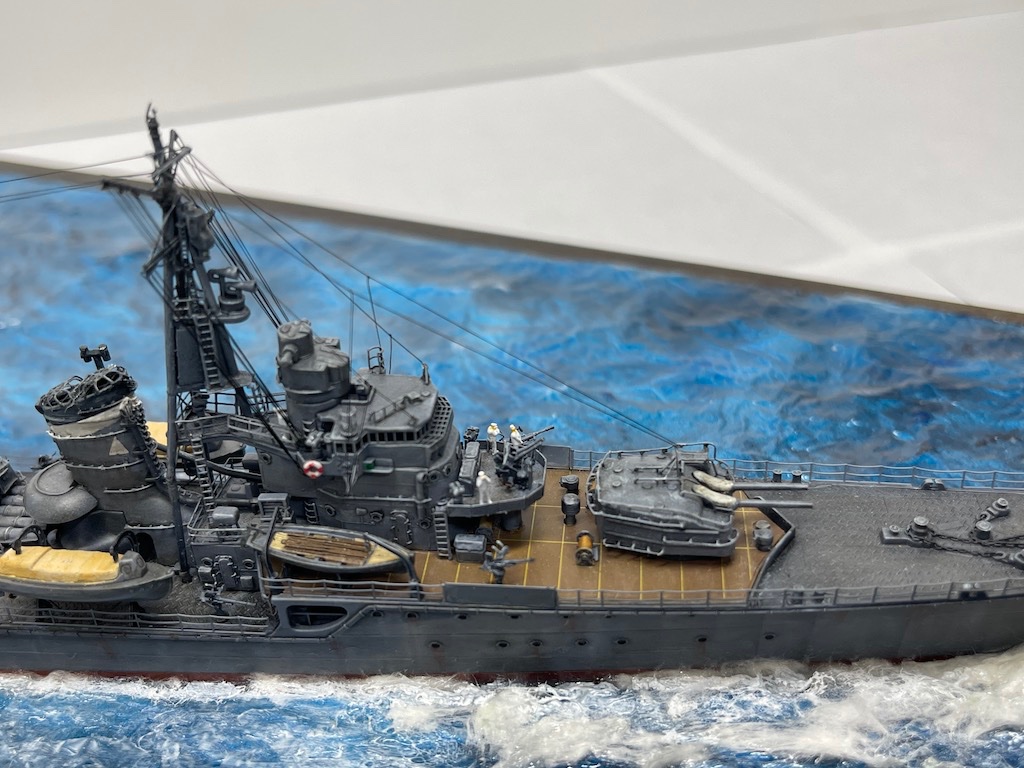
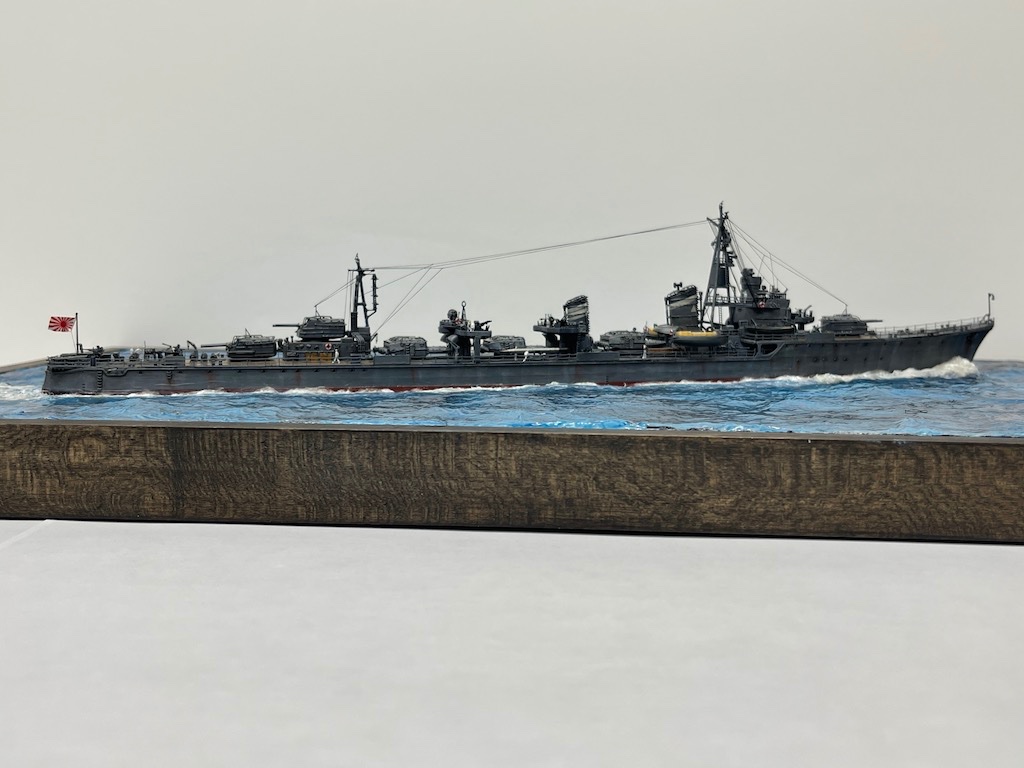
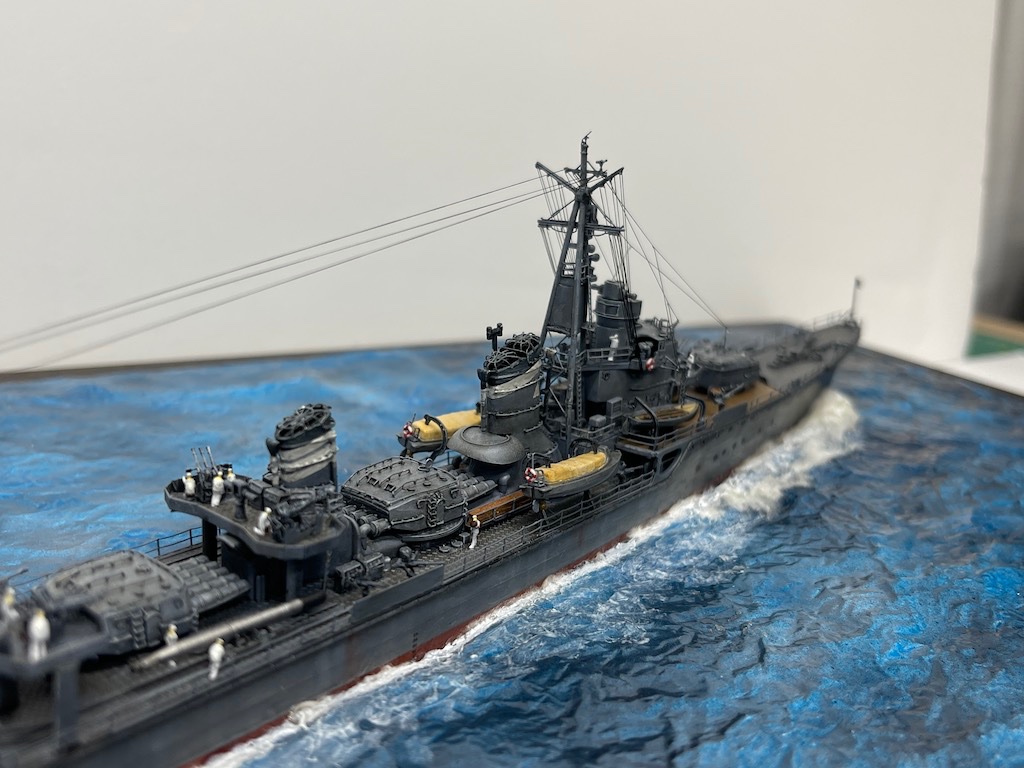
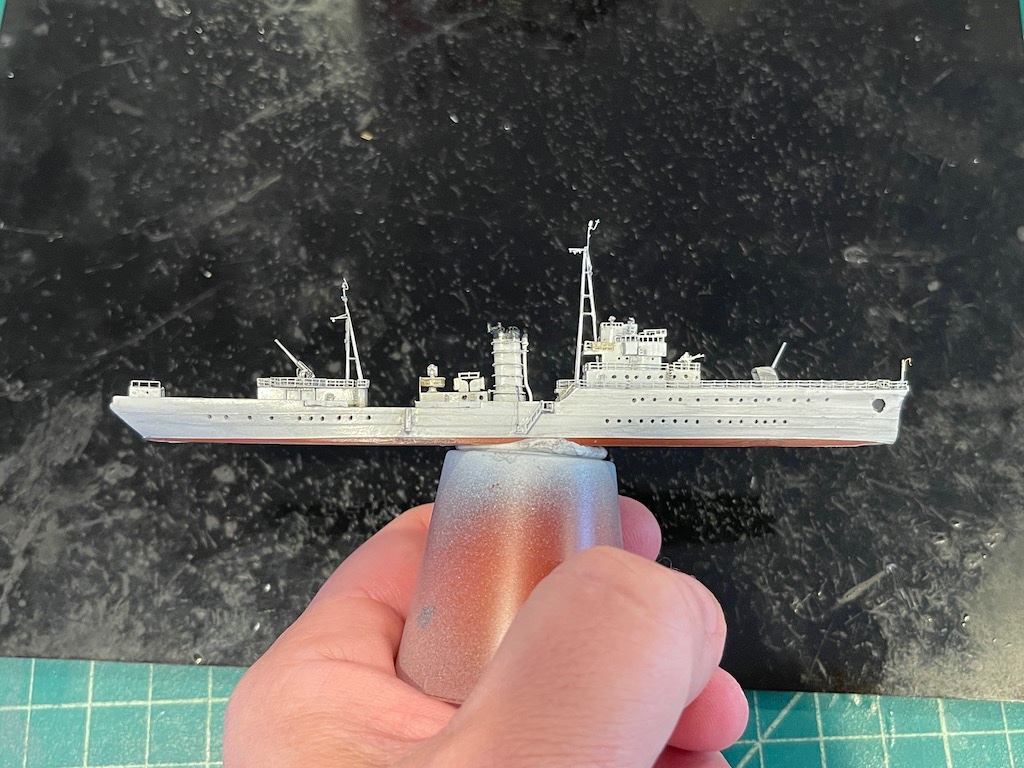
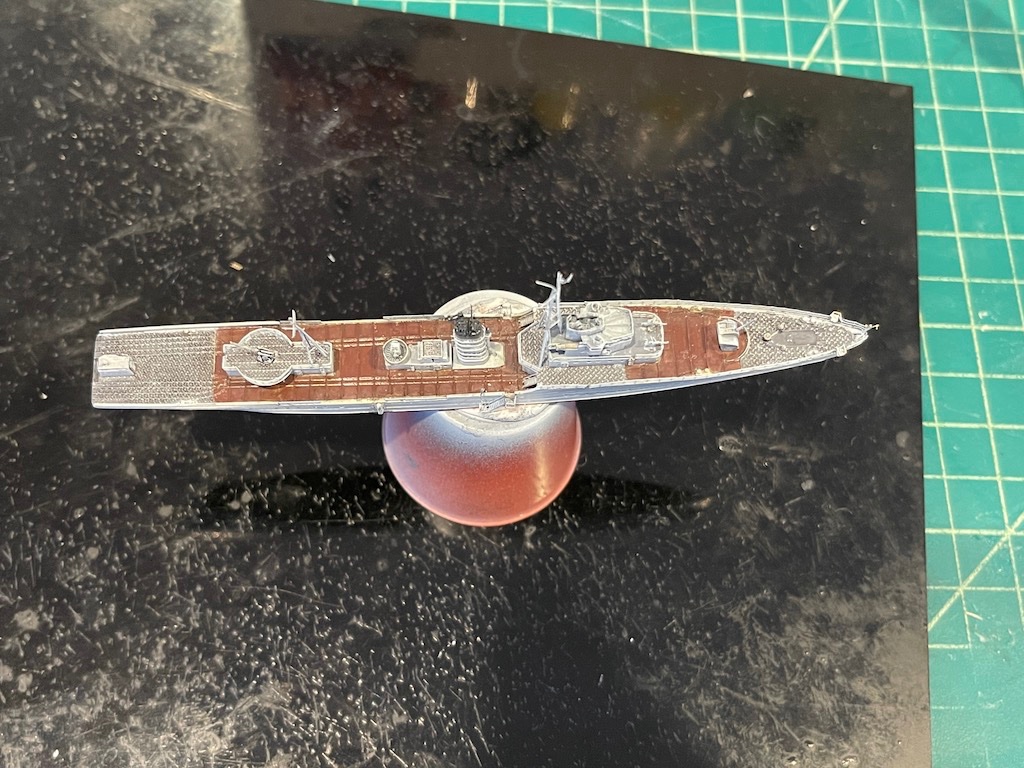
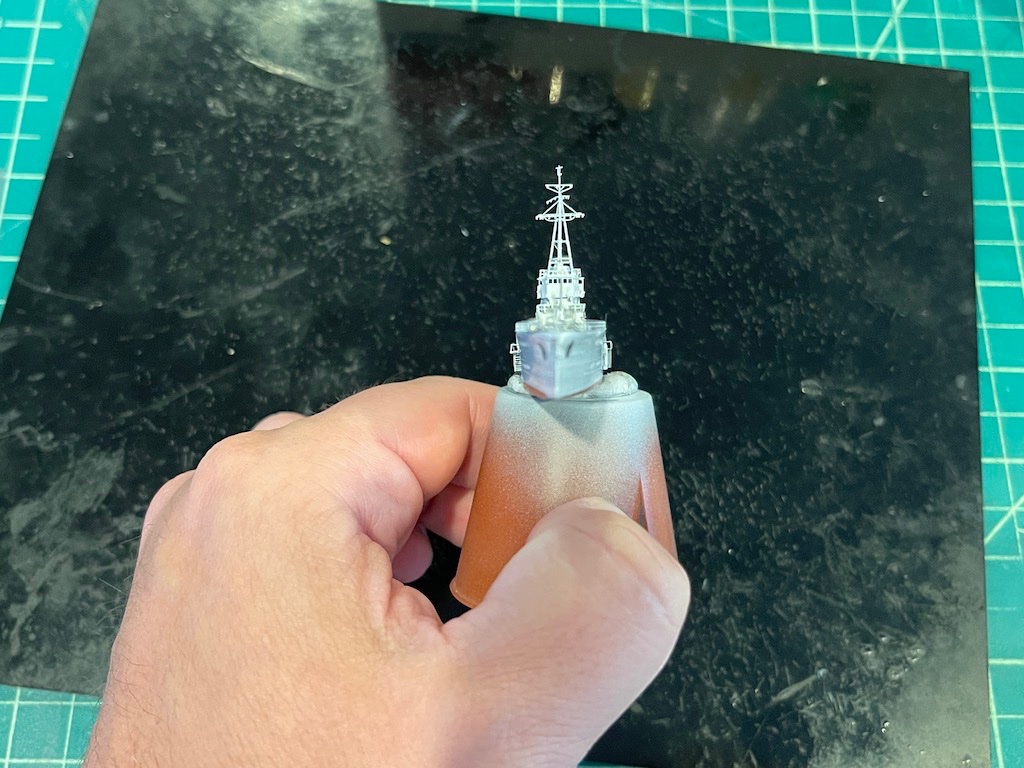
Finished! Seeing @Javlin finish his beautiful Chikuma build gave me the inspiration to finish this one up. The Hasegawa kit with Infini upgrade set is a really killer combo, and I couldn't recommend it more. I was thinking of adding smoke to the funnels, but I wasn't quite liking how my efforts were coming out so I bagged that idea. If I can figure it out, I might add it later. Otherwise, I'm really glad I went for the diorama setting. If I had to do it over, I probably would have made the diorama a little less deep, but lessons learned for my next one. Overall, for my first 1/350 ship with diorama, I'm pretty happy with the results. Thanks for all the support during the build, and thanks as always for looking in!

- 154 replies
-
- 18
-

-

-
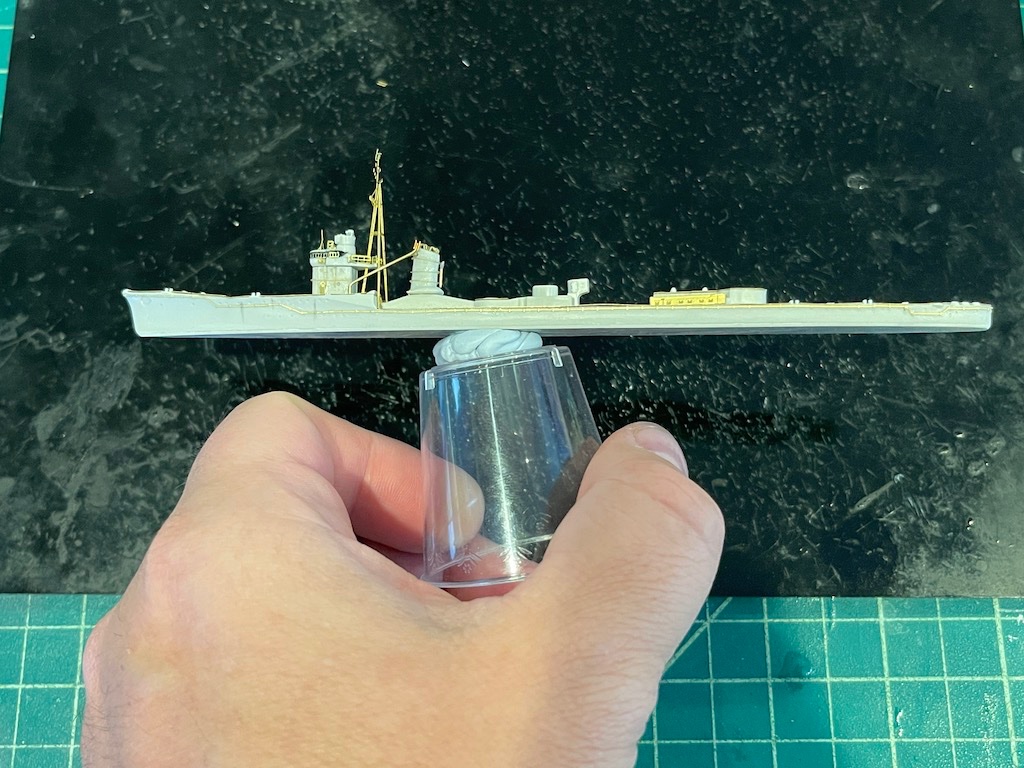
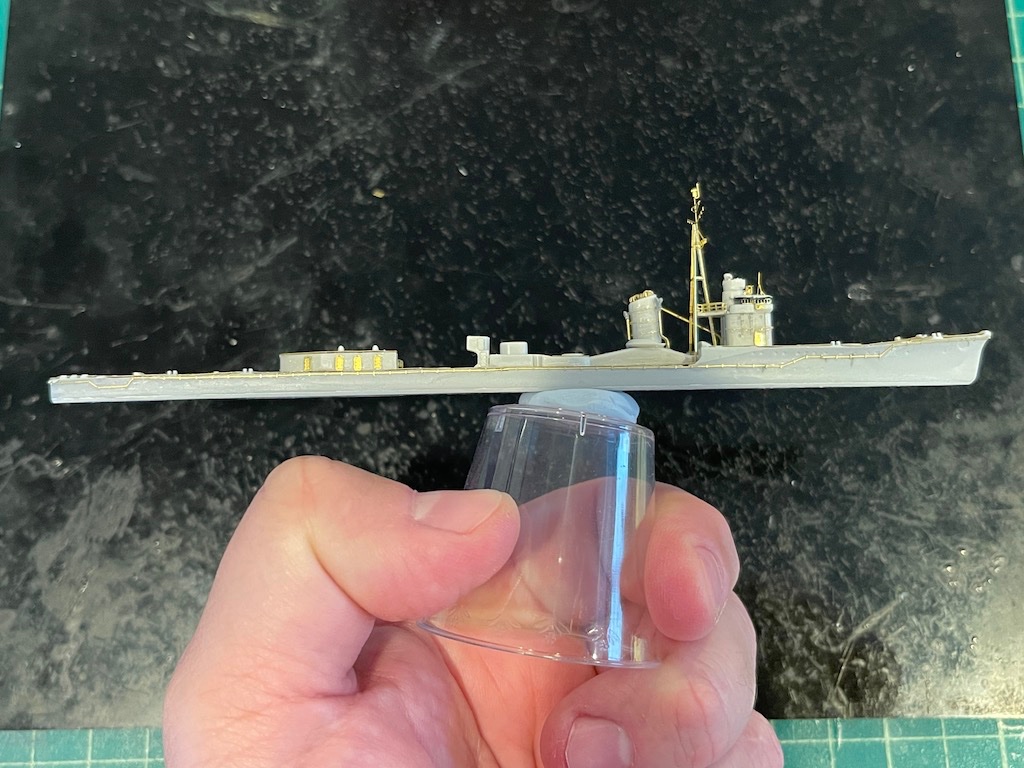
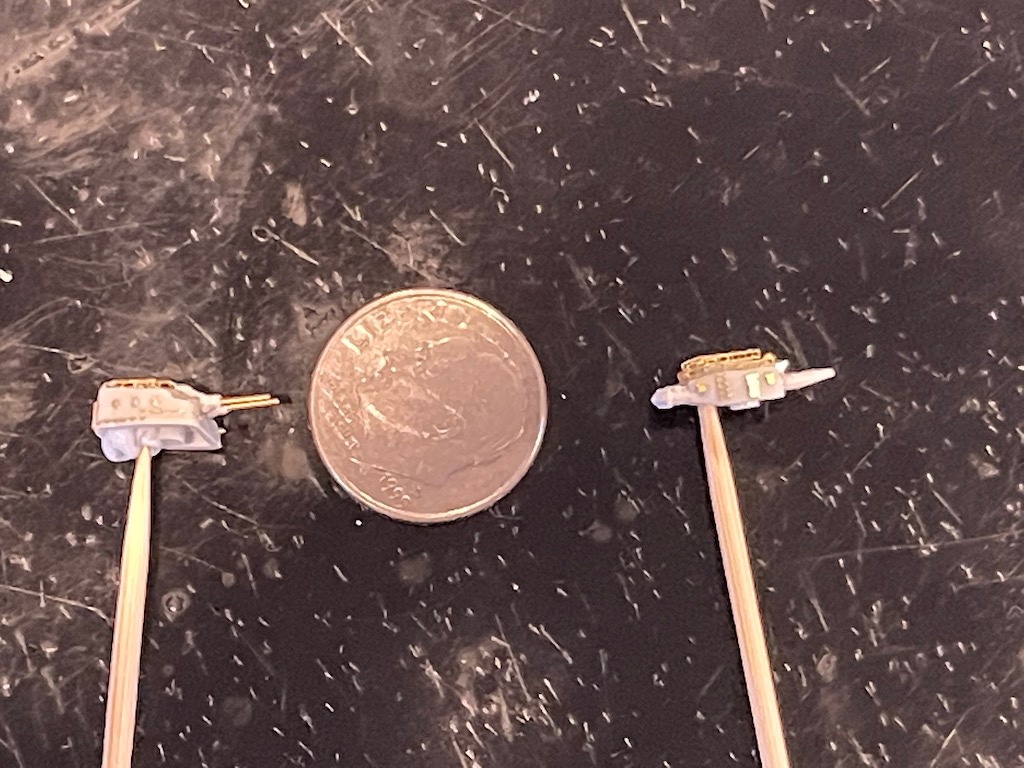
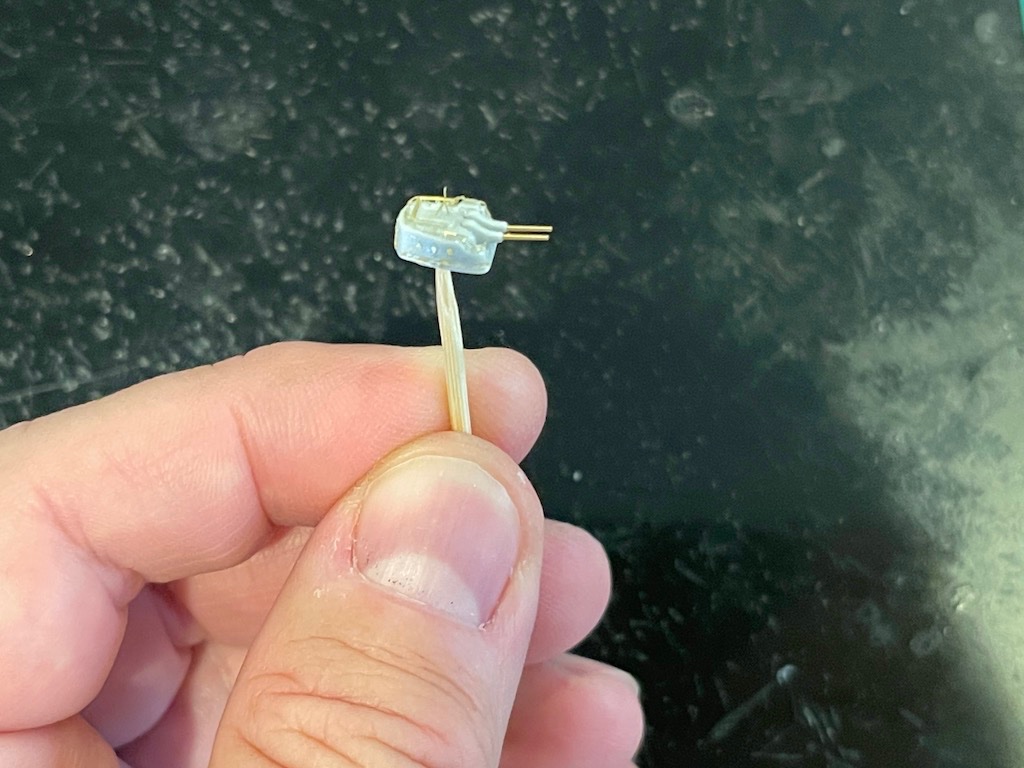
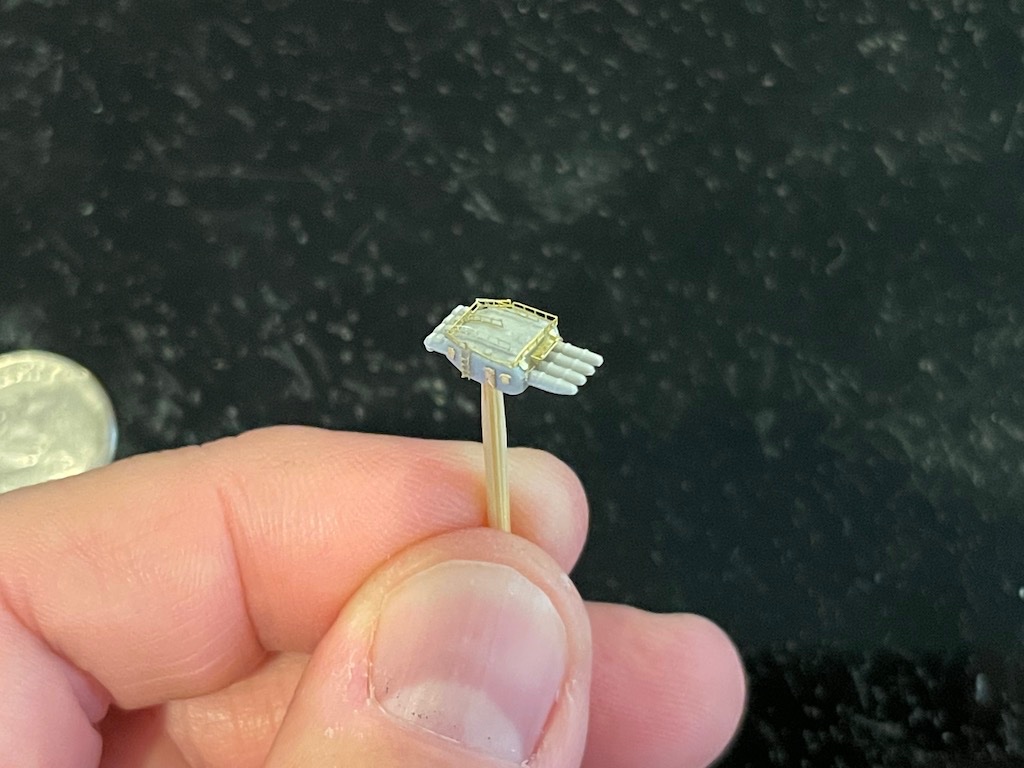
Quick update on my Asashio build - I've managed to just about finish most of the hull and sub-assemblies, including platforms, guns, torpedo launchers, etc. I've really enjoyed the Five Star sets in my various 1/700 builds - the PE adds a lot of detail and is quite easy to work with. As I mentioned at the beginning of the log, I'm planning to build this one as part of a diorama getting emergency repairs at Truk after the Battle of Midway. In that battle, a 500 pound bomb hit it in the stern area so prior to priming, I'm going to rip up the stern to show the damage. Unfortunately I can't find any pictures of what the Asashio looked like after Midway. Anyone have any idea of how extensive the damage would be from a 500 pound bomb? My guess is it would depend on where it landed, whether there were munitions or other explosive materials around, etc. At a minimum, I think I will gouge the hull and model it as if the bottom blew a hole into the deck. Here are some pictures of the progress. Thanks for looking in!

-
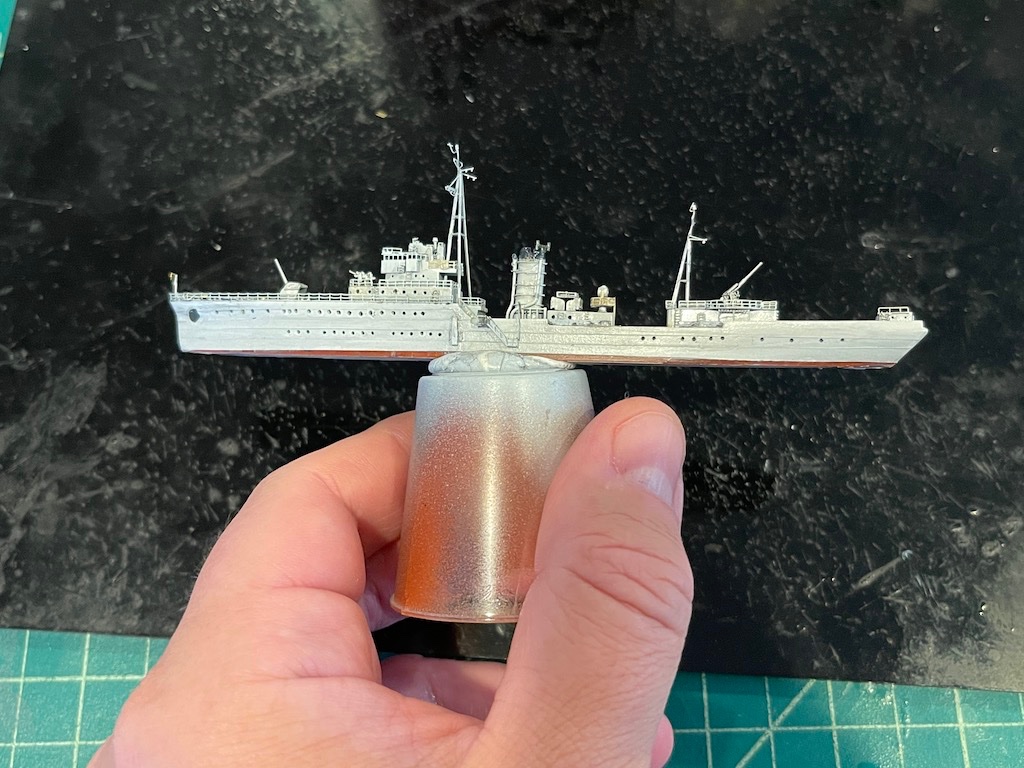
I did a little weathering and added a few other pieces to the model, including the starboard and port side stairways. Still have a bit of touch ups, final weathering and clear coating to go, then comes the davits, small boats, anchor chains, figures and rigging. Then of course there is the final adjustment of some of the PE - I don't like constantly fiddling with it as the pieces are so small they likely will break. I'll put it in a diorama setting at the same time as my Asashio/Akashi build for some efficiency. It's been a fun model to work on, and a pretty detailed set from Five Star, though as I mentioned earlier in the log, you have to supplement some of the items. One thing I might do in the future is use Mr. Color Metal Primer on the PE frets. I notice that even Mr. Color and Tamiya paints can come off when trying to glue PE to the model - either from handling, the CA, or most likely, both. I like to pre-paint some of the items like stairways, davits, etc. as it will be difficult to paint them when installed on the model - or I'm just too lazy to deal with the taping that would be involved. I think having the metal primer on the frets should helps make the paint adhere a little better and hopefully reduce some of the touchup work later. Sorry for the crappy pictures - I need to figure out a better setting on my phone. Thanks for looking in!
-
MRAP ATV by CDW - FINISHED - Rye Field - 1:35 Scale
Landlubber Mike replied to CDW's topic in Non-ship/categorised builds
Another great build Craig - fast too! Really nice job! -
Wow, nice job Kevin!! Fantastic work on such a beautiful subject. Good luck at the show!
-
Nice figures OC! Looking great!
-
F-86F-30 Sabre by Egilman - Kinetic - 1/32nd scale
Landlubber Mike replied to Egilman's topic in Non-ship/categorised builds
Those look like great accessories for the diorama. Looking forward to seeing you pull it all together! -
Outstanding work Dan!! Very well done!
-
This is building up really nicely Max! Great job!
-
MRAP ATV by CDW - FINISHED - Rye Field - 1:35 Scale
Landlubber Mike replied to CDW's topic in Non-ship/categorised builds
First, glad to hear you're ok Craig. The pictures from Florida look awful. Love your model - looking great! For the pictures, i'm probably more partial to 1 and 3. 2 is a bit too much, 5 a bit too little. A little hard to tell when I'm not exactly sure what the painted model itself looks like. Would be interesting to see if the answers would change for models with different colors and tones. -
Looks great Kevin! Figures bring it to life for sure! Not sure what you call those little blobs on the rigging line, but how did you do them? I was thinking about PVA, but am worried they will cause the lines to sag too much especially since I'm using very thin line from Infini that is like EZ Line.