


Landlubber Mike
-
Posts
4,551 -
Joined
-
Last visited
Content Type
Profiles
Forums
Gallery
Events
Everything posted by Landlubber Mike
-
 Beautiful work as always Craig. At the rate you're going, you're going to need a few more display racks
 -
Wow, very nice! Congratulations!! I was getting nervous as I started reading your post, but glad to see it worked out in the end. 😁
-
Looks great Popeye! Just out of curiosity, for this kits and others where there is a propensity to be a tail dragger, do the instructions advise of that fact? Just wondering how one can tell when that happens. Apparently one of the Zoukei-Mura kits I own can be a tail dragger, and they mention this fact a number of pages into the manual (good idea to skim manuals before starting I'm realizing!). I think a different Z-M kit has a clever way to reallocate weight distribution by using cast metal parts in a particular section of the fuselage or wings to get better weight distribution.
- 55 replies
-
- 10
-

-
Niiiiiiiiiice!
-
Very nice work! If I had to do it again, I would have done a little more on my stern as you are showing in your Corel Draw pictures. I like the bottom one better, but either would be a nice improvement to the kit. Rigging those cannons brings back nightmares for me when it came to rigging those 2mm blocks 🙀
- 64 replies
-
- 2
-
-
- badger
- caldercraft
- (and 1 more)
-
Some really incredible work there. The camo looks amazing - in that second to last picture, it reminds me of that artwork with the 3D cubes and other shapes. Are those figures from North Star?
- 33 replies
-
- 4
-
-
- graf zeppelin
- trumpeter
- (and 2 more)
-
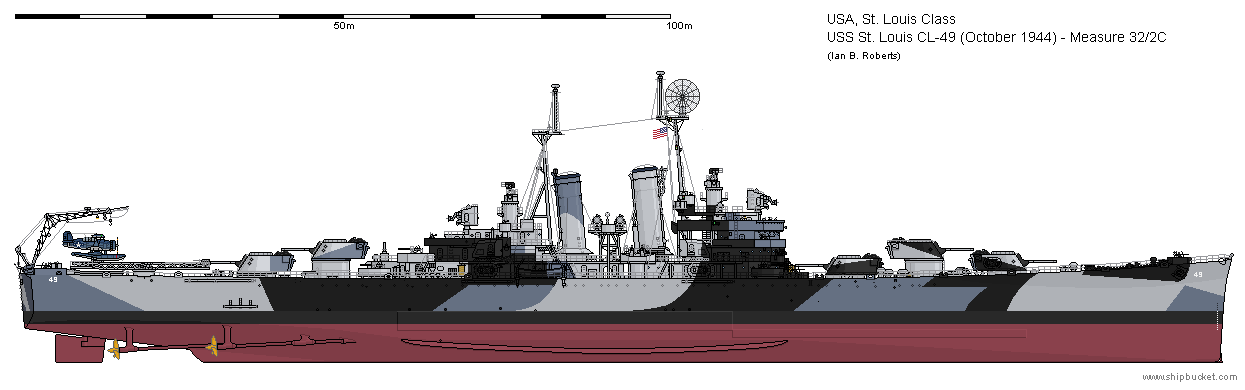
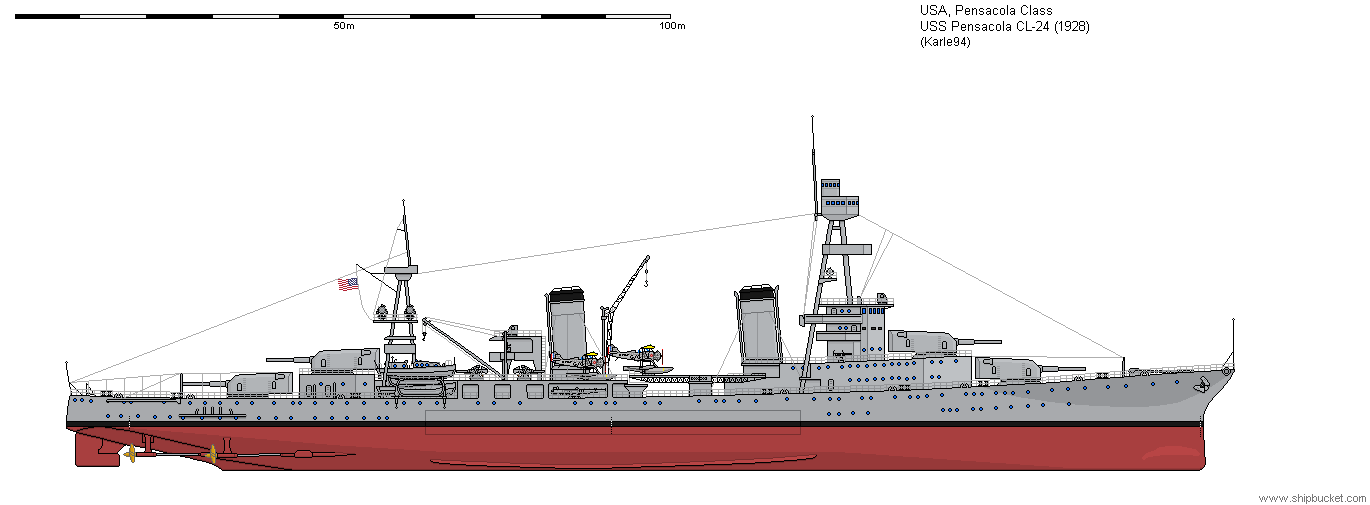
Lou and EG, those are some nice looking ships. To be honest, I'm not as familiar on the US side. Wonder if there's just more interest in Japanese ships out there? I like the Pensacola and the St. Louis class looks like a really cool one with the camo, deck details, etc.
- 179 replies
-
- 8
-
-
- hatsuzakura
- pit road
- (and 2 more)
-
It’s funny, I was about to start the Hasegawa Shimakaze destroyer at 1/350, but it’s such a nice kit I didn’t want to muck it up from having no experience. So I got this kit to give me a little experience at a fairly low budget. Didn’t realize what I was getting myself into! But yeah, I think 1/350 will be an easier road now that I’ve tortured myself at 1/700. At the same time, I’ll definitely need to get it more precise. The 1/700 stuff is all done with tweezers, pins, toothpicks, and sometimes fingertips. Only so crisp you can get it. I’ll probably pick back up the Shimakaze when this one is done. I’ve got two hold and folds of different sizes and some other PE bending stuff to help me. Will certainly be a different set of techniques at that scale. The nice thing about 1/700 scale is that it you don’t have to have perfectly crisp corners because nobody will be able to tell - the bad thing is, well, it’s 1/700 scale.
- 179 replies
-
- 8
-
-
- hatsuzakura
- pit road
- (and 2 more)
-
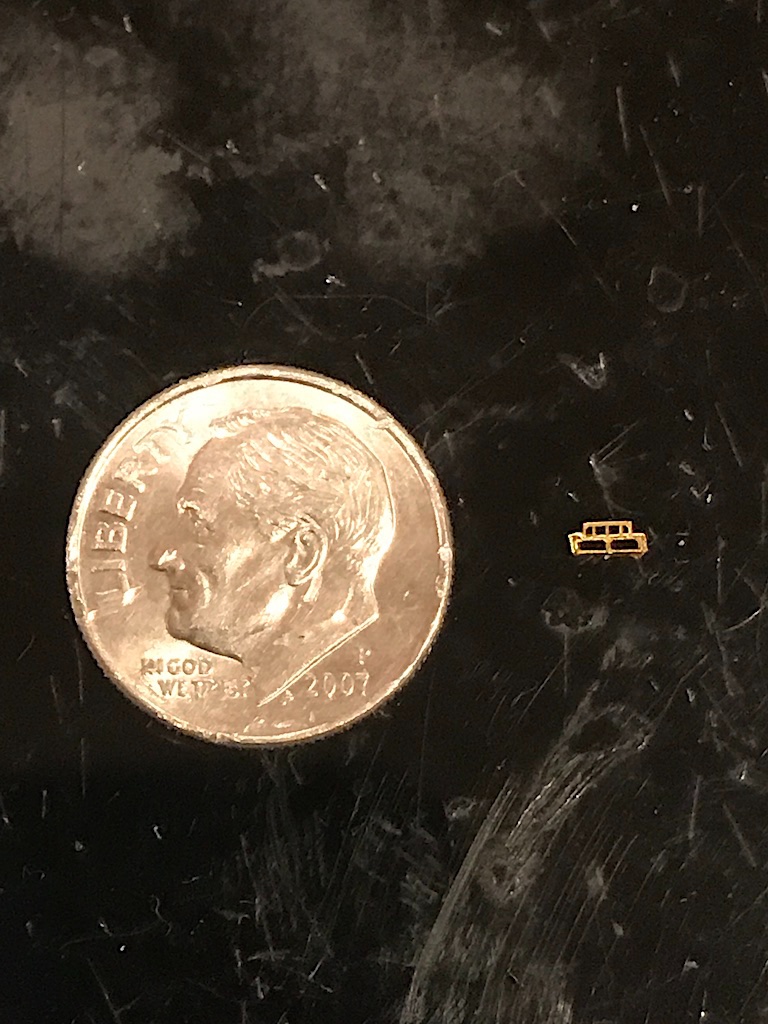
Thanks guys, really appreciate the kind words. @CDW - Craig you should definitely go for it. If I can do it you can. Optivisor and a pair or two of very fine tweezers is a must (one with normal action, and another that is reverse action so you can hold the tiniest parts while folding them with the other tweezer). I have to say that on 5-10x magnification, the parts look a little rough and would look like crap at 1/350 scale, but to the naked eye, these parts look pretty good at 1/700. @lmagna - Lou, welcome to the IJN side. I think we’ve had this discussion, but I’ve always liked the lines of the Japanese ships more so than the US side. The American ships (and planes during that era for that matter) have that very functional design that certainly worked well (for the most part) but to me just look less interesting. I think the only US ship I have is the Gambier Bay escort carrier by Hasegawa. For some reason, I’ve always been interested in that one.
- 179 replies
-
- 9
-
-
- hatsuzakura
- pit road
- (and 2 more)
-
Funny thing here is over the past couple of months, I ordered some modeling supplies from a variety of places all over the world. I had packages sent within the US that took longer than it took to get packages from the UK, Australia and China. That made no sense to me!
-
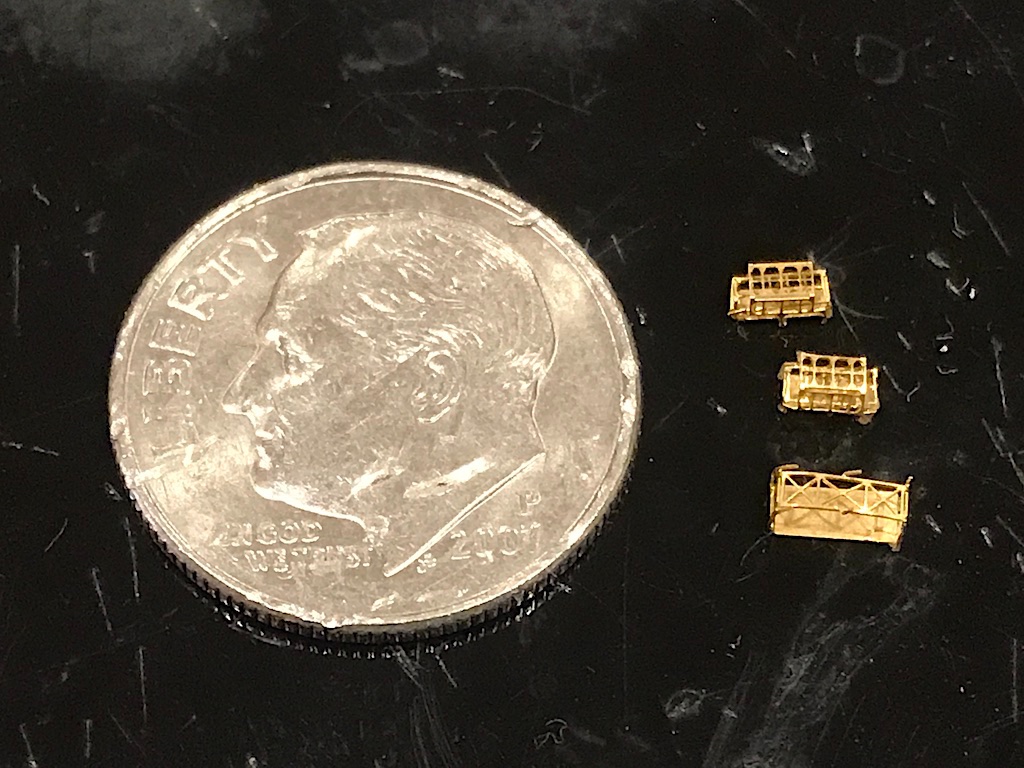
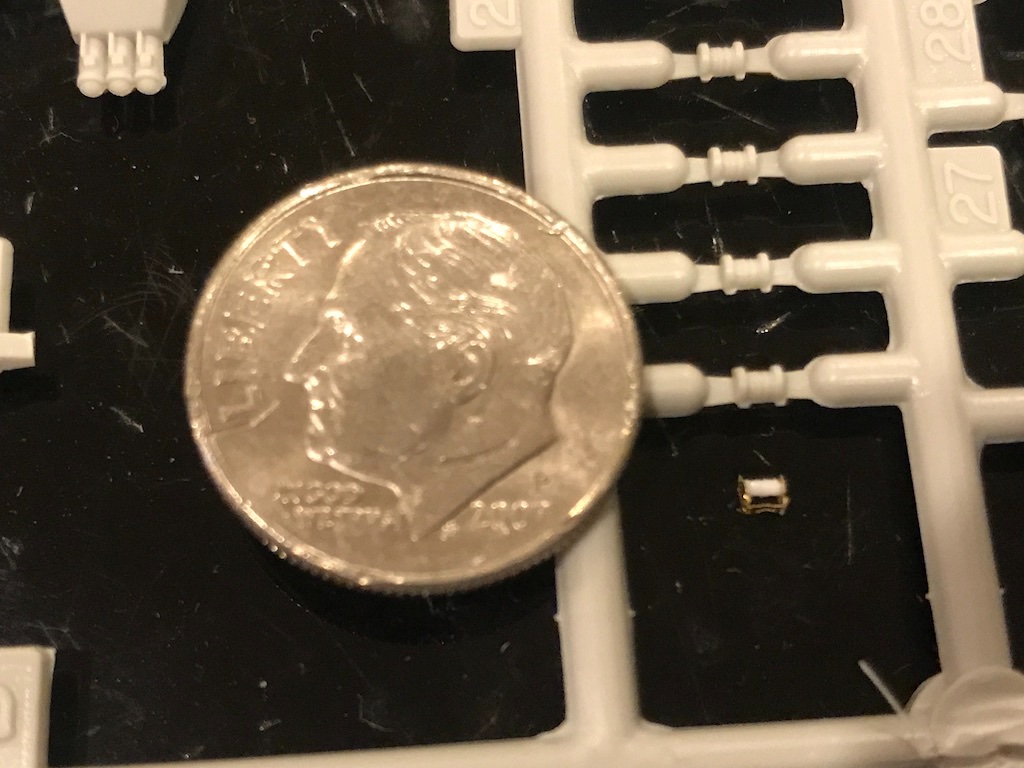
Quick update on where things are on this one. Been a little busy with work this week but managed to get things touched up a bit, and now adding some of the details that were sitting on the linoleum and needed to be painted separately, especially near the stern. Here are some detail pictures of the reels (I thought the kit ones lacked detail so I replaced them with some reels in a Tom's Model Works IJN reel set) and various racks: Here is where things look now. I have a few more touchups (including to unbend some PE parts), and need to add 10 more AA guns and various ammo crates and other detail pieces. Then the plan is to Future, weather/wash, add the rails and small boats, clear coat it, then finish with the rigging and flags. So, I think I'm on the home stretch. Critical thing I'm trying to remind myself is to keep the model well away until I plan to add to it. Some of the PE is so fine it's almost like you can breathe on it and it will bend. Thanks for looking in!
- 179 replies
-
- 17
-
-

-
- hatsuzakura
- pit road
- (and 2 more)
-
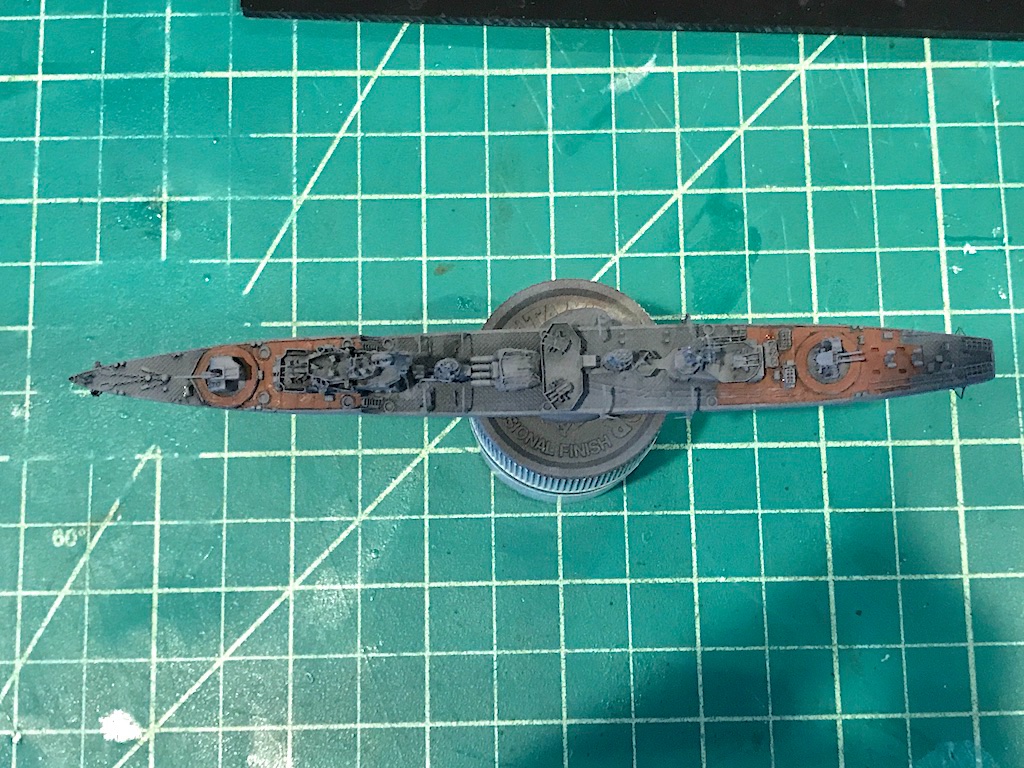
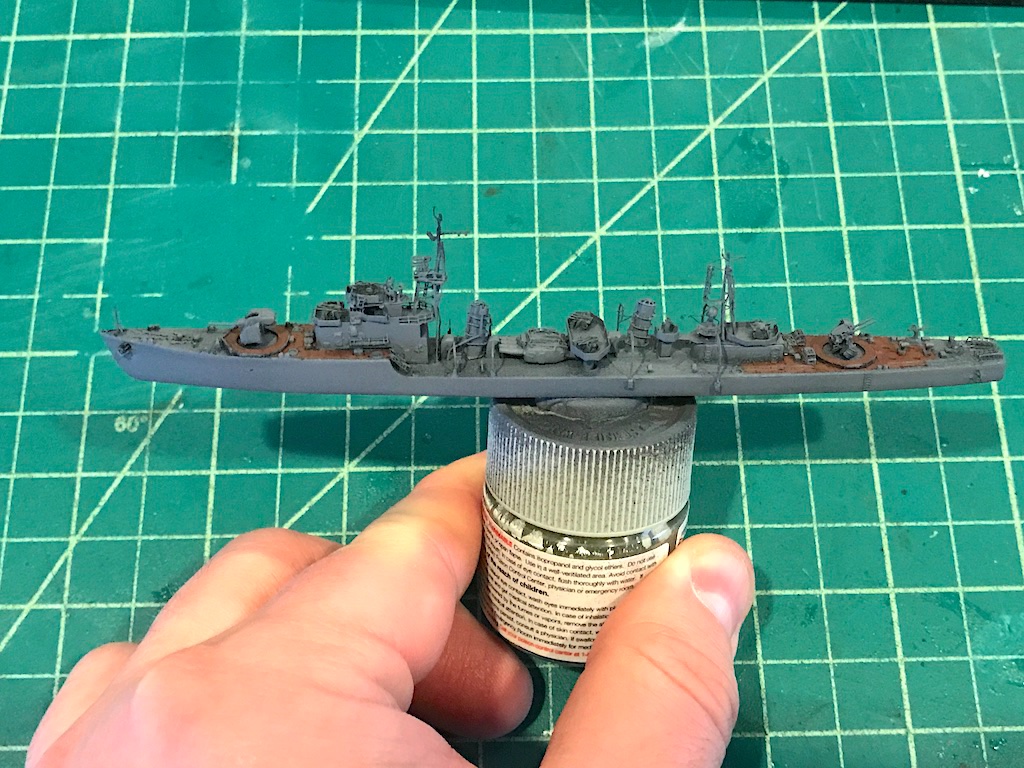
Thanks OC! I wish my eyeballs could similarly zoom in and out like that. I've been a little busy the past few days, but have been slowly making progress on this build - touch ups, adding the final details, etc. I've always been bothered by the radar on the bridge tower (what looks like two horns) - seems a touch out of scale. I dug through the stash last night and found that I have resin aftermarket replacements that look a little smaller, so I might replace it. A few more details and then it will be on to some weathering/shading/highlighting, and then the rigging.
- 179 replies
-
- 9
-
-
- hatsuzakura
- pit road
- (and 2 more)
-
Congratulations! One of the nicest models ever posted on these boards. Beautiful work! Forgive me if I missed it, but did you say what your next project was going to be (if any)?
- 800 replies
-
- 2
-
-
- snake
- caldercraft
- (and 1 more)
-
Damn, those are beautiful! Look better than most plastic models!
-
kit review USS Missouri (or any Iowa class) 1/350 by Joy Yard
Landlubber Mike replied to Tigerdvr's topic in REVIEWS: Model kits
You might be able to find generic stick on decking material that is pre-printed with deck planks. I've picked up a few for my 1/700 models, my guess is they have it for 1/350 as well. Seems easier to cut out the deck planking you want, rather than try to build it up from scratch and add the planking lines. -
As a Christmas present to myself (shh, don't tell the wife!), I ordered the McArdle 1693 Sussex book from Seawatch. It took about a month, but it arrived safe and sound today. I believe this is the third time I've ordered from them, and have always been really pleased with the books. I do think that in this day and age, probably a response email that they received your order would be nice. I don't know what goes into setting up a system like that, but an order email is what customers are used to and expect these days. For what it's worth, I took a quick flip through the Sussex book and plans and they look fantastic just like the other releases from Seawatch. Maybe one day I'll get to build it. I've always really loved all the ornamentation on it.
-
Hey John, good to hear from you my fellow Unicorn hulker. Thanks for the kind words. Hope you are doing well!
- 179 replies
-
- 7
-
-
- hatsuzakura
- pit road
- (and 2 more)
-
That's a good idea Carl. Would it turn the surface cloudy though, which would make it harder to see brass? I guess I could always polish it back out, but not as much so that it is so reflective.
- 179 replies
-
- 7
-
-
- hatsuzakura
- pit road
- (and 2 more)
-
Looking great! I like that mini-belt sander. Can I ask what brand that is?
- 8 replies
-
- 1
-
-
- Parsifal III
- Finished
- (and 1 more)
-
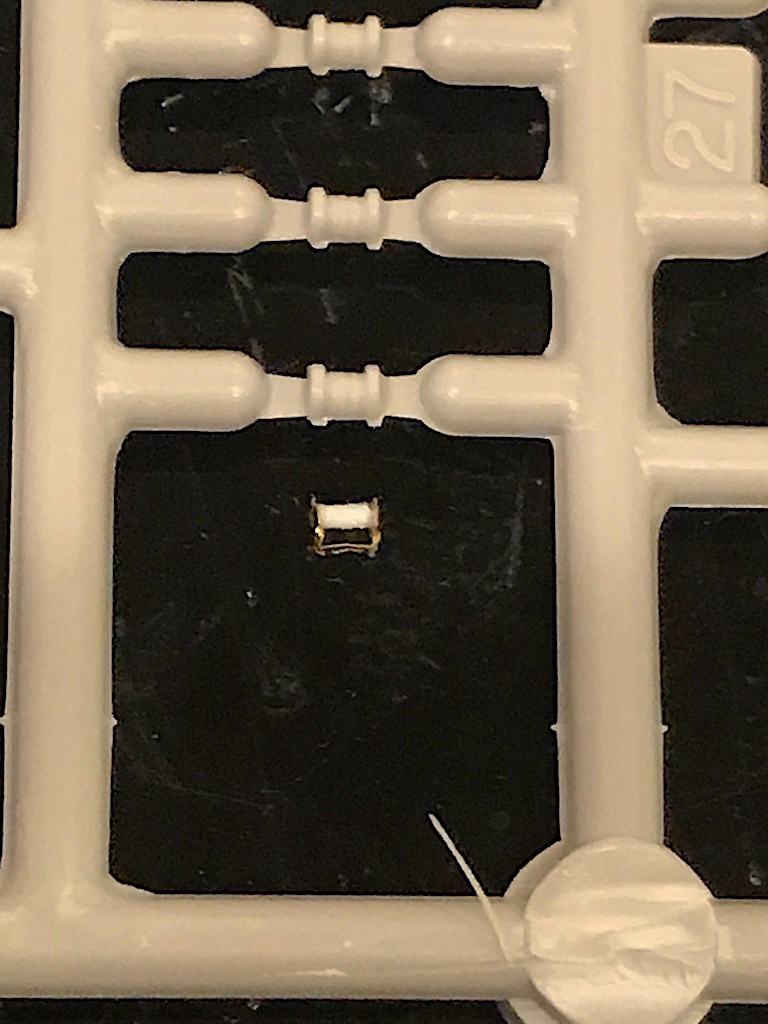
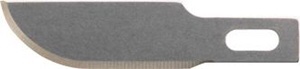
The blade I use is a #10 curved blade: For this 1/700 PE though, I’m going to see if I can find a blade that is much smaller and more like a chisel. That might give a little more control and precision. The black acetate is nice because of the color contrast against the PE. I wish it was more matte though. It’s very reflective of overhead lighting which is annoying at times.
- 179 replies
-
- 10
-
-
- hatsuzakura
- pit road
- (and 2 more)
-
Some cool pictures there EG - nice!
-
Nice work Mark! Nice to see I'm not the only one that manages to get my feet in my build pictures 😆
-
Nice job Craig. Are you using Mr. Surfacer from the spray can or shooting through the airbrush? If the latter, can I ask what you thin it with and in what proportions? I really like Mr. Surfacer as a base prime coat, but have been using the rattle cans for ease of use. I find they don't have the spitting issues that you get with some of the Tamiya rattle cans (though, I recently sprayed some Tamiya Insignia White from the rattle can without any issues at all).
-
That's some really nice rigging Joe, excellent job!
- 140 replies
-
- 3
-
-
- benjamin w latham
- model shipways
- (and 1 more)

