DONATION DRIVE - SUPPORT MSW - DO YOUR PART TO KEEP THIS GREAT FORUM GOING!
×


Landlubber Mike
-
Posts
4,541 -
Joined
-
Last visited
Content Type
Profiles
Forums
Gallery
Events
Everything posted by Landlubber Mike
-
 Thinning sounds like a good idea. I've been mostly using Vallejo, which you can shoot straight from the bottle. I've found, however, that some of their products (like the Metal Varnish) greatly improve with a little Vallejo thinner added. Some of their primers are a bit thick too, so I might try thinning them a tad as well. In any event, now that I'm a little more familiar with various paints and the airbrush, I'll probably resort to thinning even Vallejo.
 -
Thanks Popeye! I'll post pictures when I get to the stage, but the wingfold set makes things fairly easy. The kit has the bottom of the fuselage and the lower half of the wings as one set. You first cut the wings off that part. Then, the kit provides you with replacement wings that are in two pieces - the base stub that fits against the fuselage (and doesn't fold), and then the remaining part of the wing that's folded. So, probably a little less surgery than otherwise would be necessary if you were planning to use the kit parts to make the wing fold.
-
Thanks very much! I've read similar tips, as well as spraying a bit of clear coat to seal the edge. My guess is you have to be careful as you say not to spray too much and get a raised edge. One thing I personally need to be better about is spraying multiple thin coats rather than try to get the paint down in one go because I've gotten raised edges from putting too much paint down. Better to spray a light coat, and then come back if you need it. In the long run, saves much more time over having to fix raised lines, bleeding, etc.
-
Glad to hear you're coming along Lou - hopefully the dust settles sooner rather than later. Hang in there my friend!
-
Tom, no worries at all and many thanks for the kind words. I had a really hard time choosing the color scheme myself as these planes came in all different colors, including white, black, green, yellow, etc. Some had the full cowl painted like the ones I did, others had only half the cowl painted. I'd probably still be trying to decide if I had only one kit in the stash Great start on the Vaporetto by the way. Looking forward to watching you progress on that one!
-
Yves, this is absolutely incredible work. Just caught up on your log and I'm just completely astounded. I would have given a thumbs up to every one of your posts, but I didn't want to blow up your notifications box Nice job! For flags, you can also see if you can find a cloth/vinyl flag. They are easy to fold and add PVA to hold the creases in place. I've seen some take aluminum foil and paint it but my guess is the flag is too complicated in design to do that.
-
Incredible work as always! Very nice job, thanks for sharing with us.
- 136 replies
-
- 7
-

-
- strasbourg
- finished
- (and 2 more)
-
Hello! A warm welcome to the forum from across the Potomac!
-
Looking great Greg, another masterpiece in the works. I'll also echo what others said - that catapult is absolutely amazing, very nicely done.
-
Looking really good OC. Nice to see it with some teeth in
-
Very cool! I have their wherry model kit, and saw that they also had these 1:1 kits. Looking forward to watching it come together! Probably can't build it on the kitchen table, eh?
-
Very nice job - especially given that scale! Thanks for sharing with us.
-
I'm in on this one! Agree with Egilman - so impressive that one can pull off these models with all the intricate curves using card as opposed to pre-formed plastic. Looking forward to following along!
-
Thanks Ken, really appreciate the tips. I did just pick up that JLC one from UMM along with the mini miter box. They look great, and I think will help a lot with the resin. Can never have too many tools
-
Here’s a question - some of the resin parts are on fairly big plugs that are bigger than a quarter in size and a good 5-10mm in depth. Any recommendations on how to remove the plug? I bought a micro razor saw and was thinking of using it to cut as much as I can off, and using a rotary tool and/or sanding blocks to remove the rest. I read that resin dust is harmful (but really, what dust isn’t?), So just want to do things as easily and safely as possible.
-
Thanks for that info guys. I read Ian Toll’s first two books on the Pacific War which I highly recommend. Just saw that third and final book in series is out now - hooray! I was all jazzed up late night to start building, but instead i spent time fixing some of the parts that had broken, washed them to get the residue off, and organized the parts in a plastic box rather than stuff them back into a plastic bag. Also spent time organizing my thoughts on how to proceed by matching up the instructions for the kit with the Aires and Eduard aftermarket sets. The kit doesn’t have many parts, but my guess is that the Aires set is going to triple the build time with al the intricate details. The engine Itself has probably 2-3 dozen parts when all is said and done. The Aires set has replacement panels so you can show off things like the engine, the gun bays, etc. I’ll see how things go, but I might do a diorama of the plane getting maintenance on a carrier deck to be able to show things off and keep the panels.
-
Hey Roger, agree about the progression. Interesting stuff. Apparently the Wildcats were slower than the Zeros but built sturdier and ended the war with a great kill/loss ratio of 6.9 : 1 according to Wikipedia. Actually, a raft sounds a lot more likely. One would think the parachute would be with the pilot in the cockpit! For resin, you have to use CA and not the typical plastic cement. I don't know if the white glues work, but had some resin parts in my F4B-4 and P-6E builds that I attached using CA without problem.
-
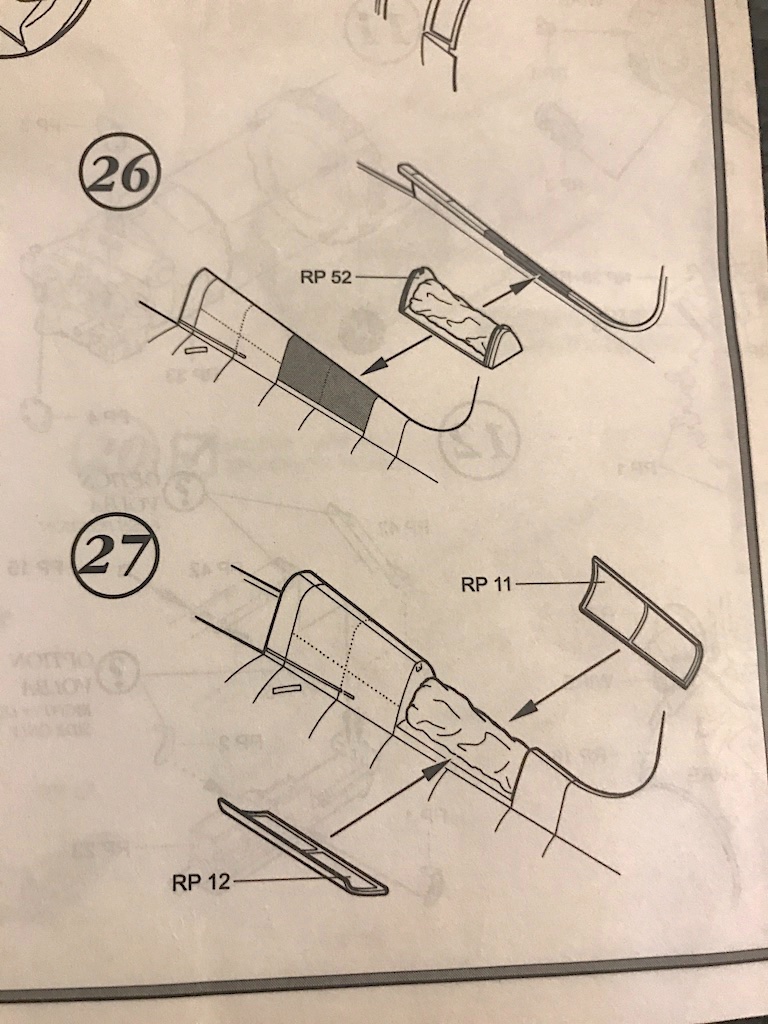
Anyone know what part RP52 is supposed to represent? It's on the spine of the aircraft behind the cockpit. Is it supposed to be the parachute? It looks like it has the shape and texture of something like cloth:
-
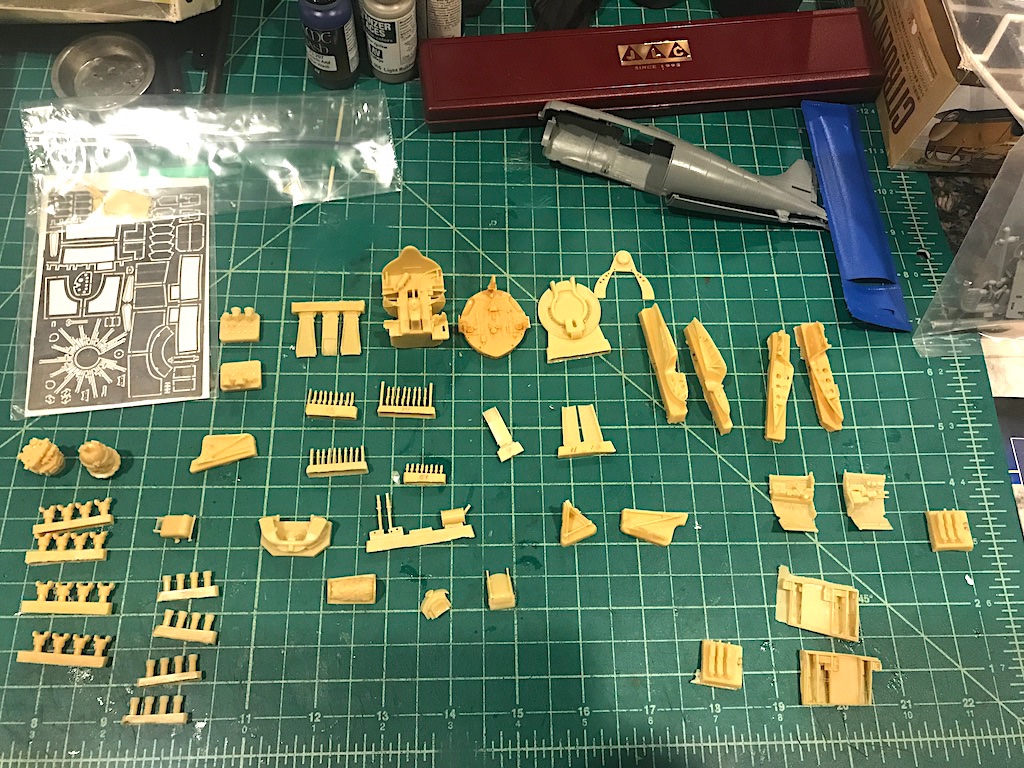
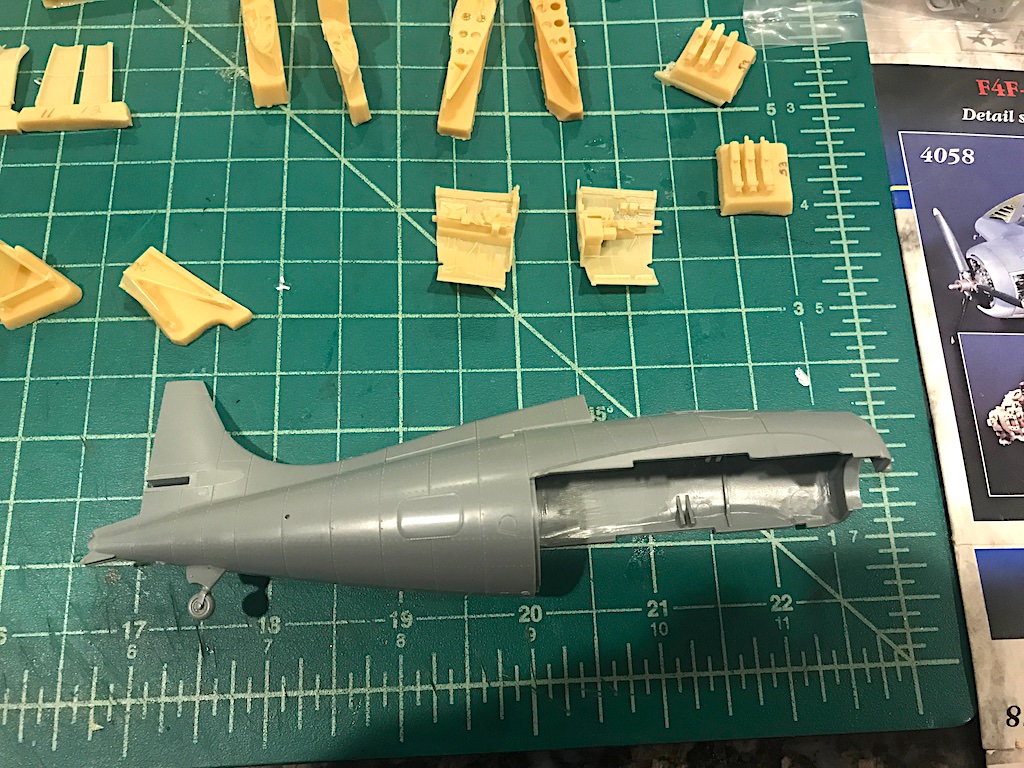
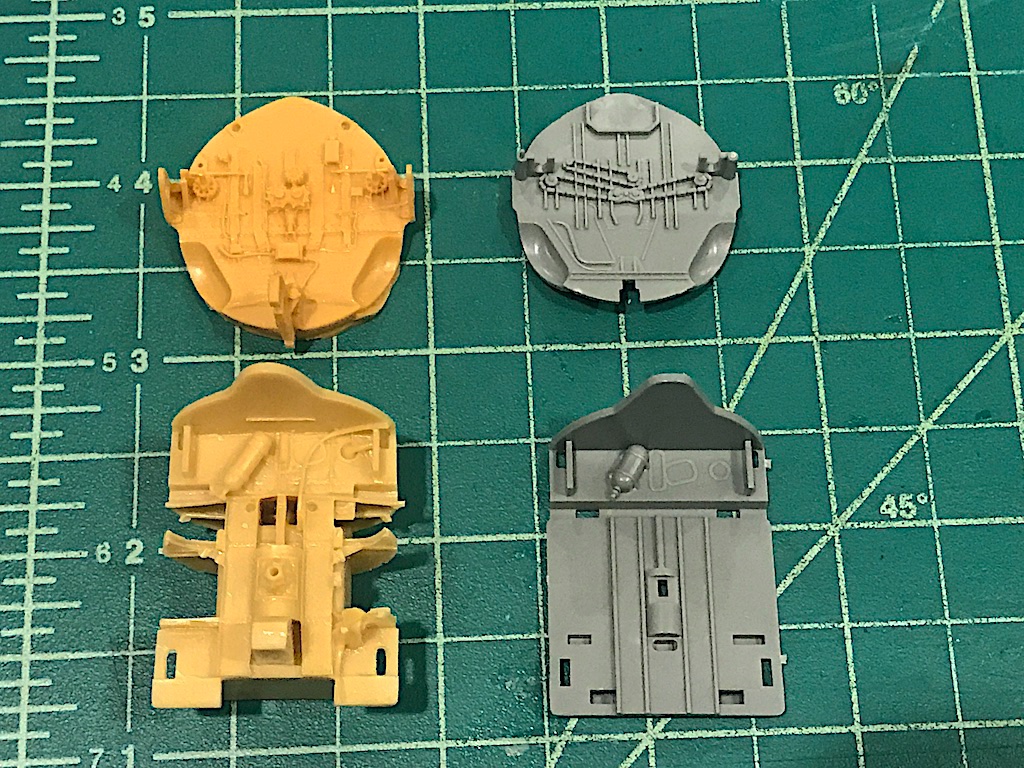
So I spent some time working through the kit and the aftermarket. The kit is fairly simple to assemble, with only nine or so steps, and can probably be done in a week out of the box. Interesting way they approach the cockpit - the kit has you assemble the fuselage first, and then run the cockpit up into the fuselage from under the plane. At least on the last few planes I've built, the cockpit was built first and the fuselage assembled around it. The Aires aftermarket packet is a bit overwhelming. Lots of resin pieces, along with two small sheets of PE! The kit details are pretty nice, but in the second picture below, you can see some examples of how the Aires set adds a little bit more detail (for the top item, there's actually additional PE you're supposed to add to the part like the gear chains). Of course, one won't be able to see most of this detail, but I suppose the fun is knowing it's there. I also have the Eduard PE set for the kit, and it is mostly focused on the cockpit. Some of the details like the seatbelts and the dashboard are nicer than the Aires set. I might try both out, or possibly swap out some of the Aires stuff with Eduard PE if it looks nicer. I'll just have to take a deep breath and figure things out. Some of the parts are on fairly thick plugs, so it's going to take a lot of work to remove them. And the instructions are pretty much pictures. They are fairly well done, but sparse is probably a good way to describe them. Fingers crossed this goes smoothly...
-
Thanks guys, really appreciate the kind words!
-
Thanks man, really appreciate the kind words. I'm slowly getting the hang of this plastic stuff - a lot trickier than it looks! Thank you! Really appreciate it! Get better soon Lou! I'll try to delay my wife as much as I can
-
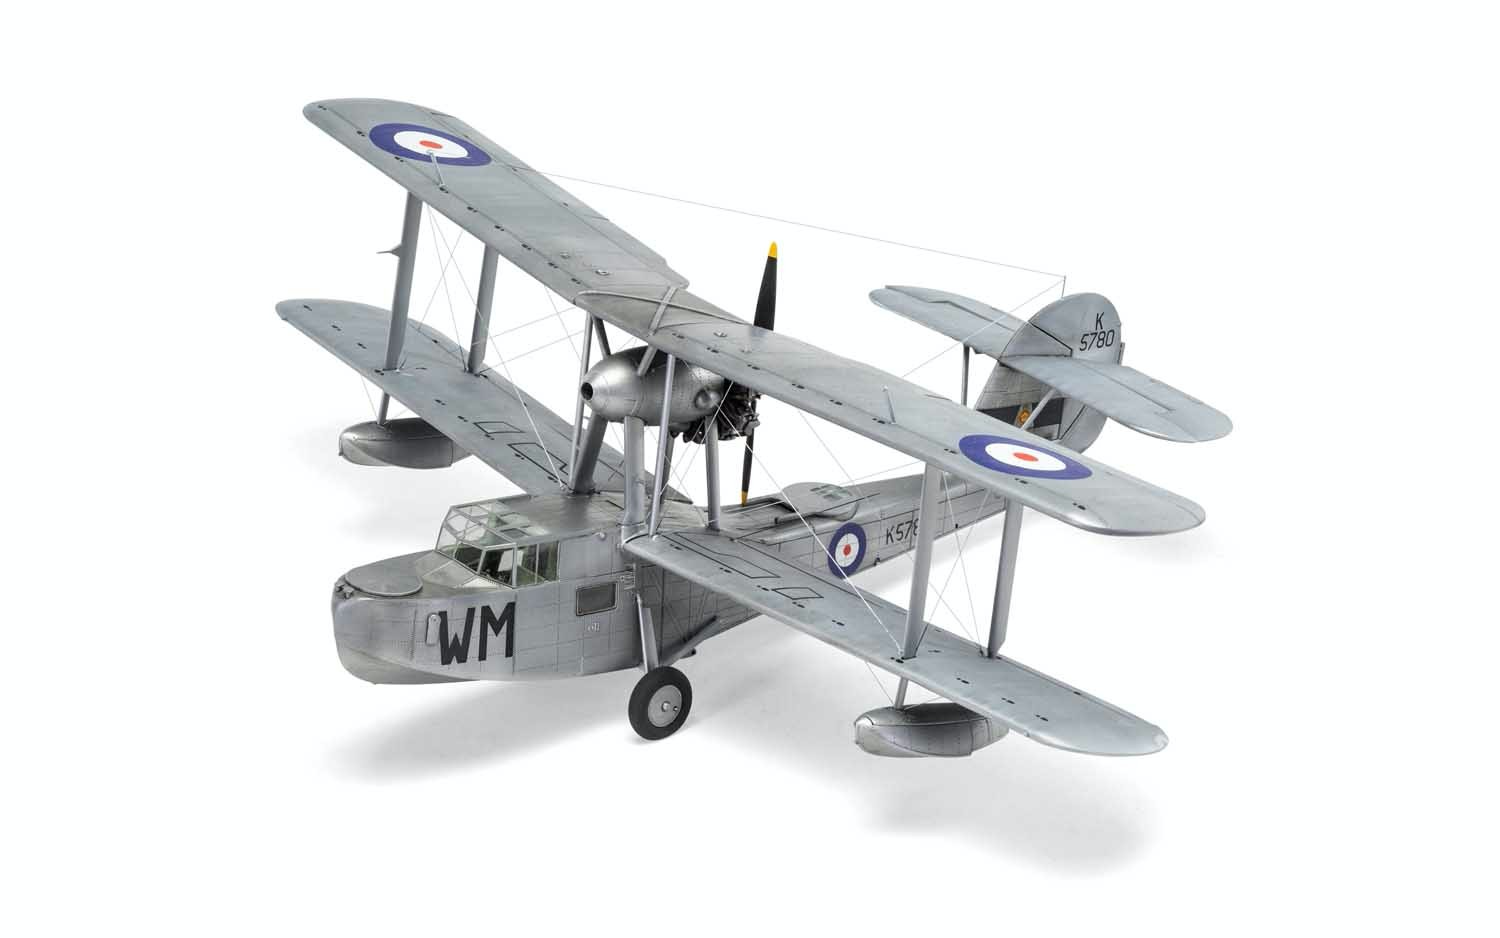
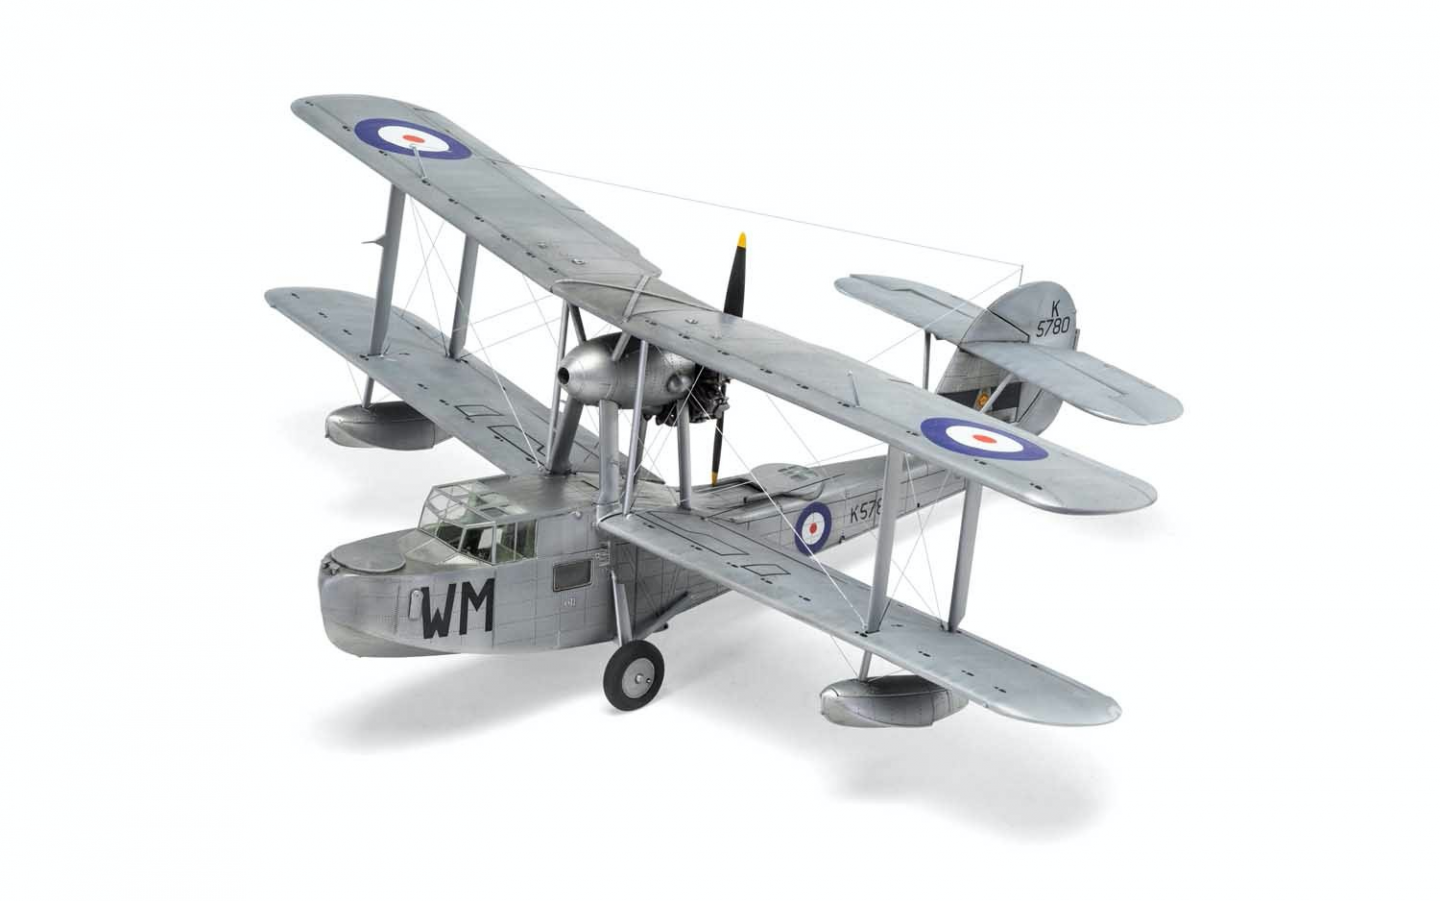
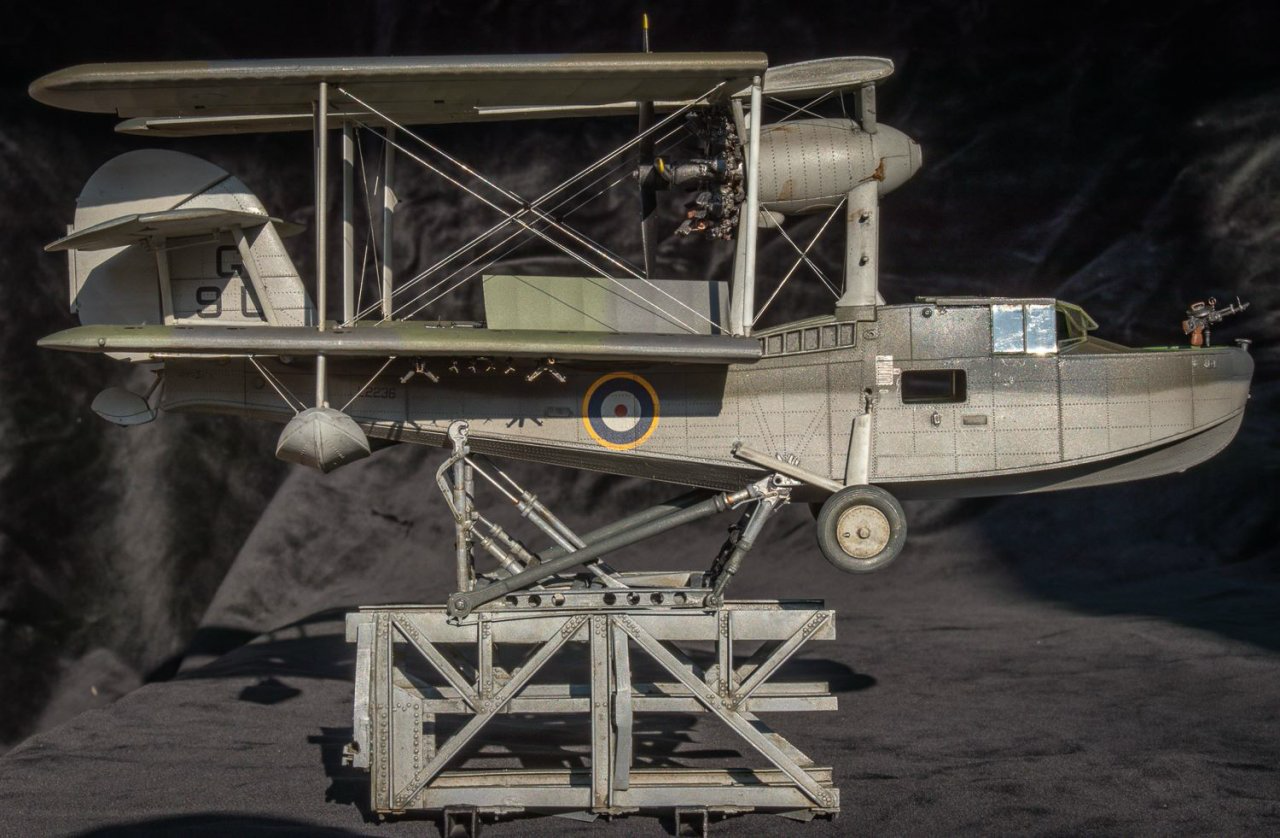
Hey Lou, thanks for the kind words! Really appreciate it. You didn't miss much the last few weeks except for me working out a bunch of new cuss words on things like the cowl, the pitot tubes, etc. You should definitely build that JRS-1! What a cool looking bird! I tend to like the quirky stuff. I'm not itching to build in 1/72 any time soon, but I've been looking for one of those since you mentioned it a few months ago. They are pretty rare for sure! Looking at plane "boats" I did come across the Airfix Walrus which is now in the stash. Ugly looking thing but I like it! Even found a cool catapult set to build with it to set it up as a diorama when I get a little more skilled. I'll blame you for inspiring me if my wife finds it
-
Unless you are going to build your own, I would consider getting the sliding table. Makes cross cutting so much easier -- and more importantly, much safer. Not sure if Jim is still building them, but consider getting a wider table top for the saw. With the wider table, you can keep the fence on the table while using the sliding table, rather than have to remove and reinstall the fence when changing the cuts you're making.