


MEDDO
-
Posts
1,868 -
Joined
-
Last visited
Content Type
Profiles
Forums
Gallery
Events
Posts posted by MEDDO
-
-
40 minutes ago, VTHokiEE said:
Those carvings do look really nice; even with that boxwood start I’m very impressed! You’re doing a great job on this.
Thanks! Every attempt gets better.
- GrandpaPhil and JpR62
-
 2
2
-
Thanks Chuck I am going to think about it.
Thank Bob!
3 hours ago, BobG said:Did you start the carving with just a line drawing on the wood?
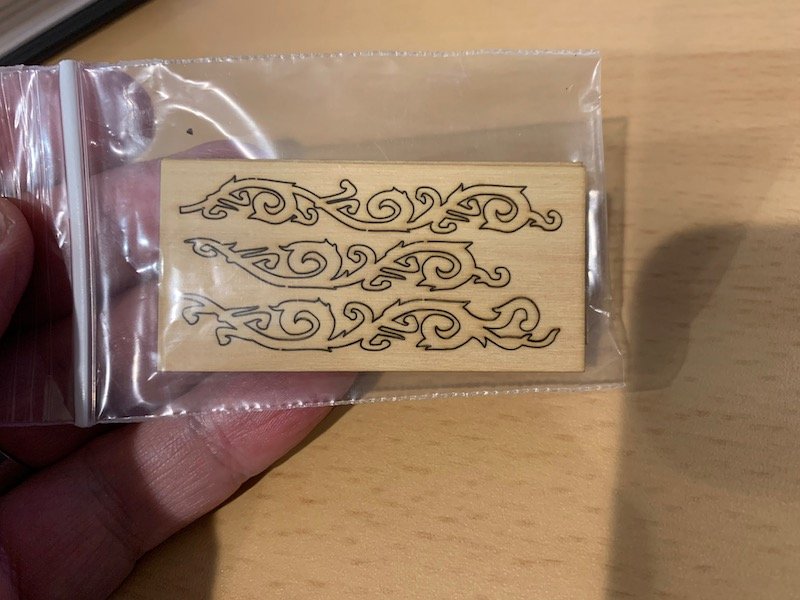
The carvings are included in the kit. I think the kit comes with resin castings and the boxwood ones are an extra. Sort of an introduction to carving
- GrandpaPhil, Ryland Craze, VTHokiEE and 1 other
-
4
-
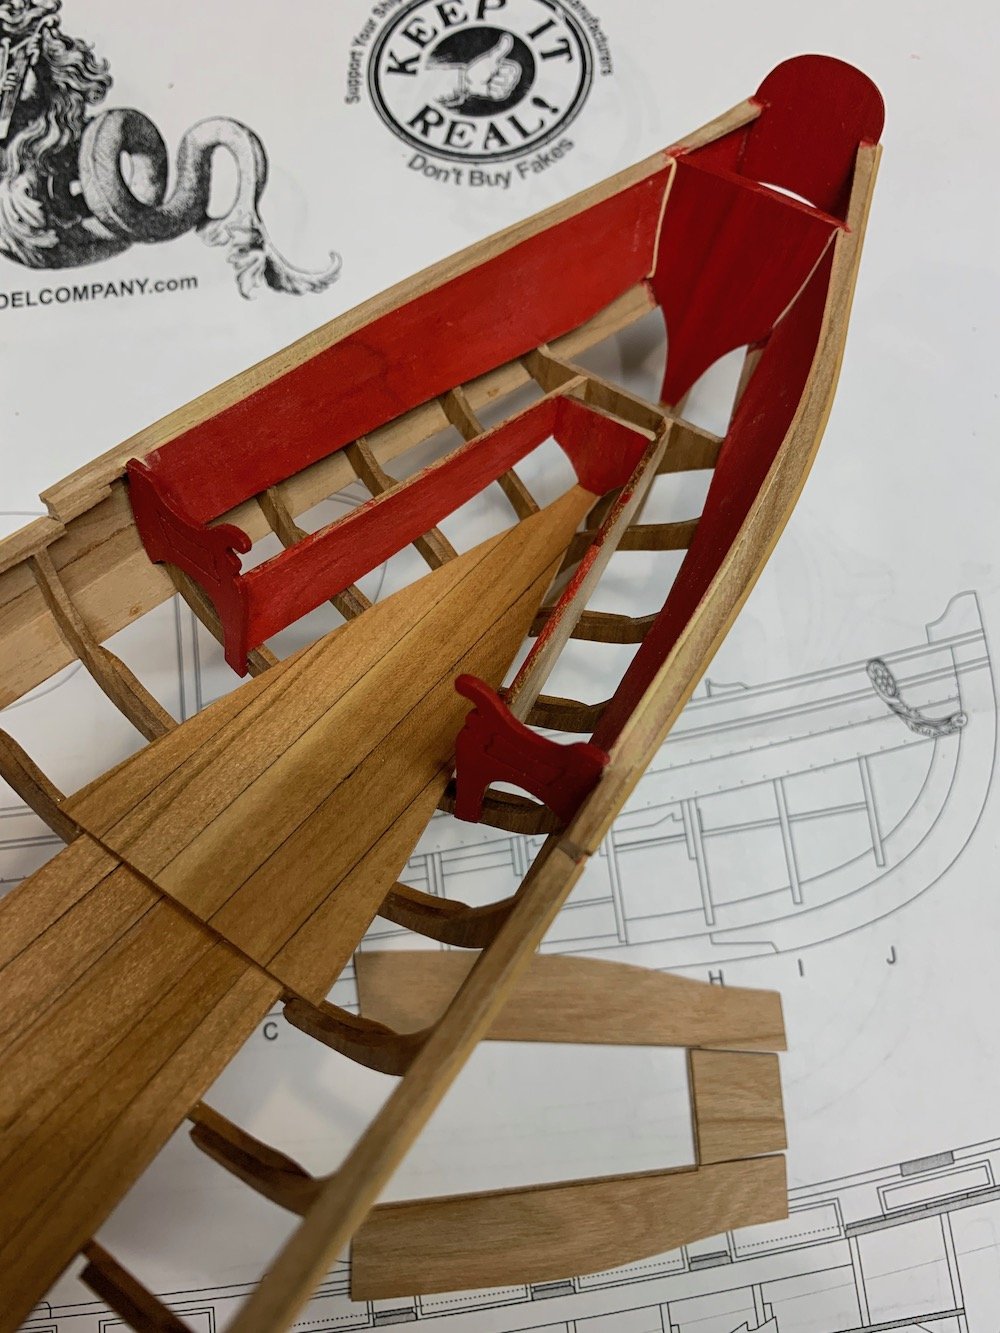
Starting to get the rear seating area started. I am painting the uprights as it will be difficult later as the bench tops overhang a bit.

As I am waiting between coats of the paint I have been practicing carving. On each piece I am getting better and doing less damage. This time was able to avoid knocking off any of the tips. It is about 60% there, still need more practice.
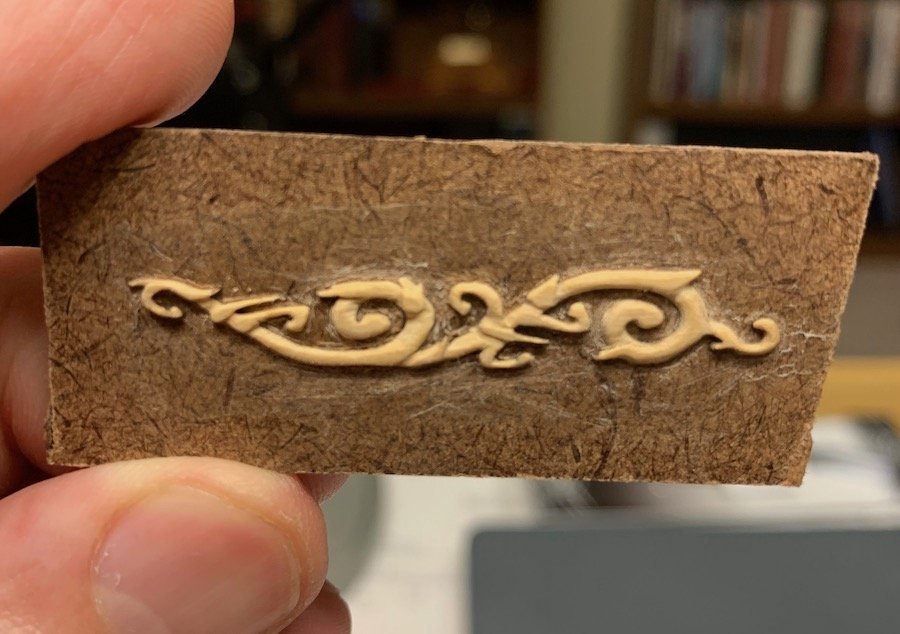
This is just a test piece so I decided to use a small portion of the most valuable thing in my shop and release it from the backing. The isopropyl alcohol soaked in and in about 15 minutes it just floated free.

After letting it dry I just dropped it on the model to get an idea of what it would look like. Would probably use some wipe on ploy on the final pieces.
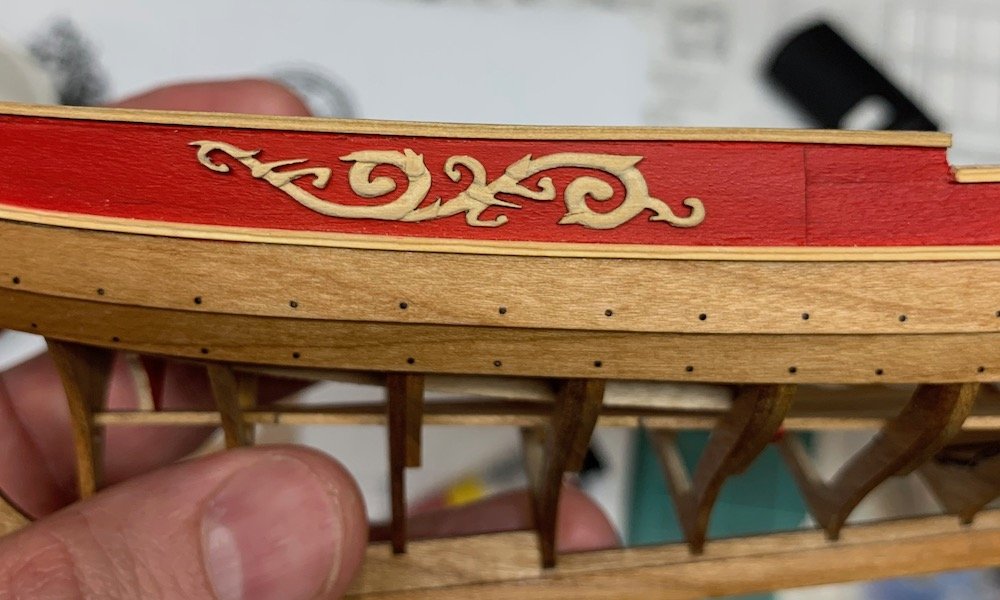
I think the trim pieces should have been placed closer together but o well to the unaided eye it looks fine.
Now back to painting...
-
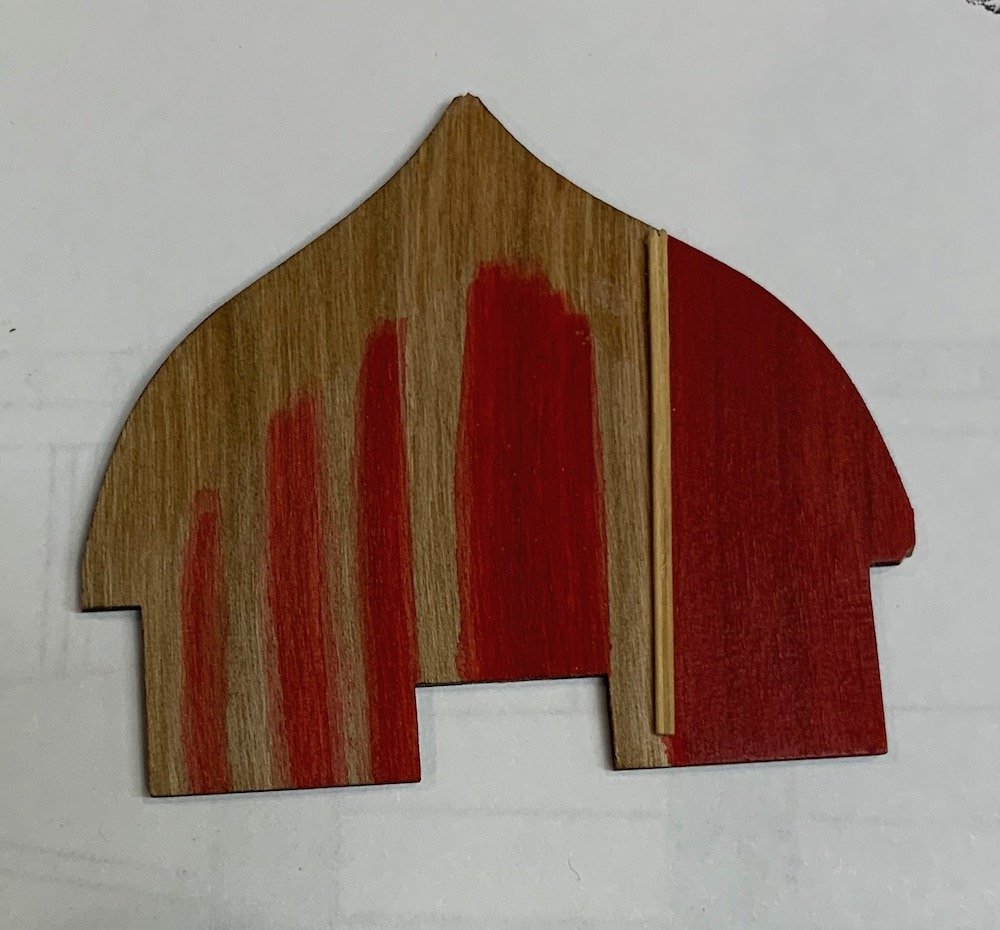
This is a test piece on scrap wood I made just to see if I like that particular color. Wood is cherry and the top edge approx 1 cm has wipe on poly applied. I just wanted to see if the paint looked different over bare wood vs the wop. The right side has about 15 coats of very thin paint. In certain light you can almost see a difference in the sheen/tint but it is very very subtle. I would probably not wop before paint but at least in this small sample it didn't matter too much. Next time I get the wop out I am going to coat the entire thing just to see what wop looks like over top of the paint. Just to see because why not
- JpR62, Moab, GrandpaPhil and 5 others
-
8
-
1 hour ago, jdbondy said:
Michael, I have been delinquent in following your build. Great work! When you made the homemade scraper, what kind of incredibly small file were you using to cut the desired shape into the scraper?
I just have the regular Grobet needle files and they were way too big. No matter what I tried I couldn't get the profile small enough so after I heated the blade as hot as possible and let it slowly cool (basically trying to un-harden it) I just used this saw. For a cheapo micro mark saw I use this thing all the time. I also occasionally break blades but have a few hundred more so eh.... I was able to then finish the profile off with the very tips of the files
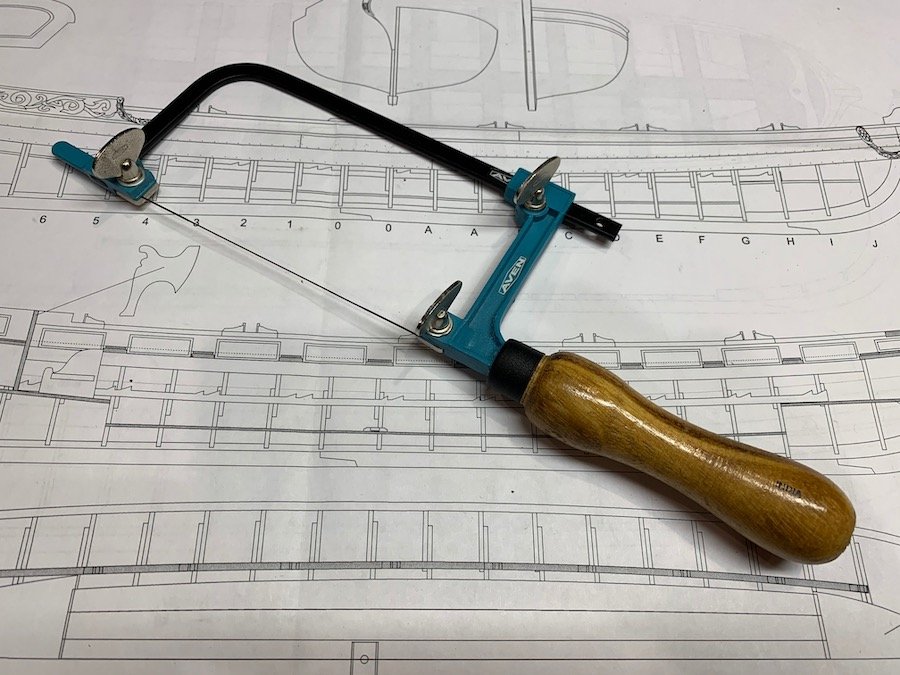
edit: btw the blade width is 1/64in
- BobG, Ryland Craze and druxey
-
3
-
-
Make the decision easy....
or
Historically accurate, intermediate level, and the best instructions in the industry
(I might be biased 😁)
- mtaylor and Ryland Craze
-
2
-
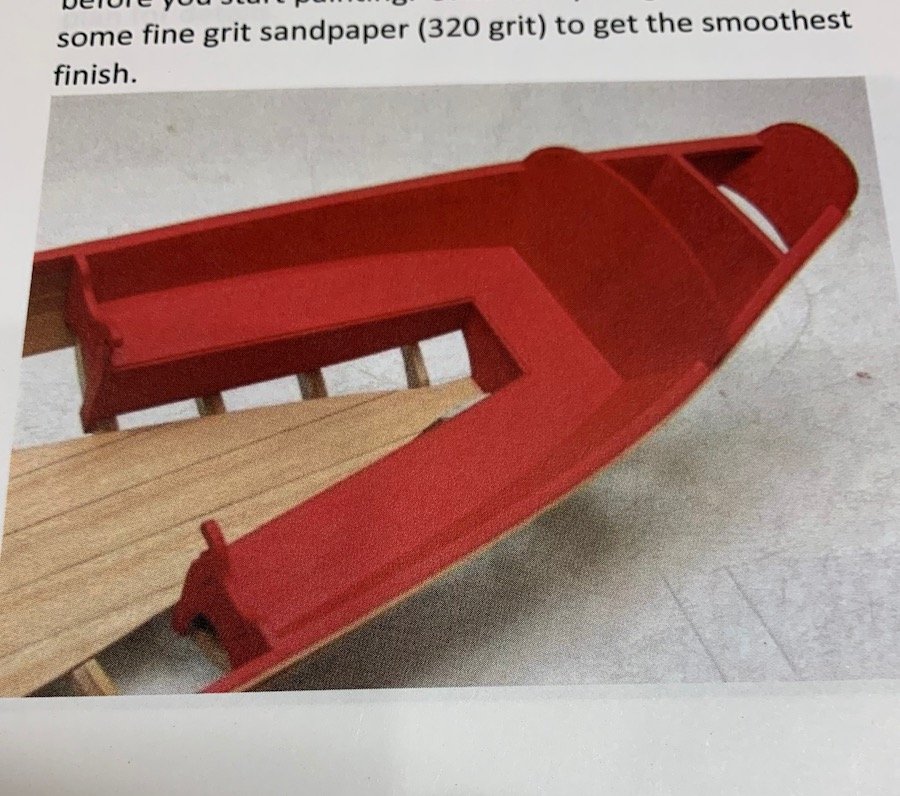
here is a photo of the instruction manual showing what it will look like
- Chuck, BobG, Ryland Craze and 1 other
-
4
-
Basically the front of the rear seats
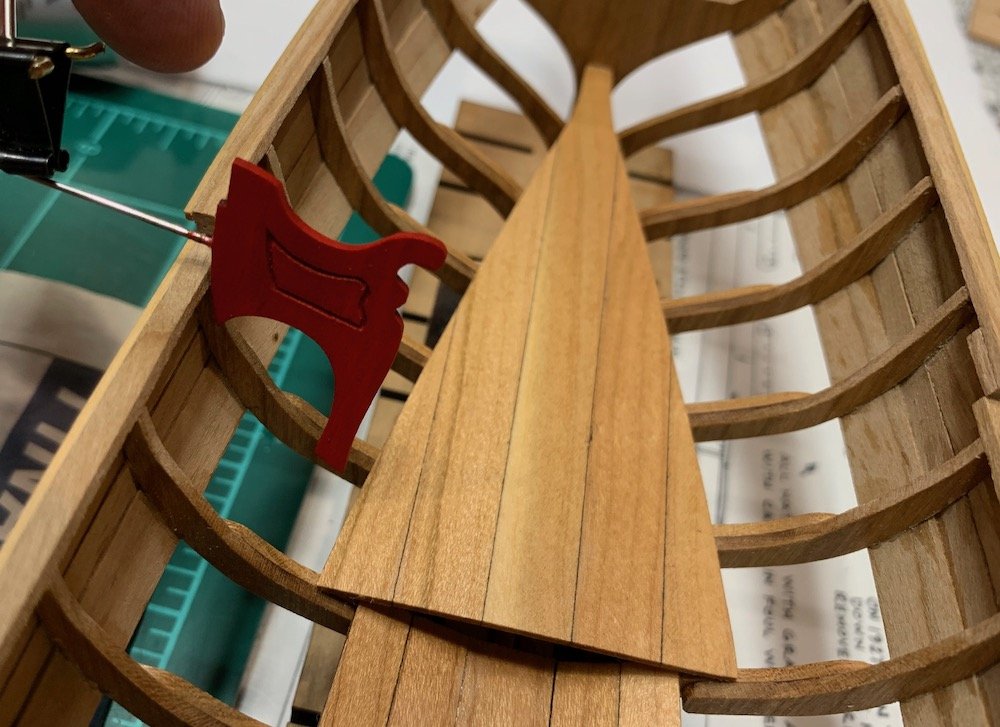
paint these and then place on model then I can proceed to build up the rear seating and panels
- Ryland Craze, BobG, GrandpaPhil and 3 others
-
6
-
So I ran into a bit of a problem yesterday. I was painting the armrests using my regular technique of many very thin coatings. I was planning on putting 3 or 4 coats on a side then flip it over to so the other. Welp that didn't work because when I walked away for a minute and when I came back the armrests were basically pretzels. I guess wetting only one side wasn't such a good idea. I then soaked the pieces and placed them between some wax paper and flat surfaces then weighed them down to flatten them. Let dry overnight and they are back to flat. But it just cannot be easy I guess cause somehow some dark spots showed up on the pieces. Not sure what it is as the wax paper was new/clean. Anyway it looks like they can be sanded back to clean. Will start over painting both side at same time
- BobG, Chuck and pythagoras
-
3
-
the easiest thing would be just to start your own thread/poll on the topic you are interested in
for example
What is the best <insert ship name> kit. I know there are <4-6> different kits of this ship. Why do you think your choice is a good one and what are the plusses and minuses of your choice etc etc
That way you could have a discussion on a particular ship and get feedback about every manufacturer that makes one
-
-
Dave, great to see you at least have some time in the shop. Looking forward to this build as you have said not too many others have posted about it. I did consider this one seriously as my next but still think it will be the Cheerful...then who knows echo cross next maybe a kit bash... All depends on the work requirements
- mtaylor and Ryland Craze
-
2
-
The one and only time I tried this I used a paper clip and it seemed to work well enough
-
-
2 pages for me. Very detailed and long posts with lotsa pictures make for long pages. I have this in my stash and will eventually be to building her. Your log will be a great reference. With how fast I build I will also be part of the 20year club. Hope I make it that long. I grew up in Baltimore and my father has some pictures of me in the shipyard with the original as she was being built.
-
Absolutely wonderful result and I really like that the final placement in out in the open for everyone to see
-
Wonderful work! Looks great in the case. Not sure if you mentioned already but have you thought of the next project?
-
Beautiful, such clean and precise work.
- FrankWouts, Stuntflyer and bdgiantman2
-
3
-
-
Those foot ropes and sheer poles look so tidy. The rope coils certainly look better than previous. Will have to remember that technique.
-
Lookin real nice there. Agree it is always very satisfying when it all starts to come together
-
Outstanding work. The end result came out really nice. When I get to a much larger ship will definitely have to do something like this at the beginning of the build. Although I really do like large carved cradles as well.
- Canute, mtaylor and Ryland Craze
-
3
-
3 hours ago, rlb said:
Justin,
Your progress is looking great! You might want to try making a paper or card pattern for the garboard plank. Then you could work out the tricky shape and cuts without experimenting on precious wood!
Ron
this is exactly what I was going to suggest. Especially for the second plank to be that edge bend and then have the end fit nicely into the rabbit. Easy to make card template and then fit on top of your plank to trace profile.

Medway Longboat 1742 by Ryland Craze - FINISHED - Syren Ship Model Company - 1:24 Scale
in Medway Long Boat - 1742 - Public group project.
Posted
Looks great. It is surprising how much a larger brush really makes it smoother. Unfortunately my daughter absconded with my nice brush so I am using a very small one again. How are you liking that color choice? I can never really tell on the computer screen