DONATION DRIVE - SUPPORT MSW - DO YOUR PART TO KEEP THIS GREAT FORUM GOING!
×


MEDDO
-
Posts
1,871 -
Joined
-
Last visited
Content Type
Profiles
Forums
Gallery
Events
Everything posted by MEDDO
-
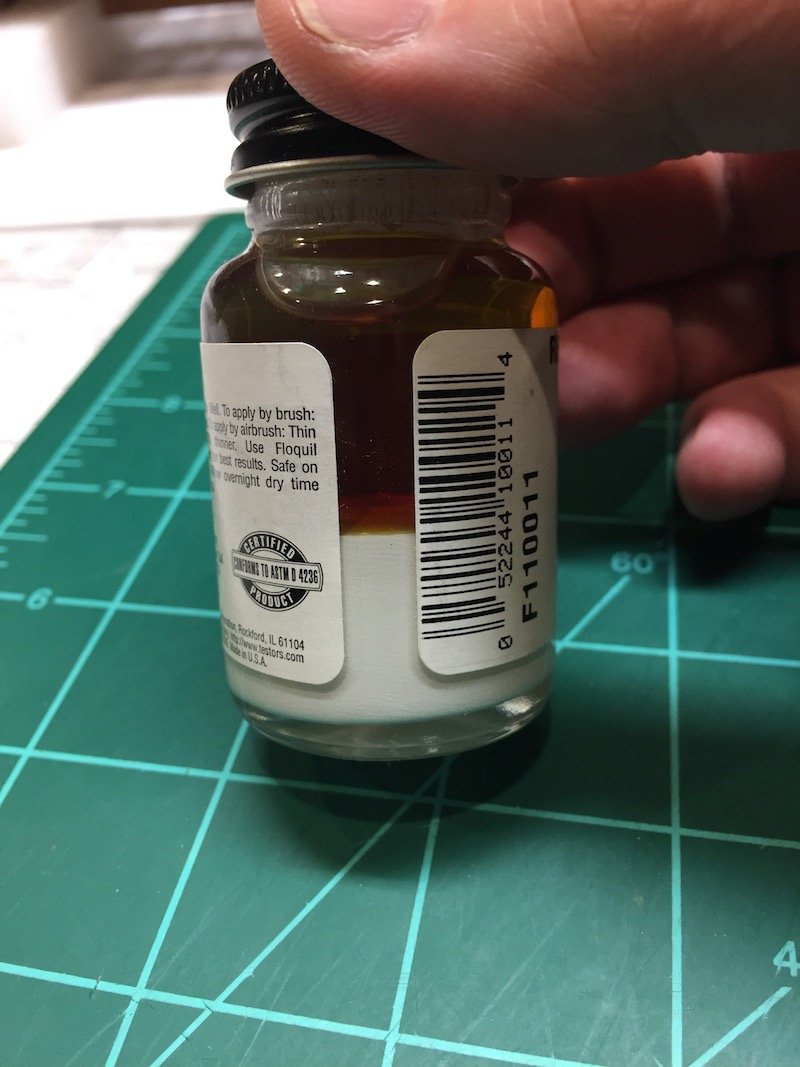
 I have a few bottles of Floquil railroad colors which are quite a few years old. I was wondering if they would still be useful. The last time I painted anything was about 5 years ago. Was wondering if I should try to use these or just grab some new bottles of a different brand (it seems Floquil has been discontinued). Here is the Reefer White bottle I have. I am sure the separation is normal after sitting for a while but just don't want to mess this up. I am going to try to mix this back up and try it out later tonight when I get the time. Any thought?
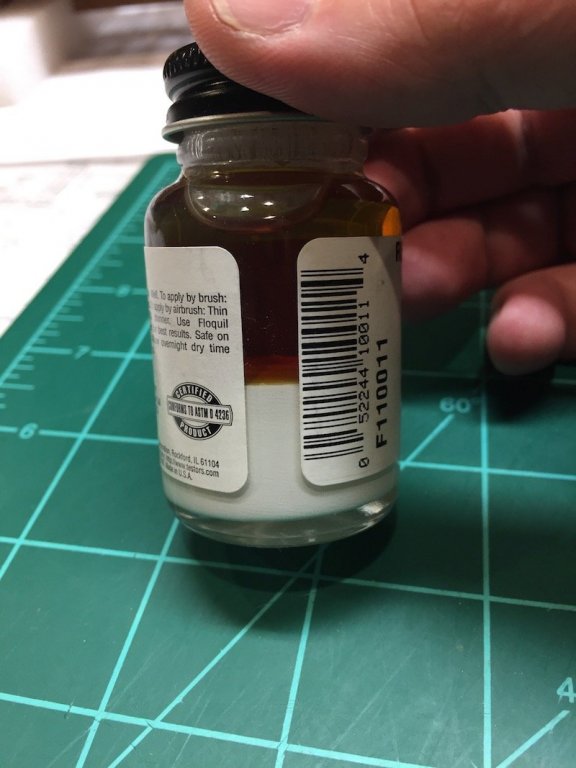
-
Painting Wales
MEDDO replied to JohnB40's topic in Painting, finishing and weathering products and techniques
I would be interested if anyone could chime in on this as well. -
Thank you. I'm thinking it might make the Constitution a side build. Work on it very slowly and if I lay a plank once a week or so then in about five years I'll have finished the hull😁
- 1,350 replies
-
- 2
-

-
- constitution
- model shipways
- (and 1 more)
-
This is looking really great. Whenever I see a great log of the Constitution like this I always think that I should revive mine. Then I remember that I have so many builds in the queue and I can't decide what to do next. 😳
- 1,350 replies
-
- 1
-
-
- constitution
- model shipways
- (and 1 more)
-
That's a great presentation with a wonderful case. Absolutely stunning.
- 366 replies
-
- 2
-
-
- pegasus
- victory models
- (and 2 more)
-
Haha 😁 no problem. I love to be associated with people who have way more skill than I do.
-
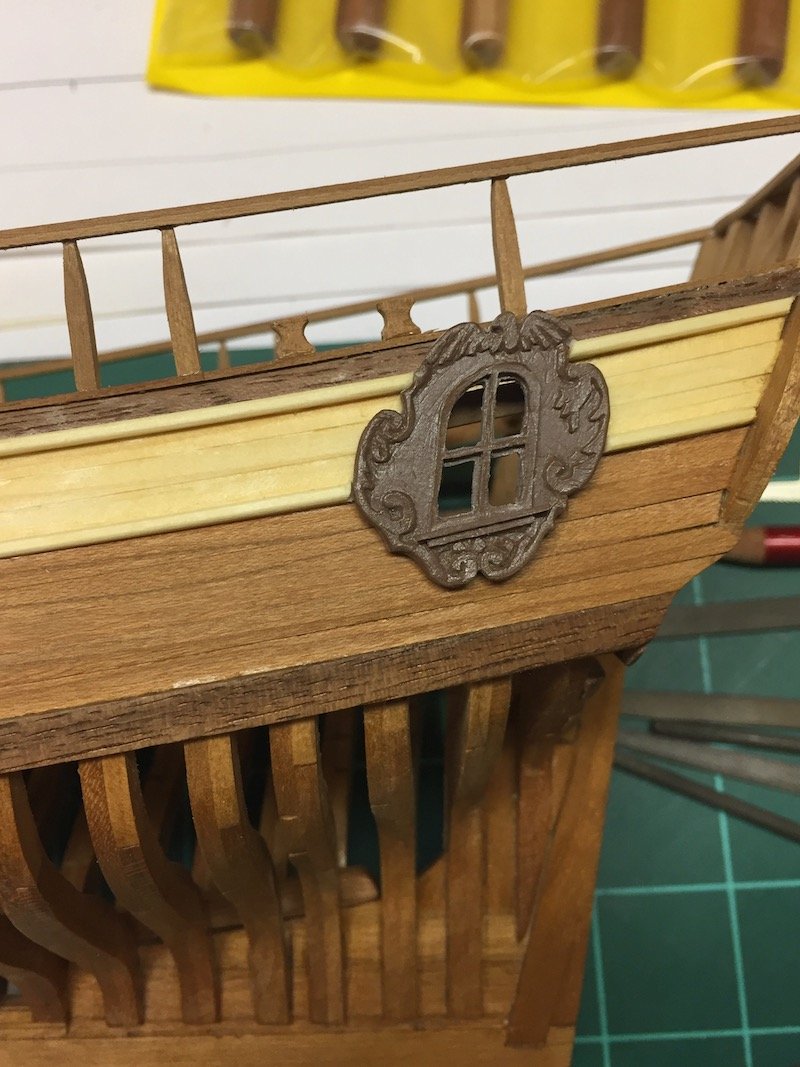
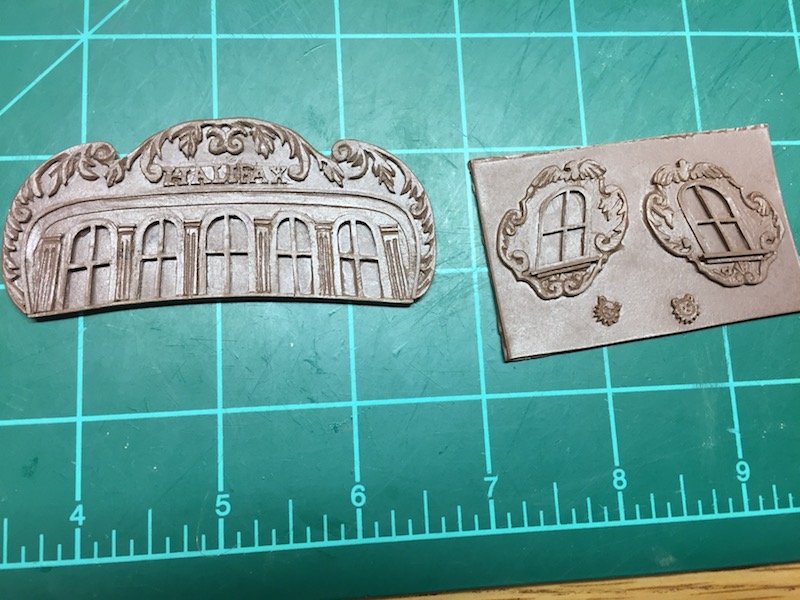
I'm in the middle of a run of 12 hour night shifts and don't have too much time but was able to finish opening up the windows today. Dry Fit..
-
Thank you. I am just using my small files. I am using the round one kind a like a drill to drill a hole in the middle and then slowly enlarging it with the half round, square, flat files. The material is soft enough that it's fairly easy to do. Not sure what it's doing to my files though. I have to make sure that I'm very careful. The material seem strong enough but as you can see on the second window from the right at the very bottom it will crack if I put too much pressure on it.
-
Thank you Carl. They are some sort of casted resin that came in the kit. Michael
-
It's shaping up very nicely. The filler blocks will make it much more stable. Wish at the time that I had been at this stage I would have thought of doing that.
-
I'll be interested in following along. This is also in my future build queue.
-
That looks fabulous. With such great rope available I don't know how we can continue to justify using the kit supplied stuff. (Finances not withstanding of course)
-
I like the look of the wing transom pieces. It's coming together really nicely.
- 682 replies
-
- 2
-
-
- halifax
- lumberyard
- (and 1 more)
-
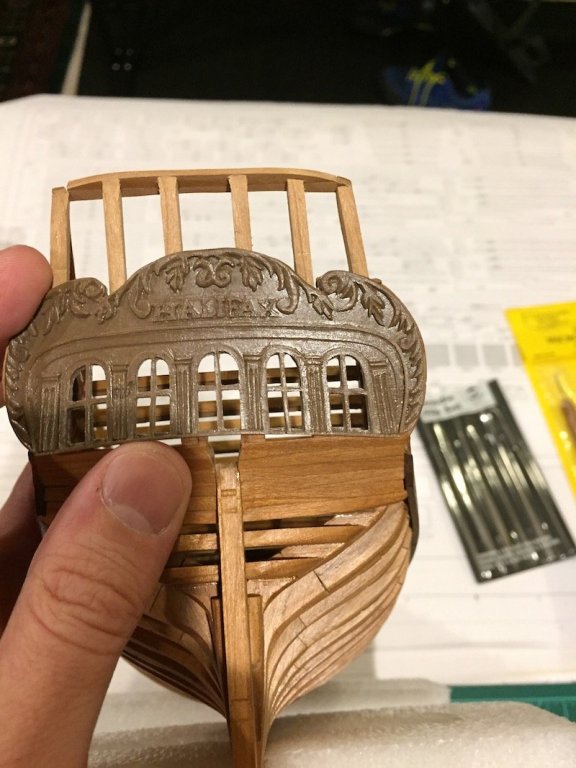
Was able to use a hair dryer to very gently bend the transom so it would fit flush on the back of the ship. And now it's just slow going cutting out all the windows. I am happy that the Stern posts are lining up with the windows very nicely.
-
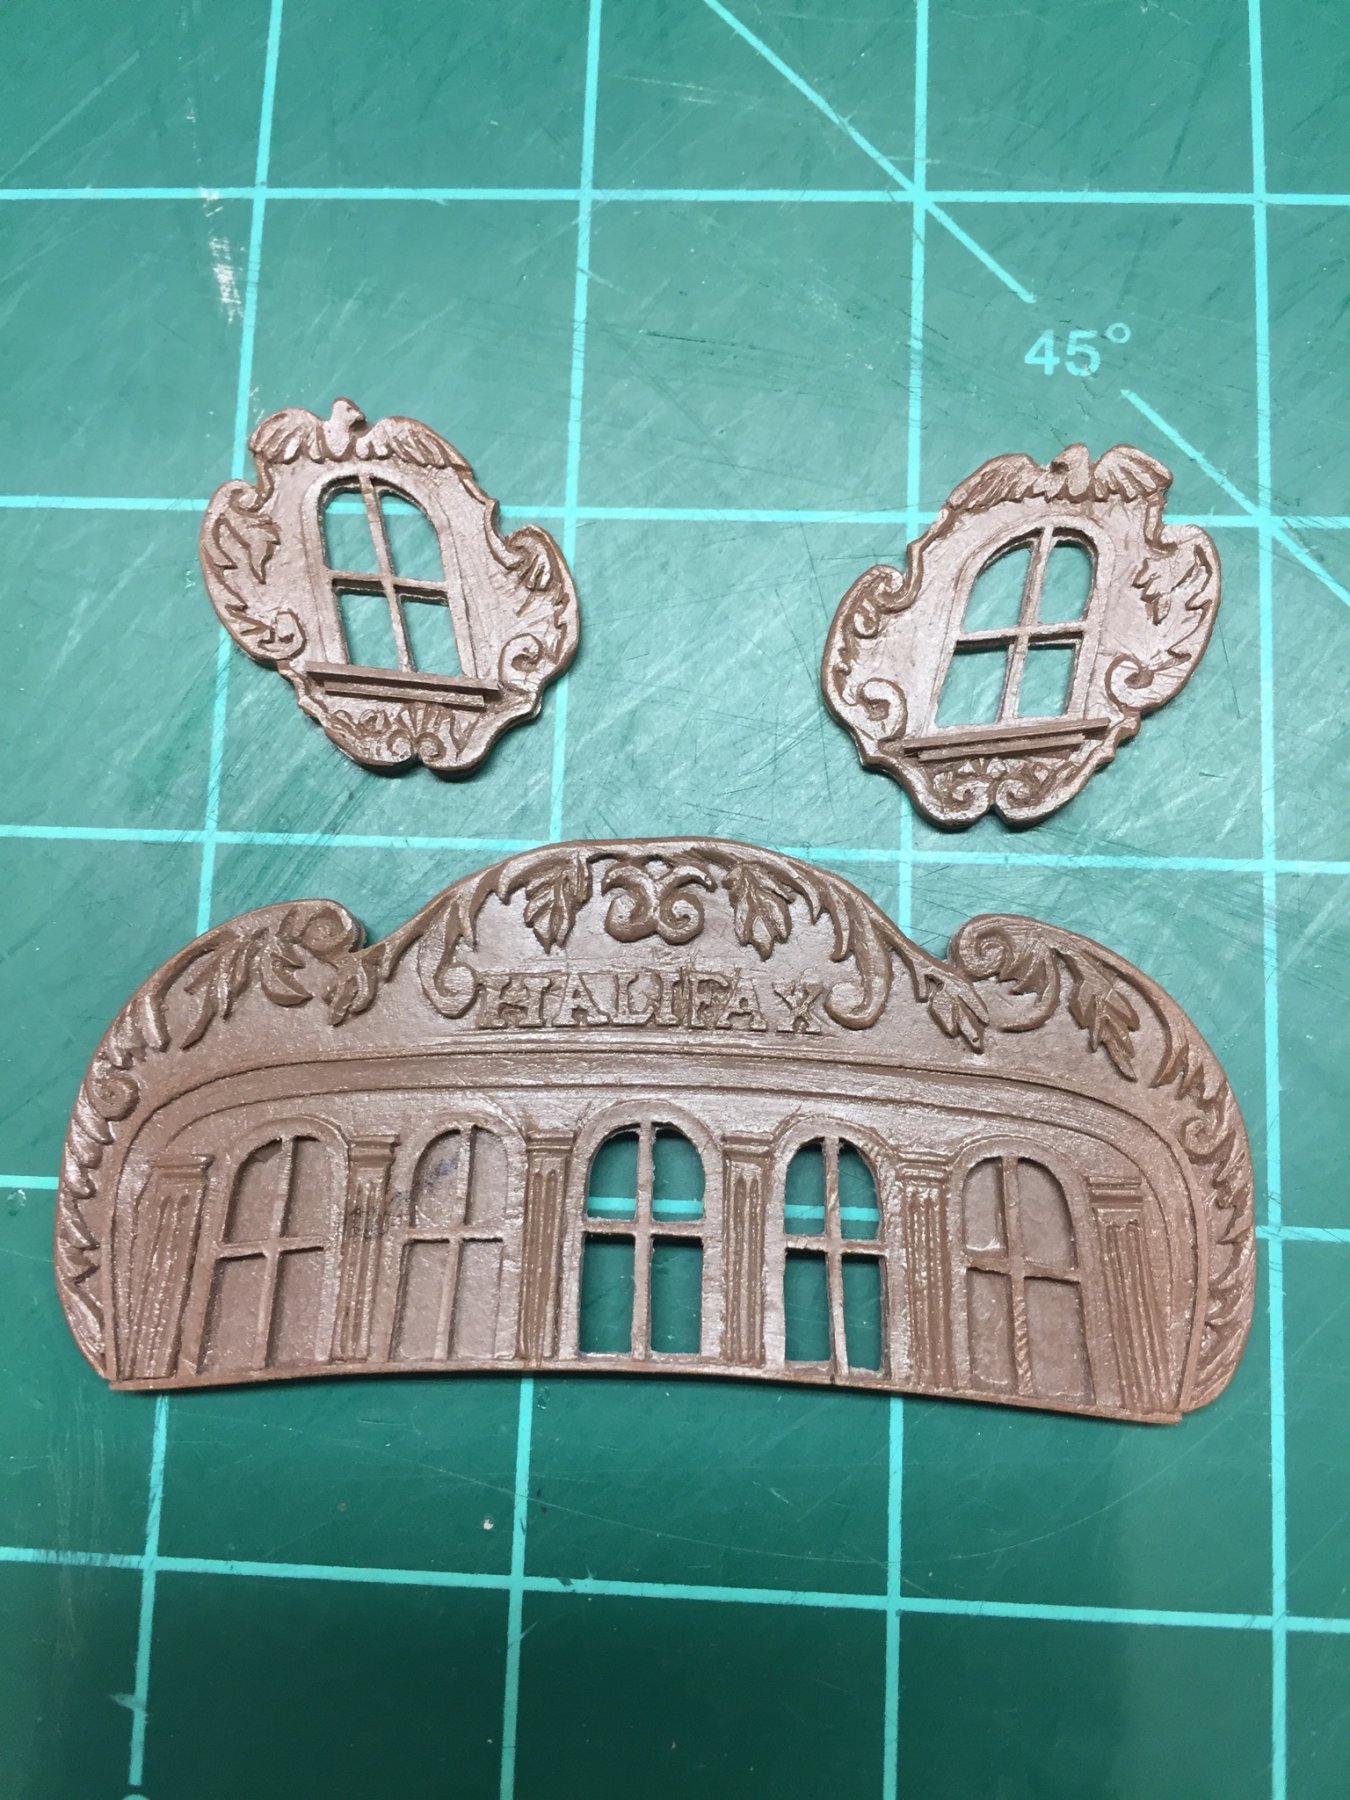
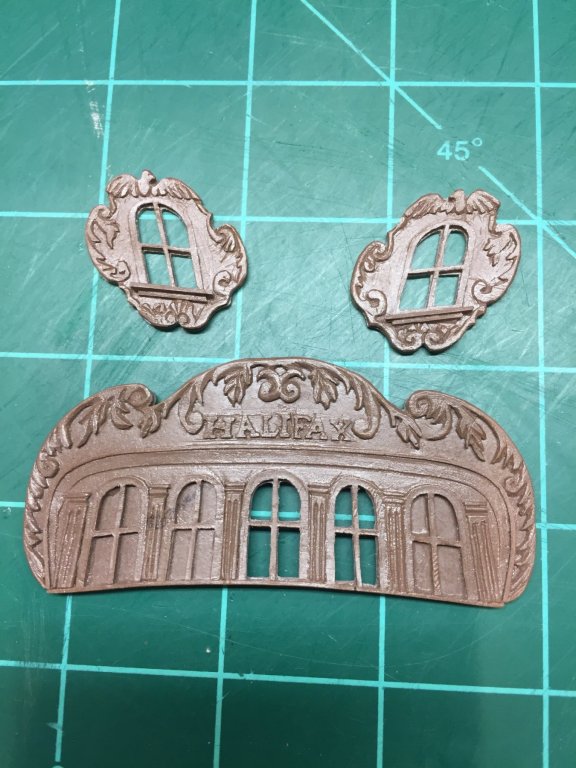
One of the quarter galleys rough cut out and fitted. After cutting the moldings it sits nice and flush. Will be set aside for final sanding/shaping and painting.

-
That's a great picture. It really gives a great representation of the scale of the model.
- 366 replies
-
- 2
-
-
- pegasus
- victory models
- (and 2 more)
-
Looks wonderful so far. I must say for me this was by far the hardest part of the entire build. It just seems all the different angles and the different sizes especially with the pieces I was using for my kit. I'm looking forward to seeing your next few steps.
-
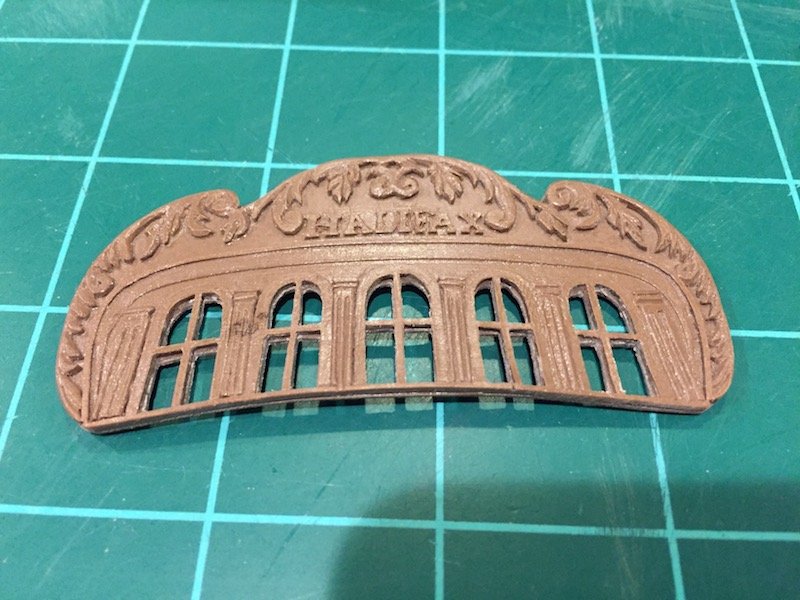
Spent the last few modeling days on what I think is the hardest part of the entire build to date...The headrails. Got them in and once the glue dries will work on a bit of final finishing. Next step is the stern and quarter galley resin castings. At one time I thought that maybe I would replace these with my own carvings but after a bit of practice I am nowhere near patient enough for that. Maybe one day in a few years Here they are (the stern has been filed down to shape and fits pretty well on the back). One thing is the casting is flat but the stern has a curve to it. It is not to bad but I would have to CA it to get it to bend and I hate to use CA. Going to try a piece of scrap to see if I can heat it up a bit and bend to shape. I have no idea if that is going to work. Will probably start with just a hair dryer and go from there.
-
Looks great so far. I will also follow along as this is a strong contender for a future build.
-
I will have to see if I have one of those in the toolbox. Overall I like the LSS kits but these last few parts have been a bit frustrating.
-
Dave you are probably correct but I am just getting a bit frustrated with some of these pieces. You can see the grain in the wood and those small pieces are splintering a ton when I am getting them removed from the blank. Luckily as with most of this kit, the pieces are double layered so I can glue all the fragments back together....most of the time...