MORE HANDBOOKS ARE ON THEIR WAY! We will let you know when they get here.
×


MEDDO
-
Posts
1,870 -
Joined
-
Last visited
Content Type
Profiles
Forums
Gallery
Events
Everything posted by MEDDO
-
 Beautiful! I really like the way your cant frames and hawse timbers came out. I remember those where somewhat of a pain for me to smooth out.
- 682 replies
-
- 5
-

-
- halifax
- lumberyard
- (and 1 more)
-
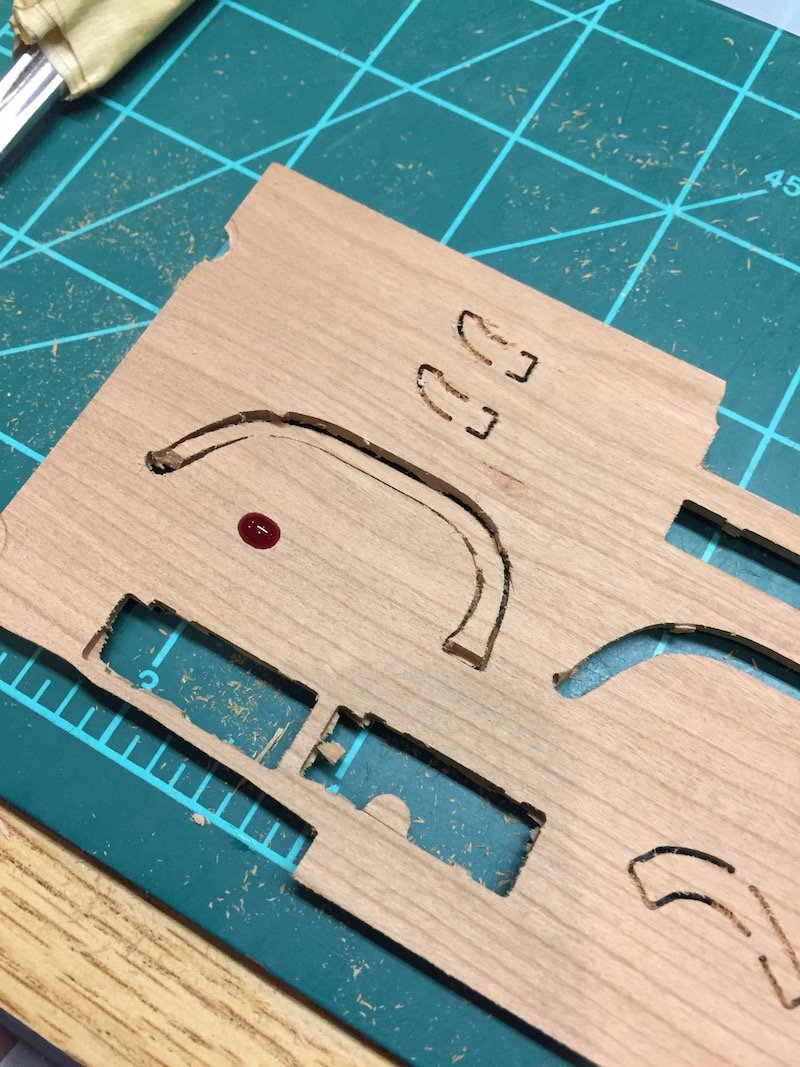
Don't know what is worse.... sanding all the char off of laser cut pieces or dealing with incompletely cut CNC pieces that don't go all the way through... with a bit o' blood ta boot

-
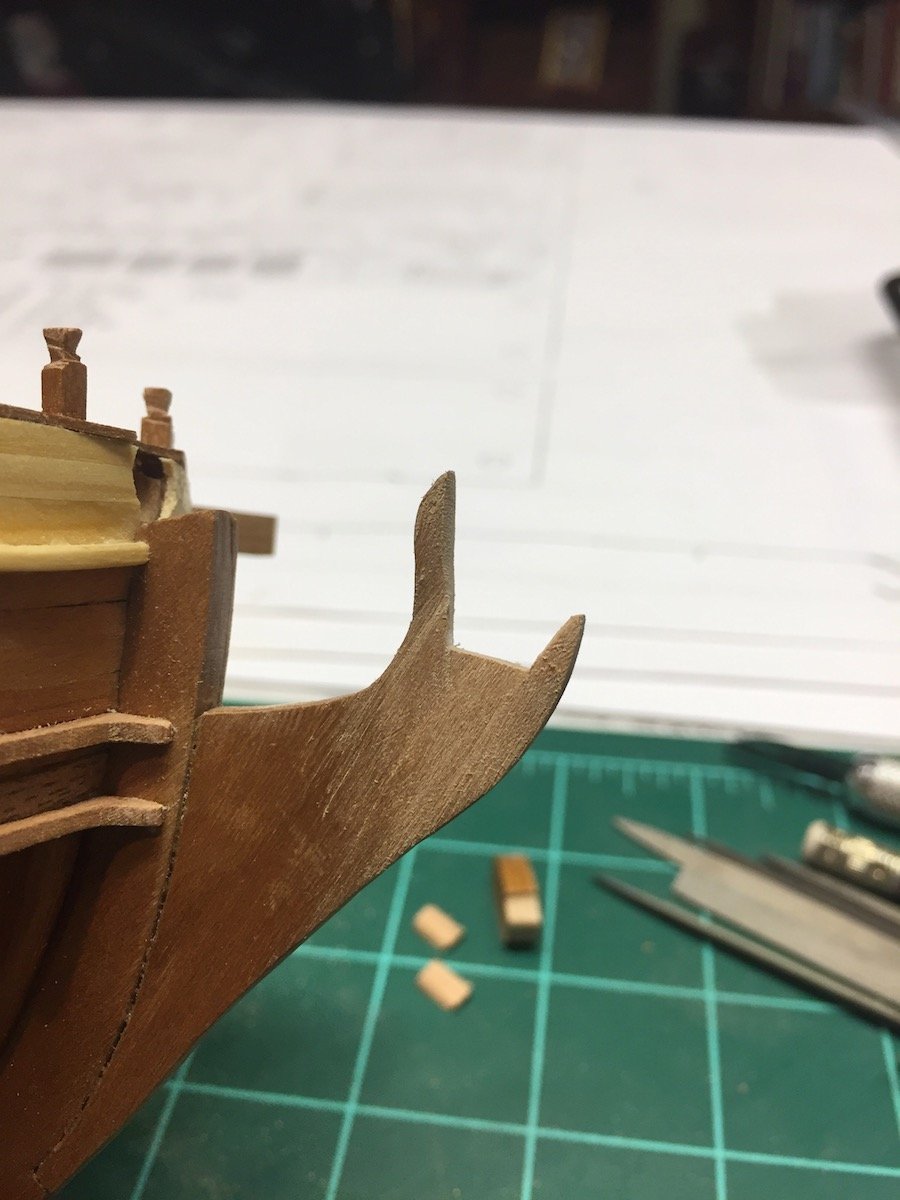
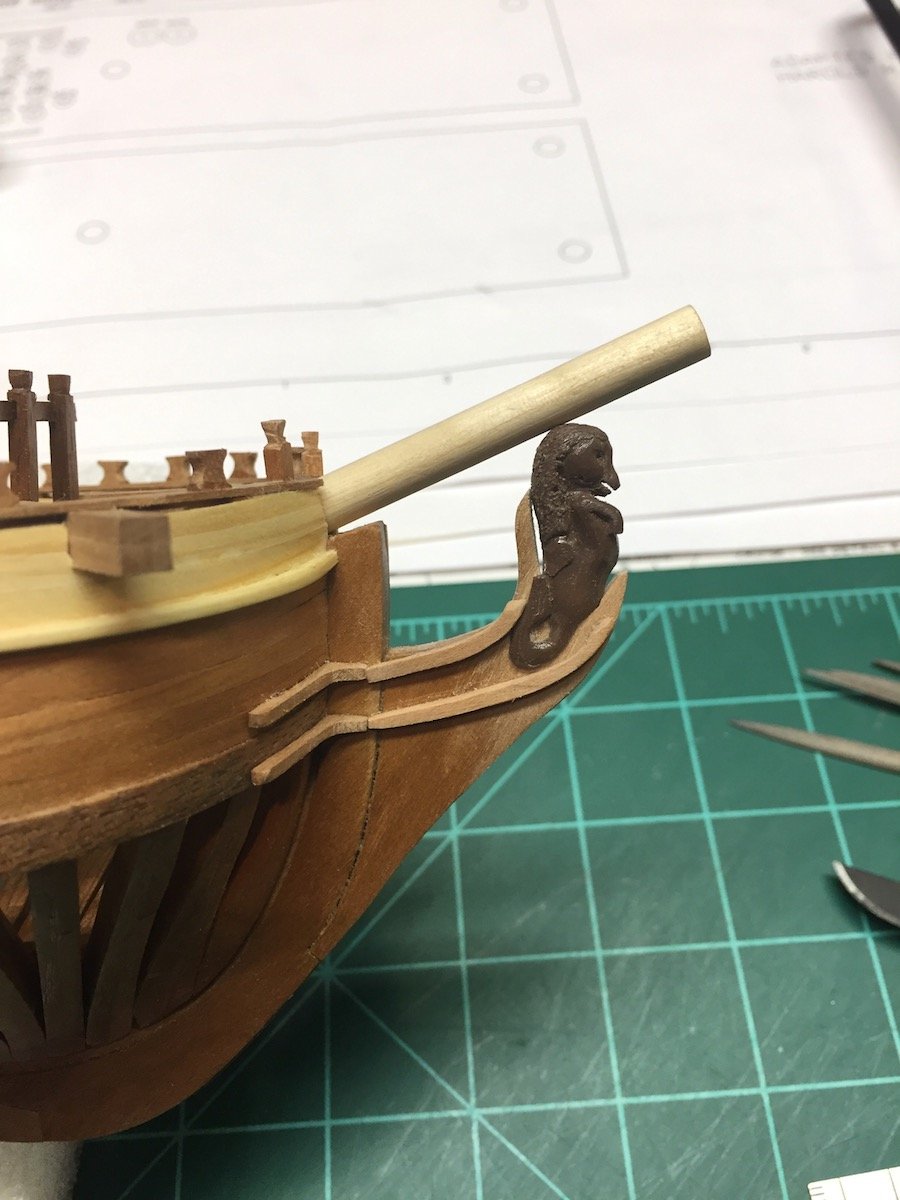
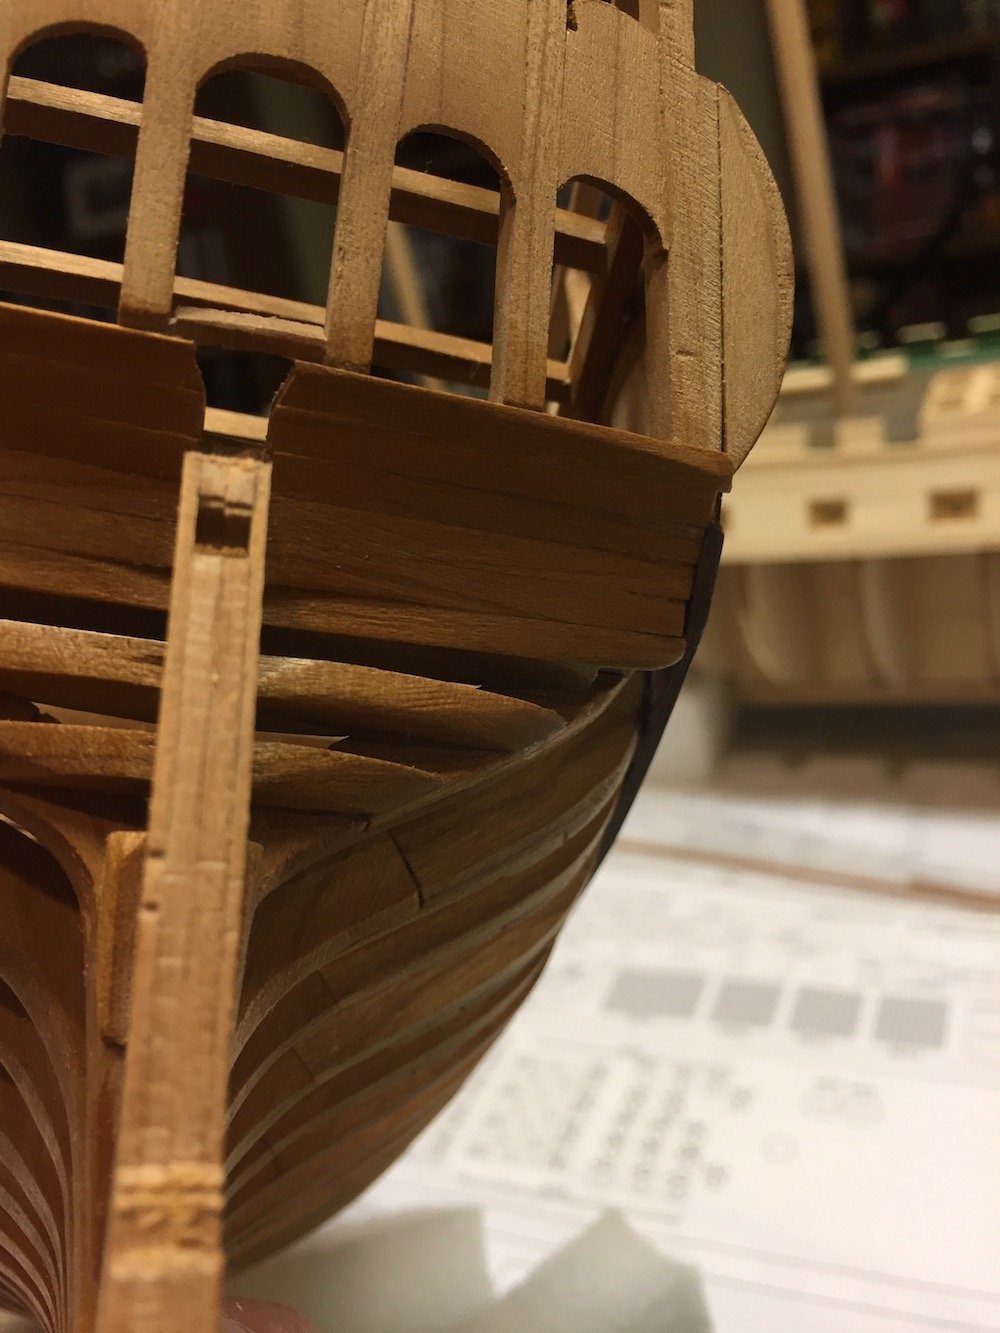
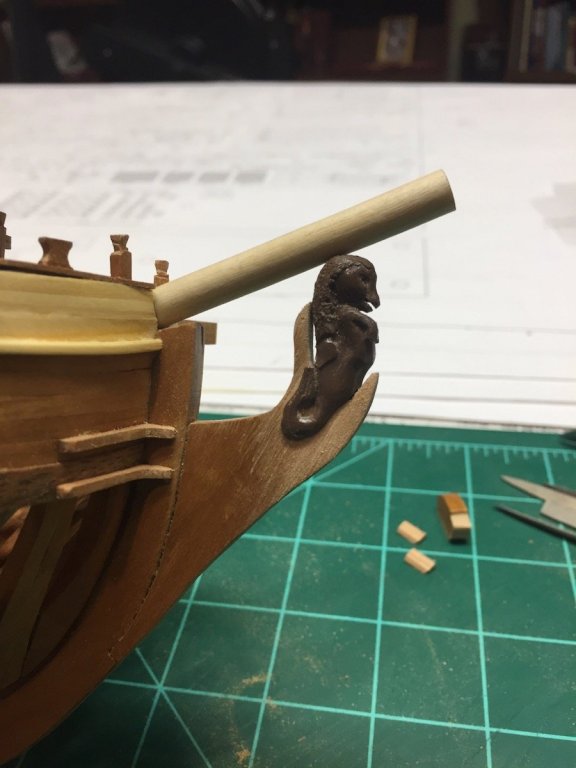
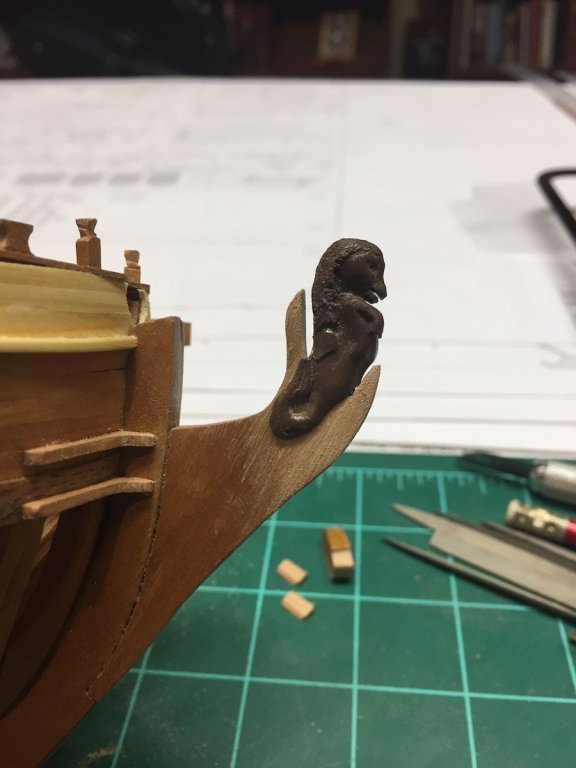
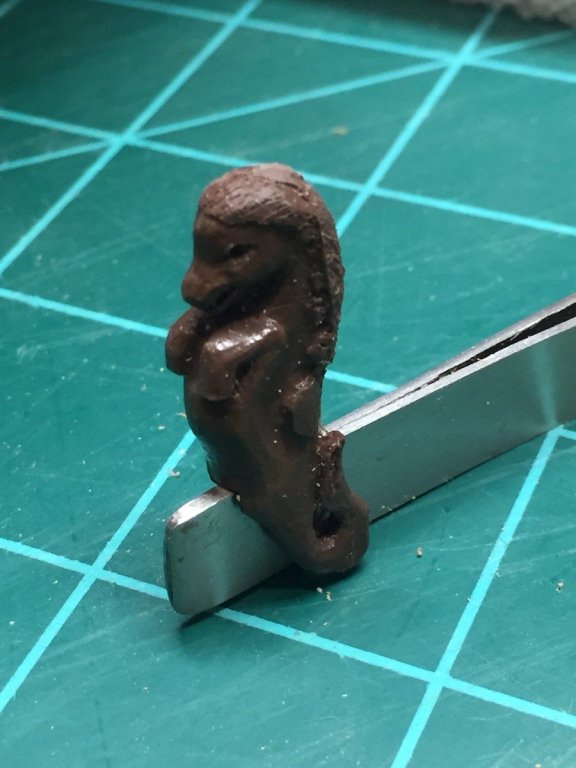
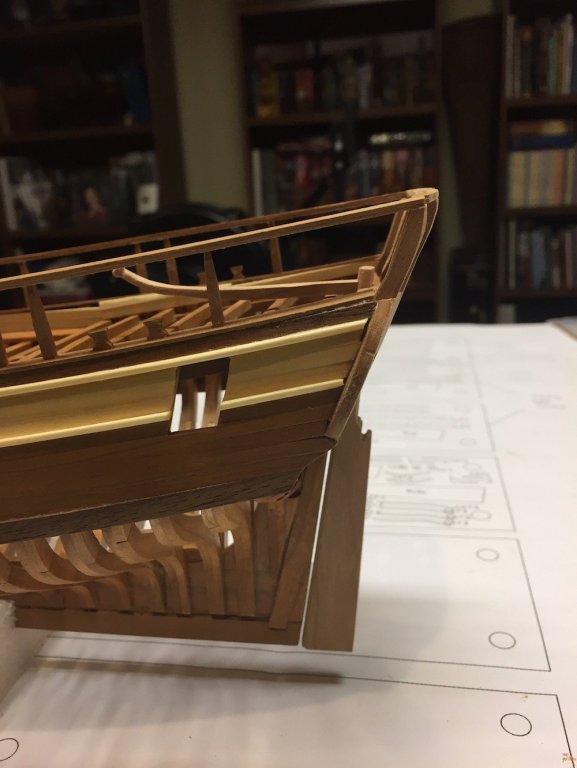
Had to leave off the rudder as I don't want to attach it until the end as I am still moving the ship about too much. As Bob (Rafine) also had to do on his stem I need to cut out a slot and thin it so the figurehead can fit. Here is the resin piece provided. Needs a little cleanup. Almost forgot had to get it sitting down far enough to clear the bowsprit. Next step to start building up the headrails. Cheers


-
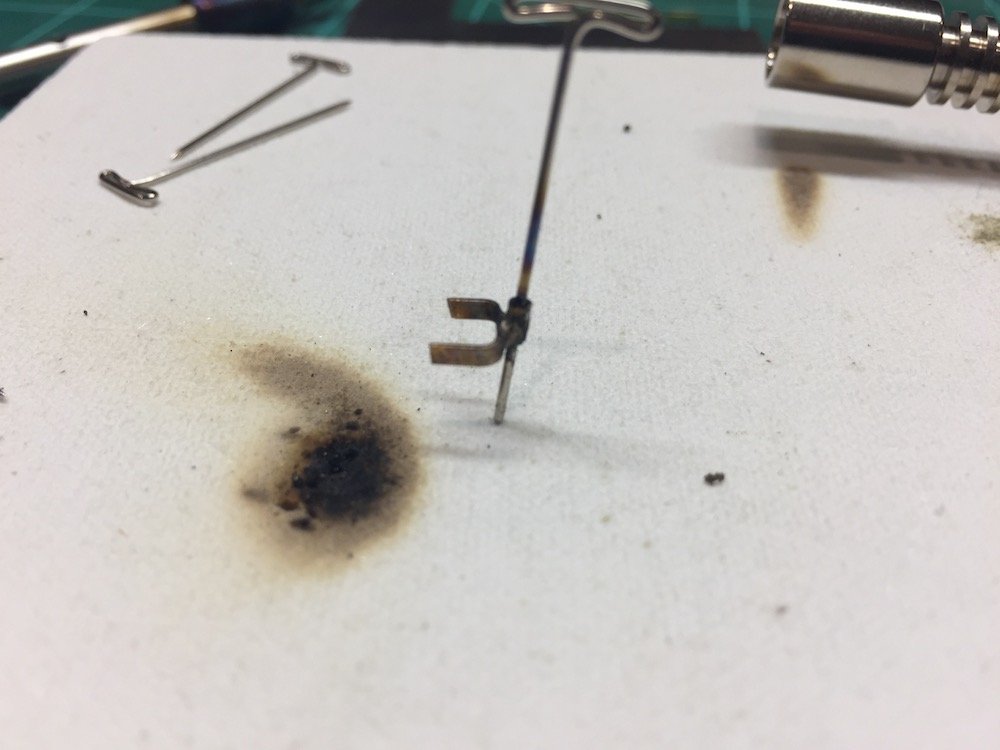
So first attempt at silver soldering went ok. Was difficult trying to get the little tubes in the correct orientation to the strip. They kept coming out crooked. It was easy to just reheat it and move em a bit though. Here are the rough gudgeon prior to cleaning them up. Every day acquiring new skills

-
I think I'll follow along if you don't mind. I'd be interested in seeing your thoughts on this versus the longboat. Eventually I want to build both of these and I'm not sure which one to go for first.
- 190 replies
-
- 3
-
-
- pinnace
- model shipways
- (and 1 more)
-
US Brig Syren by Gahm - Model Shipways
MEDDO replied to Gahm's topic in - Kit build logs for subjects built from 1801 - 1850
Looks great. It's wonderful to see what a skilled modeler can do with a great kit. -
Very first attempt at silver soldering. seemed to do ok. Its a little tilted but it seems strong.
-
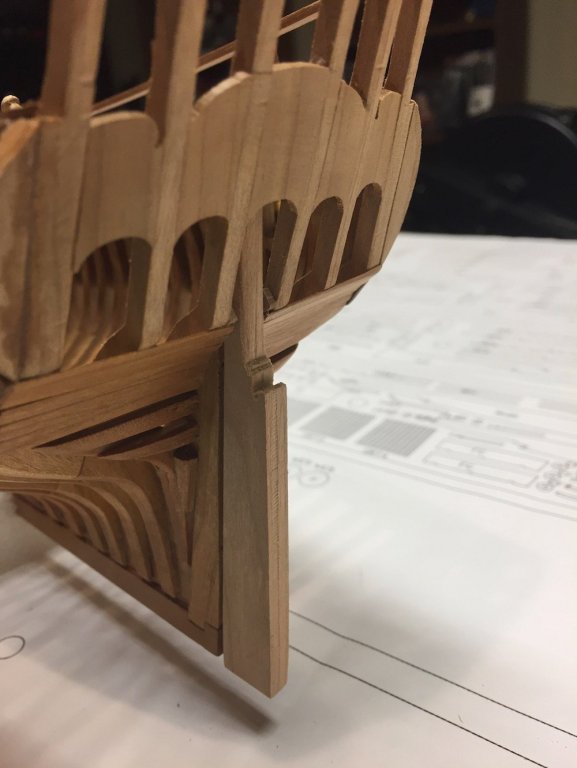
After a bunch of shaping and cutting away, I am able to temporarily get the rudder in. Next up is making the gudgeon and pintles. Which include soldering and blackening.... Yikes, will be my first time doing both.
-
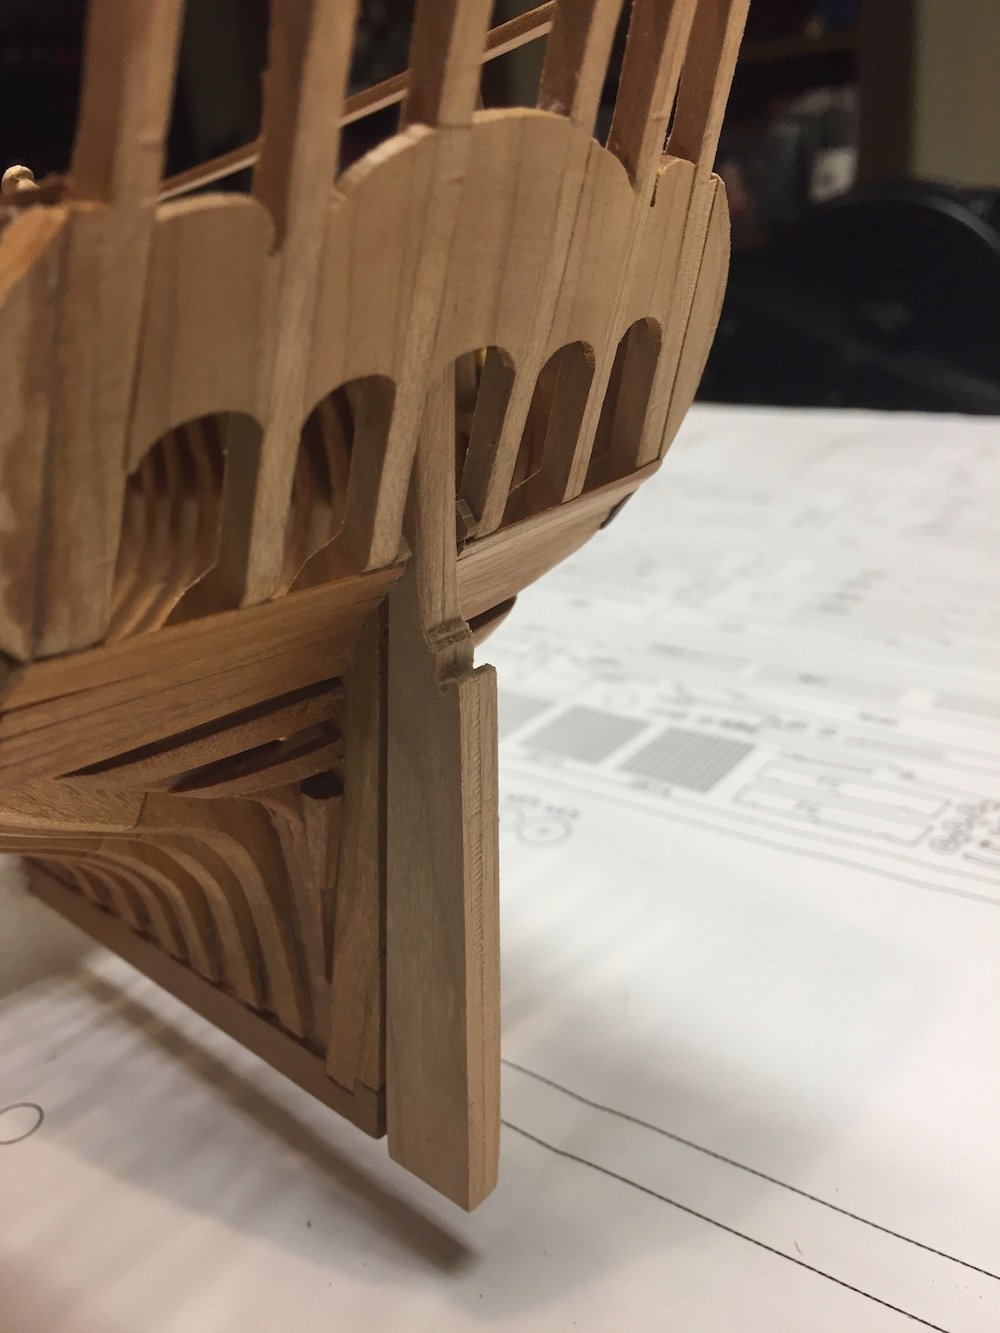
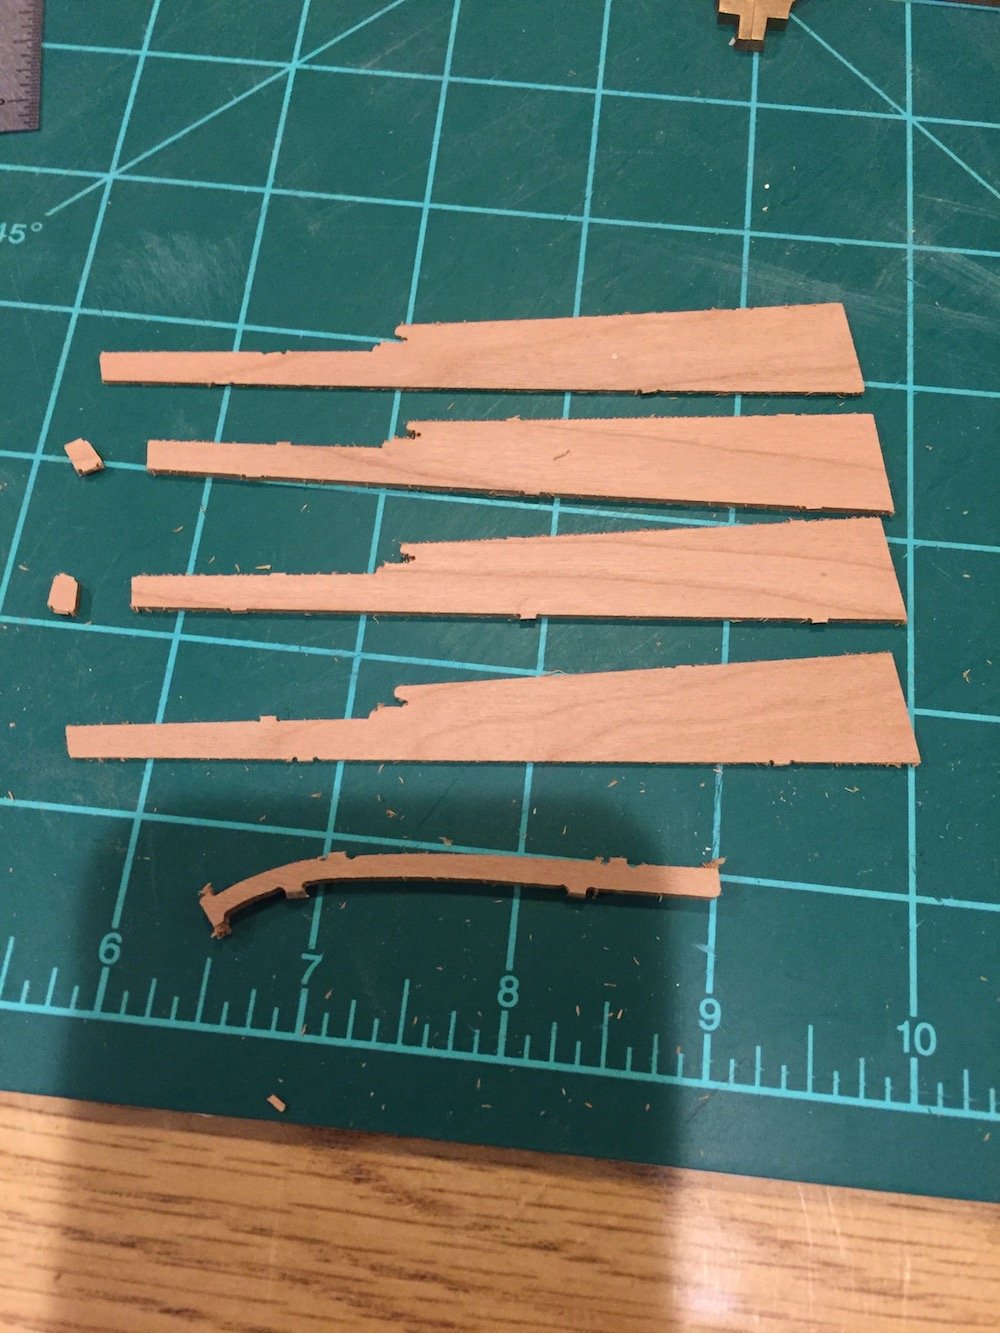
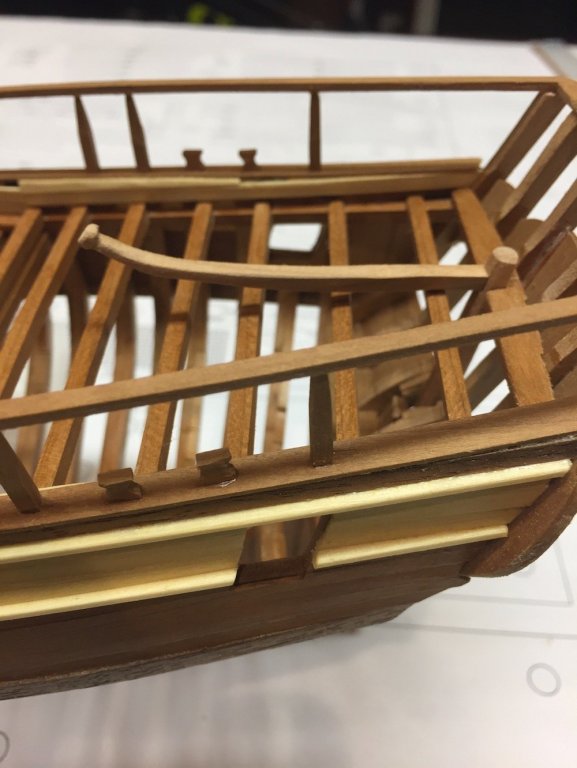
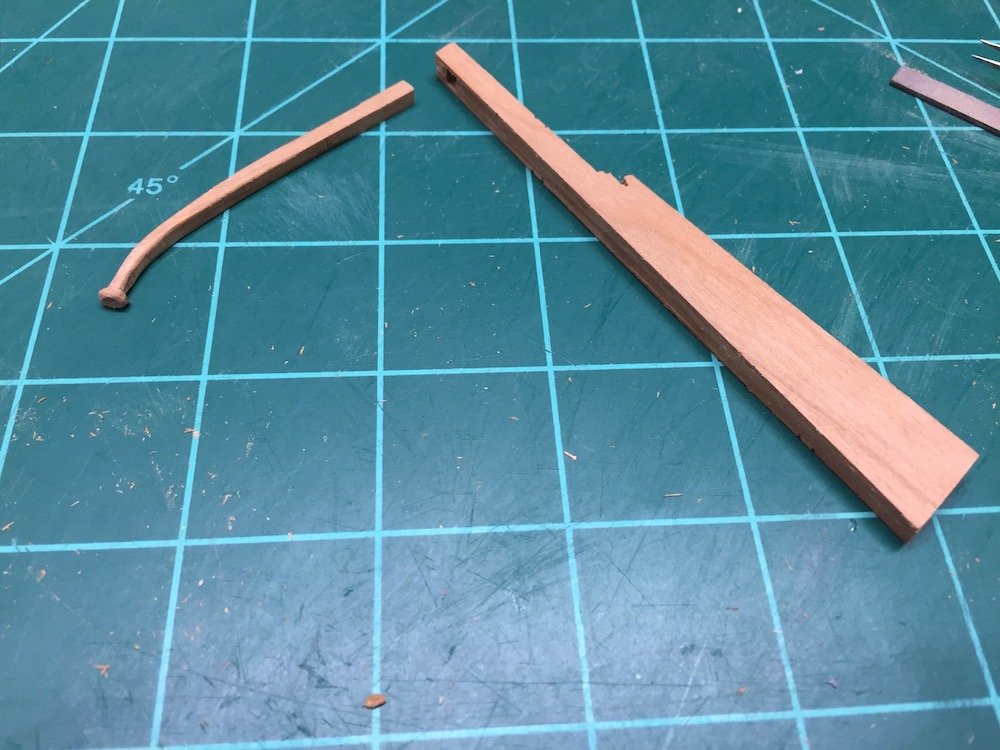
Rudder time... As usual in this kit it is built up in layers. With a bit of sanding and glue... (tiller is probably upside down in picture...) Now we come to a problem. The itty bitty little tiny space on the ship where this big fat rudder is supposed to fit into. Obviously gotta work a bit of shaping on the top half of the rudder and the "rudder hole" (I am sure there is a nautical term for this area).


-
That is absolutely beautiful! Love the presentation which also includes the small boats.
-
You should always watch Amazon as well. I was able to pick up a used copy of volume one of the 74 gun ship for only $16 a little bit ago .
-
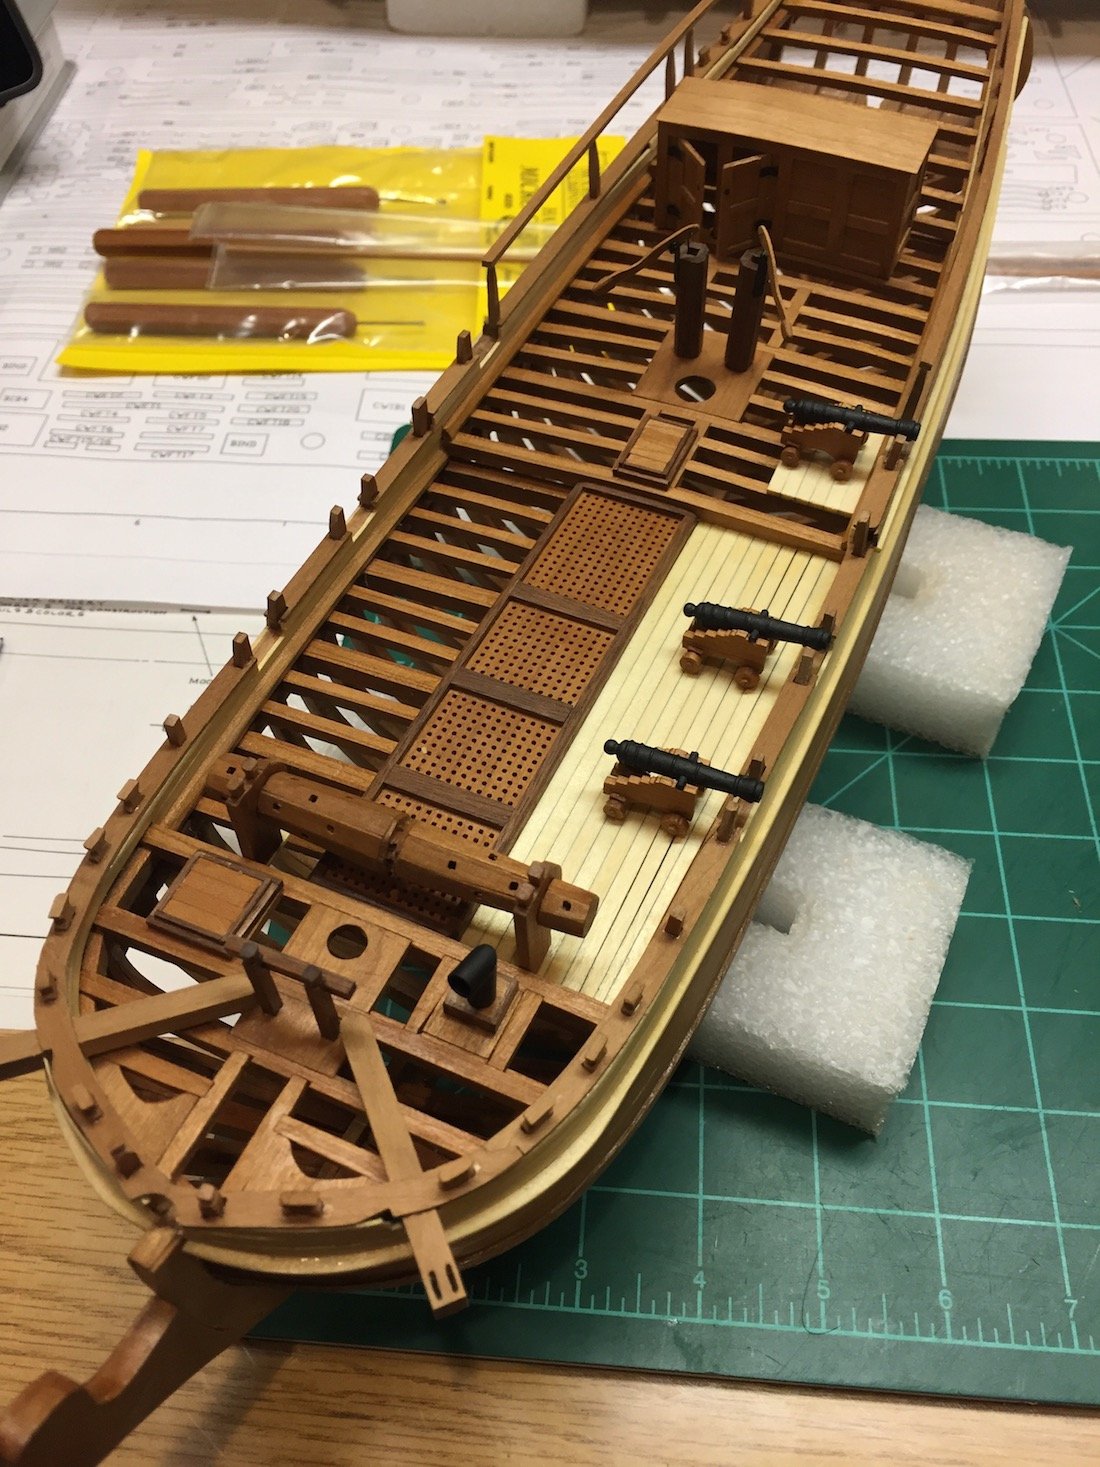
Thank you Steve. I agree the way the instructions have you plank the deck is strange to me but I guess everyone has their own preferences/aesthetic reasons for doing things. Dave: I think I am probably not going to rig her at this time. I cannot say that would never change. Getting the standing rigging up I think would be pretty doable but the running lines and where they end up/belay to is a mystery I haven't looked into. I think it was Bob (username Rafine) who has built this kit in the past and rigged her. He is also now just getting going on the Lumberyards version. He might be able to enlighten us a bit.
-
I love this little ship definitely in my queue to build. So far looks real nice.
-
Dave, the instructions are pretty great and the included picture CD really helps when you have a question. Would always want to see another Halifax. Just a side note: your signature link for the Fair American directs to your Independence build.
-
Once I get to the point where I need to case one of my models. I was going to look into this place. http://www.casesforcollectibles.com/ It's just down the road from me and I could probably just drive there and avoid delivery and shipping charges.
- 165 replies
-
- 2
-
-
- finished
- model shipways
- (and 1 more)
-
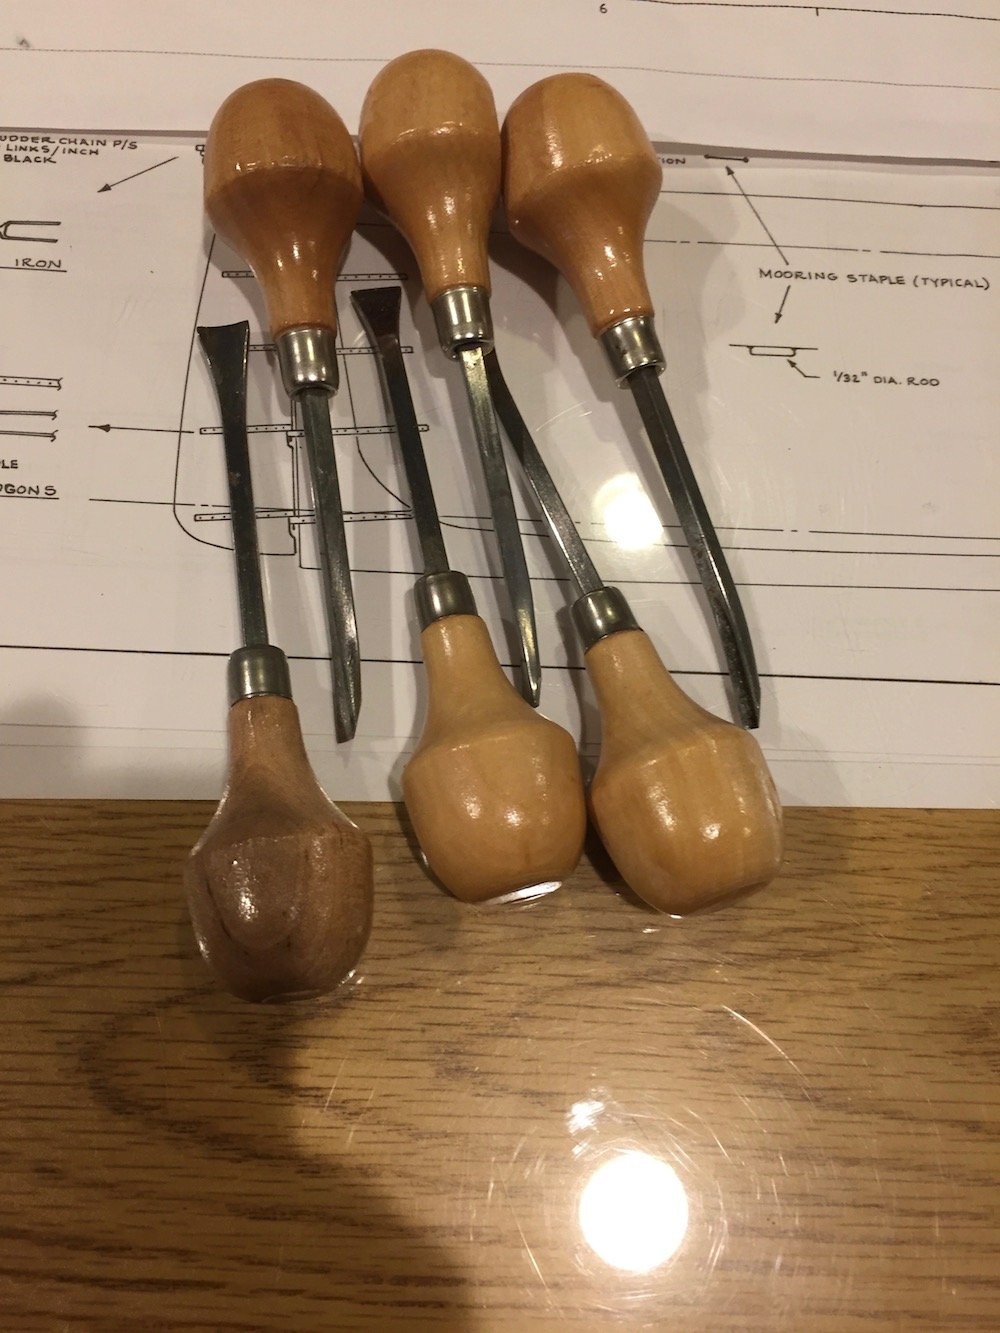
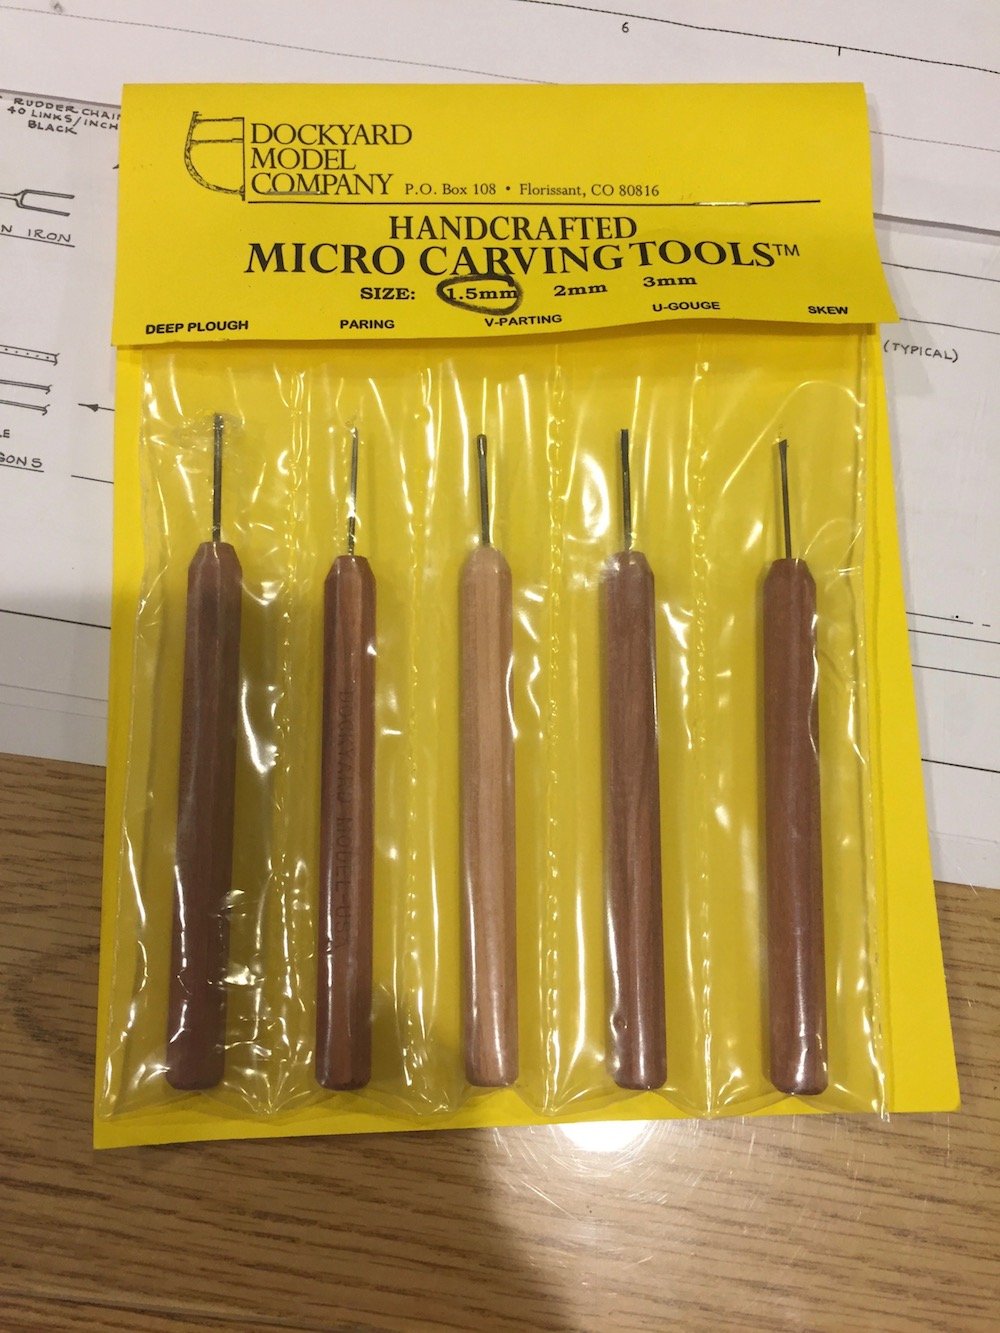
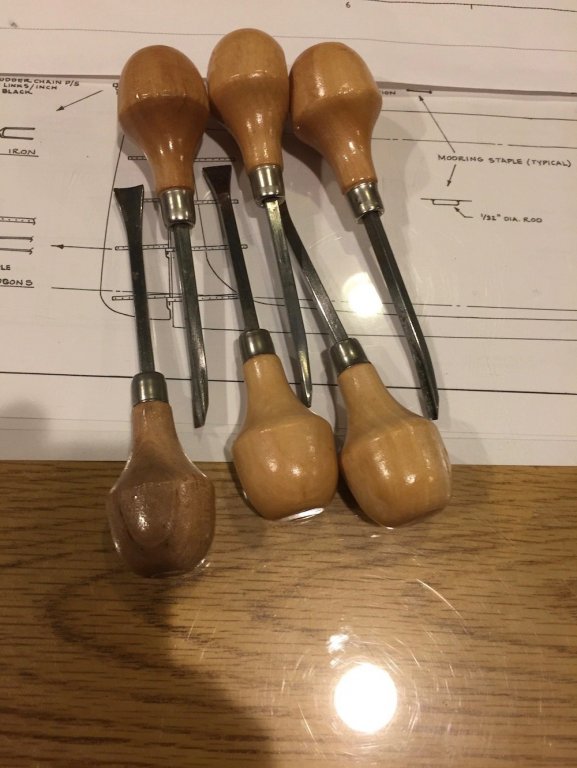
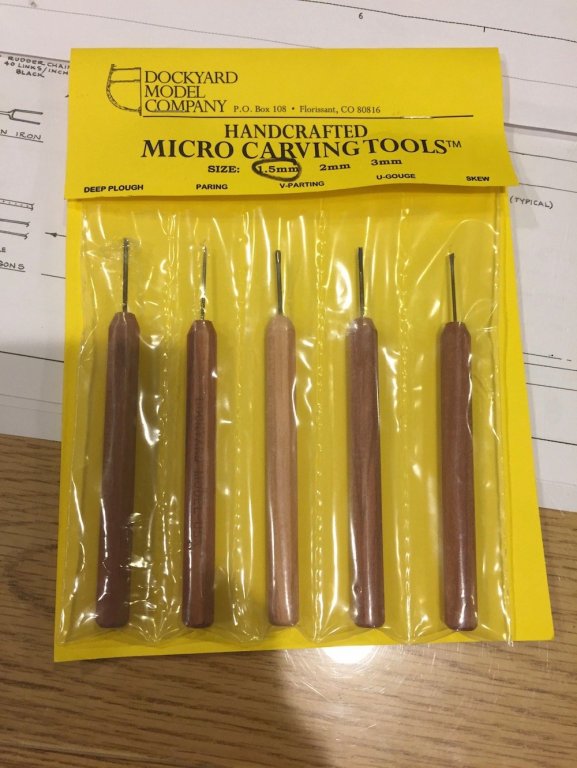
Thanks for the tips. I finally got back home and was able to find some of the tools I have. One set is a small <palm> carvers which someone gave me years ago. They are definitely lowest quality though. I am going to try to see if I can sharpen them up a bit though. I can feel the pits in the blades. The little metal collars are also loose on half of them. Much different than the surgical instruments I am used to using. I also have these that I bough many years ago but never opened.
-
I have this one on the shelf. When I get home tonight I'll take a look at it. My question is as long as the keel and bulkheads are straight and the appropriate size does it really matter if they are chipped? Ultimately they'll be covered as most of us use shims and filler blocks in any case to true up the lines.
-
Thank you for all the references. And thank you for completing and allowing us to follow along with such a wonderful log.
- 366 replies
-
- 4
-
-
- pegasus
- victory models
- (and 2 more)
-
Very nice. Looking at the figurehead on mine I wish I had the forethought to do this prior to proceeding.
- 682 replies
-
- 5
-
-
- halifax
- lumberyard
- (and 1 more)