clearway
-
Posts
2,238 -
Joined
-
Last visited
Content Type
Profiles
Forums
Gallery
Events
Everything posted by clearway
-
 Sounds good to me too- and the more time you think things through now will mean less isn't hindsight a wonderfull thing moments! Keith
 -
Your welcome Boyd glad to be of service. in the world of model railways Alan Gibson does some nice brass wire in different gauges but it is very "stiff" to work- normally used for handrails and brake rodding. I get mine from Mainly Trains. Keith
-
Ty Frank all support appreciated on the ciggy front Boyd, if you are using brass wire you may not need to solder the joins as the brass is fairly stiff and will stand up to slight tension- i never solder any brass rings i have made to hold pulleys and rigging in place- though being an electronics technician and having studied engineering at least my soldering skills are O.K. if not always used. Best advise is make sure the surfaces to be soldered are spotless and if not using cored solder dont scrimp on the flux. As to quitting the cigs i was on 40 roll ups a day, but got myself out of the habit of sparking up as soon as i woke up and wouldn.t have a cig for a couple of hours and weaned back from then. The e-cigs helped but after a while just went cold turkey. Keith
-
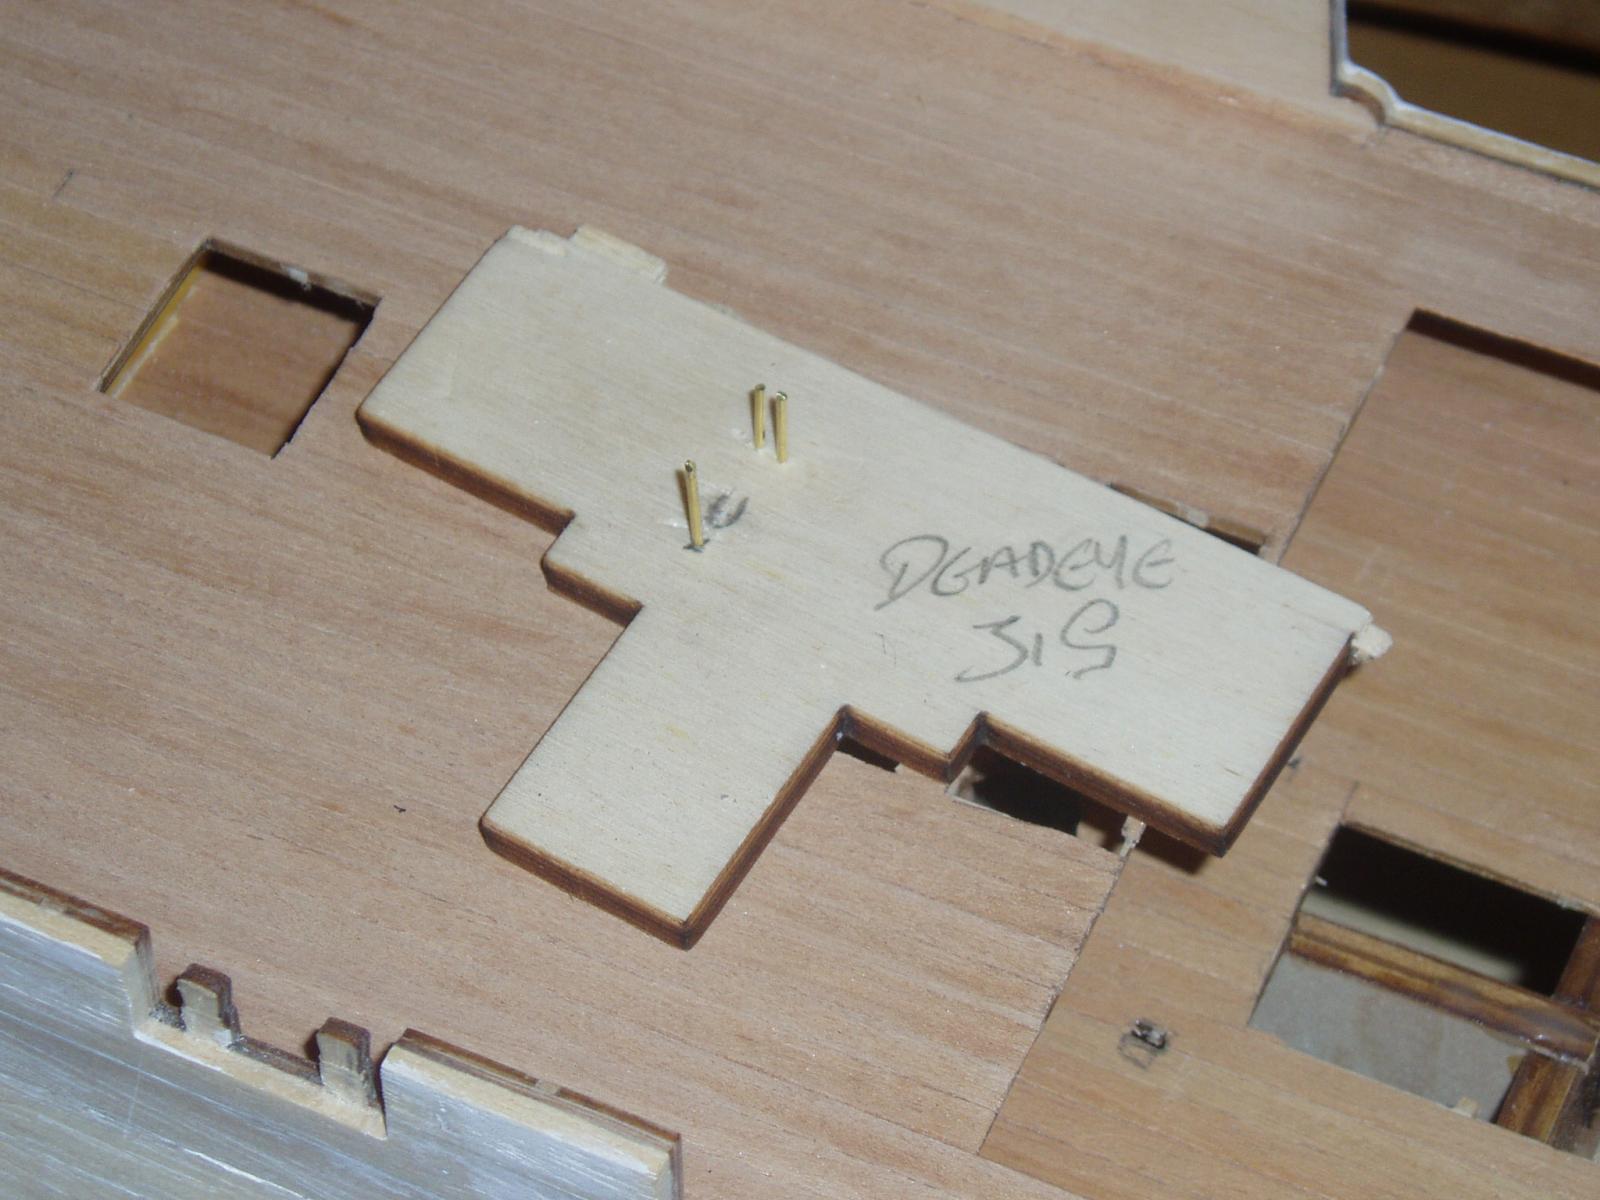
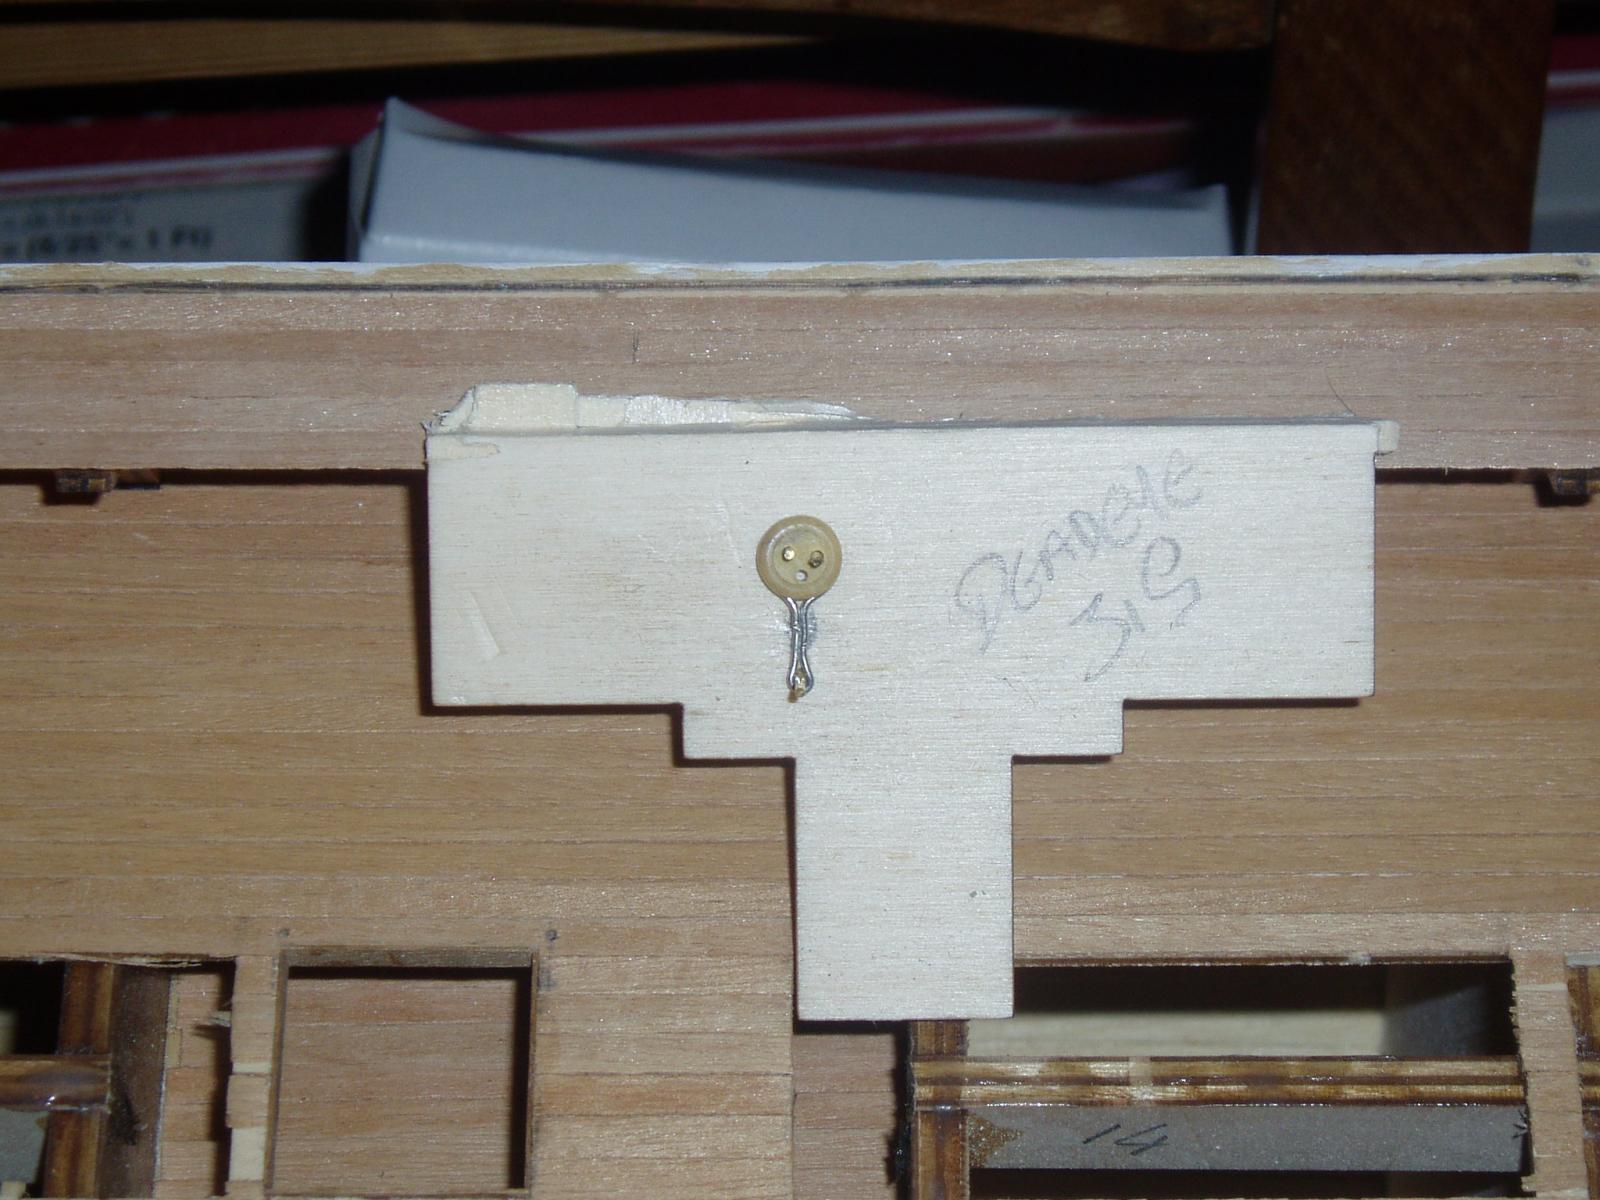
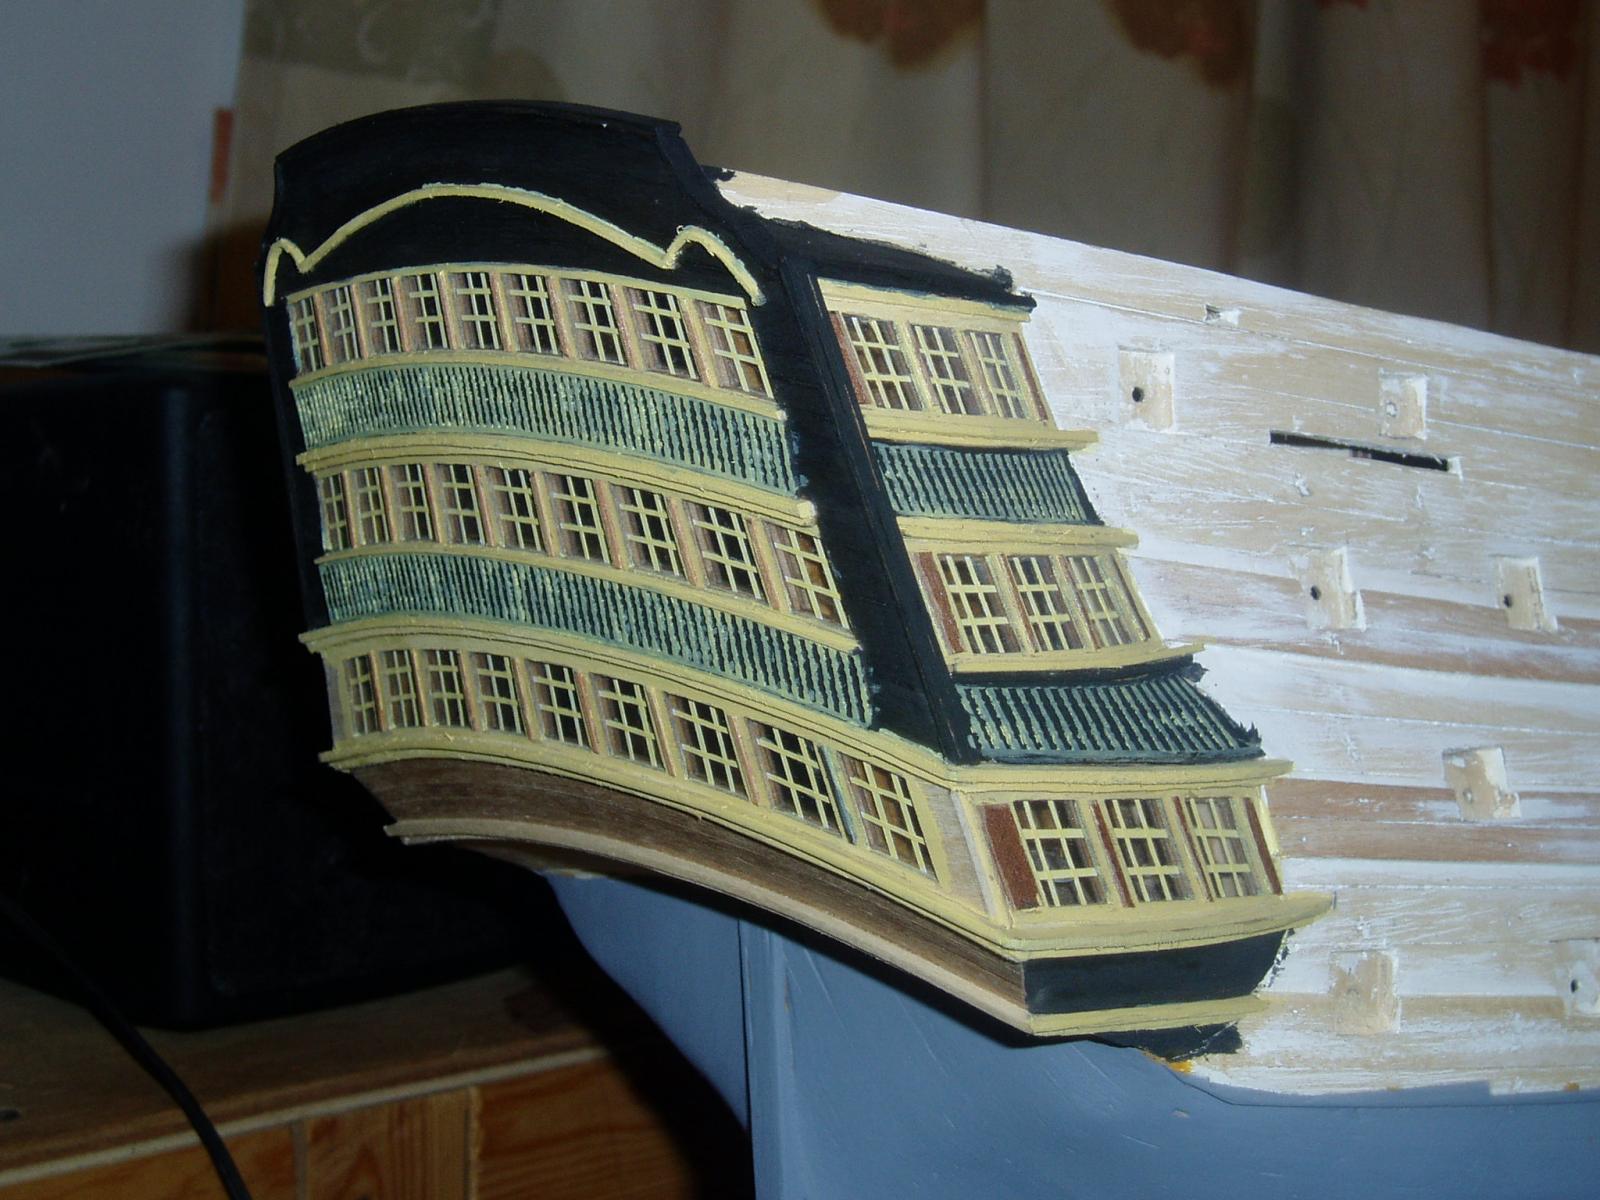
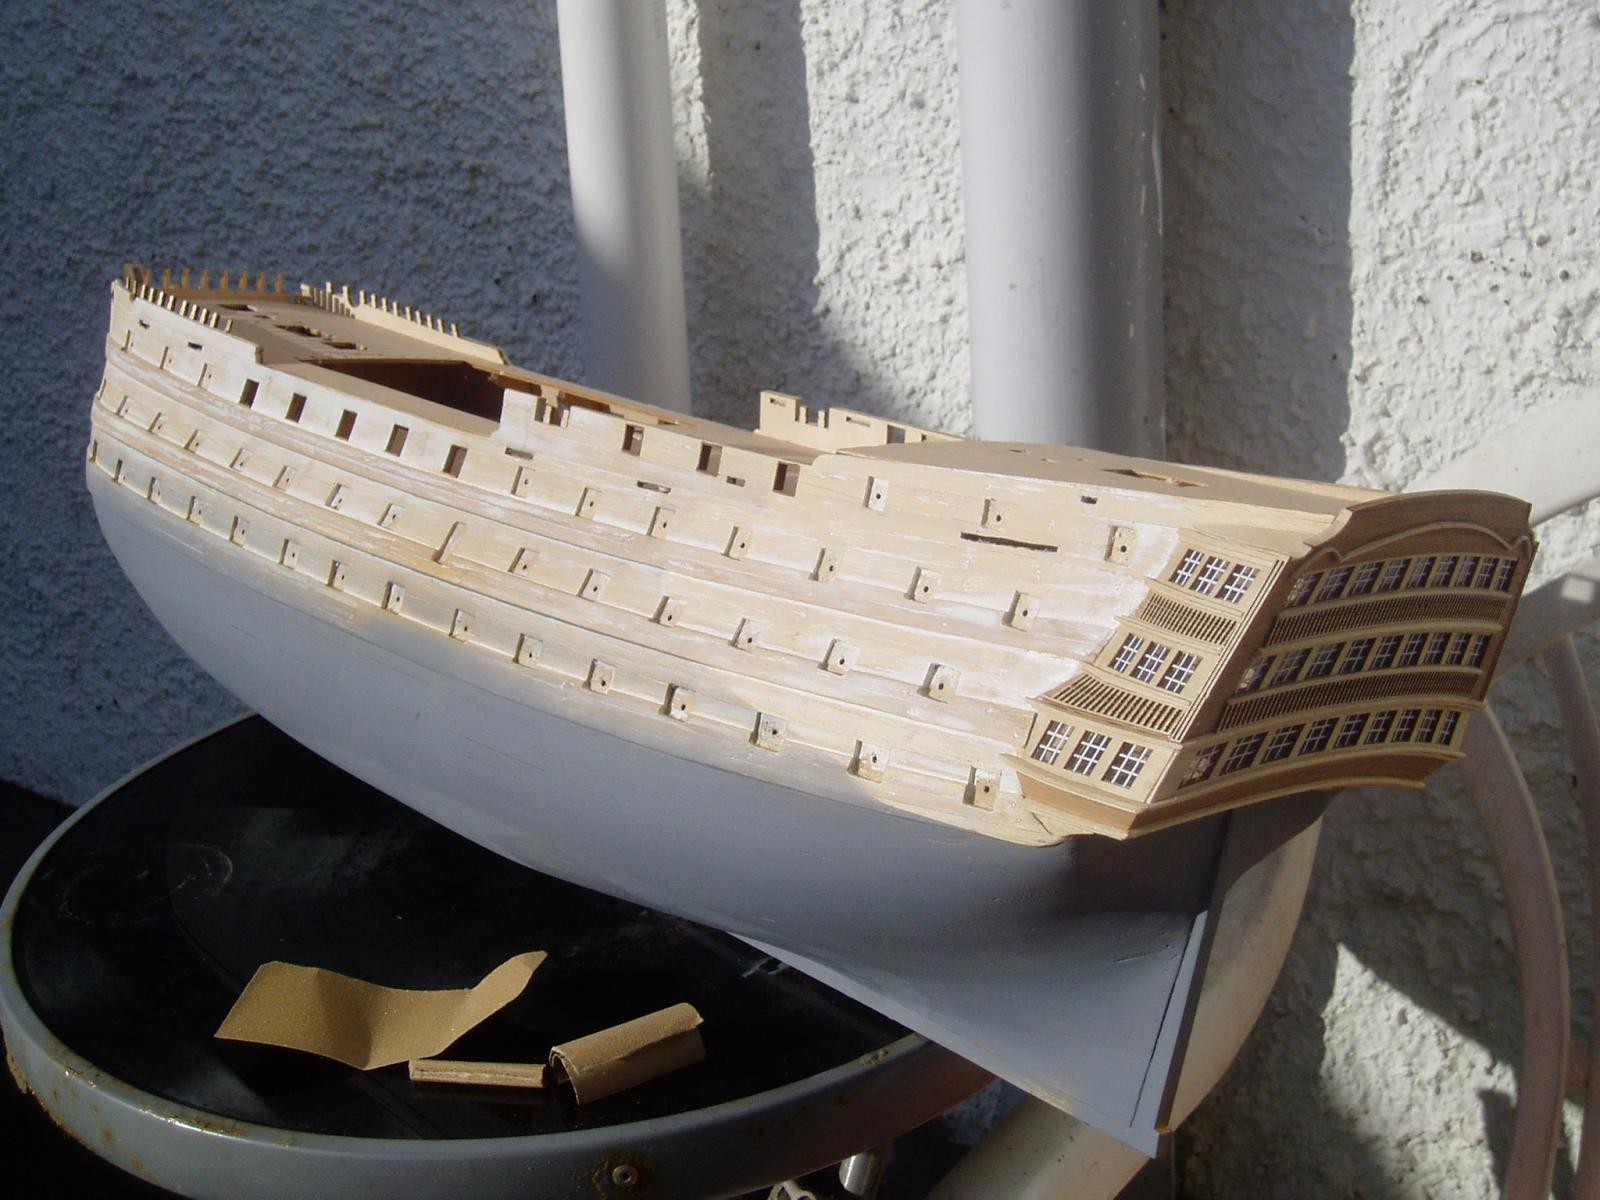
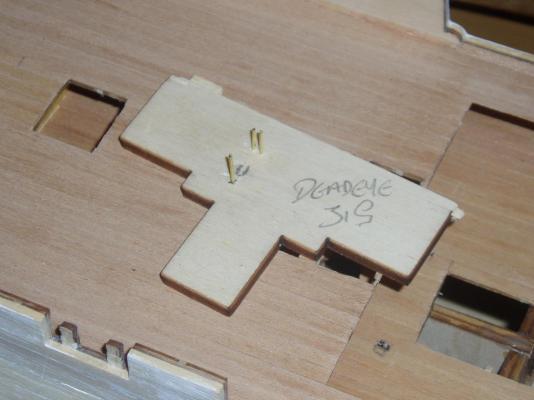
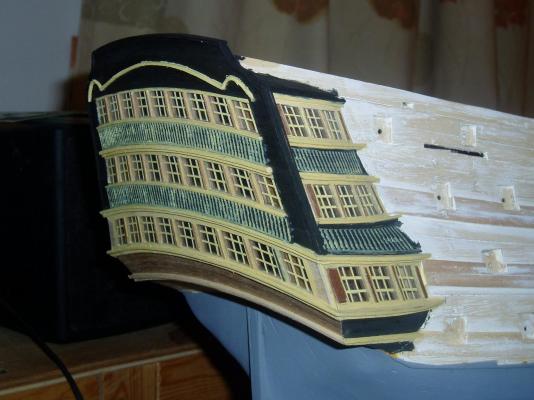
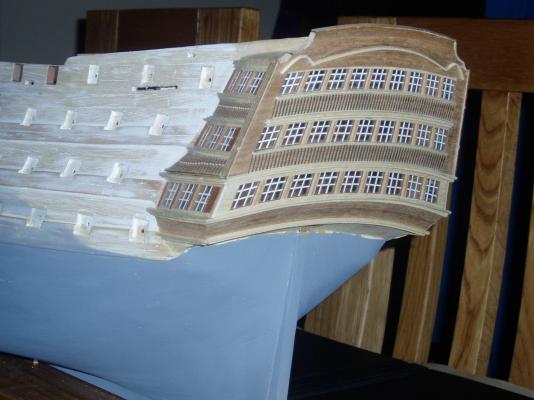
Ty all for the positive comments and likes. Done a little demo of the jig and a deadeye "stropped" in it for Boyd. Also applied a couple of coats of black to parts of the stern and quarter galleries and applied a thinned down coat of humbrol matt no.74 "linen"mixed 70/30 as a priming coat. Have decided to use this colour for the yellow on the hull. Hope these help explain what i mentioned earlier Boyd Below is a shot of the paint so far. When the paint has hardened enough will lightly file back any wood grain that is "furring" the paint. As an aside i haven't touched a cigarette for over 4 months now, but still get an urge after a session modelling, but for now i have beaten the evil weed- hopefully for good . Keith

-
Hi Boyd, yes another billings victory builder on the forum. To make my chainplates i have designed a jig using three pieces rod- two fit in the deadeye the other is for the strop. I will wrap the wire around the deadeye and strop former then solder the join- i will be using tin coated copper wire, For the other links i will use a piece of dowel shaped into a former and wrap the wire a few turns around that as mentioned in your log. Best use the hull to take the strain of the rigging as opposed to the chainplates- you shouldn't have your shrouds so tight you pull the links apart. Hope this helps. Keith
-
To make chain links boyd you can shape a piece of wood to the shape of the link then wrap your wire around it a few times then cut of links as needed if that makes sense. Also have posted a pic of the deadeye jig i mentioned and another with a stropped deadeye in place ready for soldering on my Vic log. Keith
-
ahhhhh- confusion is a state of mind lol! thought i was going nuts for a moment
-
welcome to the billing boats victory club- think there's around 6 of us now I think the stairs are the right nway round though! I'm doing mine in painted finish as well. Keith
-
You really need lighting in the cabins to show em off Frank methinks. Big wow factor there Keith
-
Ty Lawrence- as mentioned earlier in the log was sidetracked by a load of german armour kits (got two more at xmas which are well under way!) but is nice to get back to the Vic. Keith
-
way to go mate- nice feeling when you reach the end- well done! keith
- 607 replies
-
- 2
-

-
- scottish maid
- artesania latina
- (and 1 more)
-
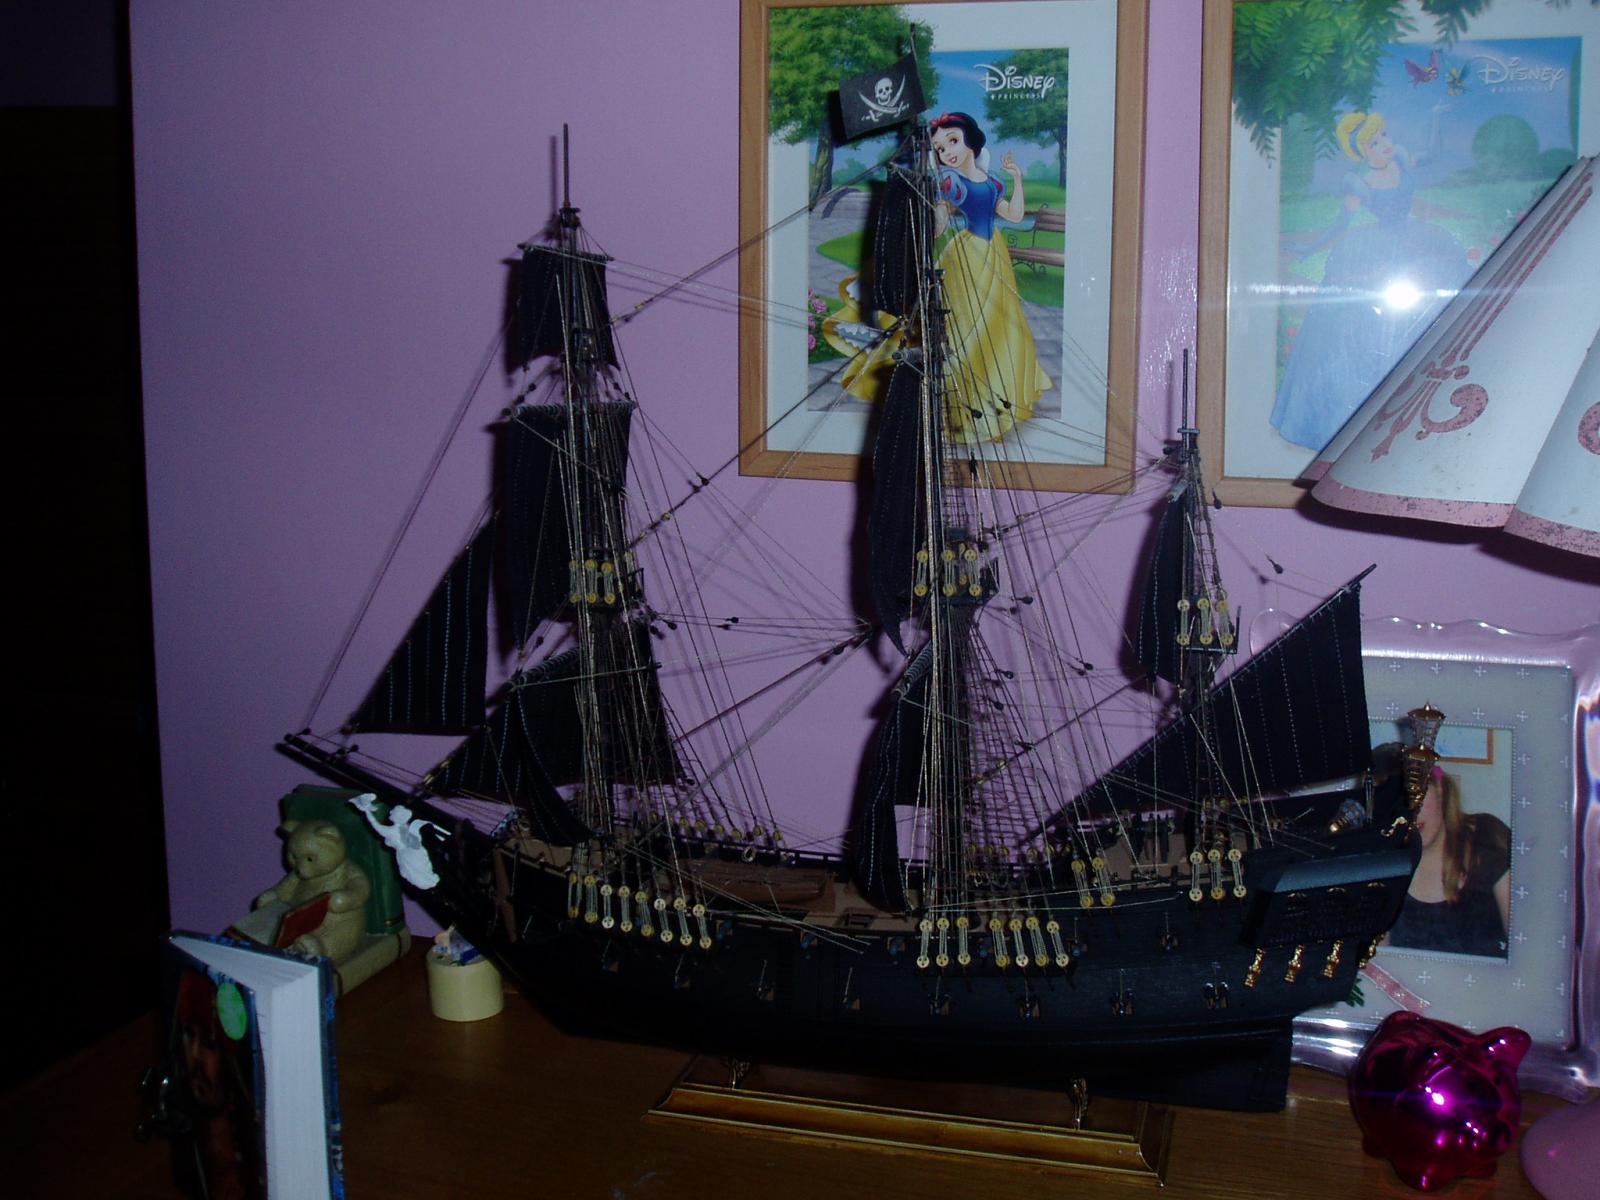
I bought the zveda black swan and altered her to black pearl- the main difference is the figurehead. I also scratchbuilt replacement masts and sails to replace the plastic ones- the main reason they brought out the black swan kitm was to avoid copyright in europe! Keith P.S. i built it for my daughter who is a massive P.O.T.C. fan hence the other disney stuff in the background!

-
Lol Boyd- yessir! Still can,t believe it was nice enough to sit outside and work on Saturday. Also trying to decide whether to just stain and varnish the stern and quarter galleries or paint them as the rest of the hull will be painted. Keith
-
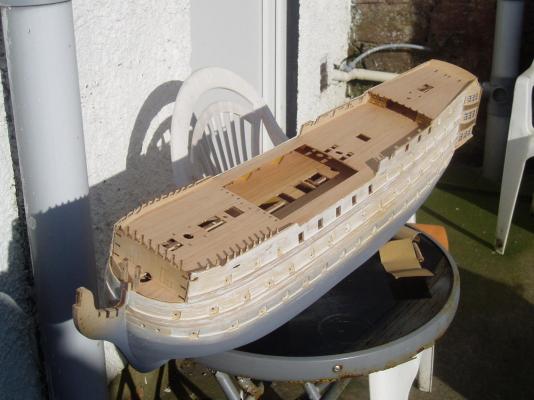
Sorry Boyd didn't see the reply till now! they go on a shelf in the workshop. Back to Victory after a 4 month break with the german kitties! Was nice enough outside on Saturday to get the decks sanded back a little after opening out the holes for masts, hatches etc. Also added a little more timber between the windows. must admit it has been nice getting back to my baby

-
Things like that will always stand out more for you as you are aware of it Boyd (i have been there myself lots of times!) Keith
-
<<<<agrees with John, and as i said a few posts back it shows she ws planked individually Boyd. Keith
-
Ouch Bob- good luck m8
-
Looking good so far there- would seriously advise planking her before adding too much detail as you will be holding the hull at some crazy angles lol. You can check Boyd's and mine logs for planking references- i just single skinned my hull with the billings planking strips provided. Keith
- 117 replies
-
- 2
-
-
- victory
- billing boats
- (and 1 more)
-
well done m8 looks really nice- a problem with billings kits is if not stated for beginners they assume you know a lot of the basics already. Keith
-
Welcome to the Billing Boats Victory club! watch out the knightheads are easily damaged when planking! I really must re-start my billings Victory- been having a couple of month off. Keep up the good work Keith
- 117 replies
-
- 2
-
-
- victory
- billing boats
- (and 1 more)
-
Looks good- i use a piece of metal rod "jammed" beneath the pin to wind the rope around if using the same rope as the rigging method and use needle nose pliers and a piece of brass wire with a hook and flat bent in it to work it. Keith
- 607 replies
-
- 1
-
-
- scottish maid
- artesania latina
- (and 1 more)
-
looking great jesse- i always bend my sails to the yards before attatching to the masts as well. I use cross-stich beads for parrell beads Keith
- 607 replies
-
- 1
-
-
- scottish maid
- artesania latina
- (and 1 more)
-
Wow Frank she's really comig along- i must get back to my Billings Victory, but received some german steel kitty kits for xmas! Keith