
HOLIDAY DONATION DRIVE - SUPPORT MSW - DO YOUR PART TO KEEP THIS GREAT FORUM GOING! (Only 36 donations so far out of 49,000 members - C'mon guys!)
×


hof00
-
Posts
1,644 -
Joined
-
Last visited
Content Type
Profiles
Forums
Gallery
Events
Everything posted by hof00
-
 Hi Chap, Sorry I missed the start of your Log, never to mind, I am now up to date!! Looking really good. Your "Visitor" is a little larger than what we are used to.... 🙂 Cheers....HOF.
- 58 replies
-
- 1
-

-
- Robert E Lee
- Amati
- (and 4 more)
-
Hi Chap, Thanks for the information!! Appreciated. Cheers....HOF.
-
Thank you Javelin, Interesting regarding the Navigation Lights, I'll have to Google this stuff. (I was rather relieved that I did not drill through my wiring fitting the Pedestals! 🙂!) The Nav. Lights have Brass "Cans" to cover, probably lastish to be installed. Masthead Lights: I have prototyped the Mast/Lights and will use this prototype to complete the Mast. Wiring is installed for this just in front of the Forward Superstructure. Towing Vessel: White - Red - Red from the top down if my reading is correct.... Anyway, much yet to do but getting there.... 🙂 Cheers....HOF.
-
Thanks Paul. I reviewed your build not so long ago. (I too was considering paint if the Walnut was not up to par. I also built this a few years ago, (2014 from the note I penciled in on the plan. 🙂) It has been languishing for far too long and it'll be nice to get it completed. Cheers....HOF.
- 118 replies
-
- 1
-
-
- sanson
- artesania latina
- (and 1 more)
-
Thanks Chap, It looks better than it did!! 🙂 (I guess that's what happens when you tear things apart and re-build them....) Cheers.... HOF.
-
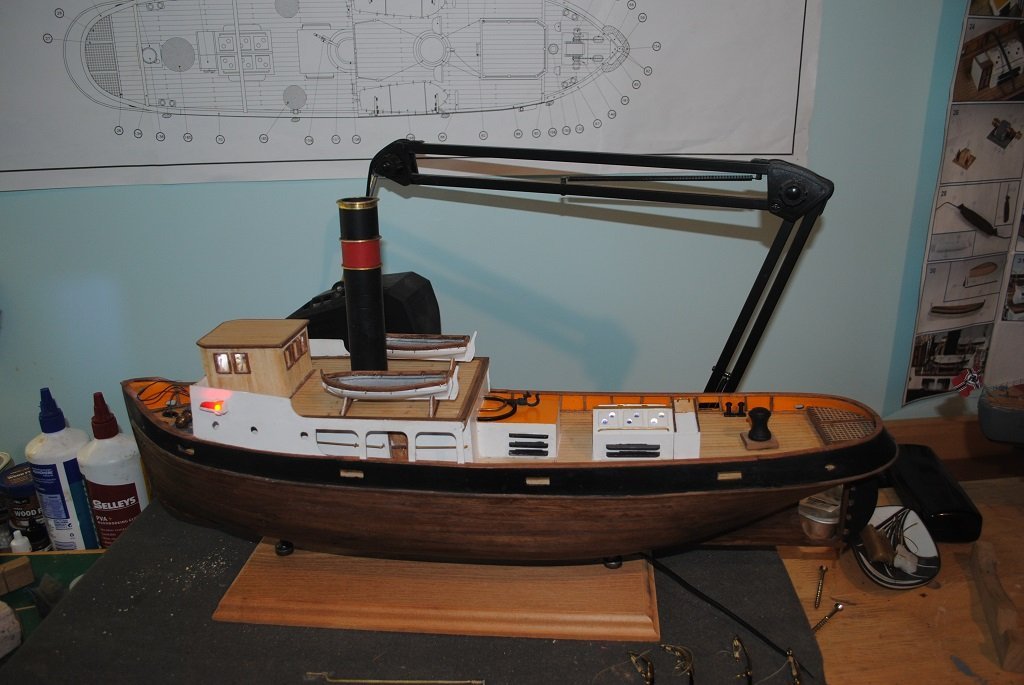
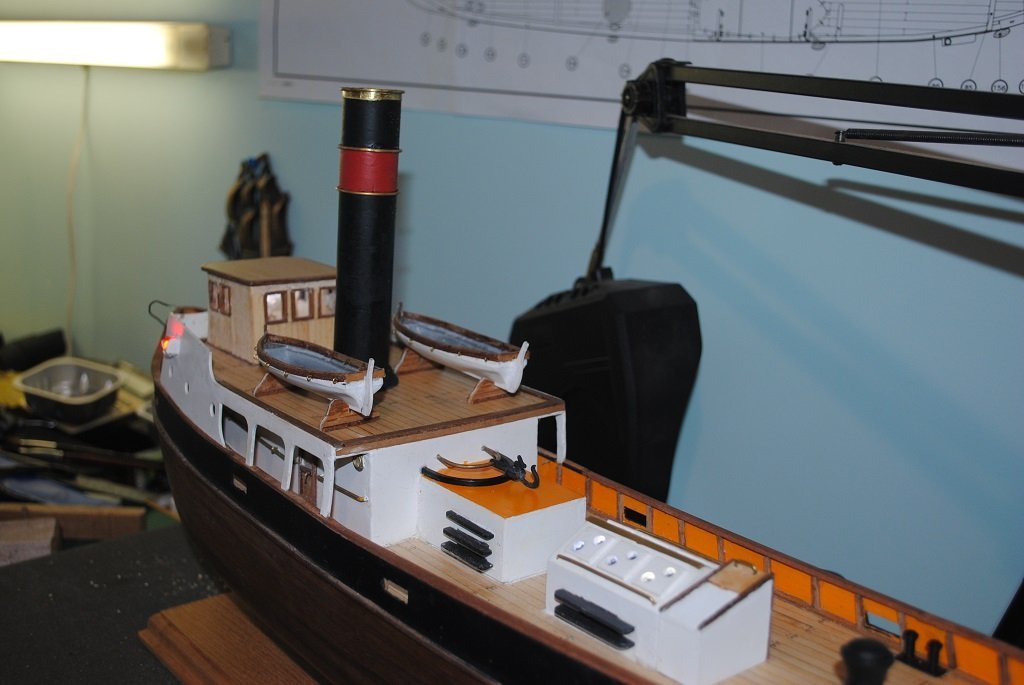
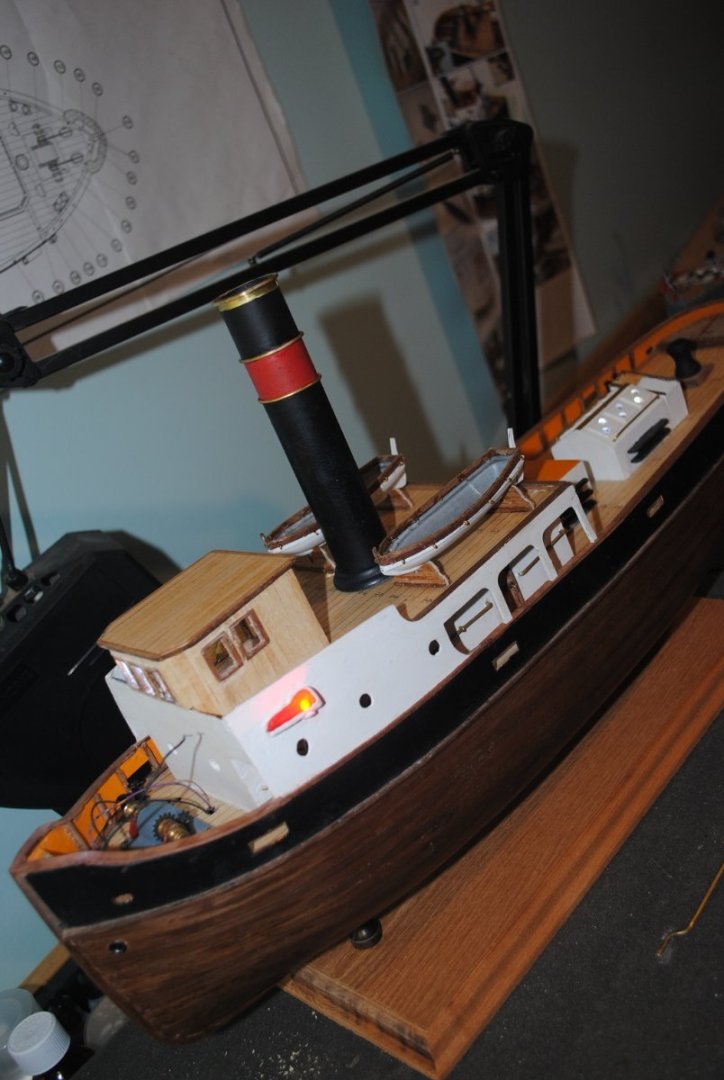
Hi All, Bit of an update: I got my Plinth made today, NZ Native Timber, Rimu. (My favorite.) Work on Lifeboats continues, Covers and Grab Ropes to complete I also Planked the Skids. Funnel almost complete, need to add the Steam Whistle and Pipe, (Assembled). and Ringbolts for Rigging. Davits completed. Walnut Hull sealed. Tug temporally mounted, I can soon assemble some Topside stuff. Cheers....HOF. Photos:
- 118 replies
-
- 4
-
-
- sanson
- artesania latina
- (and 1 more)
-
Nice!! Some good "Logical" thinking about your processes. 🙂 Looking forward to your Planking works. Cheers....HOF.
-
Hi Chap, Your Cutty is looking pretty good!! 🙂 Cheers....HOF.
- 89 replies
-
- 2
-
-

-
- Cutty Sark
- Revell
- (and 2 more)
-
Hi Chap, That's very nice work!! Cheers....HOF.
- 122 replies
-
- 1
-
-
- Artesania Latina
- Pen Duick
- (and 1 more)
-
Hi All, Still working to complete my unfinished project. So, the 2nd layer of Planking is reasonably complete, just a fine sand and Sanding Sealer. (There are a couple of very tiny bits that have experienced the dreaded "Cut-Through" but I don't believe they will be noticeable after finishing the Hull. (Plan "B" is to paint the Hull if I am unhappy with it.))) Anchor Winch, Bitts, Bollards), installed and have also been mucking around getting the Bulwark Rails finished. I have also started the Lifeboats. These are "Muntz," (White), metal but I think they'll be o.k. once they have had a bit of love. 🙂 No need to detail the interiors as they have a material cover installed. (I have decided Green covers and purchased some material today. Things to work on in the next few days/weeks: Complete and finish Hull Touch up paint (Ongoing) Lifeboats Davits Anchor Chain and Anchors Mast LED Lighting Funnel fittings Plinth for the Model (I don't like the MDF A/L offering) Cheers....HOF. Photos:

- 118 replies
-
- 2
-
-
- sanson
- artesania latina
- (and 1 more)
-
If you haven't already seen the PD videos, here's one for a cold winters' viewing....🙂 Pen Duick - Les Tonnerres de Brest et Temps Fête sur Douarnenez 2012 - Bing video Unfortunately, the others I had as "Favorites" seem to have been removed.
- 122 replies
-
- 2
-
-
- Artesania Latina
- Pen Duick
- (and 1 more)
-
Very nice work indeed!! I think that the stuff around the Cockpit - "Coaming" - maybe? (Are you planning on Rounded corners on this structure?) Cheers....HOF.
- 122 replies
-
- 1
-
-
- Artesania Latina
- Pen Duick
- (and 1 more)
-
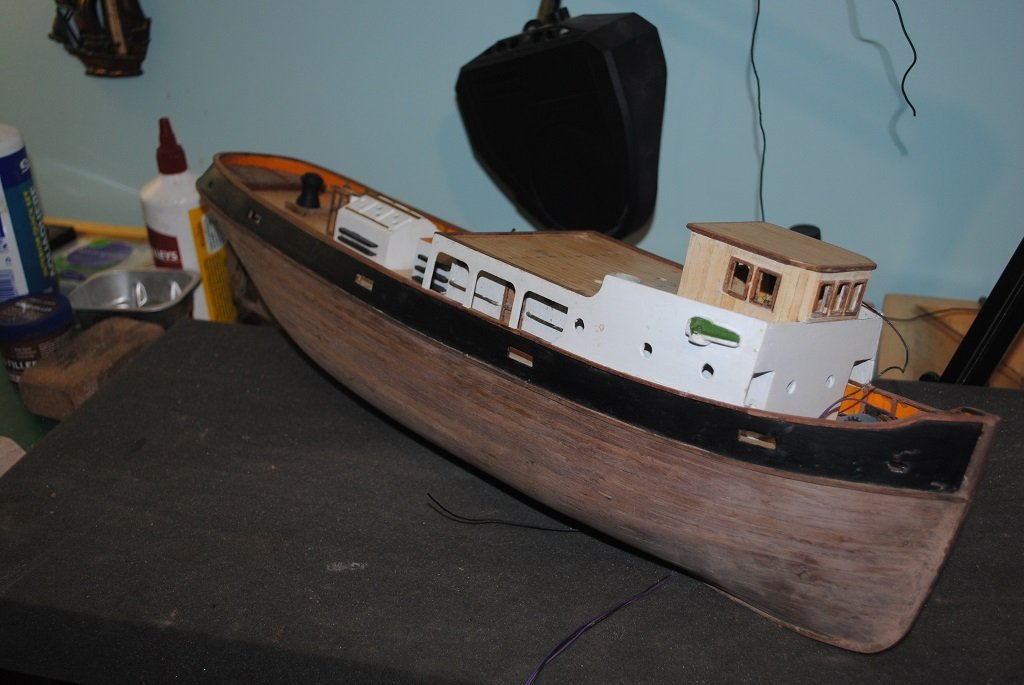
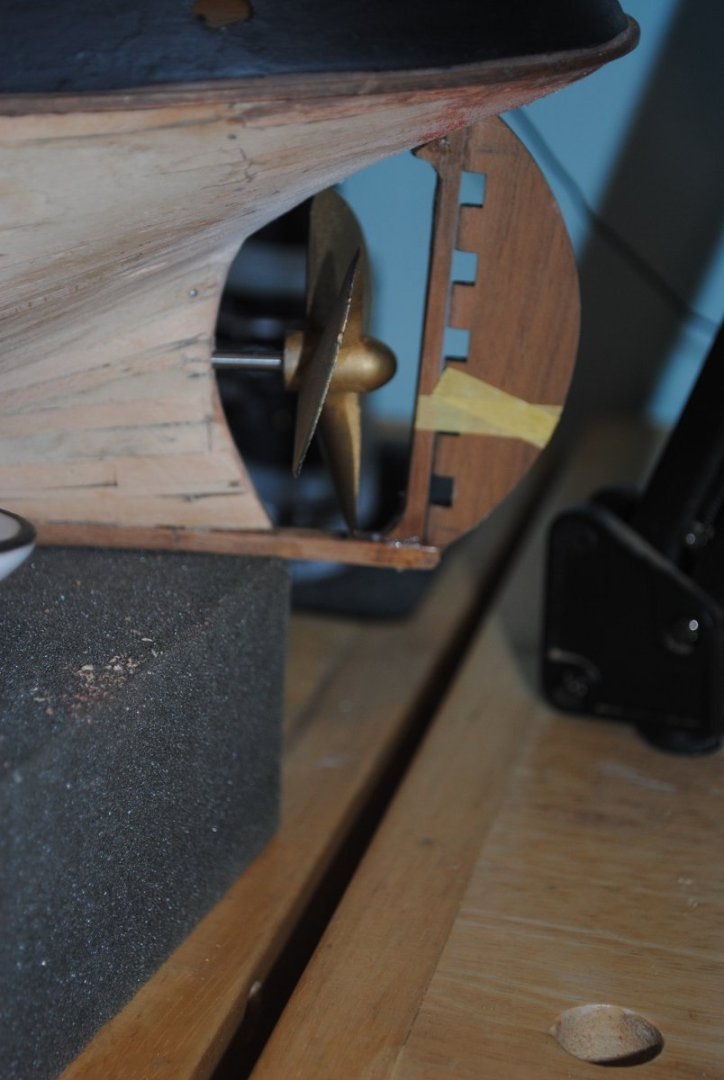
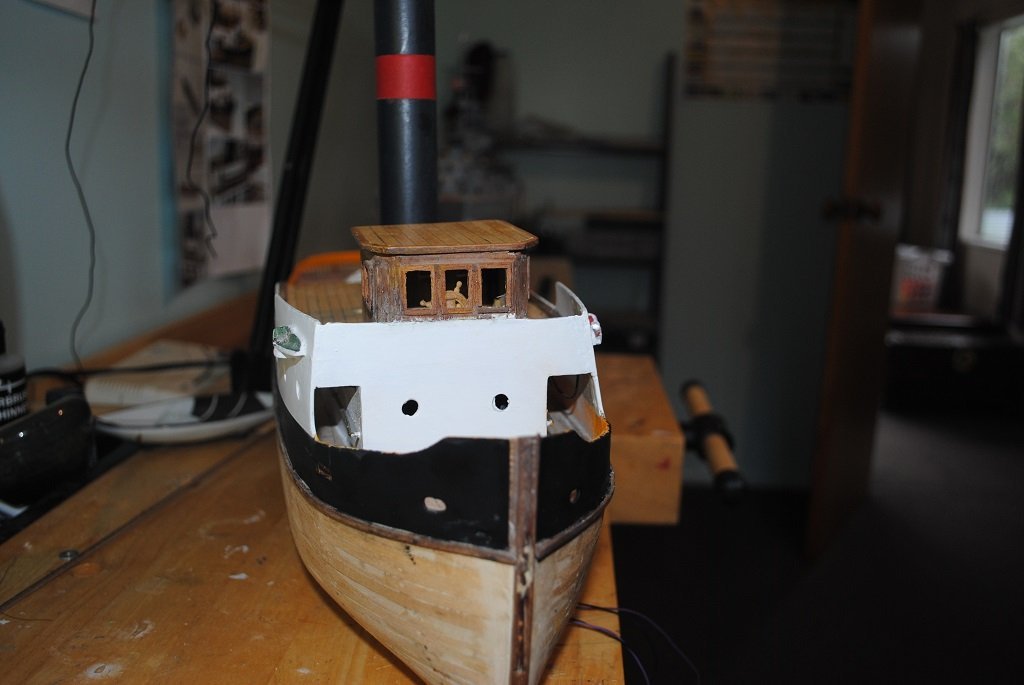
Hi All, A bit of progress with Sanson. Bulwark Stanchions and Main Railing installed Re-Planked Wheelhouse with 0.5mm Ramin Upper Deck Waterways installed Stern Post Installed (Rudder, Prop and Prop Shaft "Placed" until second Planking complete) Paint touch-ups ongoing I think that I'll do the second Planking next, just for something different.... 🙂 Cheers....HOF. Photos:
- 118 replies
-
- 1
-
-
- sanson
- artesania latina
- (and 1 more)
-
Hi Chap, Looking really, really good!! Cheers....HOF.
- 122 replies
-
- 1
-
-
- Artesania Latina
- Pen Duick
- (and 1 more)
-
Hi Chap, Coming along very nicely indeed!! I did drill a hole so that the Tiller/Rudder works. The method I employed started with a small drill bit working up. (You don't need to go through the entire thickness as subsequent bits will follow the small hole.) Anyway, as you stated, this is not really necessary. 🙂 You are indeed lucky to have a more "Supple" King Plank. Happy Joggling!! Cheers....HOF.
- 122 replies
-
- 1
-
-
- Artesania Latina
- Pen Duick
- (and 1 more)
-
Hi Chap, As you stated looks like a very elegant ship!!🙂 Cheers....HOF.
-
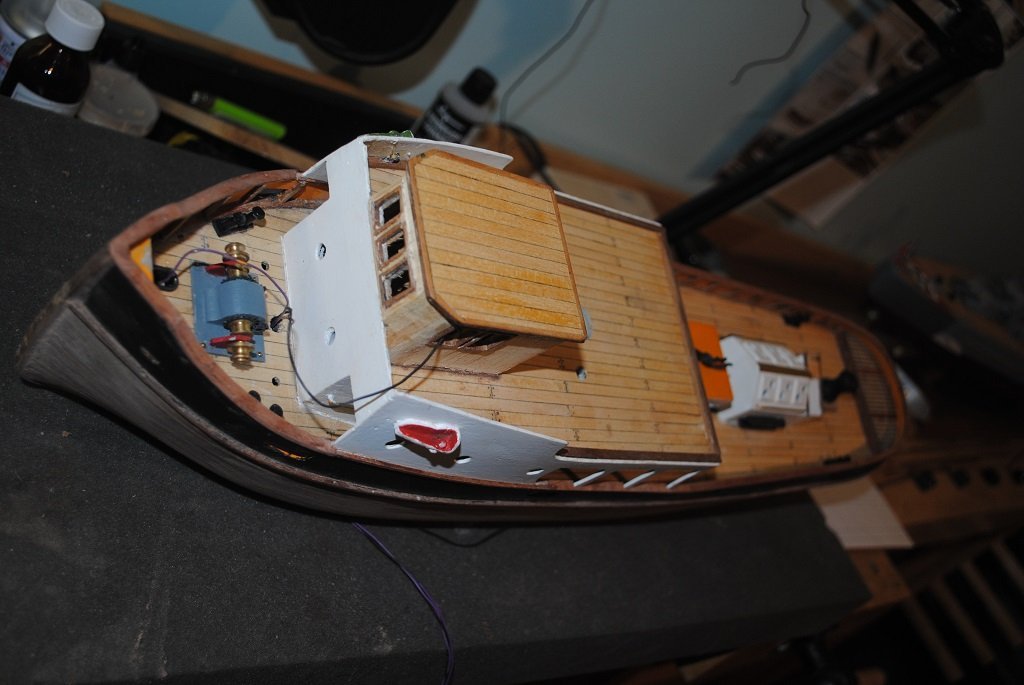
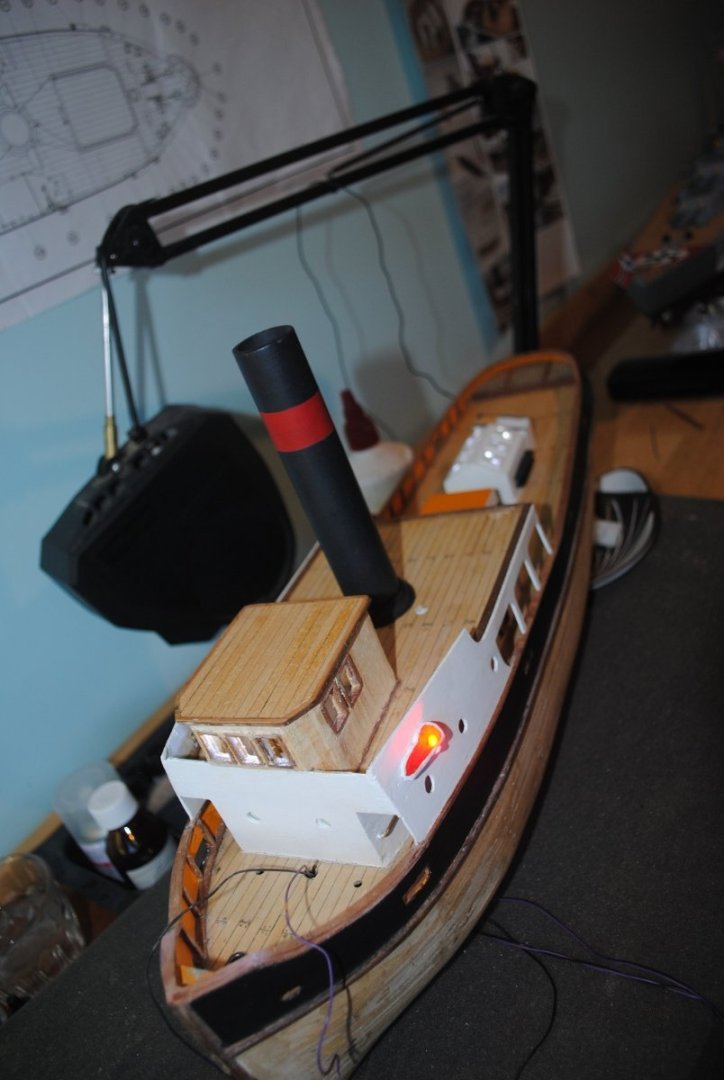
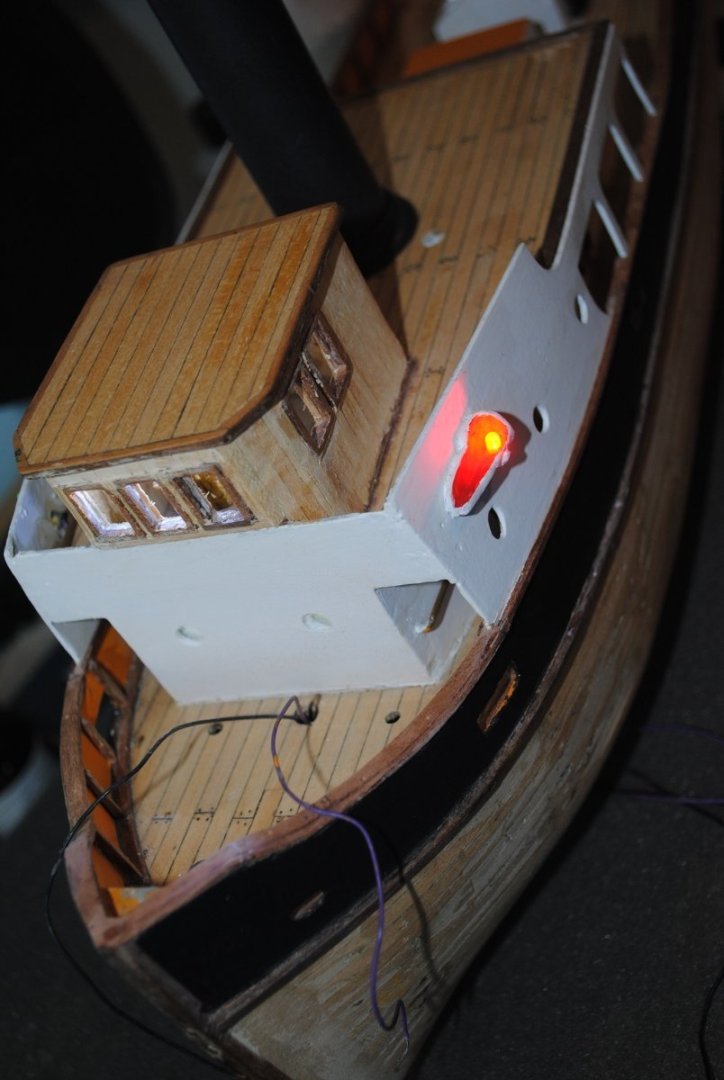
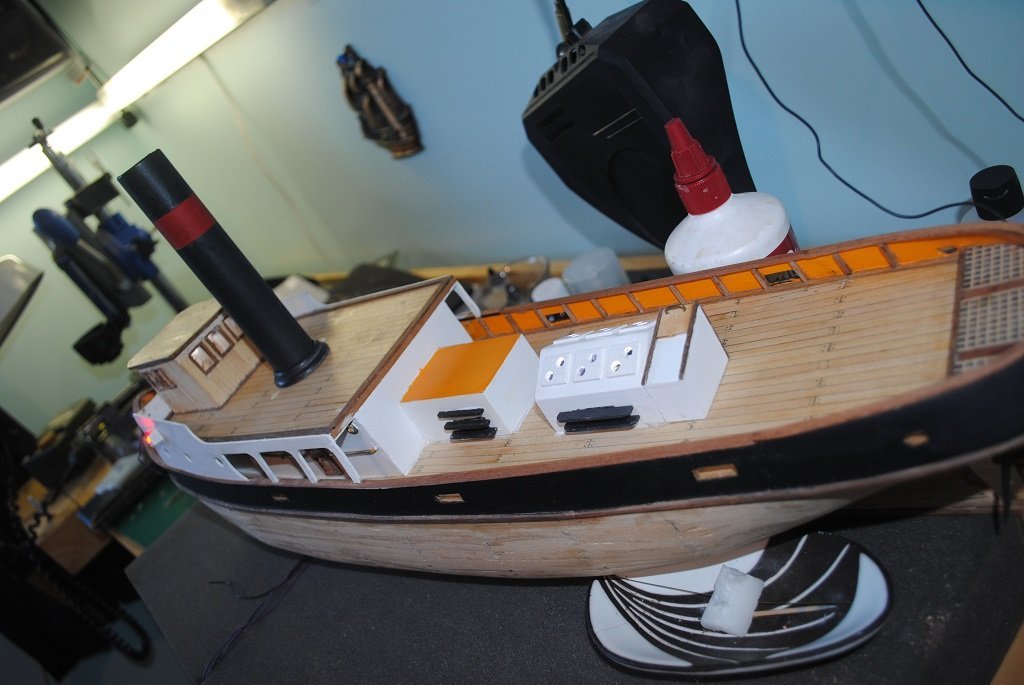
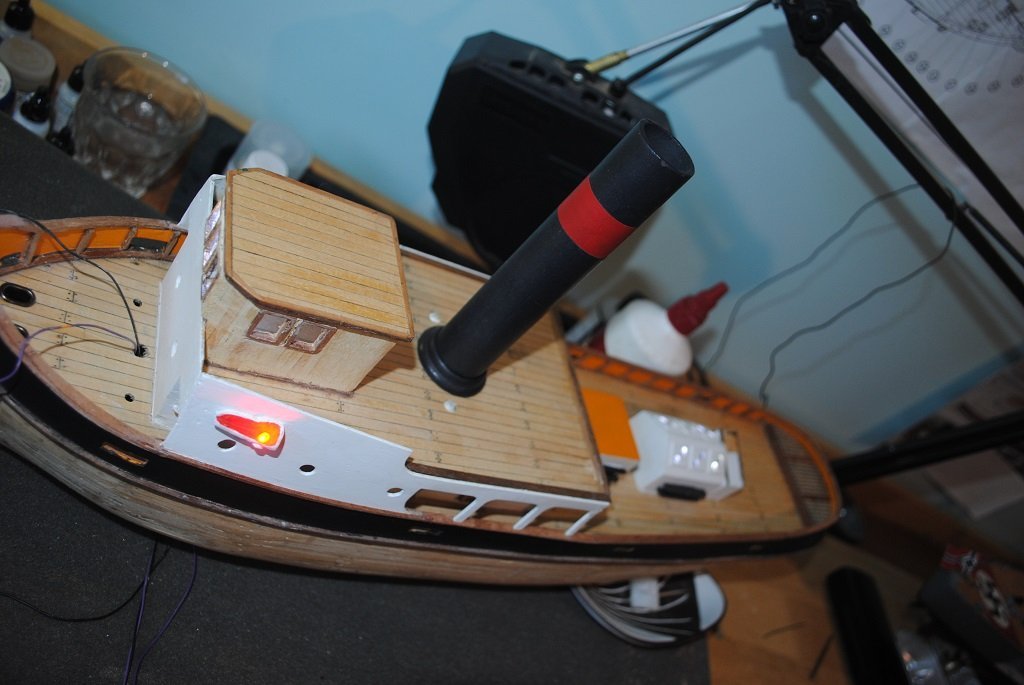
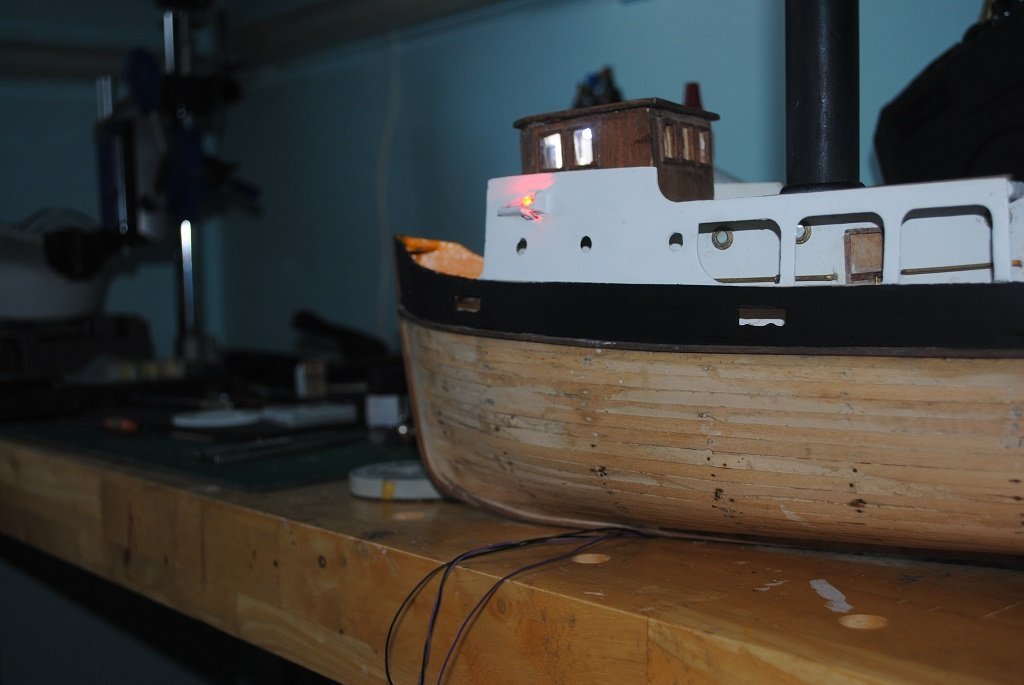
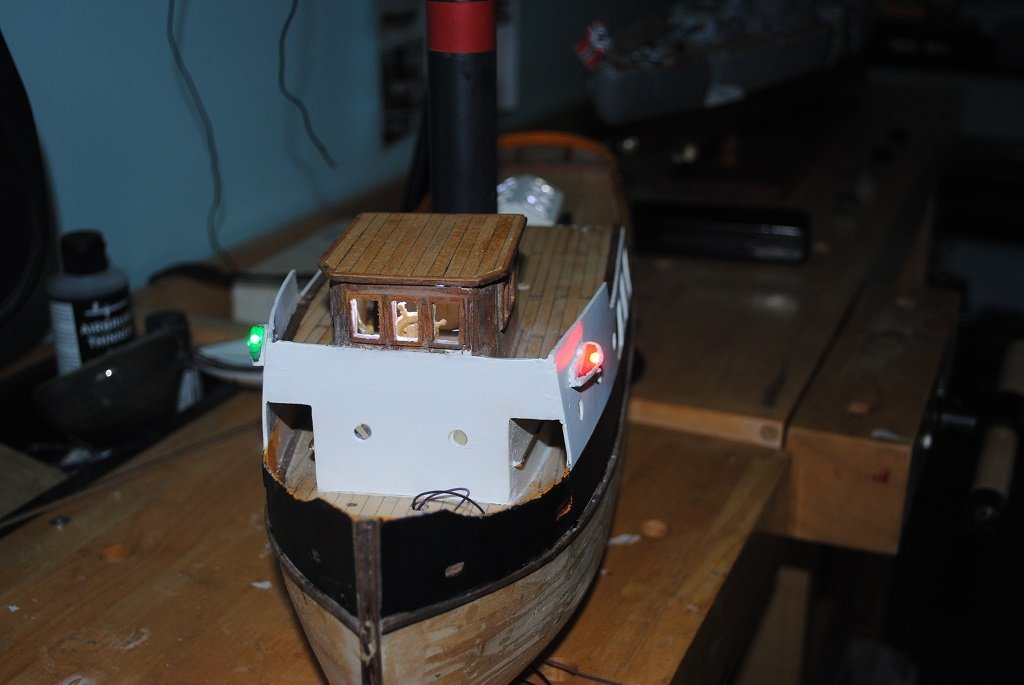
Hi All, It's been some time since I did anything on my much-sidelined Sansom tear-down and re-build. (I had to decide if it was worth progressing or not.) After the Bismarck, I pulled this out to give me a little relief from the intensive nature, the complexity and tiny parts. I have pretty much re-painted everything and have had to resort to brush painting everything, Airbrushing would involve far too much masking. The LED's still work and I have made up a Mast with LED's attached although I need to adjust this "Prototype" to conceal associated wiring. I also need to construct some "Cans" for these lights, I thought small lengths of Brass Tube with small cut-outs to allow the light to escape. (I also need to give the Wheelhouse roof a bit of attention.) Next tasks will be to fit Bulwark Stanchions and Railings, Paint touch-ups and a coat Matt clear. Cheers....HOF. Photos:


- 118 replies
-
- 3
-
-
- sanson
- artesania latina
- (and 1 more)
-
Nice!! Lots of hard work there.... Cheers....HOF.
- 122 replies
-
- 1
-
-
- Artesania Latina
- Pen Duick
- (and 1 more)
-
Thanks Rod, It turned out o.k. a few errors along the way, never to mind. The 1/200 Trumpeter version, in my cupboard is tempting, more complex.... 🙂 At the Mo, I'm trying to work on my Sanson re-build with lighting. I'll post some photos soonish depending on progress. Wot are you working on? Cheers and Regards, Harry.
-
Yup, I did the "Pencil" Caulking on my PD, not so much "In your face" as a Sharpie. In my experience, to stop any Sharpie bleed, use Sanding Sealer first. I guess it's all a matter of personal preference. 🙂 Cheers....HOF.
- 122 replies
-
- 2
-
-
- Artesania Latina
- Pen Duick
- (and 1 more)
-
Thanks Chap!! It was quite complex. The Trumpeter BM looks to be even more so. Just tinkering with my Sanson re-build at the mo. (Something a little simpler.... 🙂) Cheers and Regards, Harry.
-
Hi Chap, Thought I'd chime in.... 🙂 I have just completed my Bissie, I am unsure what Rod did with his Interference Grids but in my experience, these are mounted first. (Mine were at the very edge of the Decking with the Main Deck Railing running along the "Gutter." The Railing I found to be difficult.... I'll let Rod reply to his method of installing these. Cheers....HOF.
-
Hi there, Looking really good!! Are you intending to Plank inboard of the Bulwarks? Cheers....HOF.
-
Hi Ian, Looks like your Airbrushing skills are not too bad!! 🙂 So, Wots your next task on your radar? (BTW I pulled out the Trumpeter version to have a scan of the kit and Mk1 PE. I ordered a Pontos PE upgrade to embellish the MK1 stuff. I'm not going to "Dive In" just yet but am very tempted....) Cheers....HOF.


