

Siggi52
-
Posts
989 -
Joined
-
Last visited
Content Type
Profiles
Forums
Gallery
Events
Posts posted by Siggi52
-
-
Hello,
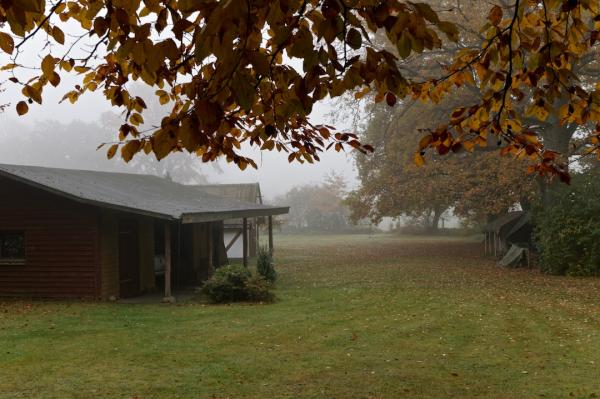
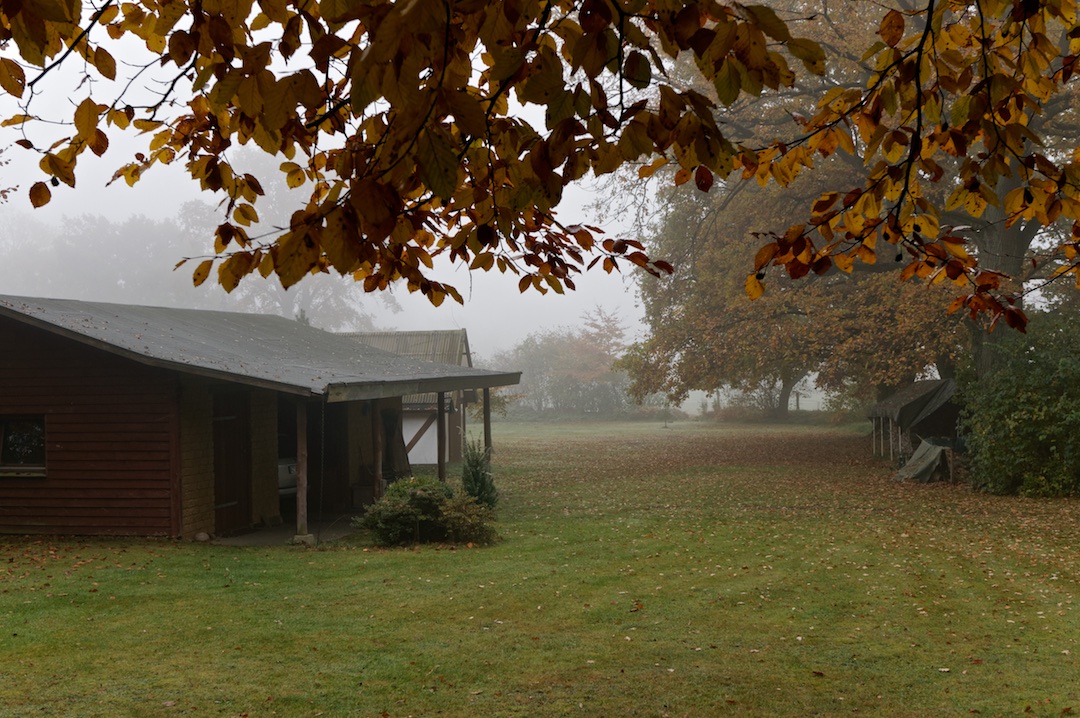
thank you all for your kind words. Last week we had here beautiful sunny fall wether, so I'm mostly out in the garden and doing there this and that. But since yesterday we have again the normal November blues. I took the picture at 11:45 am today and we had only 3°C or 37°F! So I went in the underground again.
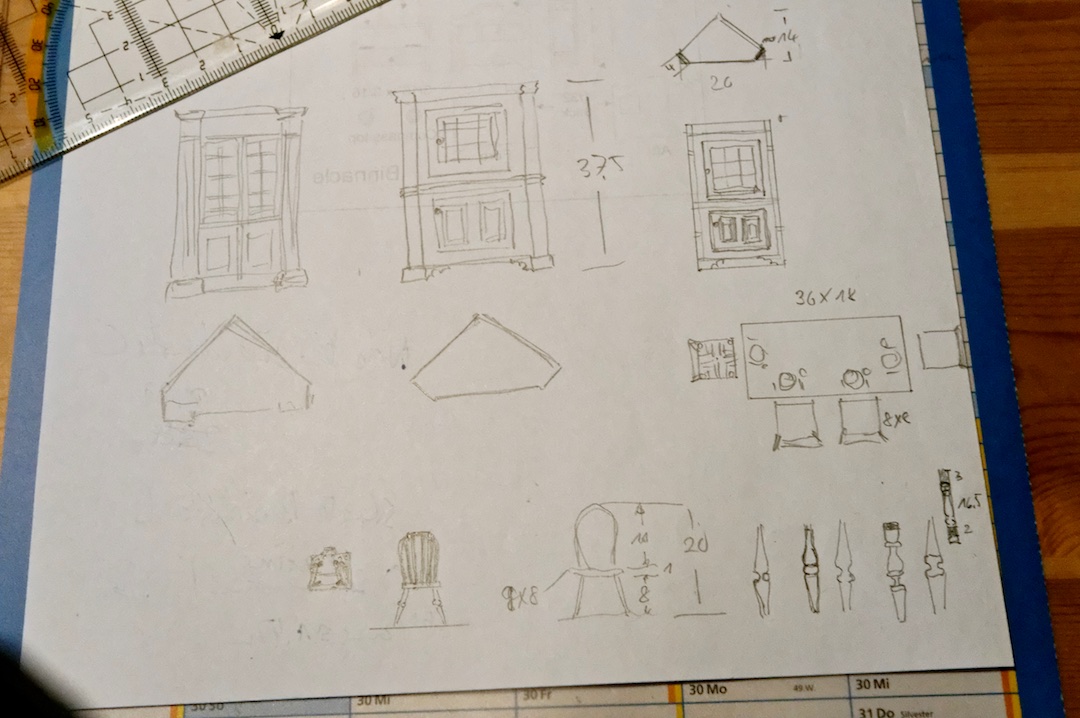
But I had made the paperwork for the chairs already Mark.

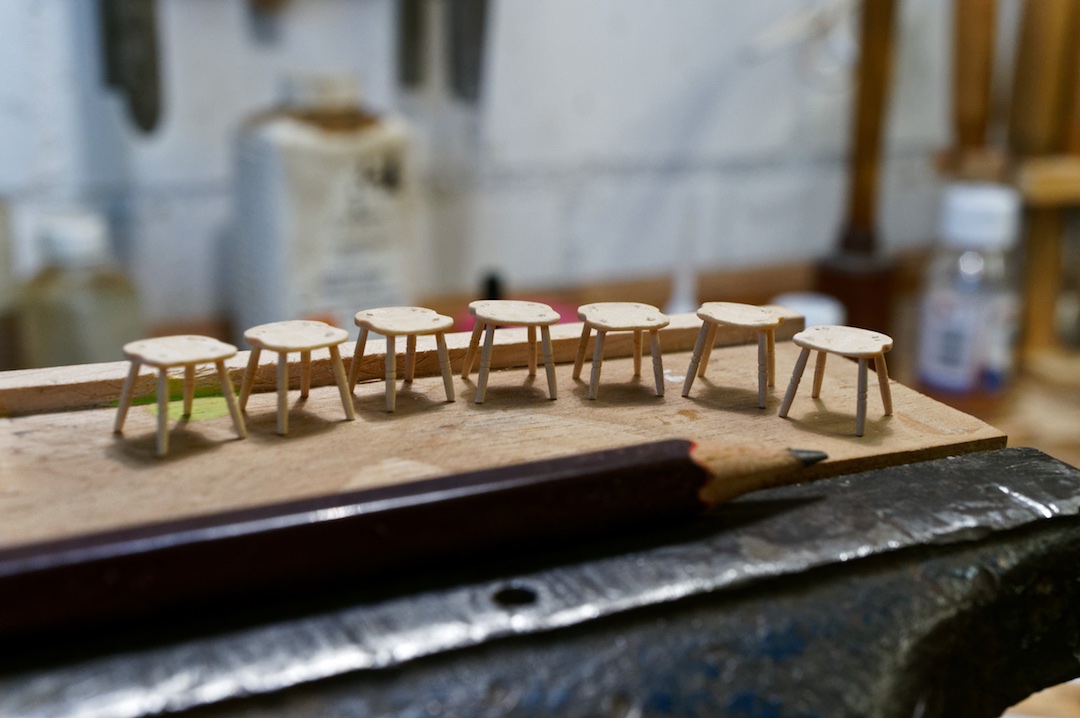
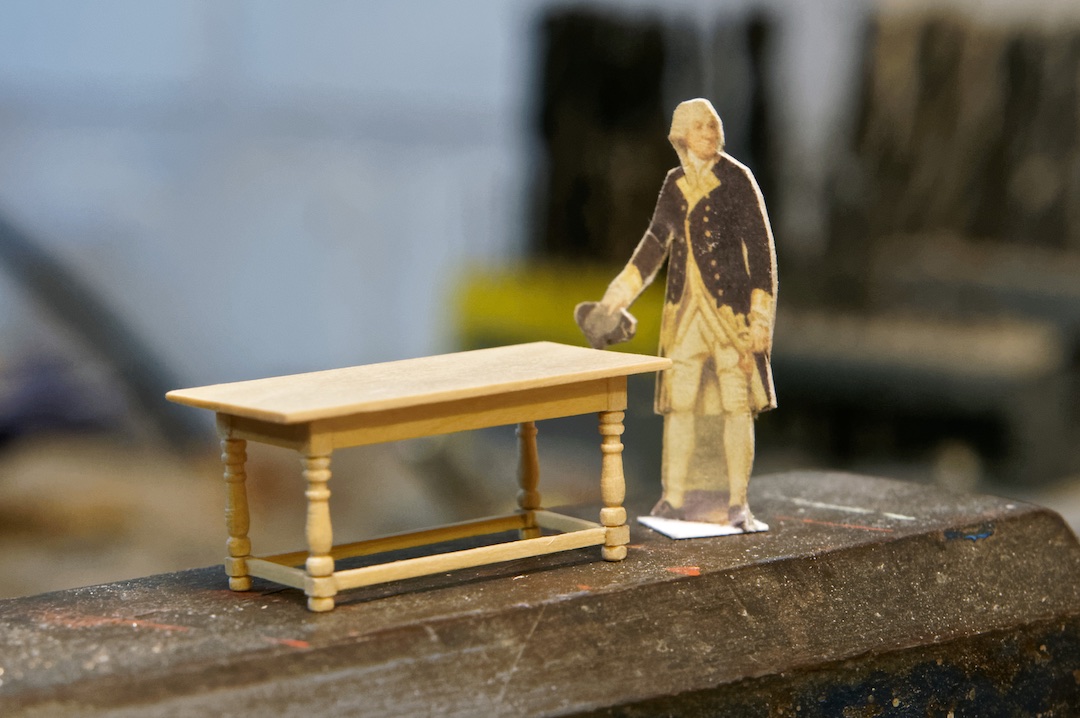
Today I started turning the legs. The bevel left and right from the beads I made with a file.
and that is the output
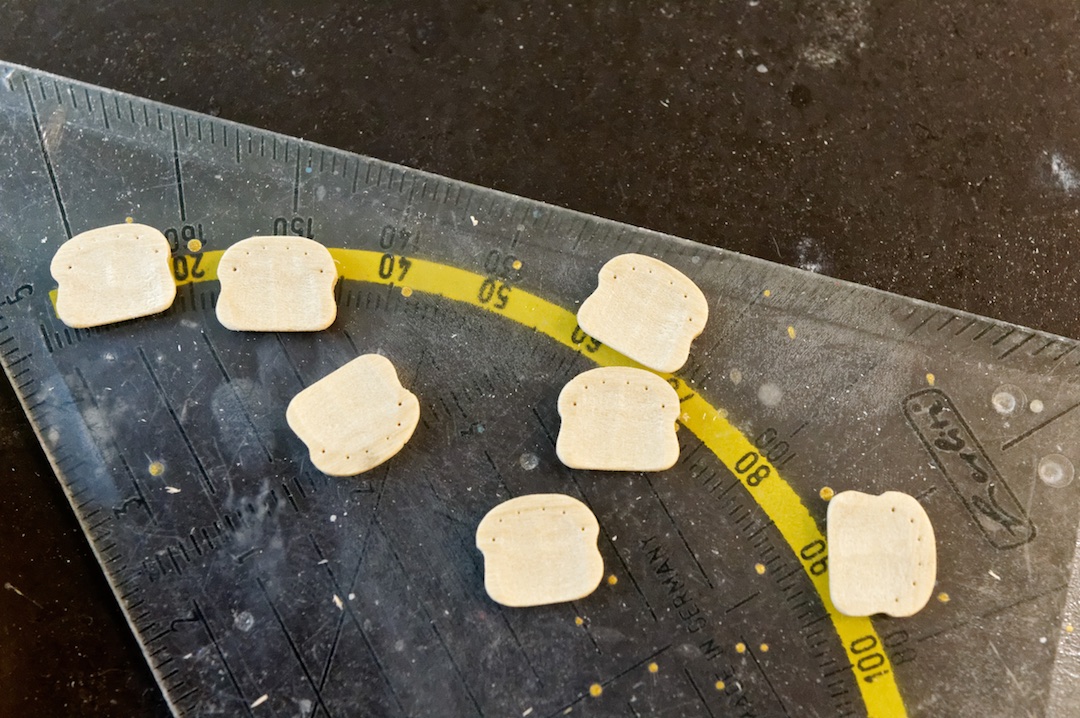
Next came the seats

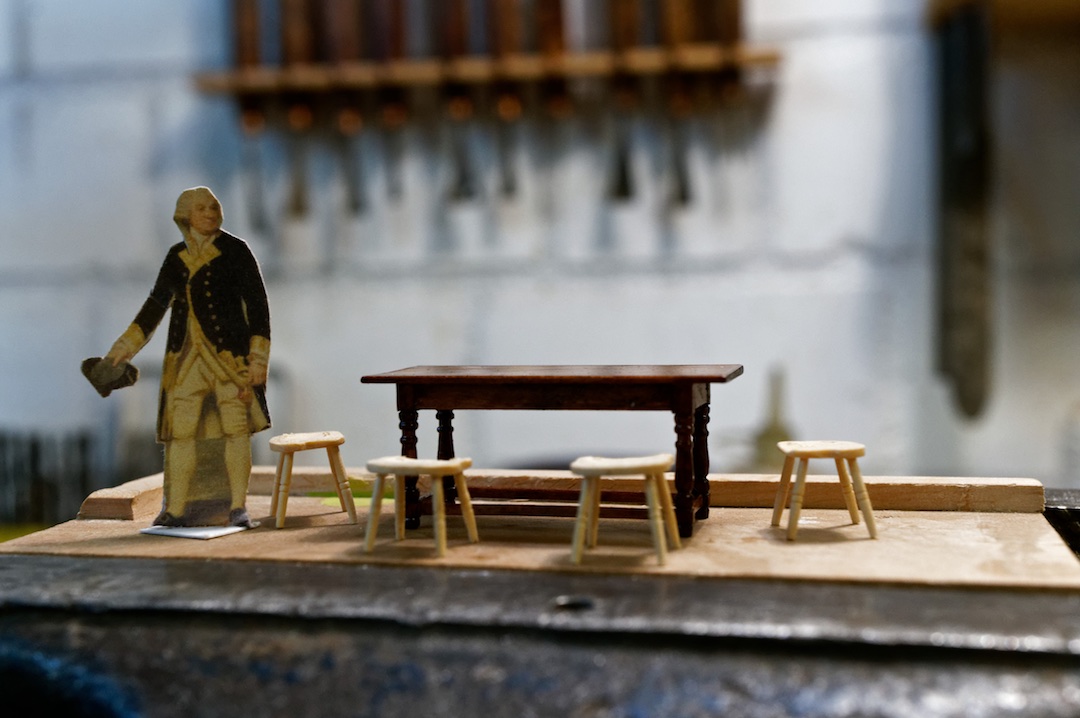
That was't so hard to do, but assembling the whole was not so easy. But I had help


The glue was't really dry and the captain would have a look how they fit to the table. The seats are 9 mm high

Tomorrow comes the hard part, making the back supports. I will see if I find wood that would bend easily, otherwise I make the whole out of copper wire.
The battens between the legs, I think I skip.
Regards,
Siggi
-
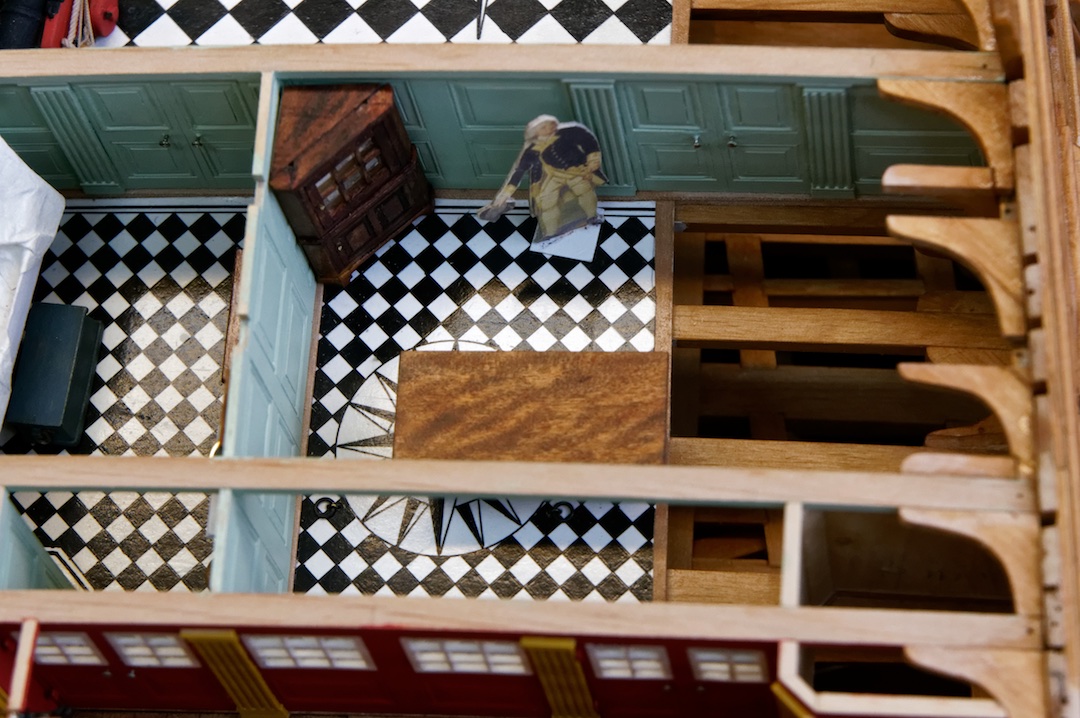
Hello,
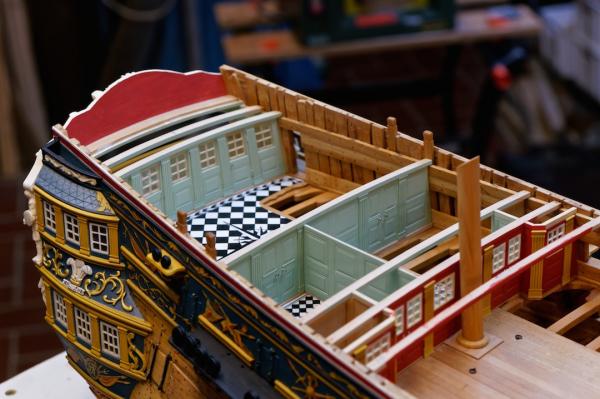
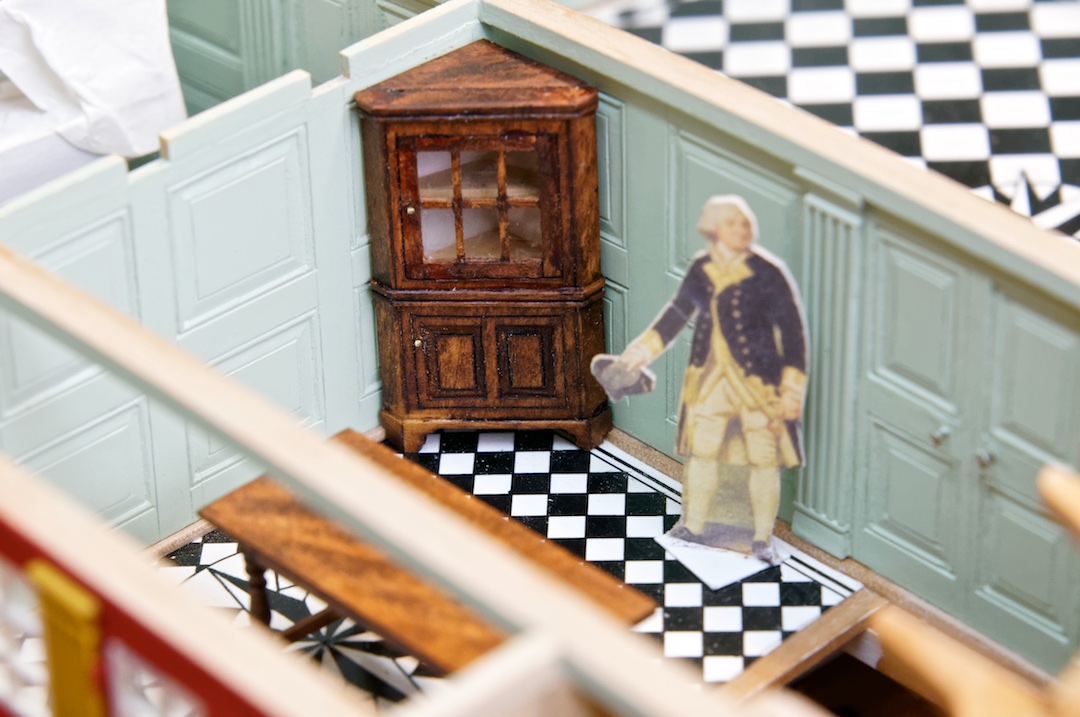
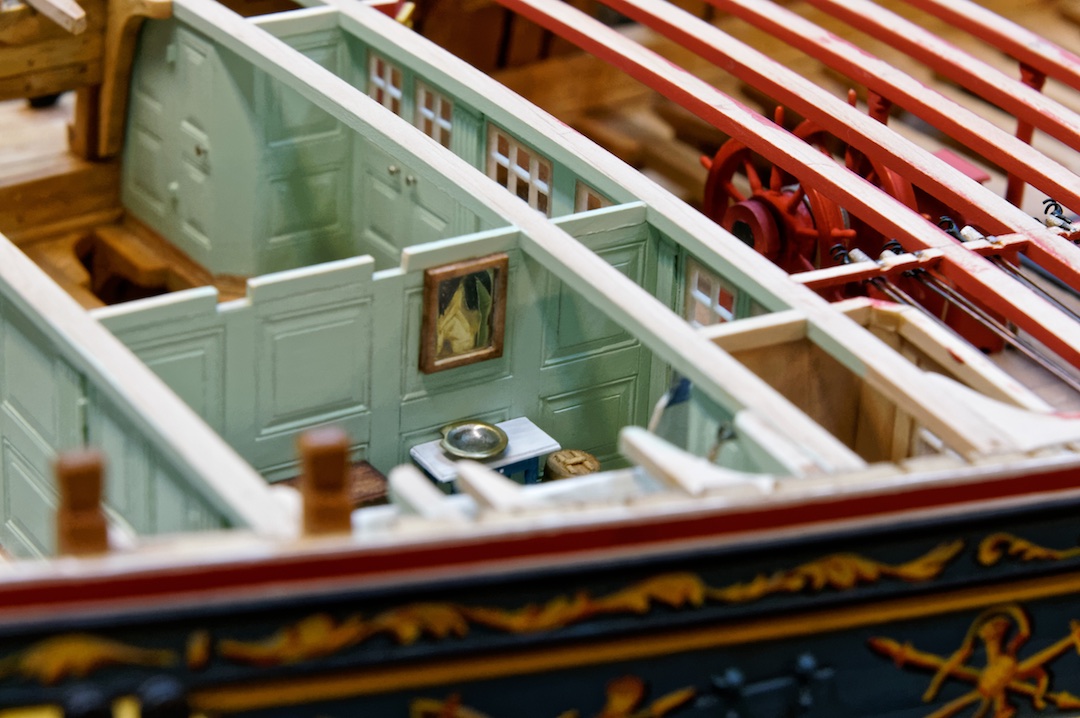
today I build the cup board. It was't so easy, but nothing against that what comes the next days, the chairs.
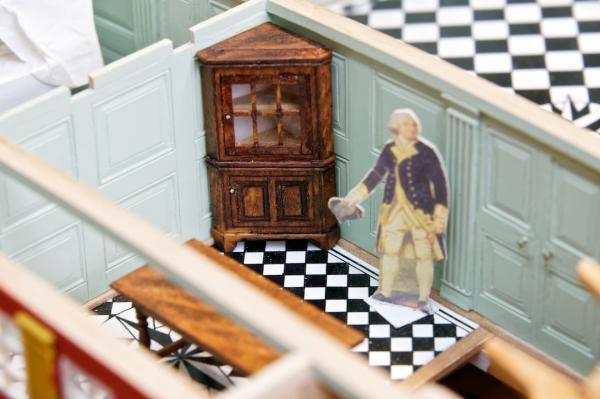
Here you could see, that even for only six persons the room is not too large.

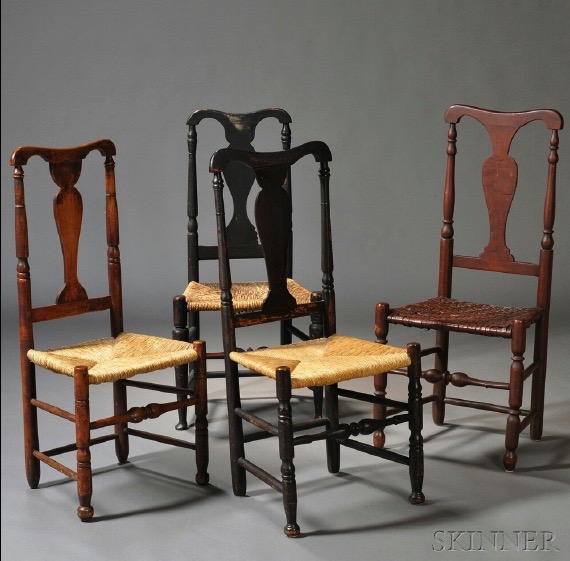
I'm not really sure which kind of chairs I will build. Even the simplest chairs had a lot of turned parts in those times.

Regards,
Siggi
P.s.: Sam, see it as a challenge to make it better then I

-
-
Hello,
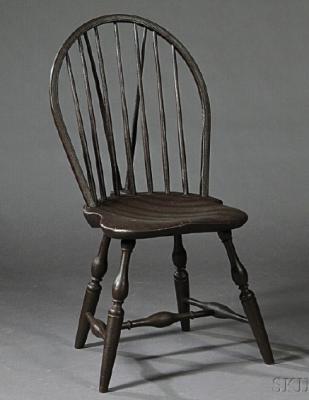
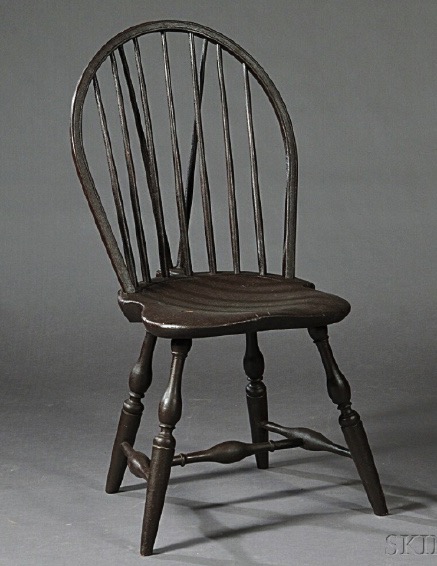
with the chairs you must wait a little, Monty. Except you start building them, you have enough windsor chairs as samples

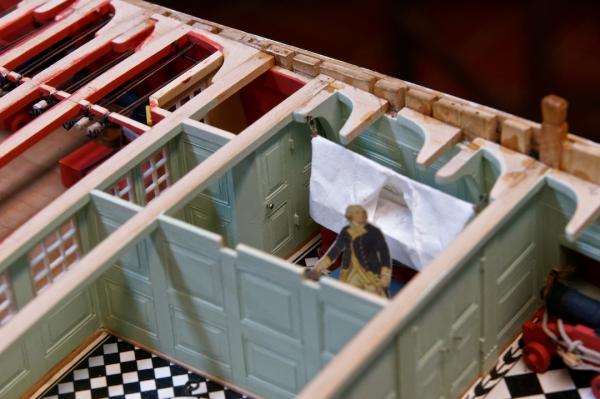
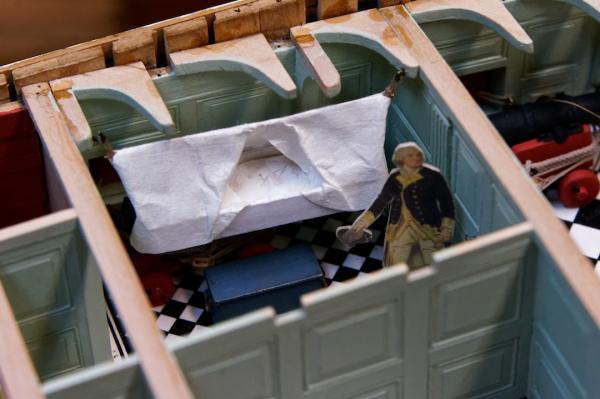
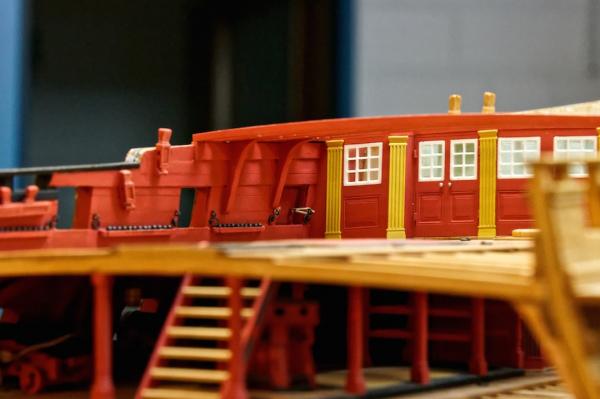
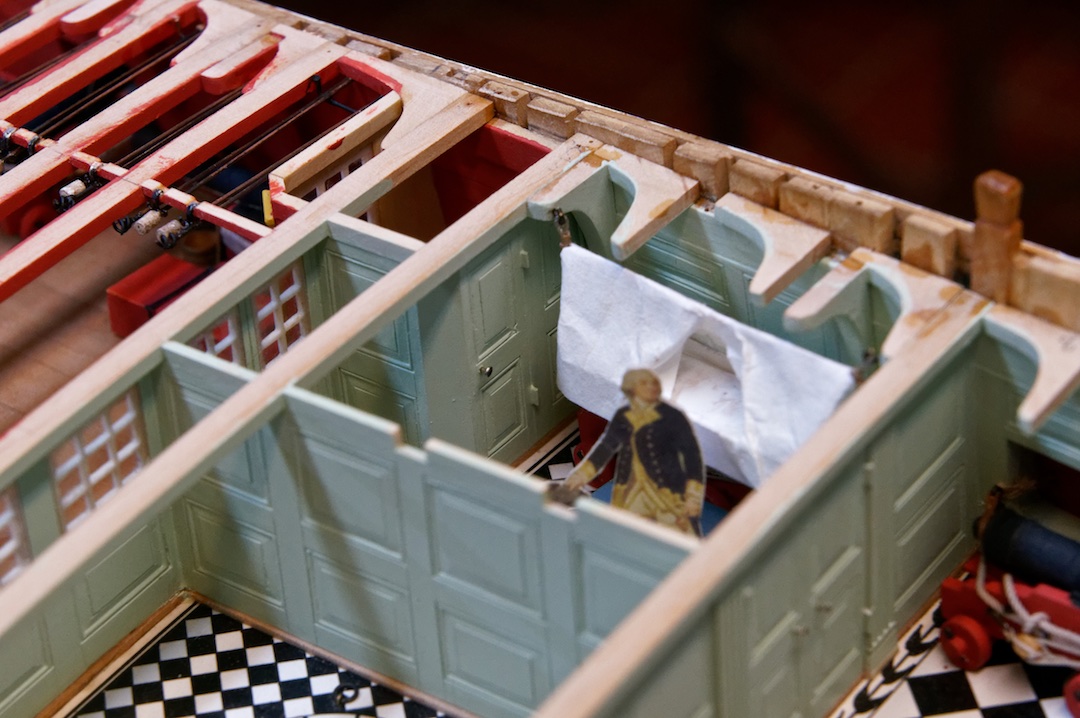
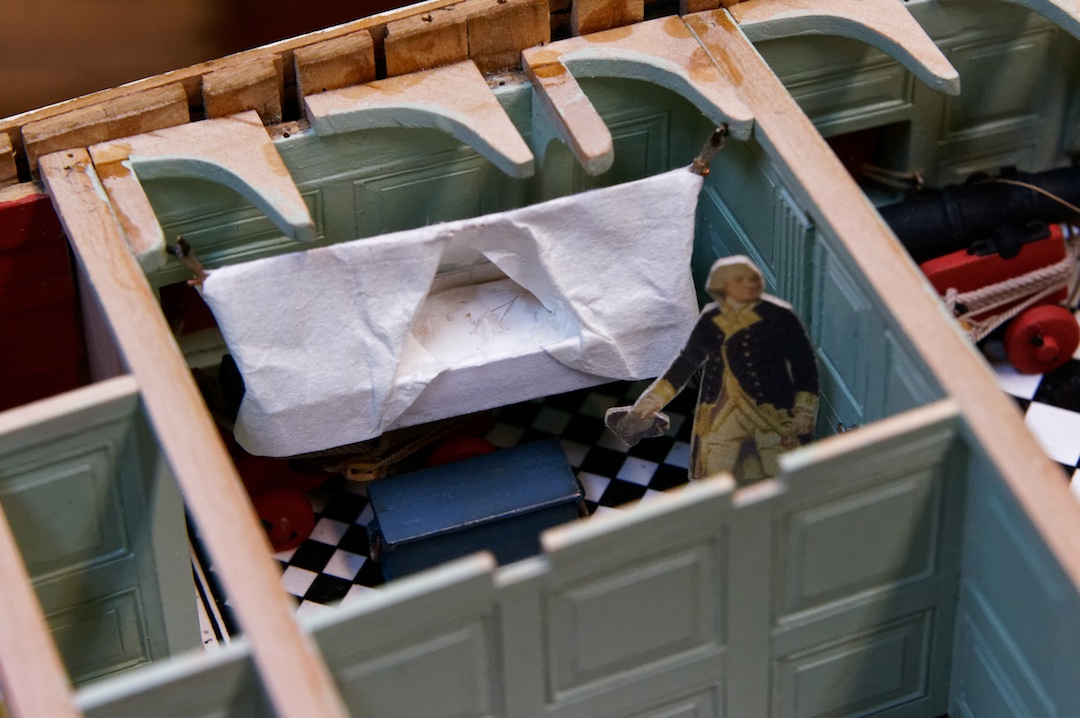
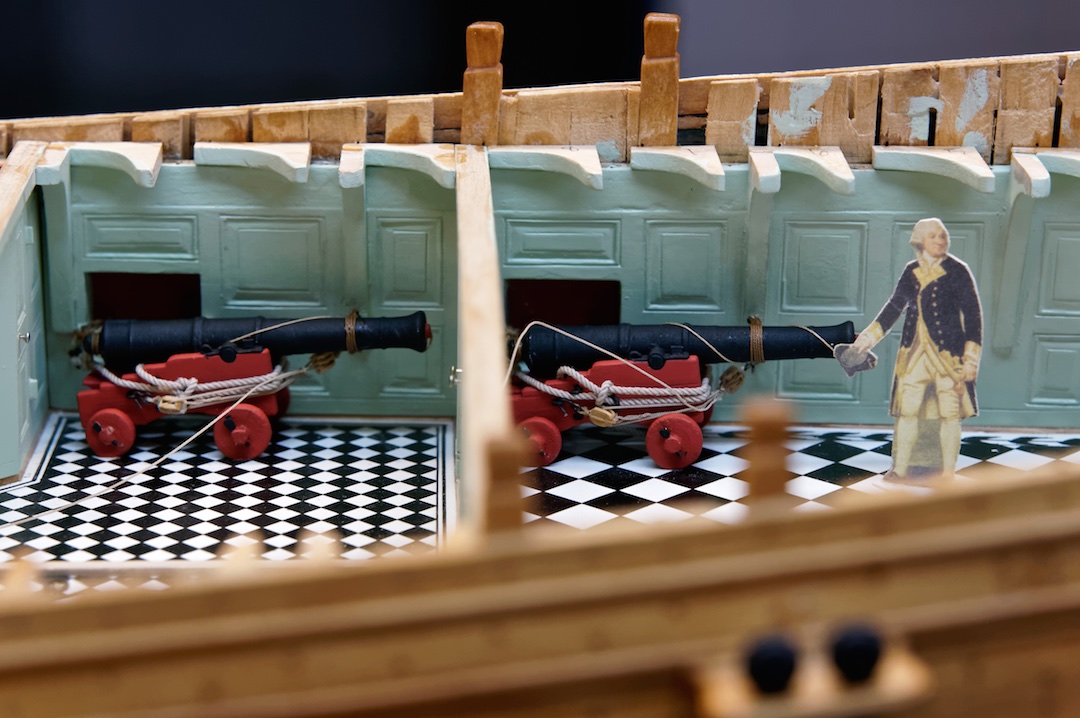
This morning the captain told me that I forgot a mirror in his bed room
 So today I must build a mirror and now he is happy.
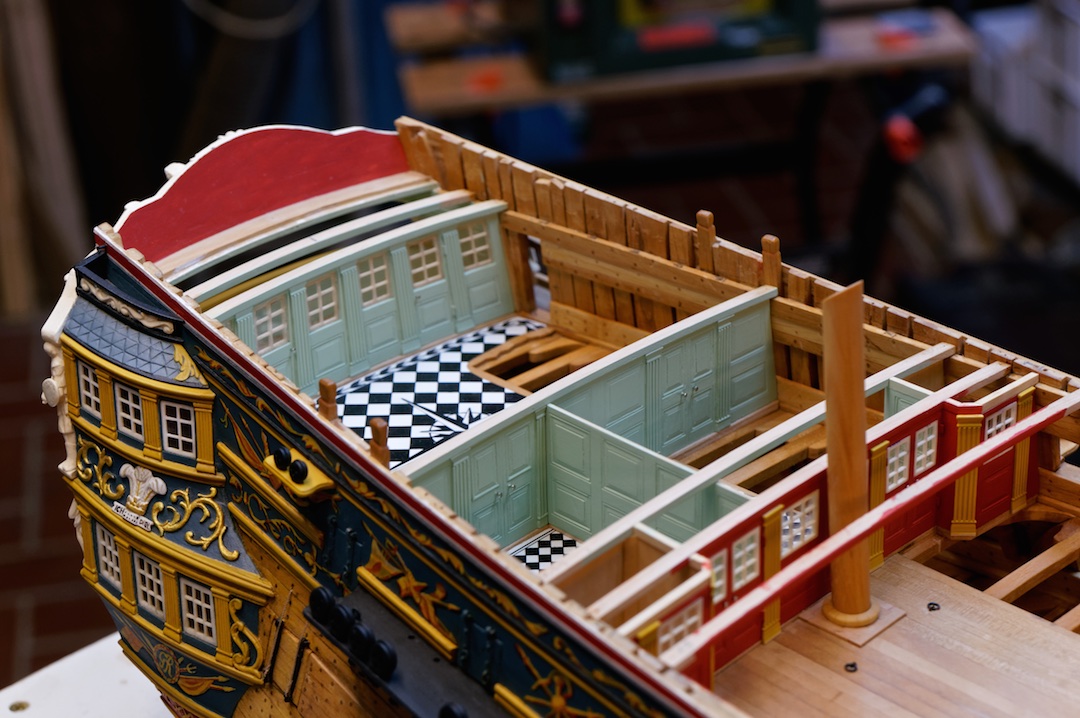
At the second picture you could see the problems I had with the door to the masters day cabin. I had to move the cannon some distance away from the door and had great difficulties where to hang up the bed. Now, when the master is't too fat, he will get without problems into his cabin. For that reason I think they changed so often the design of this cabin.
Regards,
Siggi
- dgbot, SailorGreg, druxey and 13 others
-
 16
16
-
Better not David, than you would't see the finished ship

Siggi
- WackoWolf, dgbot, CaptainSteve and 1 other
-
4
-
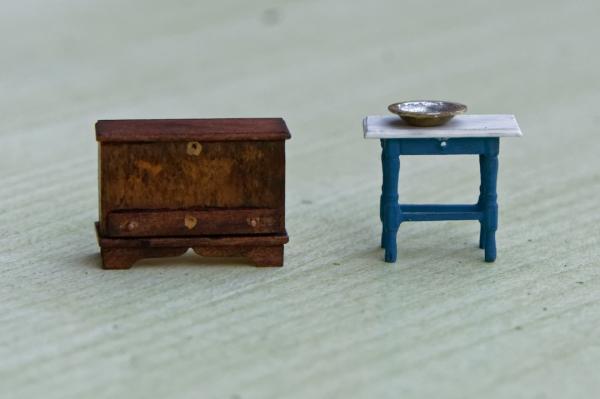
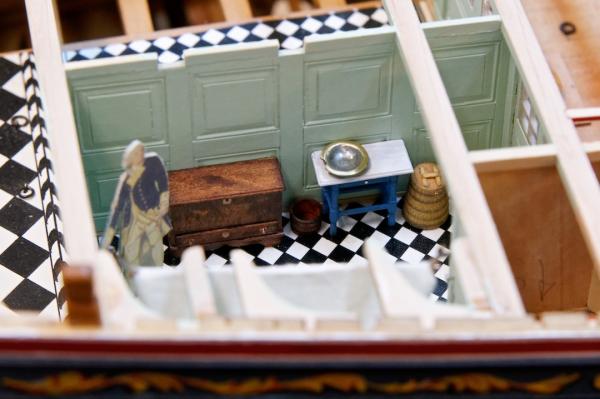
Hello,
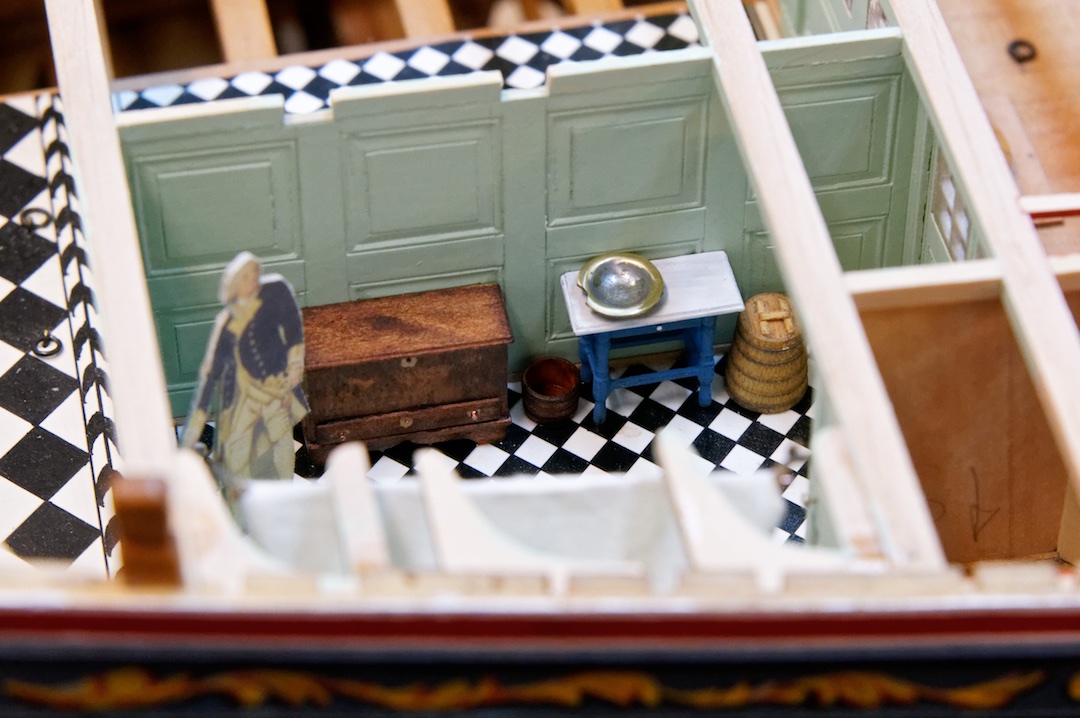
the captains sleeping cabin is now ready. Today I build the chest with drawer for his clothes and the washing table with the washbowl.
Yesterday I finished the cod. This little pice was really tricky to build.
Tomorrow I will start with the lobby. When I understand it right, was this room the dining room for the captain and his guests (normally one or two of his lieutenants) and also a conference room. I would build a table for six persons and chairs instead of benches.
In one corner I would set a corner cupboard and that should be all. Did I anything forget, or should I build it in an other way? A large part of this cabin would't be build, because of the open space.
Regards,
Siggi
-
Hello,
Alan, I think we did't get any information about this is matter. And also when this anonymous captain in 1804 wrote about this and that, what he think should be standardize in the Navy, he did't wrote anything about this. I think, that should be in the responsibility of every captain himself. So I decided to do it as I wrote the post before.
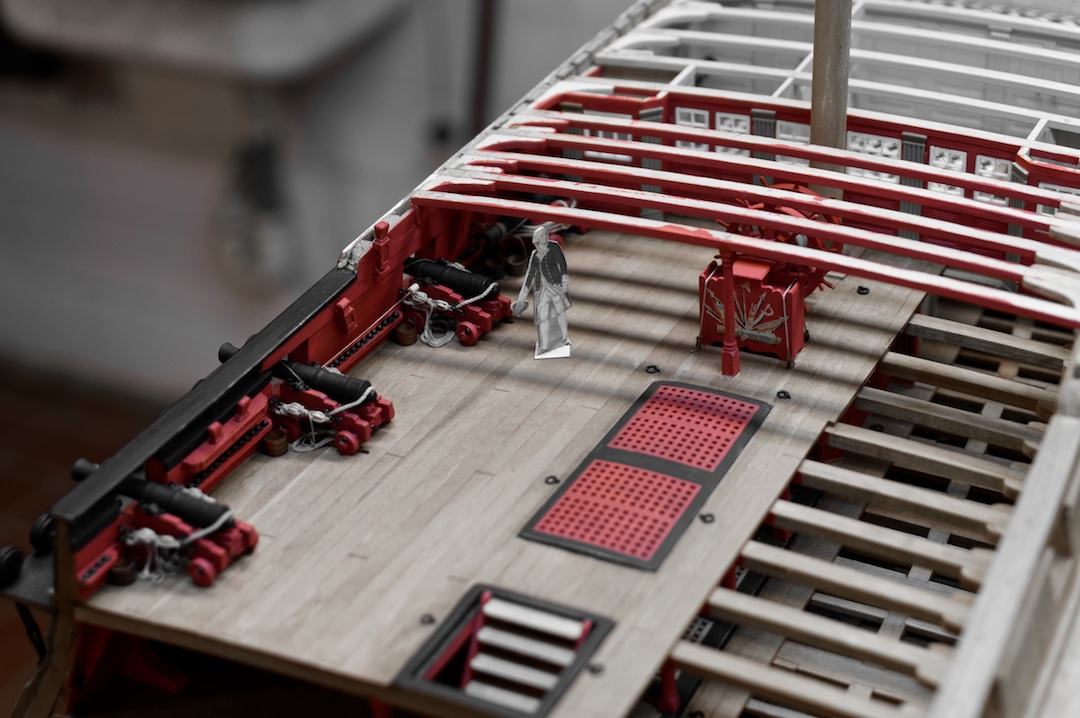
But that captain wrote about a chest with weapons that stands in front of the bulwark. That chest was filled with sea service muskets, pistols cutlasses and tomahawks. The sentry in front of the bulwark should wach also over that chest. It was used when a boot is going ashore in unsure country. Just to mention, in front of the ward room was also a sentry.
So I think that the deck in front of the bulwark is ready, except the rail of the stairway
I know me and build it better at last The next thing is the interior of the cabins

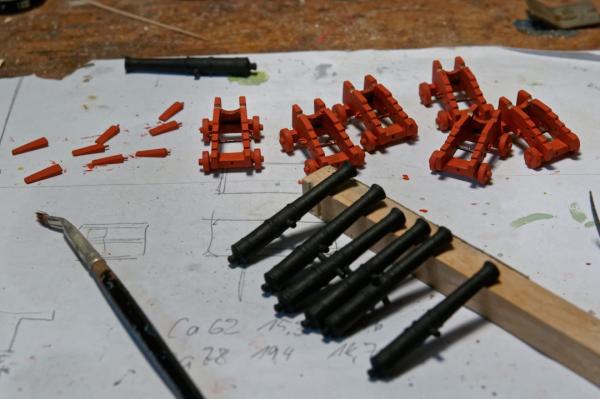
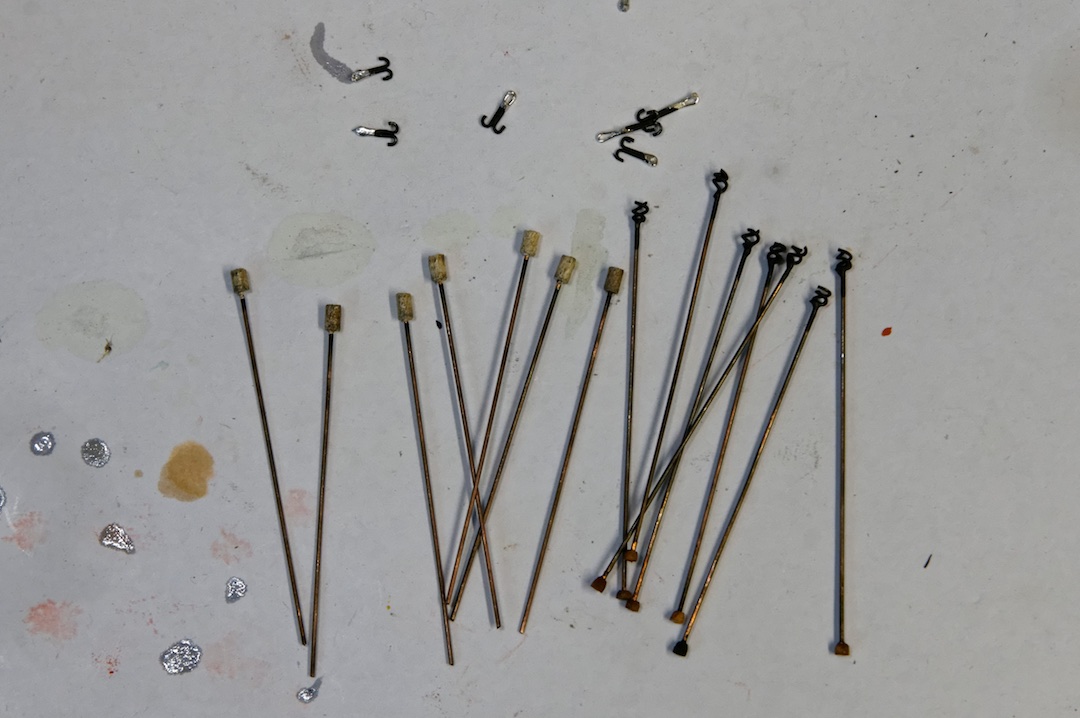
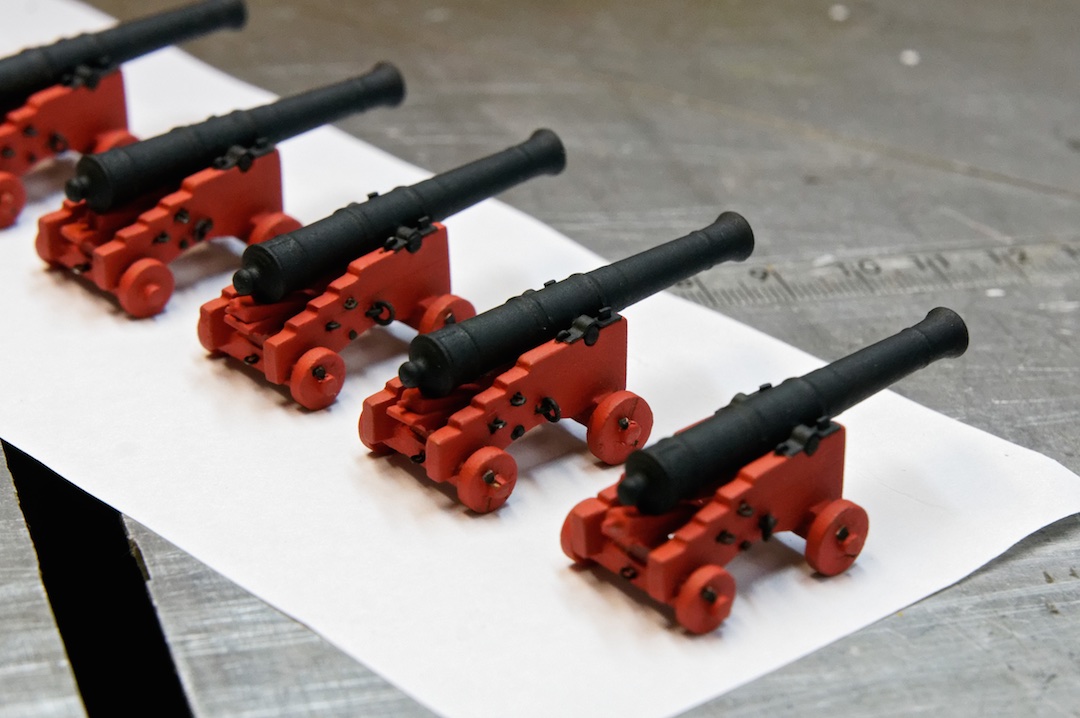
And here some pictures of the rammers....

Have a nice weekend,
Siggi
-
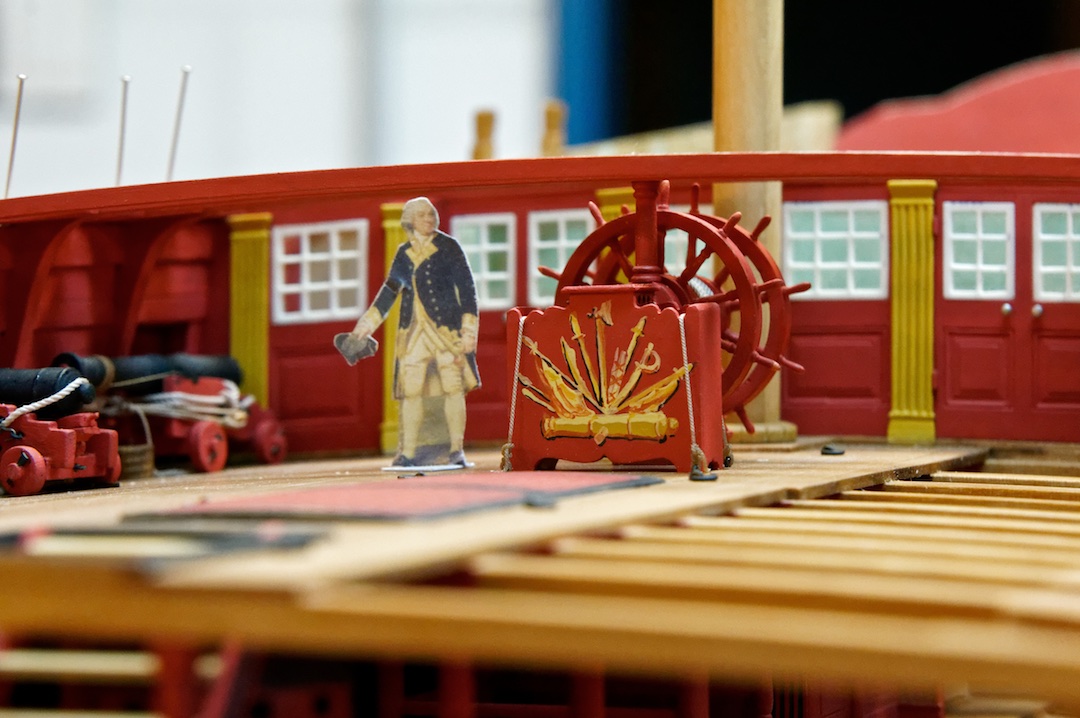
Hello,
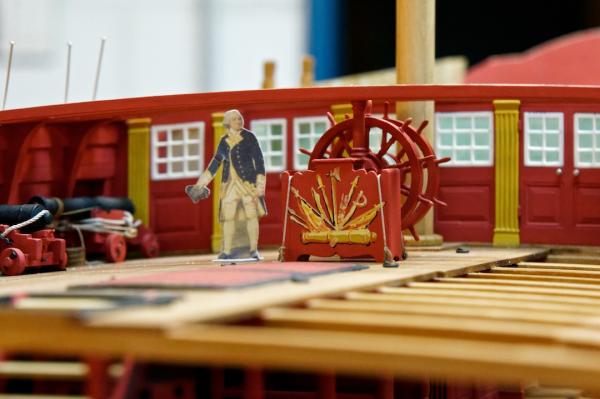
now I have also the beams fastened and the last stanchion is set, and Mark, the binnacle is painted.
But now comes the problem of this deck.
Question for the experts and all who know something about this
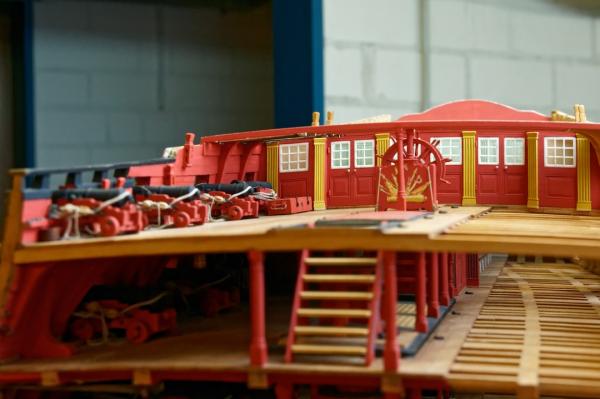
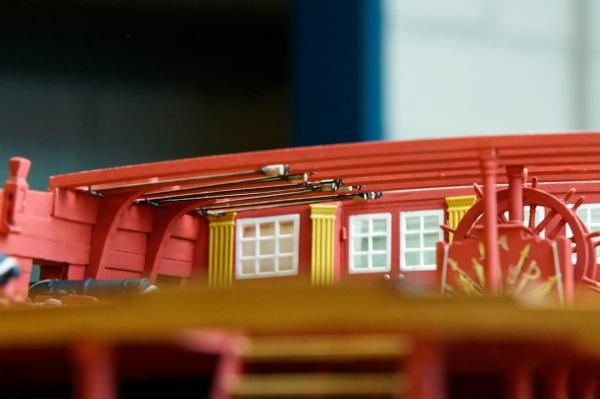
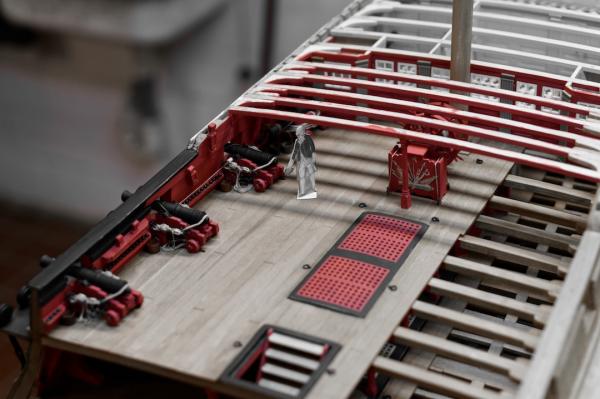
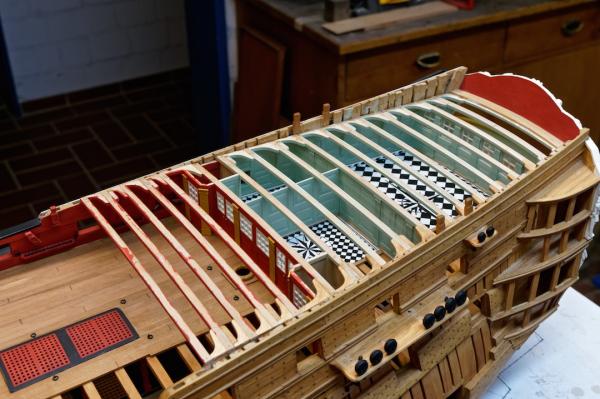
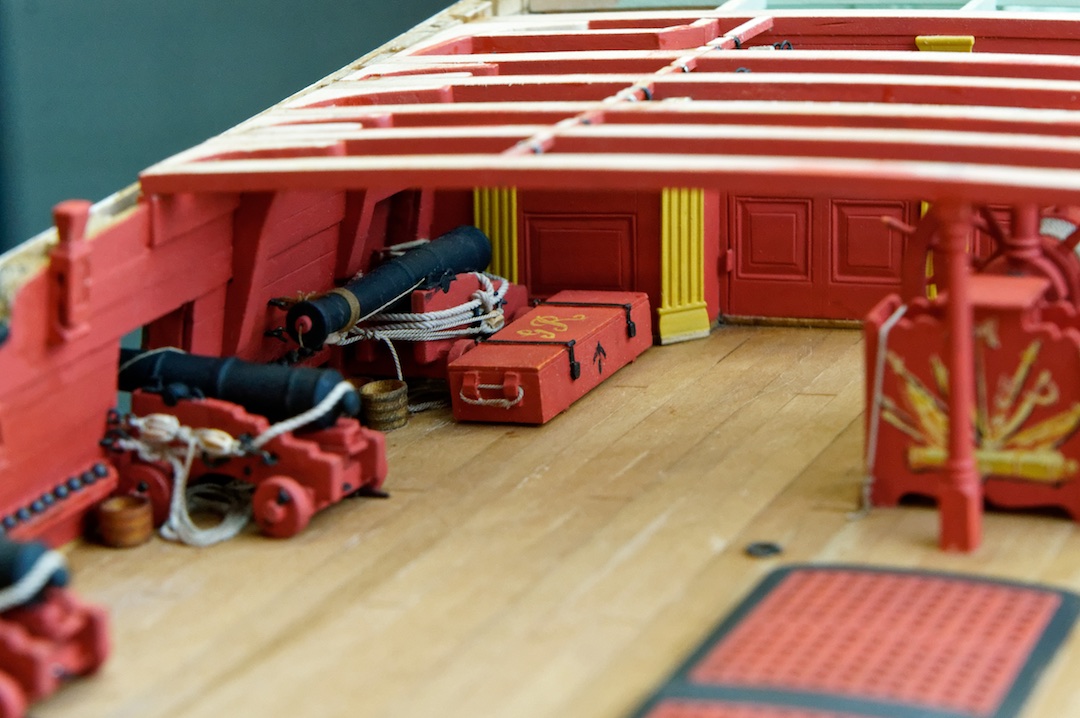
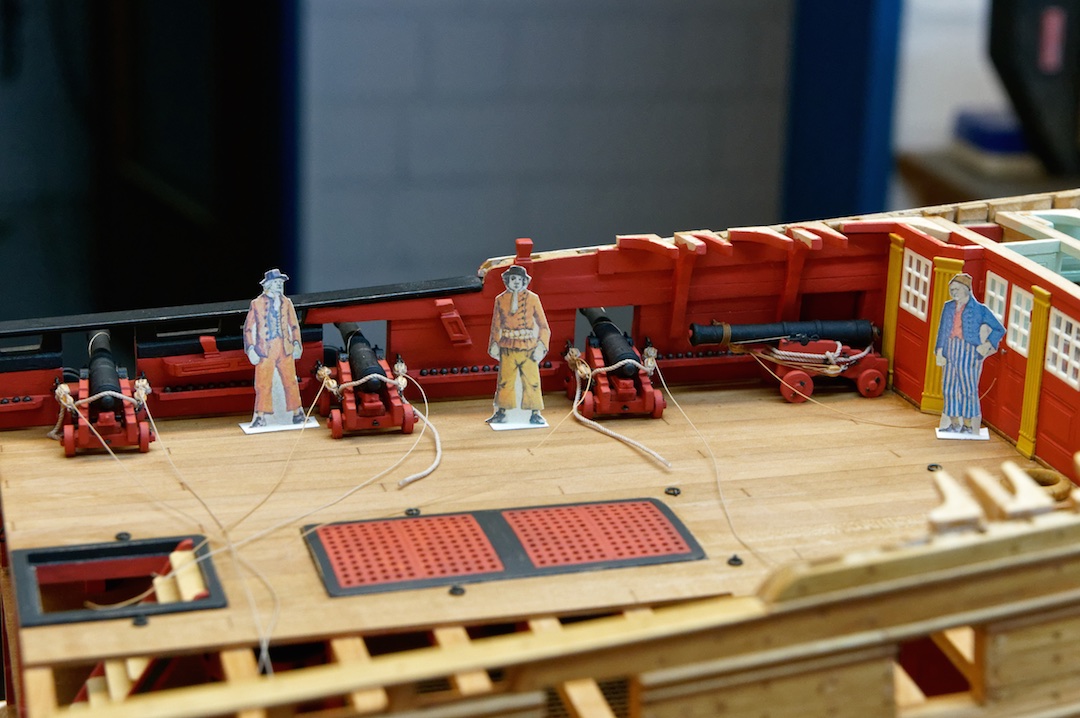
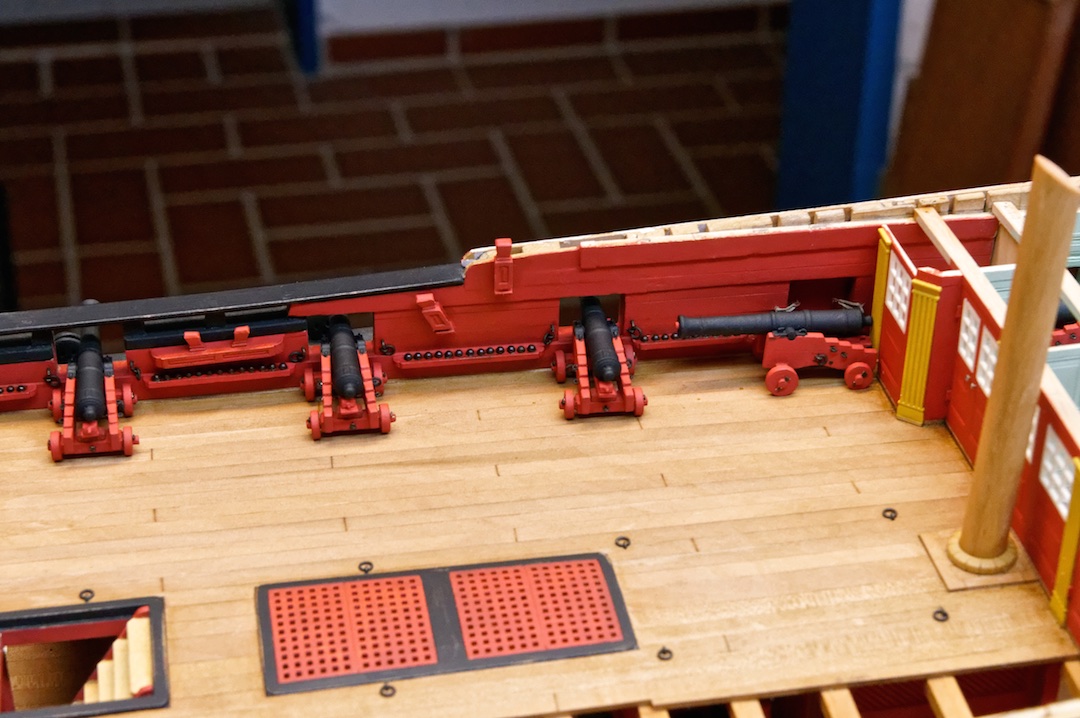
Where should I stow away the rammers, sponge and wad hook for the cannons?
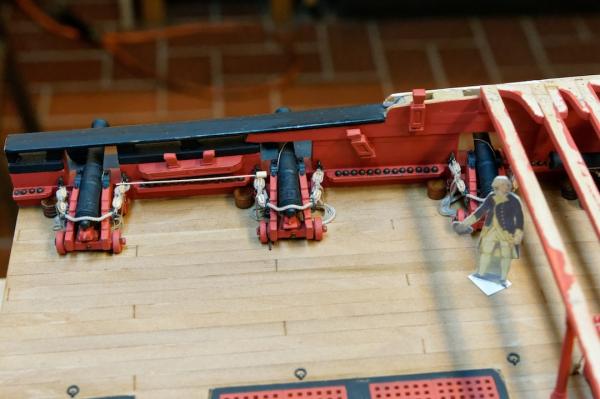
We have 7 cannons at every side of the quarter deck and 3 of them have no deck above them. So I could't store the side arms there. At the wall is not enough space between the cannons, see the picture. Later with the carronades, who where really shorter, they where stored there.
I would do it this way. First I would make the rammer and the wad hook into one item and store them all between the deck beams in front of the bulwark. May be also with the side arms from the cannons of the cabins so that the captain has only the cannons in his cabins.
The handspikes and smaller items are lying under the cannons and the buckets between them. The buckets from the cabins are stored in front of the bulwark. The match tubs I store at the upper gun deck also in front of the bulwark. (not visible) Because one gun crew operated the two cannons opposite each other, I think they need only one mach tub.
I hope you could help me, many thanks in advance
Siggi
-
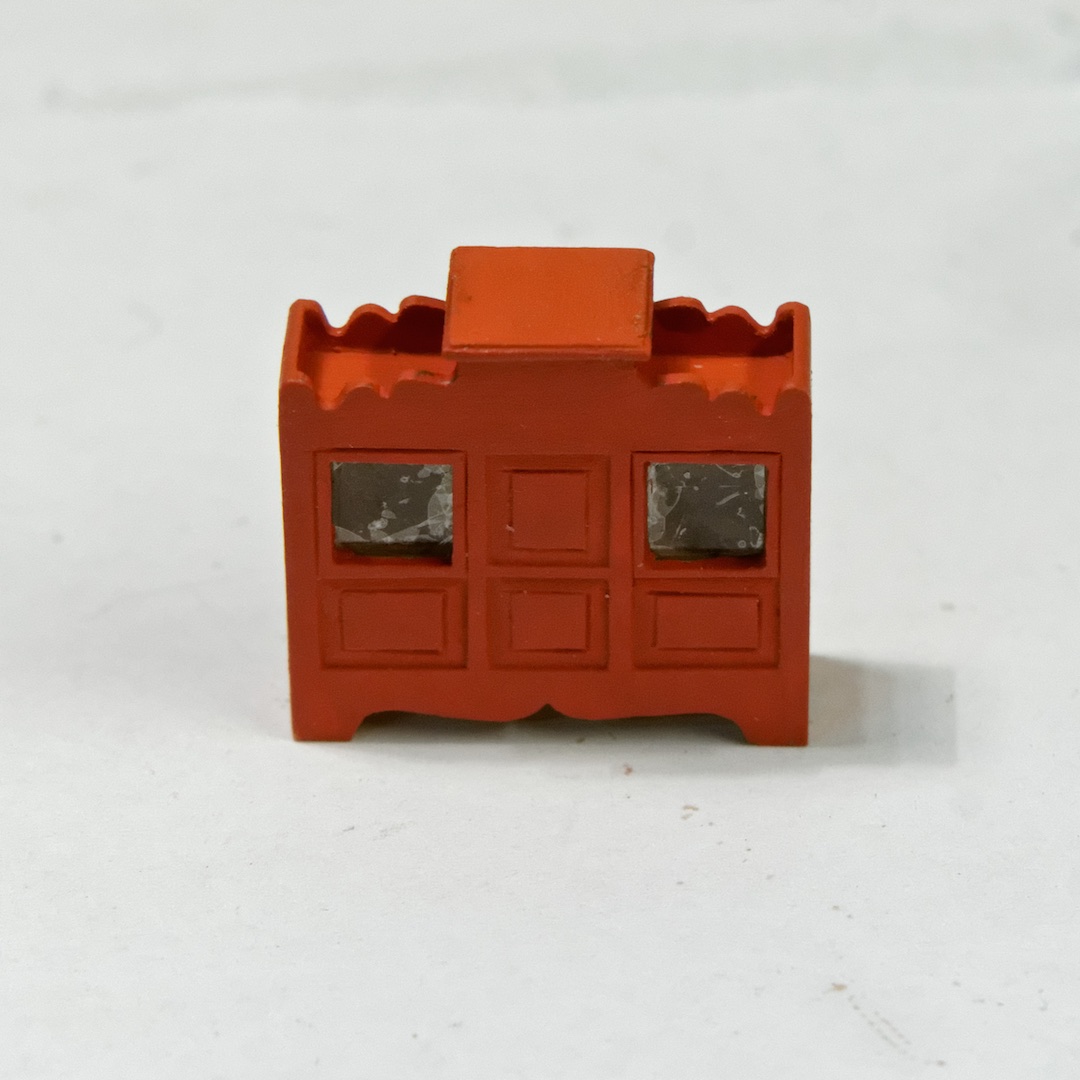
Hello,
thanks for your kind words, that supports my much. Today I finished the binnacle. Through my research in the NMM, I found this picture of a frigate from the Amazon class, ca. 1780. So I had something I could follow. Against this one, the binnacles from the Victory and Tricomarlee looking really modern.
And that is now my version

Regards,
Siggi
- Mirabell61, mtaylor, GuntherMT and 12 others
-
15
-
Hello Druxey,
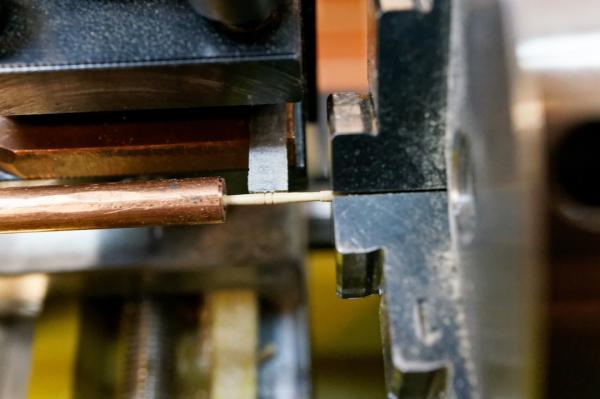
no I use a normal speed, rather fast for these small diameters. But I hold a pice of wood, with a notch in it, from the opposite side against it and support it. An other important thing is, at which high you set on your very sharp cutting tool. There are micrometers a difference. The first day I had a lot of breakages. But when the system was set, there was non. At the end, they broke often at the tip of the handle, so it was ok.
Regards,
Siggi
- CaptainSteve, WackoWolf, AON and 1 other
-
4
-
-
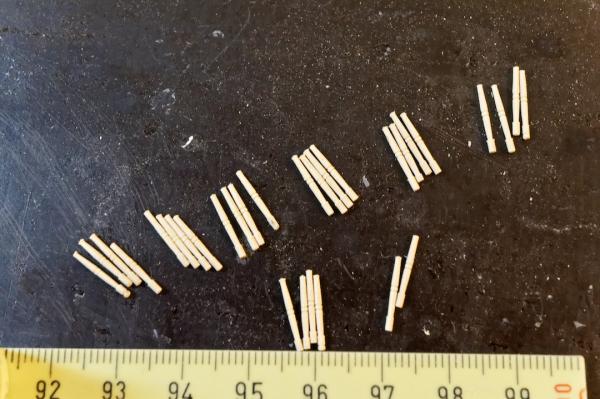
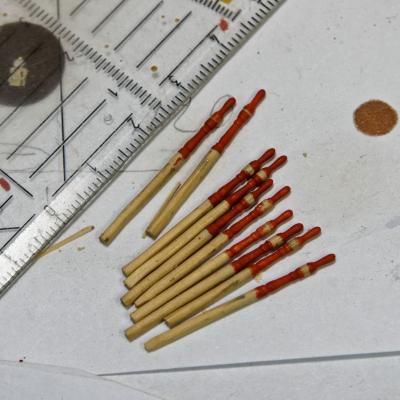
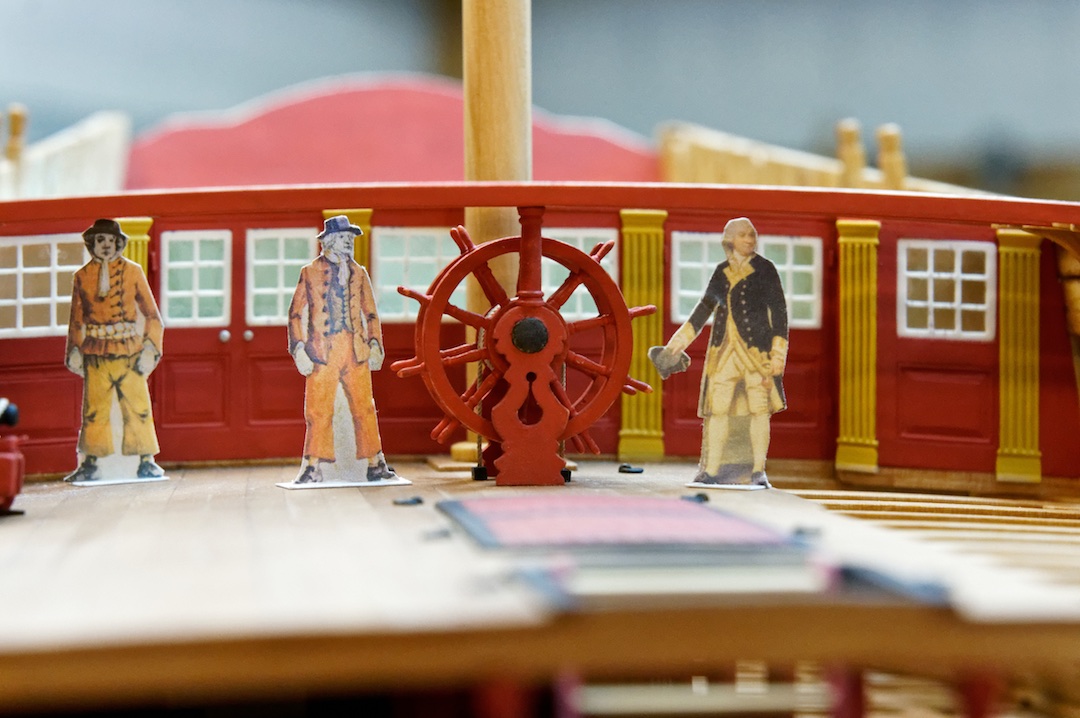
Hello,
yesterday I worked hard to finish the first 10 spokes. (Not mentioned those who did't make it) But the result is I think good. I'm not satisfied with all spokes, but it is the best result I could archive. Tomorrow I will see to finish the rest.
Regards,
Siggi
-
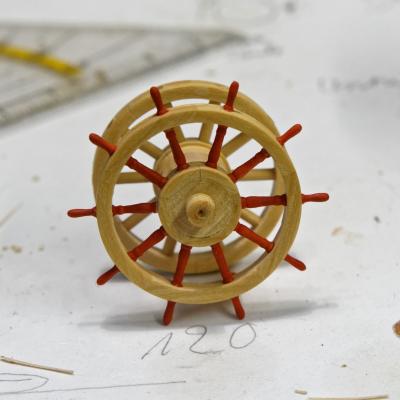
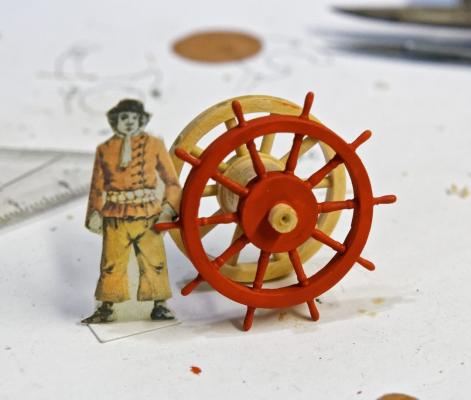
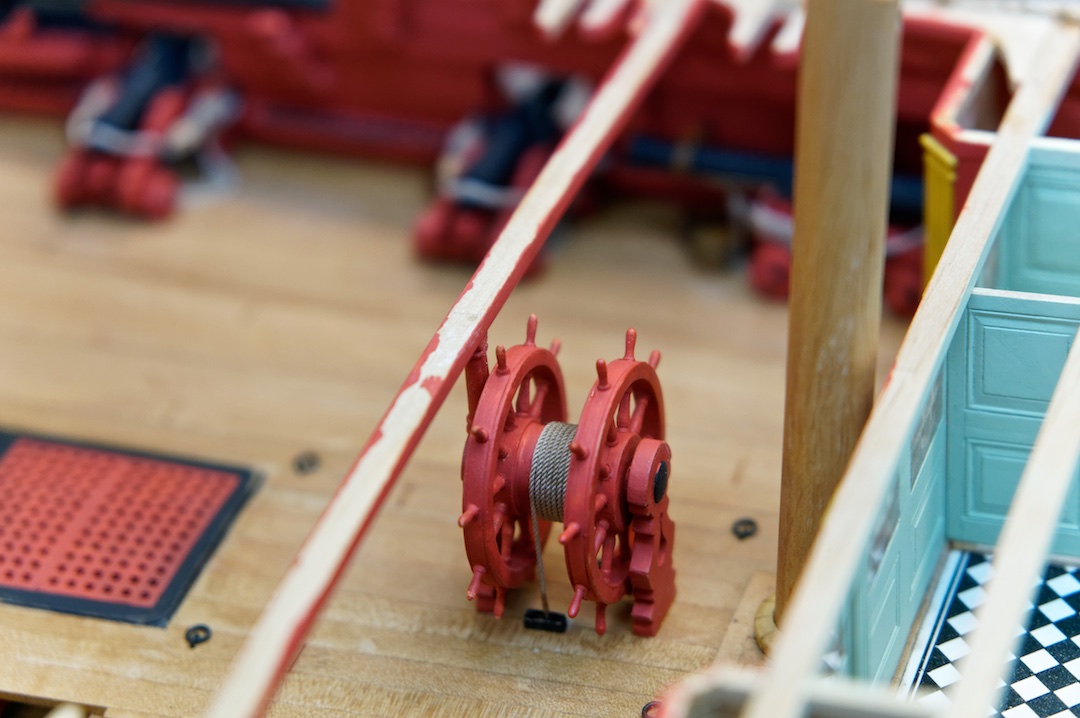
Hello,
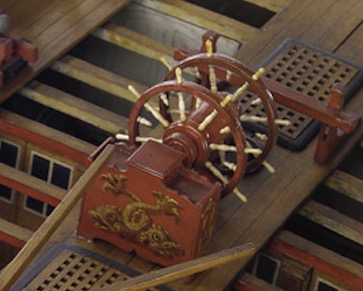
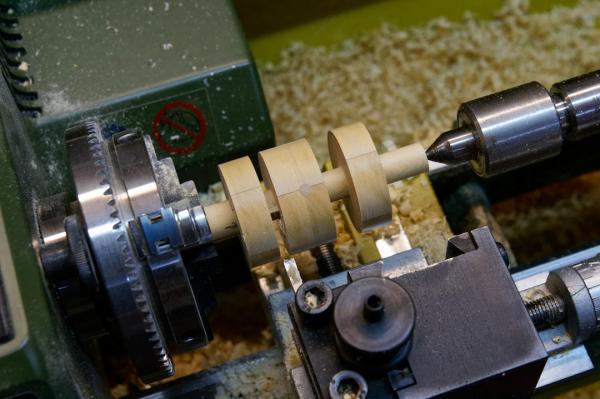
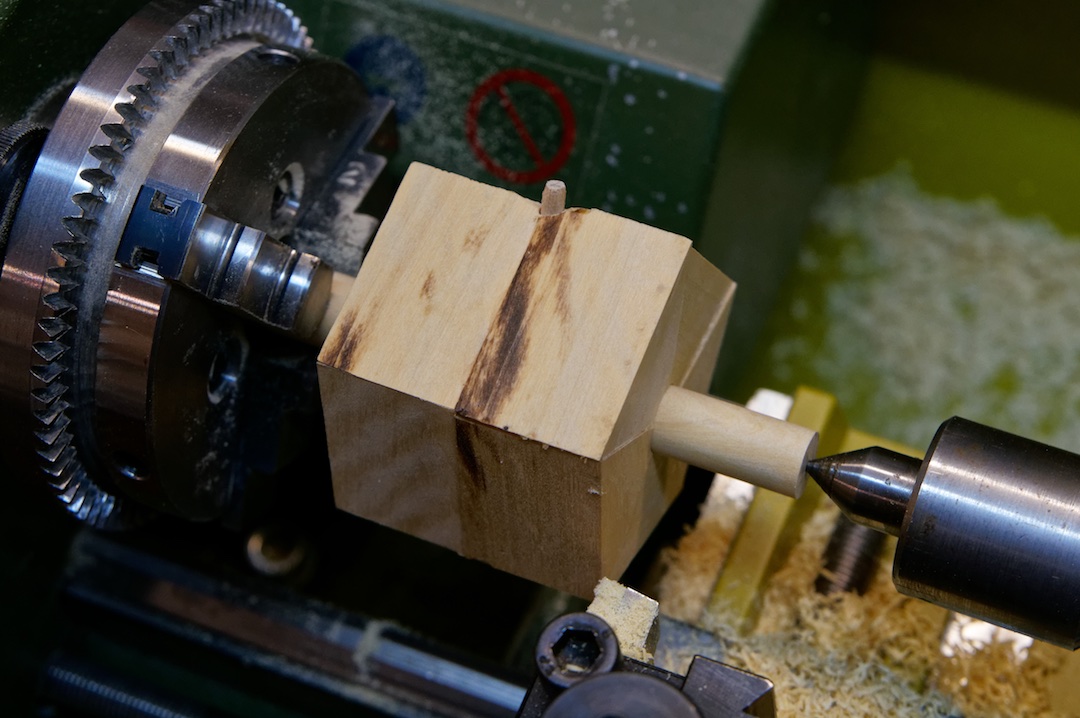
just to show you, that I'm not lazy here, the first pictures from the wheels. I worked after the method EdT used with his HMS Naiad, but modified some parts. Thank you EdT for this tutorial.
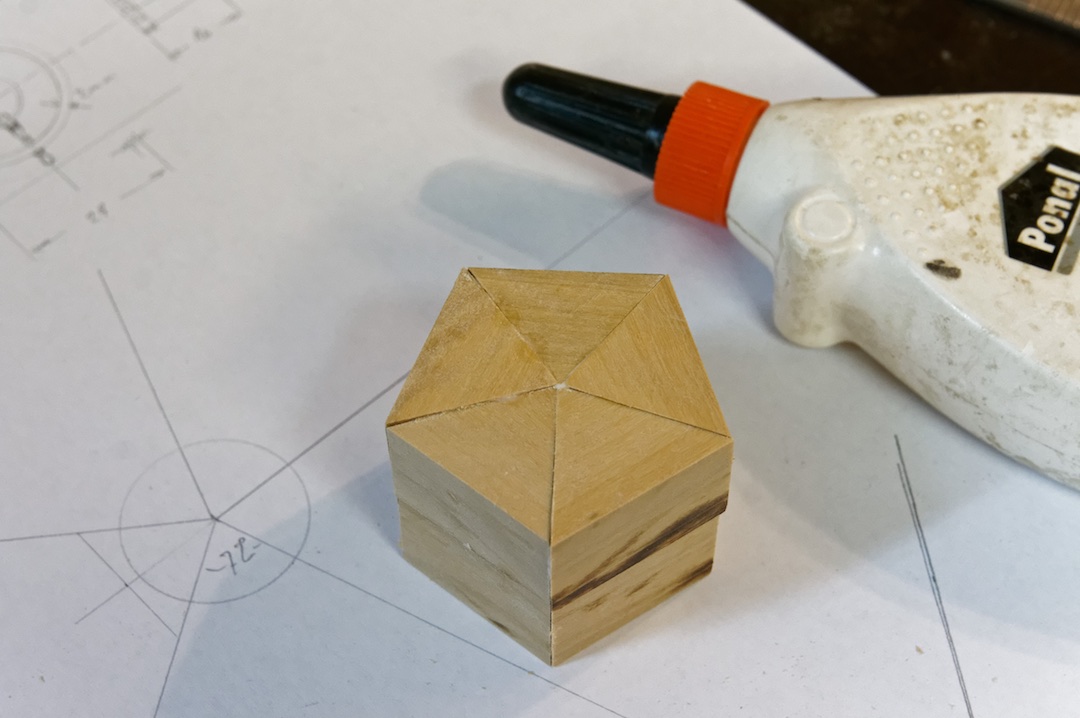
At first I cut the triangles and glued then together.
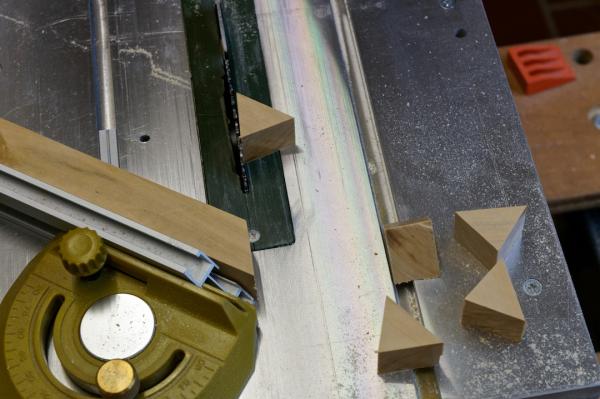

The next step was the axel. The pentagon is loose on the axle, hold only with a peg.

Here is all turned round and the parted.
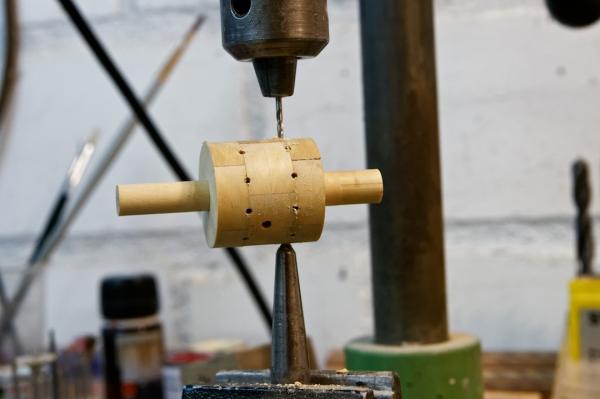
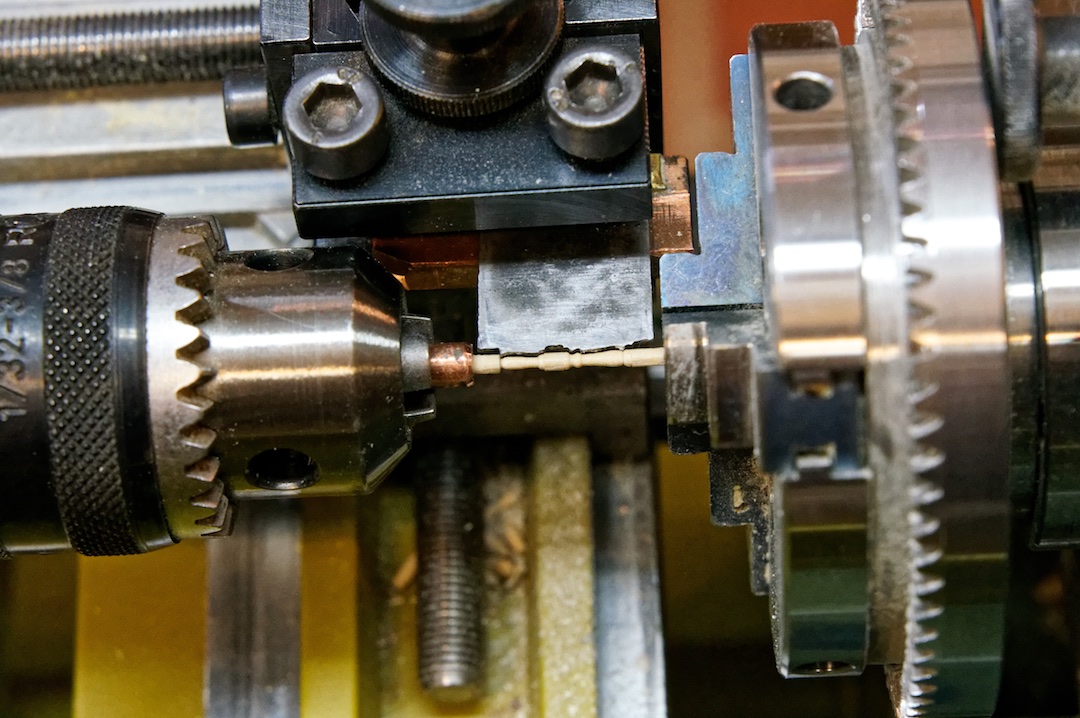
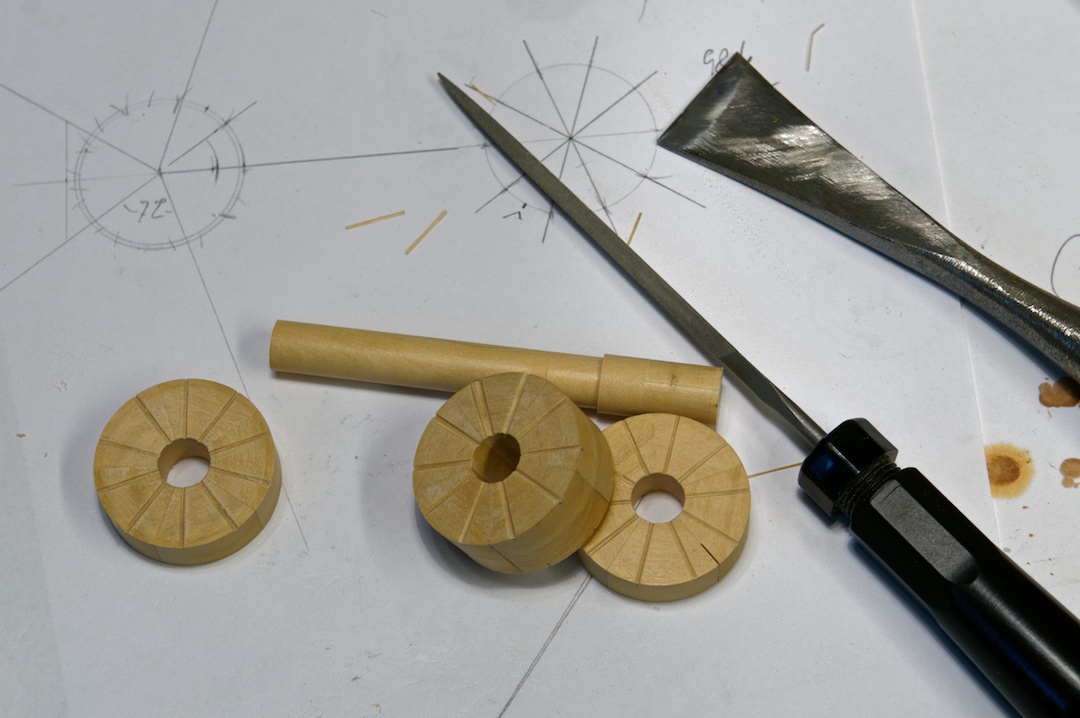
I cut the channels for the spokes, so that the drill bit would have a direction.

Here all is glued together and I drill the holes for the spokes. I drilled the holes, because I did't have such a nice machine like EdT
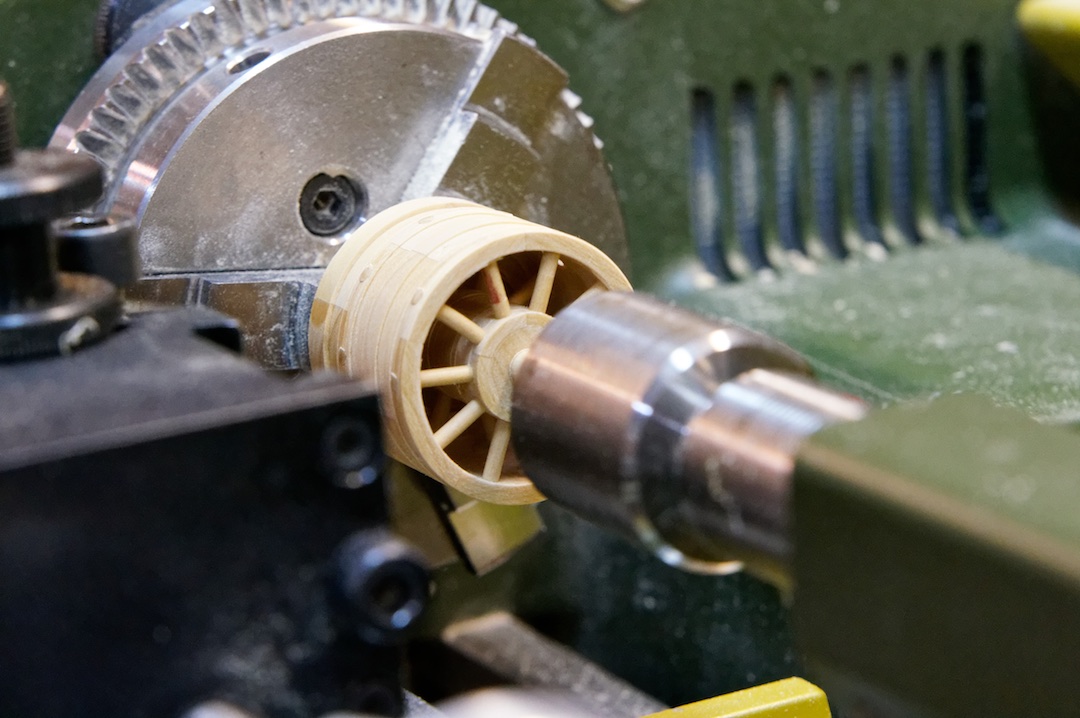
Here I turn the interior free. That is now the second drum I turned. The first one did't make this step
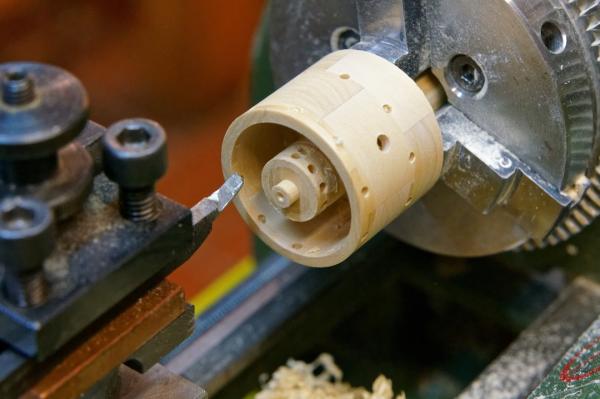
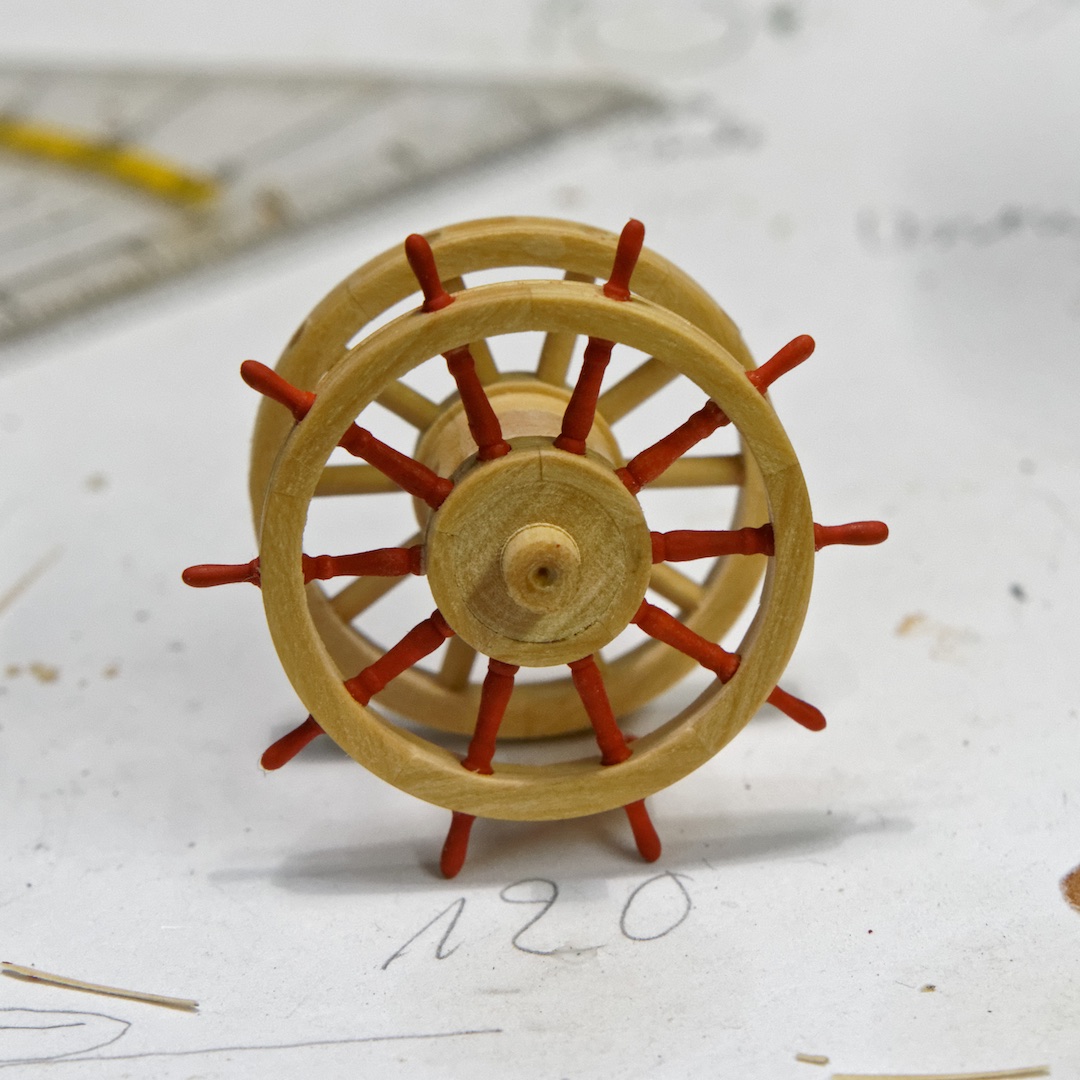
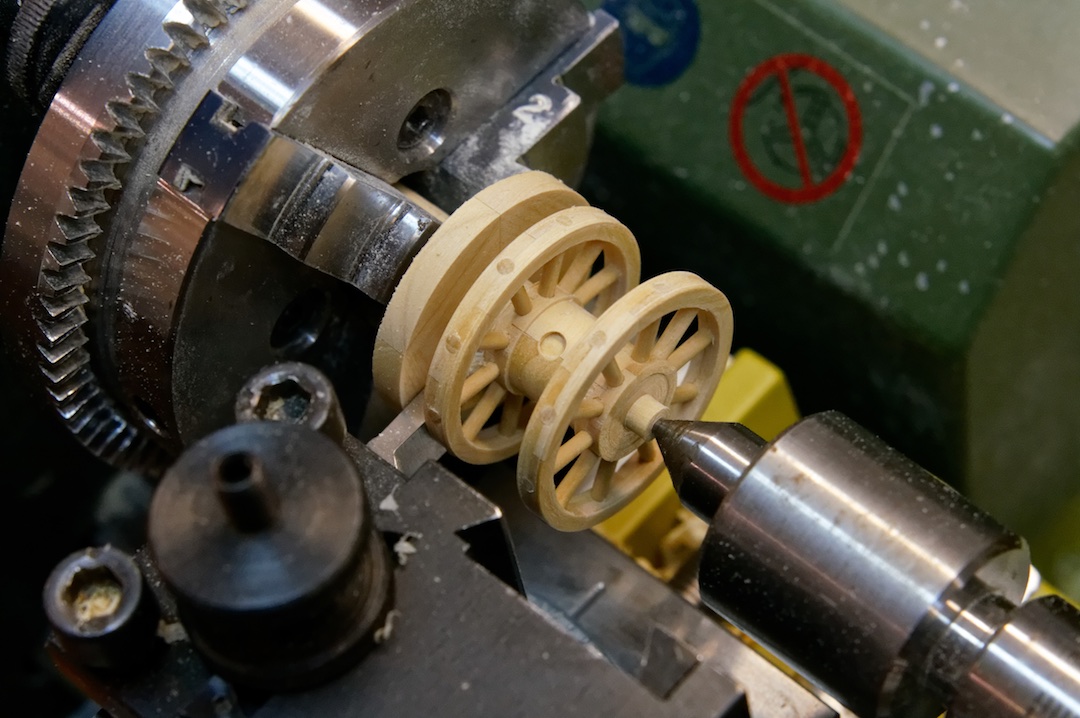
Here the temporary spokes are installed

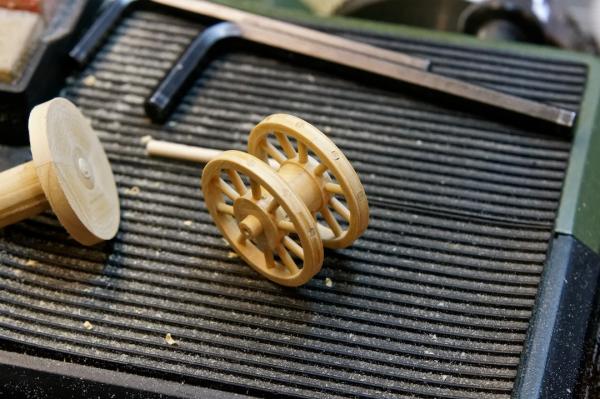
and I could turn out the rest. This time all went very well.

The spokes here have a diameter of 1,8 mm. The next days I will turn the spokes and they shod go done to 1mm diameter. I hope I will not get crazy about this work.
Regards,
Siggi
- CaptainSteve, AON, src and 17 others
-
20
-
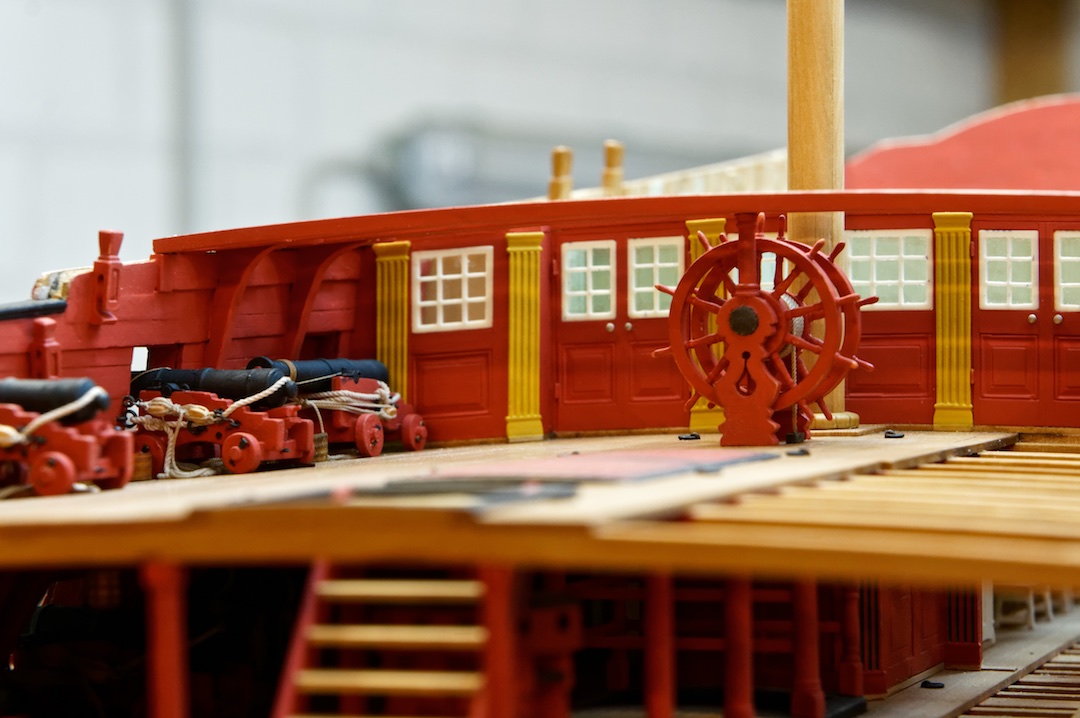
Hello,
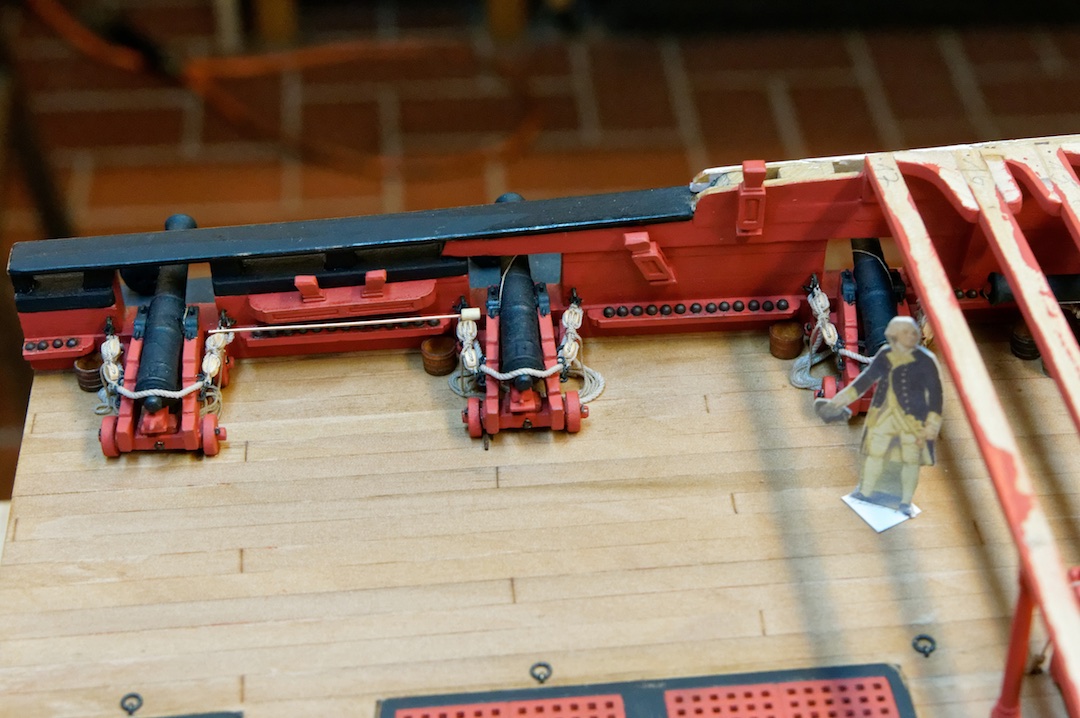
now the cannons are fixed to the wall. That was hard work with all these small blocks and hooks. But the captain was very pleased and spend a brandy after work.
Tomorrow we have only left to tuck the ropes under the cannons and then, next week, comes my biggest problem, the wheels.


Regards,
Siggi
-
Hello,
without much words, the knees are ready. It wasn't so bad as I first thought. Because I had not to dive so deep into the hull. From that point of view were the knees at the gun and upper gun deck the most worse things I had to do.

The next thing to do is to install the cannons with all there tackle.

Regards,
Siggi
-
-
-
-
-
Hello,
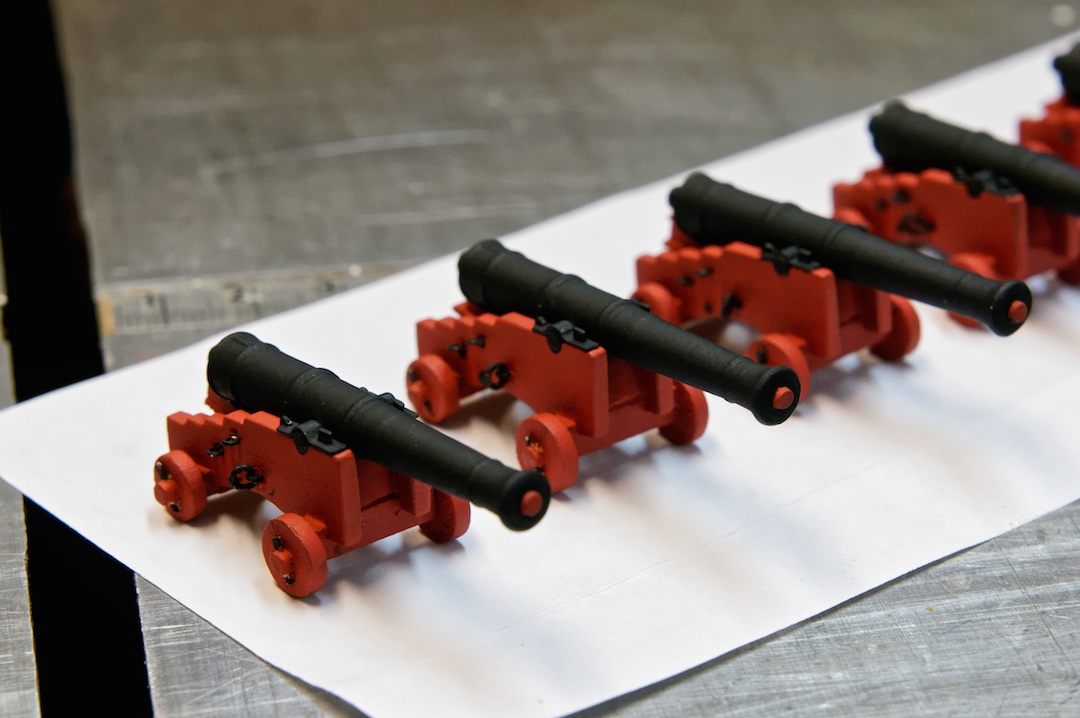
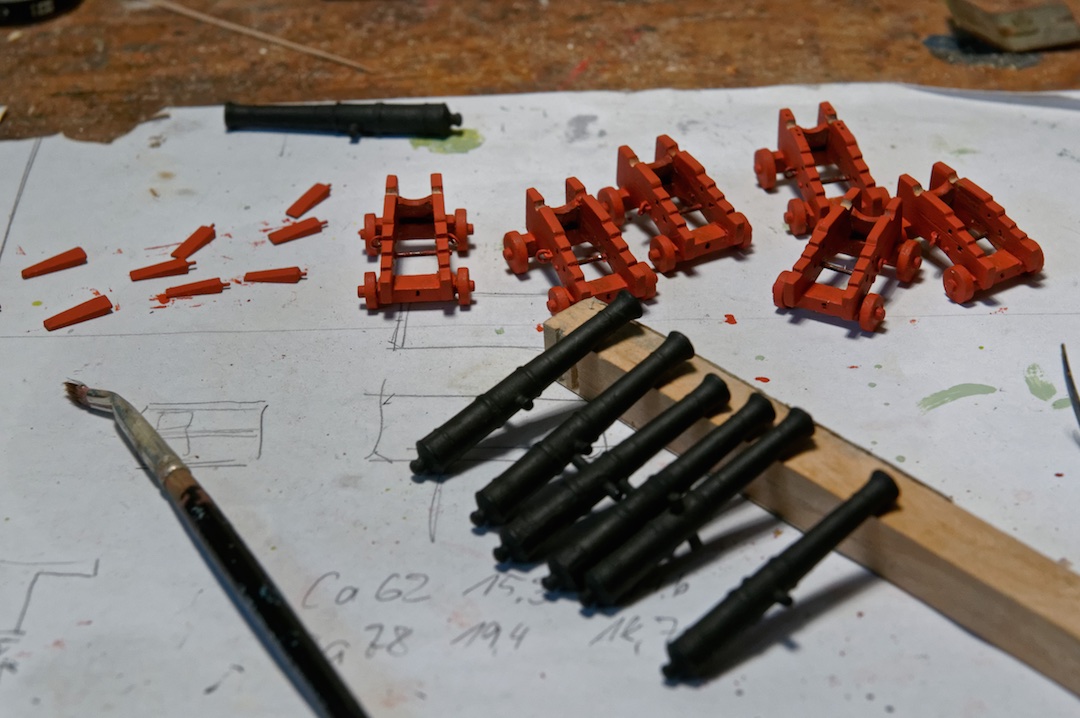
today the wether is rainy and the hedgerow is already cut (yesterday), so I went into the cellar and started working very carefully with the cannons. Just to get the feeling
Mark (Bellona), what is with your cannons? We did't hear nothing from you the last time.
Regards,
Siggi
-
Robin, be patient. The sun is shining and there is so much to do outside the cellar, that I have no need to go under the surface. But I have sorted the cannons already and looked what I have to redo there.
Today I have to fill up my last week brewed beer into bottles. Very important!
Regards,
Siggi
- mtaylor, CaptainSteve, robin b and 1 other
-
4
-
Hello,
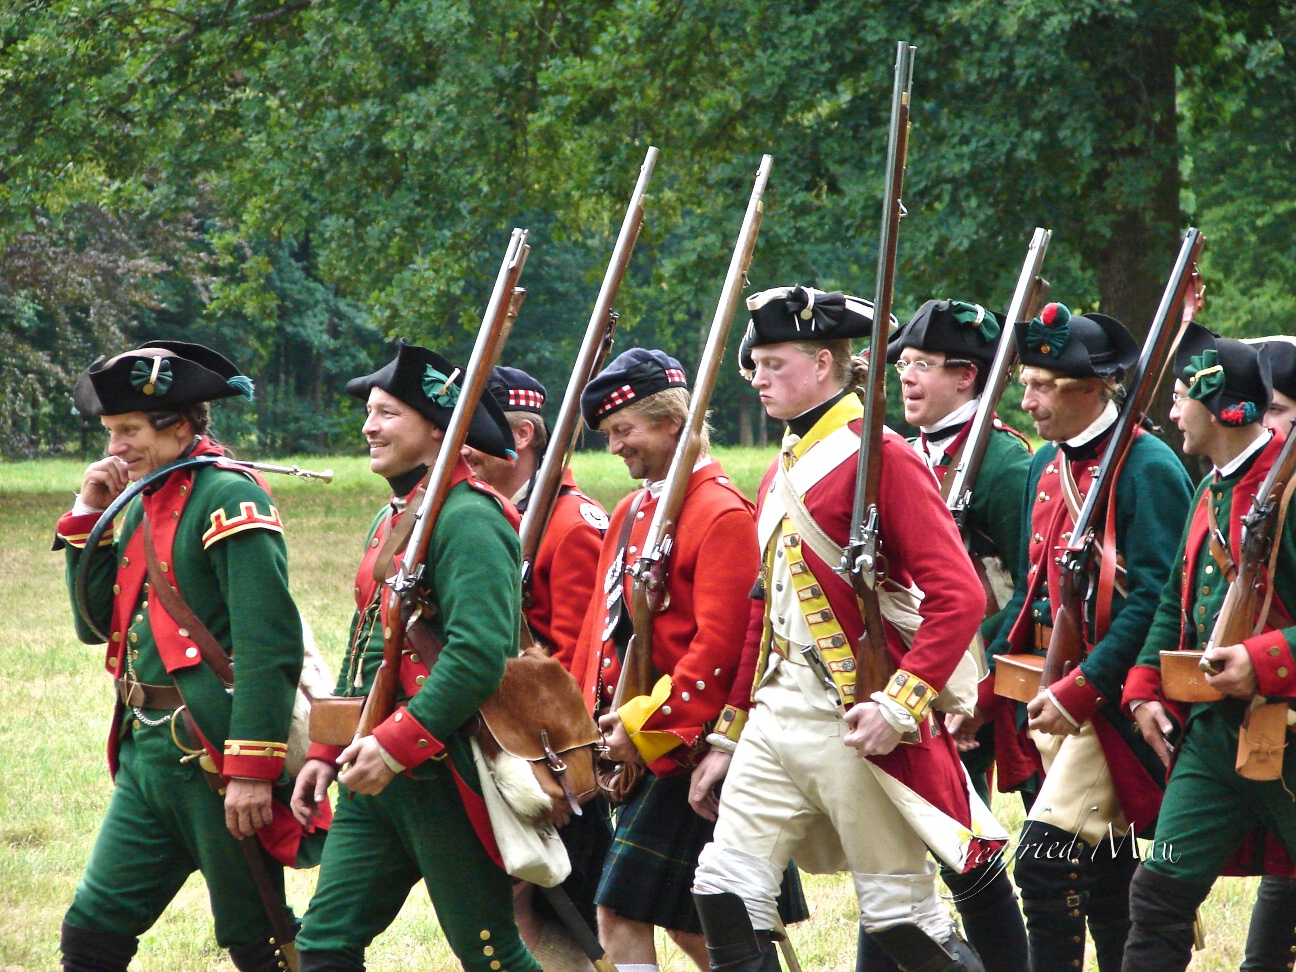
don't worry, I'm well. But the King called to the arms, so I gave the men at the shipyard vacation until next month.
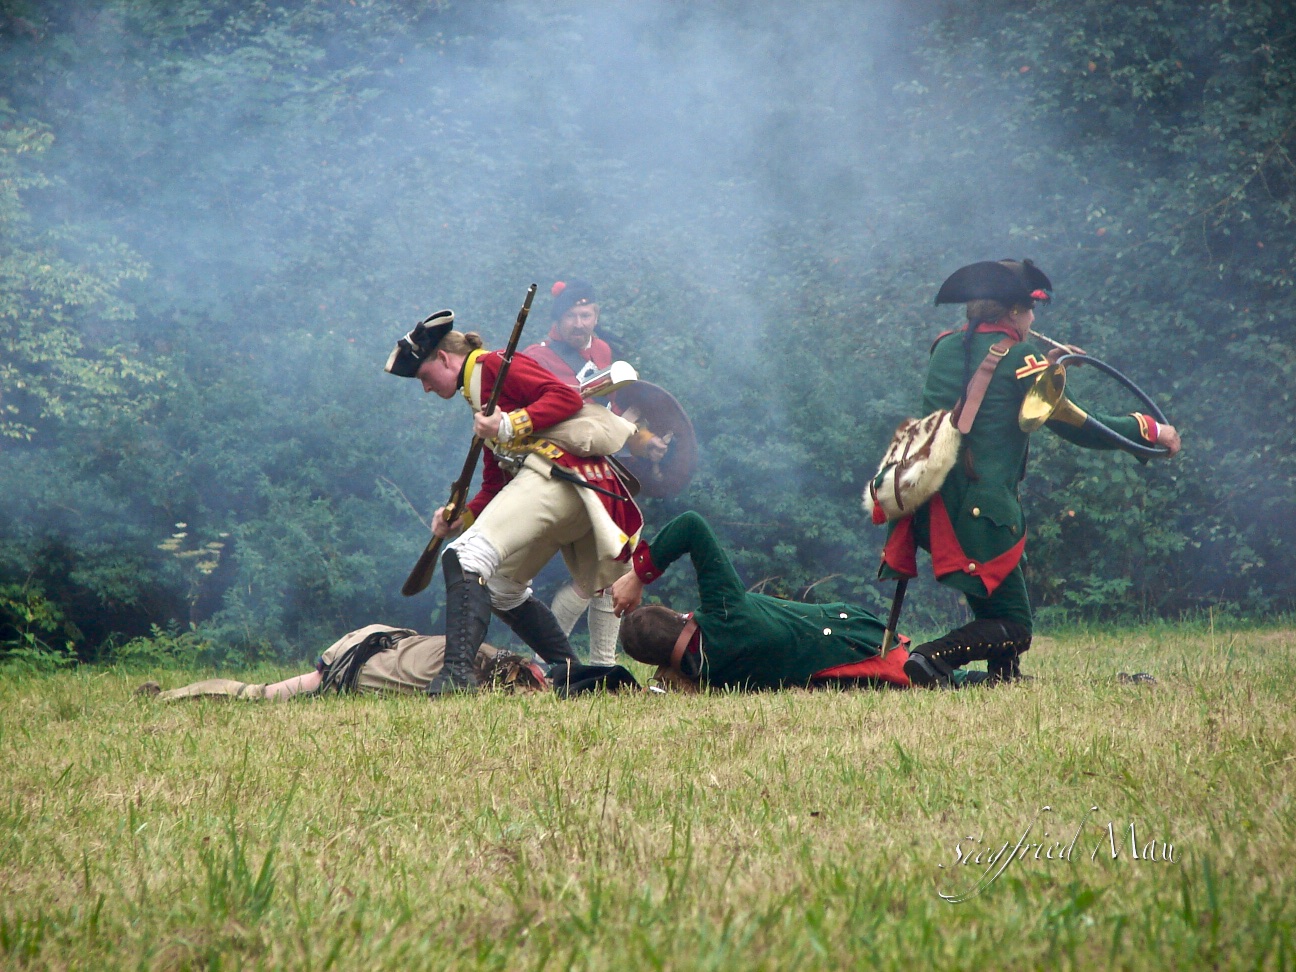
Here two pictures I took some years ago, Hessian Jaeger and some British troops on the march and at combat.
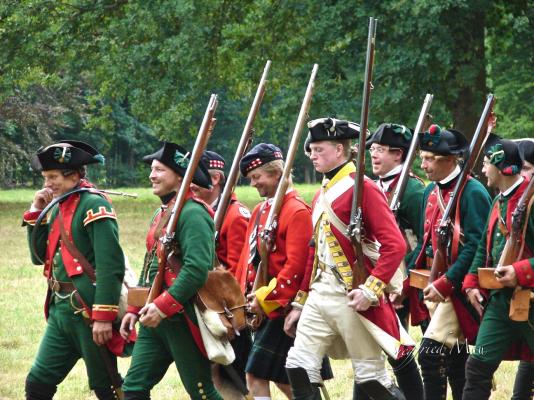
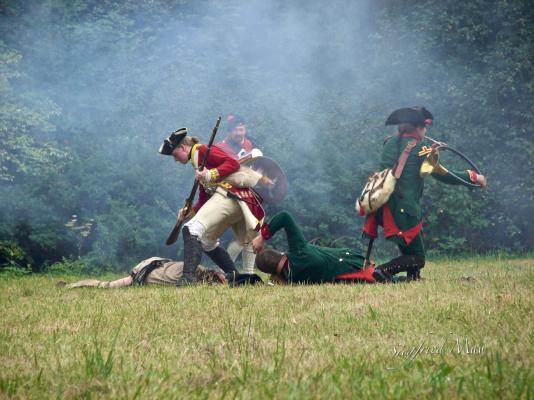
More about this event you may find here: http://hessen-militär.de
Regards,
Siggi
- druxey, robin b, qwerty2008 and 3 others
-
6
-
Hello,
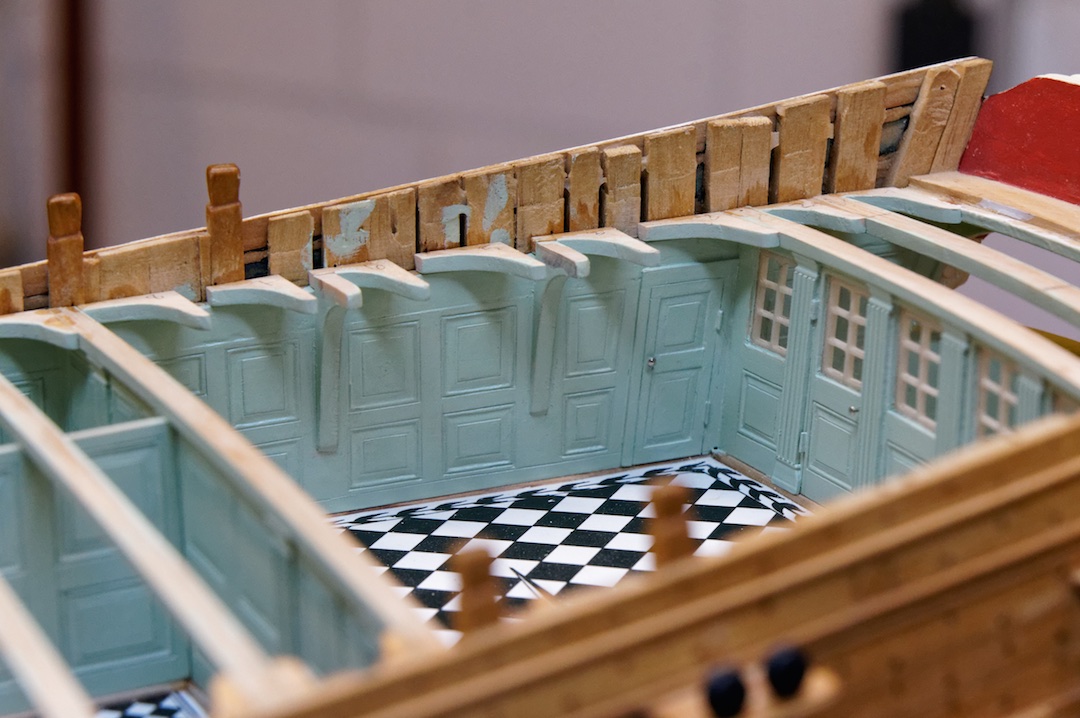
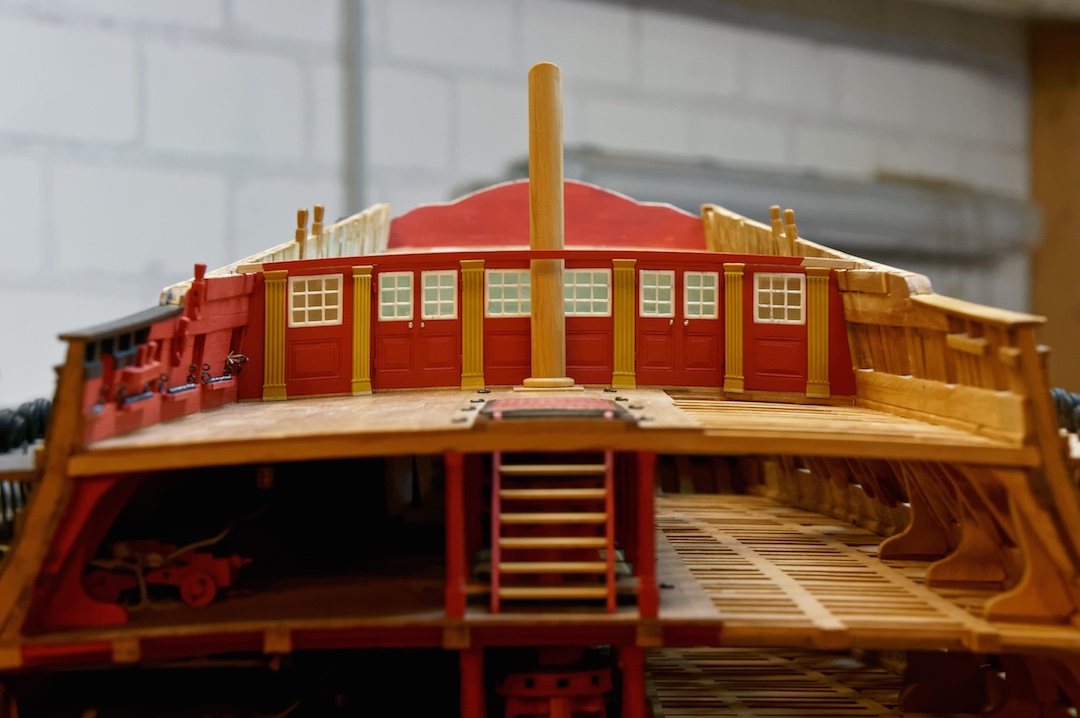
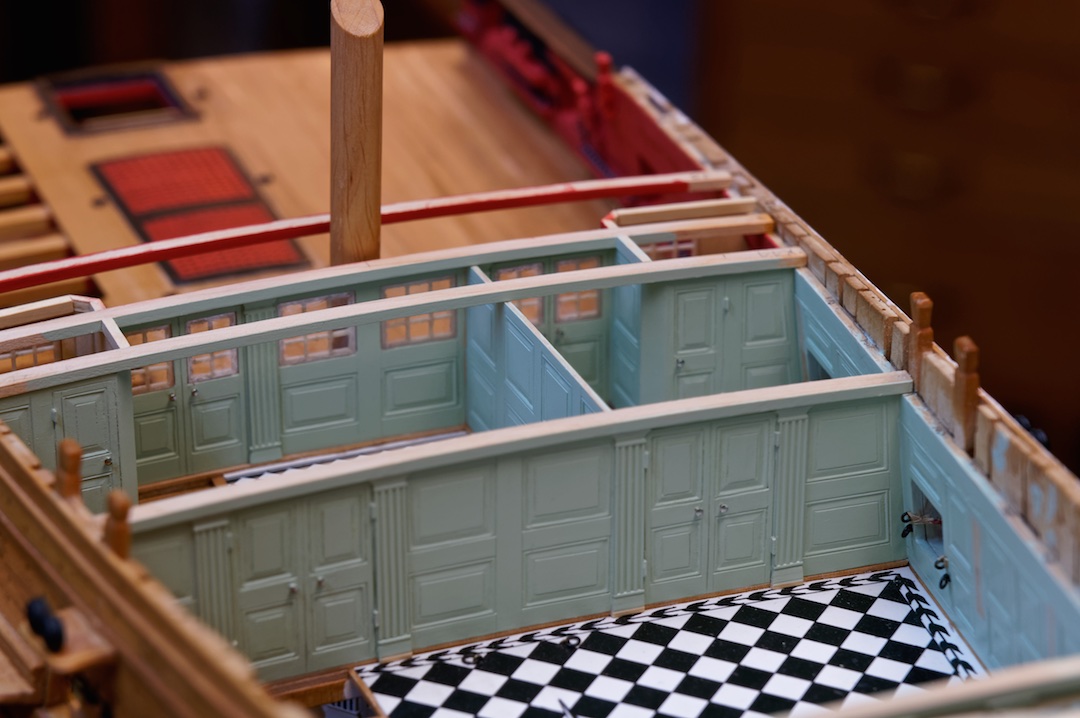
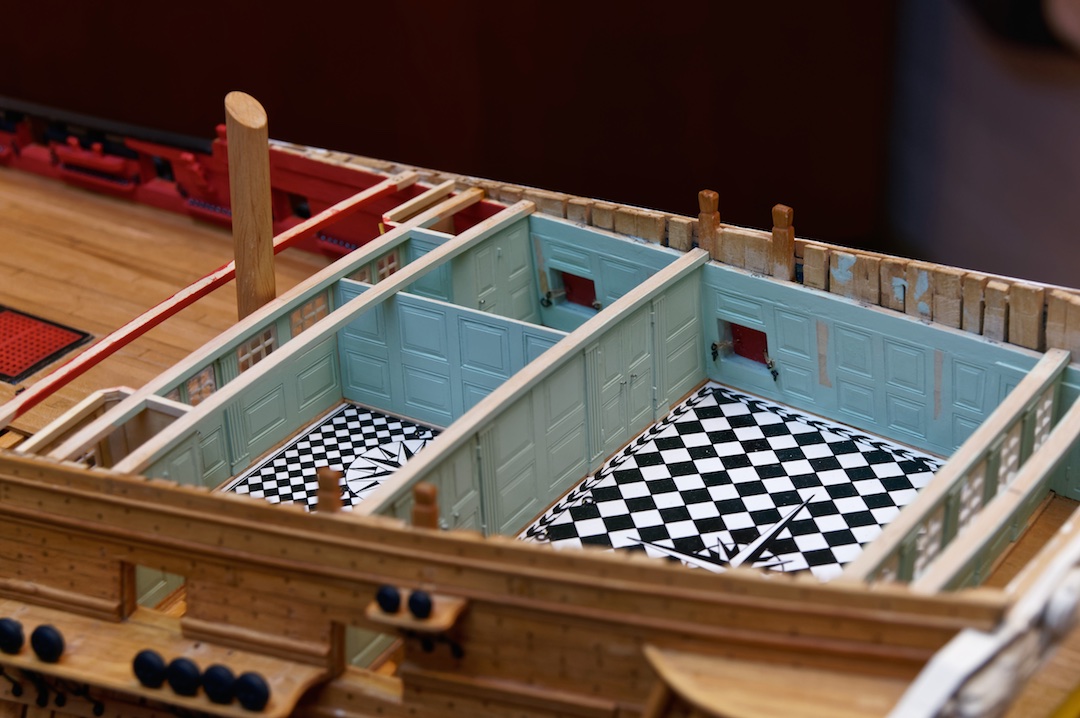
the great cabin is ready! That was a lot of interesting work.


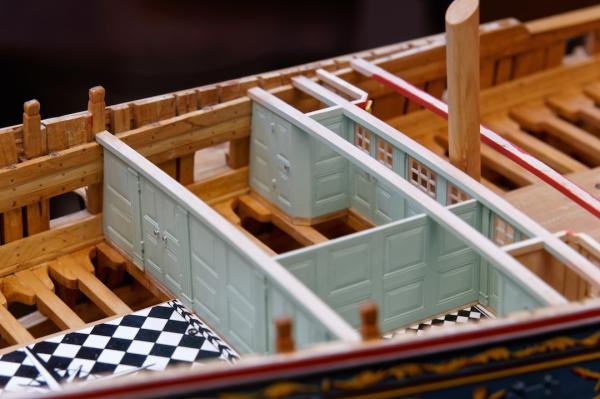
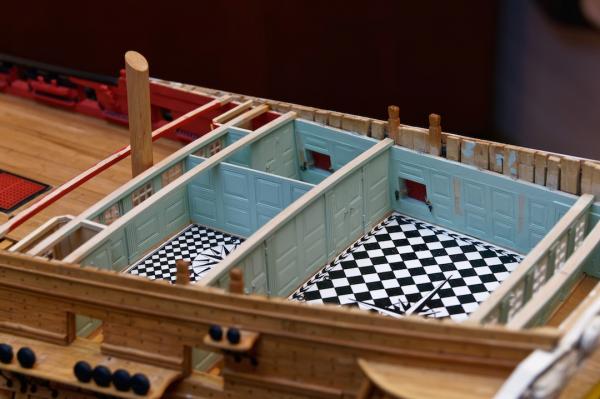
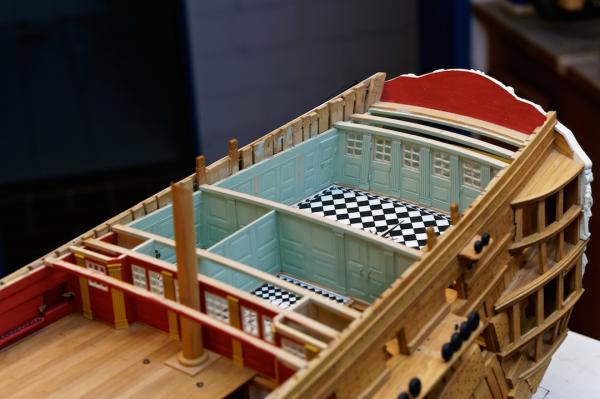
The next thing to install are the knees, but first without the beams.
And if anyone knows more about the storing of the gunnery equipment, your knowledge is welcome. For more details please see my last posting.
Regards,
Siggi
- dvm27, cog, Mirabell61 and 18 others
-
21
-
Many thanks for your mental support. It is not the first piece I made twice or more often, but these windows are soo difficult to make
They are from bone, what I never again would use. At the moment I build the front bulwark new. At the pictures I saw that it was a little out of the vertical axis. To find the exact vertical axis is a great problem with this art of model. Because the two sides are not equal planked, the sides are working different. How to manage that in it's final case, is a great problem I have to solve in the future.
Robin, is it important how they did it? If you look at picture from the Victory, they have the same design for the bulwarks and doors. Ok, they are I think from the 19th century and machined, but in the 18th century they could work with a plain and got the same results.
Michael, did you also remember where they stored all the side arms and gunnery equipment from the quarter deck and especially the great cabin? That would be the next problem with the cannons here. The rammers, sponges and wad hooks are too long to be stored between the gun ports, there where is no poop deck above. And I think that the captain would't have them in his cabin between the beams.
Regards,
Siggi


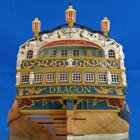
HMS Dragon 1760 by Siggi52 - FINISHED - Scale 1:48 - English 74-Gun ship
in - Build logs for subjects built 1751 - 1800
Posted
I think yes, Michael. I would destroy more with that action then I would get from it and you would't hardly see them from above.
Siggi