


Louie da fly
-
Posts
7,983 -
Joined
-
Last visited
Content Type
Profiles
Forums
Gallery
Events
Posts posted by Louie da fly
-
-
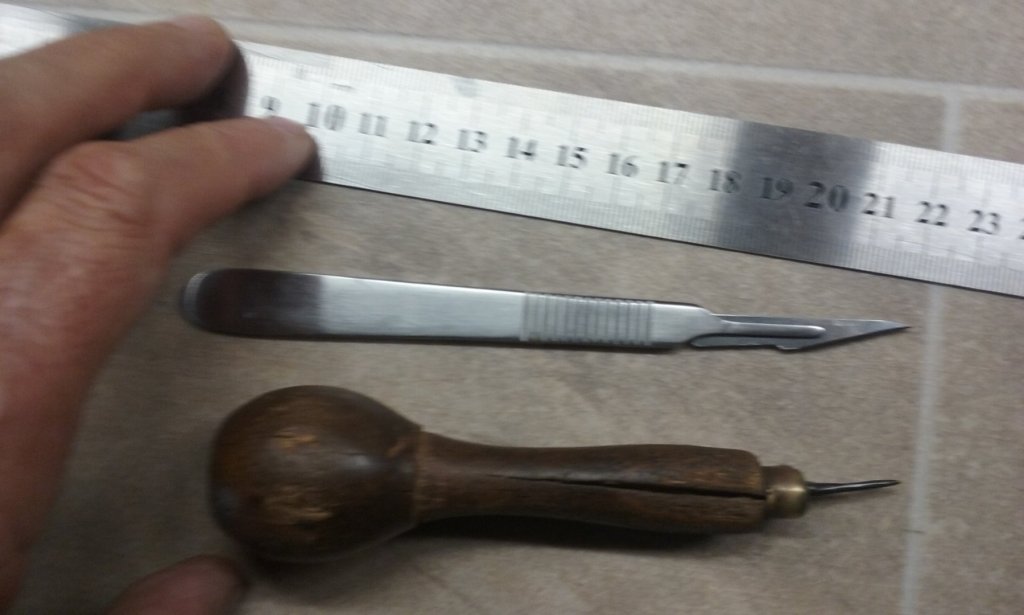
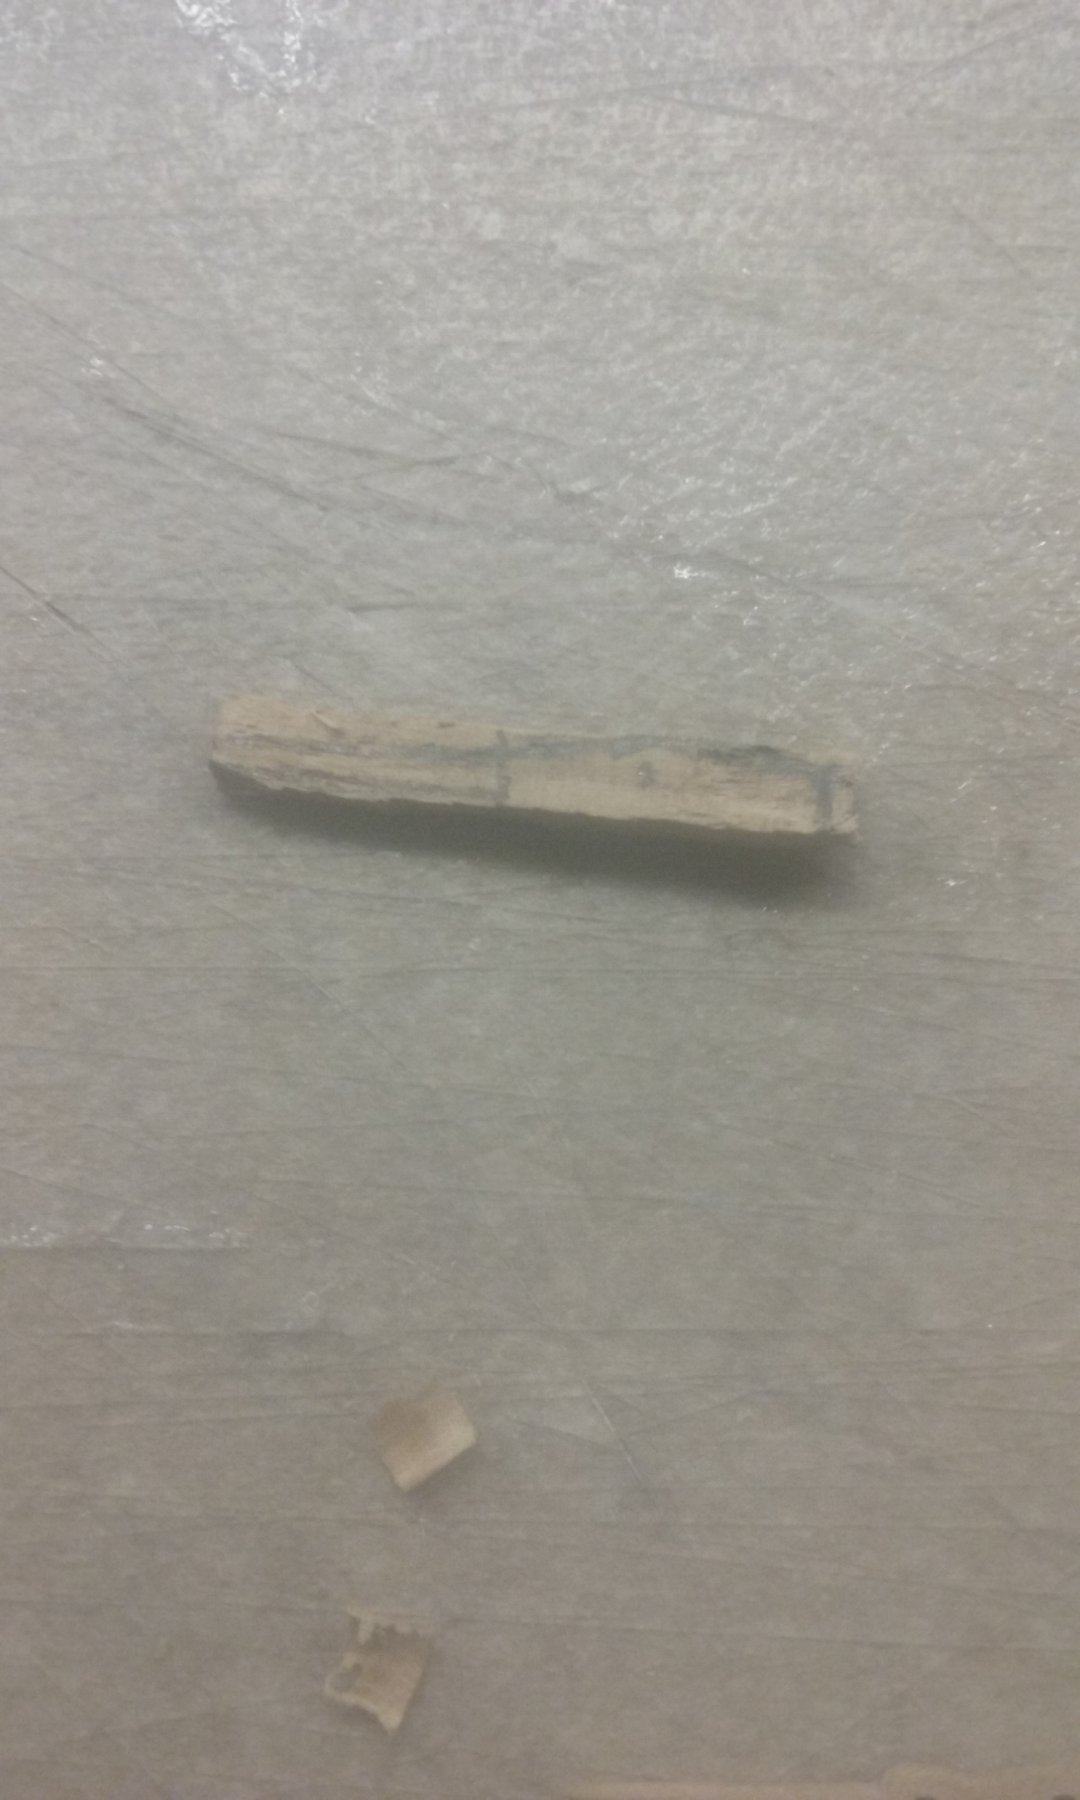
Oh, don't be fooled. That's my 1 metre long match. I got it from IgorSky 😀.
Thanks everybody for all the likes.
Unfortunately I've now found I have to do some adjustment. The nozzle was too long, so I've cut it back a bit, and it's also going to be higher than I thought so I'll have to adjust the forecastle so the parapet and the lion's head are higher . A bit of a nuisance, but I think it's inevitable with so many variables that can't be related to each other until it's time to put it all together.
Steven
- druxey, mtaylor and CaptainSteve
-
 3
3
-
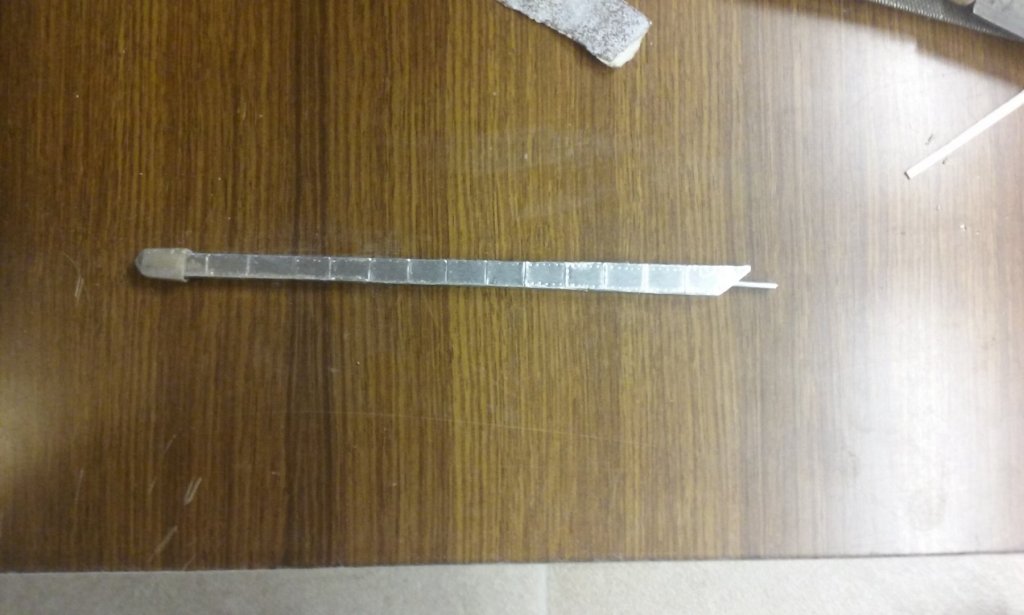
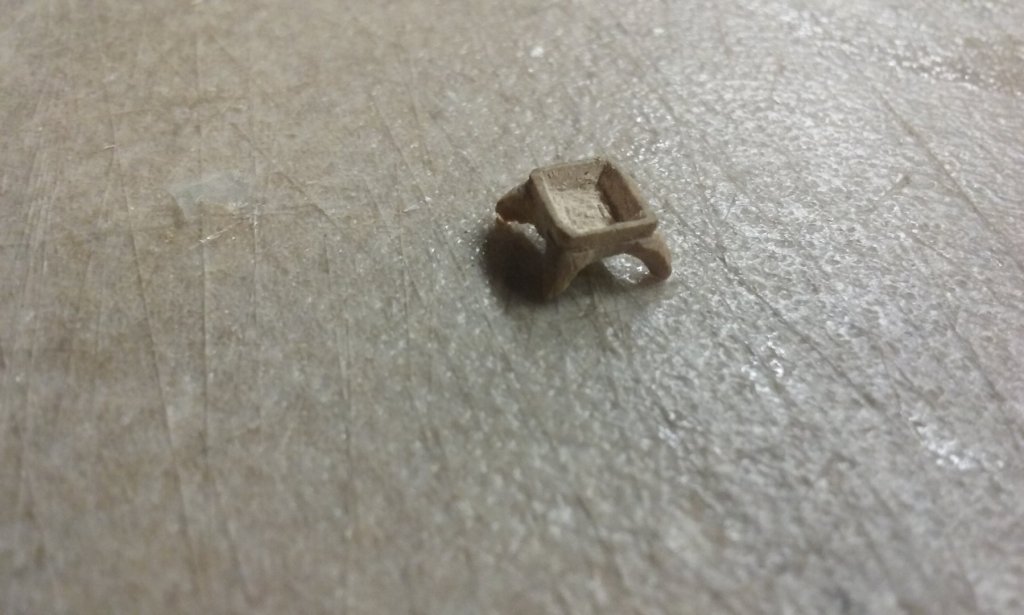
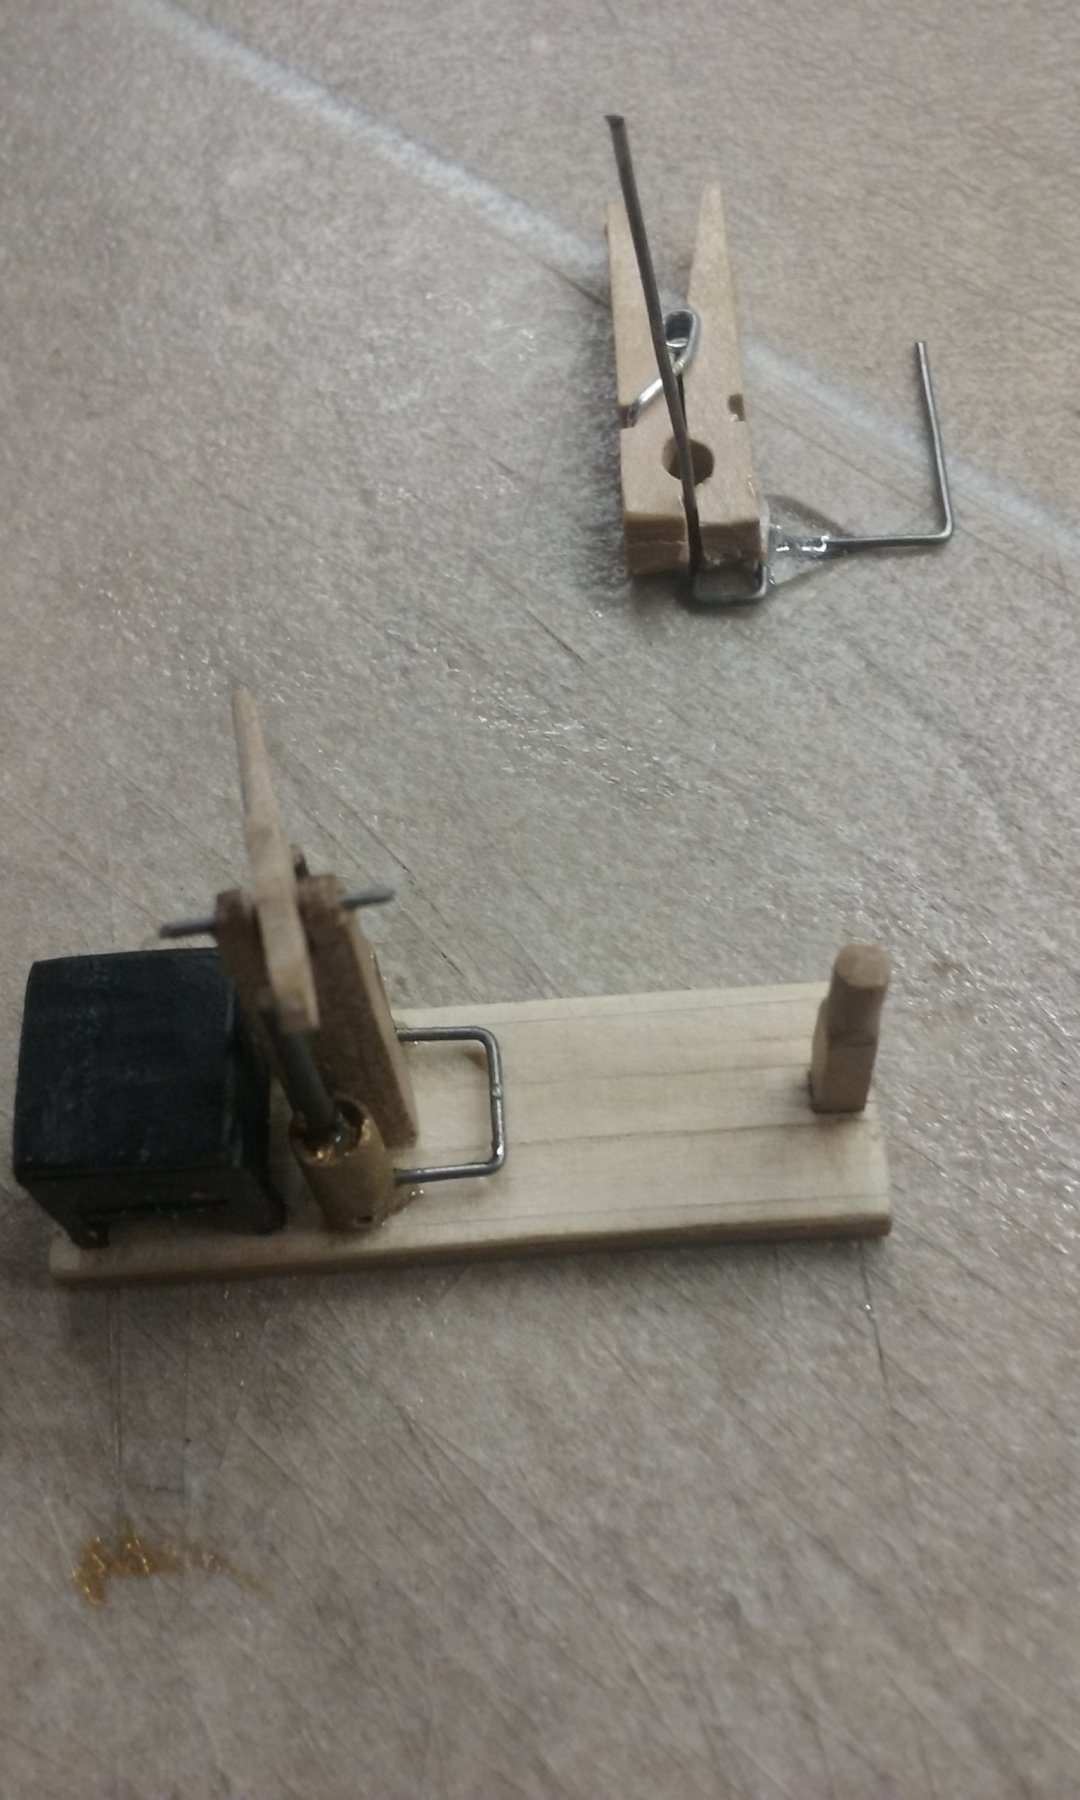
The siphon is complete. I've been concentrating on the pipes to deliver the oil from the reservoir to the pump and thence to the nozzle. Made from thin wire, I first made the "pipes" forward from the two cylinders. In the background, my first (failed) attempt to join the riser pipe to the nozzle assembly.
Second (successful) attempt to attach the riser to the nozzle assembly. I made a jig from three miniature clothes pegs and added a dab of epoxy glue between the pipe "rectangle" and the riser.
 And here's the completed assembly

Then the pipes between the reservoir and the cylinders.

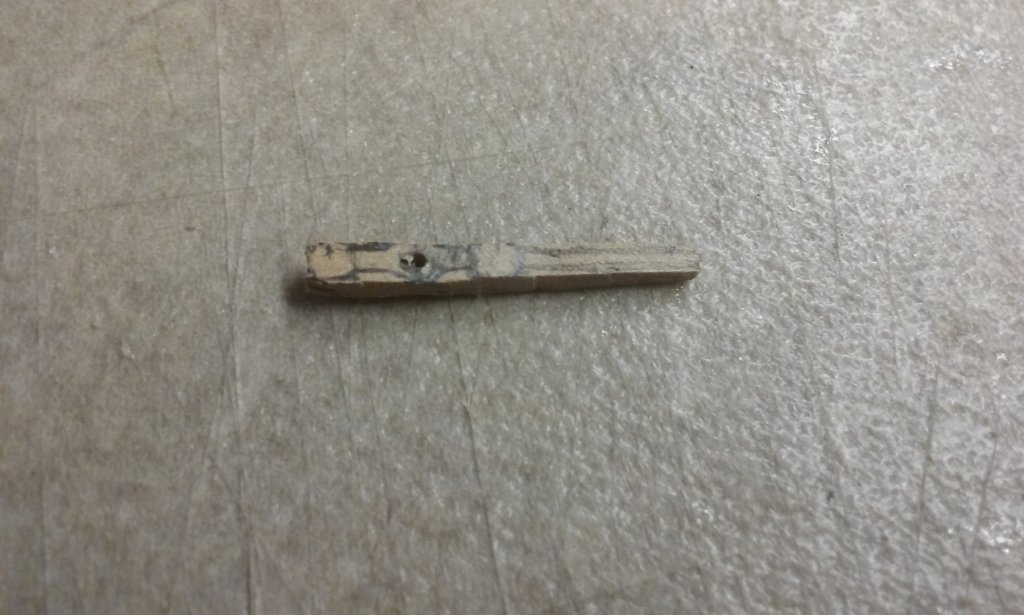
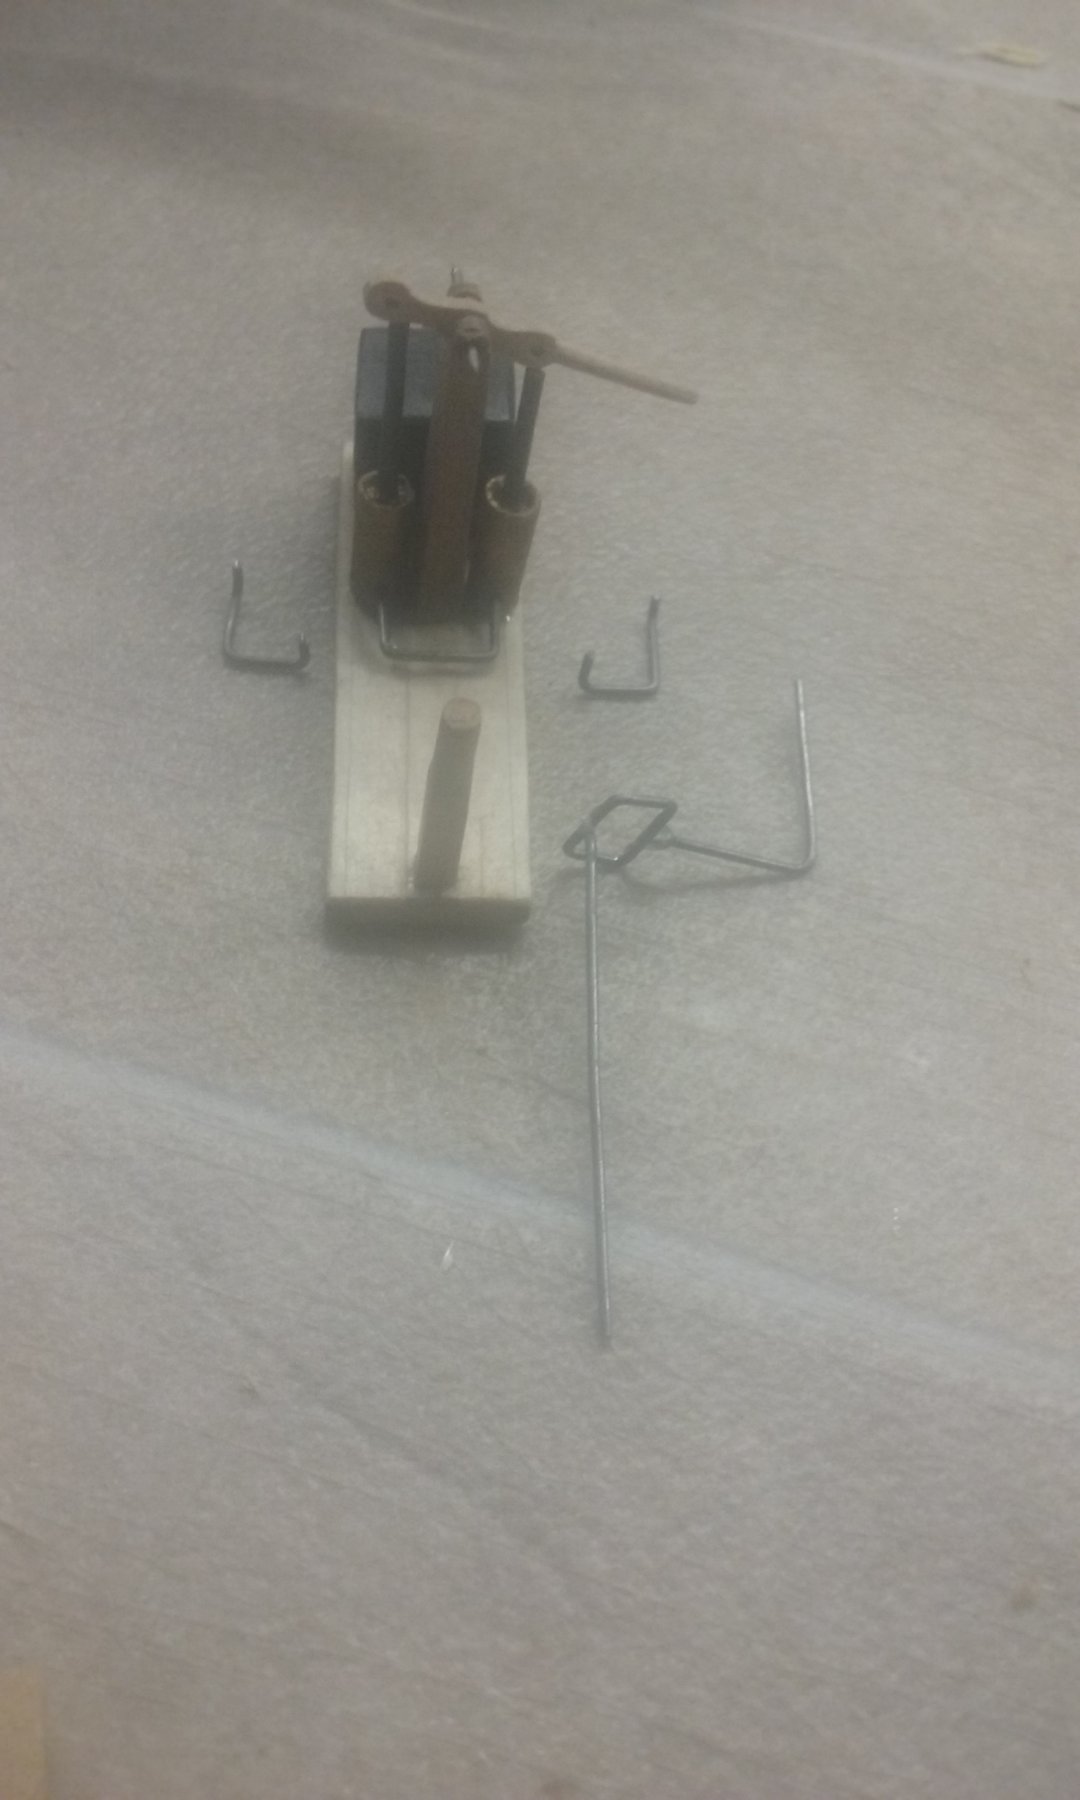
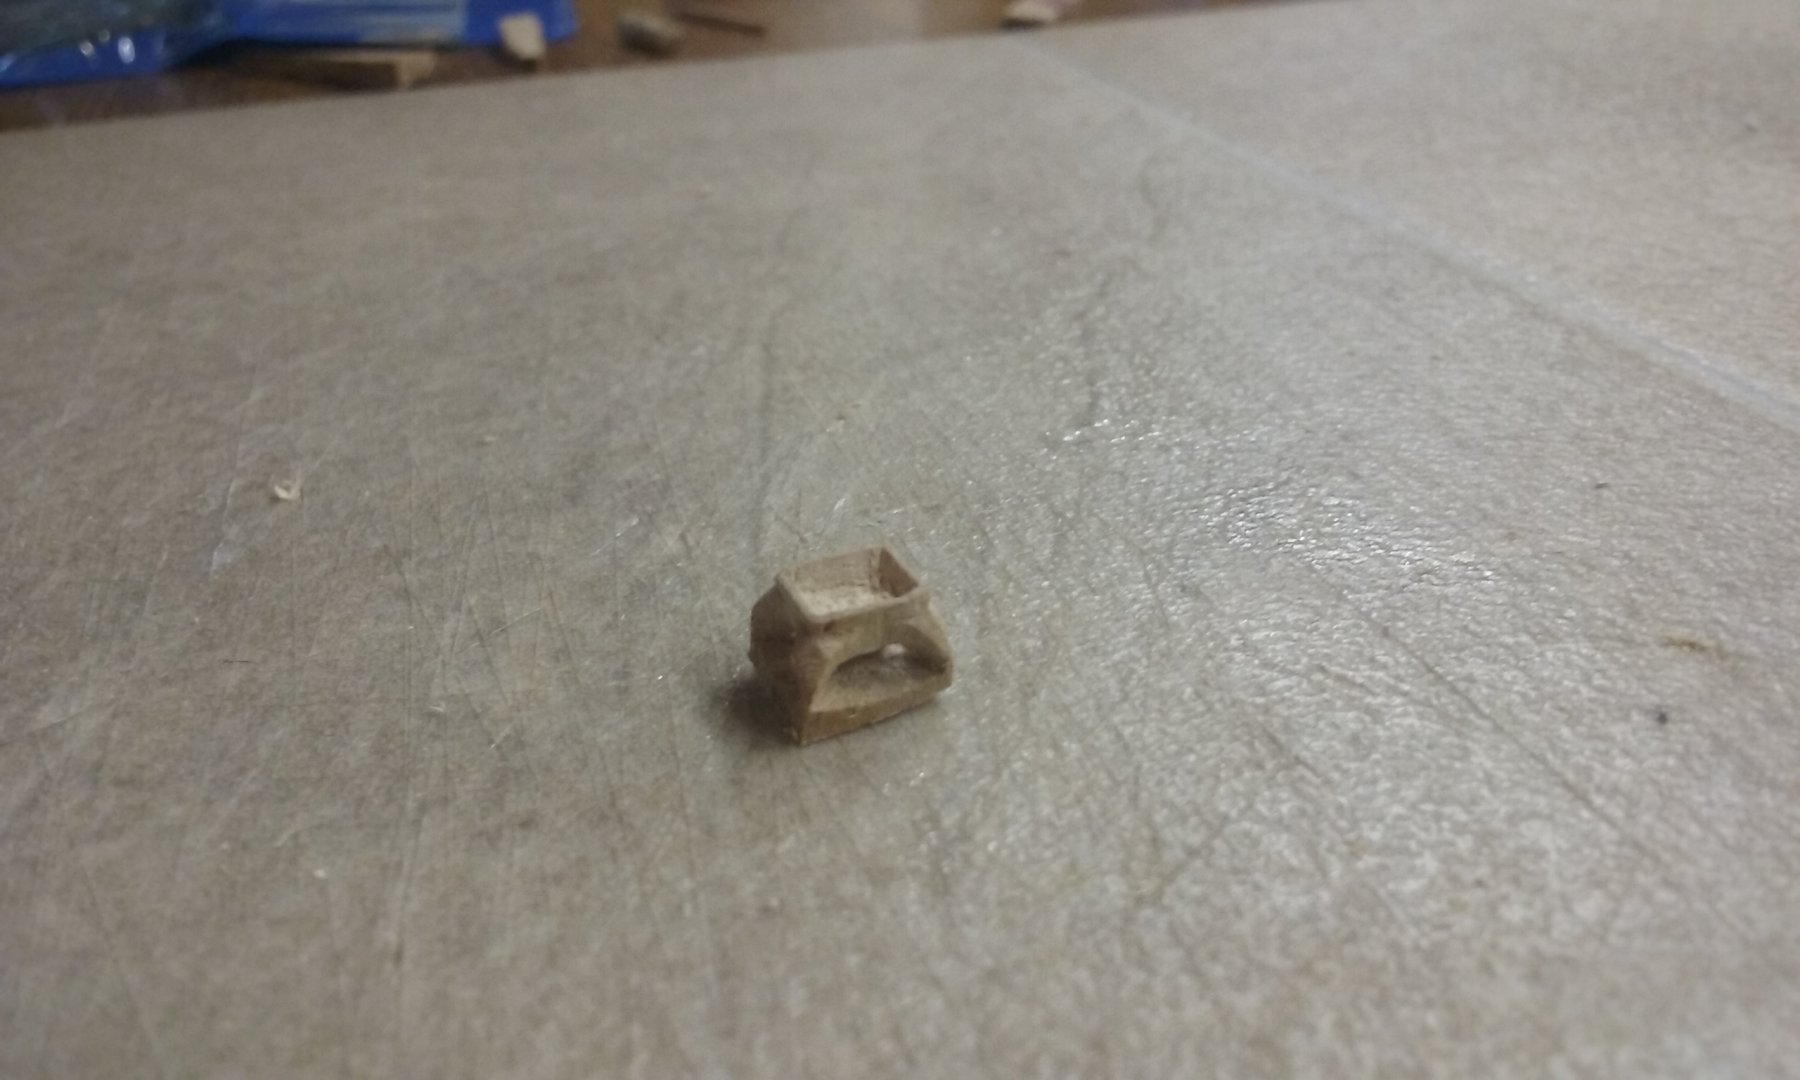
Wasn't happy with the pump lever, so I decided to make another, with openings on the bottom for the connecting rods. Three attempts later I finally got it right.
Roughing out

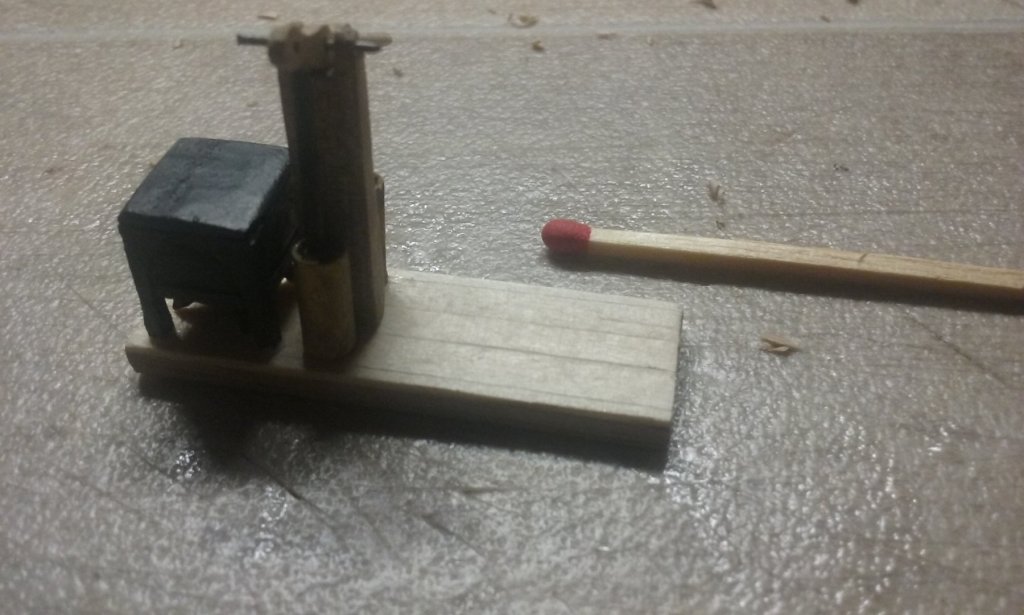
Lever in place, and riser/nozzle assembly attached to the pump. Note the "blobs" on the pipes between the reservoir and the pump, and between the pump and the riser. These are to represent one-way valves in the pipes, to stop the oil flowing backwards once it's pumped forward.
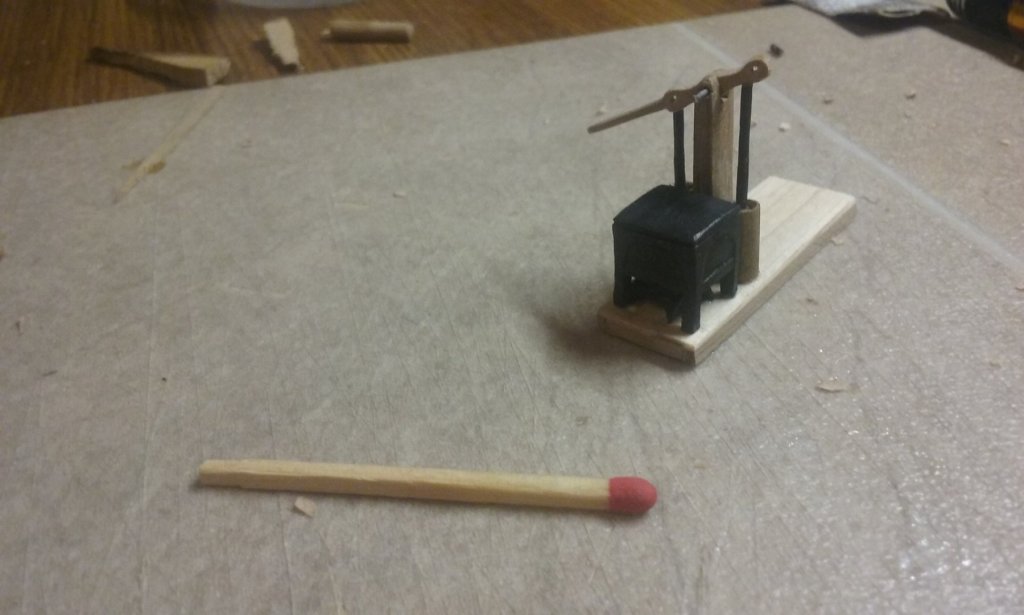
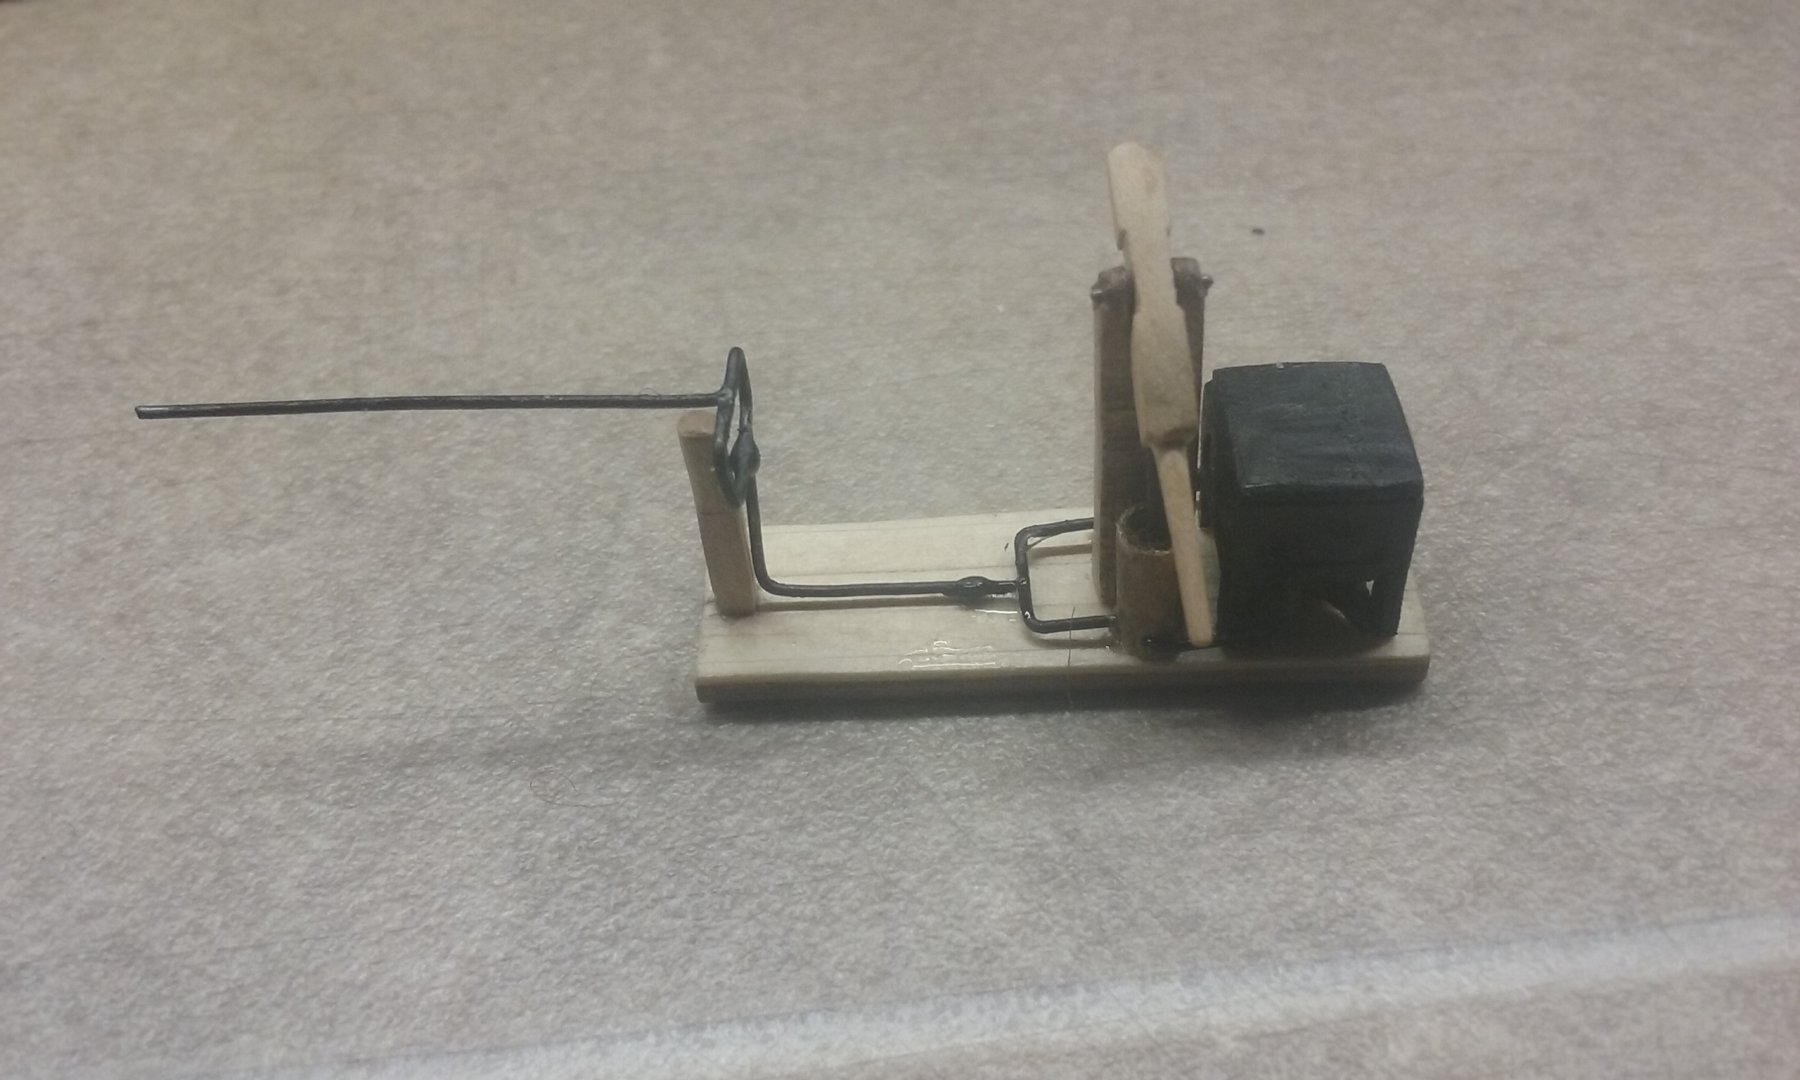
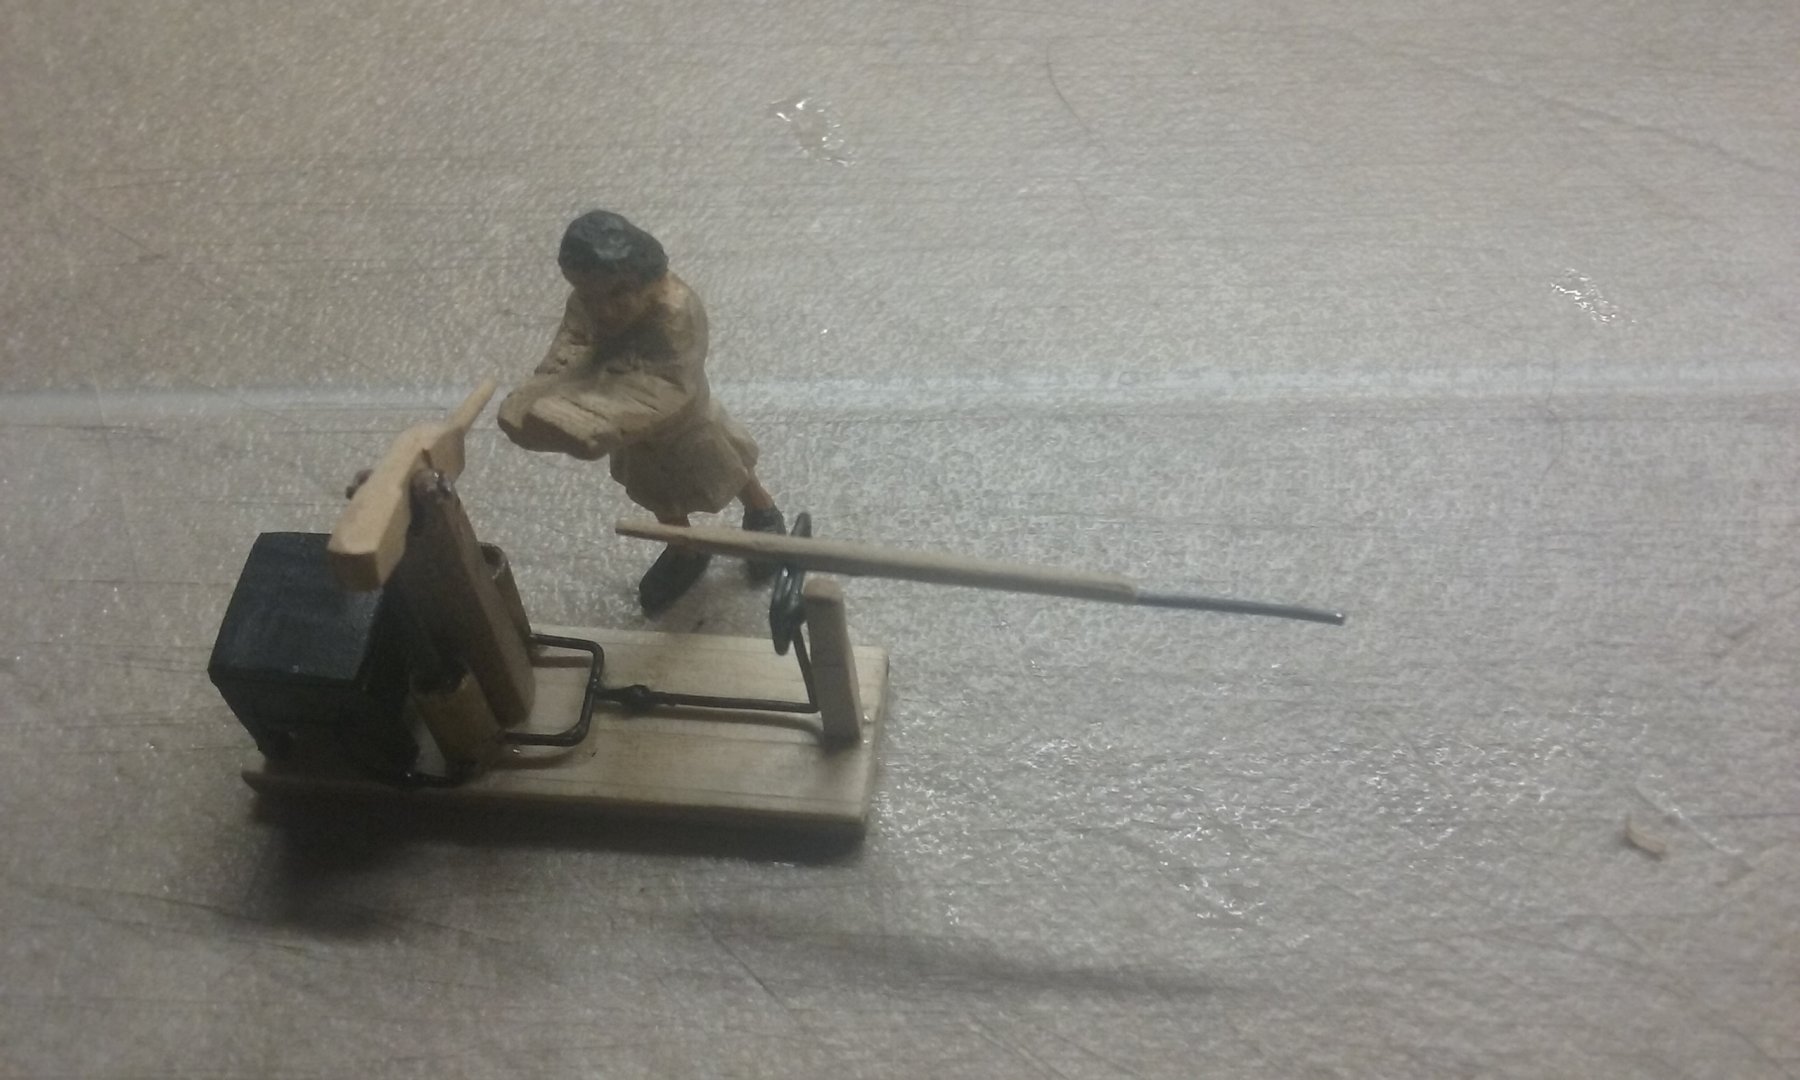
And the handle to control the nozzle. As you can see, the whole assembly should be able to be handled by one man, as demonstrated in the Richard Windley video.

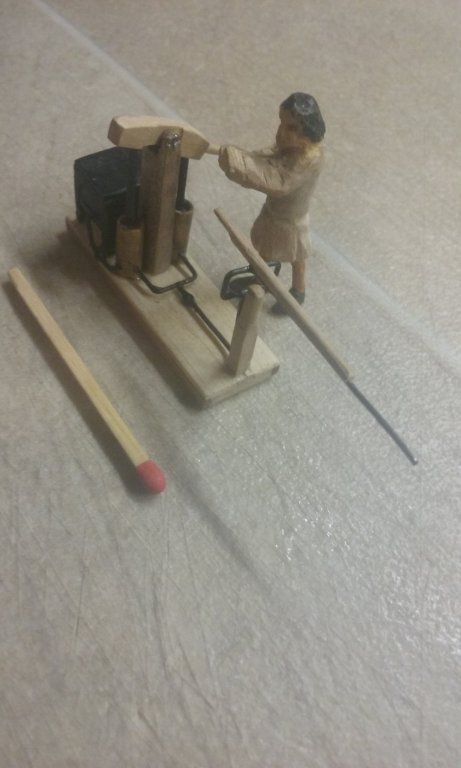
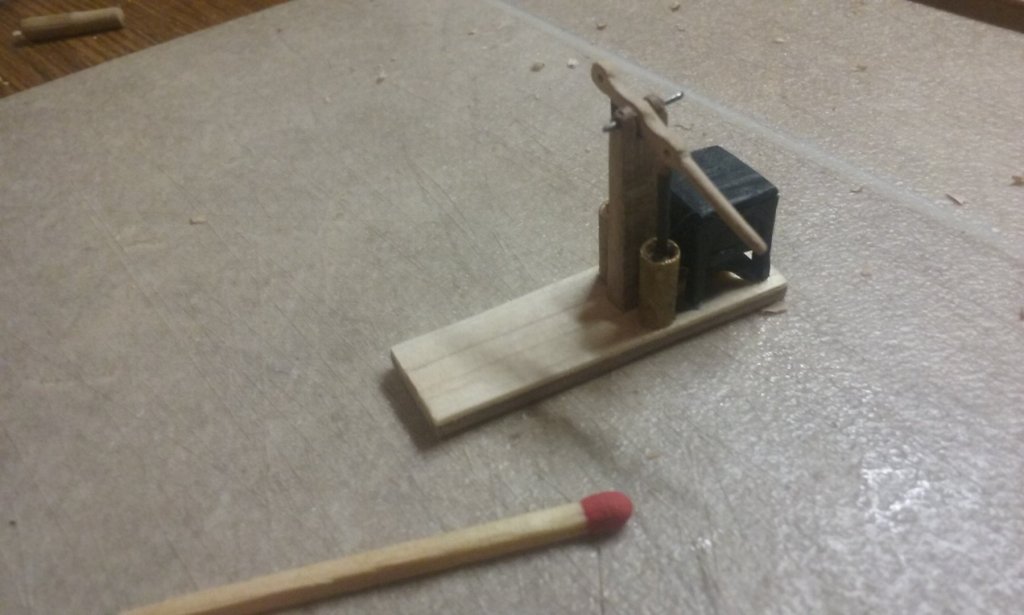
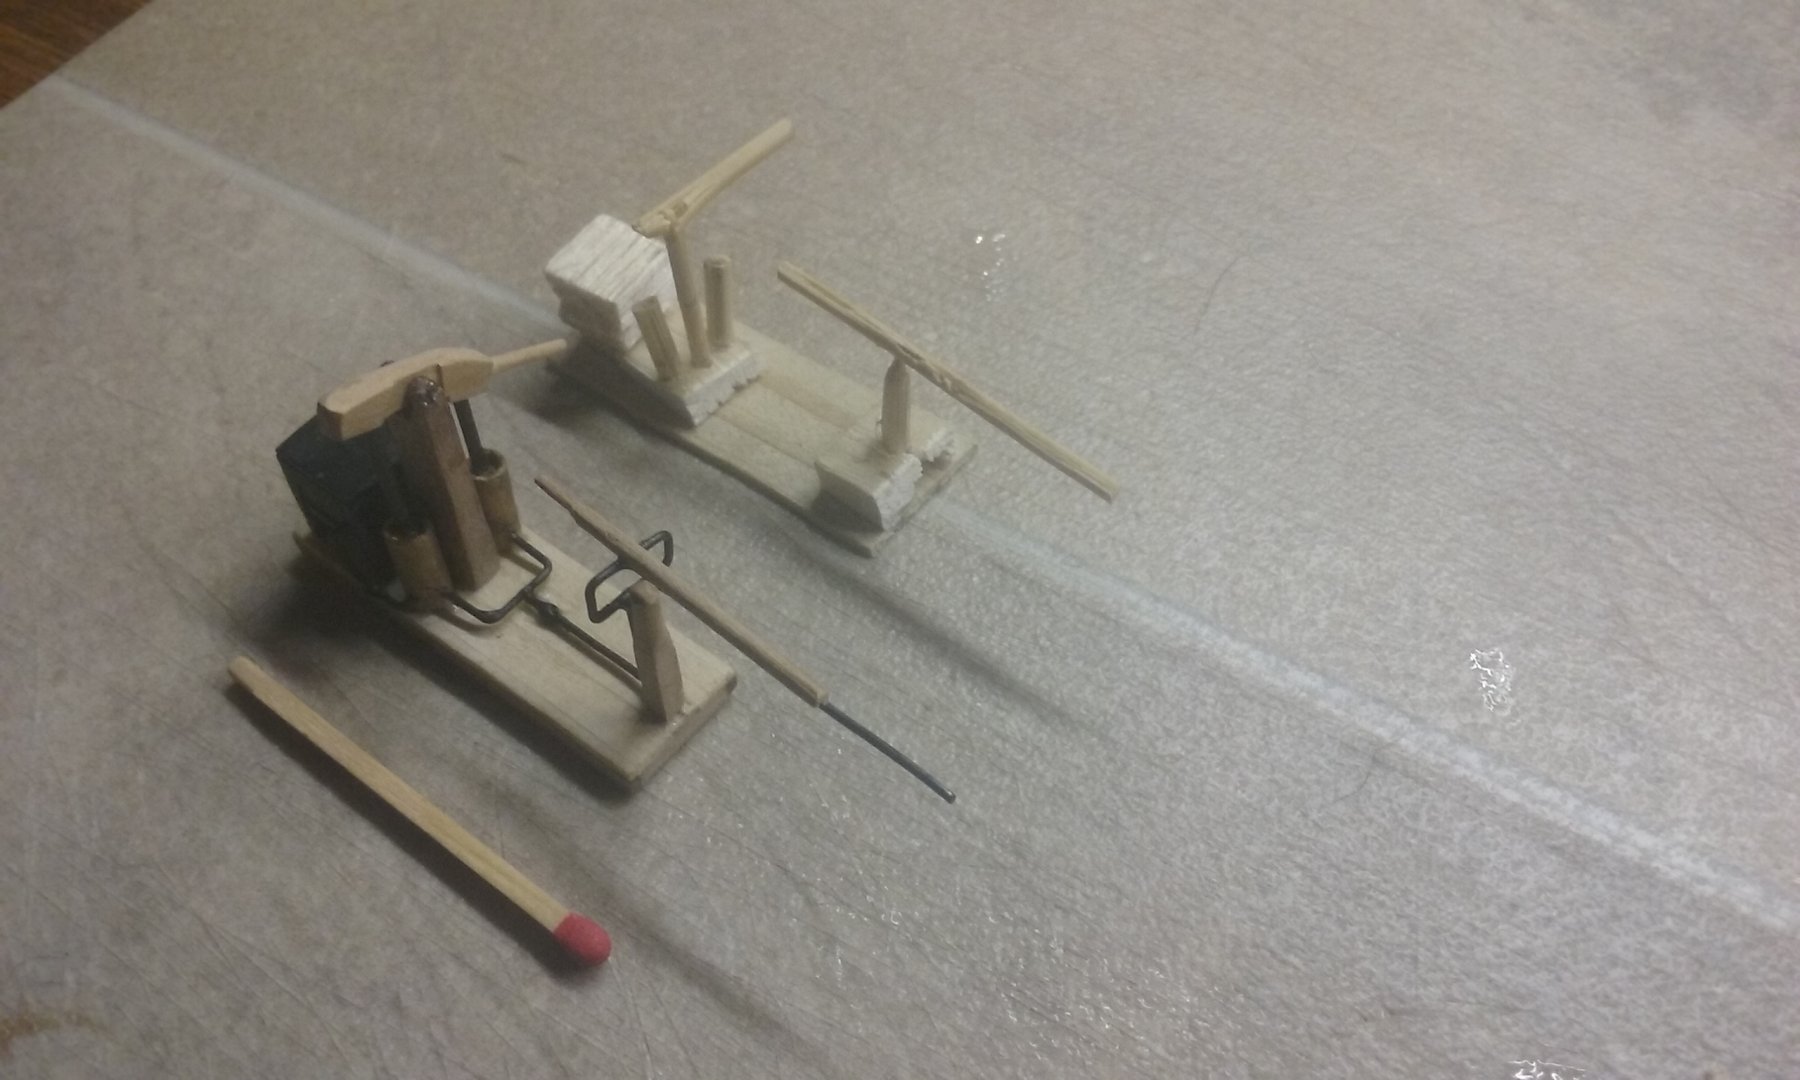
And here is the completed assembly compared to the roughed-out model I did before starting.
 Pretty happy with this, though looking at the photos I see the nozzle is a little out of line at the front. I suppose I should fix it.
Steven
- davyboy, tarbrush, GrandpaPhil and 11 others
-
14
-
Welcome to MSW, Mark. I second vossiewulf's advice. A relatively simple model to start with is a good idea - though you have made ship models before, so maybe you already have the experience and skills needed. I look forward to seeing your build log when you get stated.
Steven
-
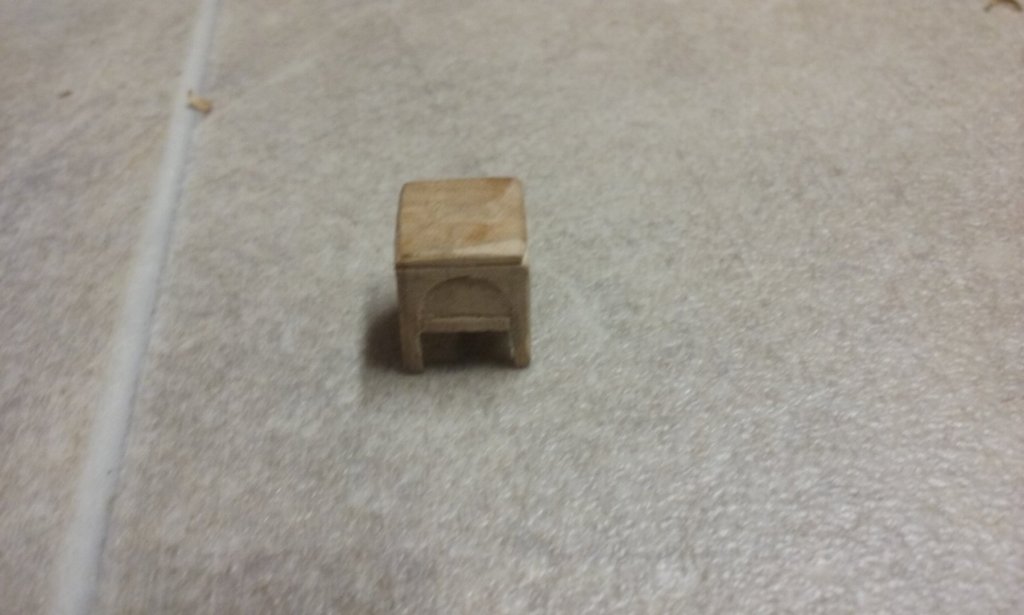
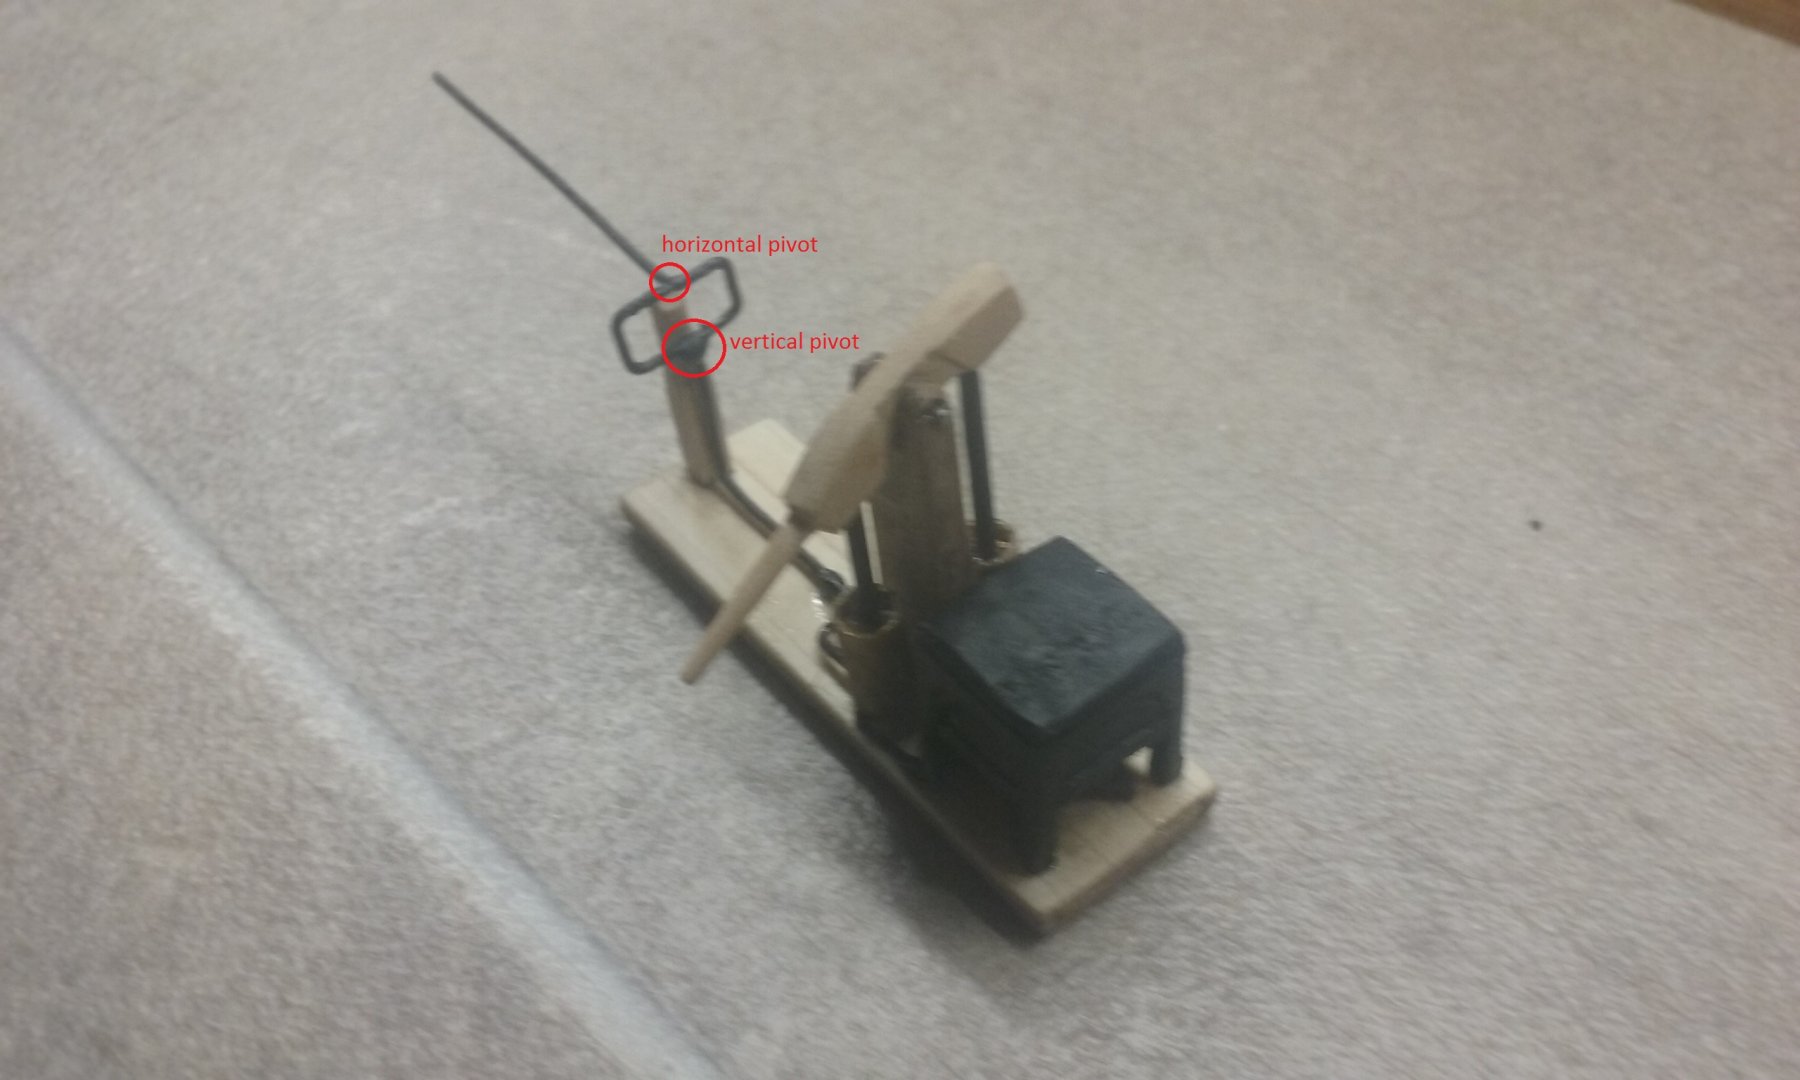
Working on the forecastle, the siphon assembly and the "business end" (iron head) for the spur.
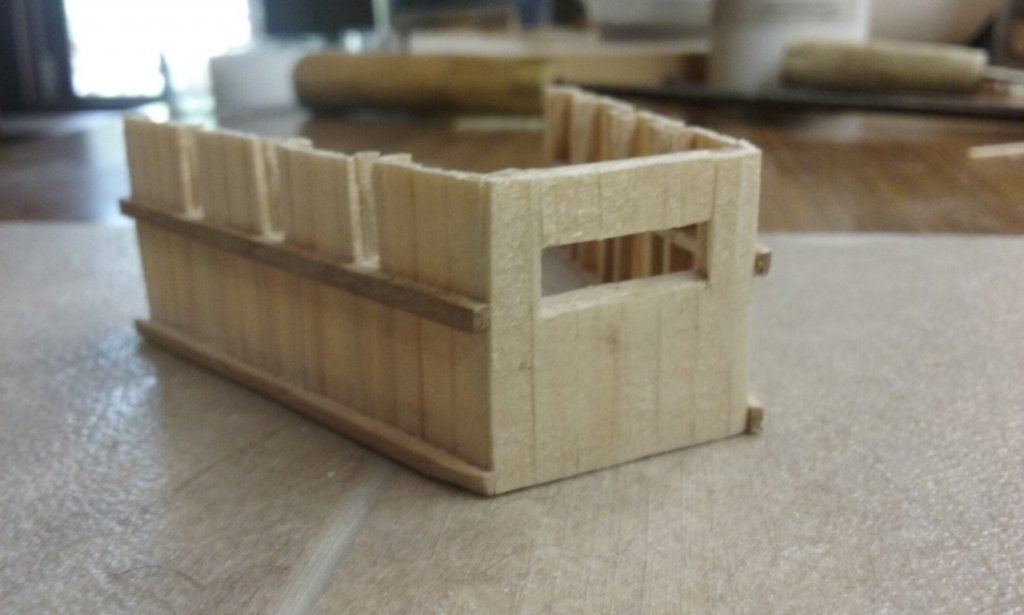
The forecastle with a slot in the front of the parapet for the nozzle of the siphon. The idea is that the nozzle should be able to rotate from side to side, and to a certain extent up and down as well.
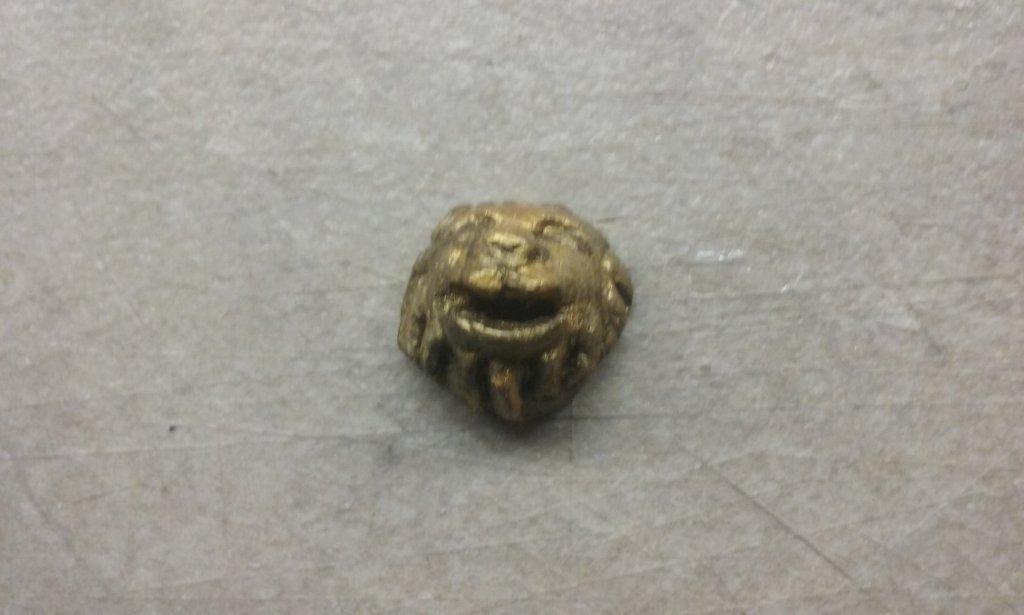
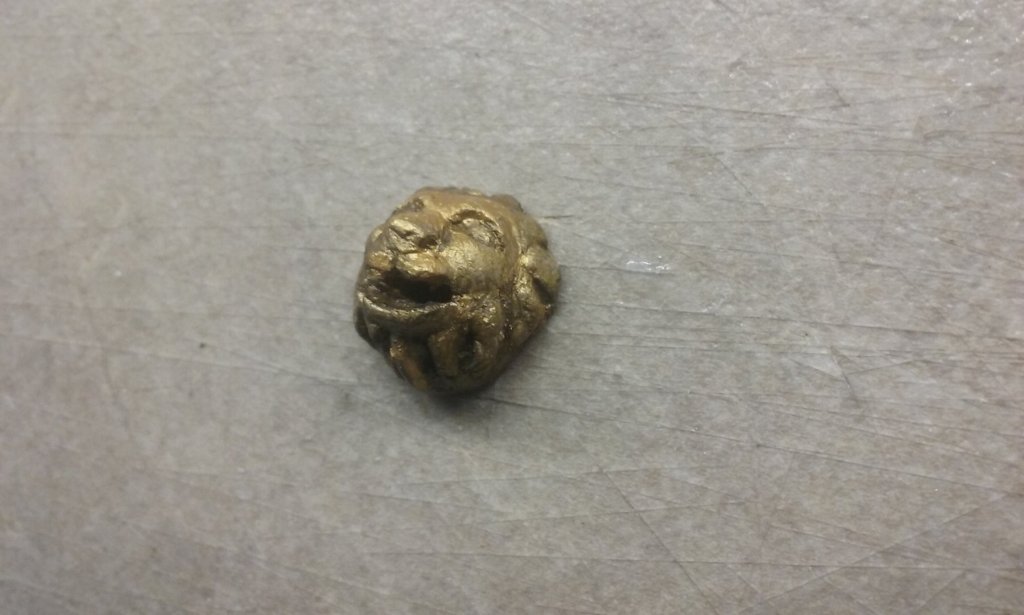
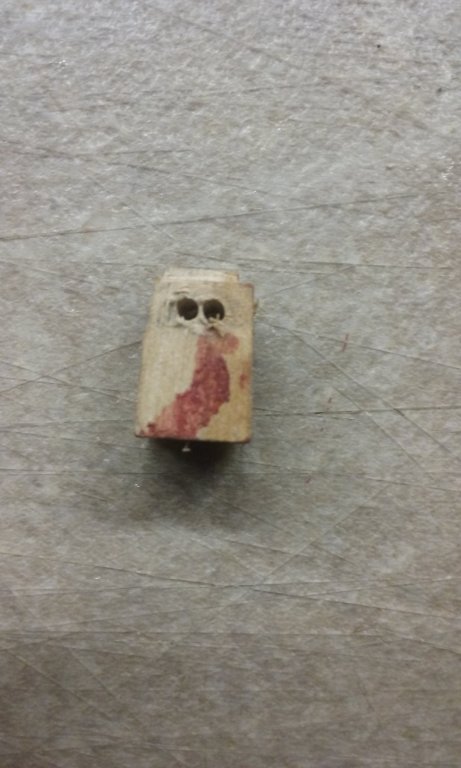
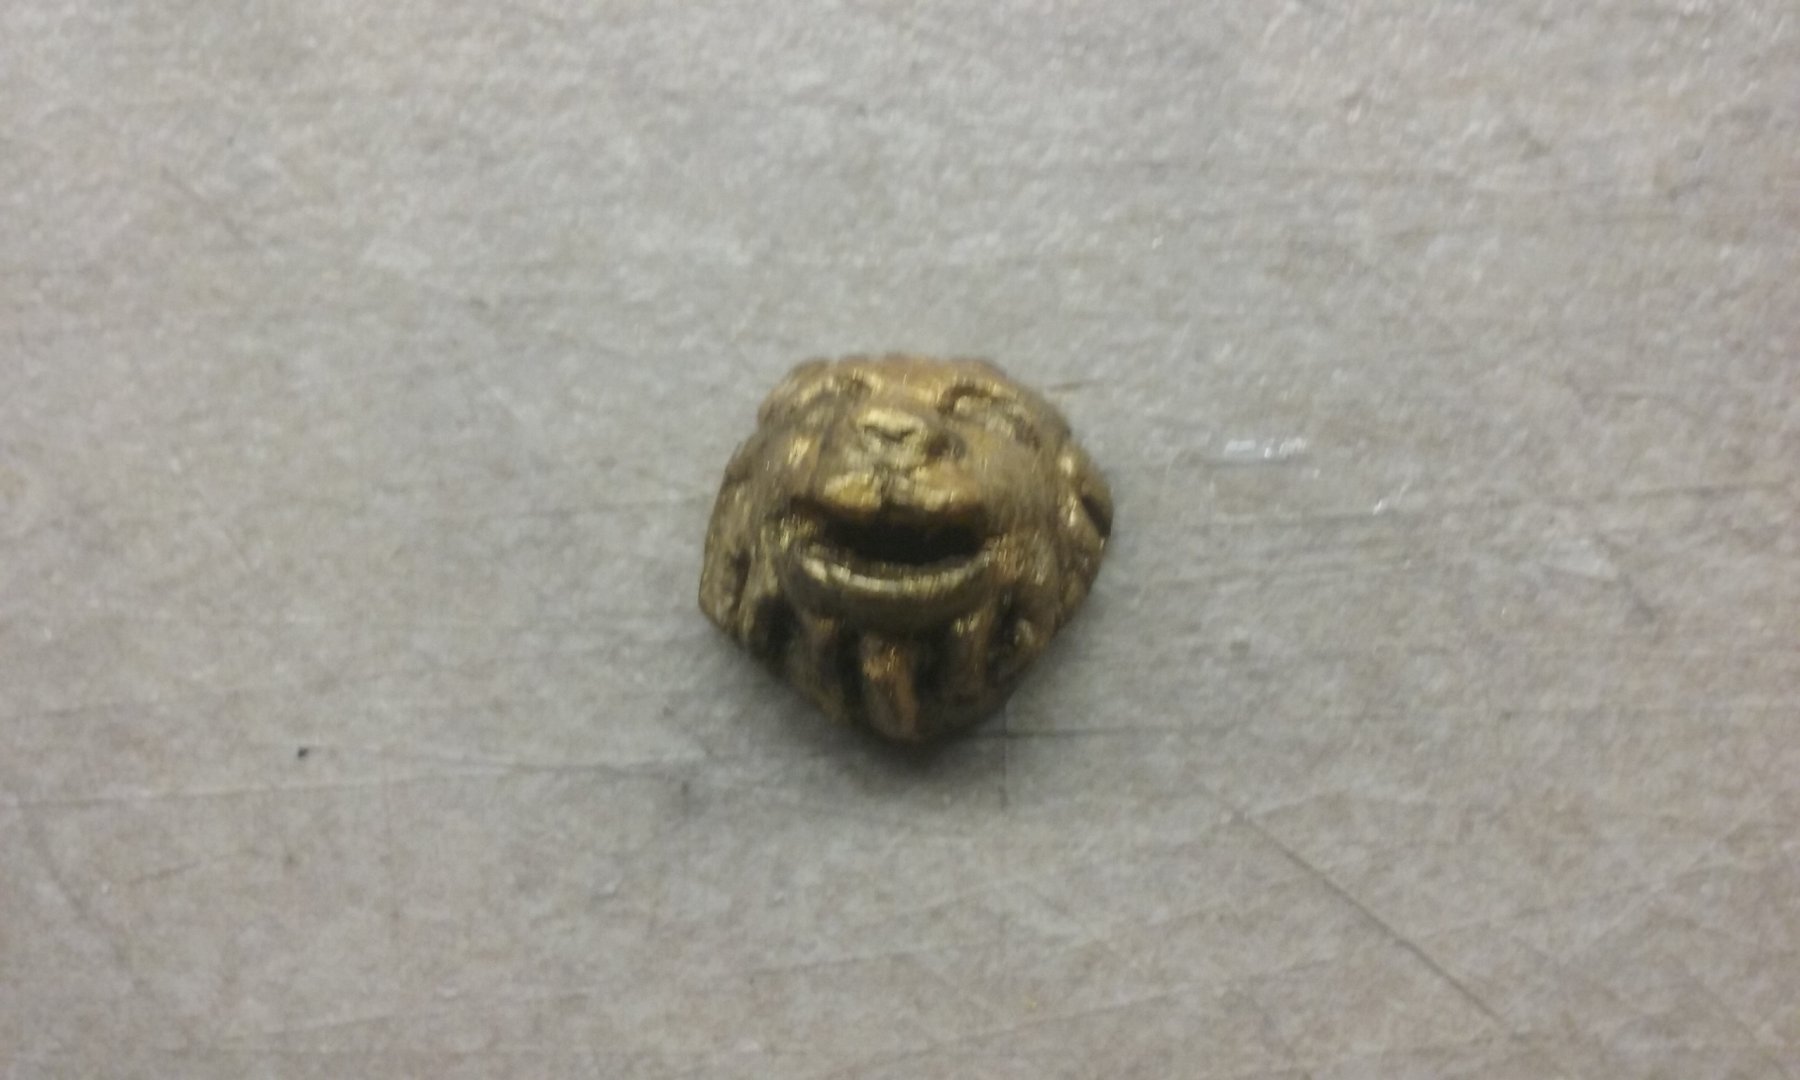
Here is the pear wood lion's head which is the housing for the siphon nozzle, painted to look like weathered bronze. I've hollowed out the back so the nozzle can stick through his mouth.
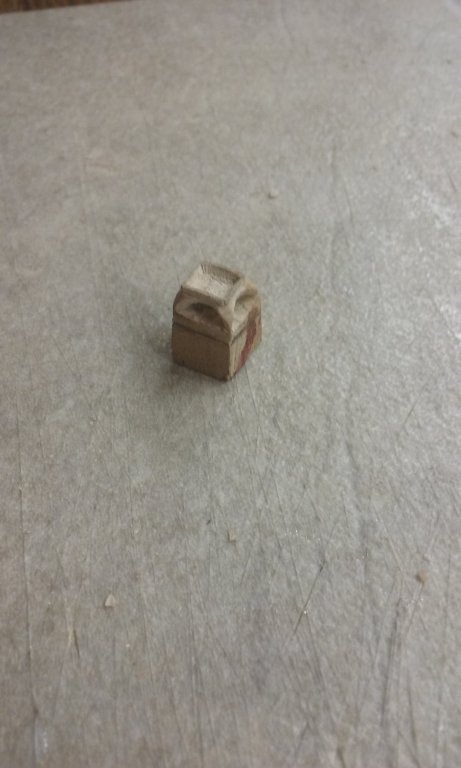
The head for the spur - I'm no good with sheet metal, and neither wood nor cardboard did the trick so after a lot of pondering I decided to make it out of what we in Oz call "car bog" - bodywork filler. I wrapped the spur in cling wrap, held in place with sticky tape, so the bog wouldn't stick to the spur before I was ready.
Bogged
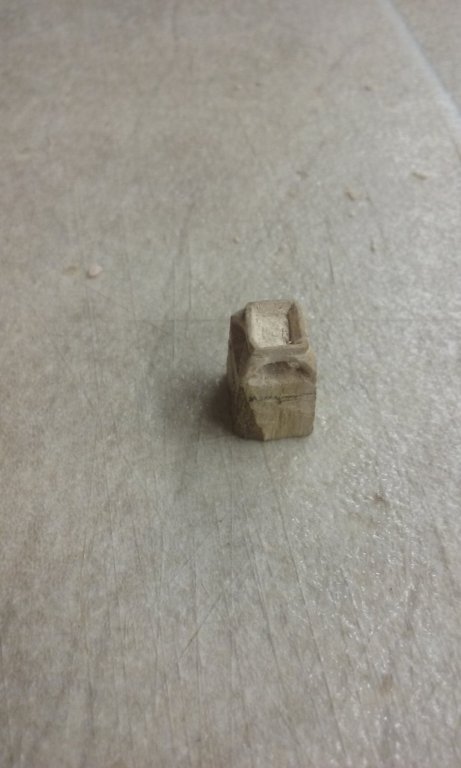
The bog filed roughly to shape
and taken off the spur. The cling wrap worked a treat.
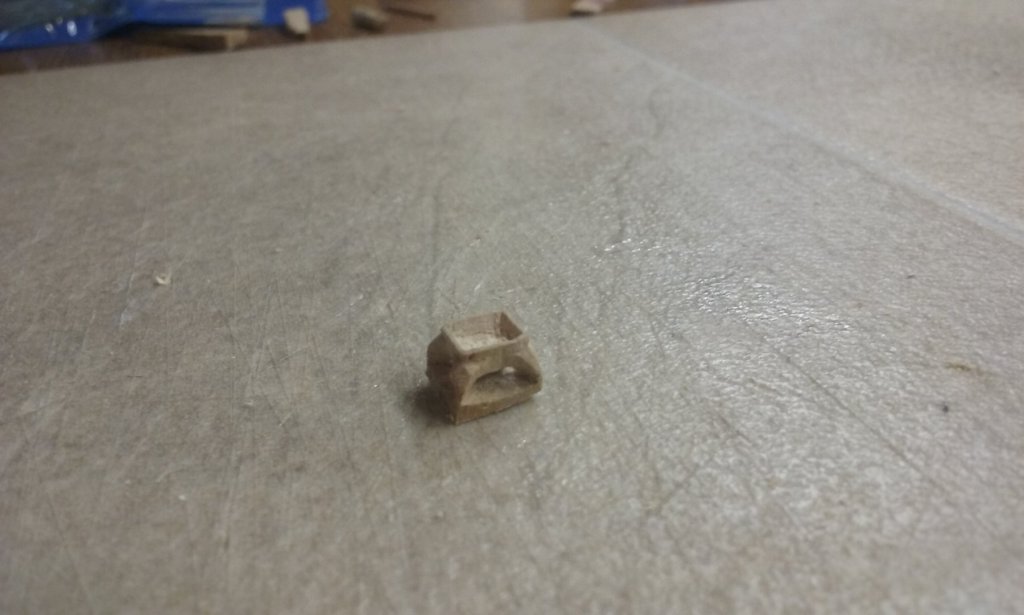
Filed down to its final outside dimensions and stuck on to the spur with Araldite (don't know the generic term, but I believe it's a two-part epoxy)

There's still some tidy-up work to be done on both the forecastle parapet and the head of the spur, but it's coming along well.
Steven
- davyboy, vossiewulf, cog and 4 others
-
7
-
As usual, beautiful work, Pat, and wonderfully fine detail. The worm drive in particular is very impressive. As "The Sentimental Bloke" said, "I dips me lid".
Steven
-
-
-
Beautiful work, Woodeater! Really something to be proud of.
-
This is beautiful work, Eric. Your build is a pleasure to follow.
Steven
- mtaylor, popeye the sailor and Cathead
-
3
-
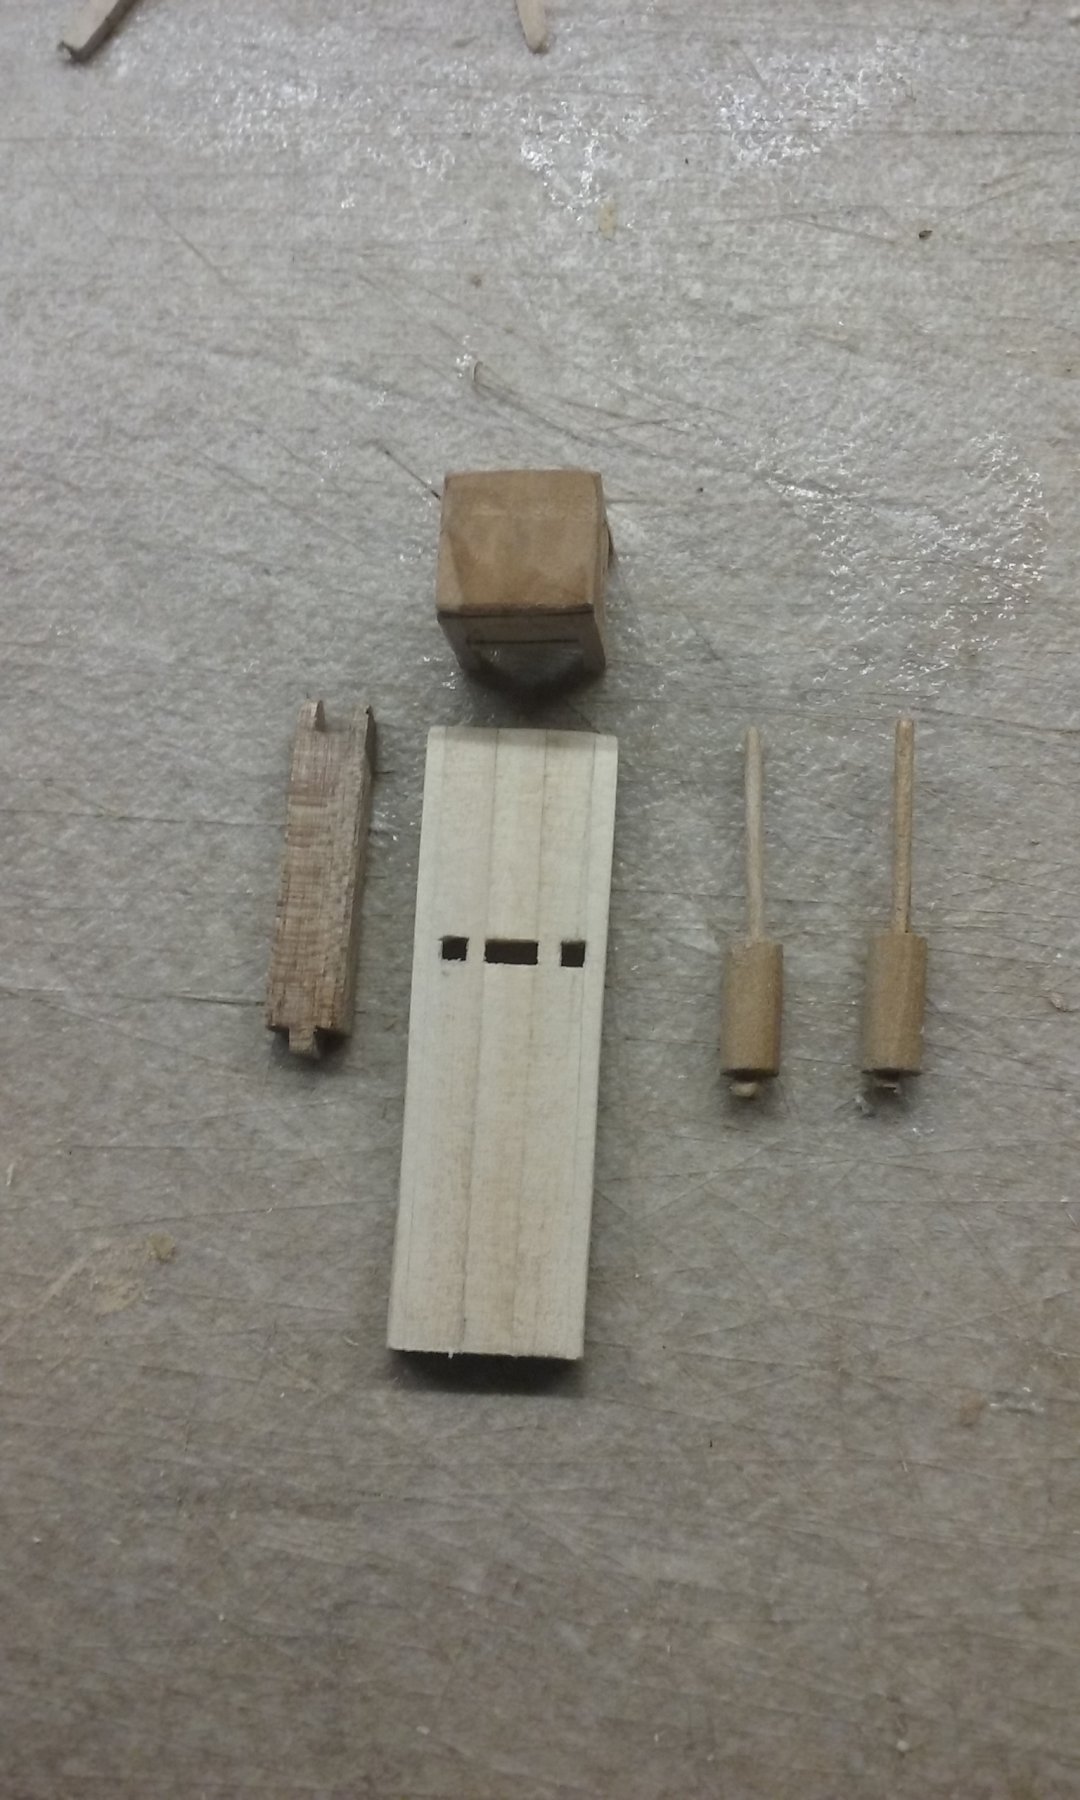
And here is the pump handle marked out, ready for carving.
All the above pieces painted and glued into place. I've put in a temporary pivot for the pump handle made from a bit of wire, and though I've drilled holes in the handle to take them, I have yet to figure out what kind of connectors I'll use between the con rods and the handle. Note the giant matchstick for comparison.
The next thing is to make the assembly for the nozzle itself, then to add the pipes to carry the oil (fortunately the wire I'm using for the pivot is exactly the right diameter to replicate these).
Steven
-
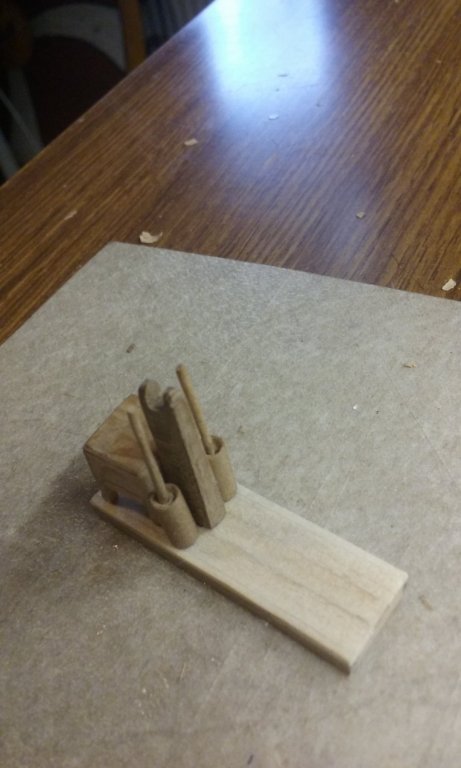
Here's the pump dry fitted
And the brazier under way. Again it was to have legs, this time to keep the hot metal away from the deck. I decided to go a little more ornate this time, in line with (though considerably simpler) a brazier that appears in a contemporary Byzantine illustration with curved and tapered legs. Cutting the main body and drilling holes to start making the openings for the legs.

Though not of this process, a little carelessness with the scalpel and - oops!
A (fairly shallow) slice into the end of the thumb. My own fault, of course. As the Black Knight in Monty Python and the Holy Grail said "T'is but a flesh wound - I've 'ad worse."
And getting back to work with a band-aid on the end of the thumb getting in the way. Naturally I've made the brazier empty; It would only be filled and lit when the siphon was to be used:
Cutting off the "handle" bit I was using to hold the piece with:
And finalising the shape:
Steven
- druxey, mtaylor, GrandpaPhil and 3 others
-
6
-
Thanks everybody for all the likes. I have to say I'm pretty happy with the way these figures are starting to turn out. Practice, practice, practice. It really seems to work!
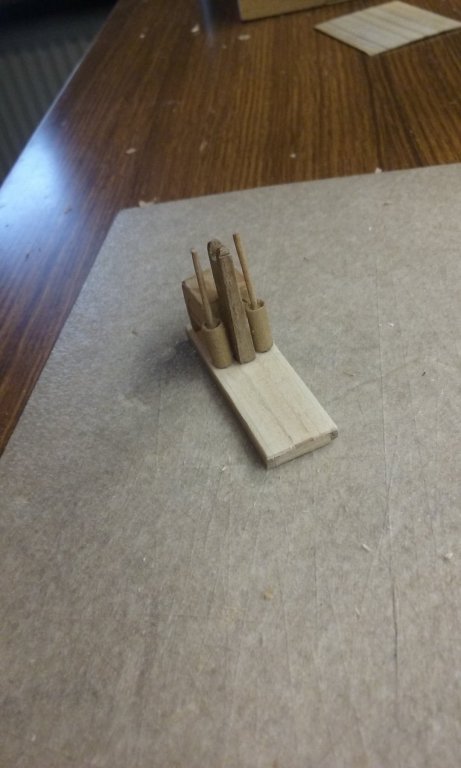
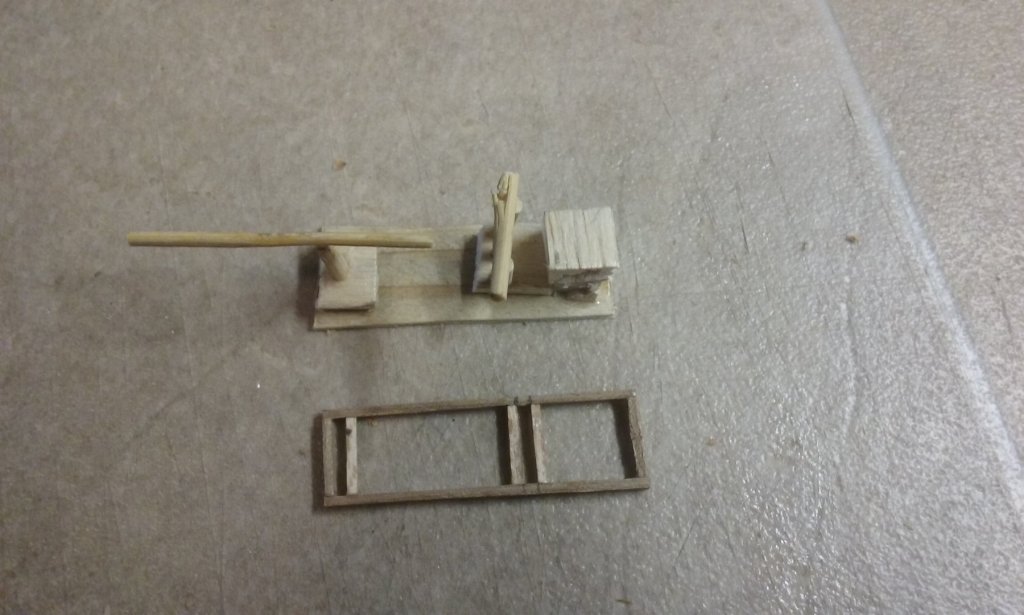
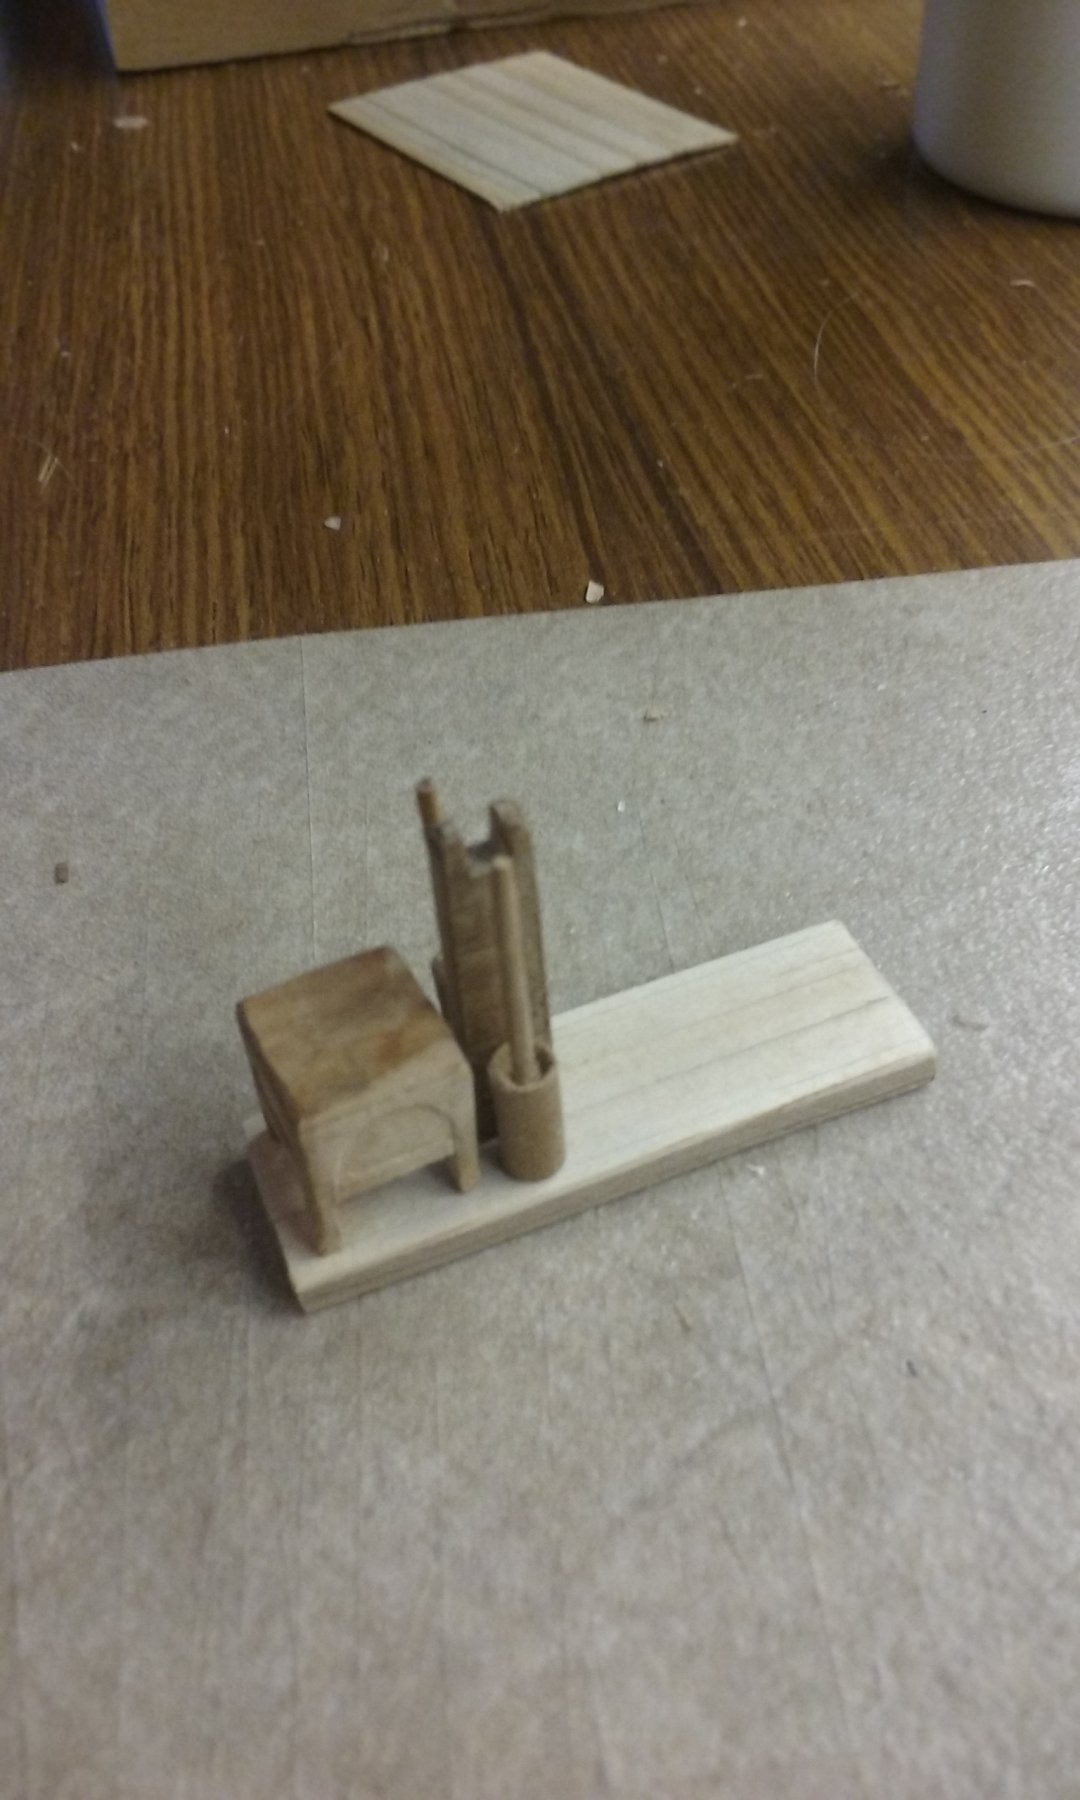
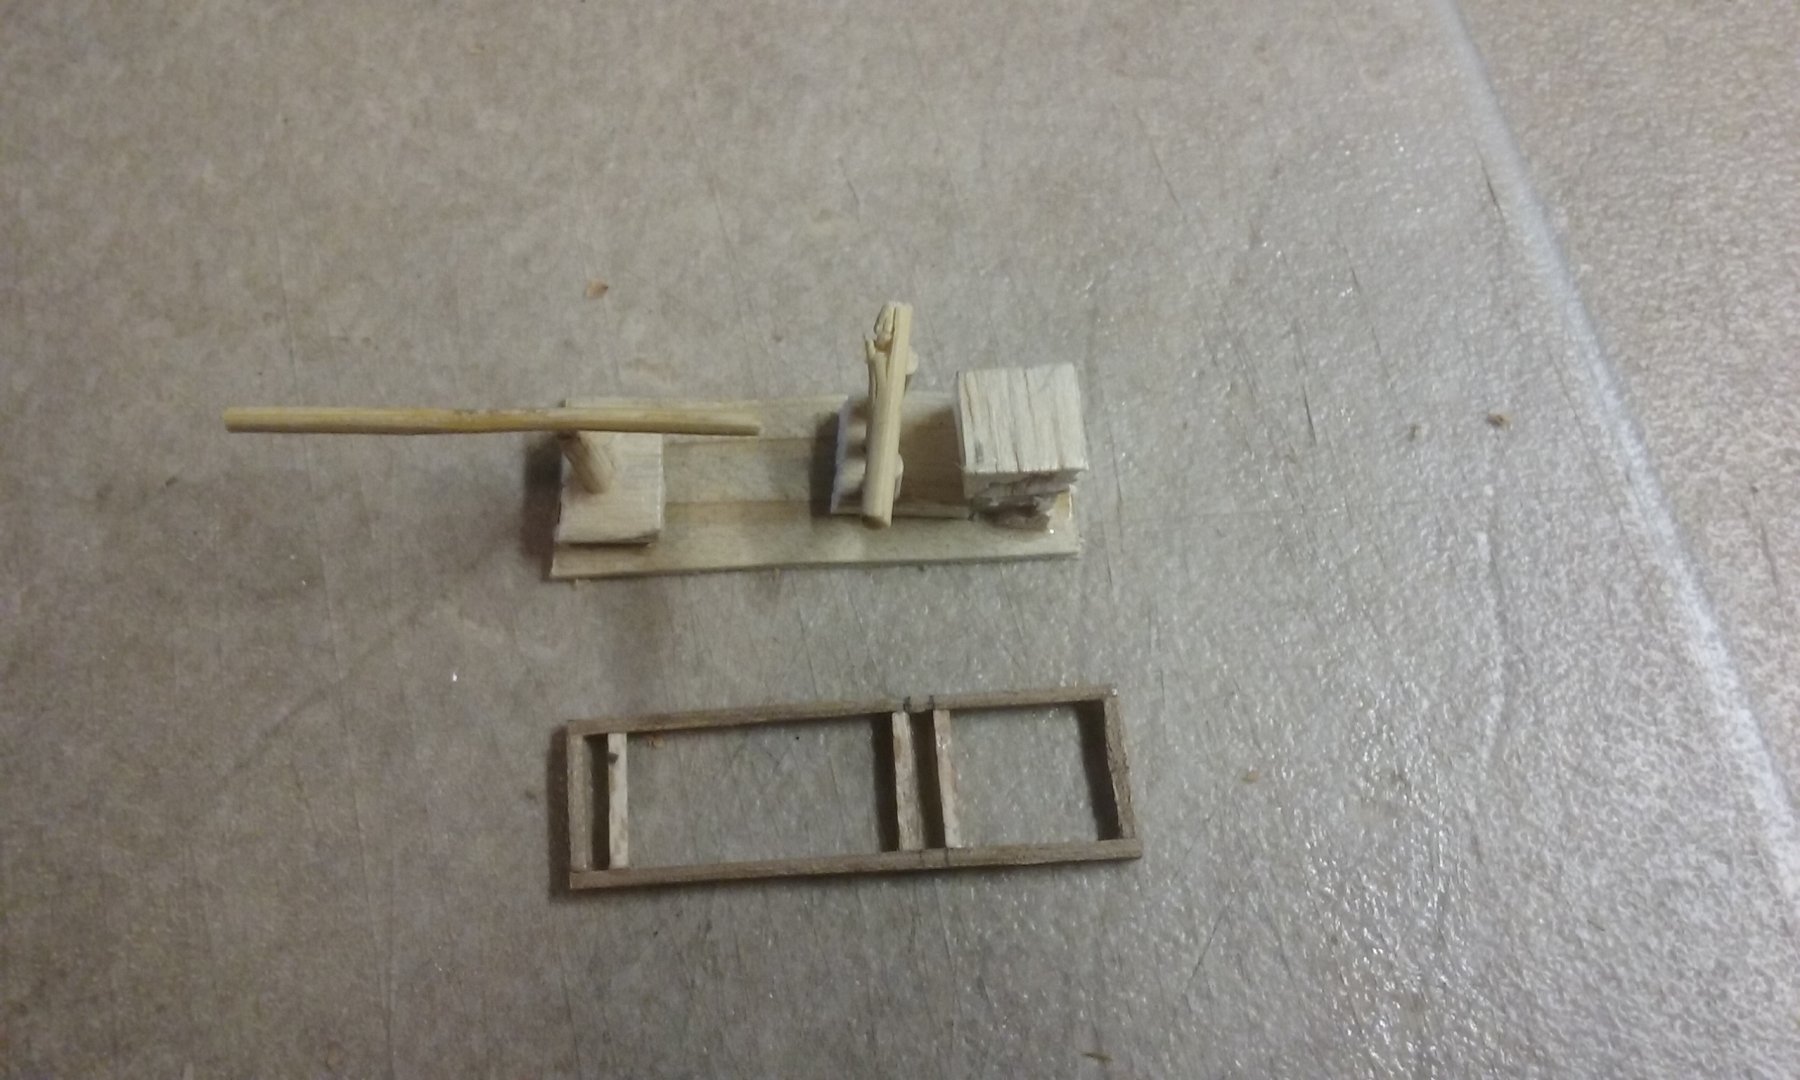
Now I'm moving on to the Greek Fire siphon. I decided that it was probably built as a self-contained unit so it could be hoisted onto the ship or off again as needed. So first I made a platform to take the unit. Here it is set against my bodgy rough version to get the spacing right.
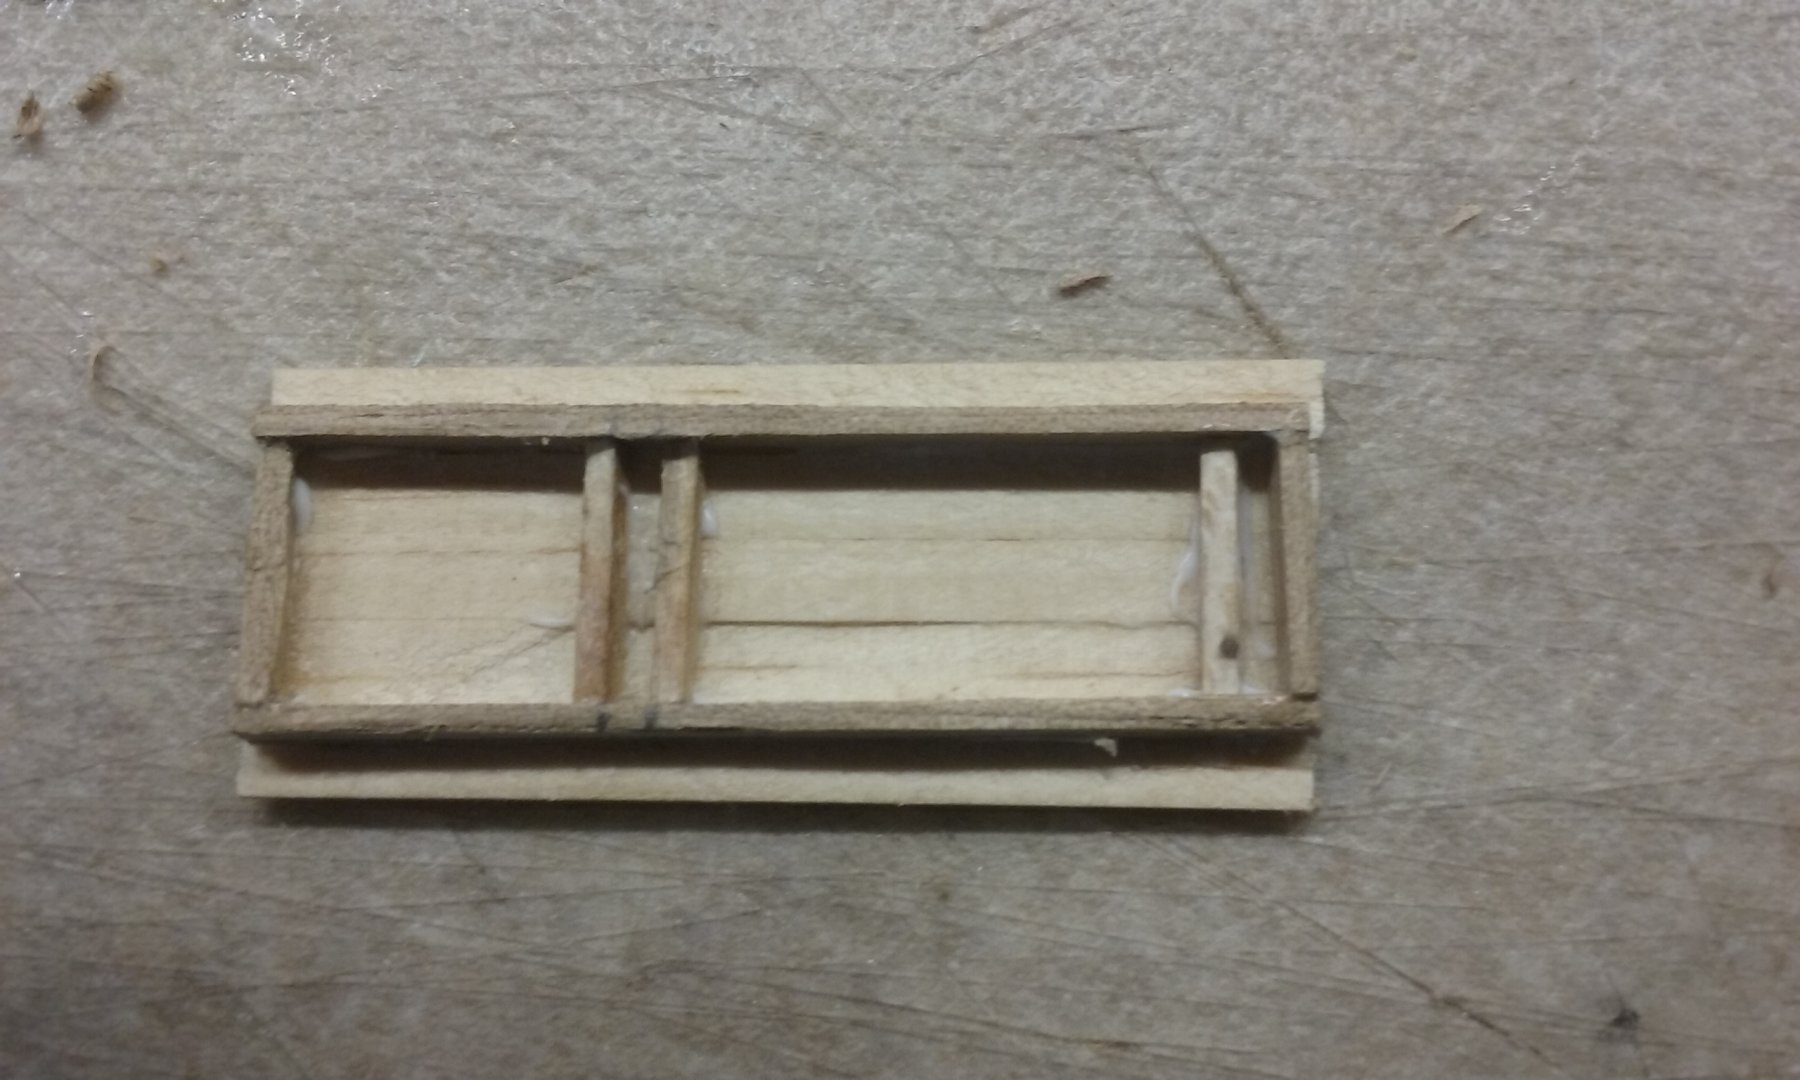
 Here it is with the planking attached. Overlapping planks at the edges will be trimmed in line with the substructure.
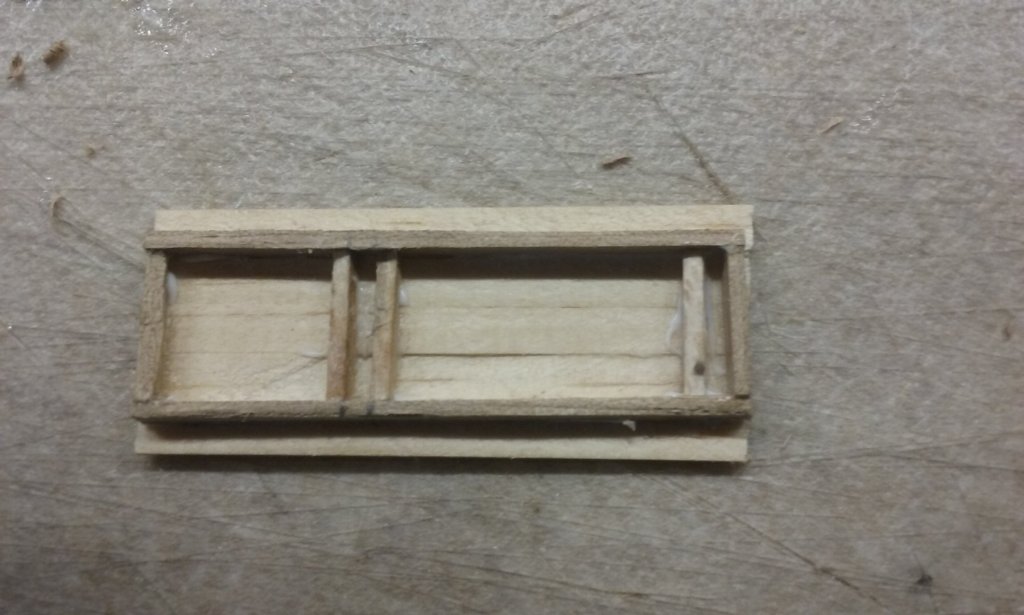
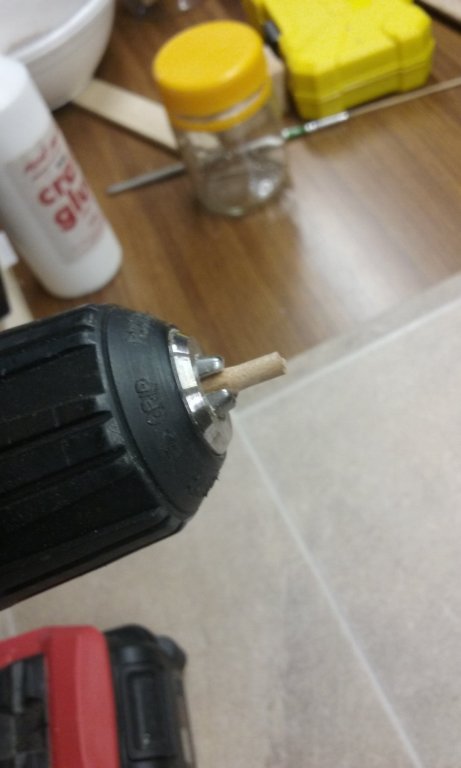
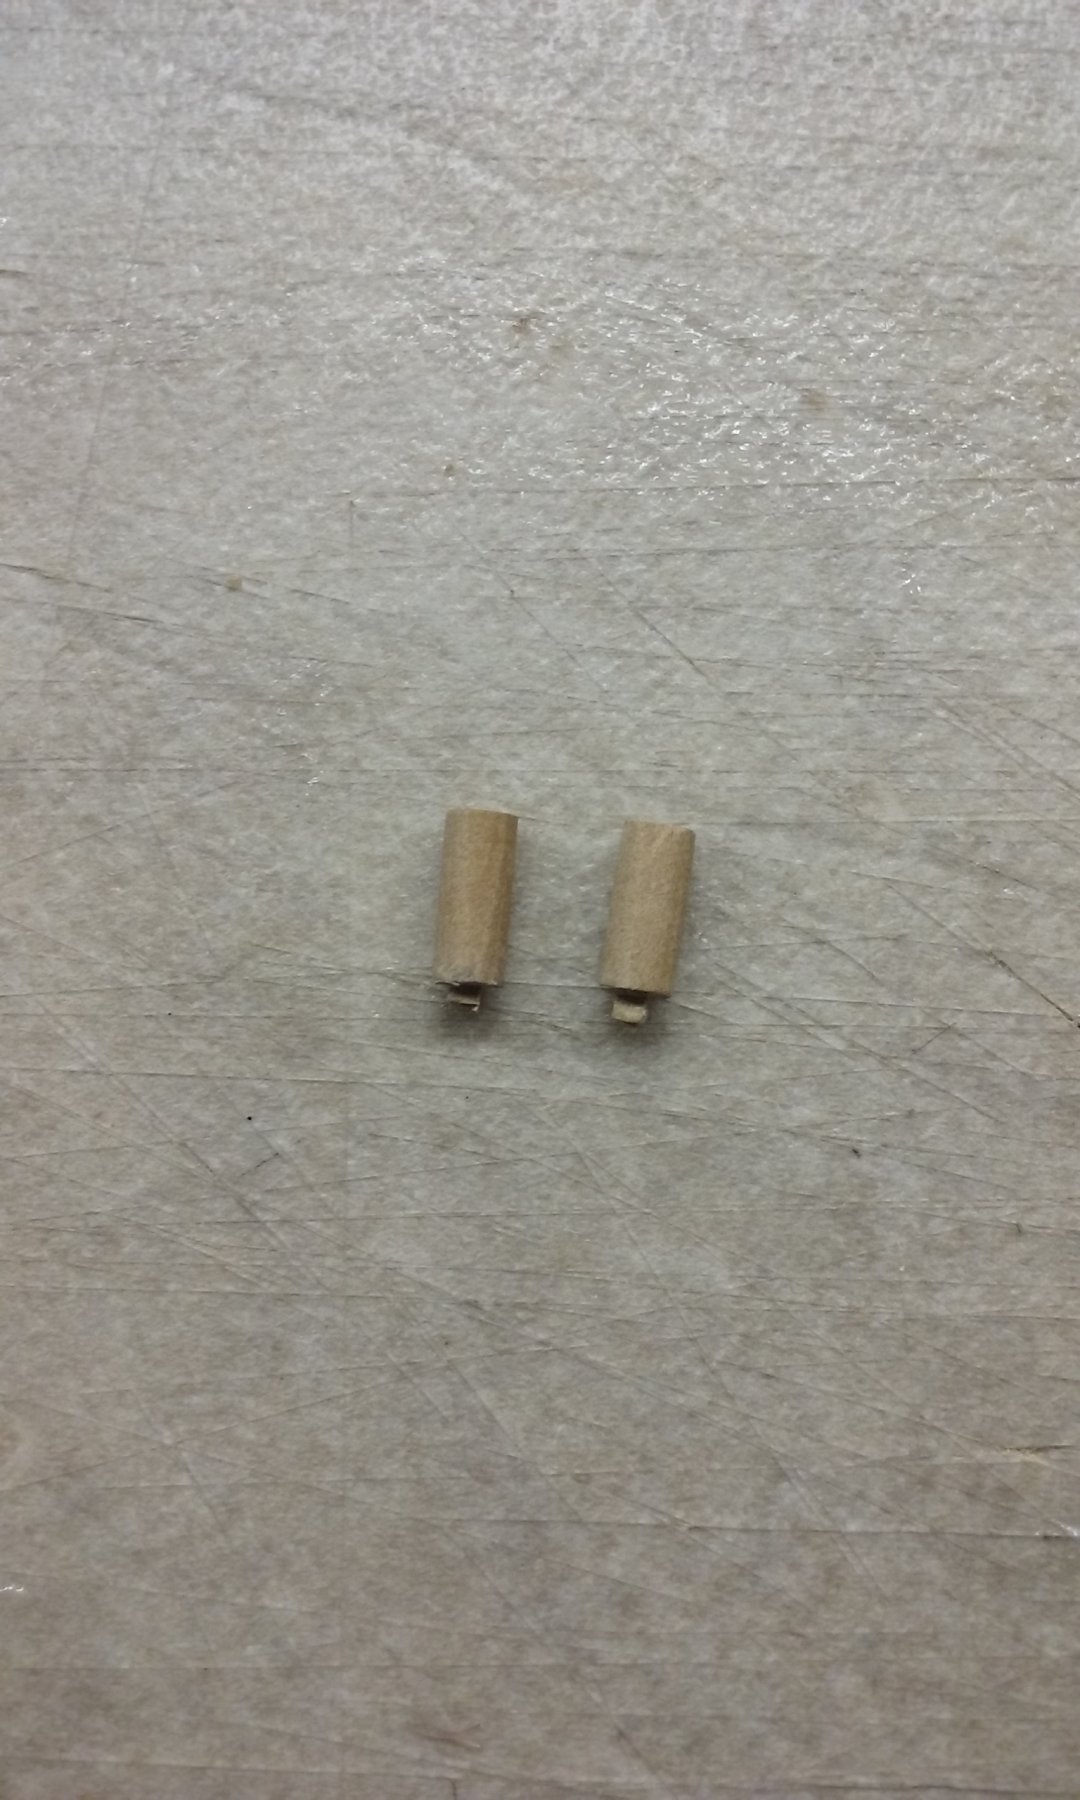
Then I got onto making the cylinders for the pump (from pear wood, which has a nice tight grain and is very suitable for carving). I first cut a long piece with a square section, then cut off the edges to make it octagonal, then circular, smoothing off with my "poor man's lathe"
Cutting two cylinders to length, allowing for a tenon to fix them into the platform.
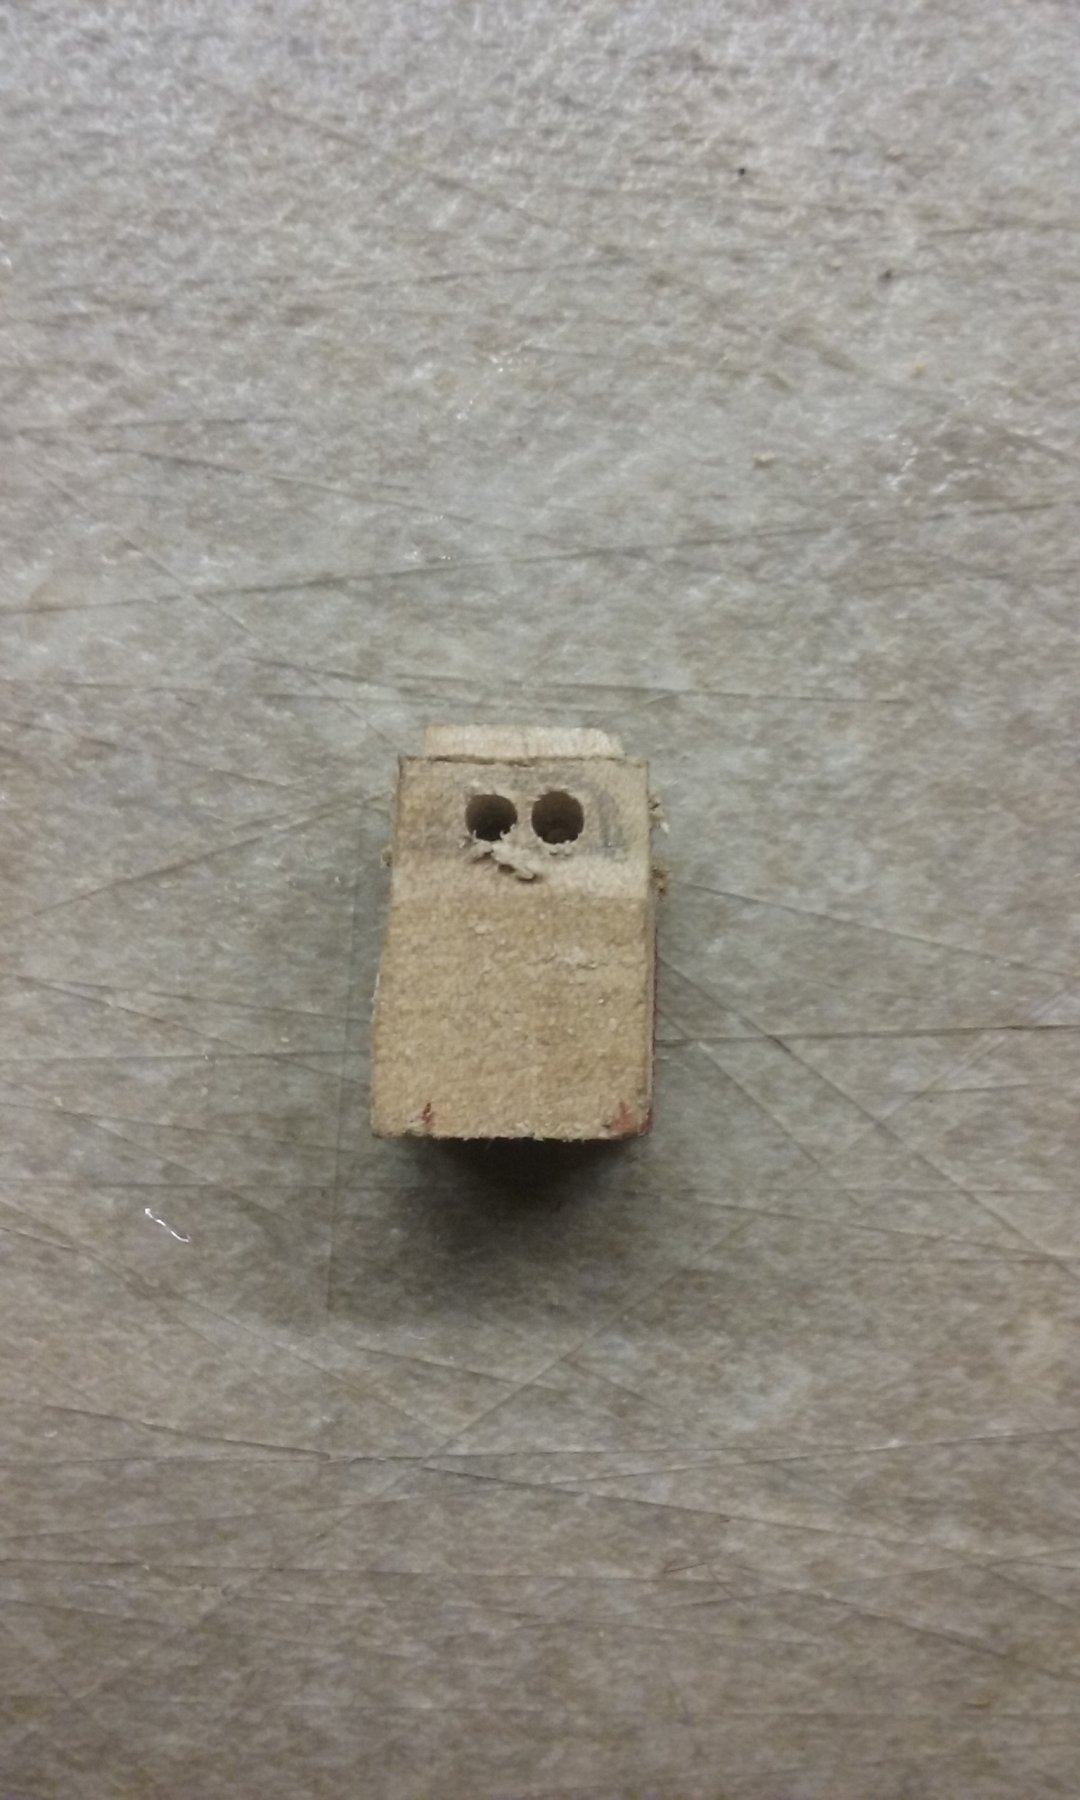
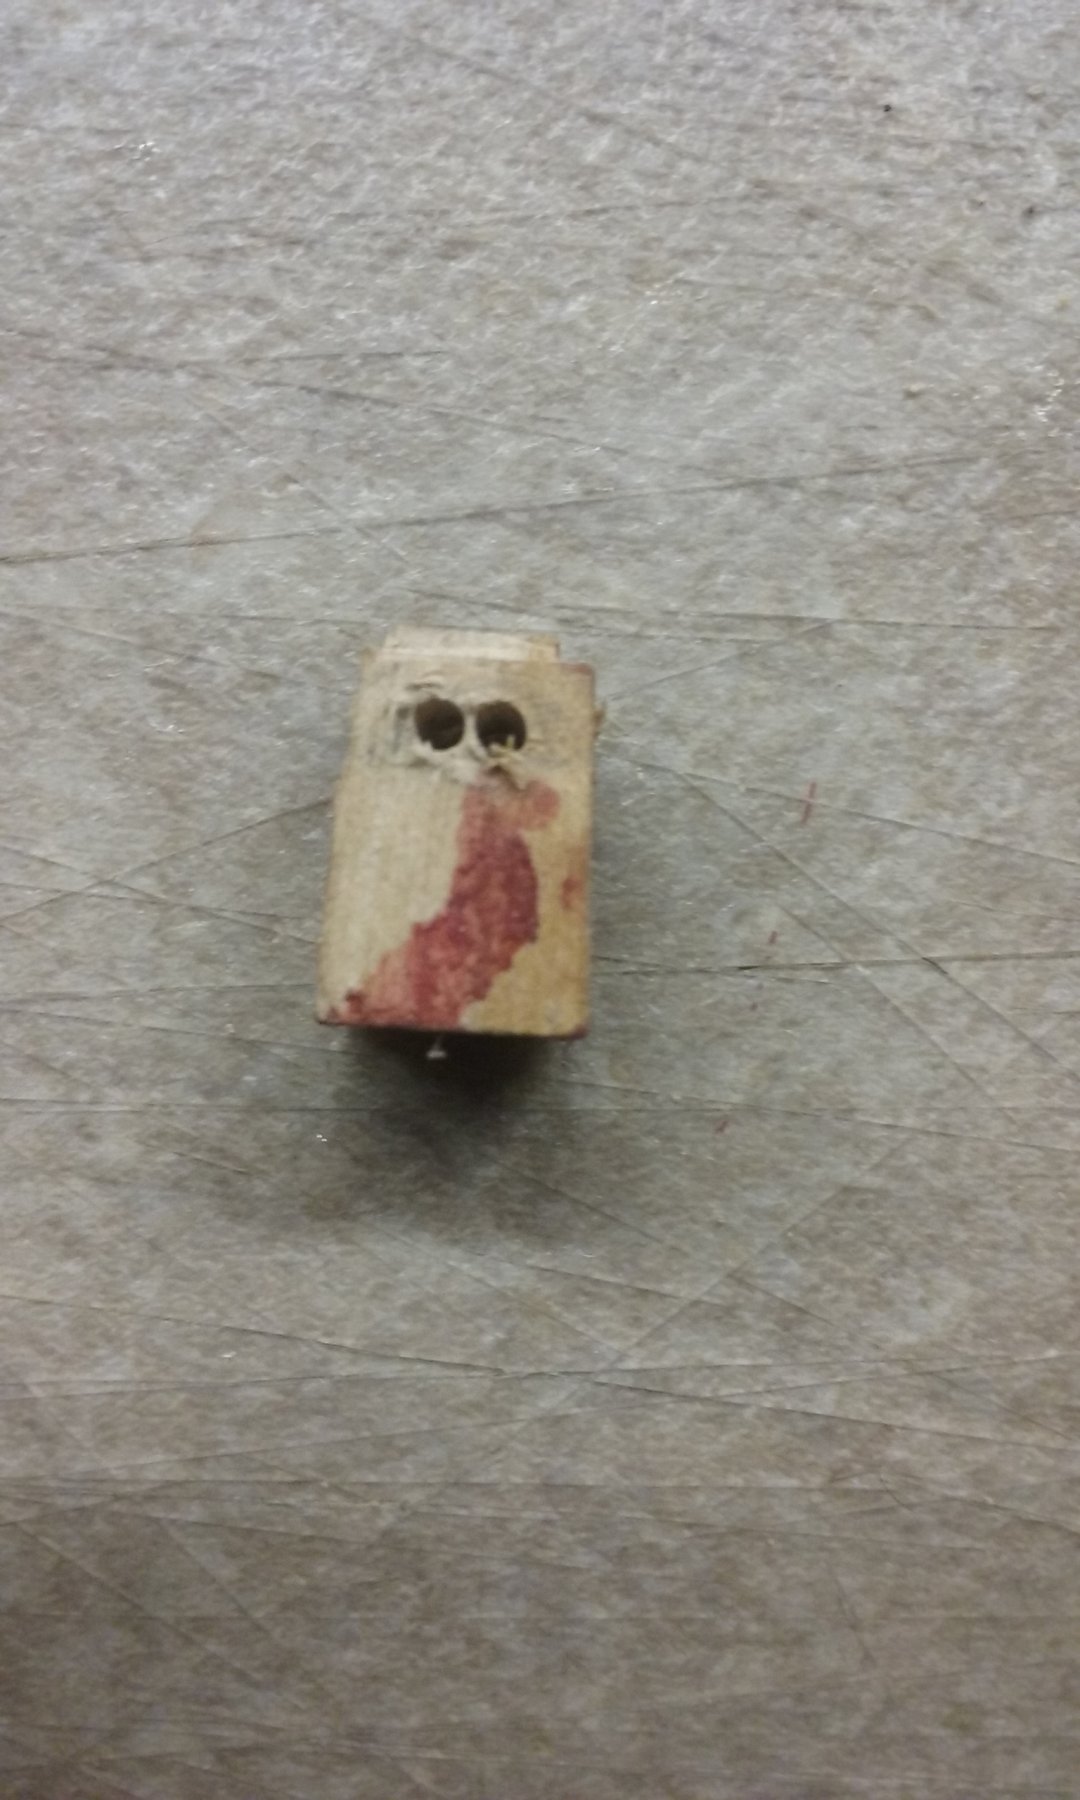
Hollowing them out at the top to look like they have pistons in them) and making the connecting rods for the pump handle.
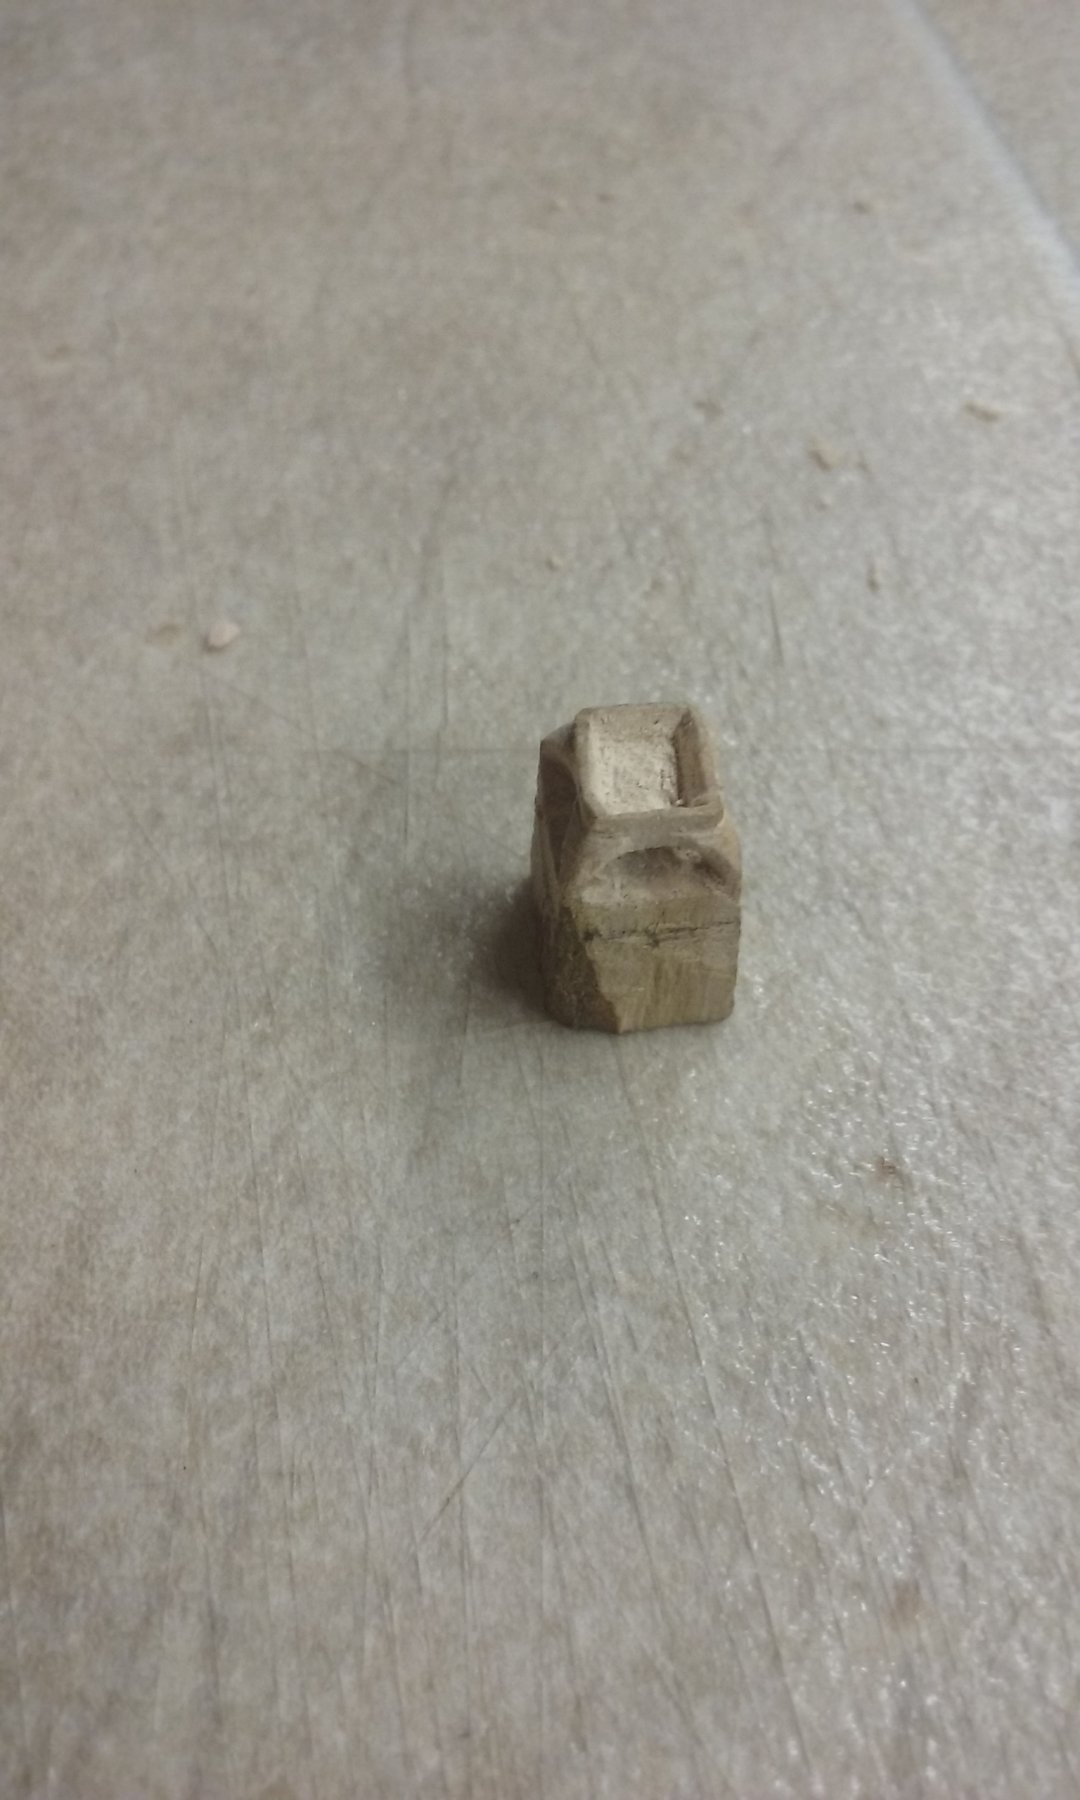
Here is the support for the pump handle, with a cut-out for the handle and a tenon to fit into the platform.
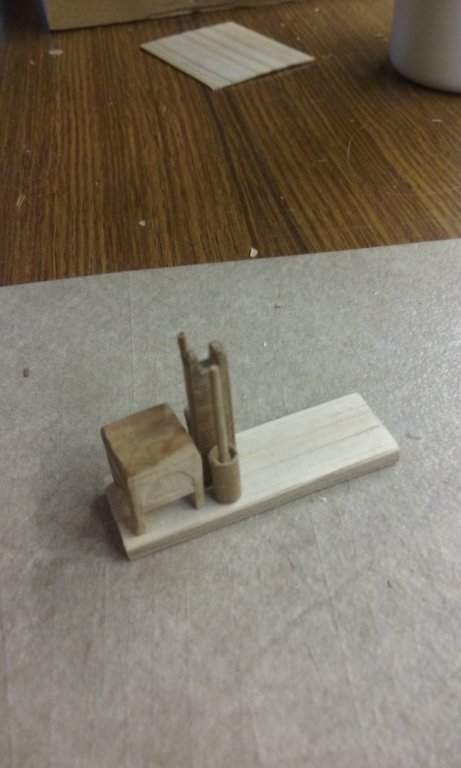
Here's the oil reservoir, with legs to sit above the brazier which heats the oil.
And here they all are together, ready for dry fitting.

Steven
- Mark Pearse, GrandpaPhil, druxey and 2 others
-
5
-
I don't know how you do such fine work in metal. I'm pretty good with wood, but the moment I try making small stuff in metal I'm a complete klutz 😖. I have the greatest respect for anyone who can produce such exquisite workmanship.
I take my hat off to you, sir!
Steven
- Canute, mtaylor, paulsutcliffe and 3 others
-
6
-
-
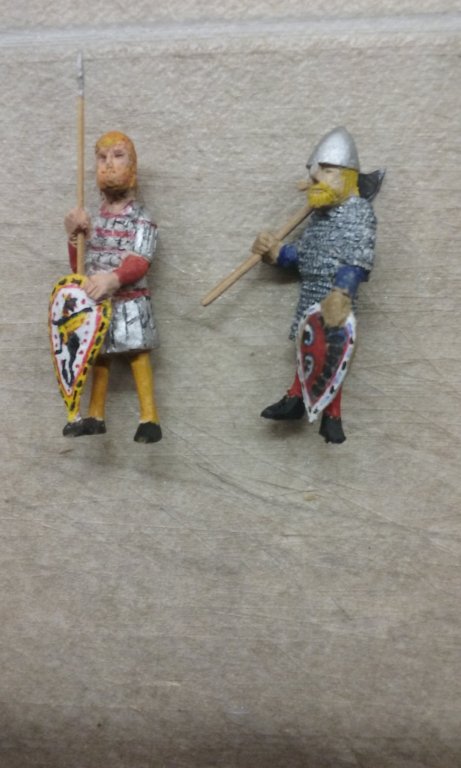
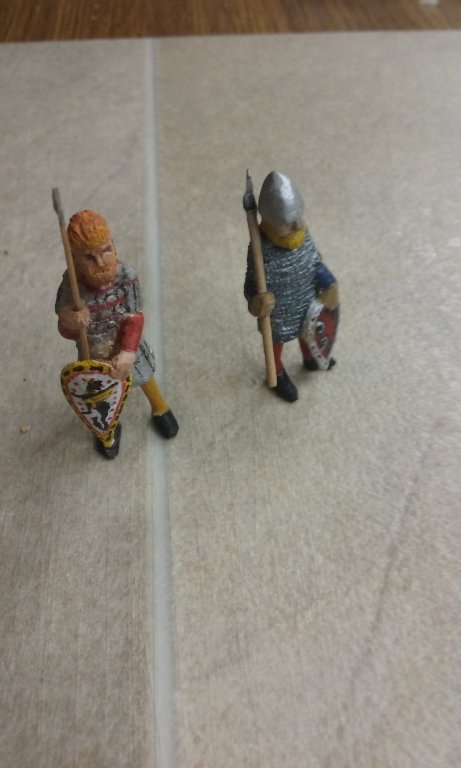
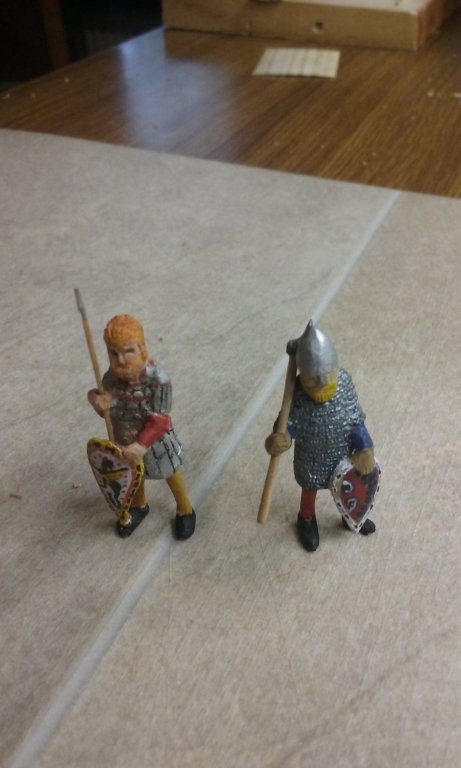
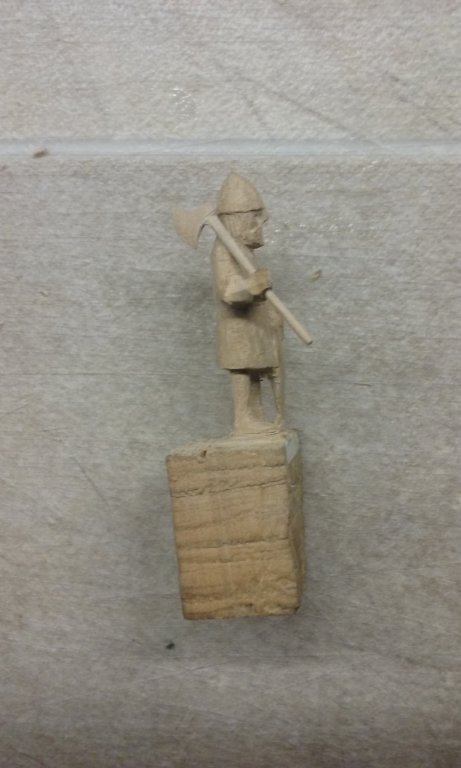
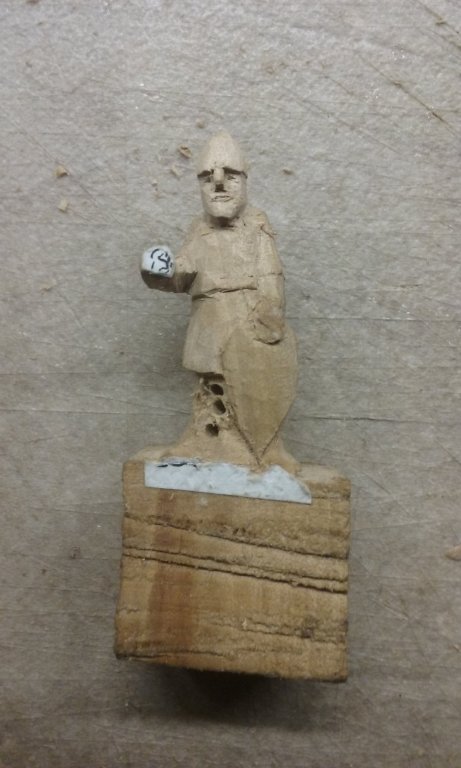
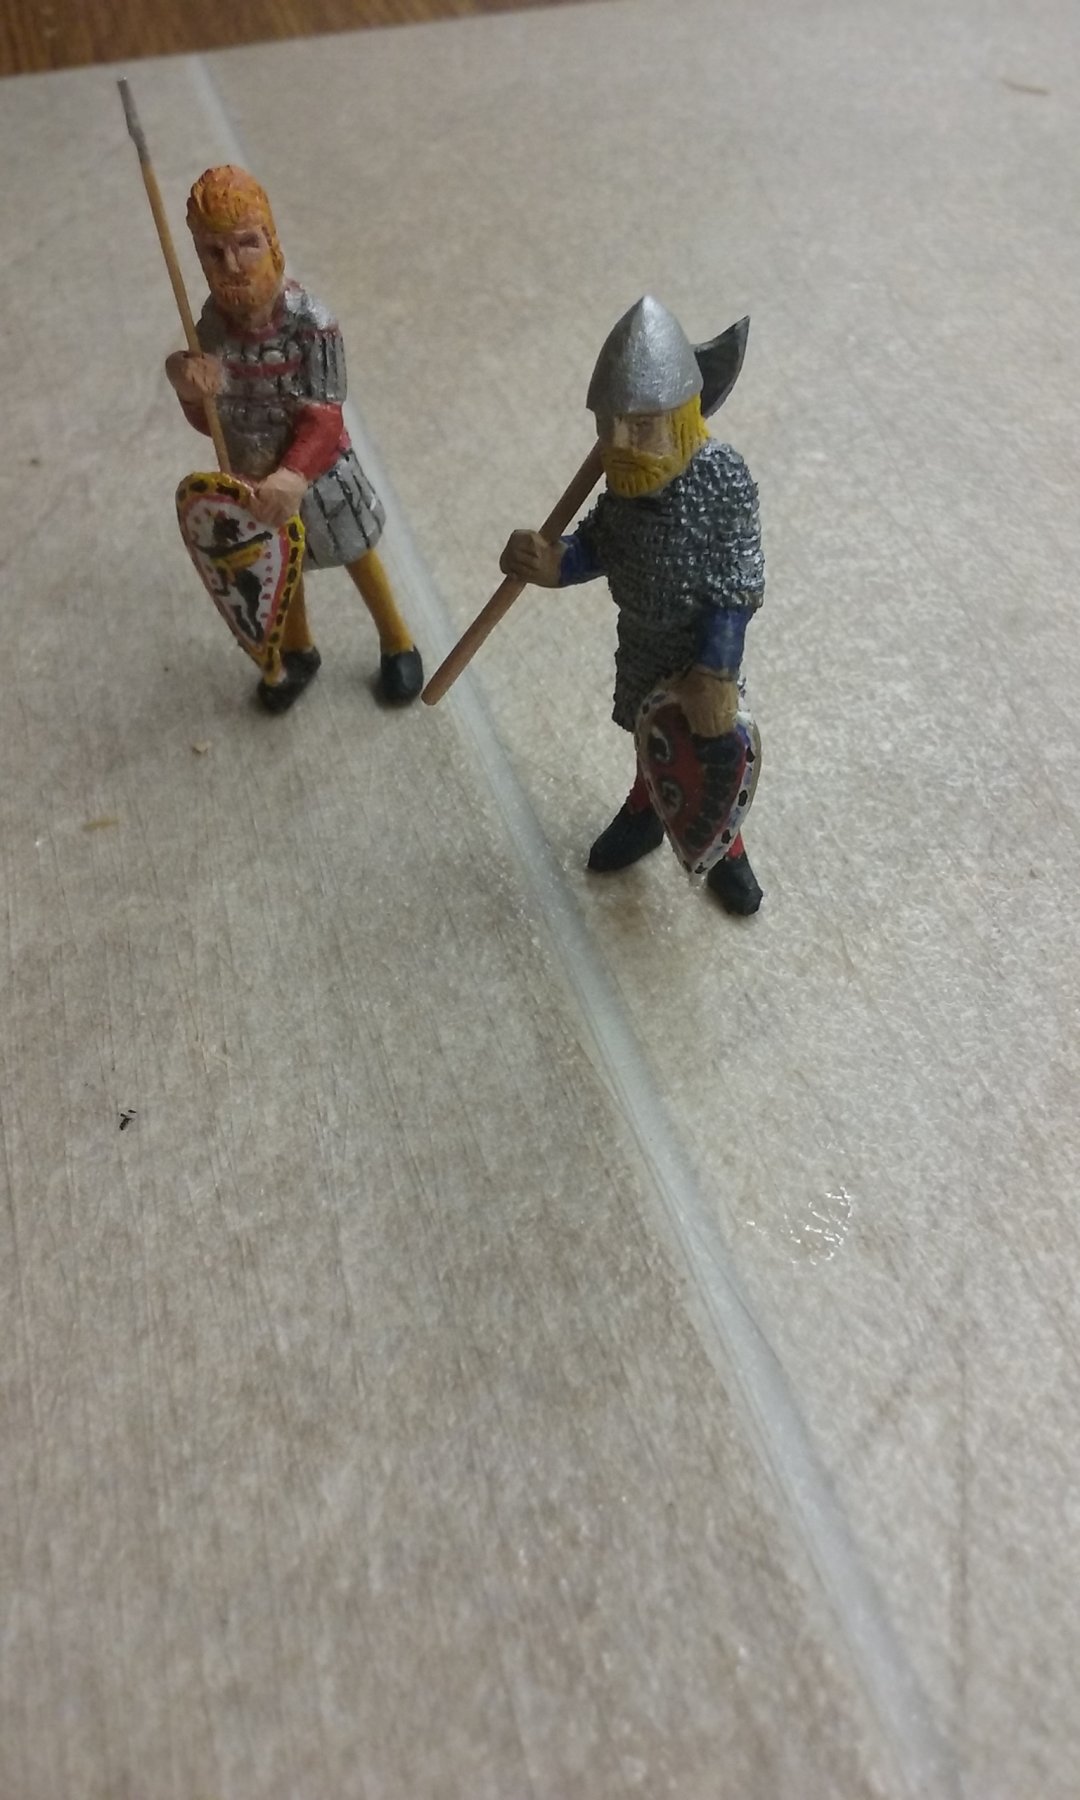
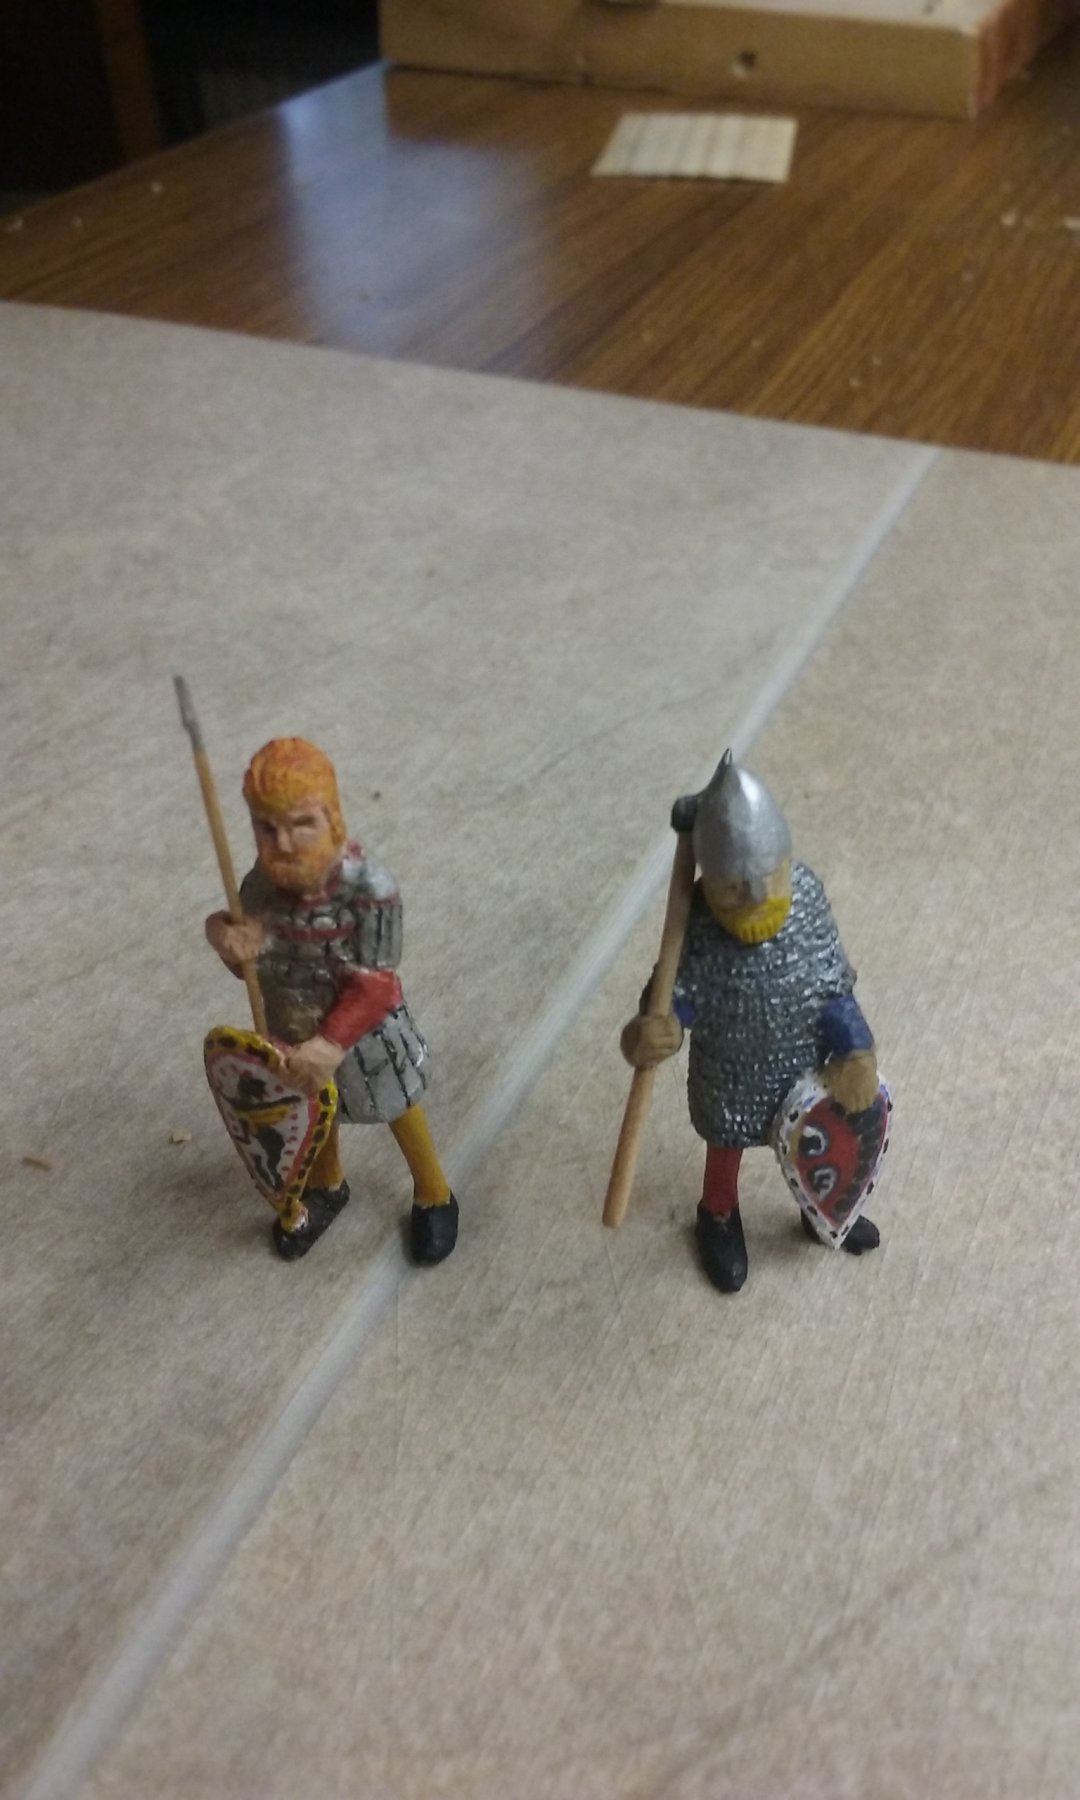
And here he is in full panoply complete with axe over the shoulder and along with his companion in arms, whom I've given the other escutcheon from the above ikon.

Steven
-
Thanks, Mark.
To cut the grooves I used the No. 11 scalpel. To make the "rings" I pushed the point of a cobbler's awl into the raised "lands" between the grooves to make shallow circular depressions as close together as I could make them.
Unfortunately this would sometimes cause the whole "land" to lift for a couple of millimetres (wood has a grain and will do that kind of thing if you ask too much of it) and so it wasn't perfect. But the faults were pretty small and hardly visible with the naked eye.
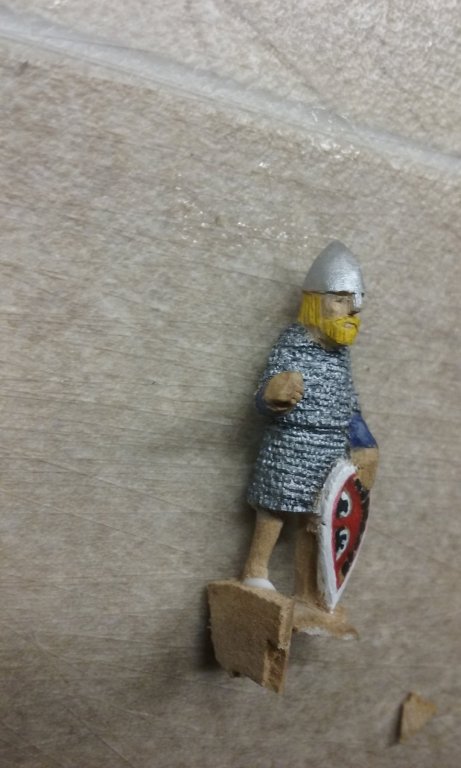
Then onto painting. First a coat of black to form a dark "shadow" background to the silver of the mail rings.
Then several thin coats of silver to build up the colour of the rings. Unfortunately once the paint was on I discovered that in many places the "lands" were more obvious than the rings, so I had to re-do the depressions with the awl. Once done, however, it ends up looking very much like real mail.
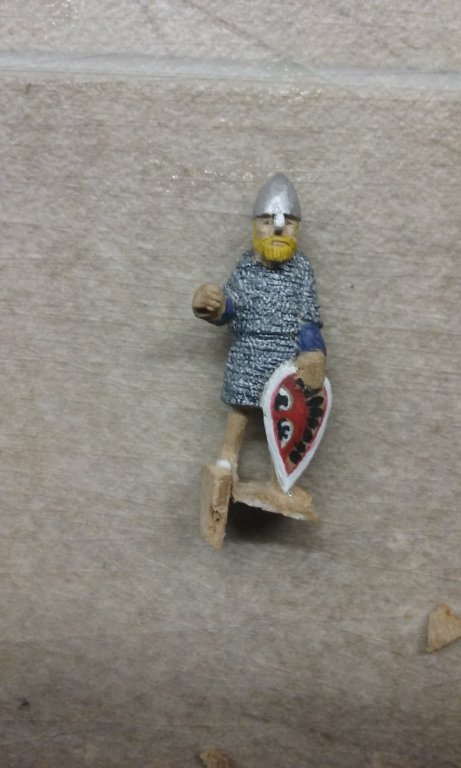
Unfortunately at this point I took my eye off the ball for just a moment. I was sawing off the base so I could finish off the legs and I cut too close and took off half his right foot. It can be remedied - I've glued another piece of pear wood on and will cut it to shape once the glue is properly dry. But very annoying!
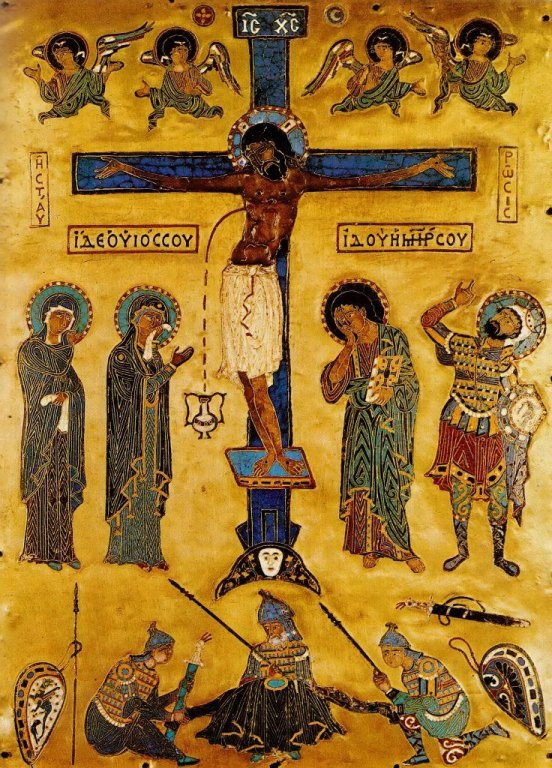
I've started painting the escutcheon ("coat of arms") on the shield, based on an 11th century Byzantine ikon (see the right-hand soldier at the bottom of the scene. Very fiddly to do, but rather satisfying to discover I can do fine work and have it look good.
Steven
- tarbrush, luponero, Roger Pellett and 5 others
-
8
-
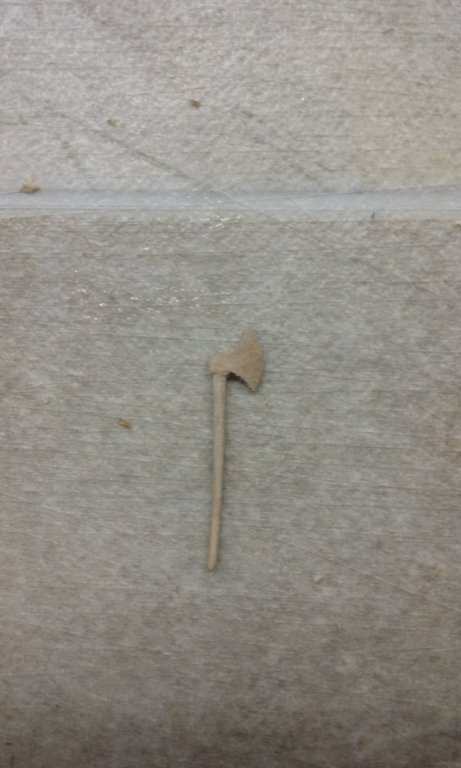
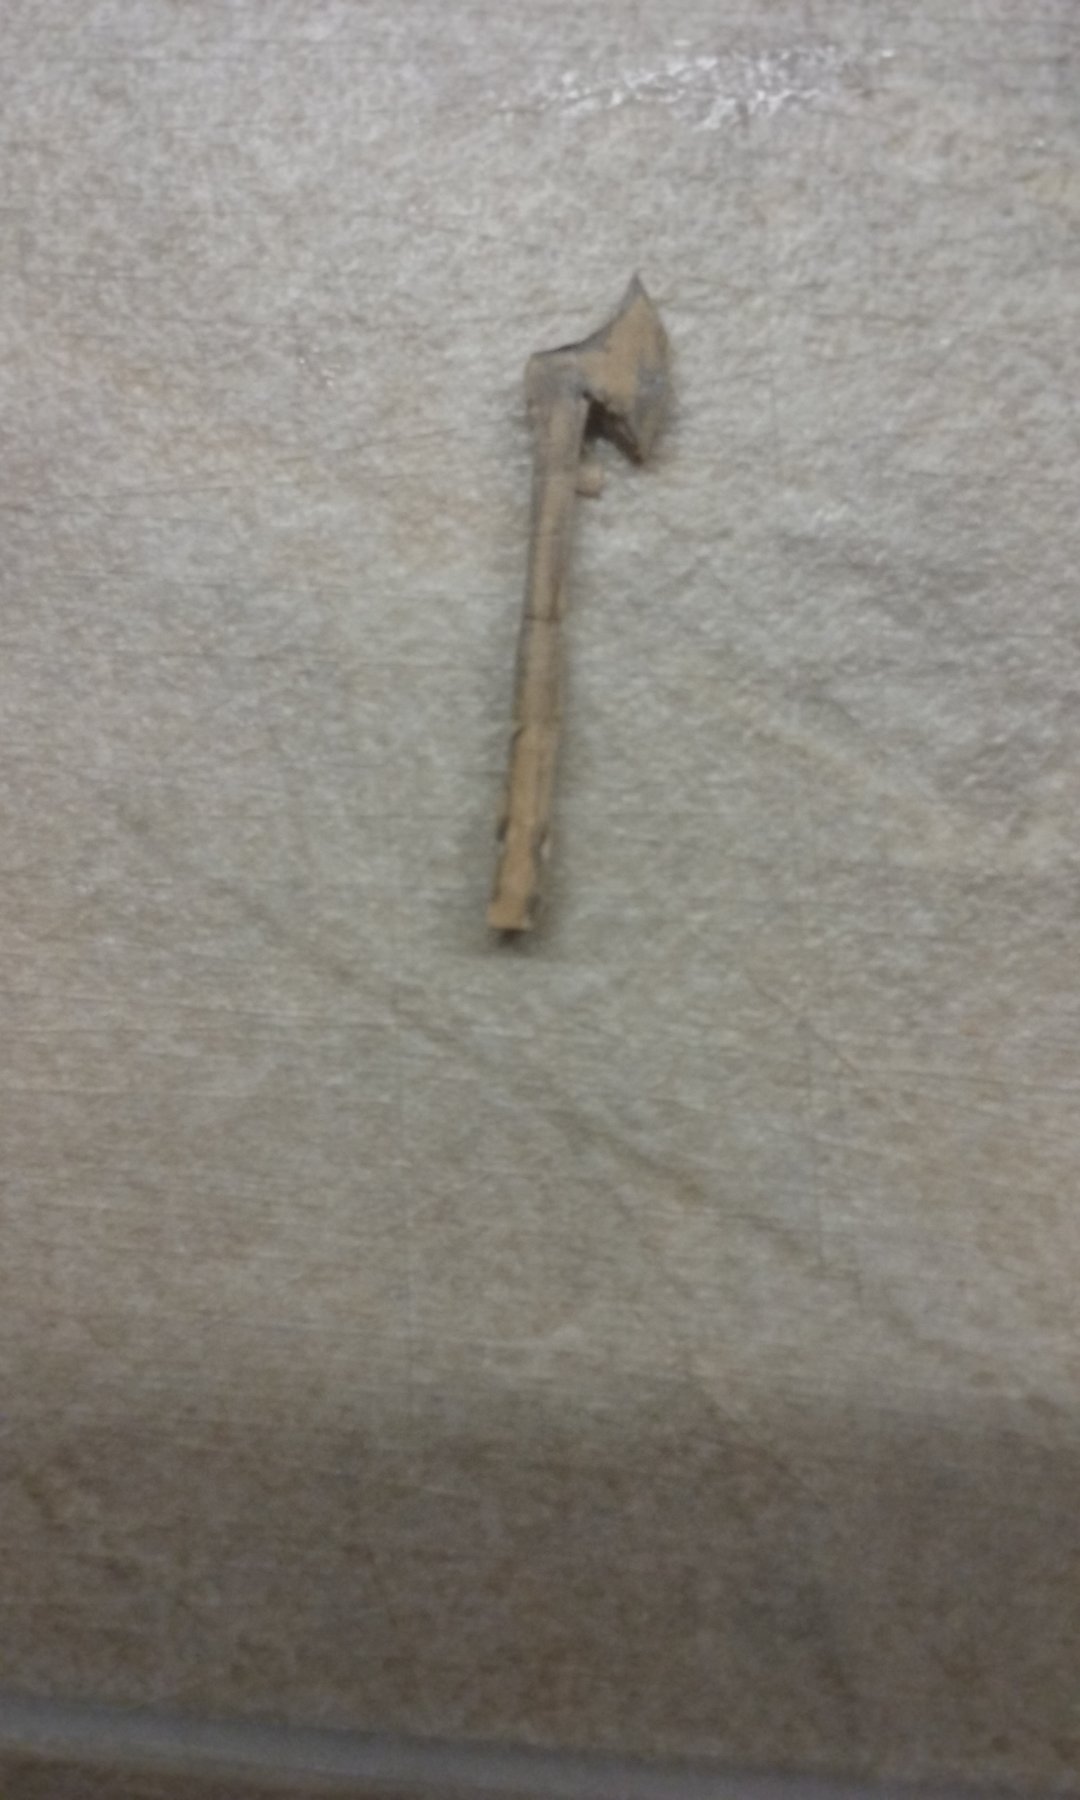
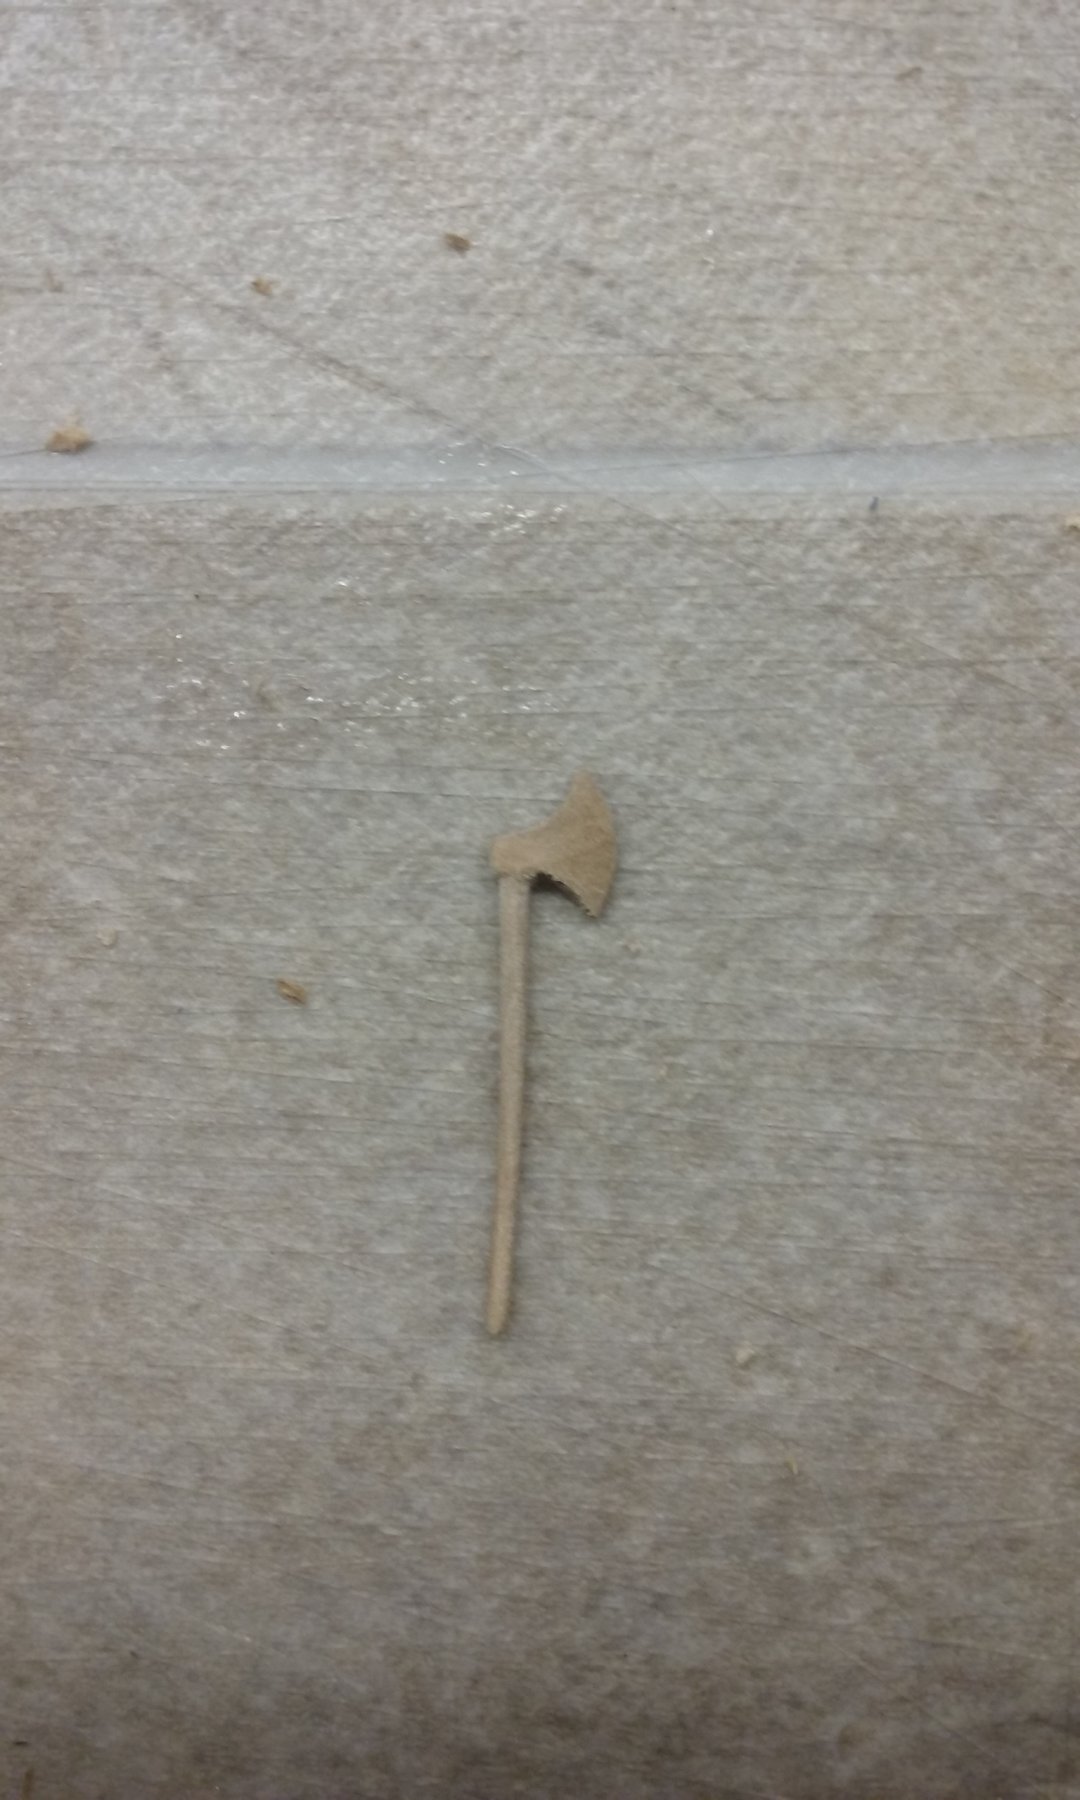
Moving onto the axe:
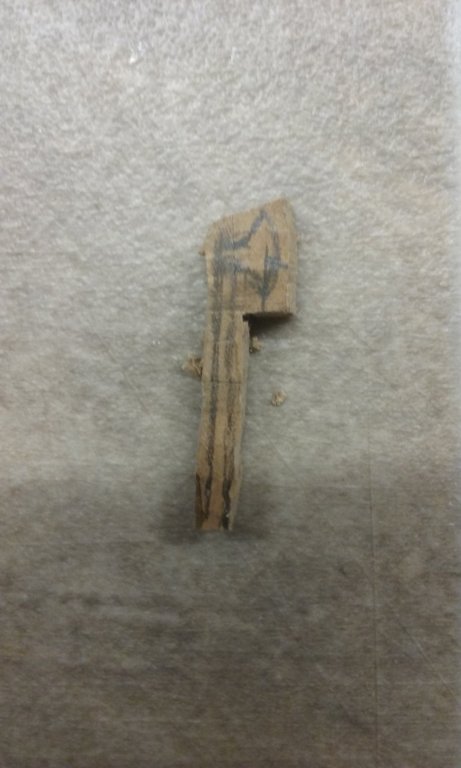
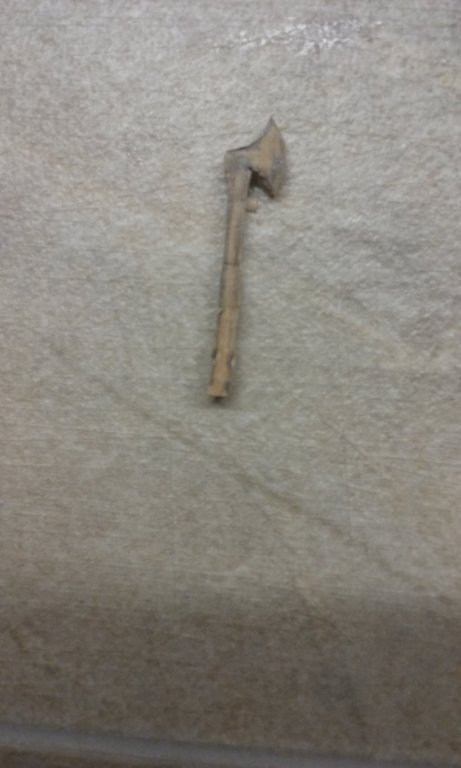
Drilling a hole in the figure's hand to take the axe-shaft:


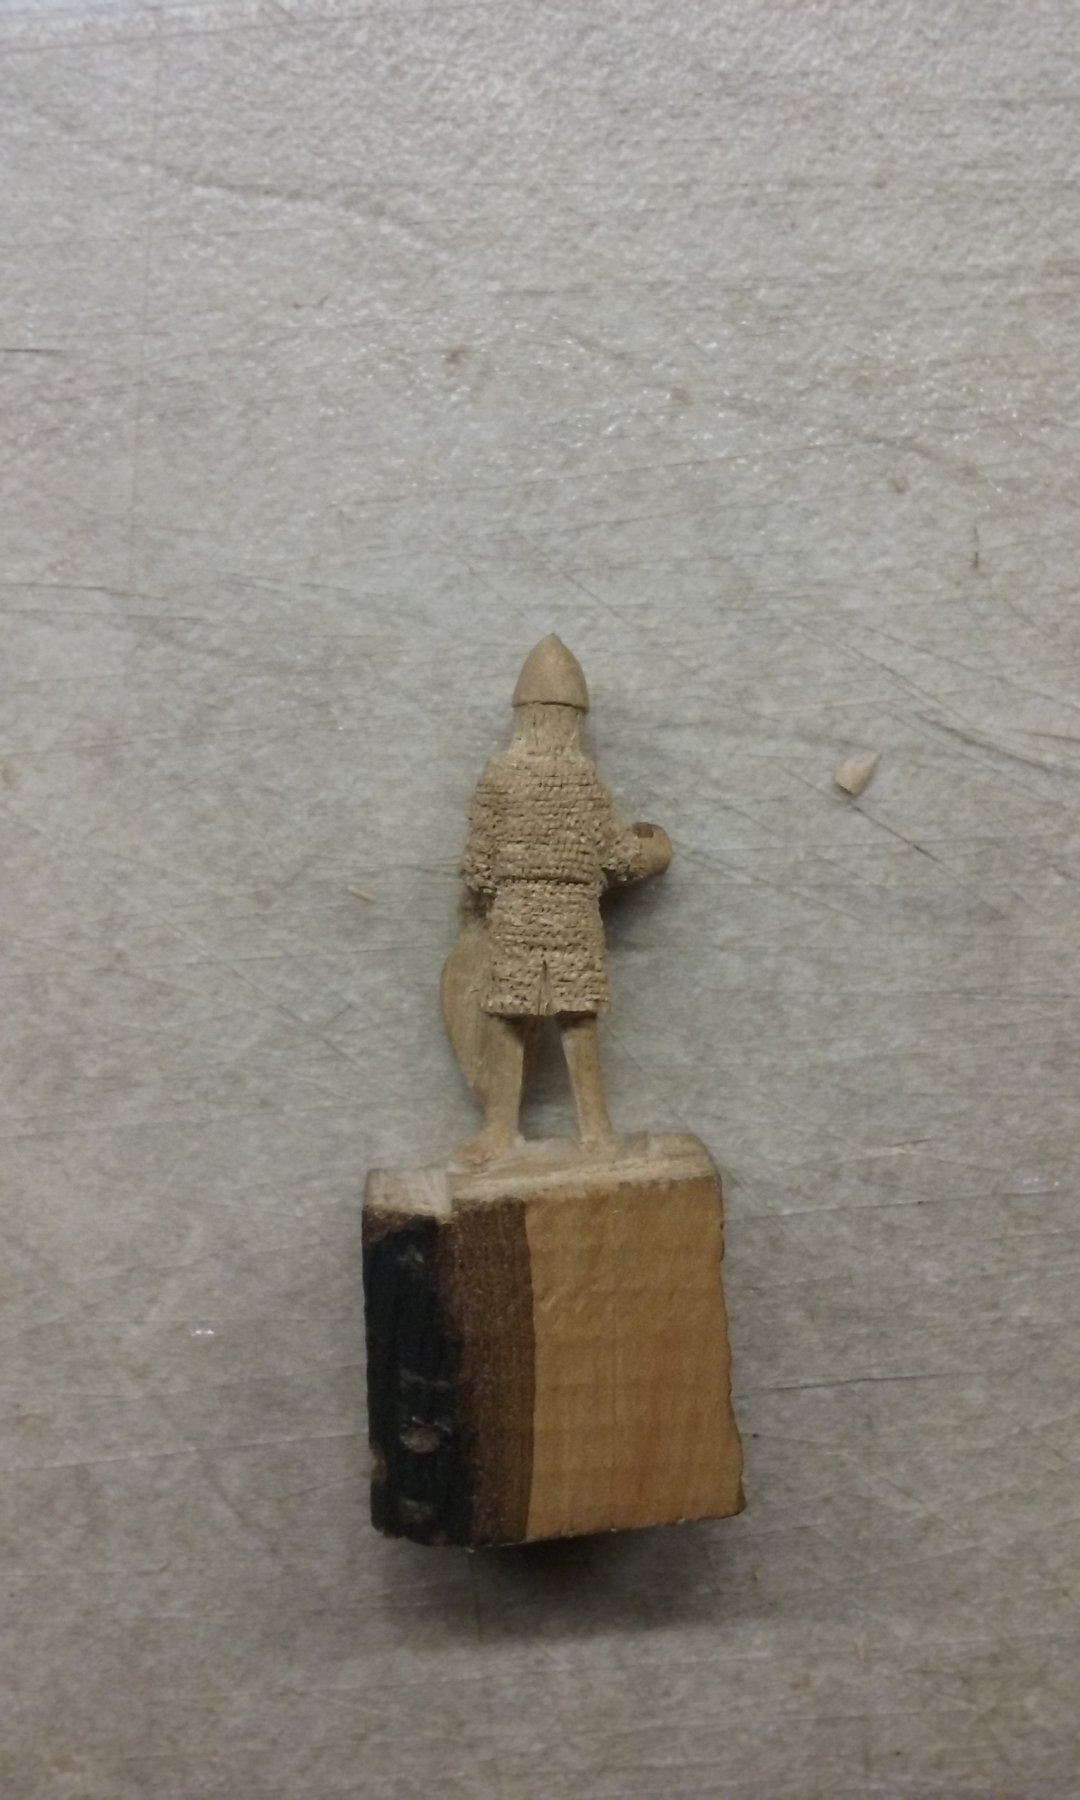
And starting on the mail
I discovered that this is about the limit I can manage with the tools I have; I think it looks much more like the real thing than the previous version. But it's very labour-intensive and fiddly and I ended up wondering why I'd started. Merciful oblivion covers the next 8 hours or so:
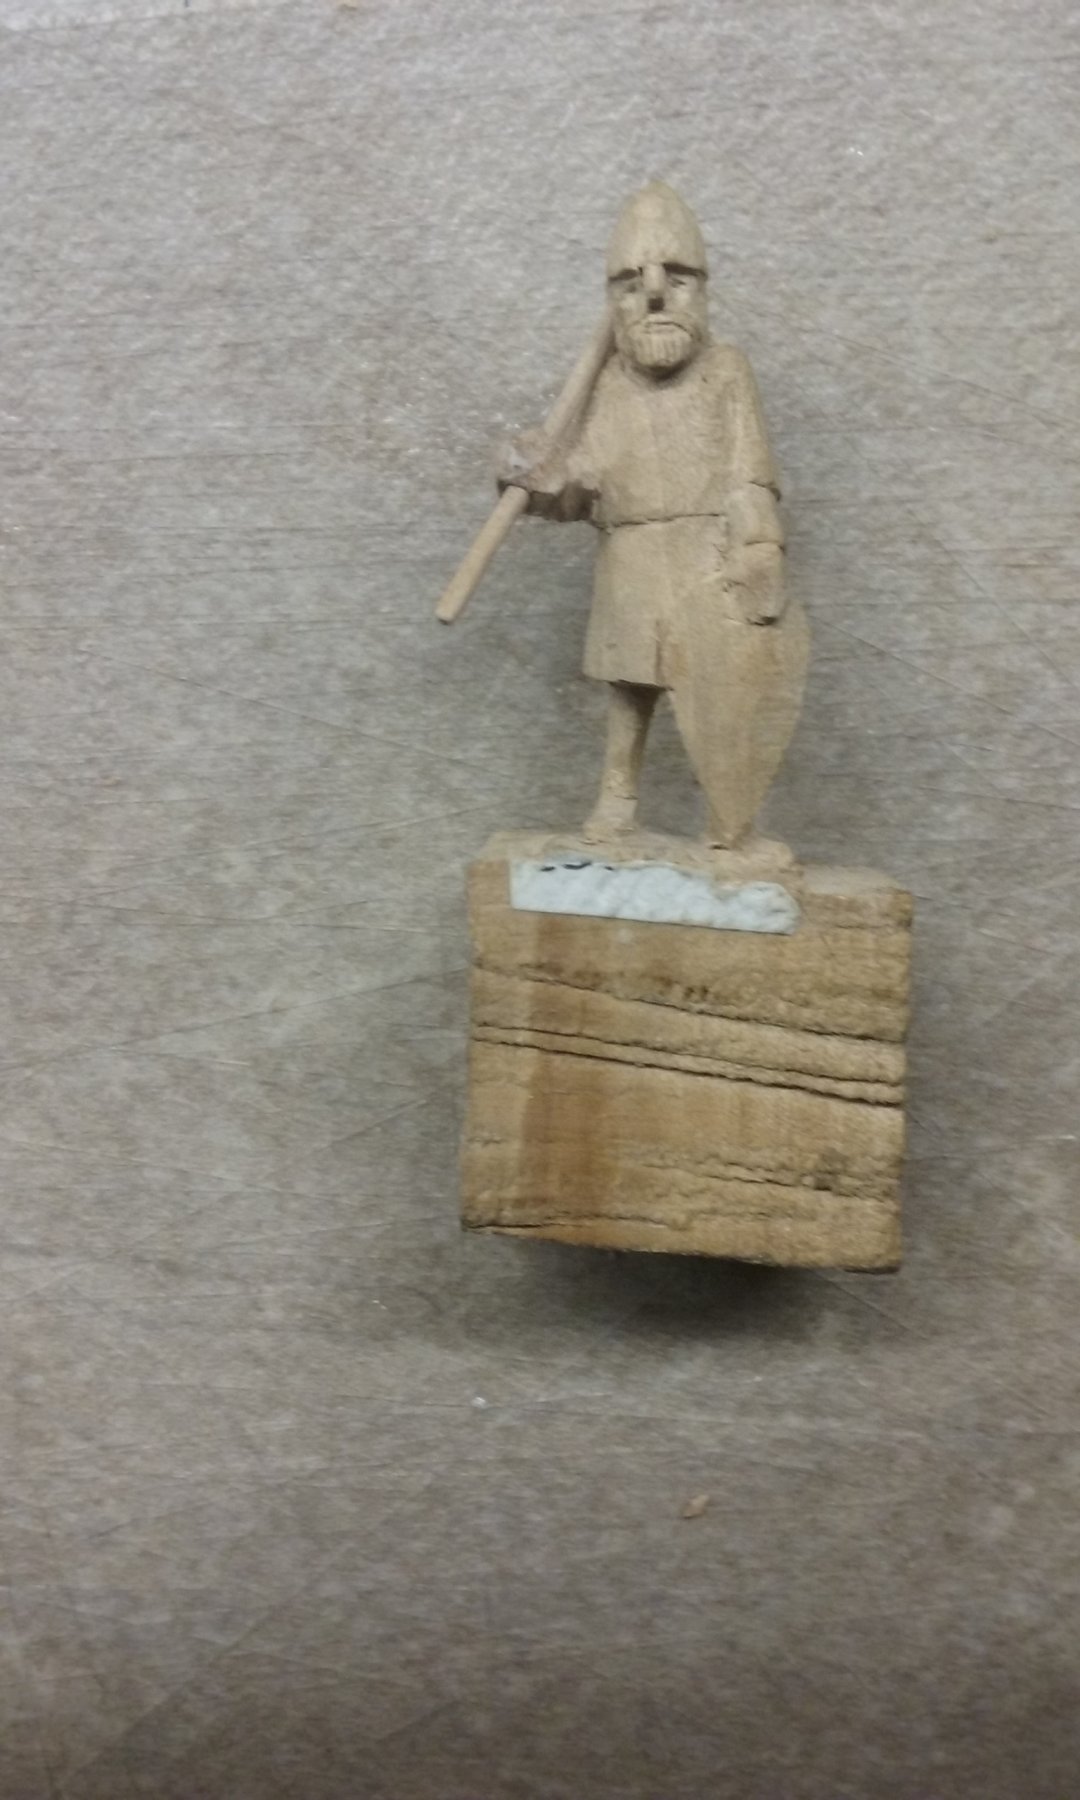
And here's the figure with the mail all complete.
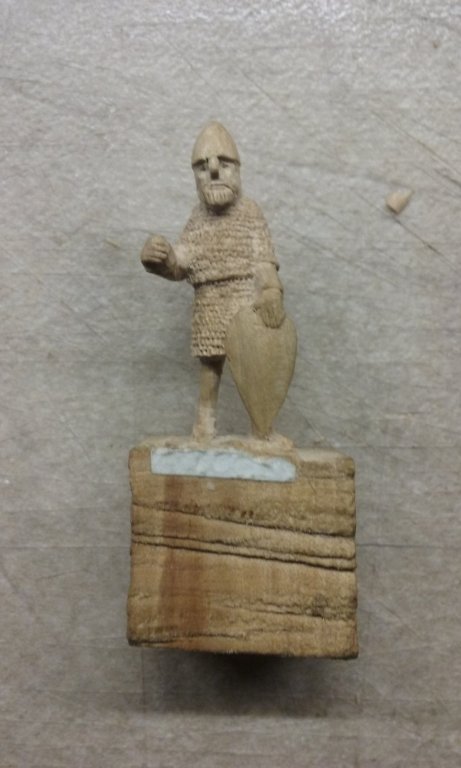

Next - painting!
Steven
- tarbrush, luponero, GrandpaPhil and 8 others
-
11
-
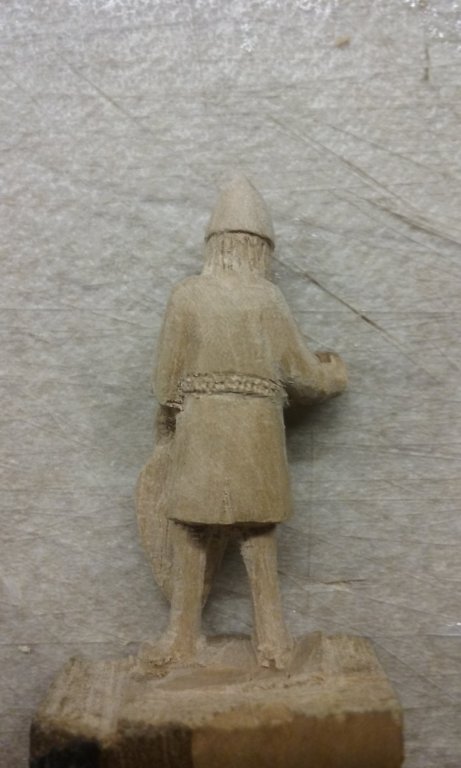
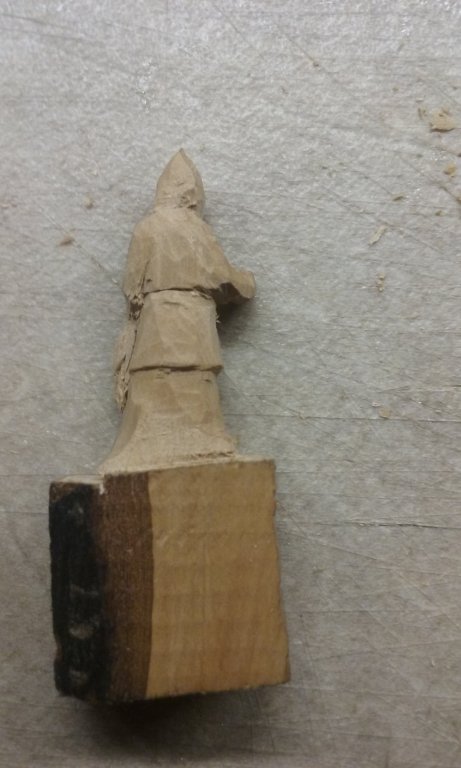
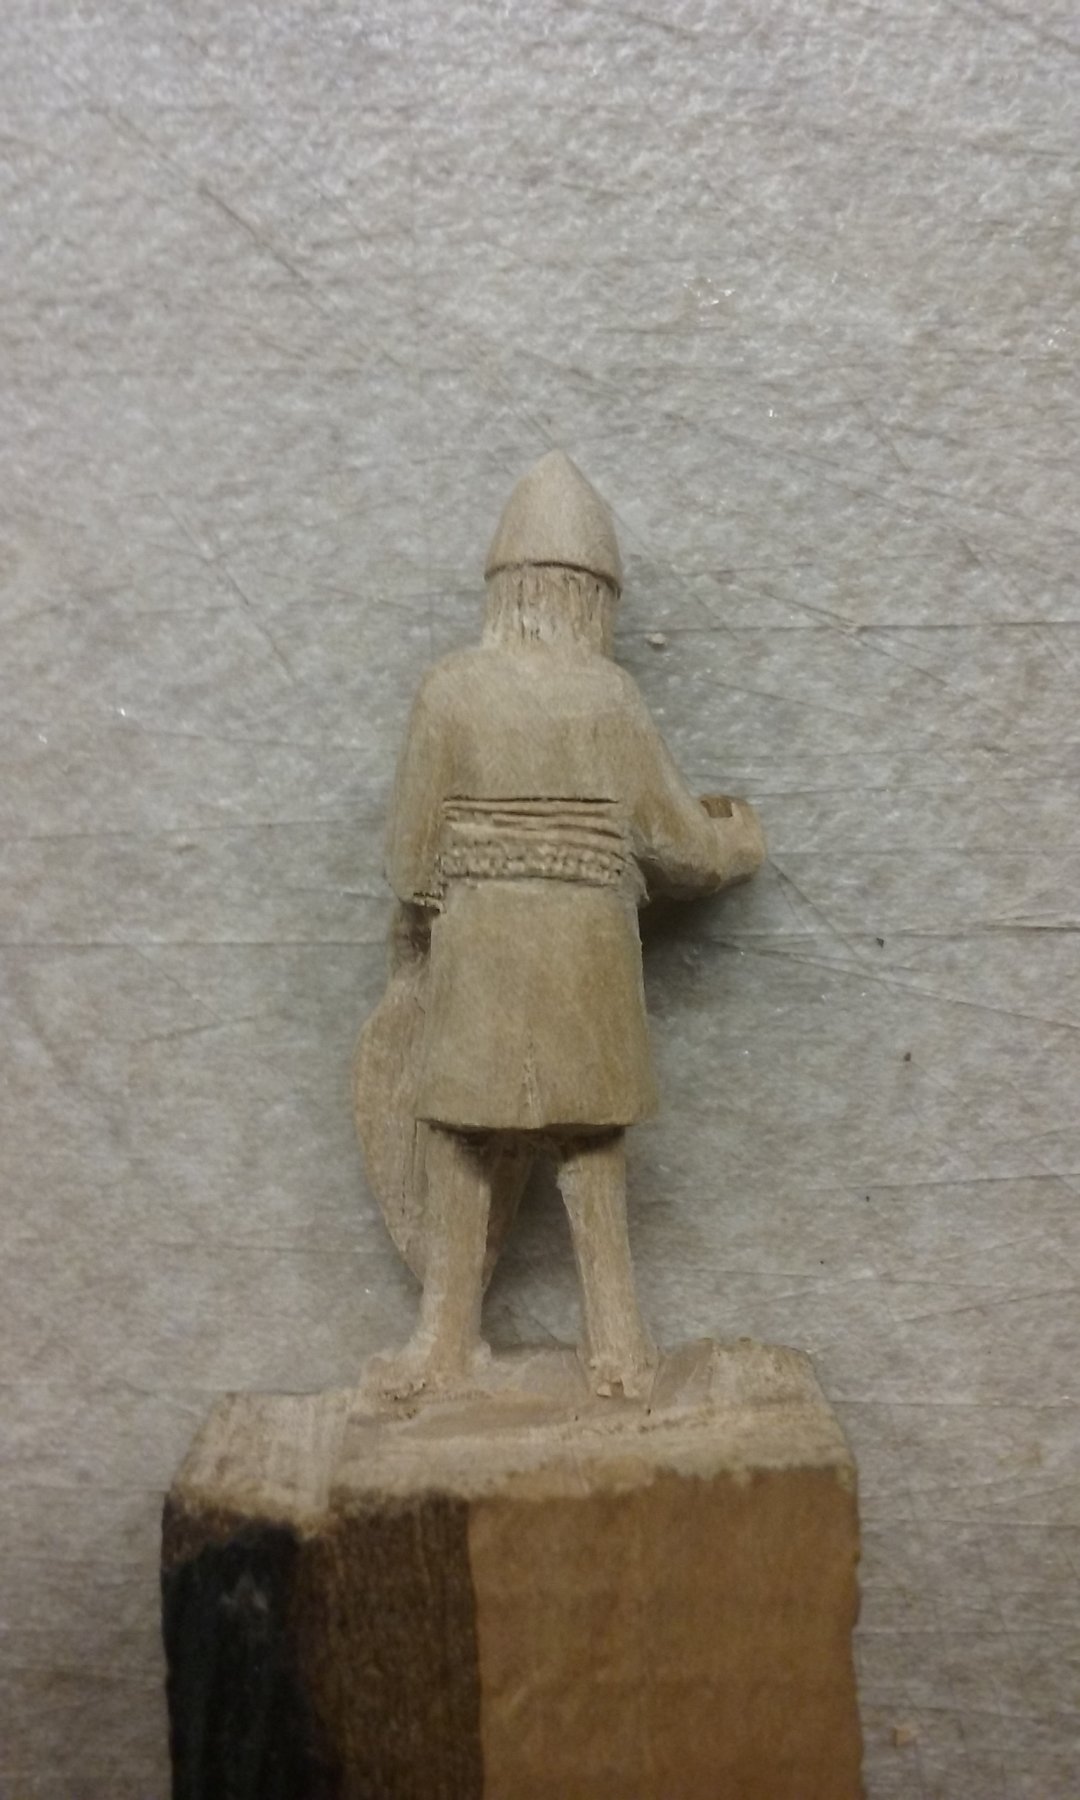
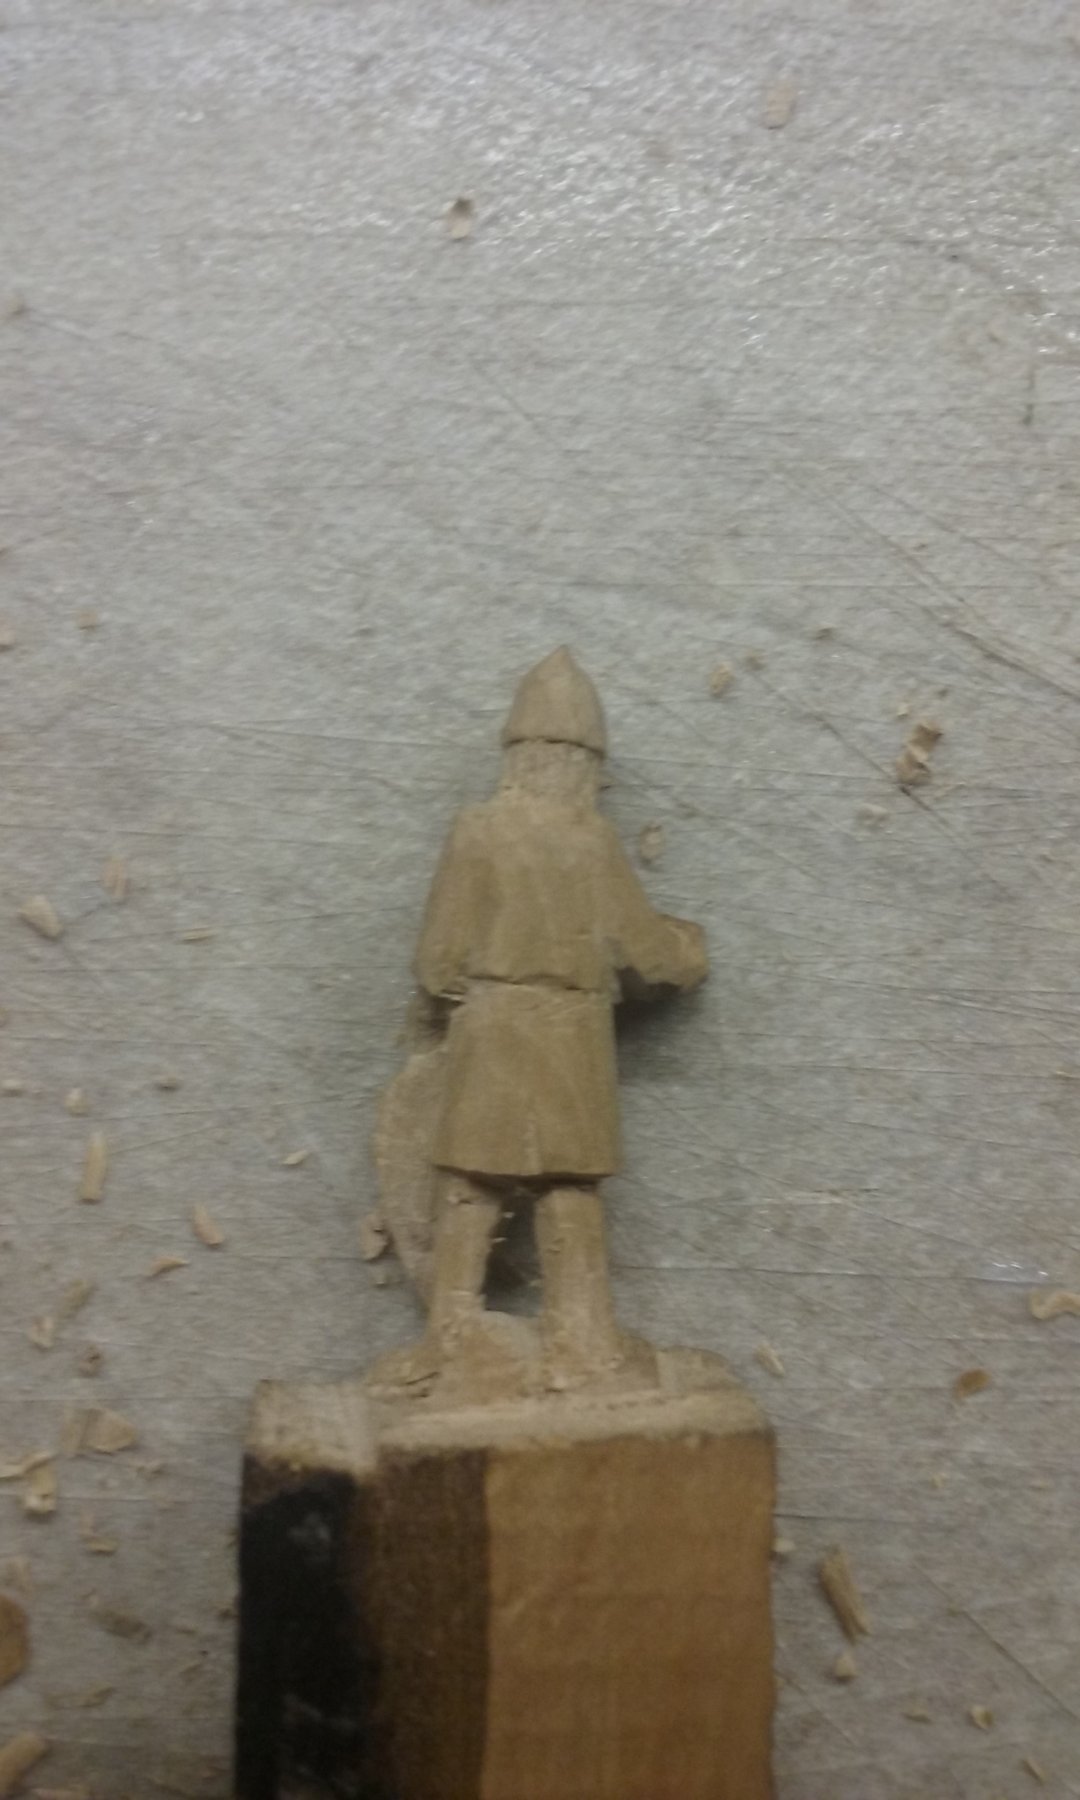
Roughing out the back of the figure - again, cutting away around the bits closest to the surface.
Giving it a bit of shape:
and refining it still further.
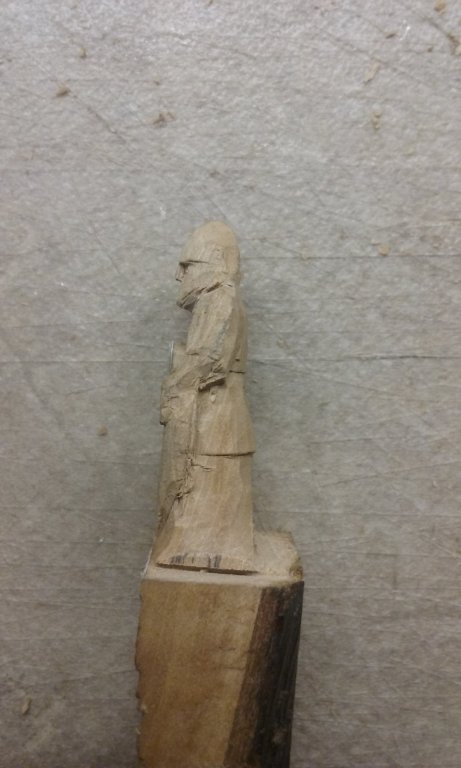

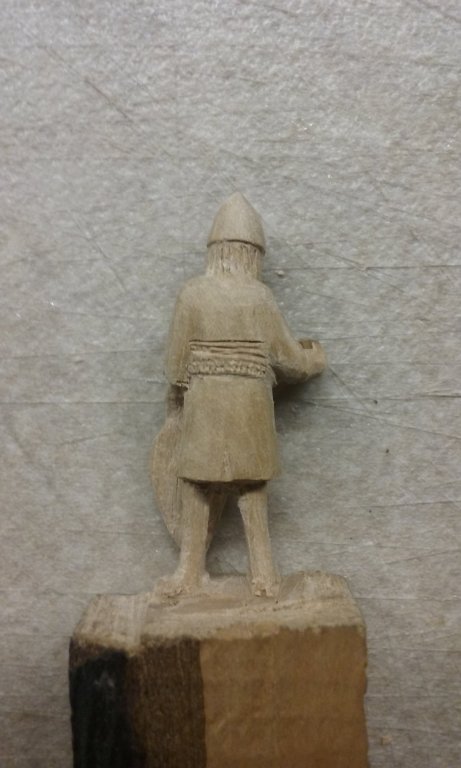
Now drilling holes to separate the legs. Have to be very careful with this - if the hole intrudes into the wood you want to keep (such as a leg), there's no way of recovering it.
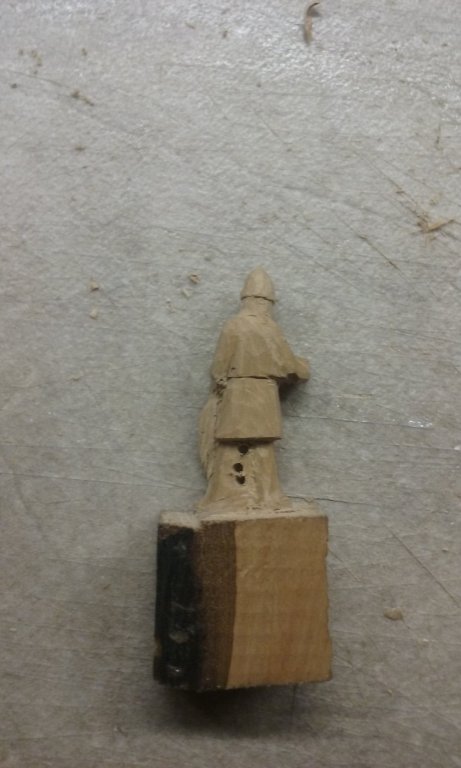
Roughing out the shape of the legs and cutting away behind the shield.


More to come,
Steven
- tarbrush, GrandpaPhil, davyboy and 2 others
-
5
-
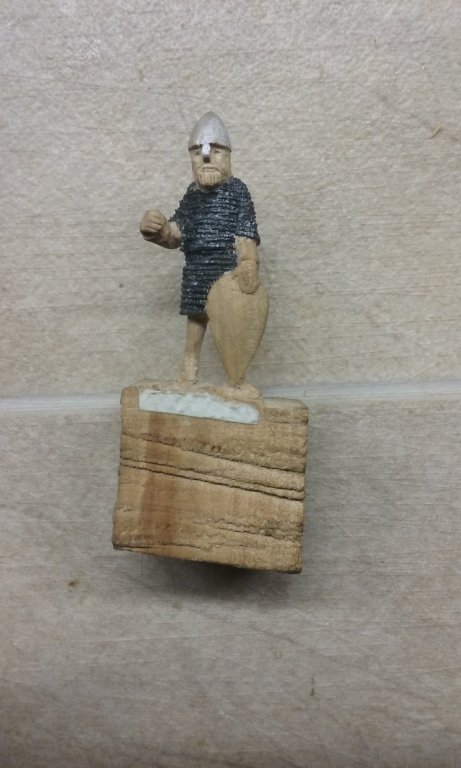
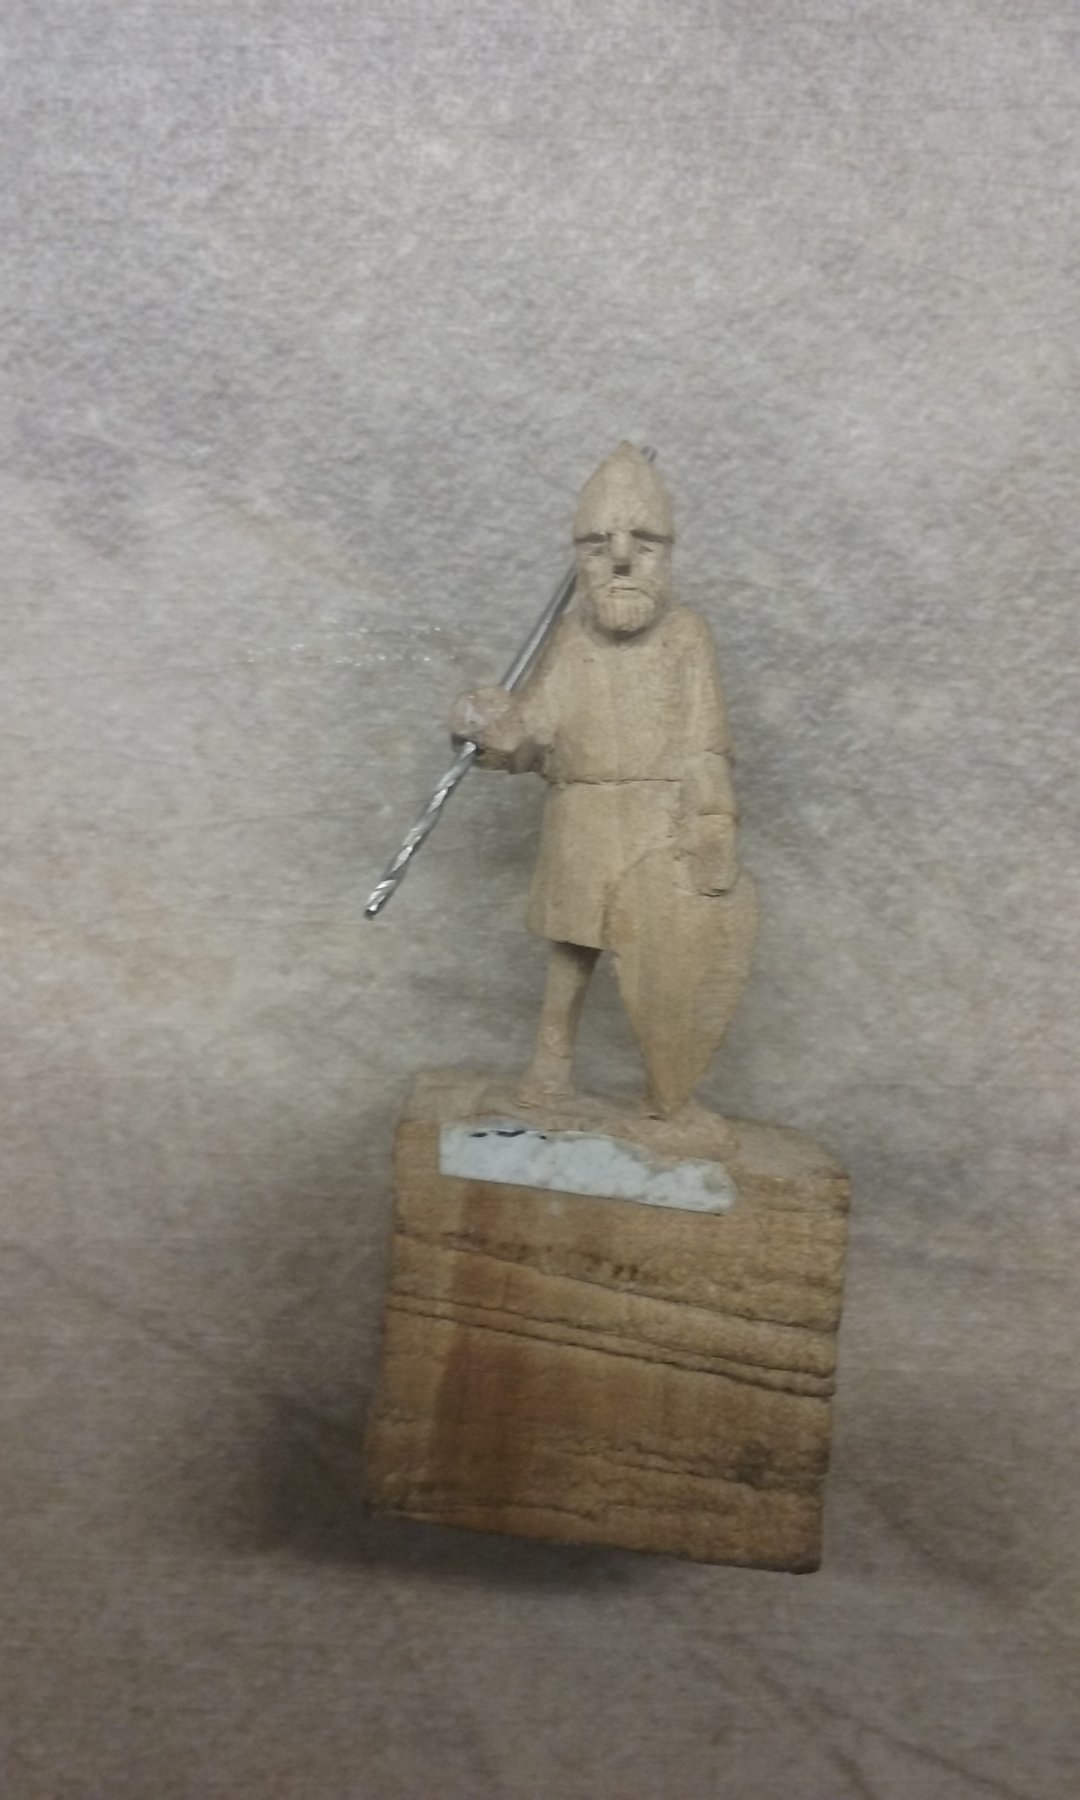
I finally decided I wouldn't be able to live with the coarsely detailed "Russian tractor armour" the Varangian guard was wearing, so I carved a new one with finer mail, this time with a two-handed battle-axe - as described by Princess Anna Komnena in "The Alexiad" her biography of her father Emperor Alexios I,
"The Varangians too, who carried axes on their shoulders, regarded their loyalty to the Emperors and their protection of the imperial persons as a pledge and ancestral tradition, handed down from father to son, which they keep inviolate, and will certainly not listen to even the slightest word about treachery."
I timed how long it took to make from go to whoa - about 8 hours to carve the figure, and another 8 to do the mail. Never again!
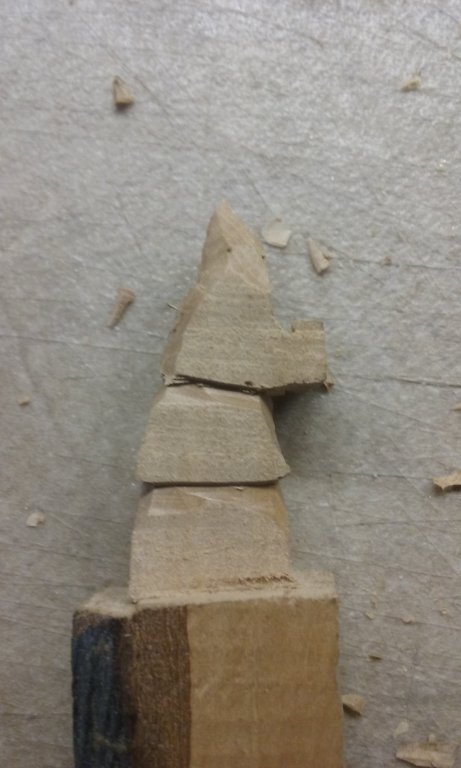
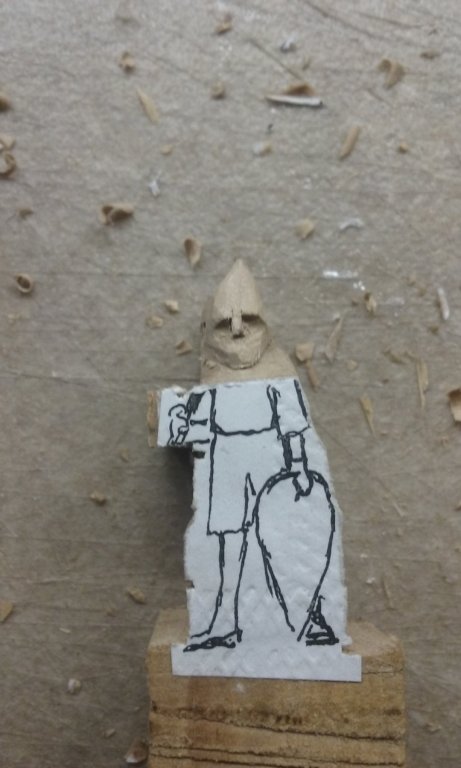
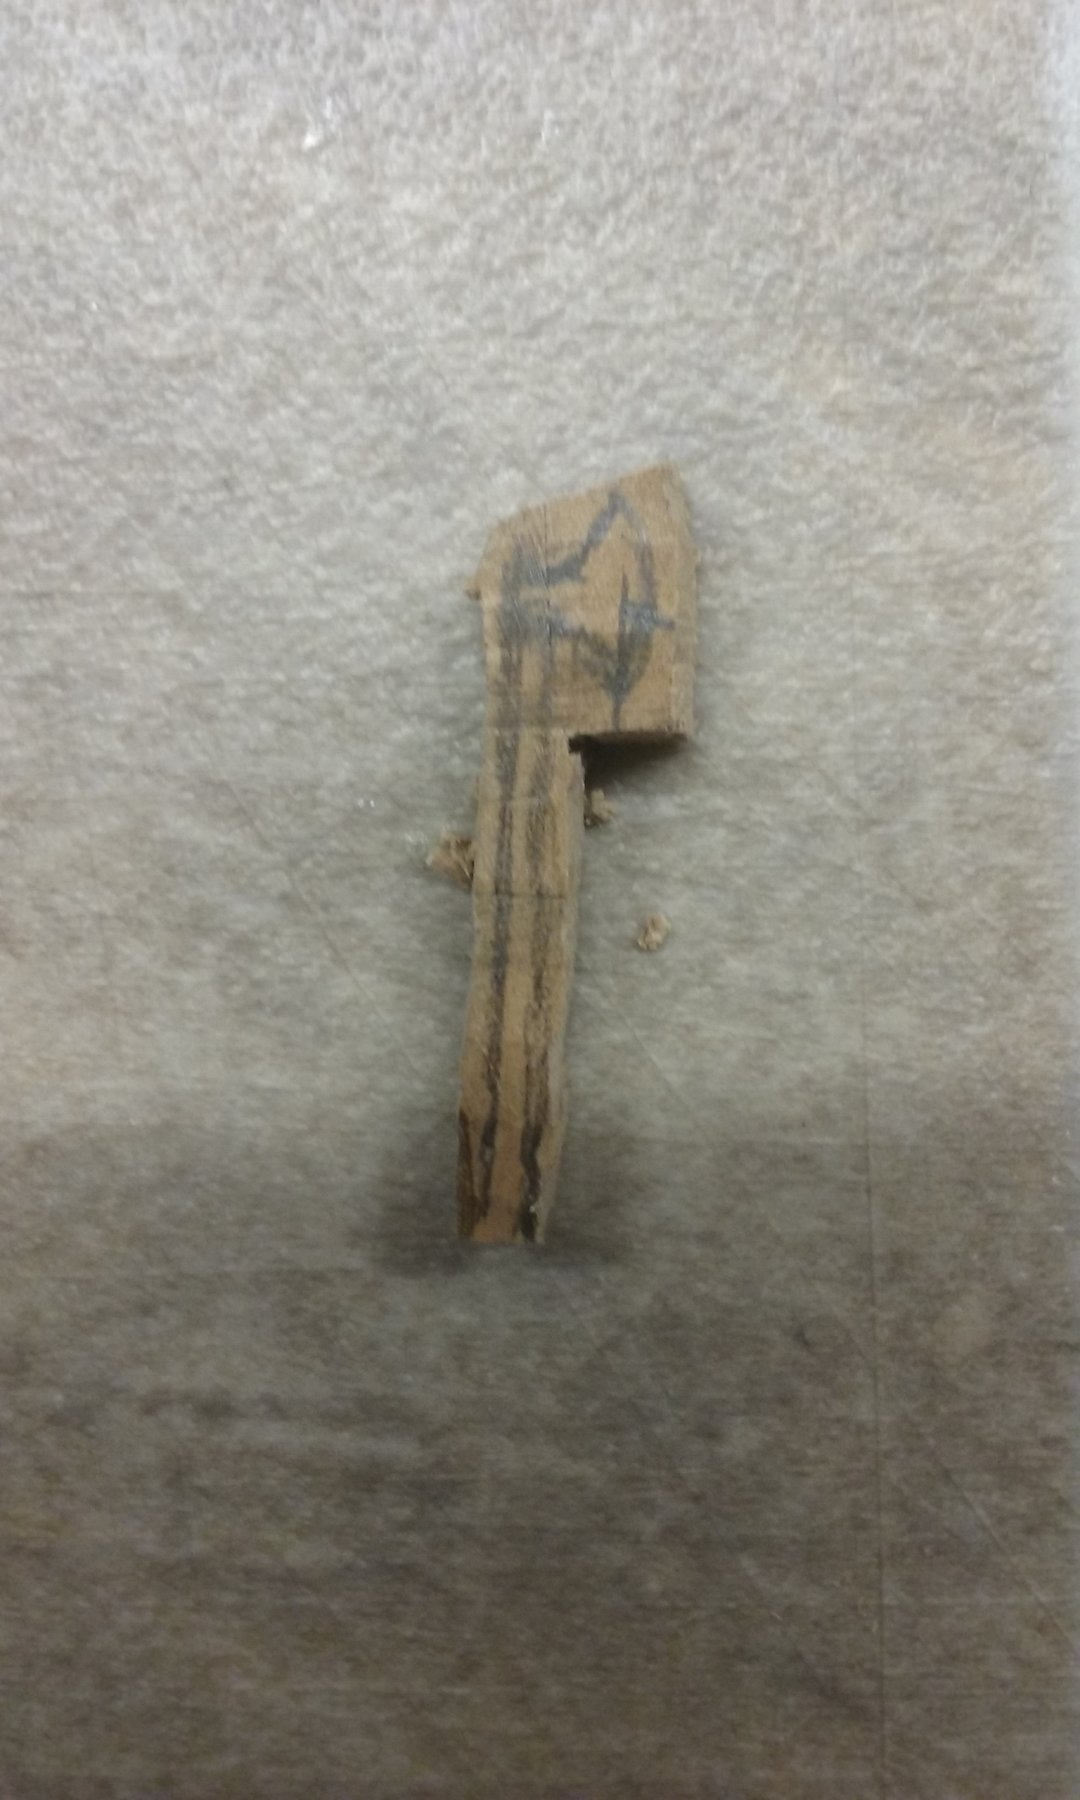
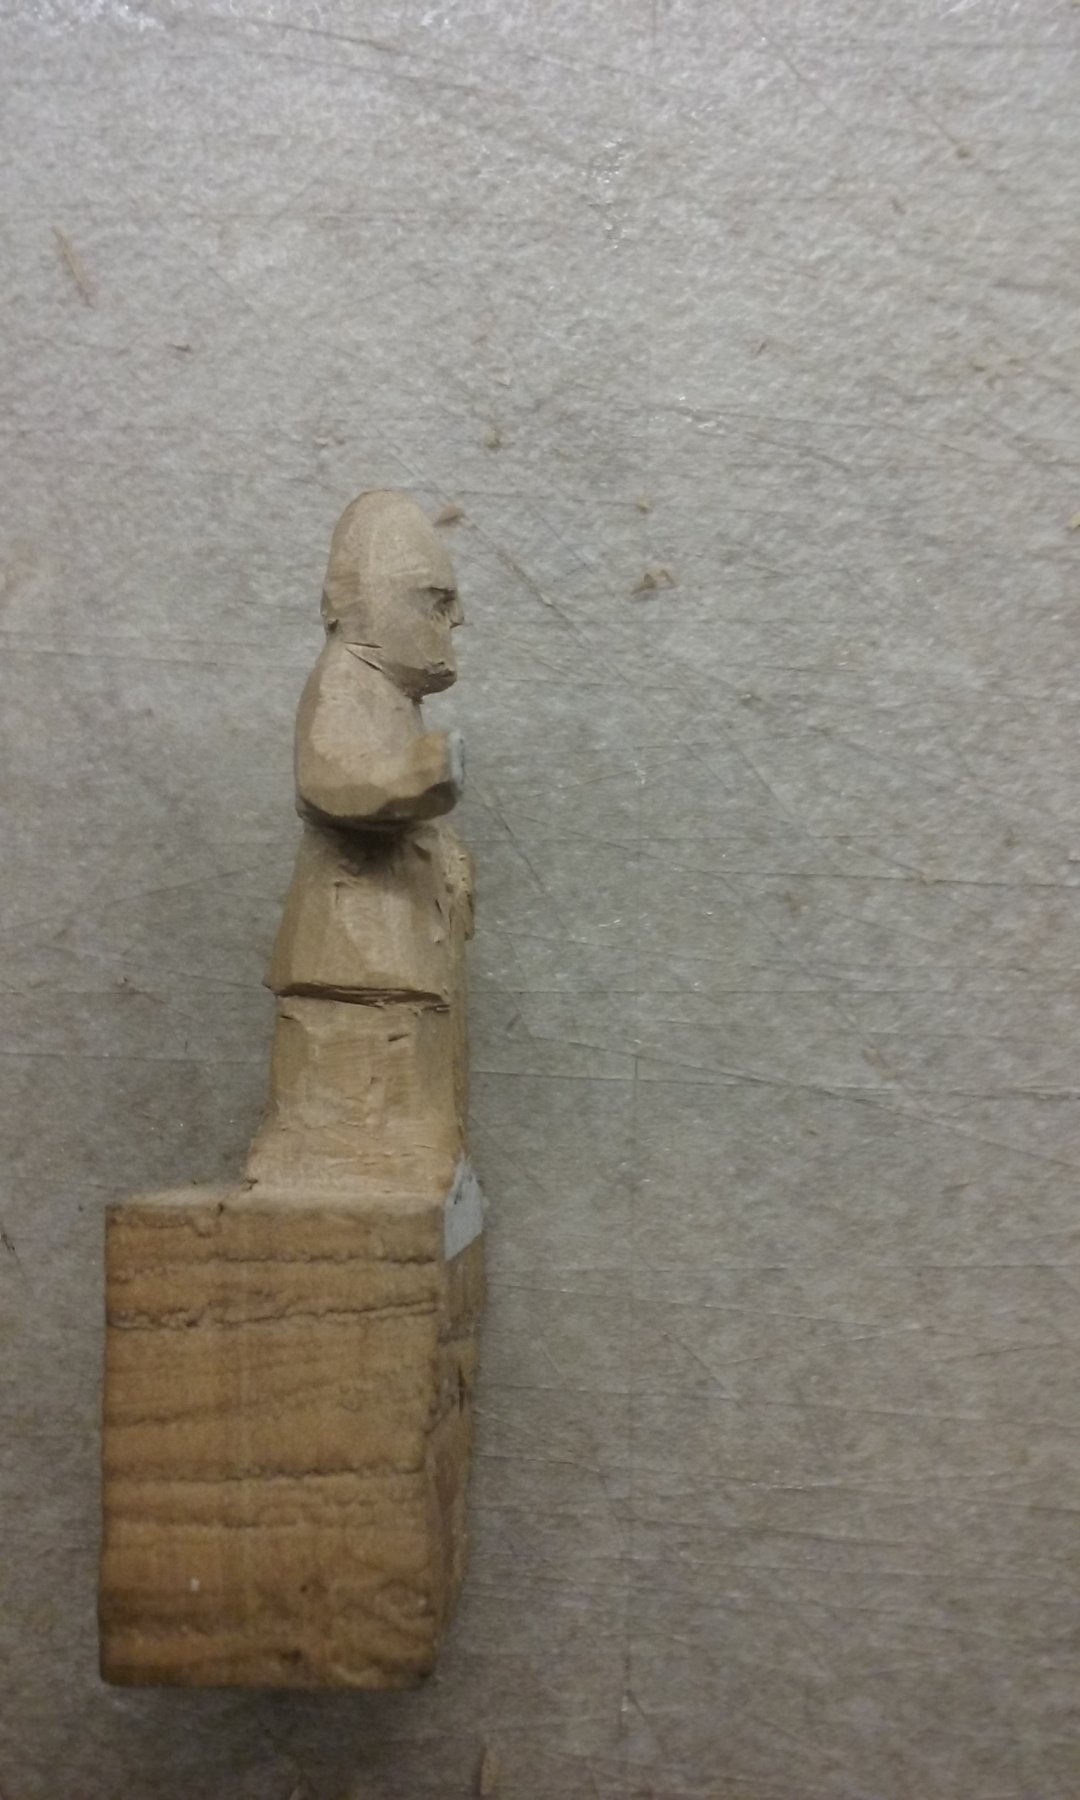
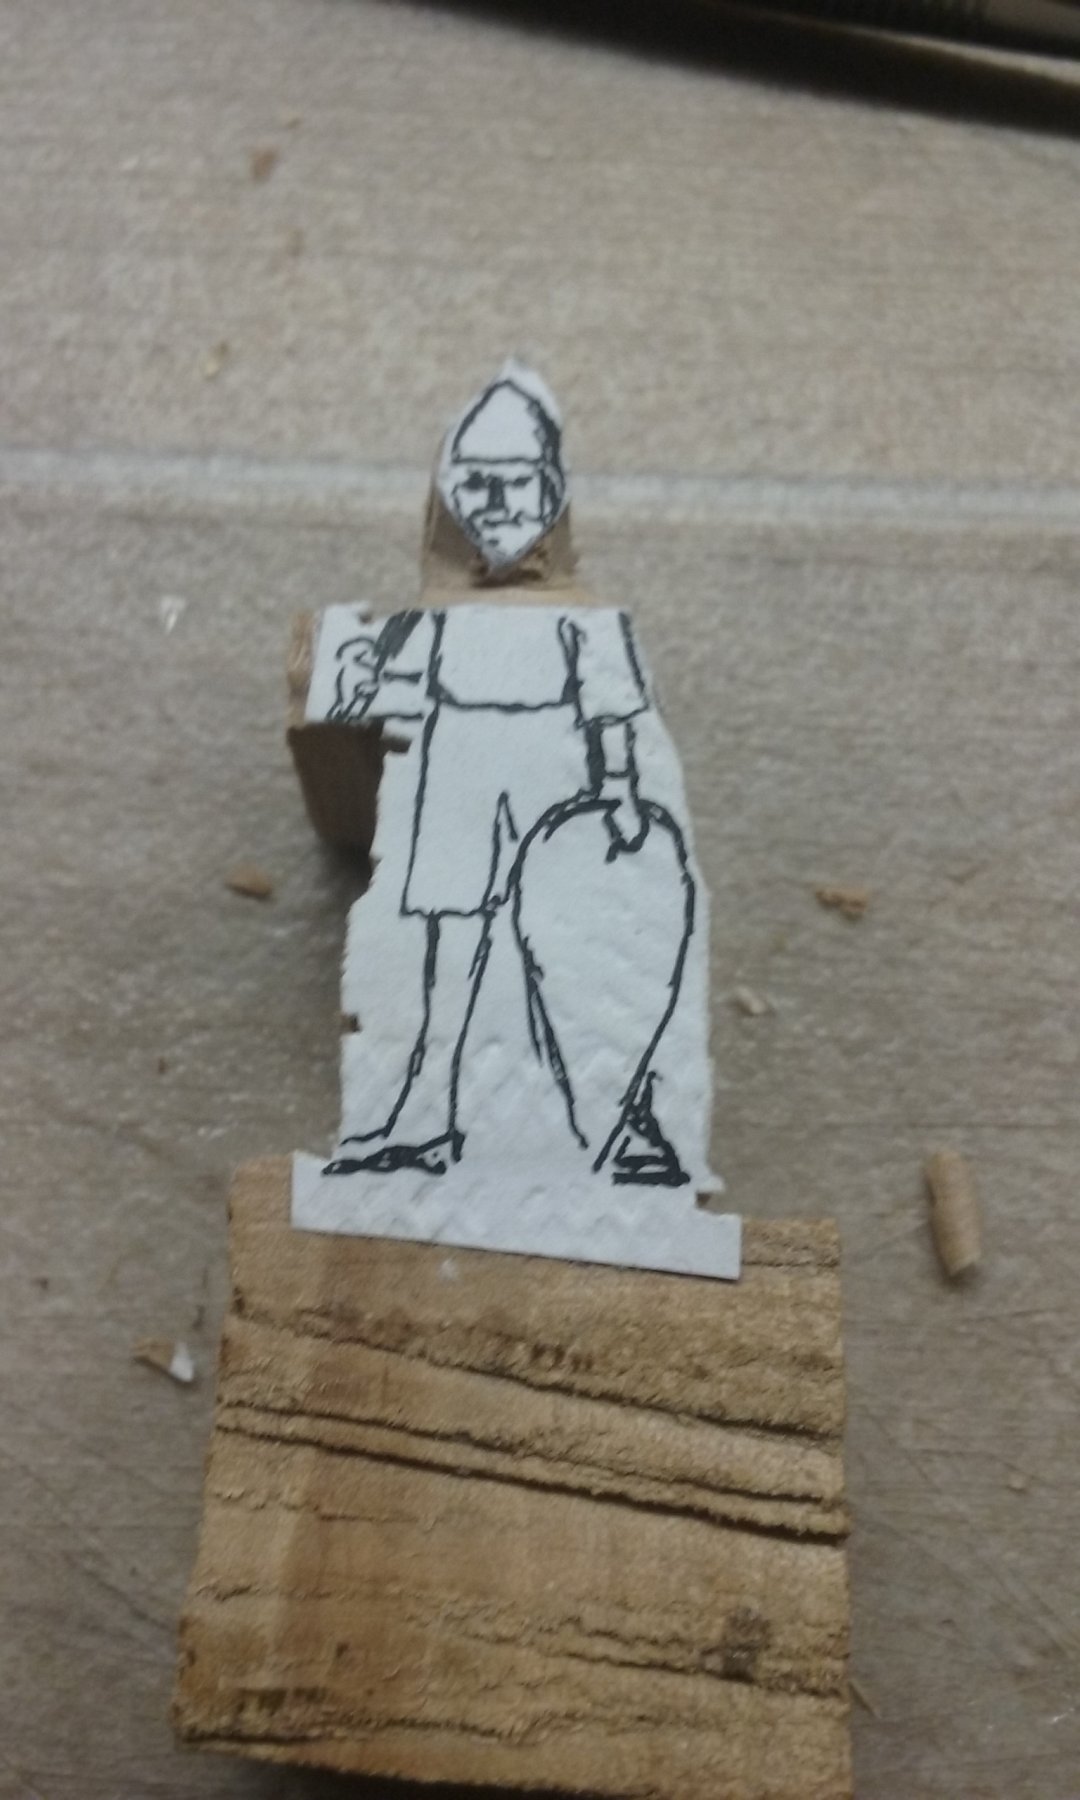
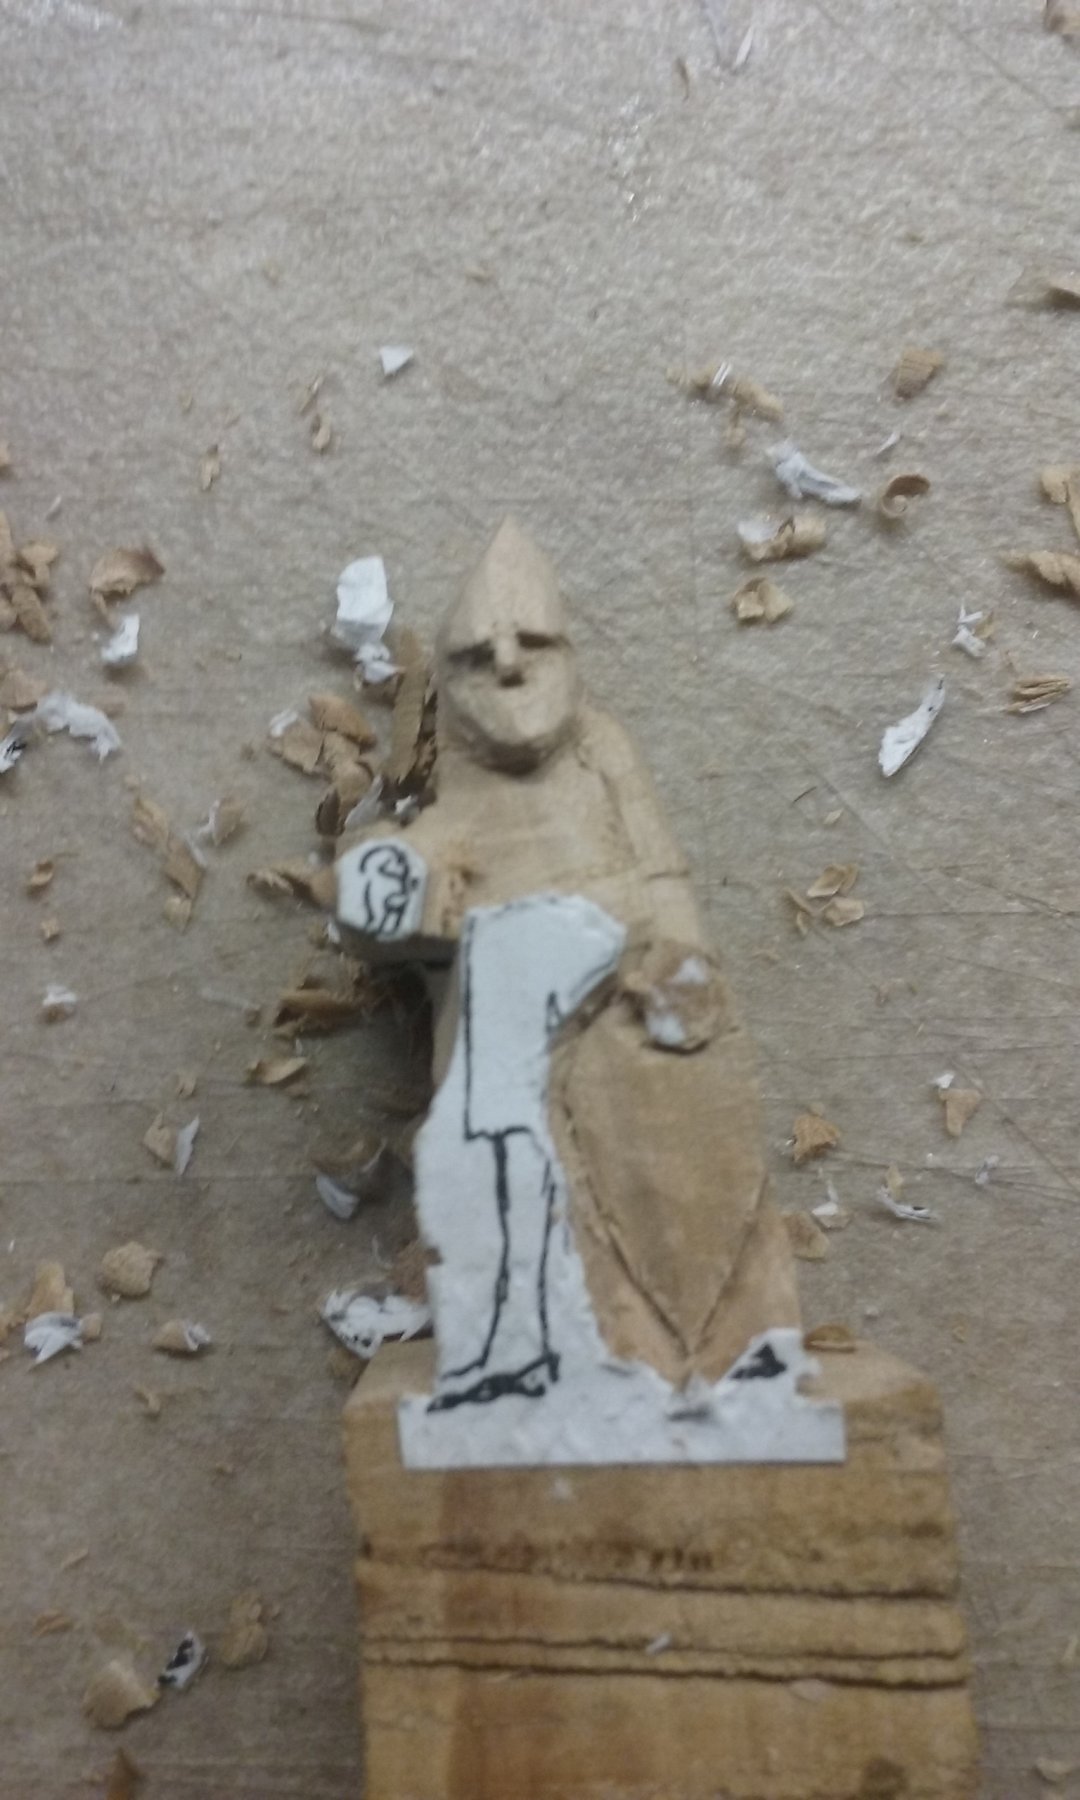
I also photographed the full sequence. First a drawing of the figure in spirit pen, which I photocopied (in case of Murphy's Law) and stuck the copy onto a piece of pear wood. Then cut around the outline with a coping saw. I left a decent amount of wood below the figure so I had something to hold onto while I was working on it.
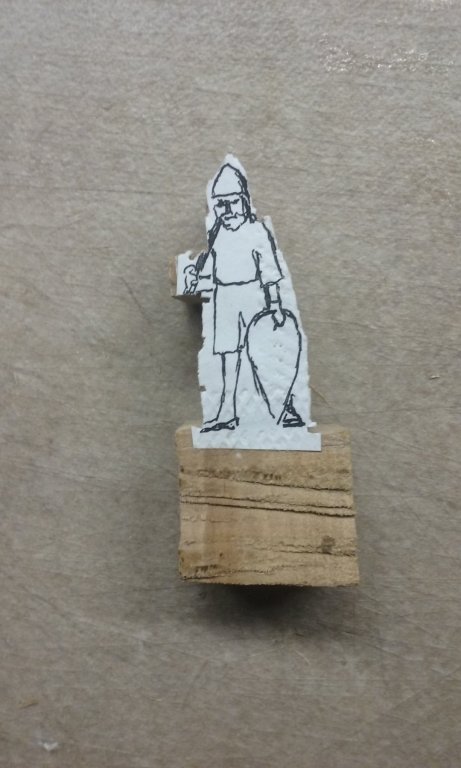
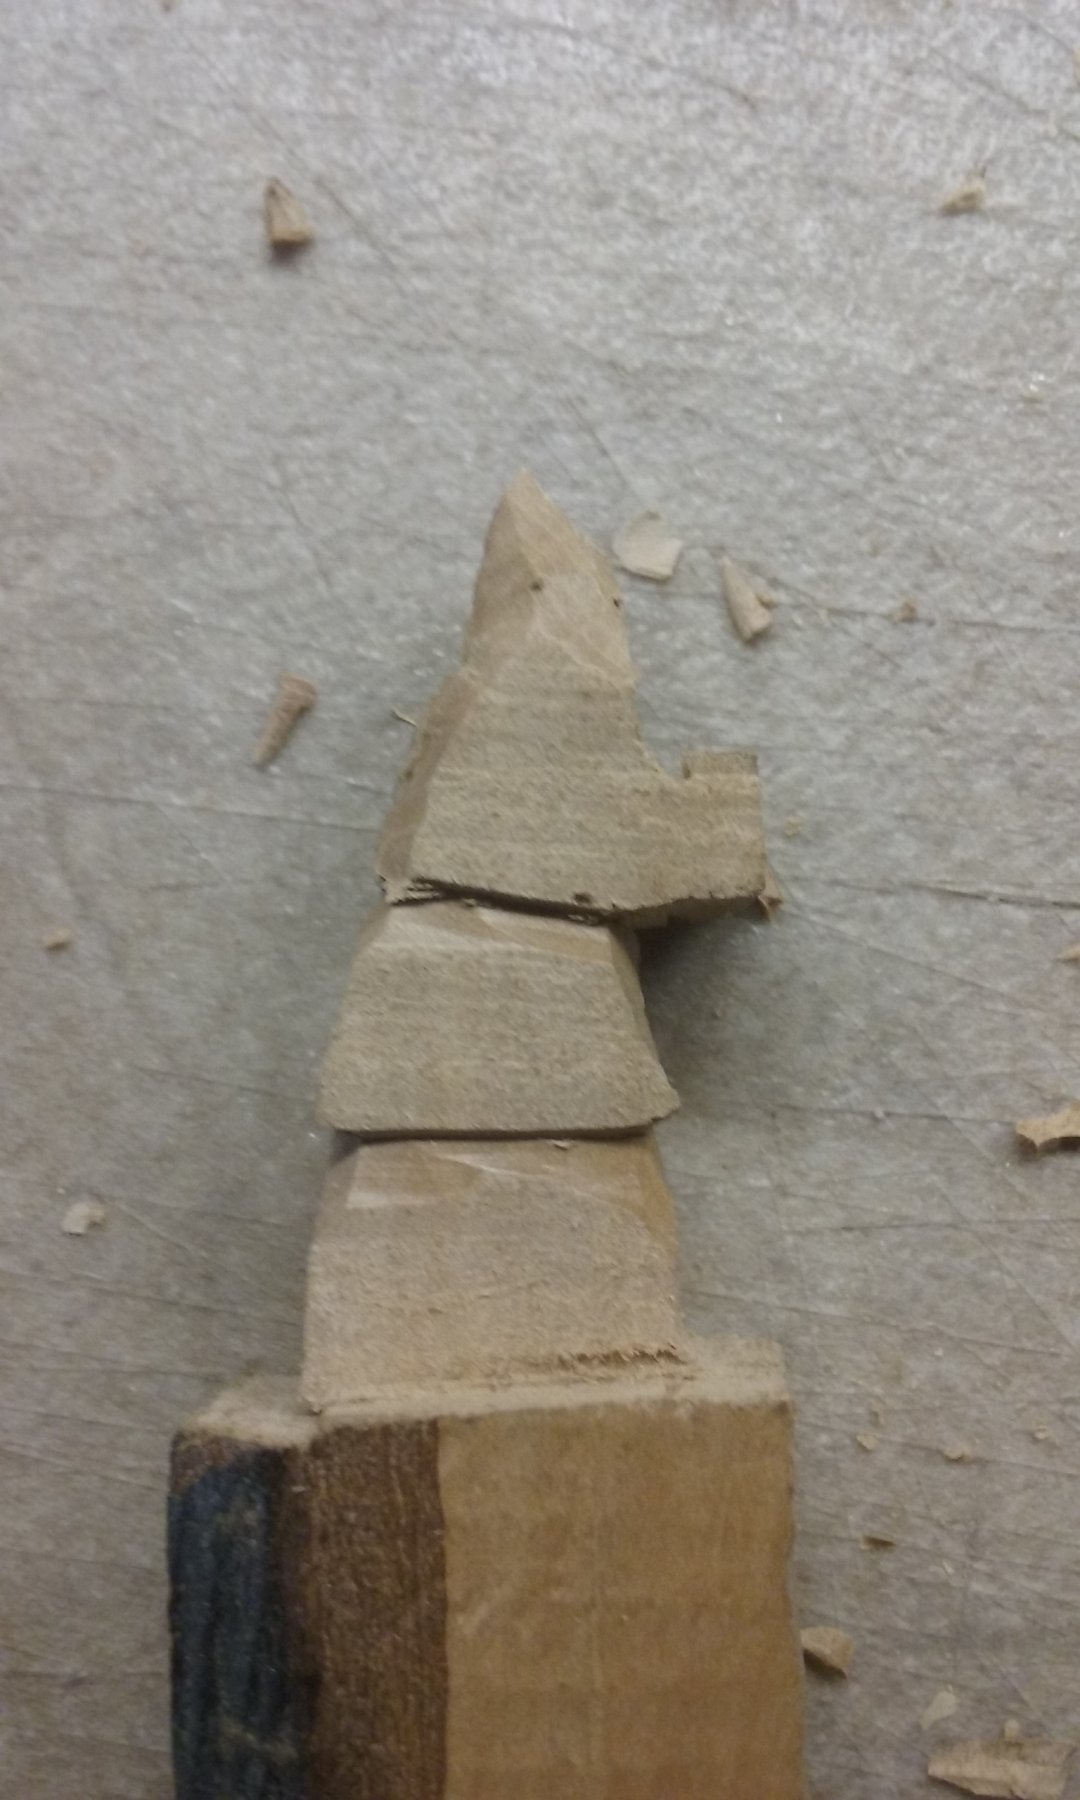
Next, cutting around the head - firstly this is one of the parts that are closest to the surface of the piece of wood and second I like to do the face early because if I get that wrong I might as well throw the figure away and start again. Cutting around the head first, trying to retain as much of the picture as possible for as long as possible. I use a scalpel with a No. 11 blade for all this work. It's very important to use a very sharp one.
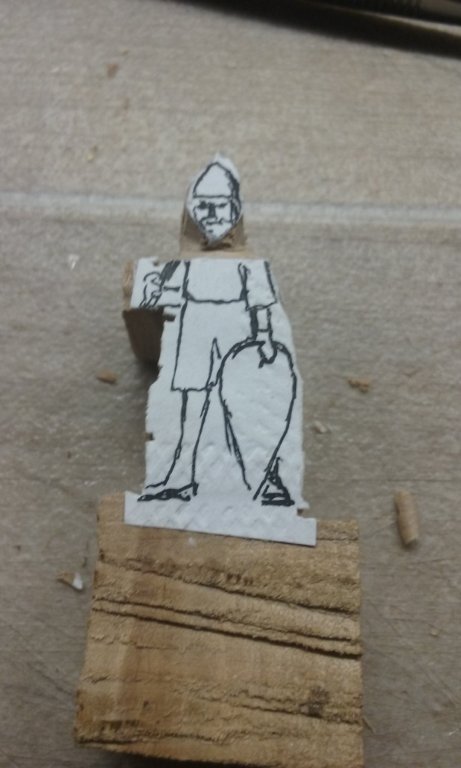
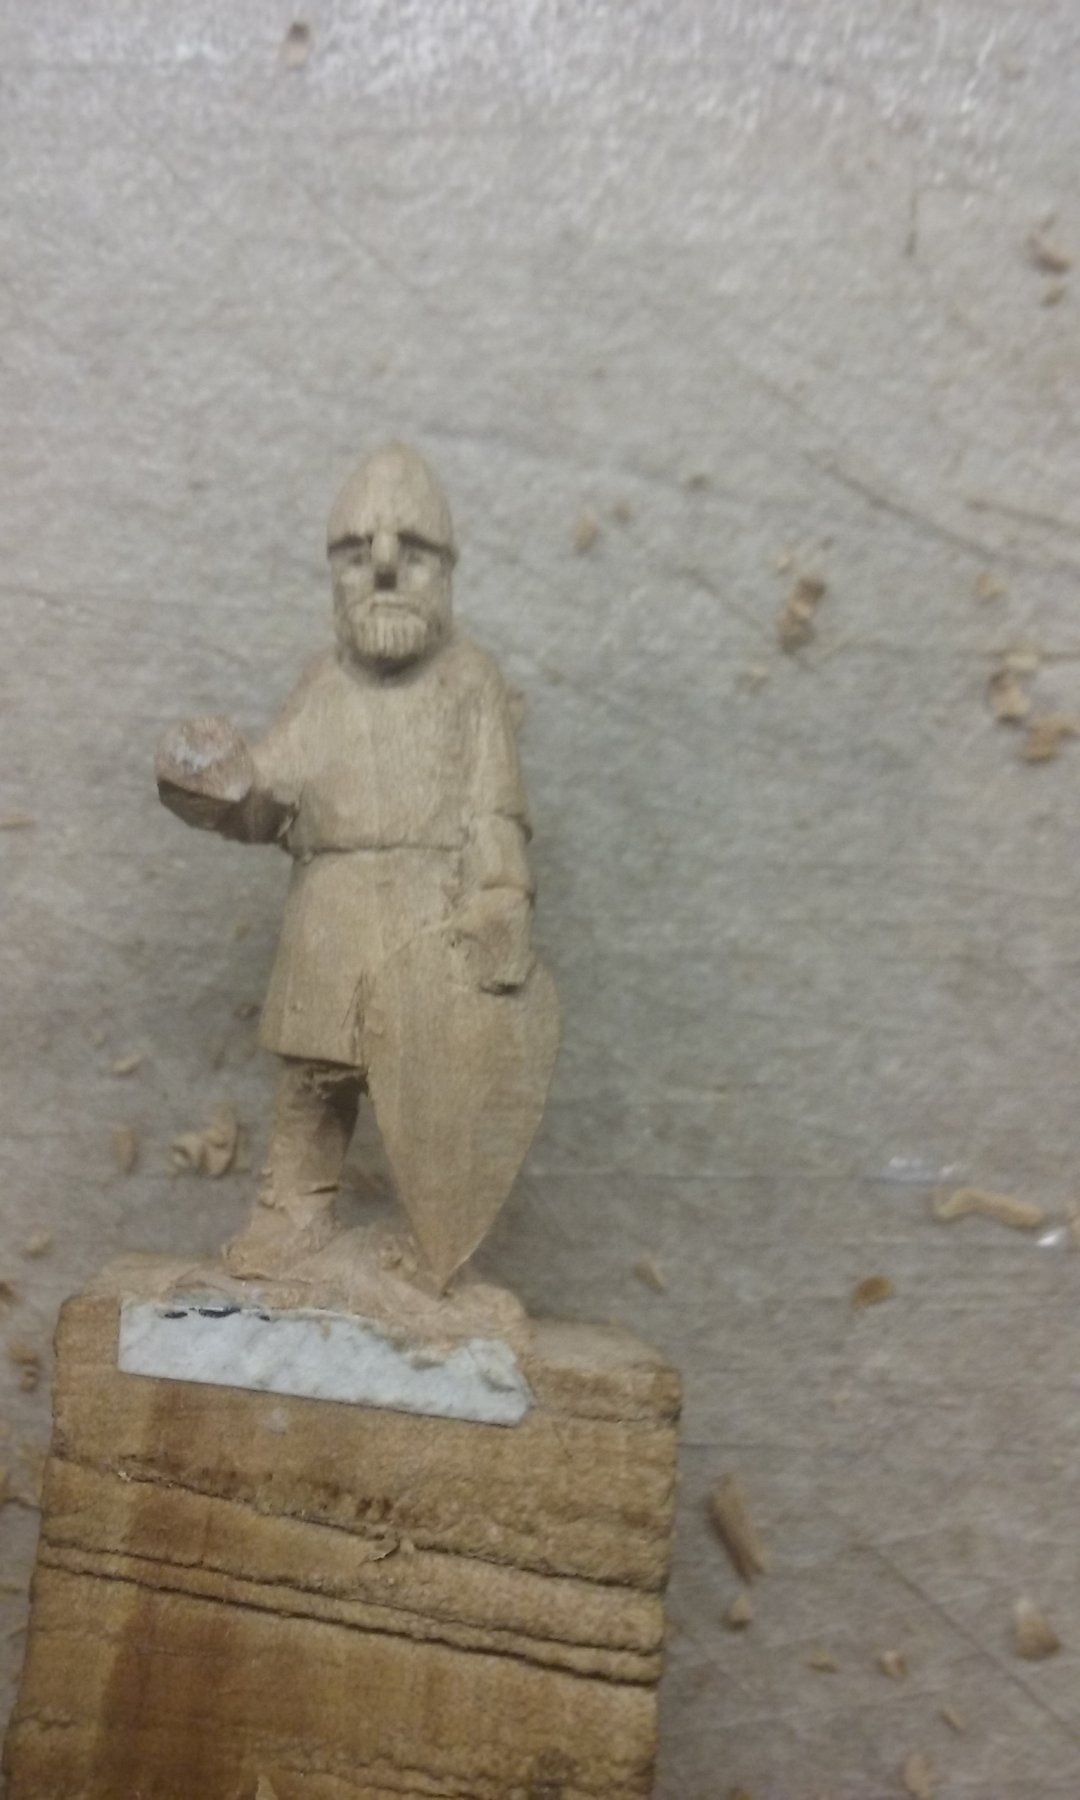
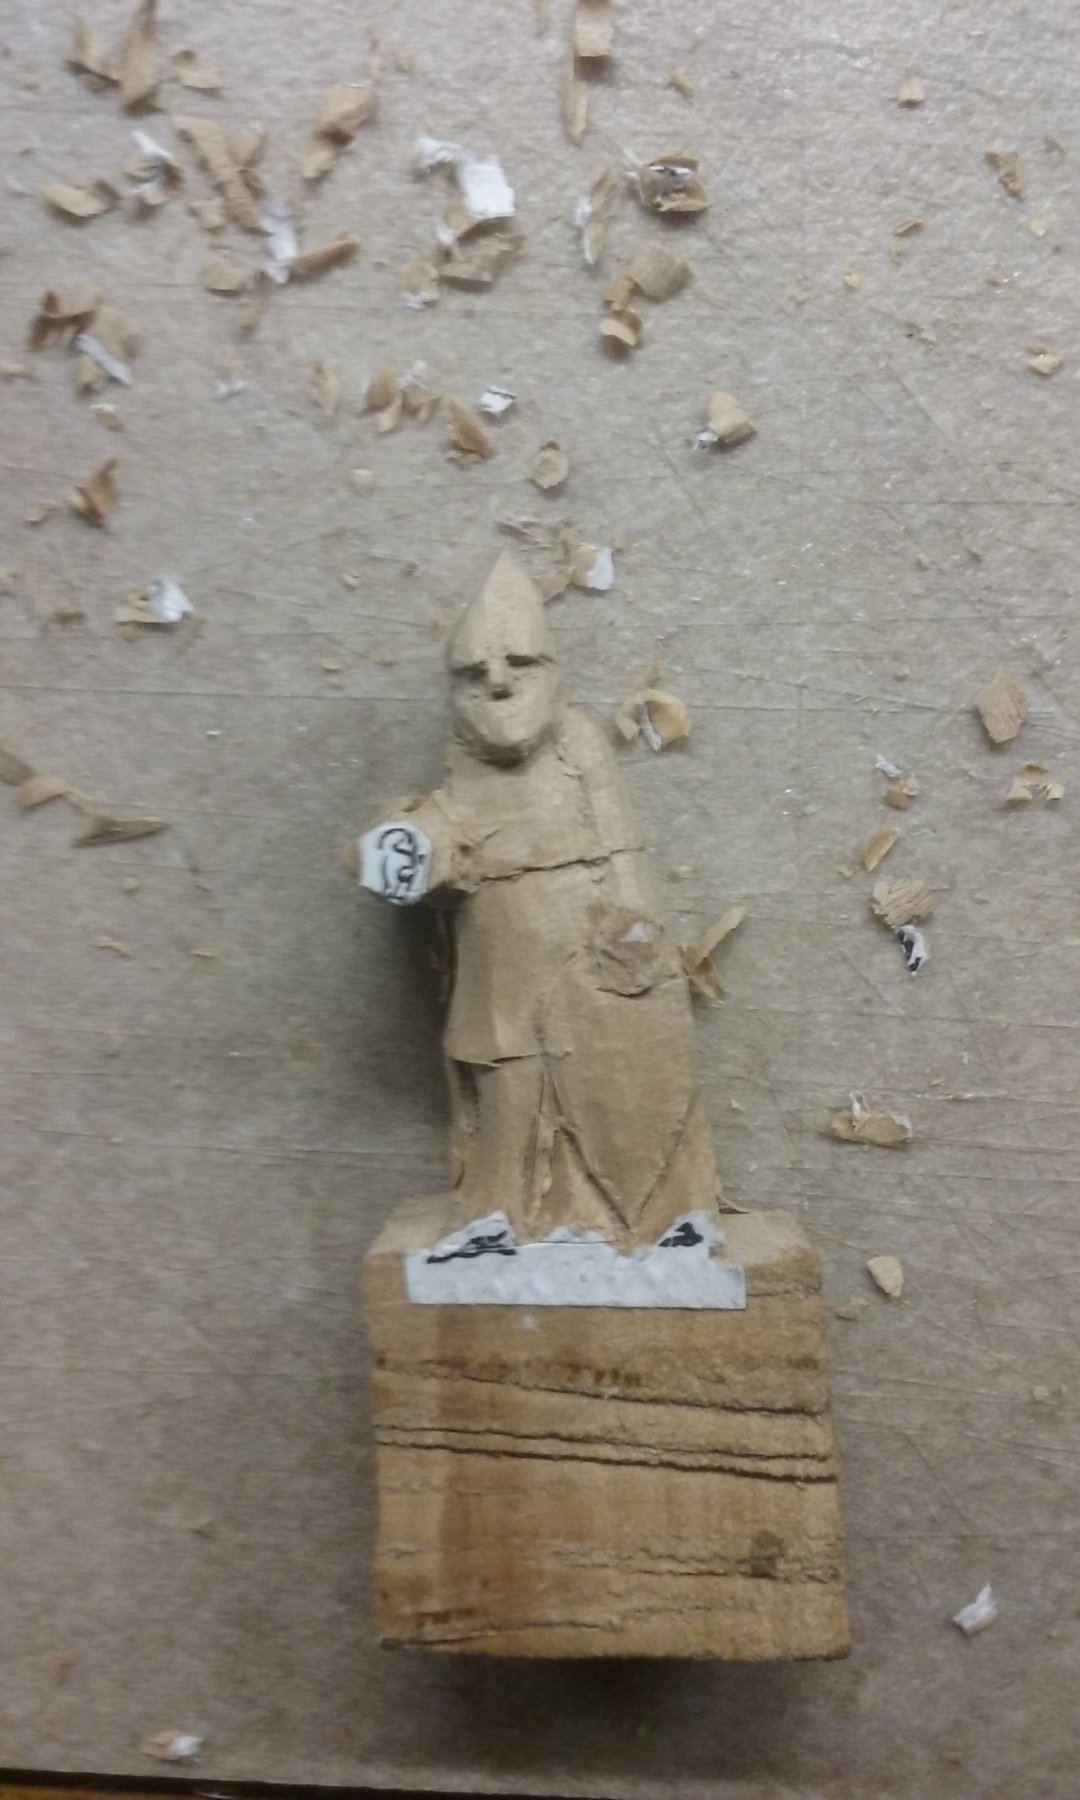
Cutting the main features of the head
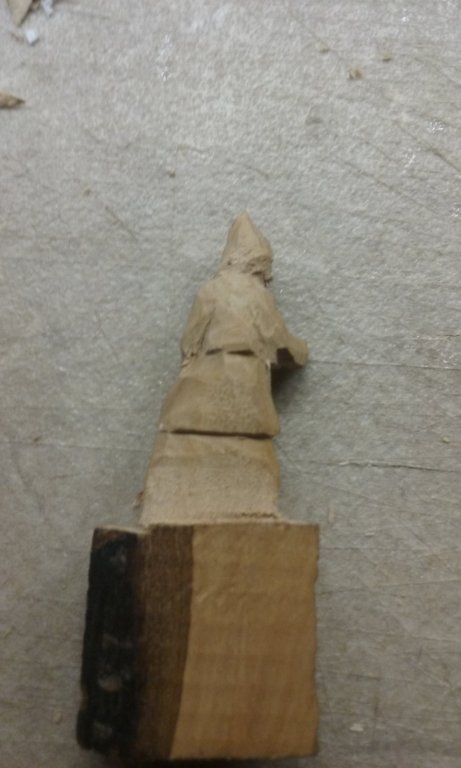
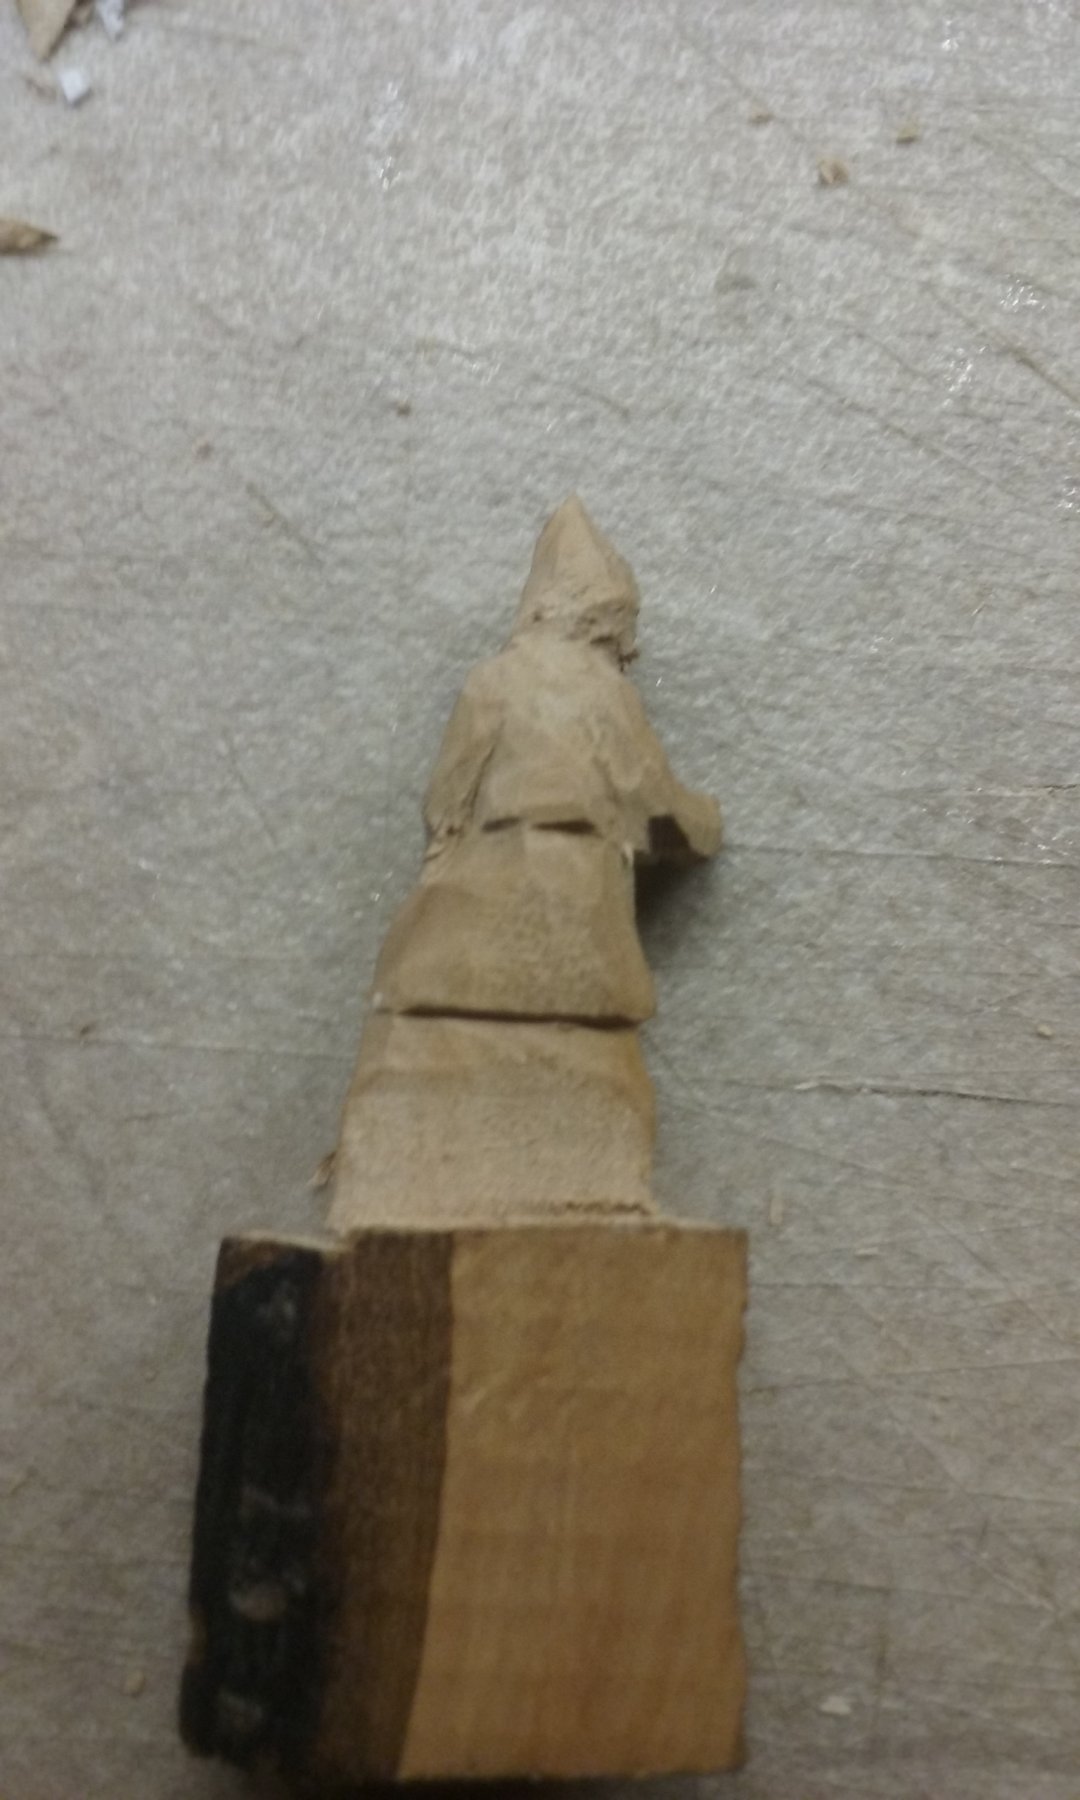
Now moving down to the arms and shoulders, cutting progressively further and further back. The right arm sticks out forward, as he'll be holding an axe in it.
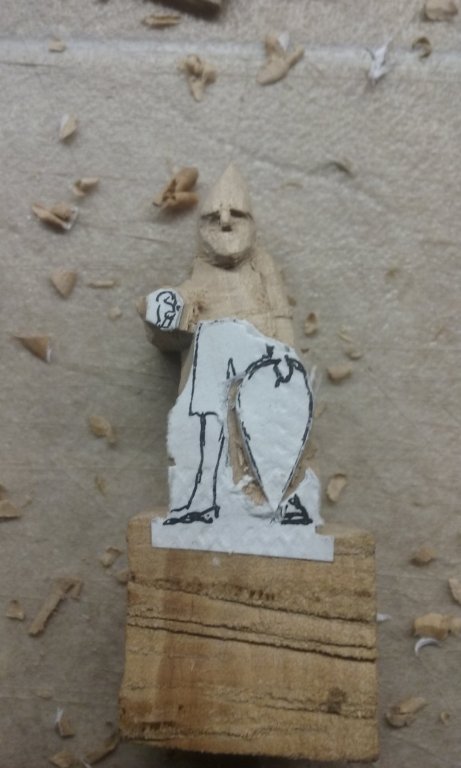
Now moving onto the shield, which is also fairly far forward. Again I cut around the outline first
and then cut away a bit to form the hand that's holding the shield.
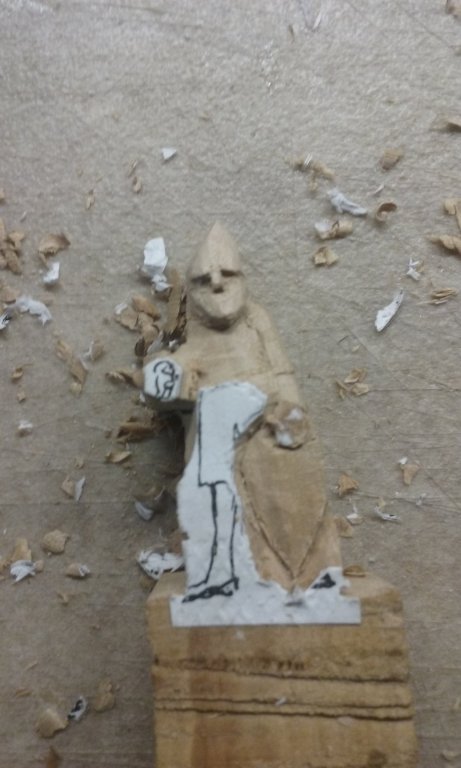
Here is the figure with the front elevation roughed out.

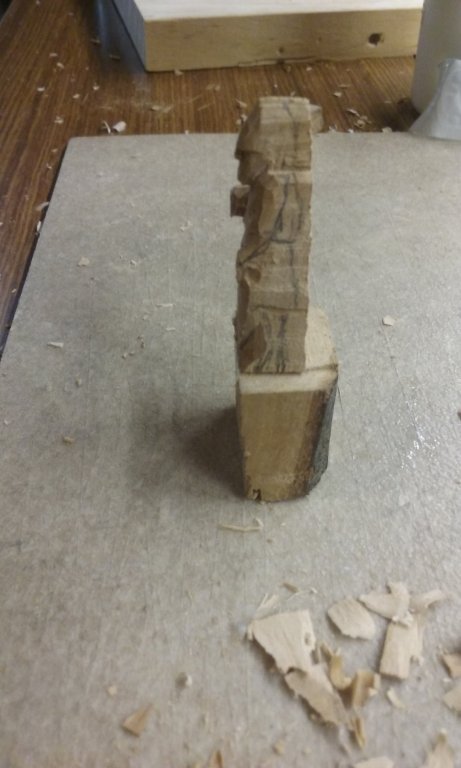
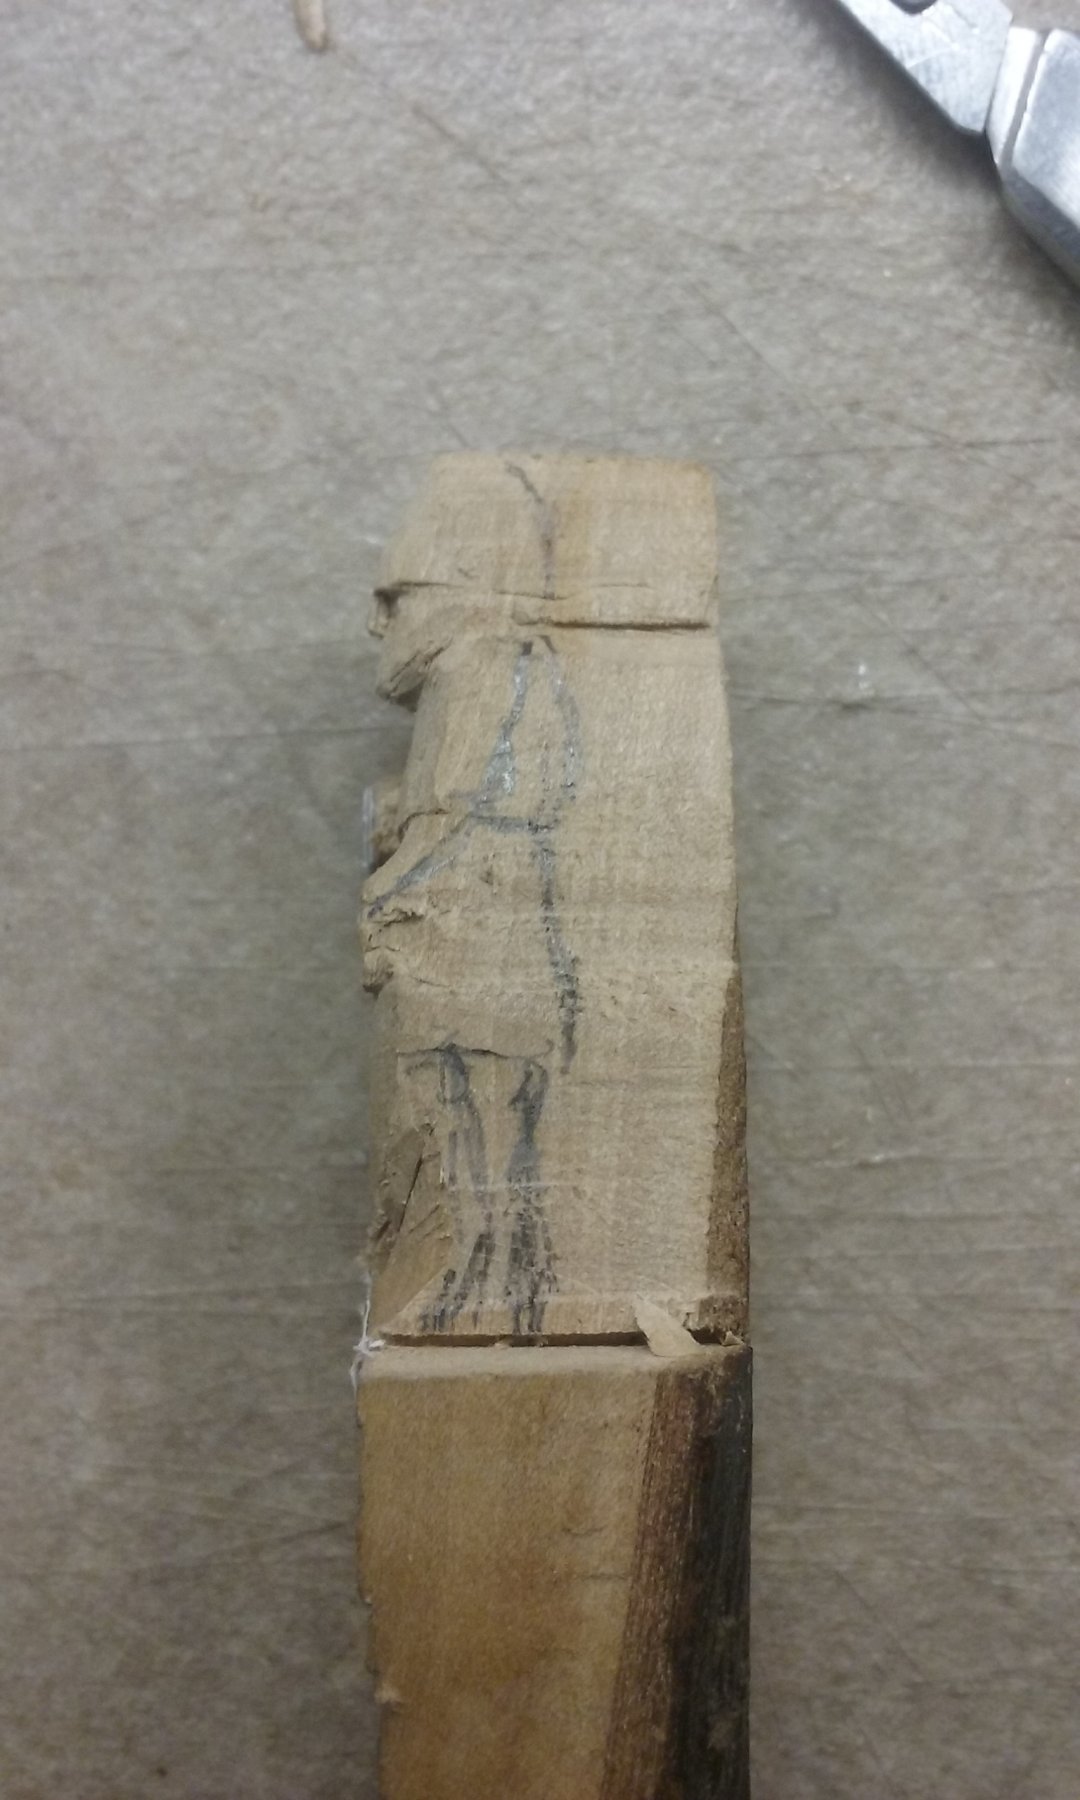
Next draw an outline to guide the coping saw in cutting off the waste at the back of the figure.

After cutting. Still leaving a good grip to hold the figure while it's being worked on.
More to come,
Steven
- usedtosail, druxey, tarbrush and 5 others
-
8
-
Very narrow and not very stable. Apparently the rowers could tell if someone was walking about on the top deck by the alterations to the trim.
Steven
- EJ_L, thibaultron and mtaylor
-
3
-
A nice size. About the only reliable dimension I know of for the length of galleys is that the length of the ship is determined by the interscalium (distance between the rowing benches). The optimum is about a yard, give or take - longer and the ship becomes too heavy; shorter and the oarsmen get in each other's way. So a twenty-oared galley would have ten interscalia = about 30 feet - plus the length of the prow and the stern.
If you want to make a trireme, you might be interested in this video -
Enjoy!
Steven
- mtaylor, thibaultron, cog and 1 other
-
4
-
-
Just out of interest, Vic, how long are these galleys? I realise they're not all to the same scale, but they all seem to be of similar length.
Steven
- mtaylor, thibaultron and EJ_L
-
3
-
23 hours ago, yancovitch said:
looks like it's gonna be difficult to know how to secure the rigging....what kind of bits etc....will just have to fake it
Yes, contemporary representations often don't bother to show the blocks etc, and sometimes don't even show the ropes. One source that might be helpful is at http://nautarch.tamu.edu/academic/alum.htm - you may find archaeological artefacts that will help. TAMU covers ships from the entirety of time and often has papers on this kind of thing.
Steven
- thibaultron, mtaylor, cog and 1 other
-
4


10th-11th century Byzantine dromon by Louie da fly - FINISHED - 1:50
in - Subjects built Up to and including 1500 AD
Posted
A few points to note: The videos make it very clear that this was a fairly short-range weapon and that it would only work if there was either no wind or a following wind - otherwise the flames would be blown back onto the ship itself.
I forgot to mention that I painted the pipes black to simulate pitch, as sealing the joints seems to have been a major issue and the Haldon people used the traditional medium to seal them. Windler seems to have overcome the problem by covering everything with some sort of extruded stuff - it's hard to see from the video what it is, and the issue is not mentioned in the voiceover.
Steven