

captain_hook
-
Posts
675 -
Joined
-
Last visited
Content Type
Profiles
Forums
Gallery
Events
Posts posted by captain_hook
-
-
Very well done for a first build. Congratulations.
-
That‘s a pity. But for me that is a well-known phenomenon. Almost every small part that is falling of my desk is lost forever, no matter how long I will search for it. But as your model looks so beautiful and you have already put a lot of effort in it it would be a huge pity if you leave it that way. So maybe making two scratch-sails are good practice for future modelling and maybe they won‘t take that long.
-
Wow. Beautiful work! (Was für eine Arbeit!)
- mtaylor, Keith Black, Siggi52 and 1 other
-
 4
4
-
Congratulations. She is a beauty!
- cog, JesseLee and popeye the sailor
-
3
-
-
I‘m sorry for that. But the white painting is a very good substitute.
-
2 hours ago, StuC said:
As it's only a small ship, I'm thinking about filling in all the stations. Is this advisable? Will it make planking and fairing much easier (with a solid substrate)?
When a shipmodel has only a few bulkheads the balsa should support the planking to run smooth especially where the planks are more curved - at bow and stern. As the planking is more straight in the middle section, balsa fillers are not really needed there. When the first planking is done you have a very solid hull to glue the second planking on. The AVS has a lot more bulkheads that the sherbourne or Lady Nelson so balsa fillers weren’t needed.
You can give filling all spaces a try anyway but glueing large balsa blocks into the bulkhead spaces may result in warping the ships keel or structure as wood is always working.
-
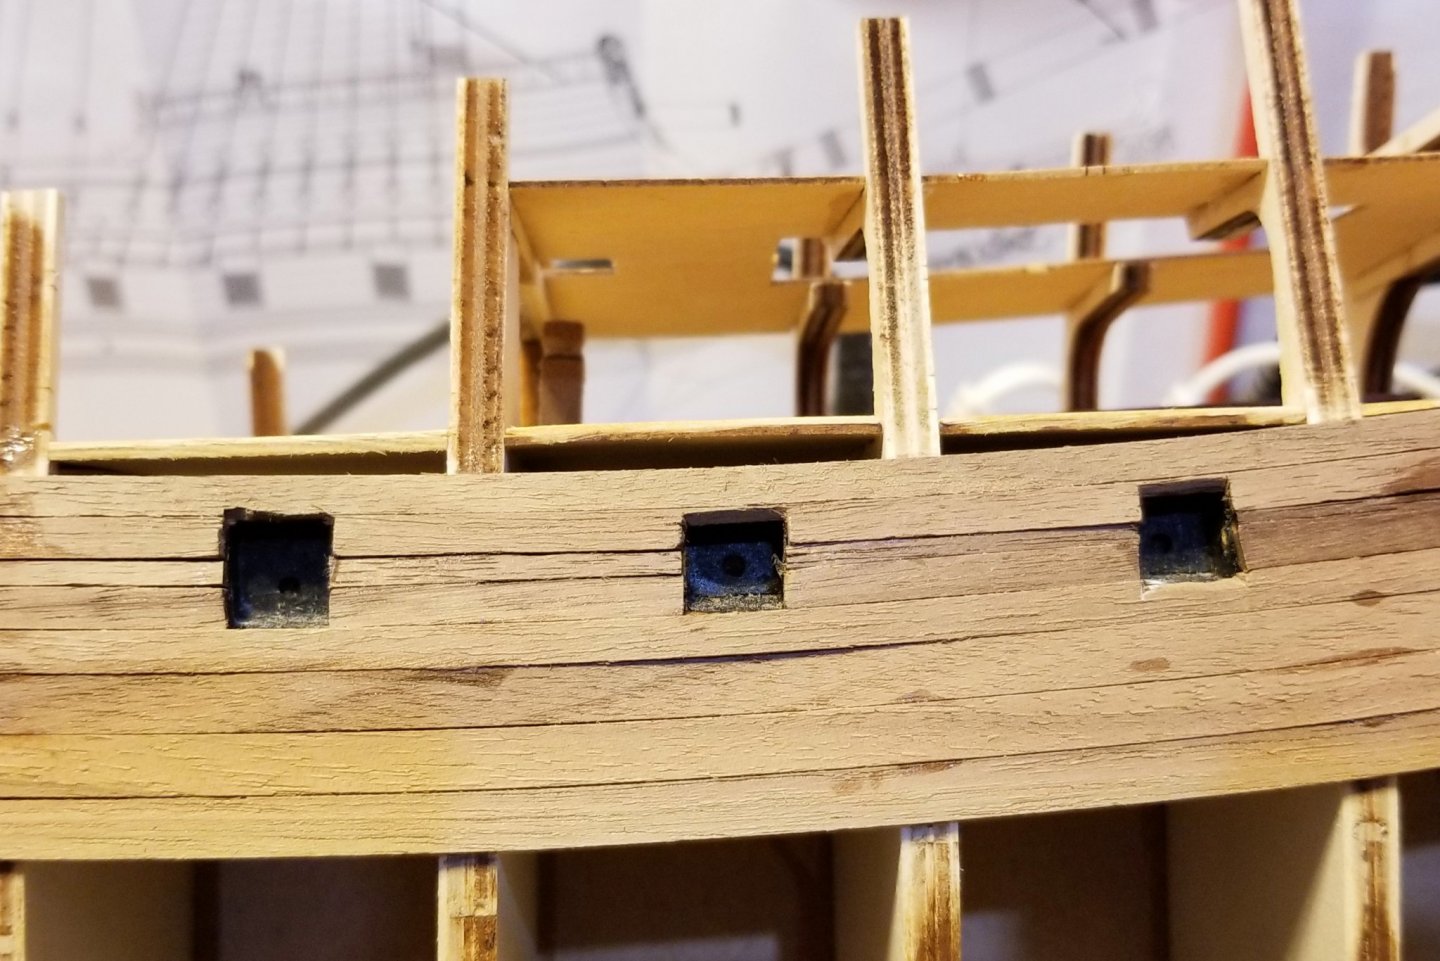
🤔 What has happend? The coppering looked fine last time.
-
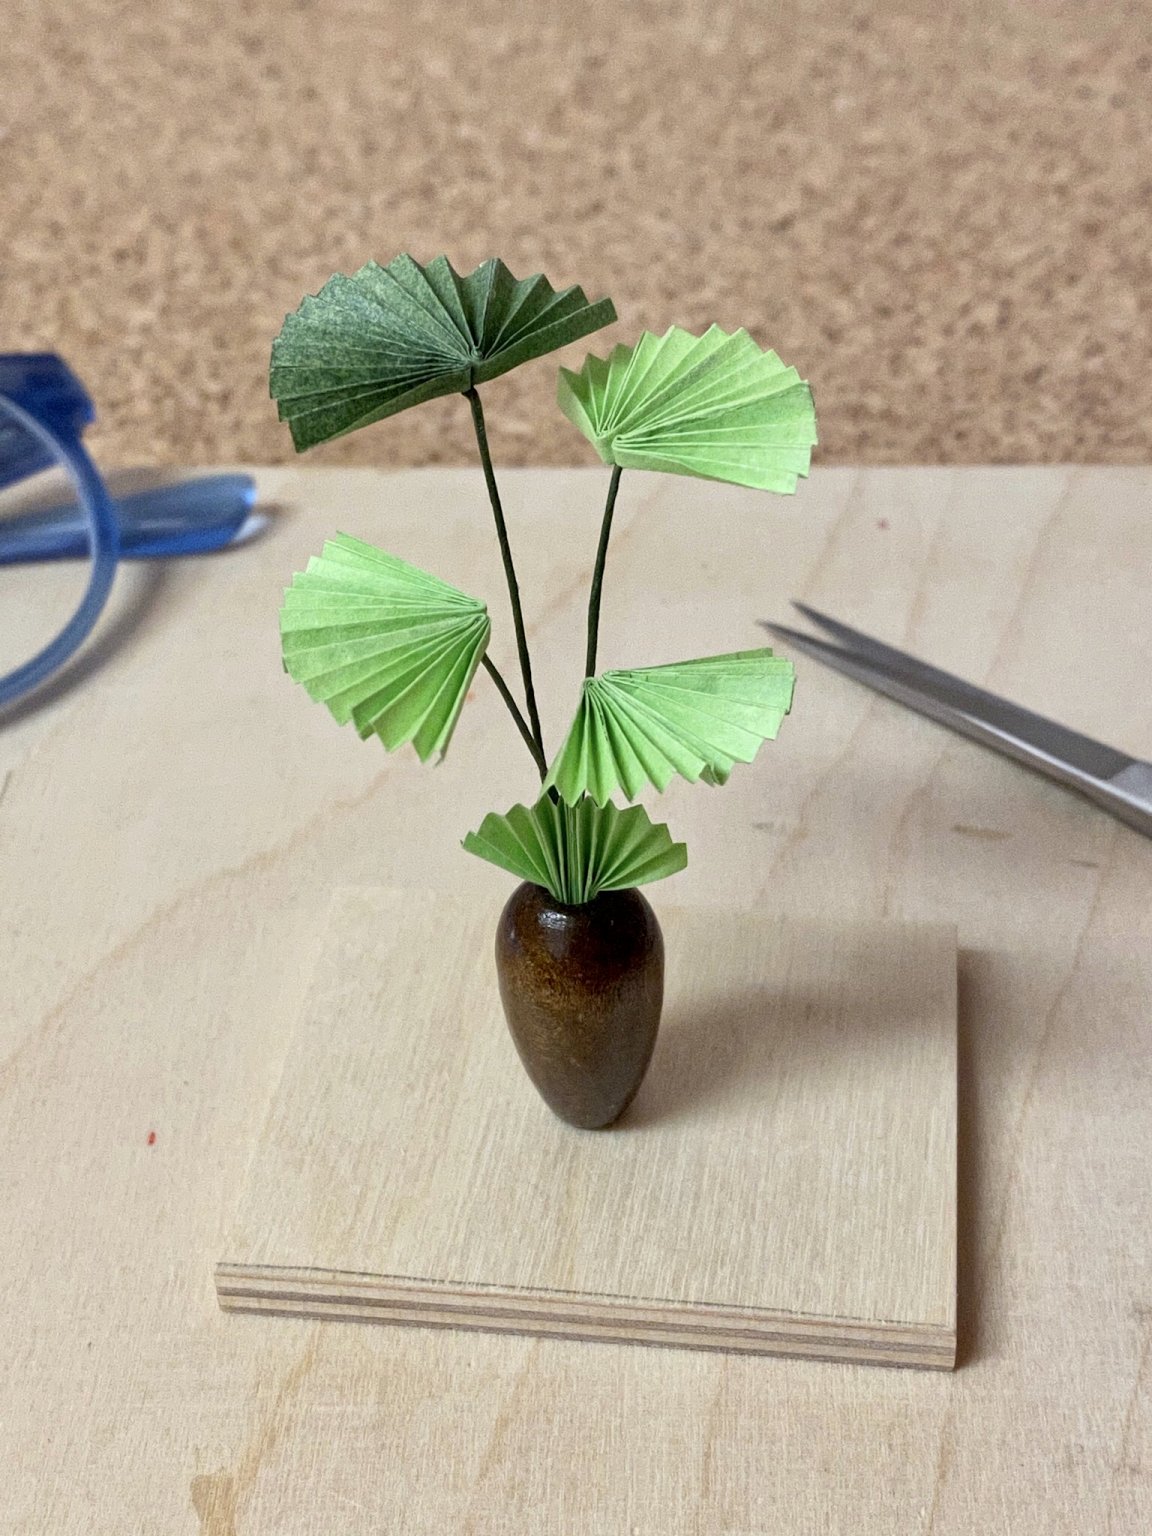
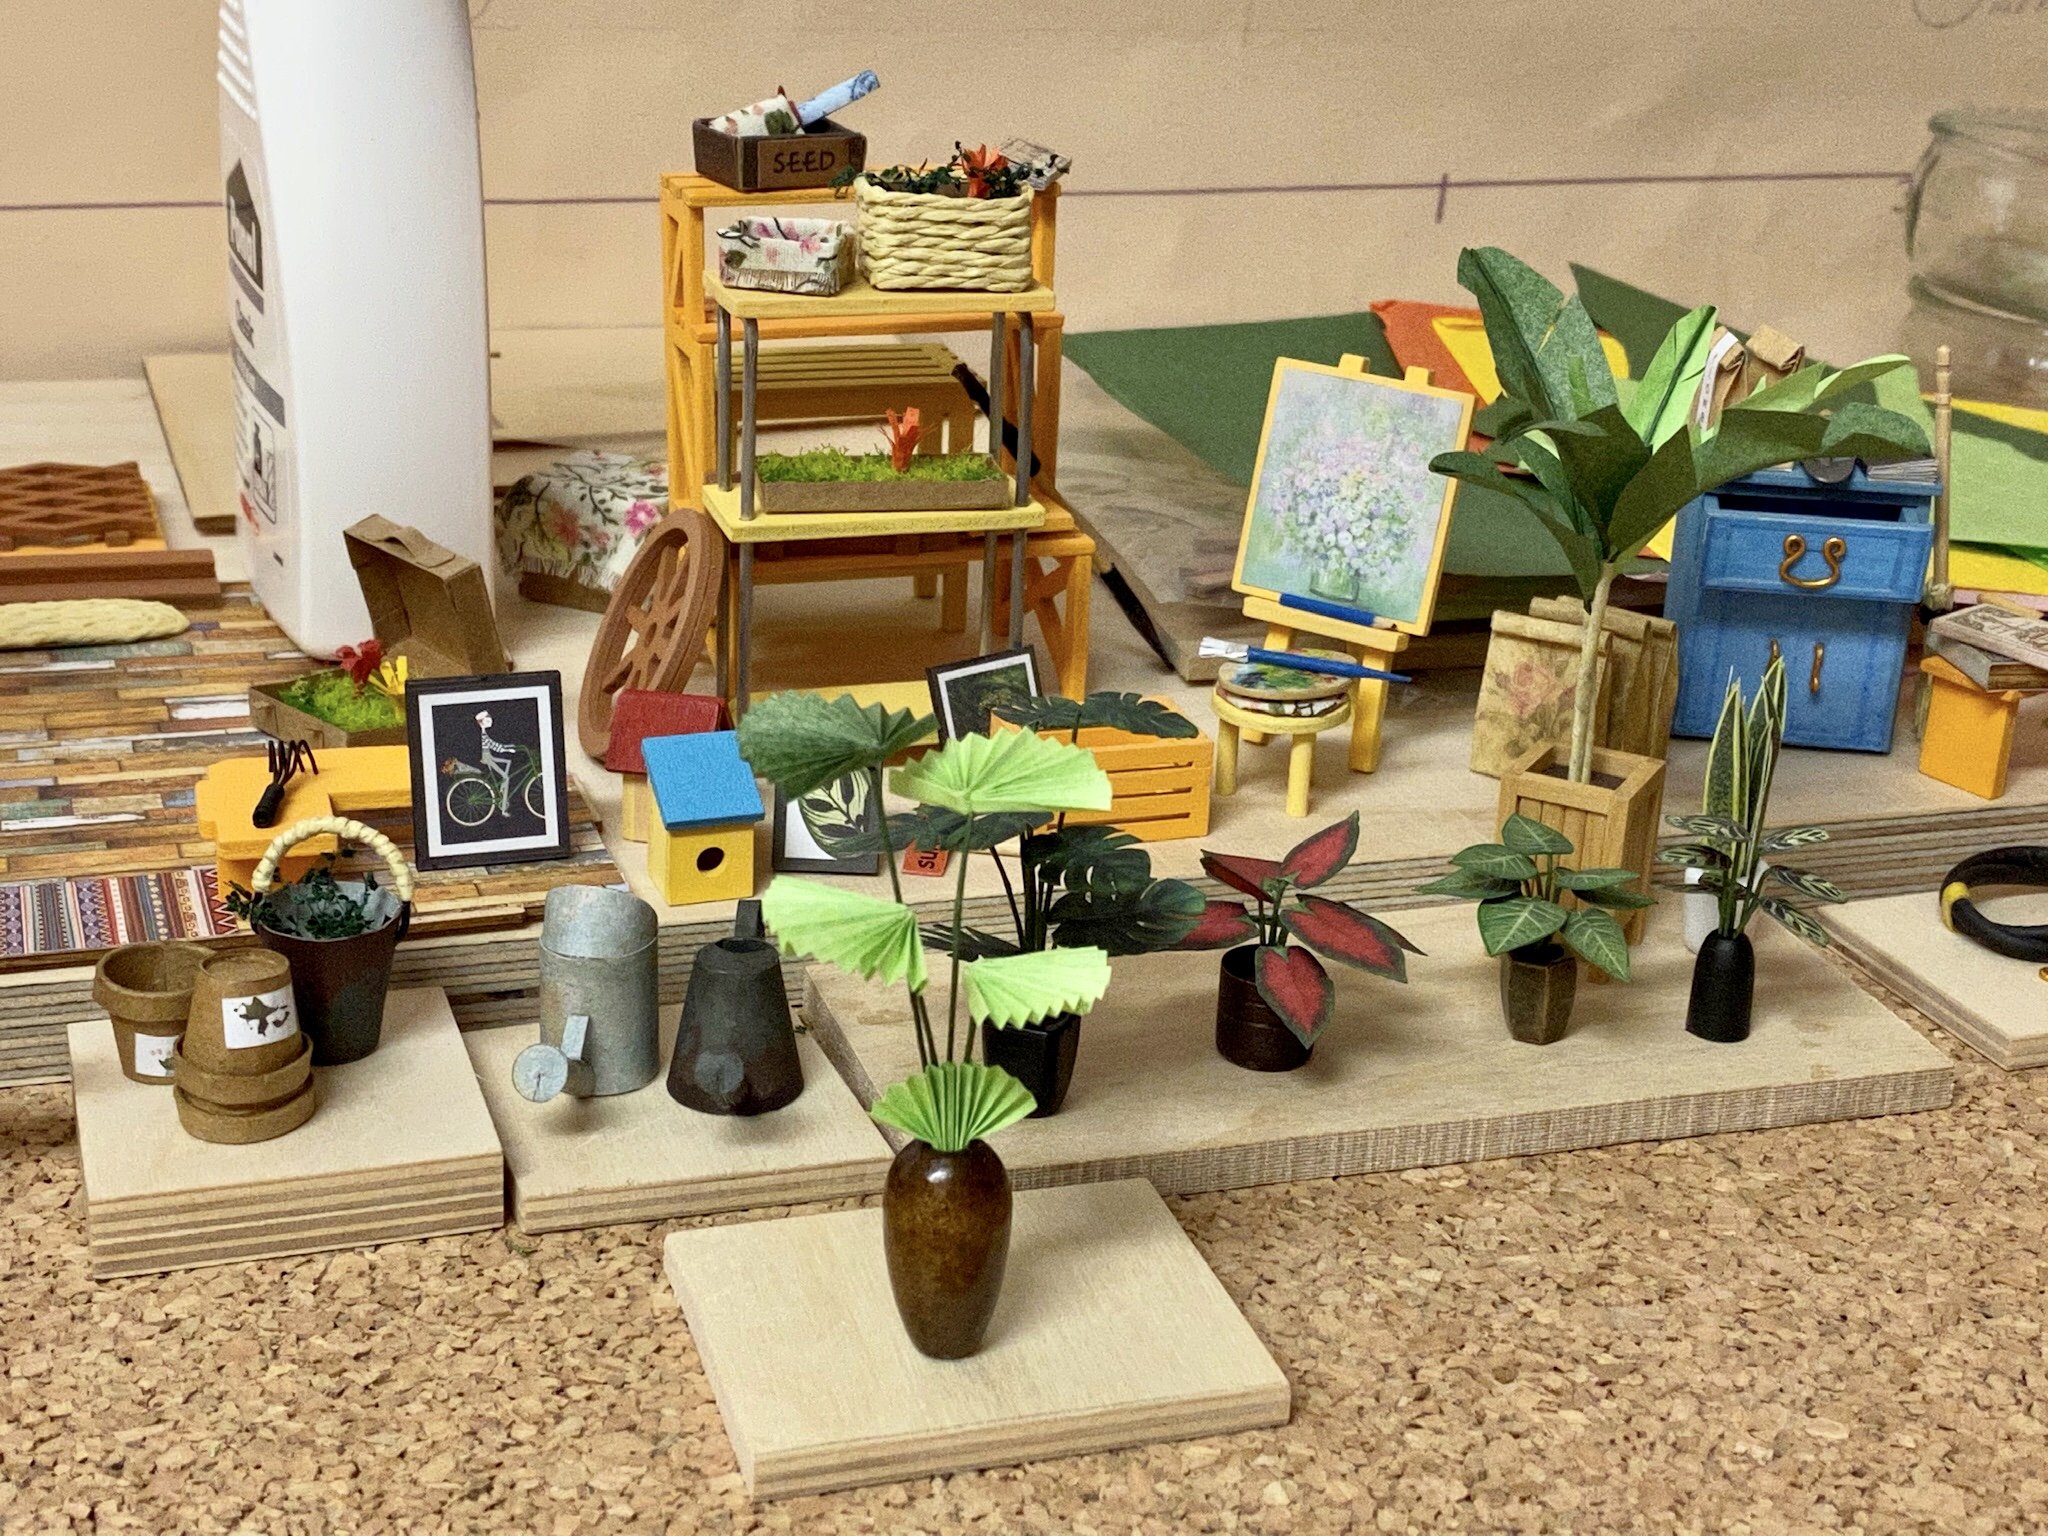
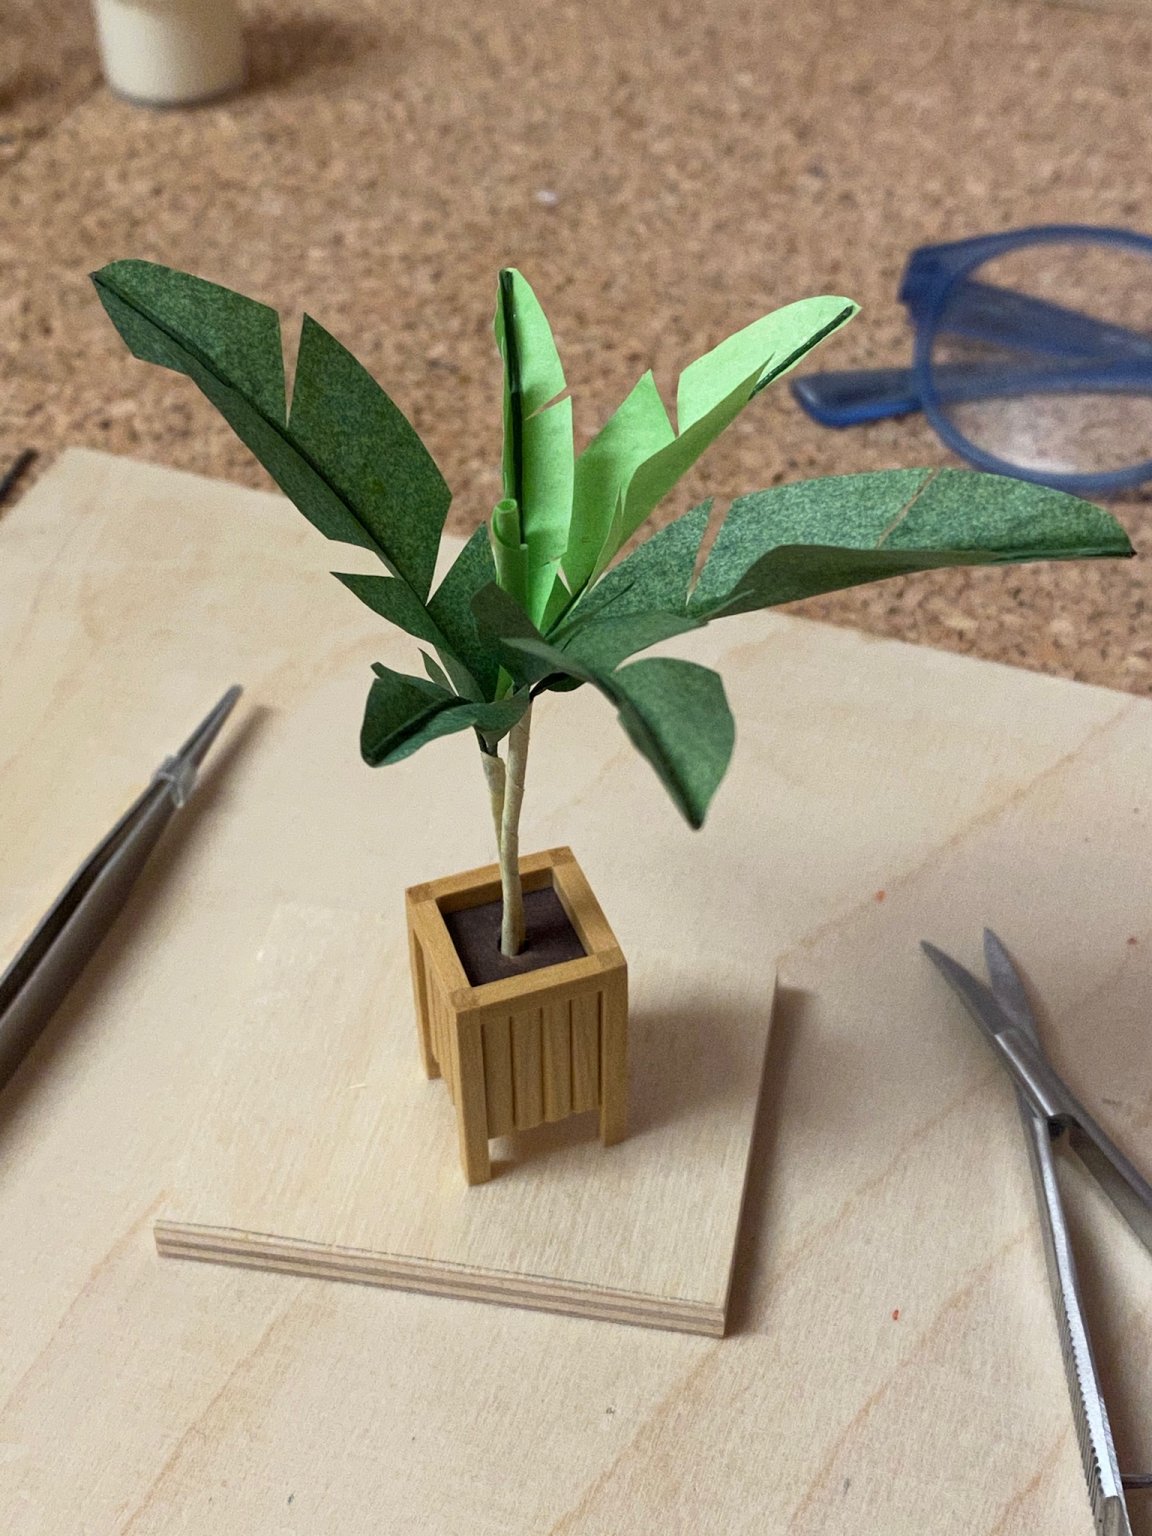
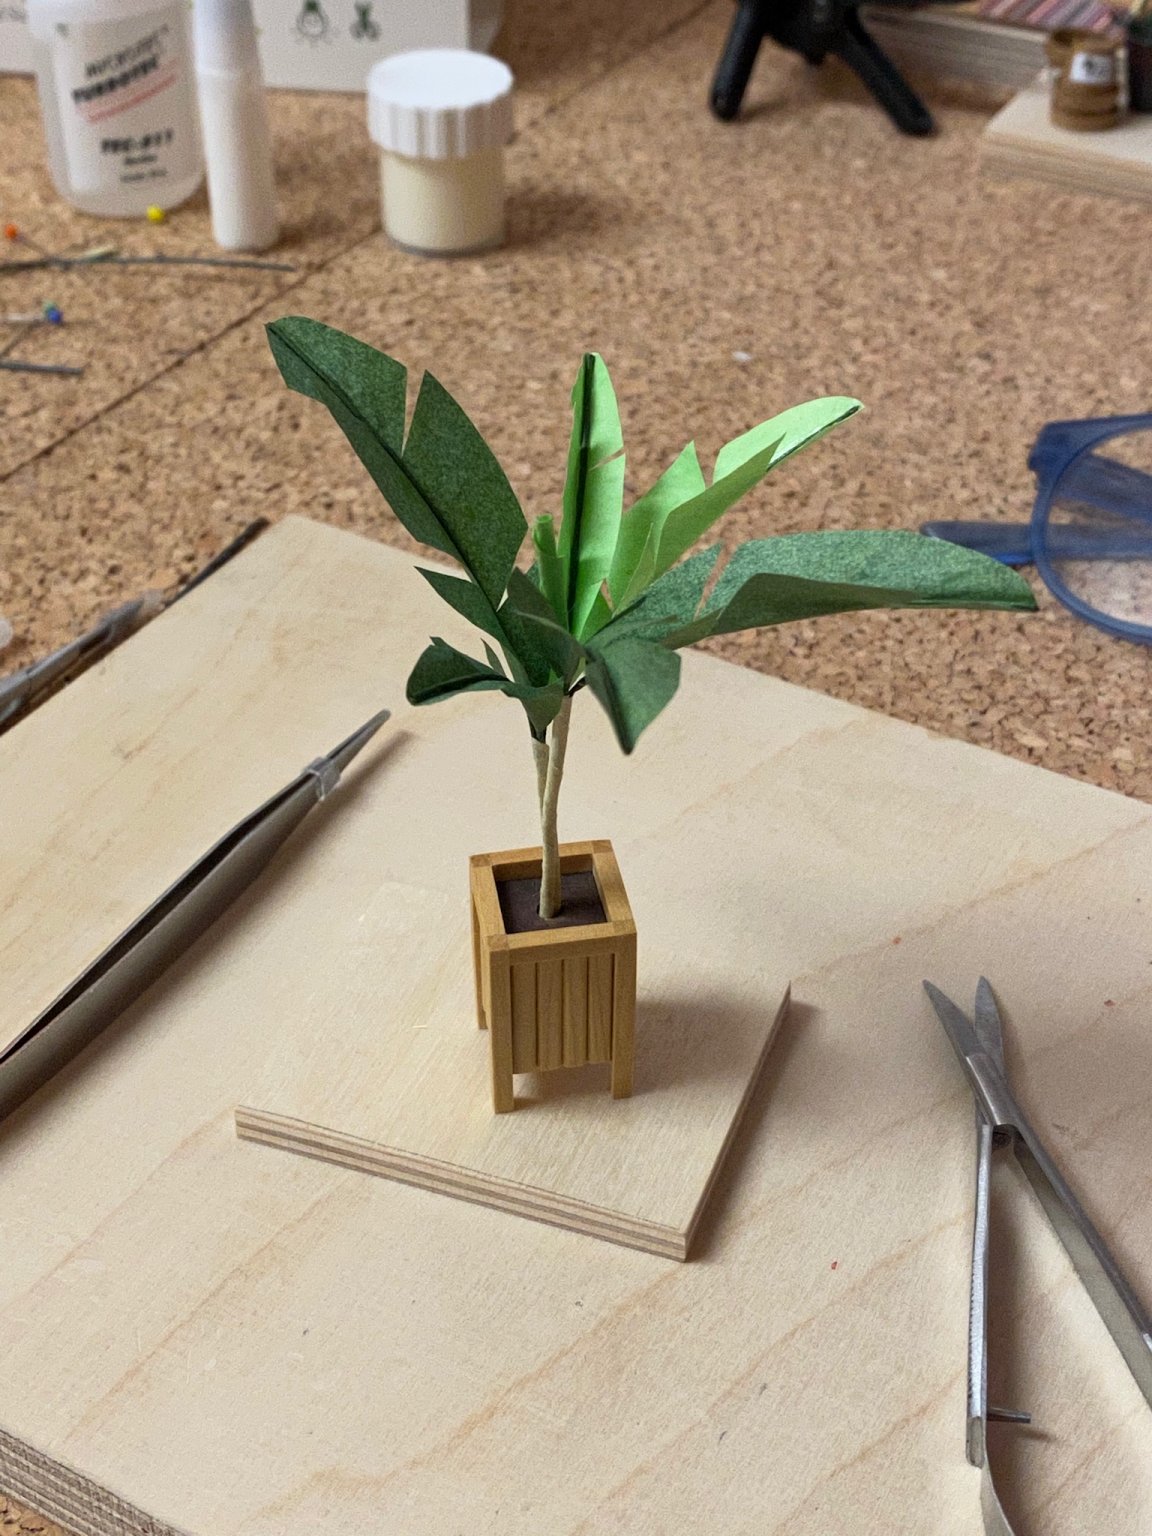
Here is another palm. Made of thin dark and light green paper. The paper is folded and glued together to form a section and then two sections are glued together to form a leaf. A paper covered wire is attached to each leaf. The pod was supplied so no scratch building needed this time. Meanwhile the desk is crowded with stuff...


-
Thank you for the nice words. The little girl has just turned 12 - the kit was stored about 2 years due to the long building time of the AVS. But she is still excited to see how it turns out ... will do my very best.
- Canute and popeye the sailor
-
2
-
Nice start so far. You may consider inserting balsa between the bow and stern frames only as they will first ensure a smooth run of first planking especially at the bow and make that tricky part much easier. If you have a first planking that runs smooth and doesn‘t need much sanding or filler use you may use wood glue for second planking - this has a much longer dry phase than CA and you can correct the laying of the planks if needed (and no glueing fingers to the hull 🤗).
-
The stern gallery is beautiful!
-
-
Well done. This kit is on my wishlist and I like the way you have enhanced it.
-
At 1/72 the wingspan must be only about 10cm / 4‘‘ ! I could only do that with a magnifying glass attached to my head. Nice work.
- popeye the sailor, Egilman, Canute and 4 others
-
7
-
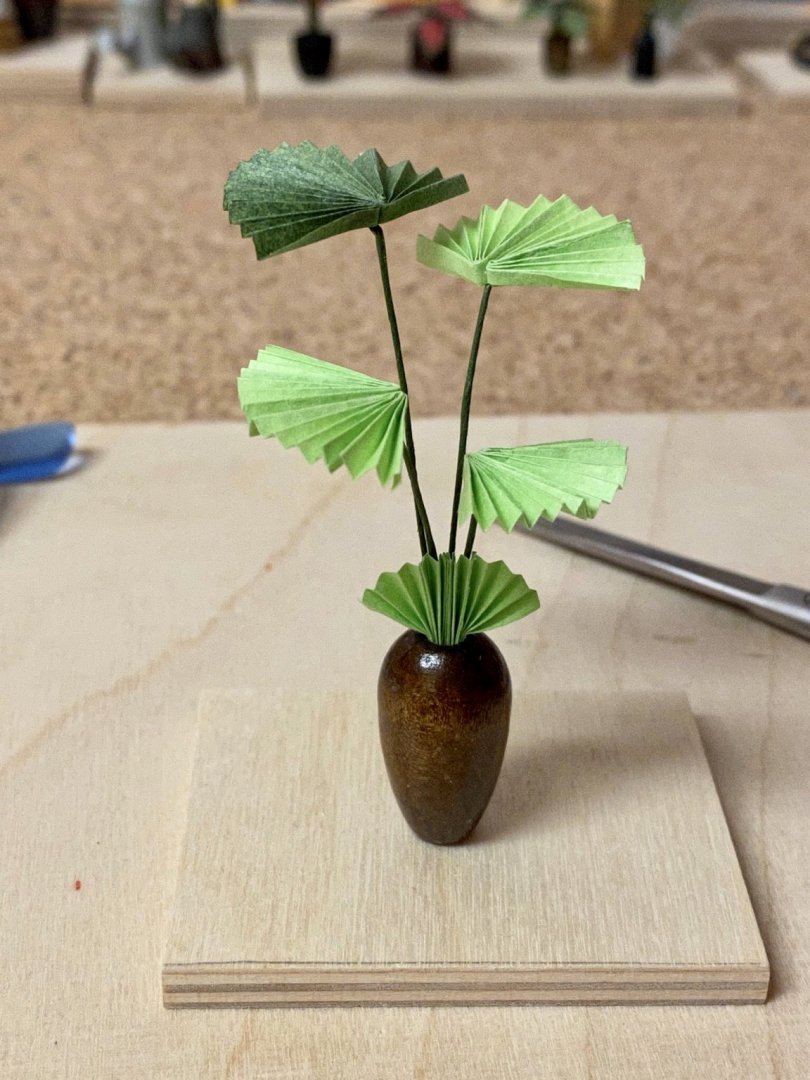
Thank you Yves. The plants are getting more complicated. The leafs of this one are made of light and dark green paper, are cut by using a paper template and then attached to a piece of paper covered wire. Three leafs are combined together by covering their wires with light brown paper. I didn‘t like the supplied card flowerpot so I made a scratch one out of scrap boxwood parts. 🤗


-
-
-
-
-
Great progress so far, you‘re doing a fantastic job. It is a pity that the building of the replica in the netherlands stopped years ago due to financial issues.
- EJ_L, YankeeD, FrankWouts and 1 other
-
4
-
Paul,
you may leave the keel and sternpost-parts until the first planking is done and add them after that. The planks at the stern will almost lay flat on the false keel and you will be able to sand the first planking as much down as needed so the second planking will be in line with the keel and the stern post.
Best regards,
Andreas
-
5 hours ago, drobinson02199 said:
Finally, it should be obvious that I can't neatly cut gunports. Never have been able to, never will. I will eventually dress these with external walnut frames.
You may use a thin strip of stainless steel or brass as a guide. Just clamp it in the correct position, roughly shape the port with a file and use a needle file for the last steps. The steel strip will act as a border and is hard to damage with the file, so you can achieve very clean edges this way.
- hexnut, Kikatinalong, J11 and 2 others
-
5
-


Saying hello
in New member Introductions
Posted
Welcome to MSW 😉