Thistle17
-
Posts
1,054 -
Joined
-
Last visited
Content Type
Profiles
Forums
Gallery
Events
Everything posted by Thistle17
-
 Can you supply dimensions? Joe
 -
Paul the build is pretty staight forward because of the fine instructions. However read them very carefully as it is easy to misinterpret sometimes without going to and fro his build log, the drawings and his instructions. Some of his photos were taken at times a bit out of phase to when the instructions were written. For example I made the stern fashion pieces but did not paint them until after application because I forgot and was led astray by an accompanying photo (I did the wales correctly). So do excercise your own deliberate thinking. Also I did not lay the deck planks from stern forward. I started at the bow because when i started the other way the runs were not long enogh to establish the needed symmetry as they were broken up by deck furniture. When you get to the masts, yards and booms send me a PM and I can supply you with more info on how I did them. If you are a wood turner and have the equipment then my suggestions may not help. Joe
- 274 replies
-
- 2
-

-
- Cheerful
- Syren Ship Model Company
- (and 1 more)
-
You brought the model to life with your renditions of the figures. really nice work! Joe
-
Just tuned in to your build. I too am working on Cheerful. At this point I am working on all the sail parts masts, booms etc. I did not post my build as I wasn't sure how it was going to go. Some trial and error fixing of the planking until I slowed myself down and wasn't afraid to fit a plank a second time to get it right. Nonetheless she is a fun project full of subtle detail. You are doing just fine! Joe
- 274 replies
-
- 2
-
-
- Cheerful
- Syren Ship Model Company
- (and 1 more)
-
Sherline Mill Essential Accessories?
Thistle17 replied to Some Idea's topic in Modeling tools and Workshop Equipment
I have never looked back having purchased this mill 2 years ago. Bill is so correct about the accessories especially the tilt table and the rotary table. Sherline has made these very utilitarian as some of the lathe accessories will work with the rotary table. I think it is a common lament that part capture on any mill, large or small is always problematical. This mill elevates my capabilities! Joe -
Maybe I should rethink modeling and go back to bagging groceries as I did when I was a teenager! Just 2 months stem to stern David. You are driven. Joe
- 433 replies
-
- 6
-
-
- open boat
- small boat
- (and 1 more)
-
If i may ask? You seem to move ahead at great speed yet with incredible accuracy and precision. I am always mystified how one does so and yet maintains the quality you present. Do you spend many hours in a day at this and do you mass produce your elements via CNC or do you hand machine every part? Joe
- 257 replies
-
- 2
-
-
- young america
- Finished
- (and 1 more)
-
After licking my wounds on the terrible results of the ships wheel I have decided to make my own or at least try my hand at it. Using the one I made I took dimensions off the wheel and created a drawing suitable for replication. I did increase the diameter of the wheel a bit after sizing the one I made on the model. It was a tad smaller than what i would imagine. It will be checked out when the drawing finally arrives. While I had the model out I managed to remove the hub of the missing wheel. I speculate the original modeler may have purchased one as the hub seemed at first glance to be a molded element. In addition it is an 8 spoked wheel rather than the 10 of the one I fabricated. My appraoch to the fabrication attempt is as follows: - Fabricate and glue 4 pieces of boxwood segments such that end grain will be minimized - Laminate 3 overlapping layers with the outer 2 layers of thinner stock such that the glue joints are not aligned - Mount this on my end mill and turn the outer diameter. - Mount the turned element on my revolving table vertically to drill the 8 spoke holes - Return the piece to its normal postion and mill the inner diameter but with tabs. - The hub is somewhat problematical because of its dimuitive diameter and the need to drill 8 more aligned holes. That is going to take some thinking. Now the spokes solution. I think I have found suitable 13mm belaying pins of the correct scale and length (Crafty Sailor) to use for the wheel spokes. We will see. I hope to have some fabrication photos along the way but will await the drawing to check my dimensions. Do I have backup plan? Yes I do! Harbor Models has a wheel that appears to do the job if this fails. Joe
-
You have to bring her to one of our fall meetings Rusty! It is turning out to be such a beauty in the wood you have chosen. I should think it will inspire us all especially our newest members. Joe
- 642 replies
-
- 2
-
-
- winchelsea
- Syren Ship Model Company
- (and 1 more)
-
Your religous adherence to faithful reproduction is astounding! I need to go to confession. Joe
- 433 replies
-
- 4
-

-
-
- open boat
- small boat
- (and 1 more)
-
I still await the drawing from the Smithsonian and assume "I am in the queue for a drawing next week" was abit optomiostic on their part. In the meantime I built the correct scale ships wheel from the minikit from Syren. I would offer that it was a humbling and frustrating build experience. I have to give myself a C- of a grade on quality. I followed the directions quite closely and I don't feel my small motor control capability has dimished to the point where I am not able to achieve a decent job on most any component. The challenge with this assembly is two fold in my estimation. The parts are incredibly small and when Syren expresses a caution about sanding it should be taken seriously. The parts unsanded fit snugly into the build jig, however any over sanding of the char yields too loose a fit. Secondly the outer bands are made from .025 thick boxwood. Invariably they are prone to breakage especially the larger arc as it's lower sections run with the grain. Turning the spokes even with careful turning with a fine cut watchmakers file to round over the elements was challenging as well. I would recommend a purchase of two kits using one for practice. This is likely a practice piece. I am possessed! I just can't live with this failure. I have to find a better solution or get much,better at this mini kit. Joe
.thumb.JPG.3acf89037635a1aa228f19dbd72a0982.JPG)
-
Glenn I think you meant Crafty Sailor. The web site is Wooden Belaying Pins (10pcs) – Crafty Sailor Model Store I first bought a couple packages just to see for myself. i was quite satisfied of with the quality so I went back and ordered more of each size. I spoke to him about updating the web site with the missing dimensions and now appears he has. They are quite good in my estimation and he too is a responsive business person. Joe
-
It is so good to have someone take up this need on a enterprise basis. I do hope we don't inundate him with orders that tend to be of the hoarding nature. At least not at the outset. Now having said that would you consider Winchelsea in boxwood? Joe
-
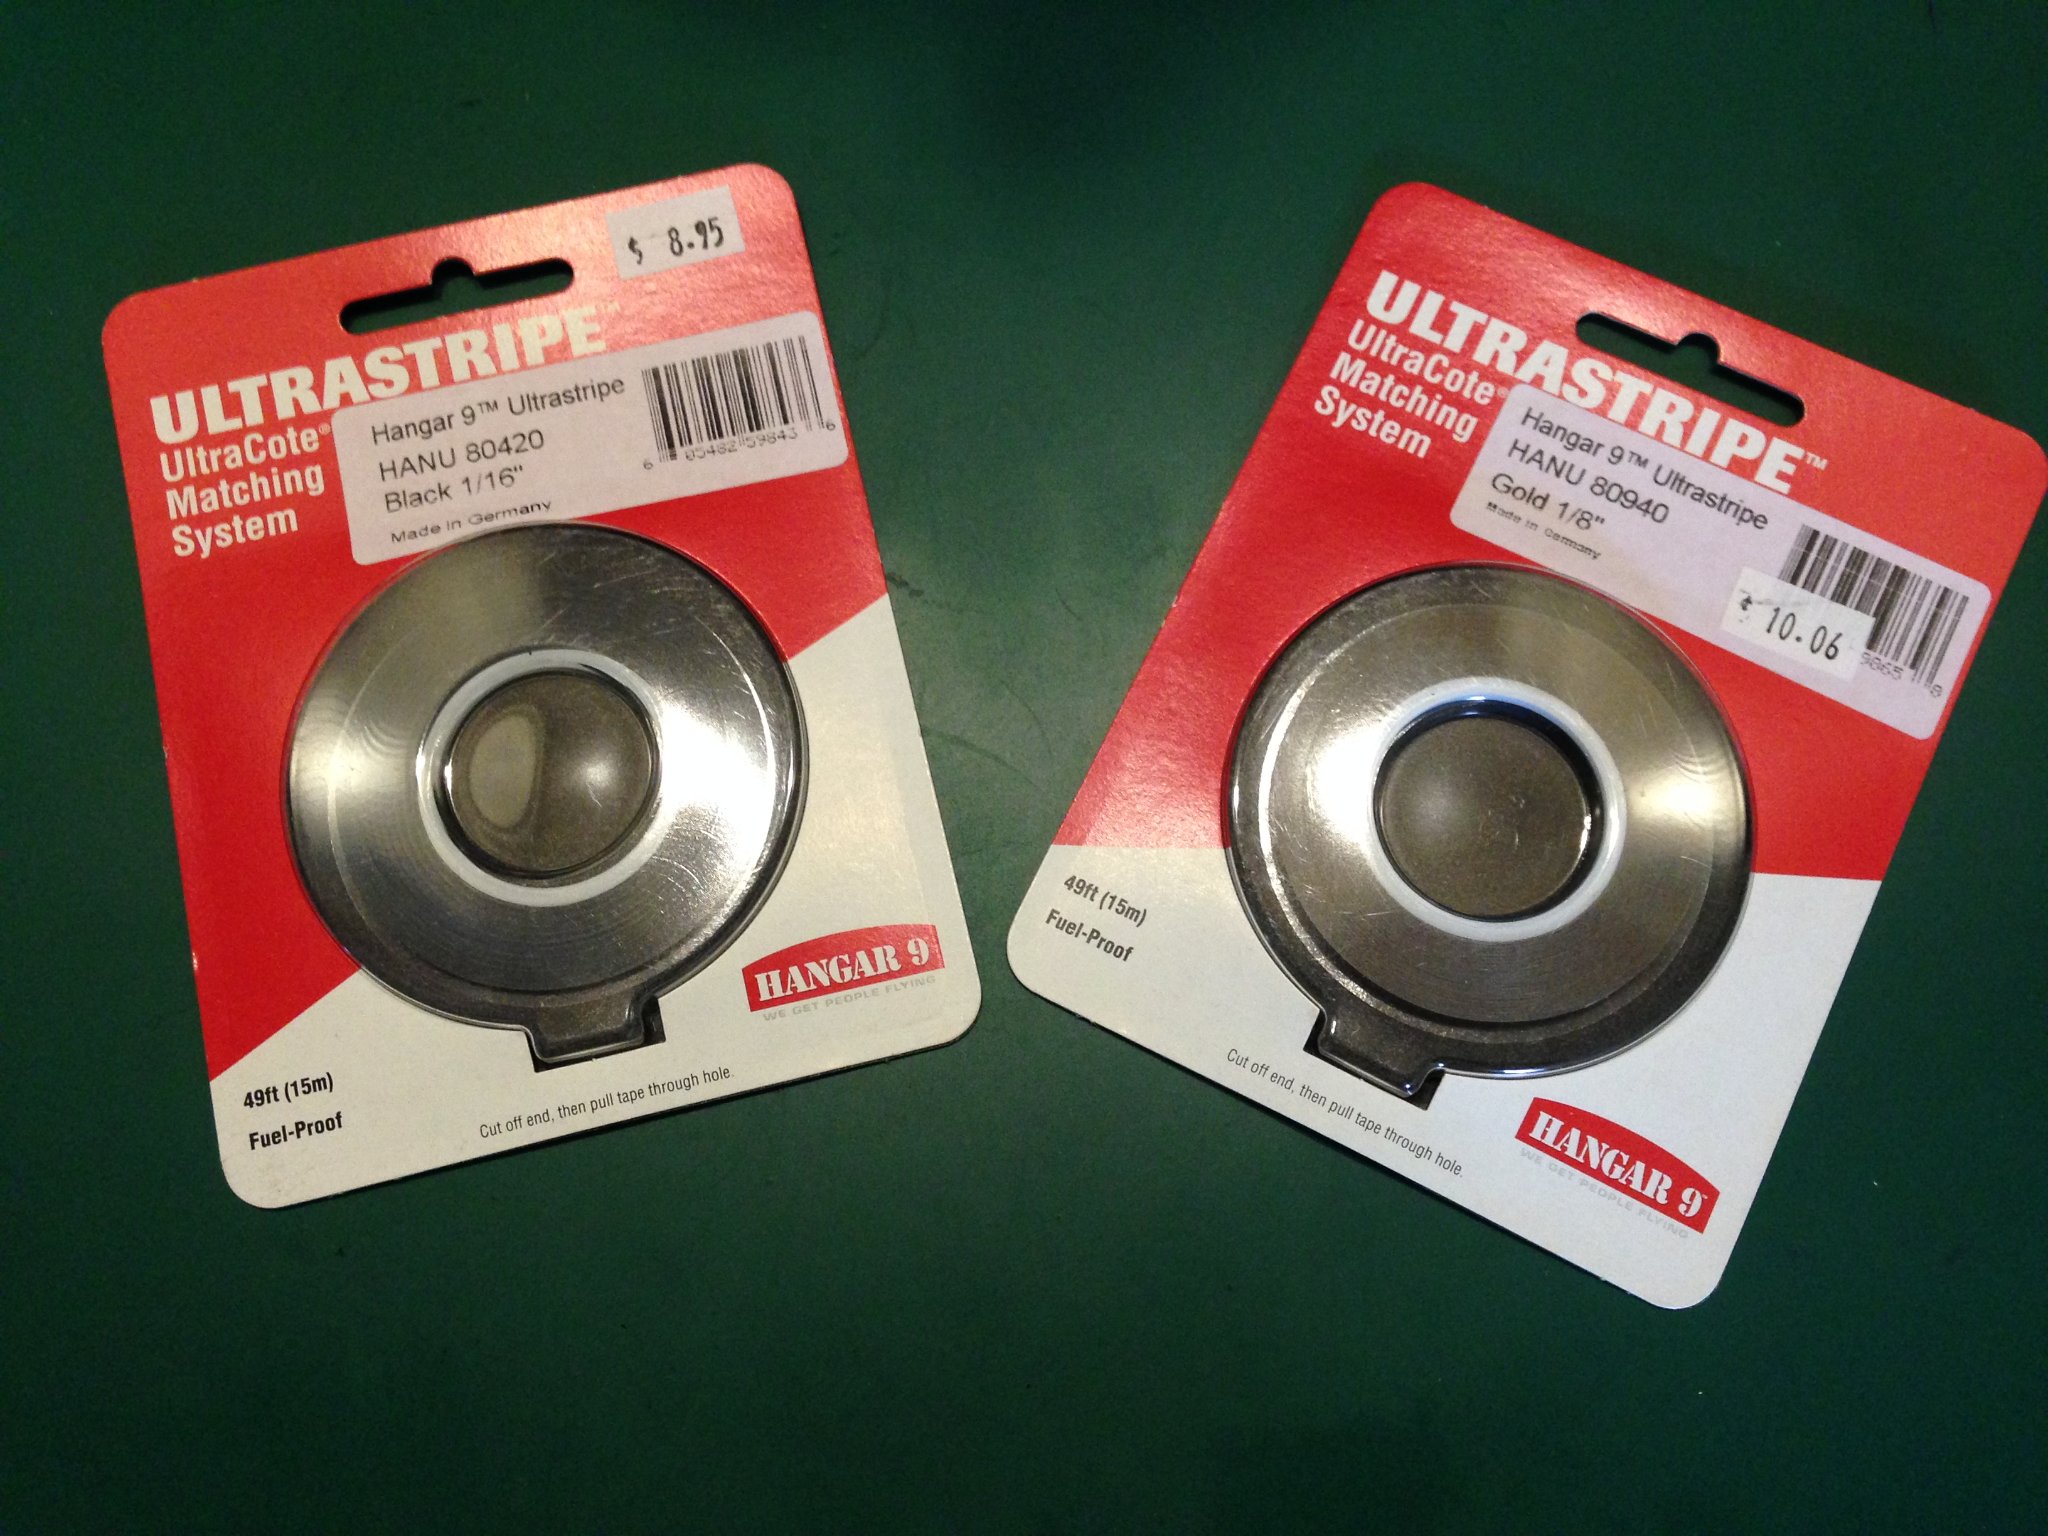
Part of the interest in modeling is problem solving. I think we all can agree on that. Today I went to our local automotive supply house to look for some pin stripe tape but as they do not specialize in automotive finishing their supply was meager. Just down the street at Performance Hobby I found what may be a very good solution to this journey of fabricating or simulating mast bands and other iron work. This ULTRASTRIPE product is new to me. It is made in Germany and comes in different colors and widths. The concern I think we all have had is a product that has long lasting attributes. As this is made for model airplanes it is fuel resistant and it has the property of forming a permanent bond with the application of heat in the range of 250/300 degrees F. It can be repositioned before heat application. Joe

-
Finally found your project Bill. Excellent work so much bvetter construction techniques than the ones offered in kit form. I will follow along in the process. Joe
-
Kevin we were in various stages of lock down in NYS for approximately 6 months until we beat it back to a low infection rate only to have it surge again year end. The only salvation for me beyond the good company of my lovely wife was modeling. With the rollout of the vaccine in your area here is hoping life as you have known it can be returned sooner than later. Joe
-
Things are starting to come together albeit slowly. Two orders from Syren finally landed the right size ship wheel. The 1 inch diameter wheel is most correct. Chuck tells me all is not lost having the larger wheel as it is going on the Winchelsea. Secondly I had an email exchange with the Smithsonian and I should be in the queue for a drawing mailing some time next week. The age of this model and any top coat of poly or whatever that was applied has given the exisiting model a rich tan patina. Just fashioning basswood replacement pieces is not going to be acceptable. Some experimenting will be in order before I go too far. Joe
-
Impressive metal work indeed! The fittings appear to be brass Chuck. In that period did they tend to leave them a natural finish as normal practice? Joe
-
Are the plans that good David or do you have other referencess? As I study the pictures of late, I marvel at the detail you have incorproated.. Joe
- 433 replies
-
- 3
-
-
- open boat
- small boat
- (and 1 more)
-
Seventeen months later, where have i been! I am truly the last pony in this parade. Other projects and family life have just gotten in the way of any progress. I have just finished a major project for someone and now have to clear the decks of two and possibly three model projects (a restoration for someone, a restoration for myself and my Cheerful). But when I see the beauty of what you all are doing I feel a strong urge to "bring her down" and start the process. I need a plan or I will be logging a similar tale a year from now!
-
My two cents on profile scrapers. I have found that, at least on boxwood, if I create a slight burr on one side of the profile it does a better job that a cleaner or back beveled edge. I tried this as that is the way I prepare my tradional scappers for woodworking. Also I have found what works for me at least is to mill sheet material to the desired width of the molding and then create the profile on the edge and rip those off the sheet. Joe
-
You have turned design for laser machining into an art form Chuck, i.e. the windlass and now the chain pump! What is next???? Joe
- 1,784 replies
-
- 2
-
-
- winchelsea
- Syren Ship Model Company
- (and 1 more)
-
Ah now I understand. Indeed there is a bit of a gap as the solder job was not as good as I hoped. Hard to remove and redo as I started with the bottom band and worked up. As I said i got better at it as I progressed. Joe
-
Glenn your right about the 3rd one down but the bottom one has to protrude out further because of the shroud line layering as mentioned above. At least that is what i understand from the post and the drawing. Joe
-
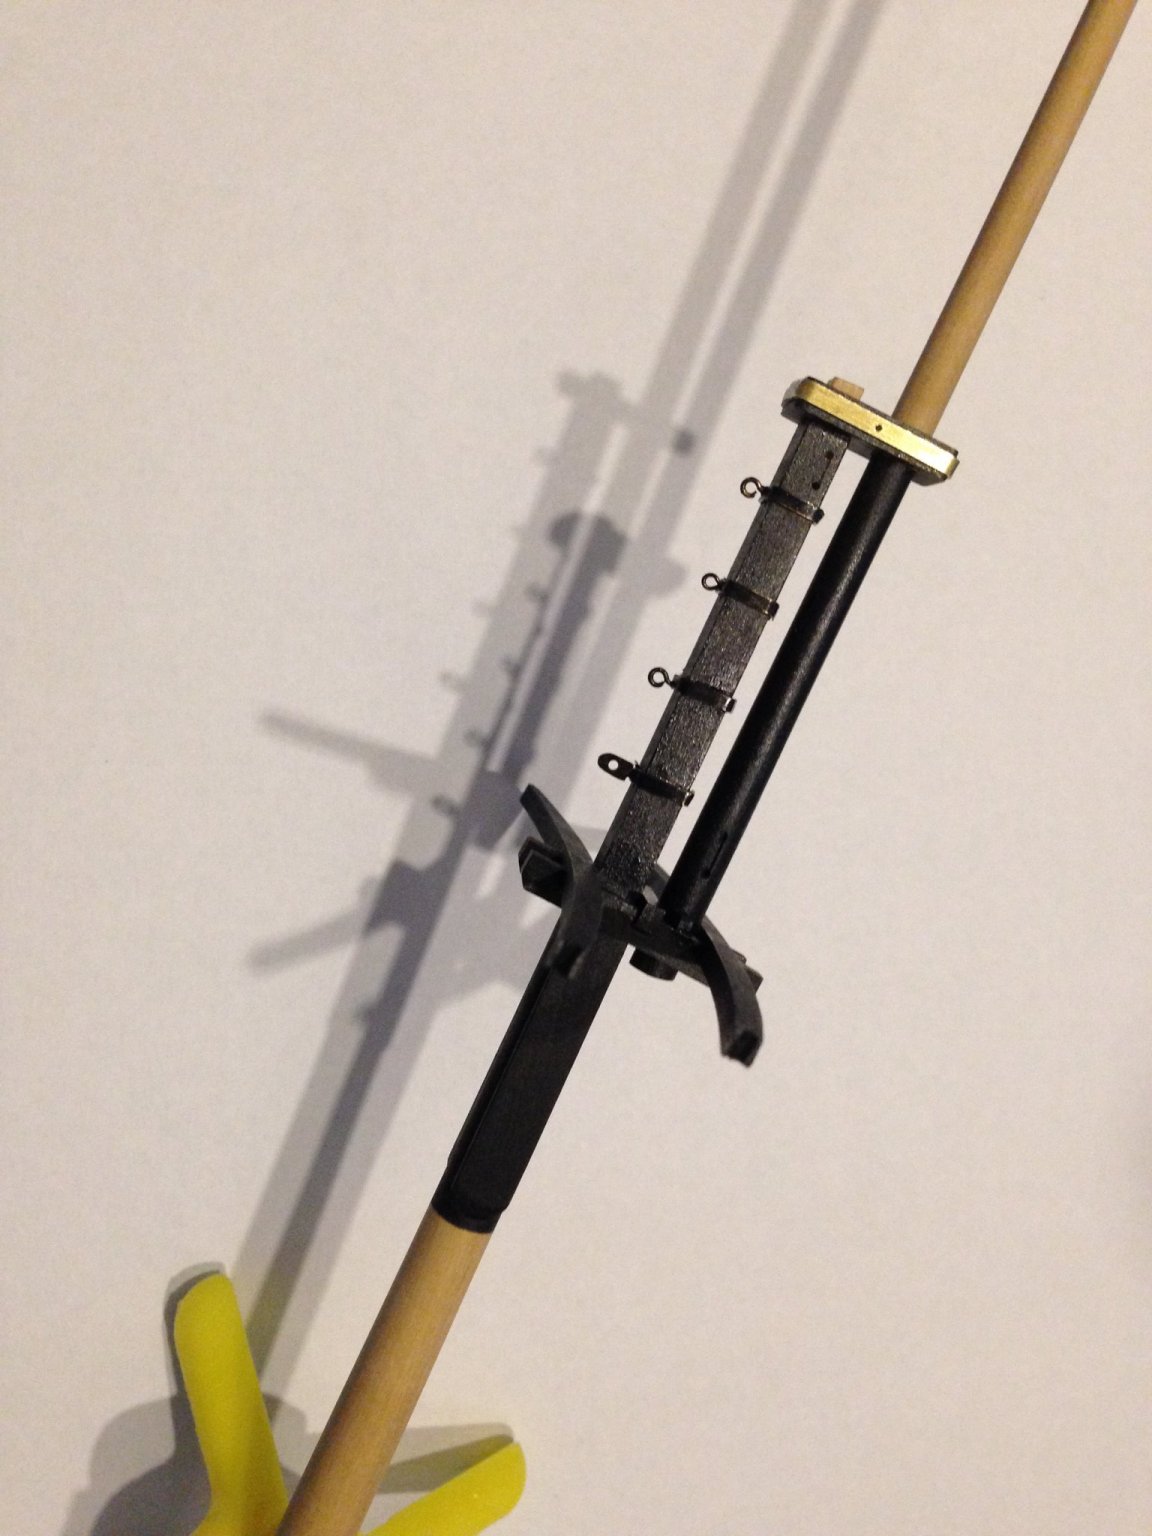
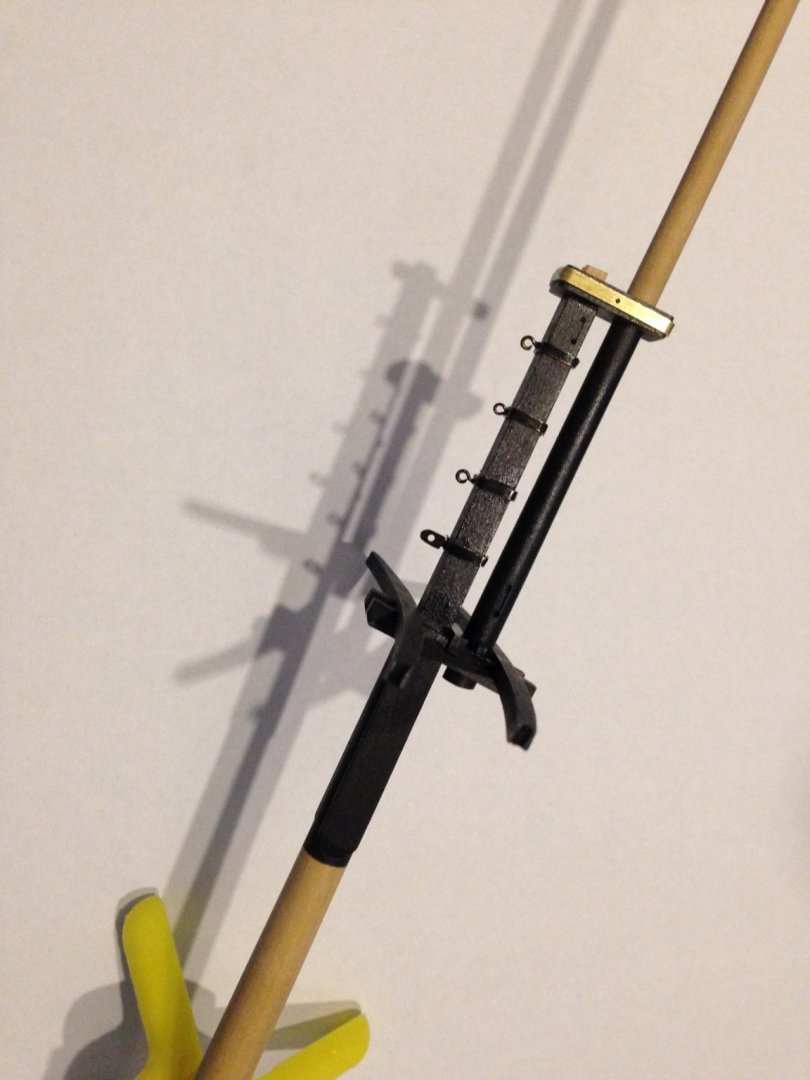
I have gotten better at making bands in brass. You will note the band at the step in the mast is now installed sans the eye bolts. It took two trys to get this larger band to look correctly (at least to me). I wrapped three sides tightly and then wrapped the 4th side into an overlap. The overlap was just enough to fall beyond the centerline on the 4th side. I marked that point and removed it from the mast. I then took the cutters as before and snipped the bypass/overlap just a tad more than where it landed before it was removed. I then took a flat jewelers file and tapered the cut ends to simulate a blunt end scarf joint. I then soldered this joint. It was finished with a flat file to knock down the soldered joint a bit and then drilled for the eye bolts. Now i realized something today. The brass is 1/64 inch thick or approximatey 0.015. That equates to about 3/4 inch thick bands at full scale. I rather doubt they were that thick. I bet stock of 1/128 inch would have been more correct. Am I obsessing? Maybe. Joe
.JPG.ded295acd7f892c14652c9f6aa148031.JPG)