HOLIDAY DONATION DRIVE - SUPPORT MSW - DO YOUR PART TO KEEP THIS GREAT FORUM GOING! (Only 75 donations so far out of 49,000 members - C'mon guys!)
×


ccoyle
-
Posts
10,459 -
Joined
-
Last visited
Content Type
Profiles
Forums
Gallery
Events
Everything posted by ccoyle
-
Welcome aboard!
-
 Handsomely done!
 -
Good luck on your project!
-
T-90 by Mikegr - FINISHED - AM - 1/72 - PLASTIC
ccoyle replied to mikegr's topic in Non-ship/categorised builds
Nice! -
Well, good! Because these Halinski kits can make a modeler go insane!
-
T-90 by Mikegr - FINISHED - AM - 1/72 - PLASTIC
ccoyle replied to mikegr's topic in Non-ship/categorised builds
Tracks are definitely the "bogie"-man of armored models! -
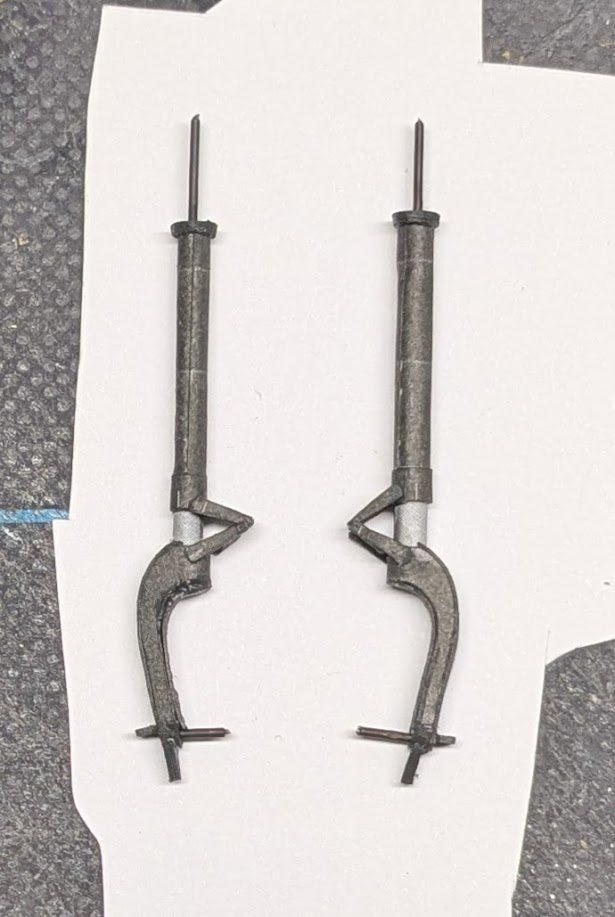
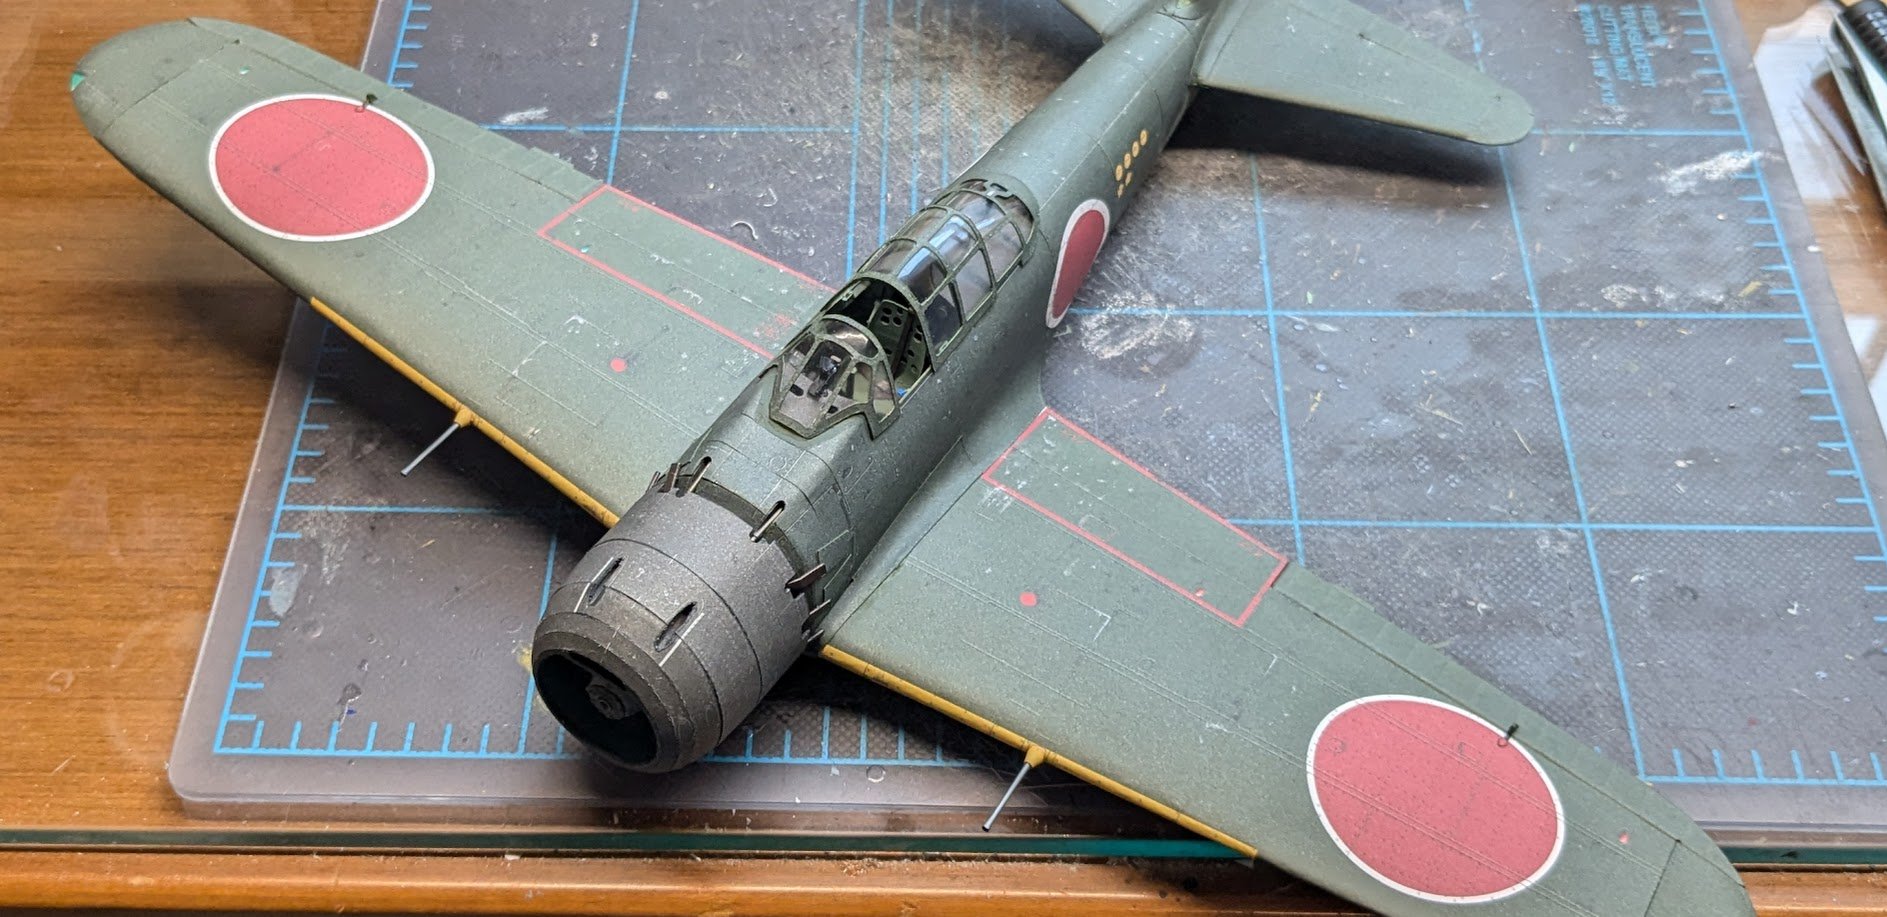
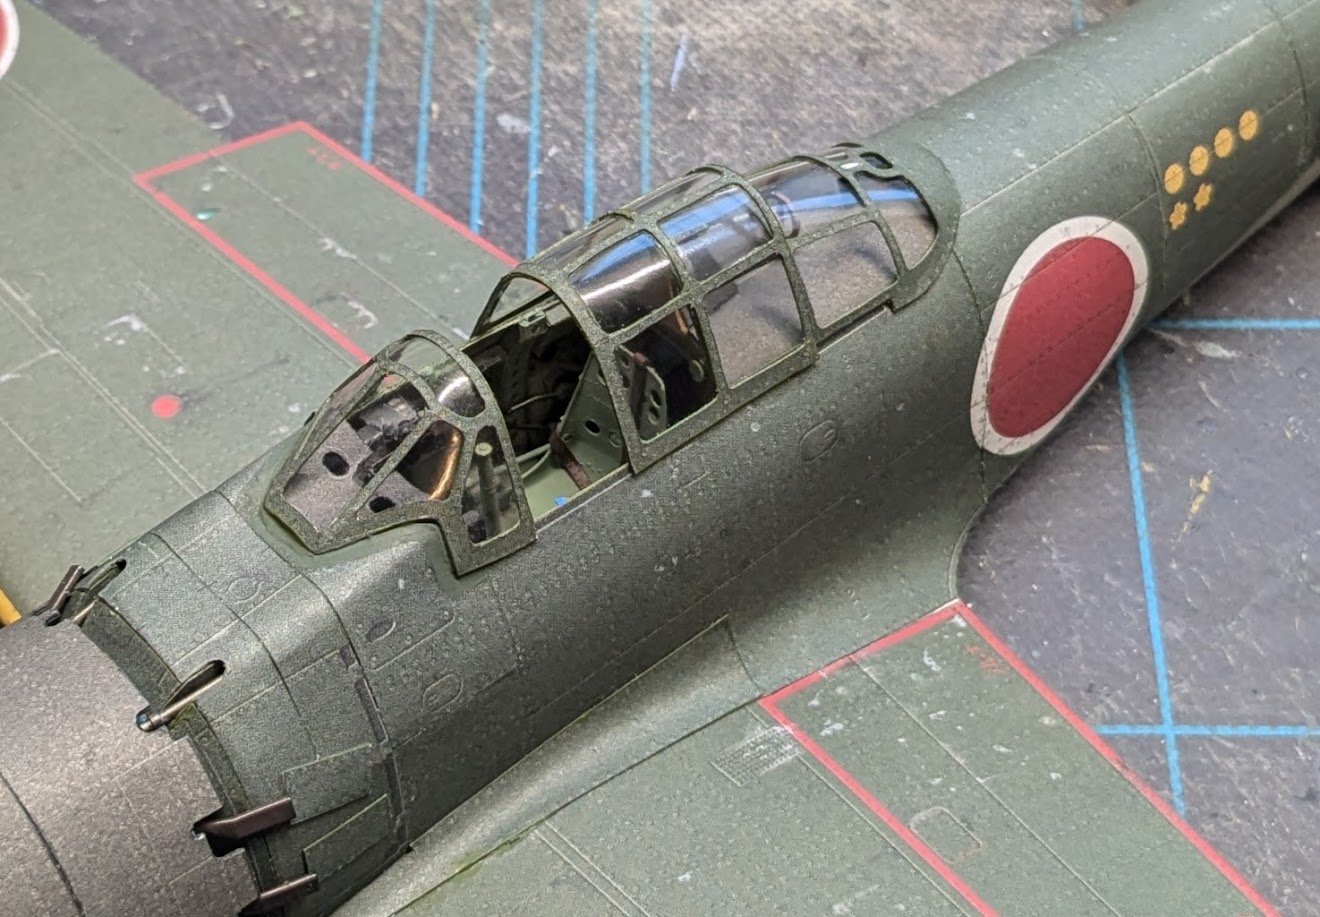
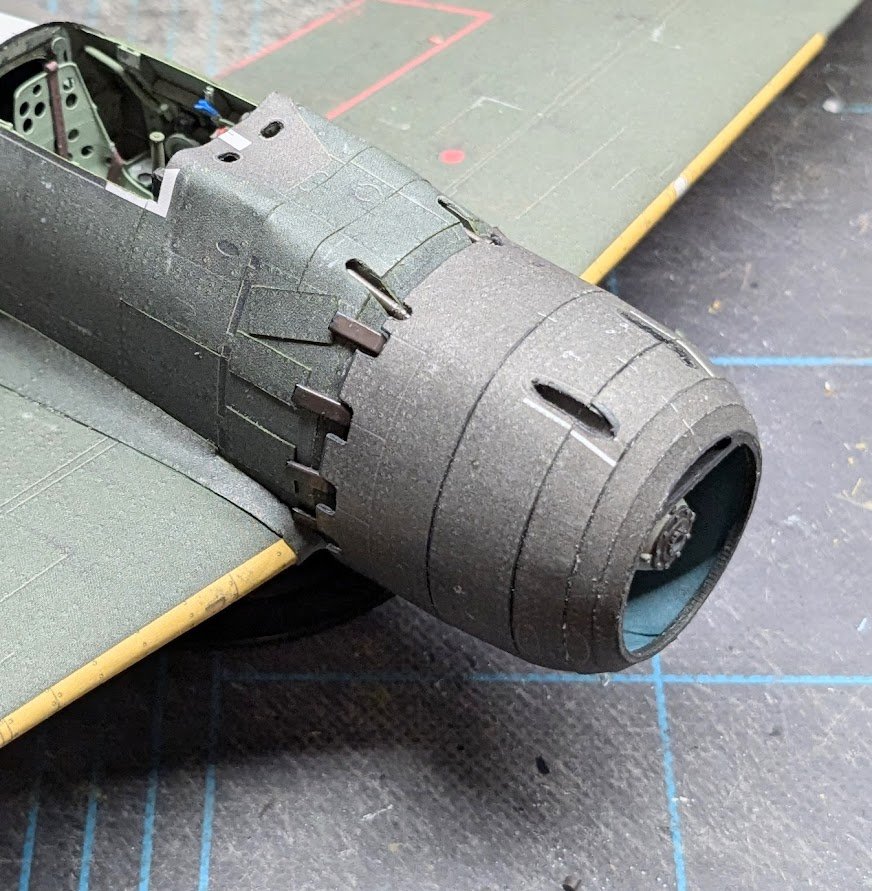
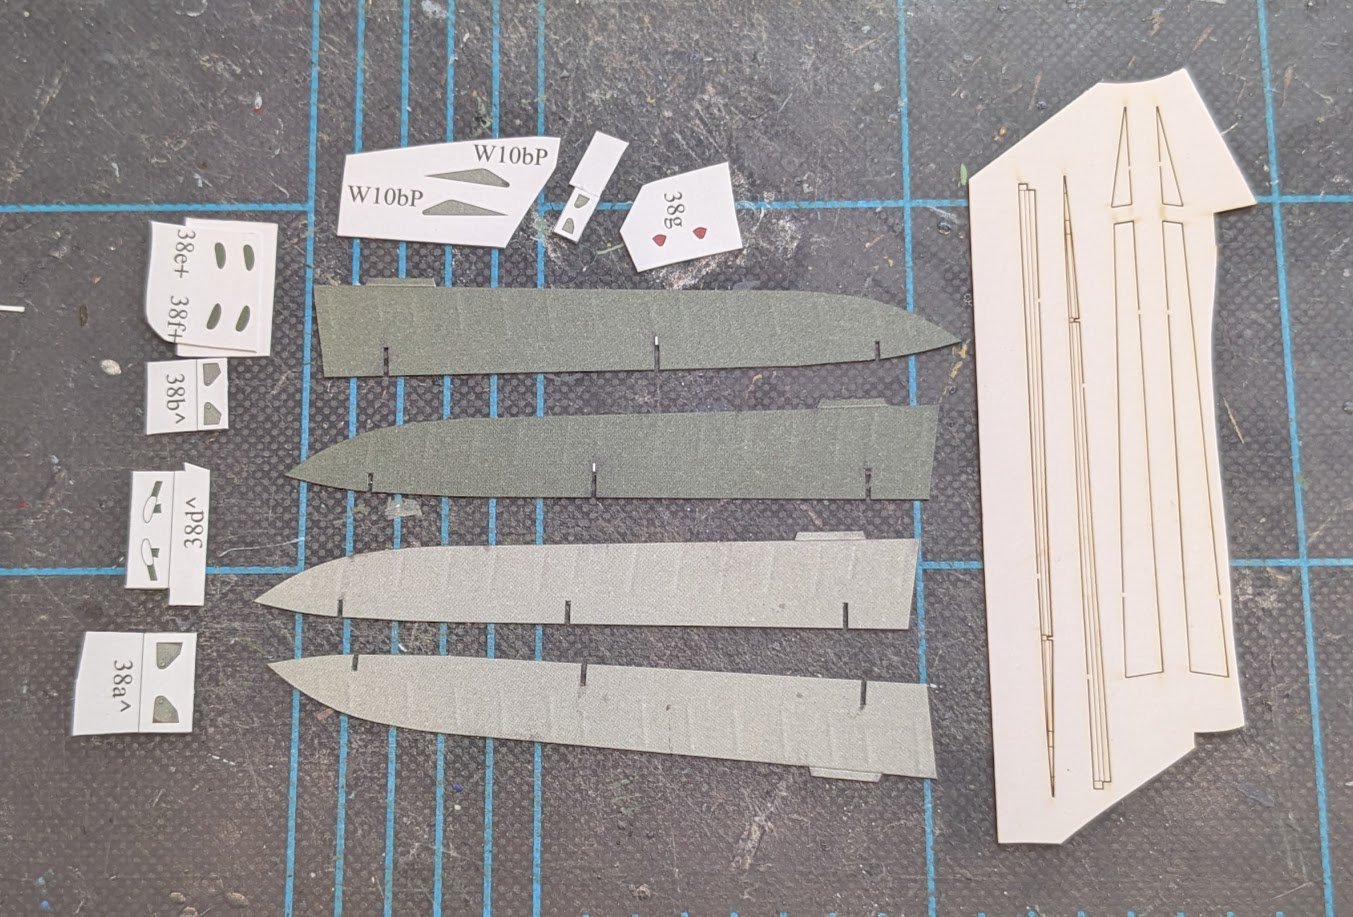
Thank you! Pre-molded canopies are certainly convenient, but I don't think I've ever had one yet that didn't pose its own unique challenges, and this one was no different, so I'm happy with this result. Next it was on to the ailerons, and naturally with this being a Halinski kit, each one had to consist of no less than thirteen separate parts. 😑 In the end, though, I was completely dissatisfied with how the control horns turned out, so I ended up replacing them with much simplified scratch components, which knocked the parts count down to only twelve per side. As seems to be my habit, I also ended up with the gap between the wing and aileron being much more noticeable on one side than the other, which you can't really see from this angle. What can I say? And lastly for this session, I also added the brass 20 mm cannon barrels and their shrouds. I believe the landing gear are next if I follow the numbered sequence.

- 112 replies
-
- 19
-

-
Moin, Herbert! Welcome to MSW! Please note that our site guidelines require posts to be made in English (I can read German, but not all of our members are so blessed!). Good luck on your project! This looks like the Amati 1/35 scale kit?
-
Hi, Dan, and welcome to MSW! Some observations (and you're probably not going to like the first one): "Established kit" is a very generous description of any Mini Mamoli product. I think most of our members would agree with me when I suggest that these are terrible beginner kits -- poor materials, poor instructions, poor representations of the real-life subjects, and scales that are difficult to work in for wooden ship subjects. To be frank, I'd recommend setting this kit aside and starting over with something that is much more likely to result in success. You'd enjoy the hobby far more by going that route, IMO. I can't for the life of me imagine why the kit would have you attach shrouds to the inboard side of the bulwark. That doesn't mimic actual practice at all. A modeler is never obligated to rigidly follow instructions. Thinking the various tasks through in advance may suggest to you better ways to get a task completed. Modelers use a variety of tools to work in tight spaces, including various styles of tweezers (including some with curved tips), hemostats, and assorted rigging tools that can often be home-made on the cheap. Yes, attaching rigging to eyebolts before gluing the eyebolts in is one way of doing things, but it's a terrible way for doing shrouds -- because that method exists only in the minds of Mini Mamoli kit designers, not in actual practice. Anyways, just something to think about.
-
Fingers crossed!
-
Got the frames cut out and glued to the vacuformed canopy. Afterwards I noticed that there is a slight defect on the aft starboard side that didn't allow the lowest frame on that side to sit level. It remains to be seen how that will affect fitting the canopy to the fuselage later. I will let the glue fully cure before cutting the canopy free from its blank. Since I invested in an upgraded cockpit interior, I'm leaning toward displaying this model with the canopy open.

- 112 replies
-
- 17
-
-

-
Question about Swift pilot boat stem piece
ccoyle replied to Pastor Wes's topic in Wood ship model kits
It looks to me like you don't have the stem seated all the way back. The contours of the stem and longitudinal profile should come together without a gap. -
The model? Or the full-size boat? The full-size one can really move, and it would be a great project for anyone who lives near a large body of water, like the Delaware River.
-
Eberhard, I saw that your wonderful build log had never been tagged as finished! I have belatedly rectified that oversight.
-
Sound advice! I had more or less the same experience with spiling
-
Well done!
-
We used to have more detailed instructions, including directions on how to append the medium (wood is the default medium) to the end of the title, but it made little or no difference in the number of titles that we ended up tidying. I'm happy if new members get their titles 75% 'correct'. As you pointed out, looking at existing log titles is the best way to see how it's done.
-
I have to admit that I'm a little envious about the full-time narrowboat plan. I told my wife that we have enough equity in our home to sell it and pay cash for a narrowboat, but she wasn't keen on the idea -- my loss!