HOLIDAY DONATION DRIVE - SUPPORT MSW - DO YOUR PART TO KEEP THIS GREAT FORUM GOING! (Only 75 donations so far out of 49,000 members - C'mon guys!)
×


ccoyle
-
Posts
10,459 -
Joined
-
Last visited
Content Type
Profiles
Forums
Gallery
Events
Everything posted by ccoyle
-
Ciao, and welcome aboard!
-
 Be interesting to see if anyone takes him up on the offer to sell the company.
 -
Congratulations on finishing a very attractive model!
- 32 replies
-
- 2
-

-
- St Louis
- 3D Printing
- (and 2 more)
-
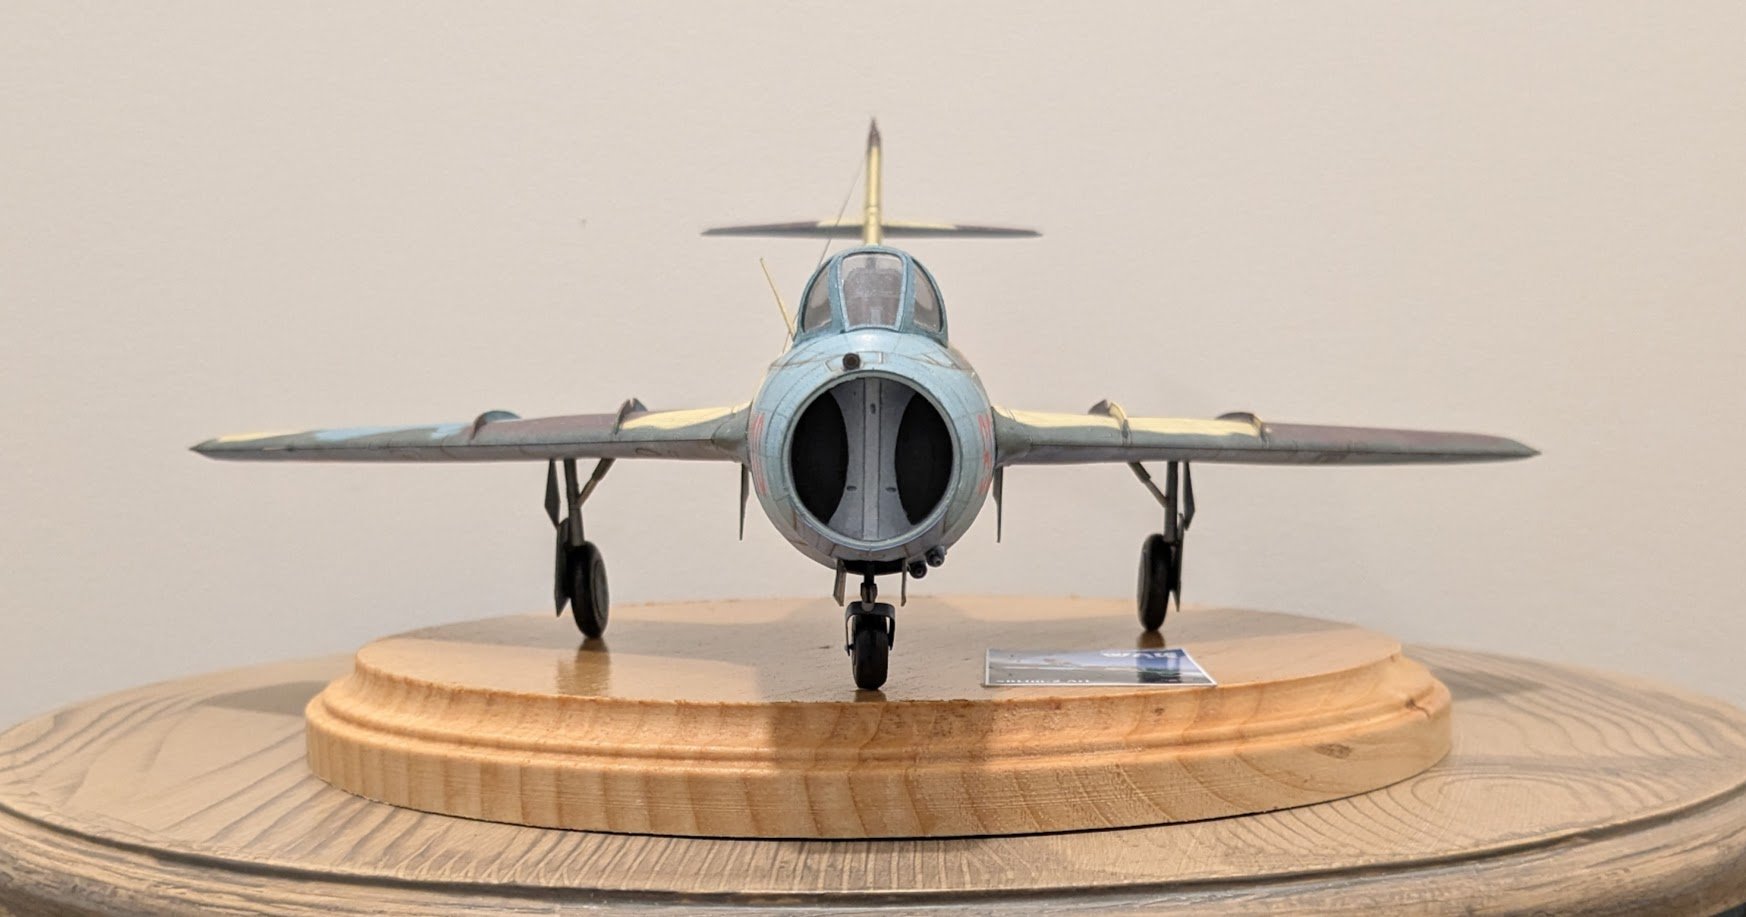
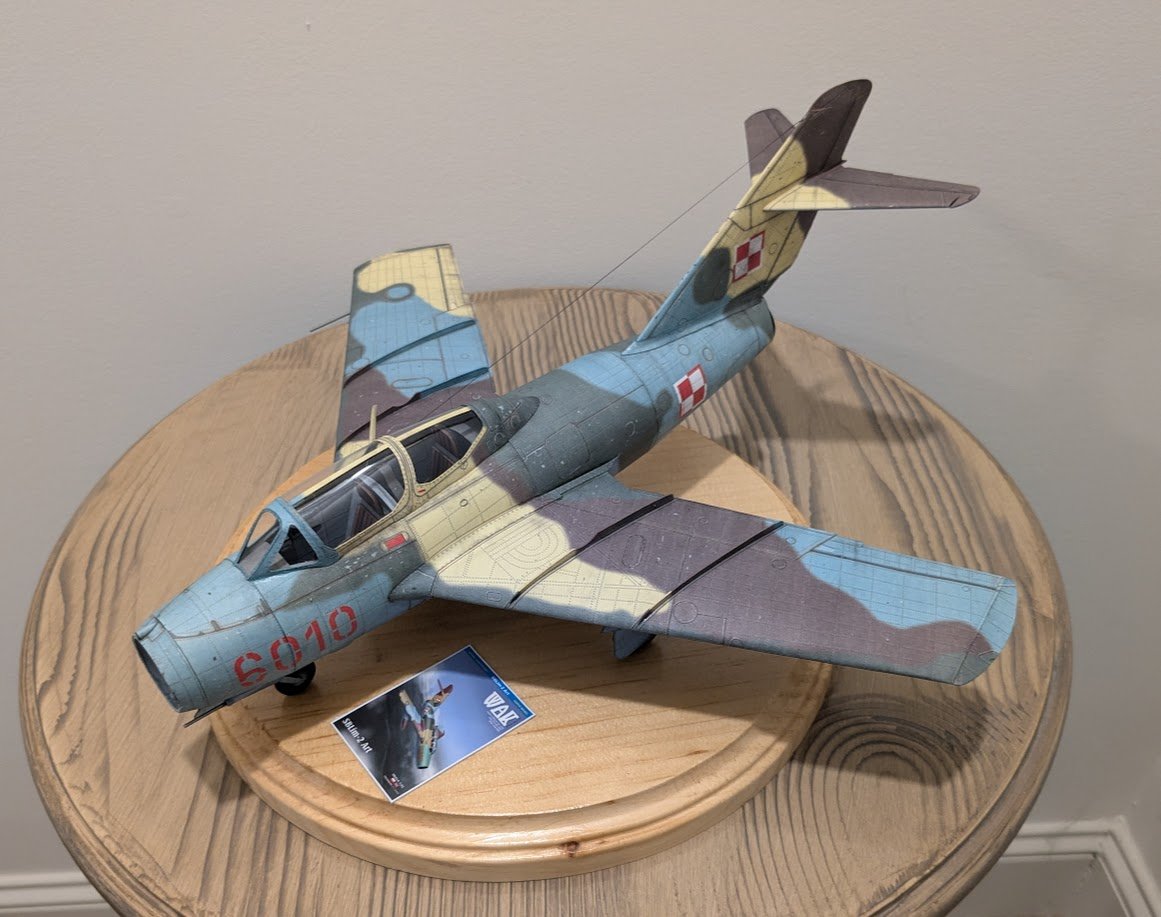
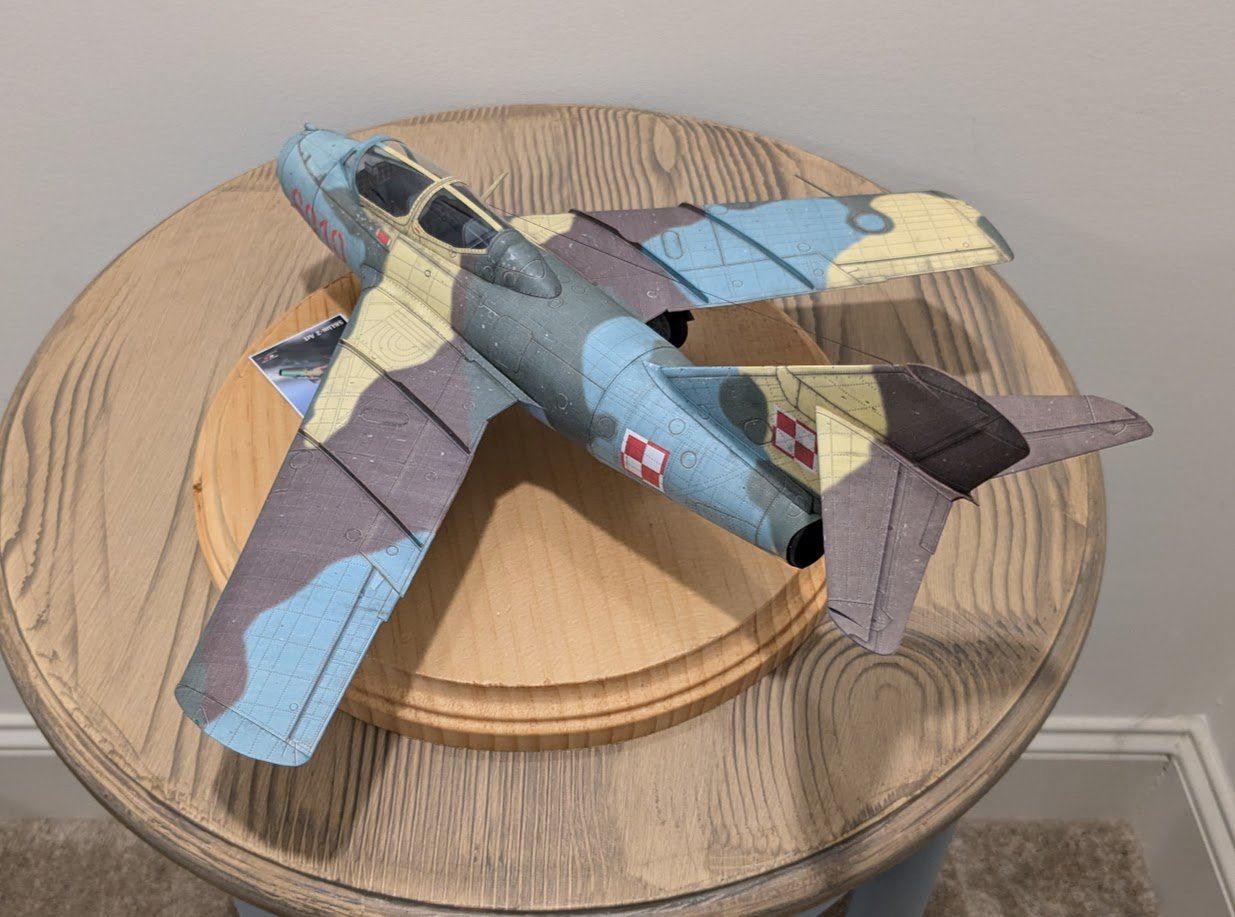
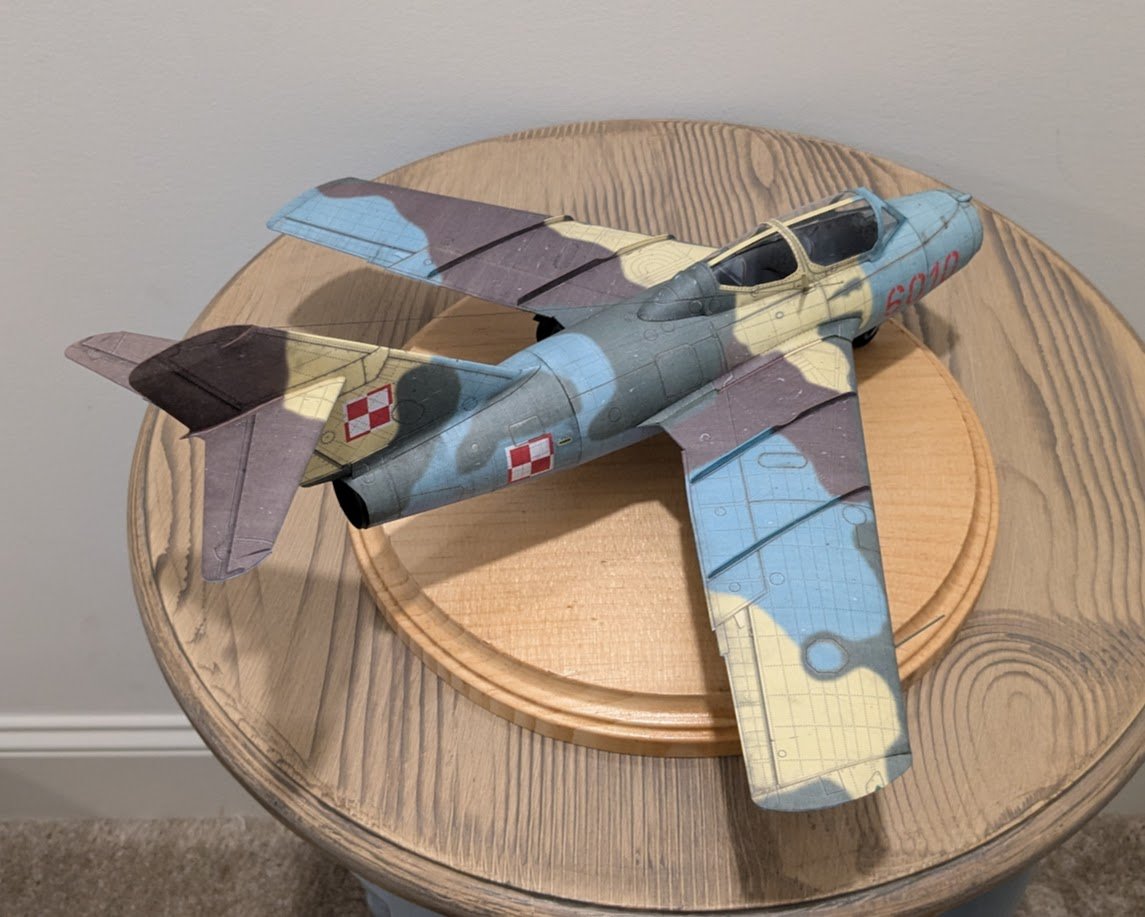
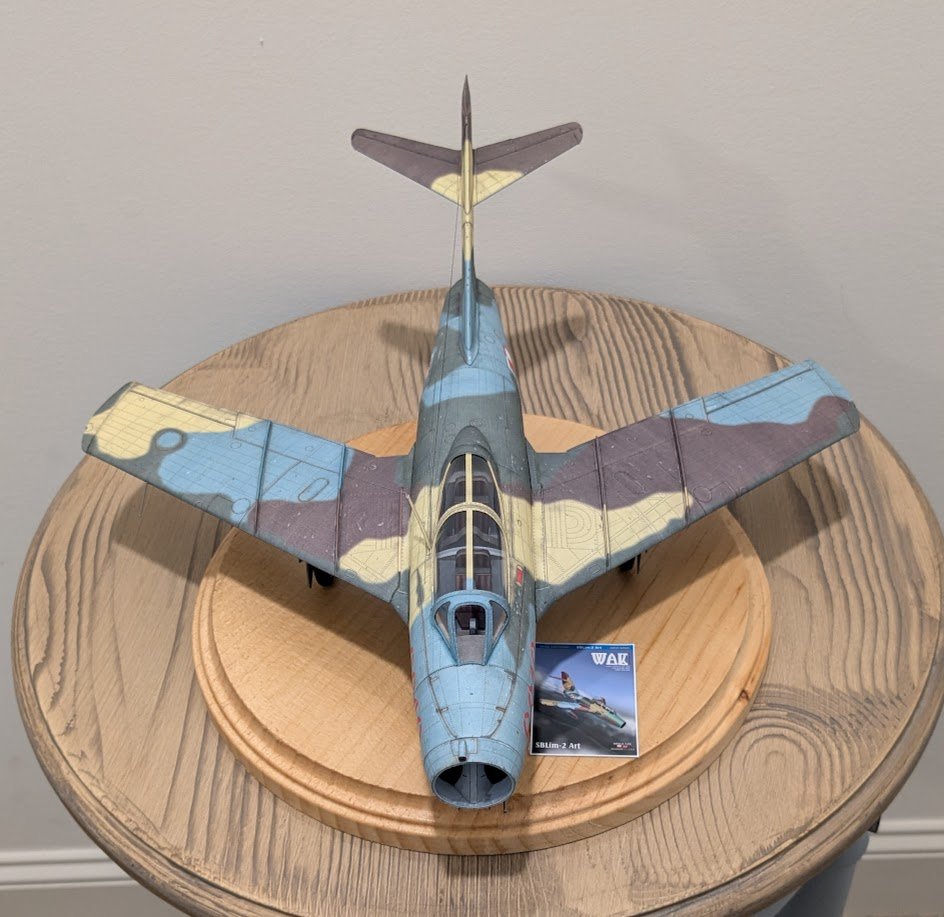
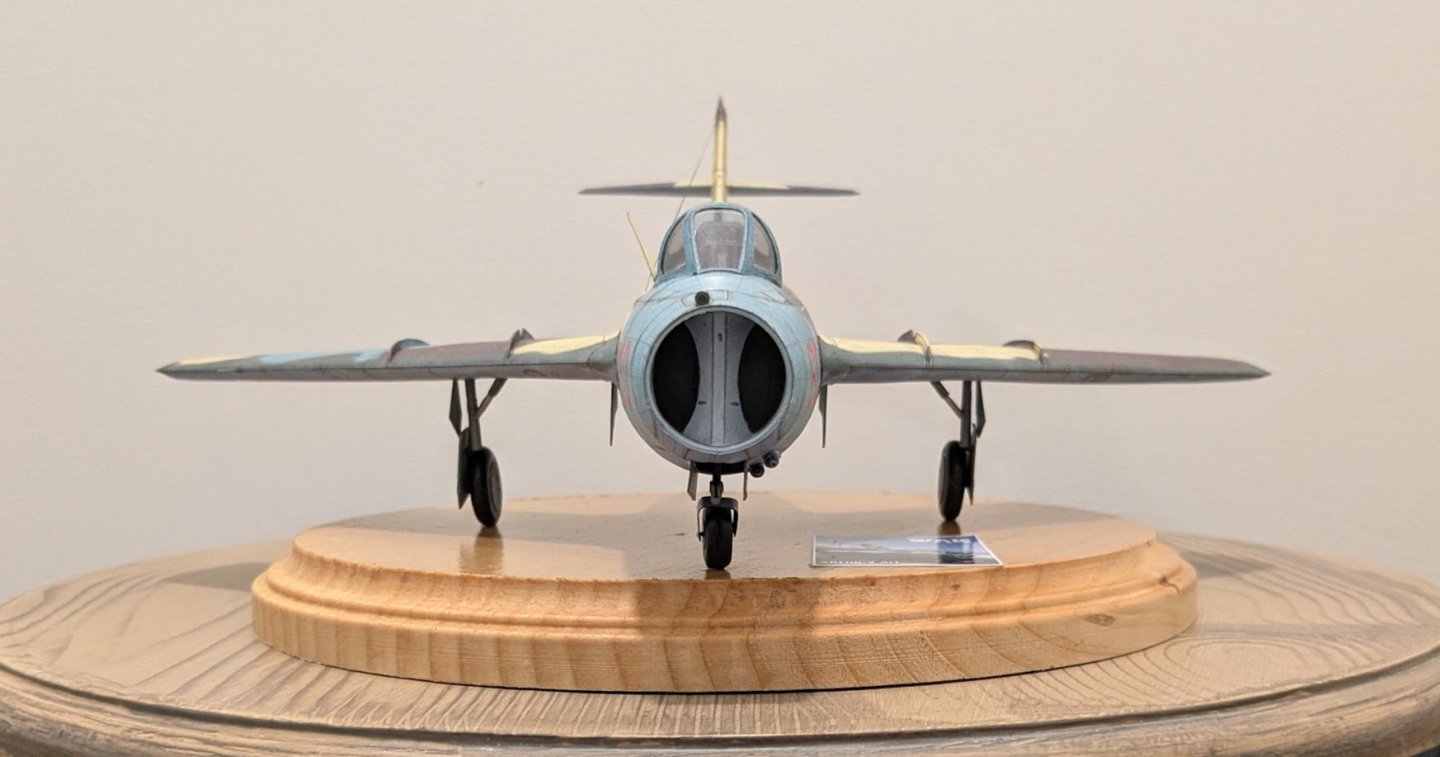
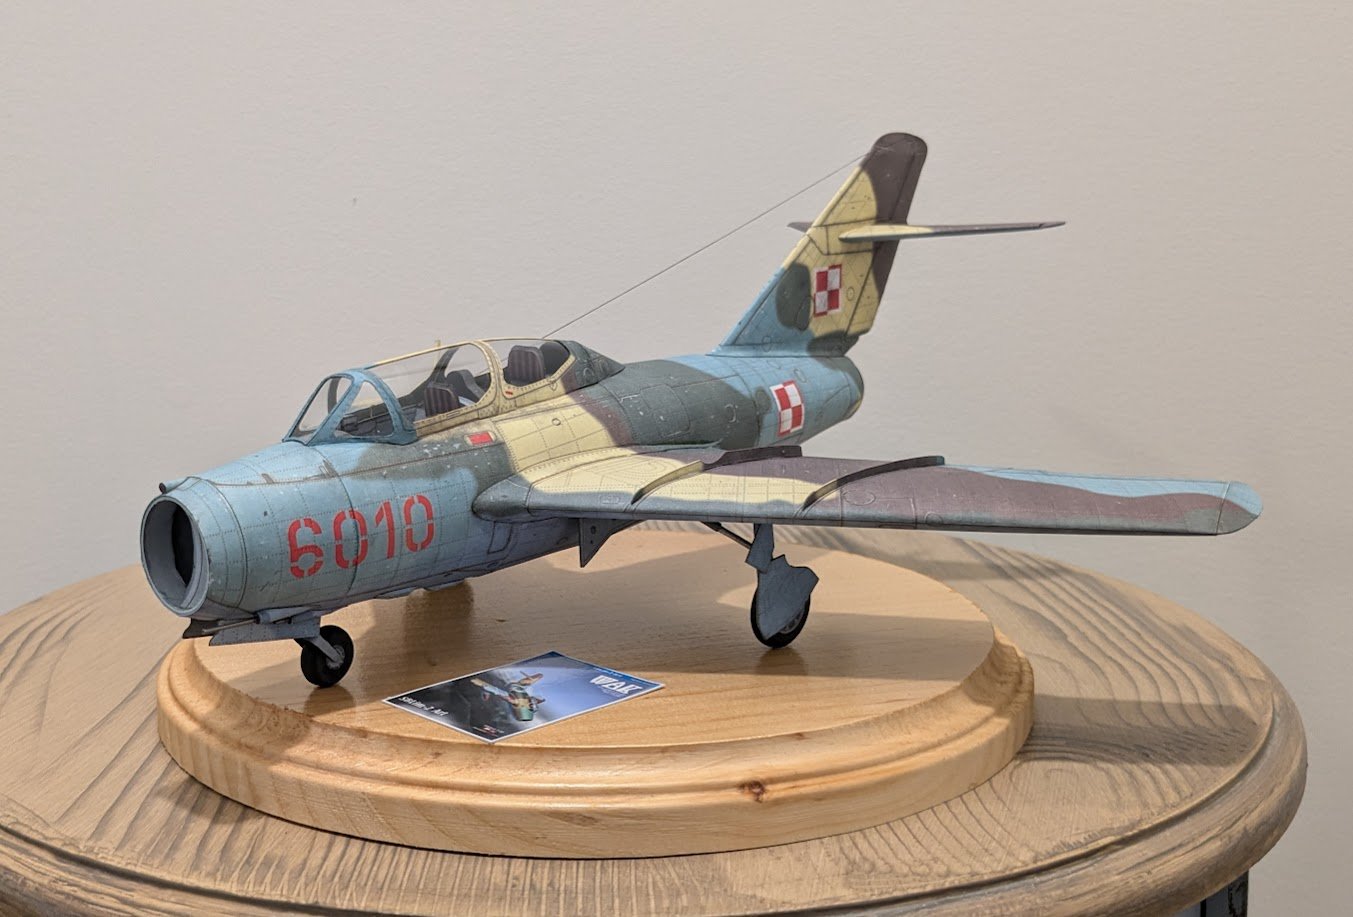
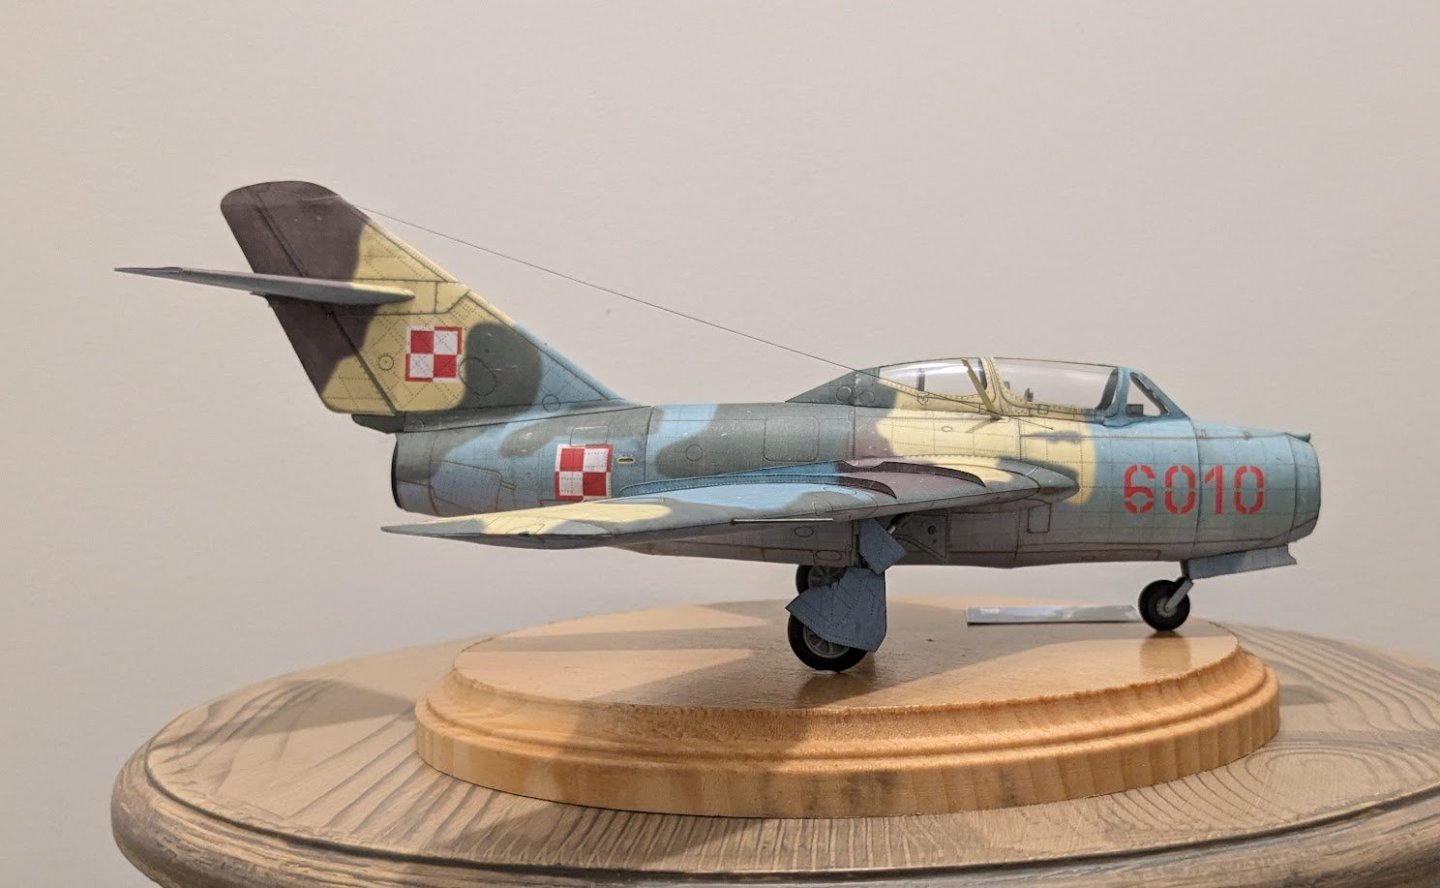
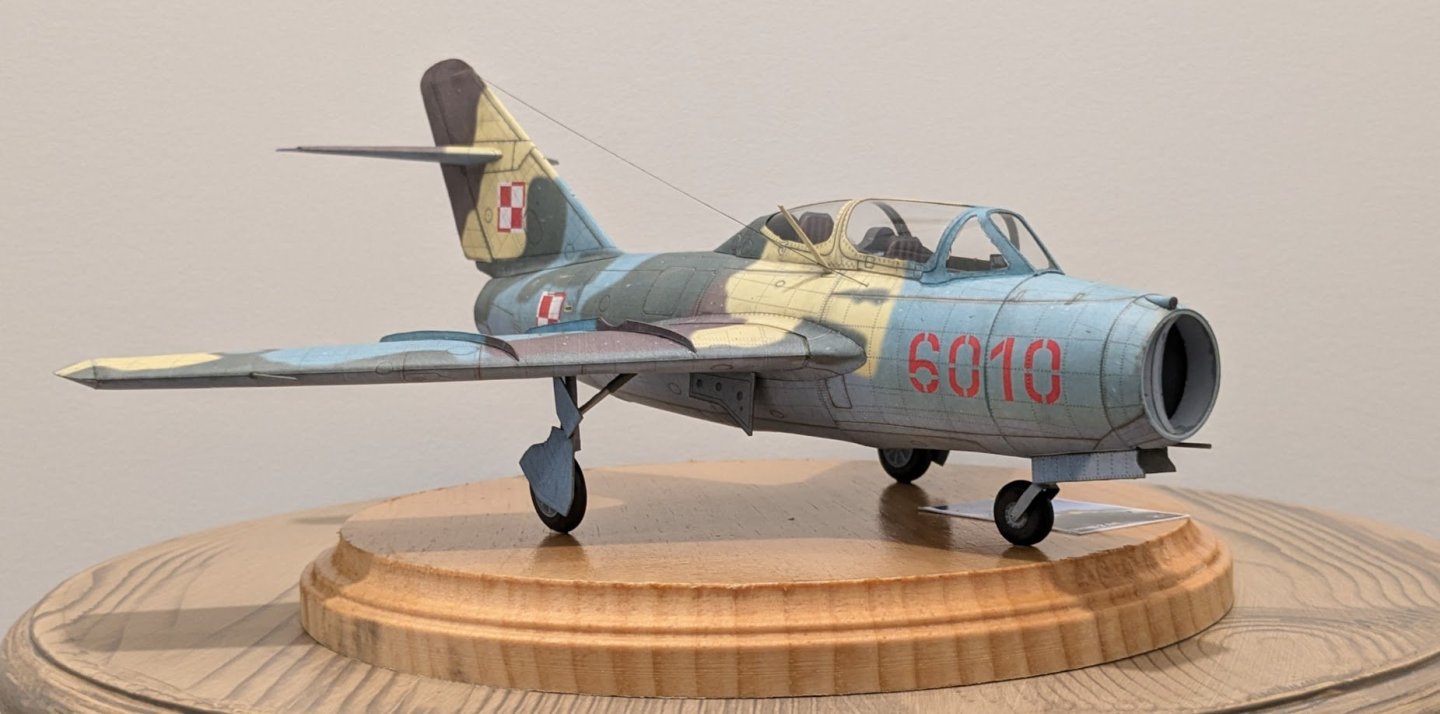
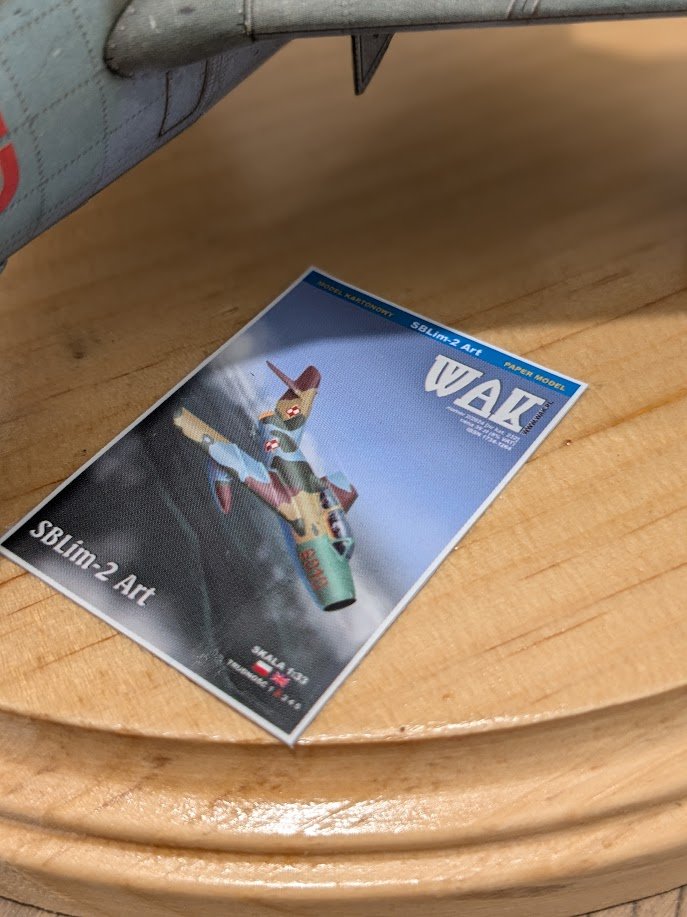
After further deliberation with myself, I changed my mind about the wire aerial and added one. I also added the pitot tube, which I had overlooked. And that means it's now time for the BIG REVEAL! You may recall that I forgot to add weight inside the nose. To fix that I simply glued the model to a display base purchased from Hobby Lobby. While thinking about inexpensive ways to add a name plate, I came across the reduced image of the booklet cover that is printed on the back cover of the kit. I thought that would make a nifty little badge of sorts. Enjoy the photos!

- 66 replies
-
- 15
-
-

-
Yes, there are doors. I can't remember the part #s off the top of my head, but their shape makes them and their placement pretty obvious.
-
That looks very nice!
-
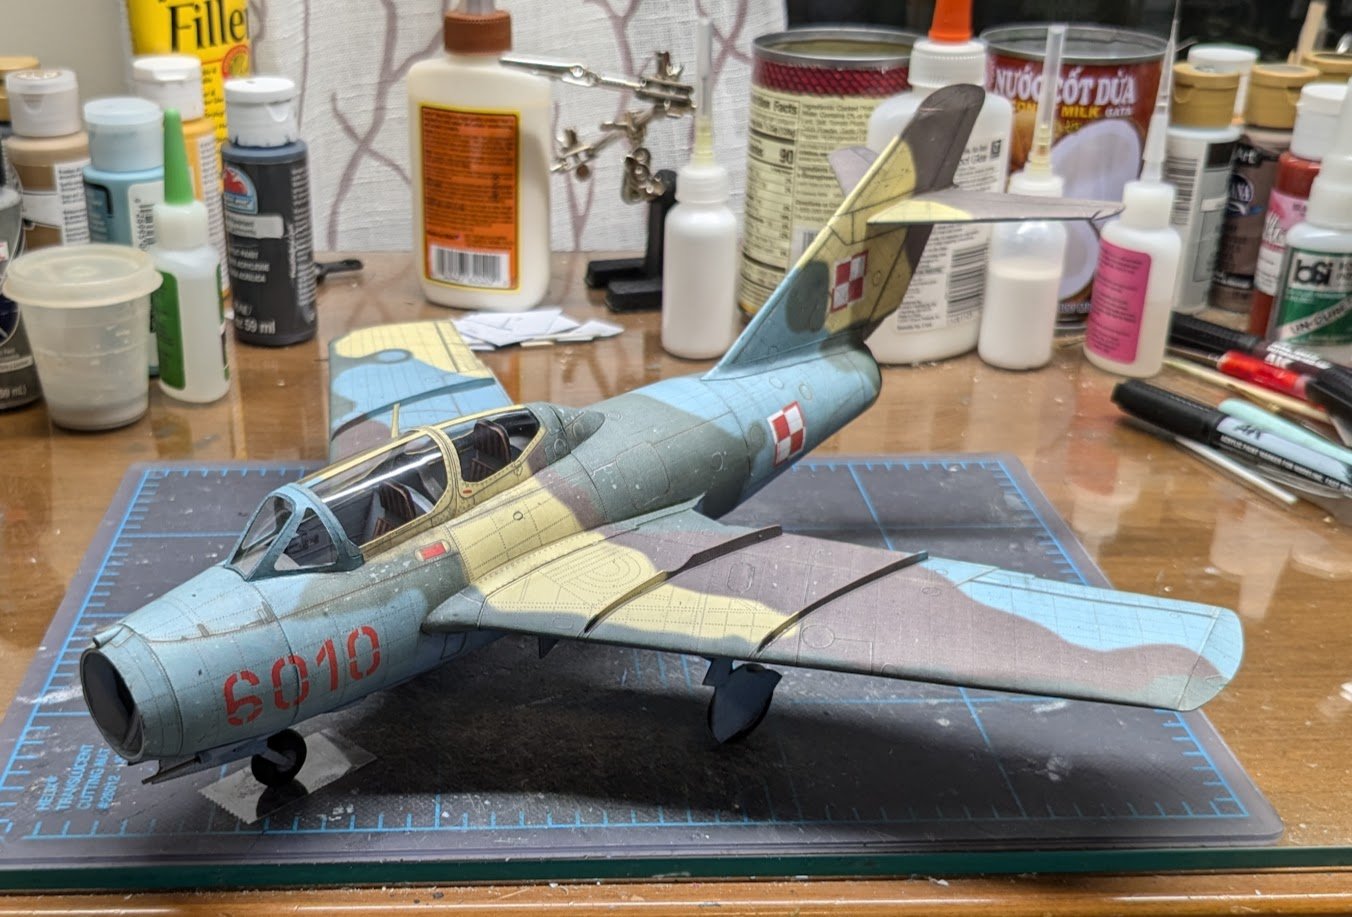
Okay, I have made an executive decision on the wire aerial. The aerial's approximate termination points are shown in a diagram, but they're not marked on the printed skins, so placing the aerial requires some guesswork. That led me to doing some browsing of photos online, whereupon I discovered that most SBLim-2As did not have wire aerials. Instead, most of them have some kind of stub aerial (not included in the kit) just in front of the mast aerial. The stub aerial probably connects to the cockpit interior via the same port originally used by the wire aerial. Granted, the wire aerials may have been removed sometime during an aircraft's service life, but I have no way of knowing that. In any case, the wire used on the real aircraft was very thin and can barely be seen in photographs. These factors taken together have made me decide to not include the wire aerial And that, of course, means that the model is finished! It's late here now, so I don't have time to do the complete 'big reveal' set of photos. I'll try to add those tomorrow, at which point we will be able to mark this build as finished. Until then, here's one teaser photo of the model sitting on my very untidy workbench. Until tomorrow!
- 66 replies
-
- 14
-
-
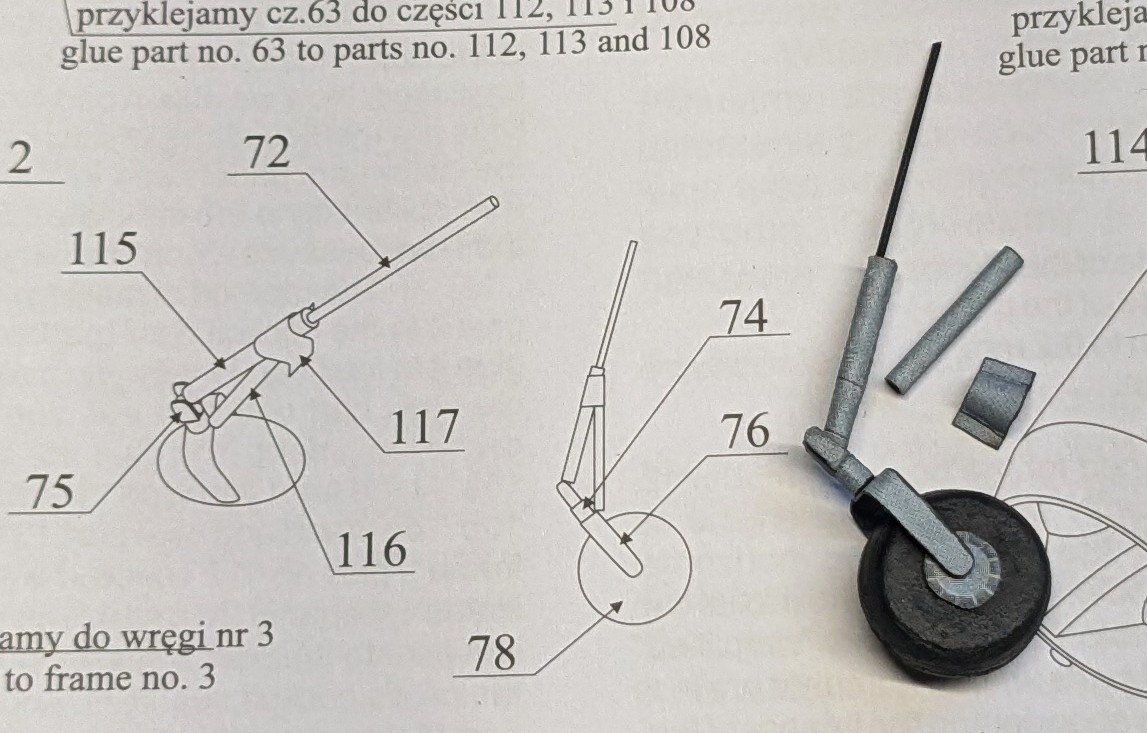
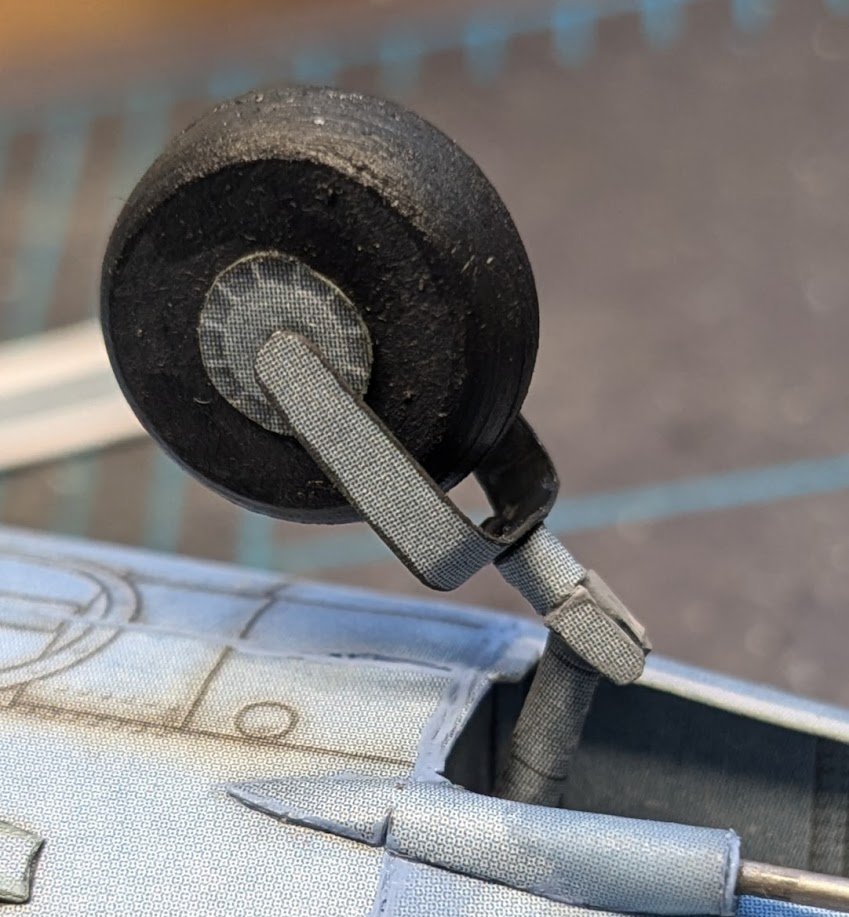
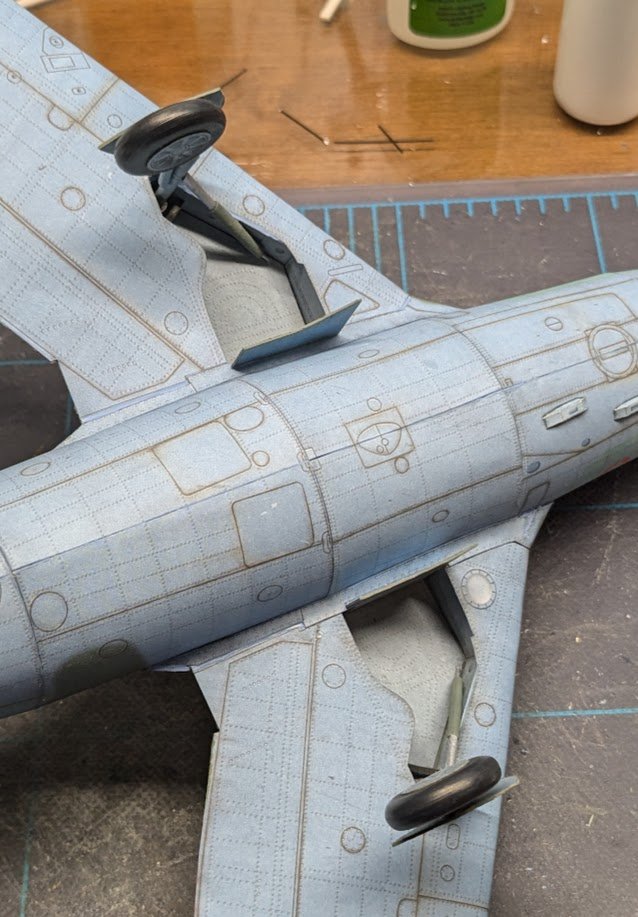
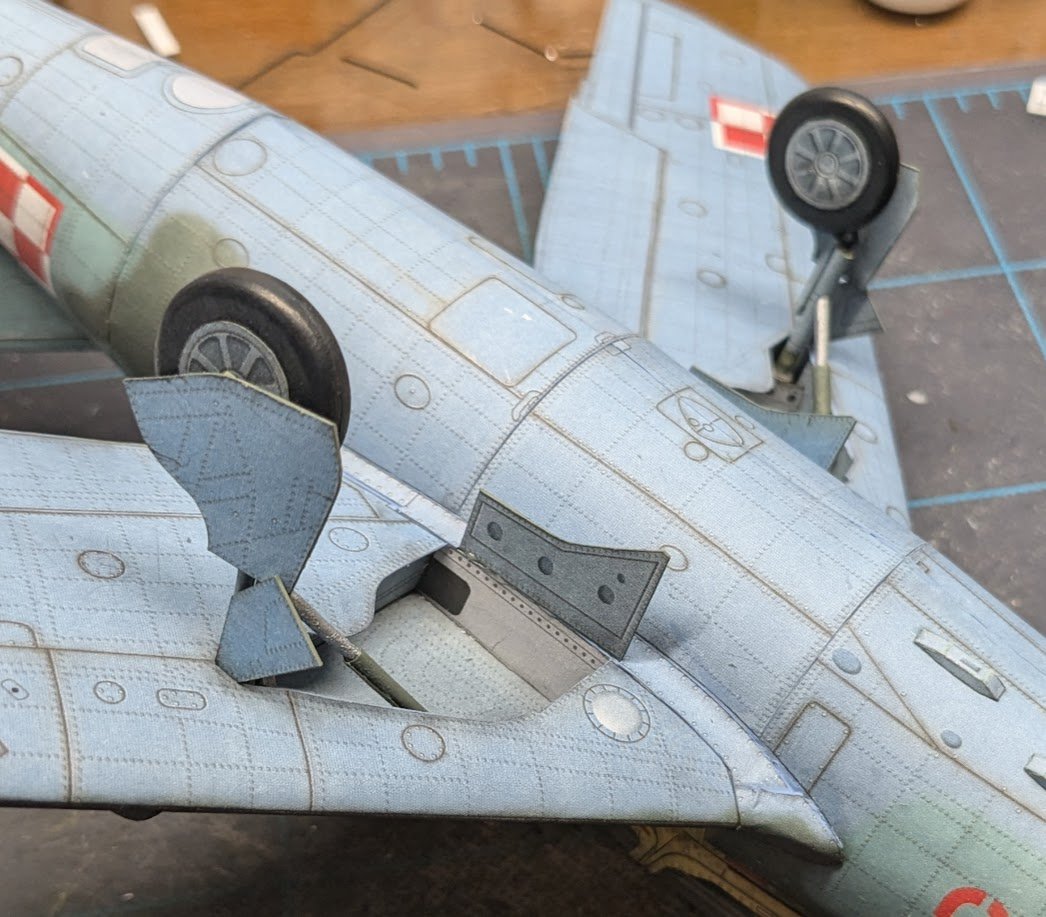
On to the nose wheel. The main thing to be aware of here, as with the main gear, is that there are alternative parts for use with the optional interior wheel well -- just make sure you use the right ones, depending on which version you are building. Here is the nose wheel on its wire strut, along with the various paper parts that go with it. I put part 115 on upside down -- did you notice? I did not add parts 116 and 117 yet because I had a sneaking suspicion that things were going to get awful tight inside the wheel well, and that suspicion was later proven well-founded. I started by gluing the bracket into the well first, then adding the wheel assembly. As you can see here, there is really no room for part 116 between the main strut and the wheel well wall, so I omitted it. Hey, it's a simplified model, so why make things complicated, right? I tested the model upright on its gear, and sure enough -- it sat on its hinter parts thanks to forgetting to add weight inside the nose. There's very little left to do at this point. On the underside of the aft fuselage is a small fin. There is a laser-cut piece for this sandwiched between two skins. I opted to bevel the fin, but this is not required. The last thing to do will be to add two aerials. Stay tuned! EDIT: I should add that the aerials will be the last things on my model only because I'm not going to add the drop tanks. I'm not a big fan of displaying drop tanks or ordnance hanging from the wings of my models -- I simply prefer the look of a clean aircraft. Plus, the drop tank noses are petal structures, and I hate doing petals. Not being Polish myself, I apparently lack the gene for doing them neatly.
-
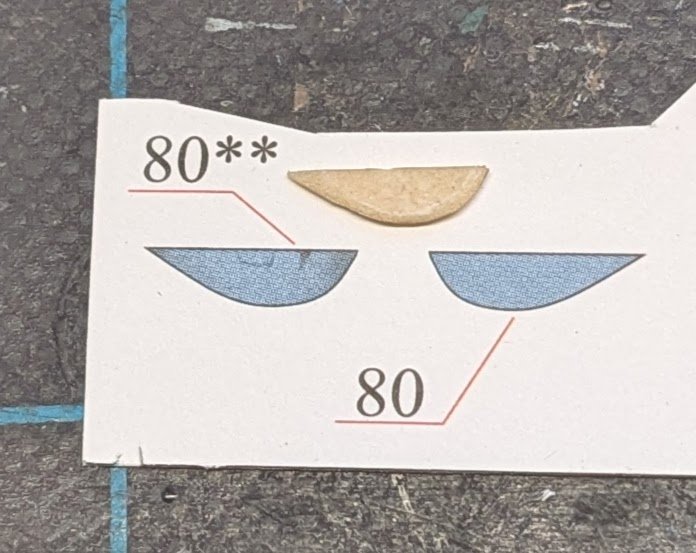
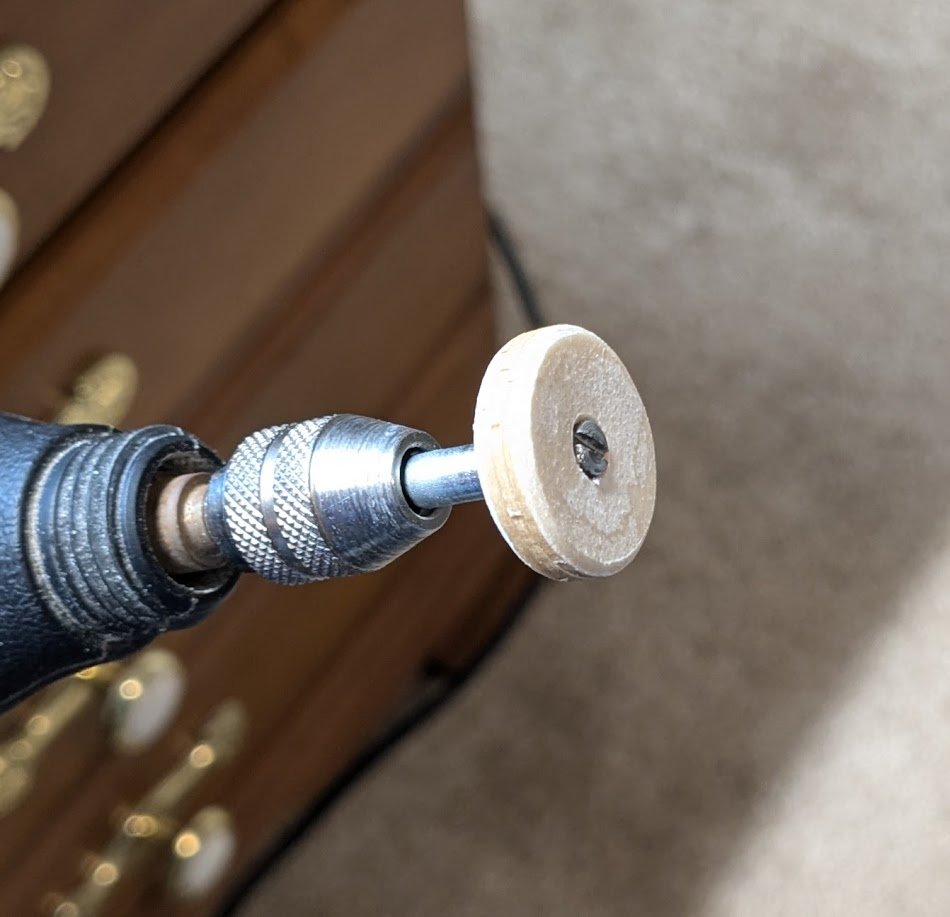
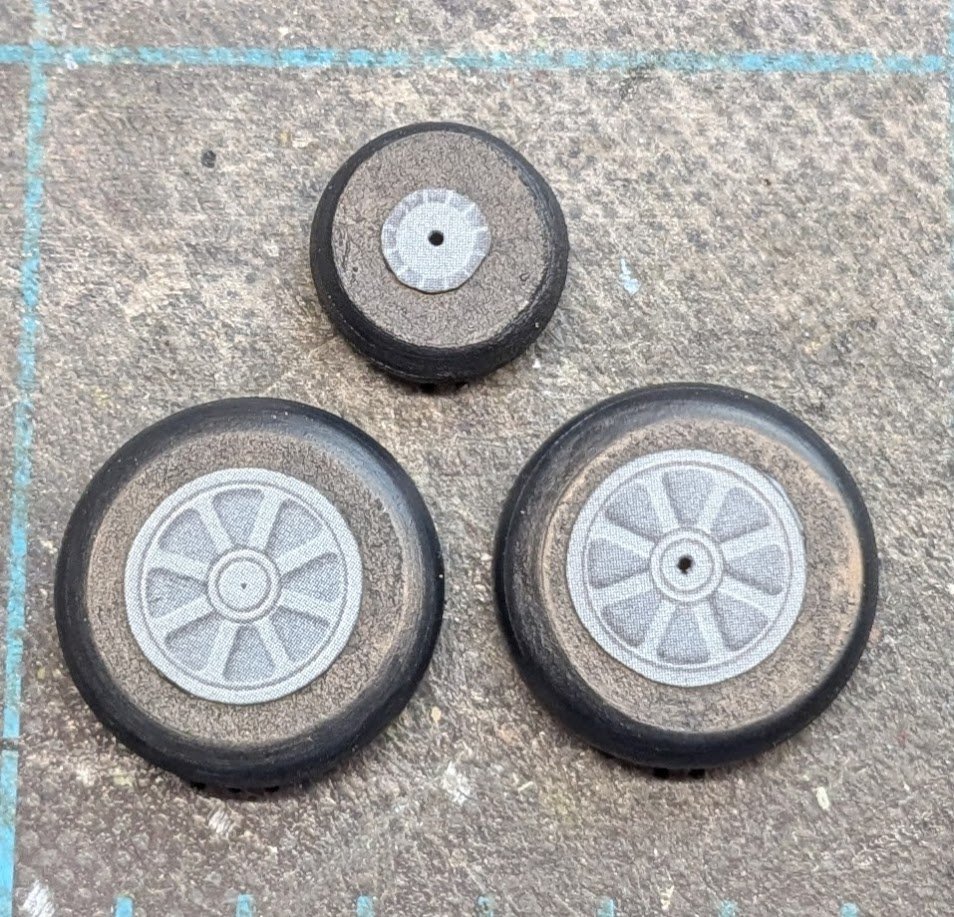
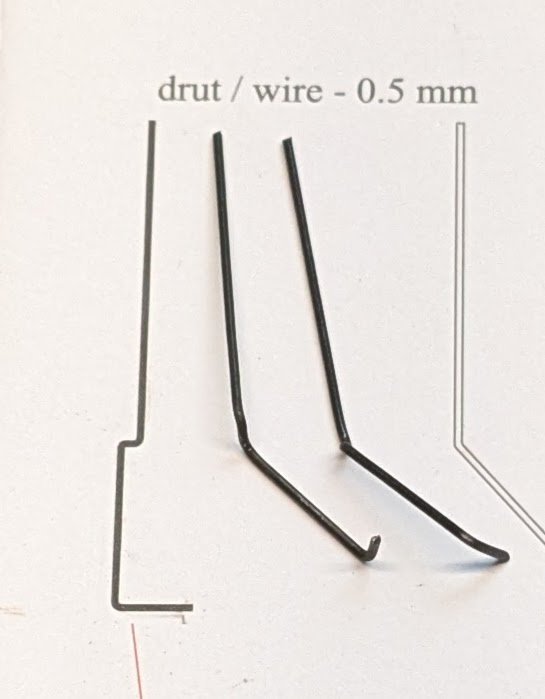
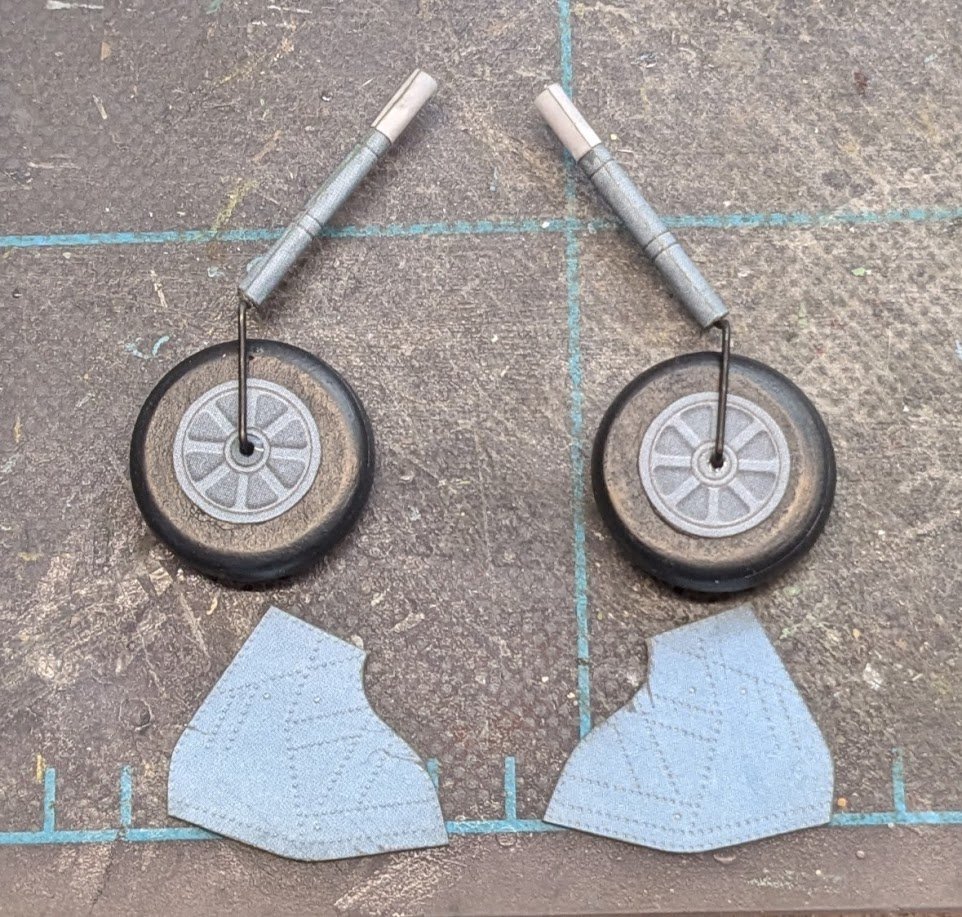
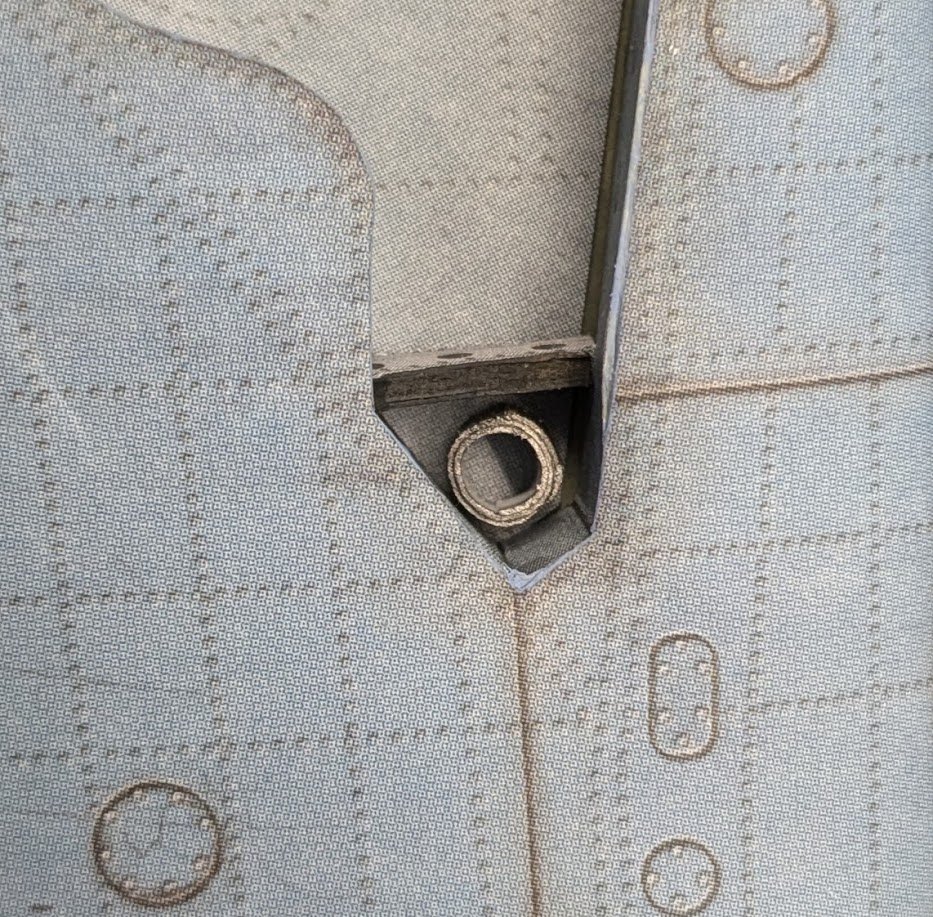
Okay, on to landing gear. These were a bit of a challenge. We start with the stacked wheel disks -- no resin wheels offered for this kit. 🙁 Once they dried, I soaked them in thin CA. After that dried, I prepped the wheels for sanding by first trimming and filing their shoulders, then gouging out a hole for the screw to hold them on a Dremel shank. The screw is not long enough to hold a wheel without the rebate. Using medium grit sandpaper followed by fine grit, sanding the wheels to shape takes very little time. One of the wheels wound up slightly lopsided because its axle hole wasn't drilled dead-center. Next the wheels, or rather the tires, were painted, and the printed hubs were added. Wires for the struts were then formed. Take note that only one template is shown on the parts sheet, but the left and right struts must be formed as mirror images of each other, not identical to each other. Then we add the main struts. Note the white portions -- that is the portion of each strut that gets inserted into a wing in the basic version of the model (i.e., no wheel wells). If you're adding wheel wells, those parts will be visible, so they'll need to be painted. BTW, all of the tubular parts of the gear are printed on card stock, not on bond. I find that rolling the card stock makes the diameters of the tubes too large, so I always delaminate the parts by wetting them and peeling off the inner layer of paper, reducing the thickness of the part by about half. I made sockets for the struts by rolling some paper strips, soaking them in CA, painting them, and then gluing them into the wells. This makes a much stronger joint when the struts are added. I skipped photographing a couple of steps, but here are the gear glued into their sockets. The remaining strut pieces and gear doors have been added as well. I don't use a jig for positioning the struts -- I just eyeball them until they "look right." The outer gear doors look a little off-kilter, but that is the way they are supposed to look according to images of MiG-15s seen online. Whew! Glad that part is done! Of course, there is still the nose wheel to do, so we're not quite out of the woods yet. TTFN!

- 66 replies
-
- 14
-
-
-
Very handsome! Sailing prams are awesome.
- 55 replies
-
- 3
-

-
-
- Norwegian Sailing Pram
- Model Shipways
- (and 2 more)
-
A nice thing about a kit like this one is that smacks are still in use as pleasure craft, so they can essentially be modified however you like.
-
Welcome aboard! Wood is great, but we love plastic, too! Heck, we even allow card models, but we make those kids sit by themselves. 😉
-
Greetings from the Bluegrass!
ccoyle replied to queen_of_raptors's topic in New member Introductions
Welcome aboard! -
I'm gonna have to get cracking on the landing gear -- struggling with low motivation. I glued the wheel disks together last night.
-
Scow schooners had regional variations, depending on the local sailing conditions, intended purposes, local shipbuilding practice, etc. So a San Francisco Bay scow schooner is the variation of the basic form that worked San Francisco Bay and the San Francisco - San Joaquin Delta.
- 37 replies
-
- 1
-
-
- San Francisco Bay Scow Schooner
- Scow Scooner
- (and 1 more)
-
Alma is the last San Francisco Bay scow schooner, but not the last scow schooner.
- 37 replies
-
- 2
-
-
- San Francisco Bay Scow Schooner
- Scow Scooner
- (and 1 more)
-
Are you talking about a fine detail on the model, or the heady aroma of aerosolized enamel paint? 😉
-
If you read ahead in the instructions, can you deduce what the holes are for? Also, does the kit include 1:1 plans, and do those show the hole locations?
- 37 replies
-
- 1
-
-
- San Francisco Bay Scow Schooner
- Scow Scooner
- (and 1 more)
-
Check the kit documentation thoroughly first. When white/Britannia metal first hit the scene, its benefits versus lead were loudly touted by manufacturers. If the kit's metal parts are Britannia, it'll probably be stated somewhere.
- 8 replies
-
- 1
-
-
- America
- Model Shipways
- (and 1 more)
-
Mark is on target with his suggestion for photo format. The average viewer will have little interest in downloading an image to view it.
- 8 replies
-
- 2
-
-
- America
- Model Shipways
- (and 1 more)