


ccoyle
-
Posts
10,038 -
Joined
-
Last visited
Content Type
Profiles
Forums
Gallery
Events
Posts posted by ccoyle
-
-
Folks,
It's time to put an end to all of the "not build logs" that get created in this area -- which expressly says "builds" in its sub-forum title. To fix this problem, we have created a NEW sub-forum just for finished non-ship models that don't include build logs. You can read about this new sub-forum by clicking HERE. Now go and make good use of it!
Thanks!
P.S. Please also note that this area is for things that are built, i.e., things that are models or model-like, even if they are 1:1 scale. This isn't an area to share arts & crafts or to ask general questions about modeling. We have an area for that sort of thing -- it's called Shore Leave! Thanks!
- Canute, AJohnson, Ryland Craze and 6 others
-
 9
9
-
Welcome to the Completed Non-Ship Models sub-forum! This sub-forum is provided as area in which to share photos of completed models that don't happen to be ships and for which the member either does not have or doesn't wish to share a build log for the model. With that in mind, here are a few simple guidelines:
- This area is essentially our gallery for non-ship models, therefore post images of COMPLETED MODELS only! Don't include any in-progress photos. Continue to place your build logs in the non-ship builds area. Images that violate this rule will be removed.
- If you have images of your completed model in your build log, you are not required to post them here as well. You can do so, of course, but it's at your discretion.
- NO TAGGING IS ALLOWED IN THIS AREA!
- Continue to use the normal naming convention for posts in this area, i.e., (name of subject) by (username) - (name of kit manufacturer) - (scale) - (MEDIUM). Example: Volvo 142 by joeshmoe123 - ESCI - 1/25 scale - PLASTIC. You do not need to add 'finished' to the title -- we know it's finished because it's in this area!
Remember, people go to the builds area to see builds of models, so if you just want to share pictures of finished models, this is the place to do it. Enjoy!
- GrandpaPhil, Egilman, DocRob and 6 others
-
9
-
11 hours ago, Javlin said:
Chris if not to much hassle post some pics interested in the chipping
Sure, here's a couple:

- Egilman, GrandpaPhil, Ryland Craze and 4 others
-
6
-
 1
1
-
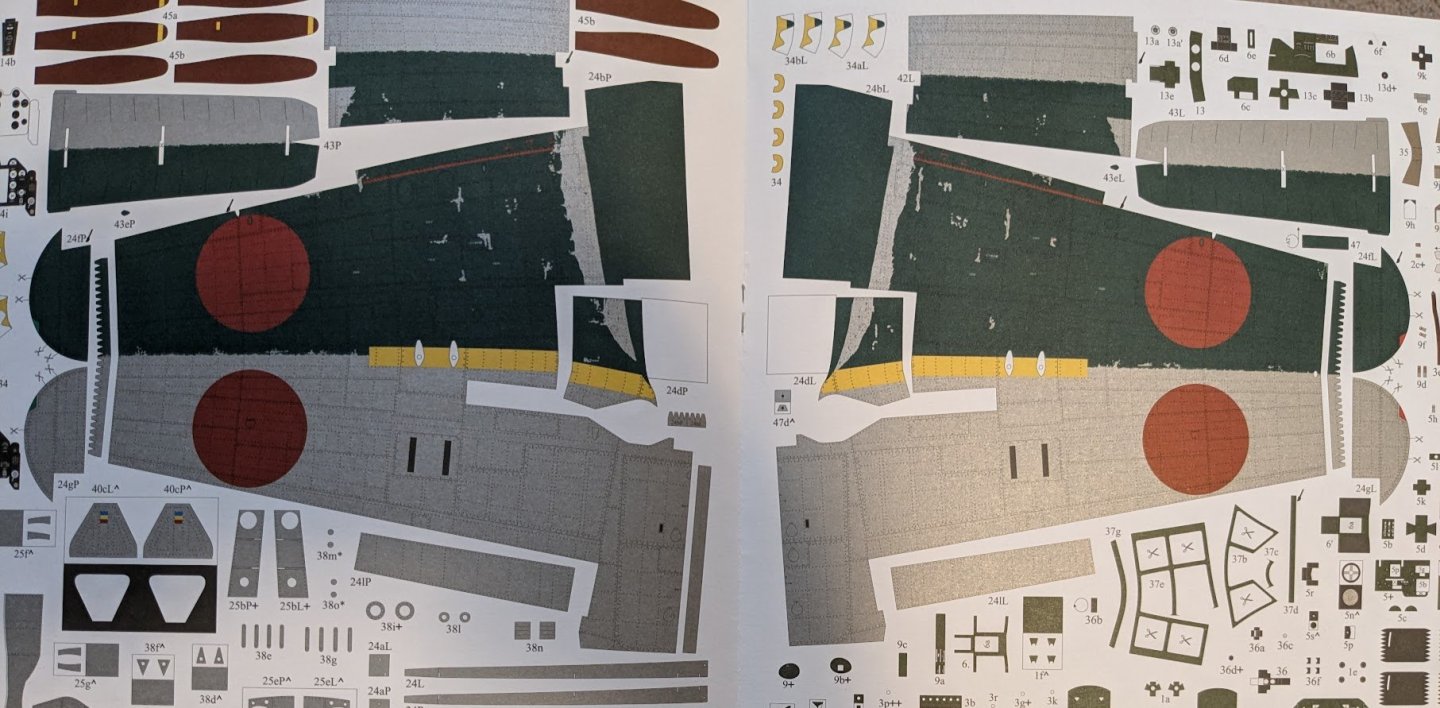
I have the card version from Halinski -- a great print with very realistic chipping. It's depicted in the exact same livery as this kit's box art. The Shiden-Kai was a very capable and menacing-looking aircraft.
- Old Collingwood, Javlin, Ryland Craze and 4 others
-
6
-
1
-
I have a card model version of this aircraft, but I don't have a molded canopy or turret for it. Scratch-building those bits looks a very daunting task!
If you have never read the novel Piece of Cake by Derek Robinson (I recommend it), one of the central characters meets his end in a Defiant. I won't disclose exactly how -- you'll have to read the book!
- Egilman, Old Collingwood, Jack12477 and 3 others
-
6
-
-
-
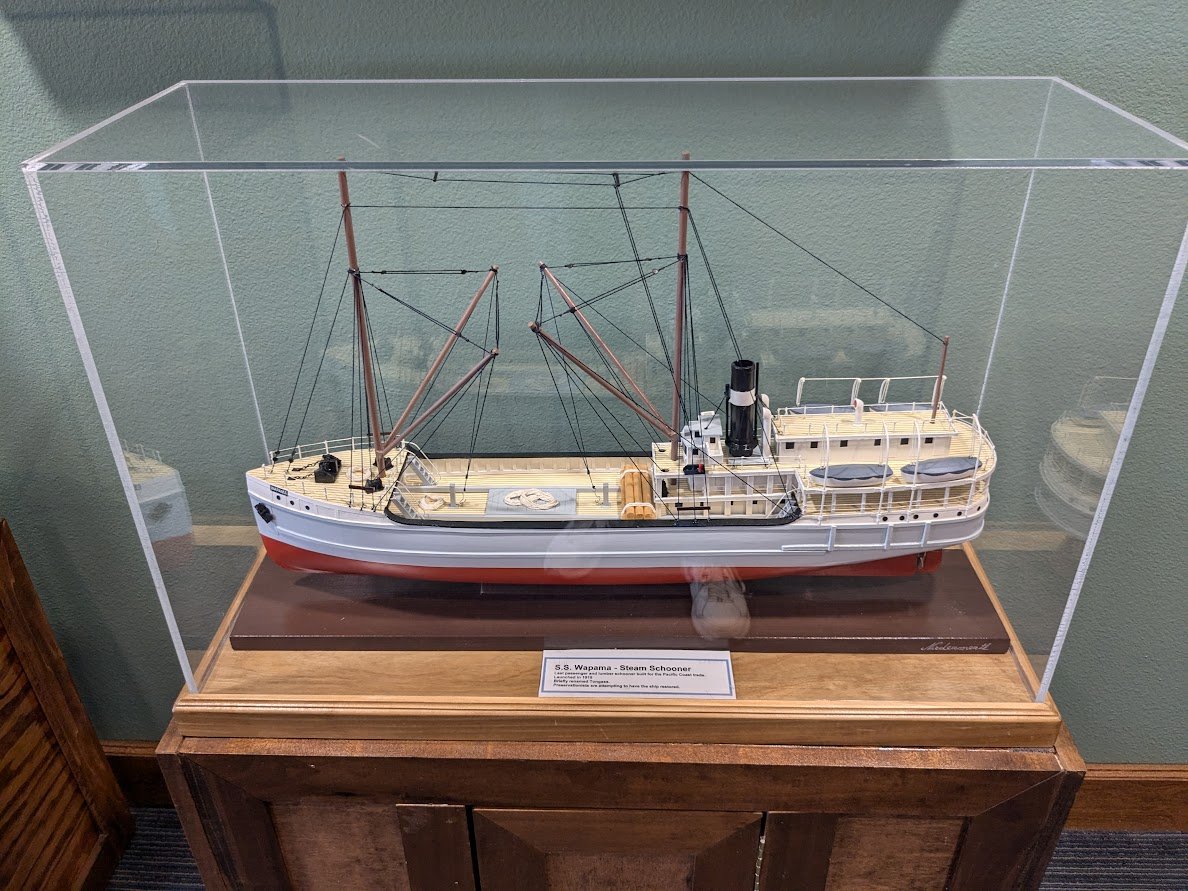
Here's some inspiration for you, Paul. This model is on display at the Channel Islands Maritime Museum. Steam schooners played a significant part in the history of Northern California's timber trade before modern roads made the transport of sawn lumber by truck more economical.
- GrandpaPhil, tmj, Harvey Golden and 5 others
-
6
-
2
-
Moin, Peter!
From your description it sounds like you are living in Schleswig-Holstein somewhere? I was an exchange student in Aurich (Ostfriesland), but I was also able to visit both Kiel and Lübeck -- good memories!
Tschüß!
- PeSt, thibaultron, Keith Black and 1 other
-
4
-
1 hour ago, eatcrow2 said:
Hello Chris.. you commented on this build ears ago https://www.papermodelers.com/forum/aviation/18884-1-72-yokosuka-b4y1-jean.html the publisher disappeared some time back!
Ha ha! Thanks for providing evidence of my age-related memory loss! 😉
- Javlin, Ryland Craze, Canute and 3 others
-
 6
6
-
Very nice! I'm not familiar with this kit or its publisher -- what can you tell us about them?
- Old Collingwood, Egilman, Jack12477 and 1 other
-
4
-
OC, you need to add some details to your post: prices, payment methods, shipping options.
- mtaylor, thibaultron and Ryland Craze
-
3
-
Catching up on your build -- fantastic weathering!
- Old Collingwood and Canute
-
2
-
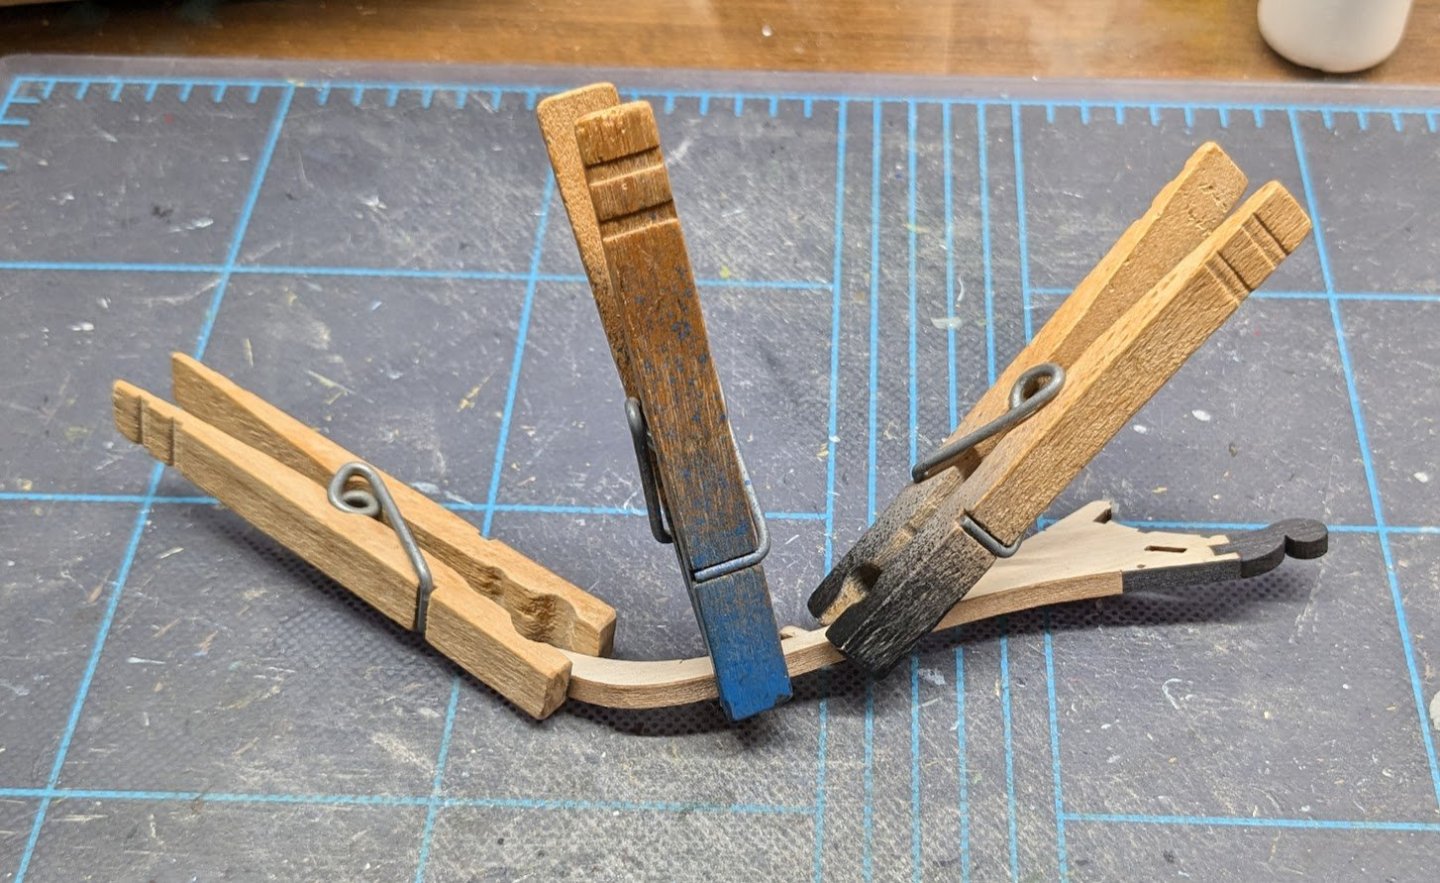
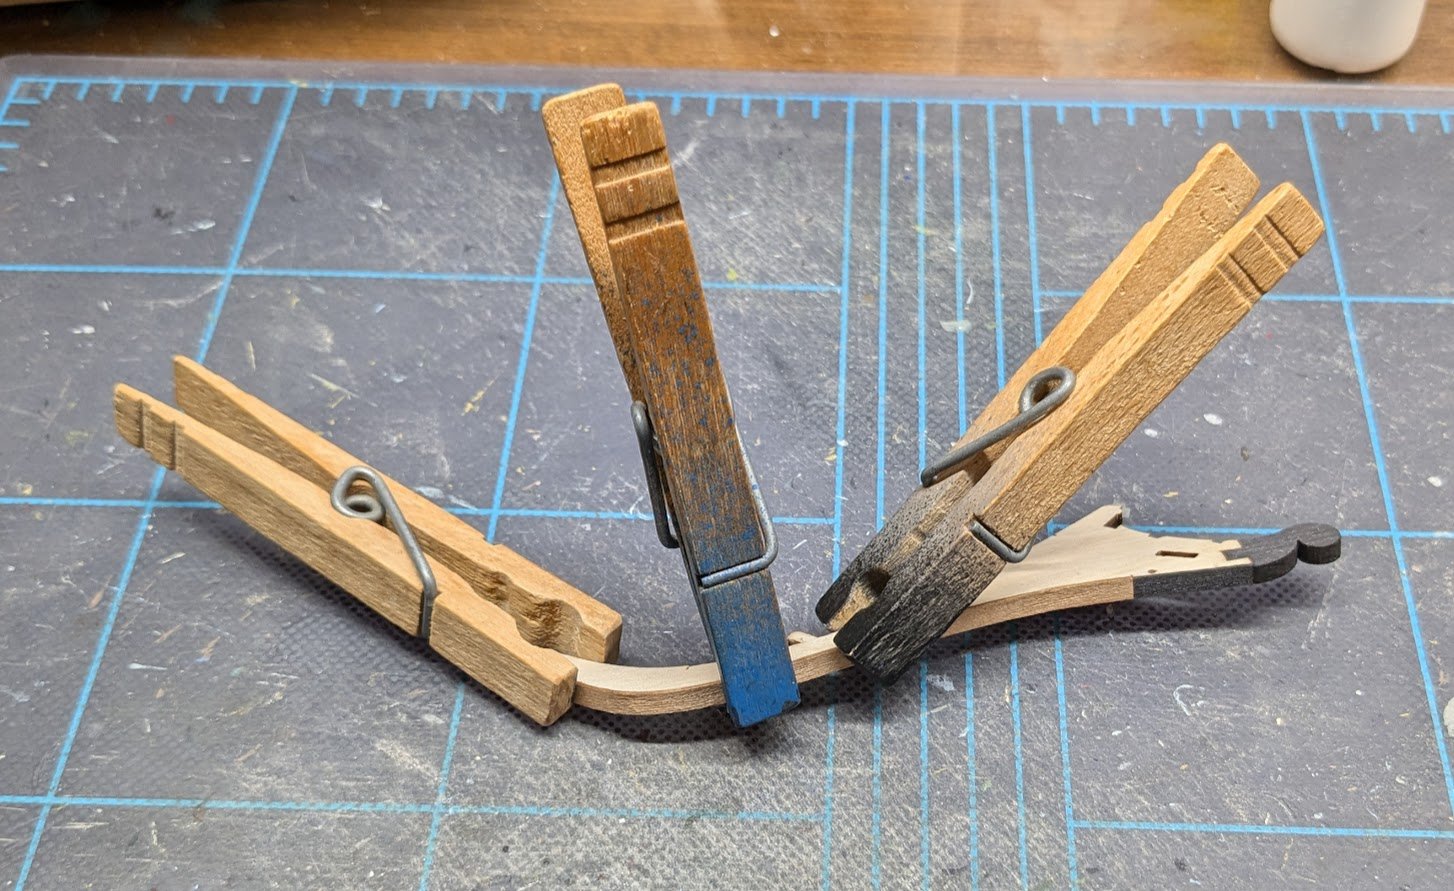
Time for the decks. The instructions recommend contact cement, which I opted not to use because contact cement allows absolutely zero working time -- make a mistake and it's permanent. I used wood glue and worked quickly. The edges wanted to curl up, but I held them down by clamping clothespins atop them along the bulwarks until dry.
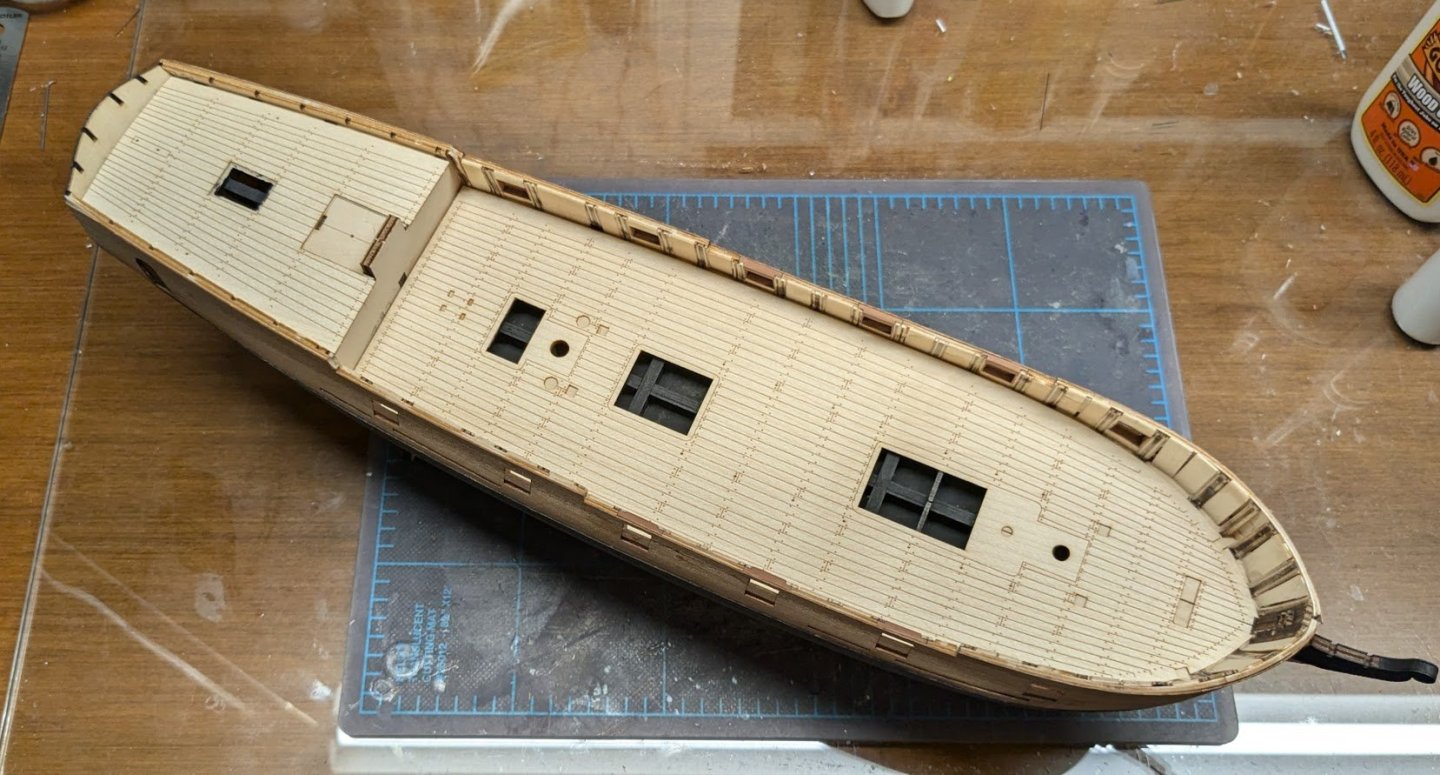
Next I worked on the aft cabin bulkhead. It's two layers of veneer, with painted hinges and faux doorknobs made of cut-off brass nail daubed with white paint. Just dry fitted for now.

Cheers!
- HardeeHarHar, BenD, GrandpaPhil and 22 others
-
25
-
1 hour ago, JacquesCousteau said:
Out of curiosity, how far apart are the bulkheads? They look quite widely spaced, which seems to me like it may make planking (not to mention attaching the subdeck) more difficult.
Nic can confirm whether this is correct, but I don't believe this kit design is original to BlueJacket. I think it is one of the designs they inherited as part of their purchase of Laughing Whale many moons ago.
-
As a footnote to this build, I discovered today that Andrzej Halinski has listed a new model at his website. This is big news, because ever since Andrzej's wife passed away three years ago, the card modeling community has debated whether the Halinski publishing house would ever publish any more kits. It had, after all, been four years since Halinski released a kit of any kind and over five years since the last aircraft kit went to print. My excitement upon reading this news was tempered by the fact that the new kit is a Bf-109F-4/trop and is an updated version of a kit first published two decades ago but now no longer available. I have that kit in my stash. It's a great kit, so I don't believe the updated kit is sufficiently improved to entice a purchase from me. On the plus side, the new kit includes two different liveries, the original Hans-Joachim Marseille version plus optional skins to depict the mount of Wolfgang Lippert (who, like Marseille, was mortally wounded while attempting to bail out of his aircraft over North Africa). Interestingly, the kit is dated 2021 -- I can only guess at the reasons for the delayed release. Hopefully we won't have to wait another five years for another Halinski airplane!
-
Looking more impressive with each update!
-
Welcome aboard! You have chosen a good slate of beginner projects -- they have gotten many modelers off to a successful start in this hobby.
- mtaylor and Keith Black
-
2
-
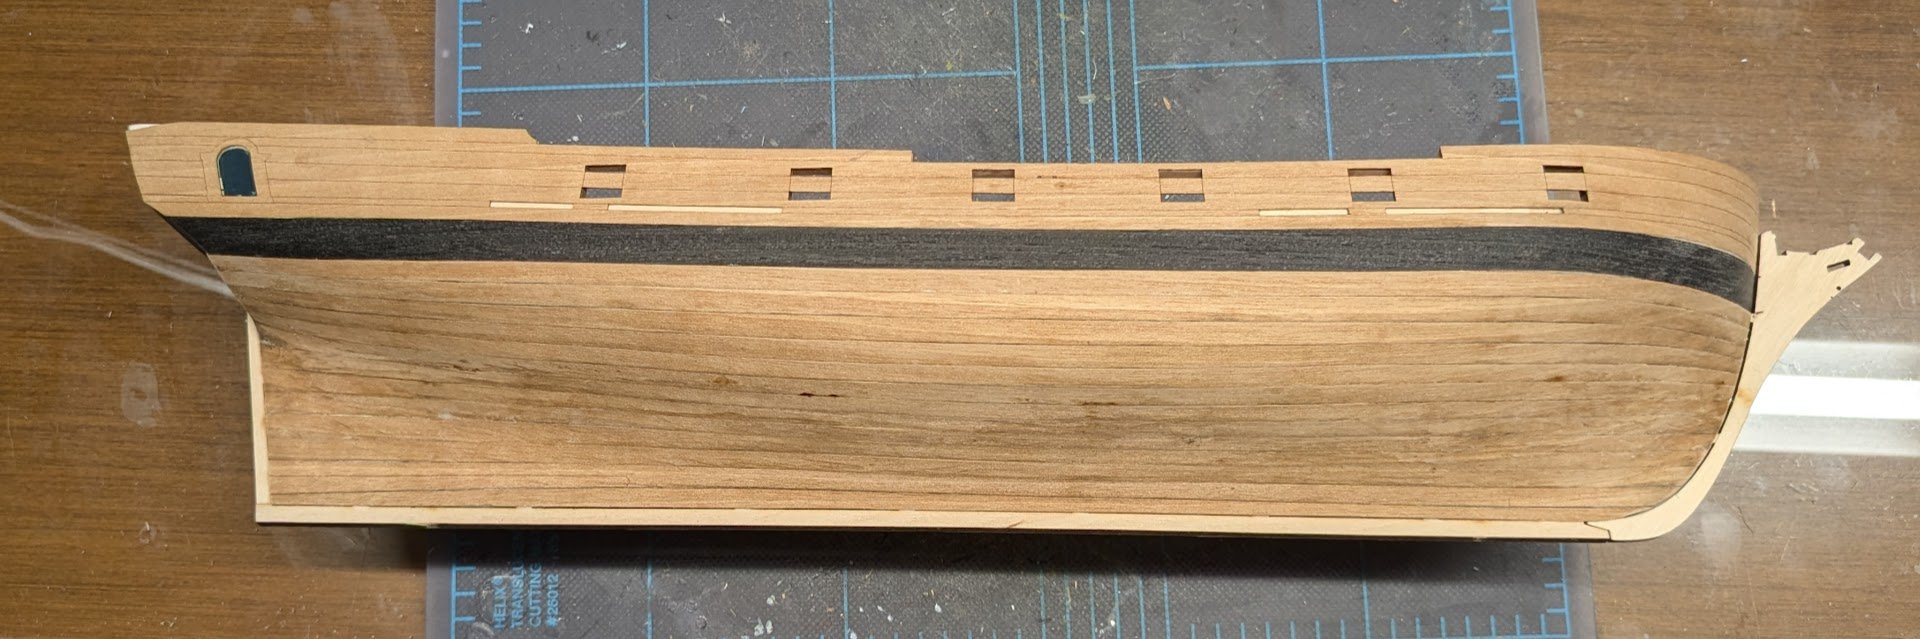
Glued the pieces of the stem together and added part of the veneer. After this dried, the stem needed to be tapered from 3mm inboard to 2mm outboard.
And here we have the two stems, the keel, and the second layer of the wales added. This is a blistering pace of construction compared to my usual plodding. 😏
- GrandpaPhil, Paul Le Wol, vossiewulf and 16 others
-
18
-
1
-
1 hour ago, Ab Hoving said:
That was indeed my intention Chris.
Okay, I have moved it back! Looking forward to seeing how this comes together.
-
I have moved this to the research section, but if you decide to create a build log for this I'm sure we'd all love to follow along!
-
Welcome aboard!
9 hours ago, Rcflyer said:I have built RC planes for a few years
An advantage of ship models is that they tend not to be involved in disastrous crashes resulting in fits of uncontrolled sobbing. They do occasionally induce crying, just not by crashing!
- Rik Thistle, Knocklouder, Nirvana and 4 others
-
1
-
6
-
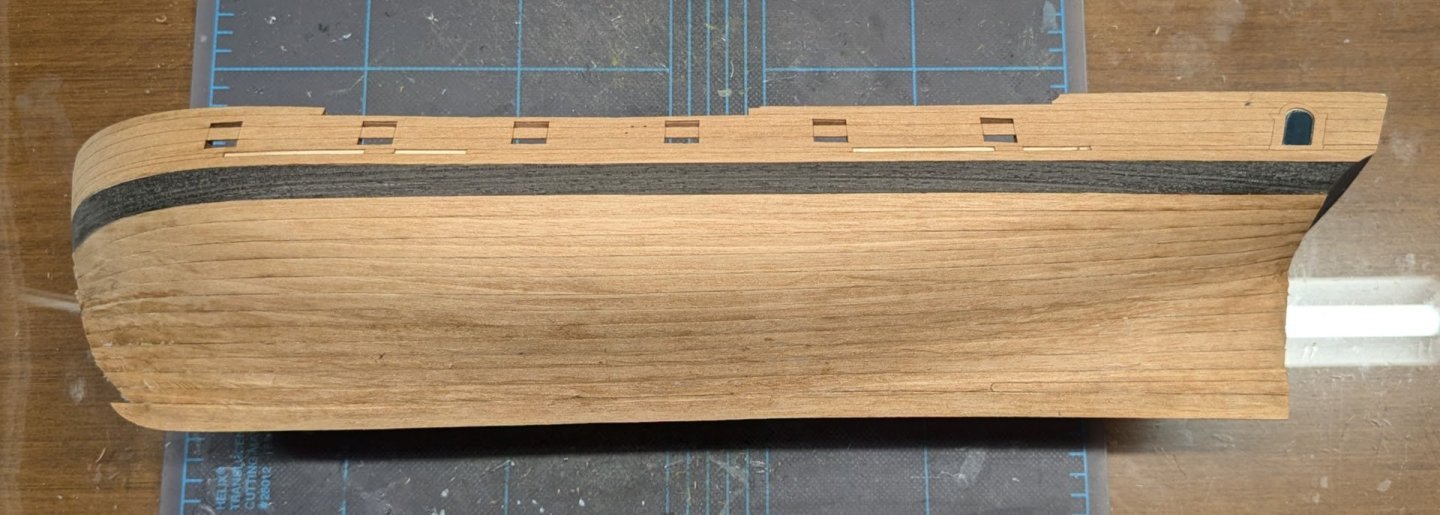
Trimmed down the plank ends and dry-fitted the stem post, keel, and stern post. These three pieces all get veneers later.

- Coyote_6, Maxthebuilder, vossiewulf and 18 others
-
19
-
 2
2
-
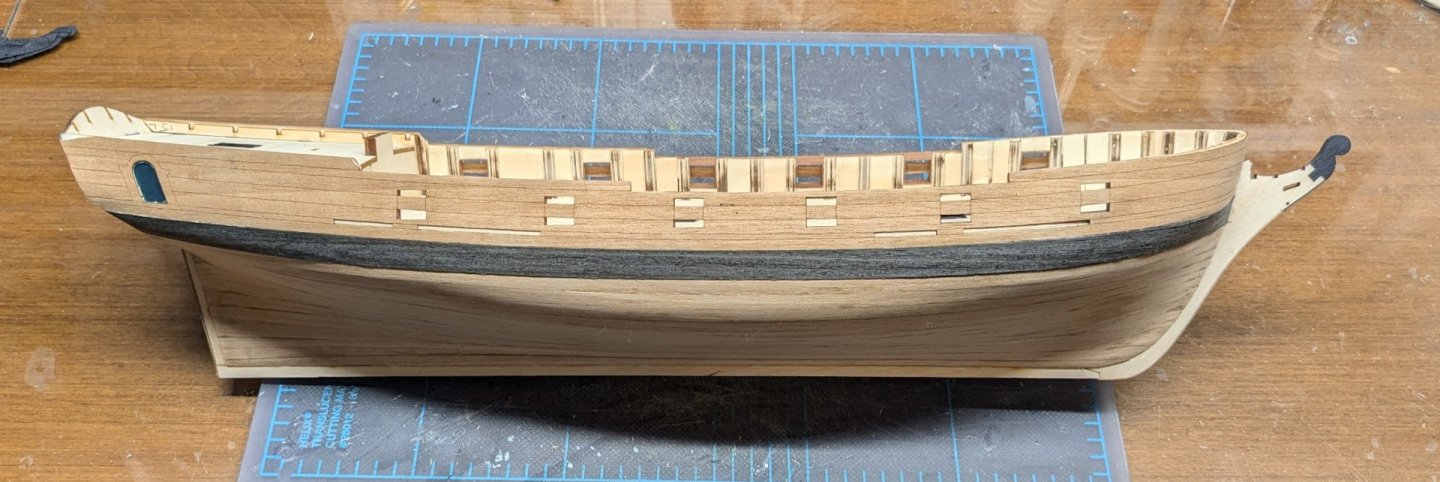
Well, it was MLK Day here in the US, and I had the day off. So over the course of several sessions, I managed to get all of the finish planking on, except for another layer that will need to be added to the wales. Here it is in its rough state. It will need some sanding and a little filler here and there, plus a couple of plank ends broke and will need repair. But its a milestone, to be sure. As you can see, the kit design uses planks that overlap the bow and stern; these will need to be trimmed, creating slots for the keel and stem post.
- Dave_E, Cathead, GrandpaPhil and 16 others
-
19


Lula by Keith Black - FINISHED - 1:120 Scale - 1870s Sternwheeler Supply Boat for Floating Pile Driver
in - Build logs for subjects built 1851 - 1900
Posted
That brings back some memories! All during my childhood and even long into my adult years in Humboldt County, California, there was a derelict dredge that languished, grounded, in one of the sloughs of Humboldt Bay. It was an everyday sight when driving up and down the county's only north-south freeway, Hwy 101. I found this image of it online:
The dredge was not used to maintain any channels, but rather to build up the levees surrounding the adjoining pastureland. In recent years, the land became part of what is now the Humboldt Bay National Wildlife Refuge, and much of the pastureland has been returned to its original salt marsh state.