ccoyle
-
Posts
10,557 -
Joined
-
Last visited
Content Type
Profiles
Forums
Gallery
Events
Everything posted by ccoyle
-
 I like this idea. I, too, have a Sultana kit in my stash, where it will probably remain forever (unless someone offers me some scratch for it -- hint hint). I didn't like how my hull carving efforts turned out, so I drafted a new set of bulkheads from the plans using the technique described by Edwin Leaf in Ship Modeling from Scratch. Sadly, I didn't like how that hull turned out, either. Oh, well! I hope yours turns out much better!
 -
New Here and Cant Identify a Model Ship I Inherited
ccoyle replied to TroyFlores1994's topic in New member Introductions
Hi. What you have there is what's called a decor model. These are mainly produced in SE Asia these days, but they were once commonly made in Spain, hence the name on the plate "Fregata Espanola", which simply means "Spanish frigate" in Spanish (of course). Despite the name, it is neither an accurate model of a Spanish frigate, nor even any frigate in particular, which explains why it may not look like other similarly labeled models. It is simply a low-cost likeness of a generalized ship that is meant to look good on a mantel or bookcase shelf. If it reminds you of your grandfather, then give it a gentle cleaning, reattach any loose ropes, and give it a place of honor somewhere, if you have room, and think about him when you see it. Cheers! -
Whoa! Were those instrument panel bits partially prefabricated on the fret??
-
Part of the fun of building models is to push the boundaries of what can be done with any medium -- even wood modelers do this. I have seen unbelievable models built out of toothpicks, and Doris has built the most exquisite creations out of paper. This is, after all, a hobby, so enjoy it!
-
I partially agree with that statement. I think it is more accurate to say that MS instructions tend to assume some degree of prior experience on the part of the builder and therefore tend to offer less in the way of a step-by-step process.
-
Shouldn't the answer be self-evident? Start the next model! 😉
- 742 replies
-
- 5
-

-
- constitution
- frigate
- (and 1 more)
-
I volunteer, on the condition that manufacturing operations are moved to the Peak District. Of course, I will need to be reimbursed for moving costs ... and trained on wood shop procedures.
-
Chain plates are the metal straps that secure deadeyes to the hull. Twisting them from wire is one way to make them for a model. But as the name implies, chain plates on real ships were once made out of links of chain; later they were made from metal sheet. Either way, they're not wire. But -- as I said previously, you can make them from wire. Just get yourself some annealed brass or blackened wire. The plan sheets probably show how to twist them somewhere. Good luck!
-
I'm uncertain about what the first three items are supposed to be -- perhaps you could show us from the plans what they are? Sounds kind of like they are referring to head rails. As for chain plate wire, forming those from wire is a short-cut method for making those parts -- they look okay, but the technique is not really true of the original. If you choose to use that method for making chain plates, you can replace the kit wire with annealed brass wire of the same gauge -- you can even get it pre-blackened, if you so desire. Look for it online at hardware suppliers. Cheers!
-
That depends. There are, to be sure, first-time modelers who have completed projects of that magnitude, but honestly they are rare. Most new modelers find there's a bit of a learning curve for sailing men-of-war, even if they have prior modeling experience (I know I did). I always try to steer beginners toward something relatively simpler for a first project. There is, of course, a large number of kit subjects available of smaller vessels from the same time period as Connie, so you may find one of them sufficiently interesting. Cheers!
-
Beautiful work, Isidro! I modified your title to sound more like how we would say it in English.
-
This sounds like the correct explanation to me.
-
Ooh! Pictures?
-
Juhu is correct. If you're looking to model HMS Surprise because you like the film or the Aubrey/Maturin novels, then you're in a bit of a quandary. Surprise in the film is played by the real-life HMS Rose; if you look closely and count the gunports, you'll see that HMS Rose is pierced for 24 guns, not the 28 of the fictional Surprise. The real HMS Surprise, upon which the fictional ship is based, began life as a French frigate, L'Unite. After her capture by the British, she was classified as a 28-gun frigate but rearmed with twenty-four 32-lb carronades. So, your options are to either build one of the not-really-HMS Surprise kits (which resemble neither the real Surprise nor HMS Rose, of which there is no kit), scratch build a model based on her admiralty drafts (which do exist), or wait for the Caldercraft kit (which has already been a very, very long wait).
-
Thanks! I feel inspired now to maybe actually finish the model (been sidetracked with some honey-dos for a couple of weeks). That last draft looks more like the kit model.
-
I have this image saved on my PC for reference; it is, however, not quite the same vessel, differing from the kit version on several points.
-
Mamoli's Blue Shadow - build or bash it
ccoyle replied to Mr.Big's topic in New member Introductions
Hi, Rich Yes, the name "Blue Shadow" is pure fiction, but most of these dubious kit subjects were drafted from some plan source or another, e.g. af Chapman, Chapelle, etc., even if those drawings may have been reconstructions. So one possibility is to track down the inspiration for the Mamoli design and then simply call it whatever it is -- whatever that happens to be. It'll still make a nice model. You've got plenty of kits there to keep you busy. Good luck! -
With your skills, I believe even this oldie kit will turn into something approaching art.
- 63 replies
-
- 4
-
-
- revell
- harbor tug
- (and 2 more)
-
As one example of what you might expect to find in this book, here is an outline of the chapter on Chen Yuen. I. Introduction II. Origins III. Design and Construction IV. Service in the Peiyang Fleet V. Shipboard Organisation VI. Finance and Pay VII. Life Aboard VIII. Japan and the Peiyang Fleet IX. (Service in) The Sino-Japanese War X. The End of the Peiyang Fleet XI. Prize of the Japanese Navy XII. (Service in) The Russo-Japanese War XIII. A Long Shadow (discusses historical significance to both China and Japan) XIV. Conclusion This chapter includes 20 b&w photographs and an inset biography of Philo McGiffin, an American-born naval officer who served on Chen Yuen at the Battle of the Yalu River in 1894.
- 1 reply
-
- 2
-
-
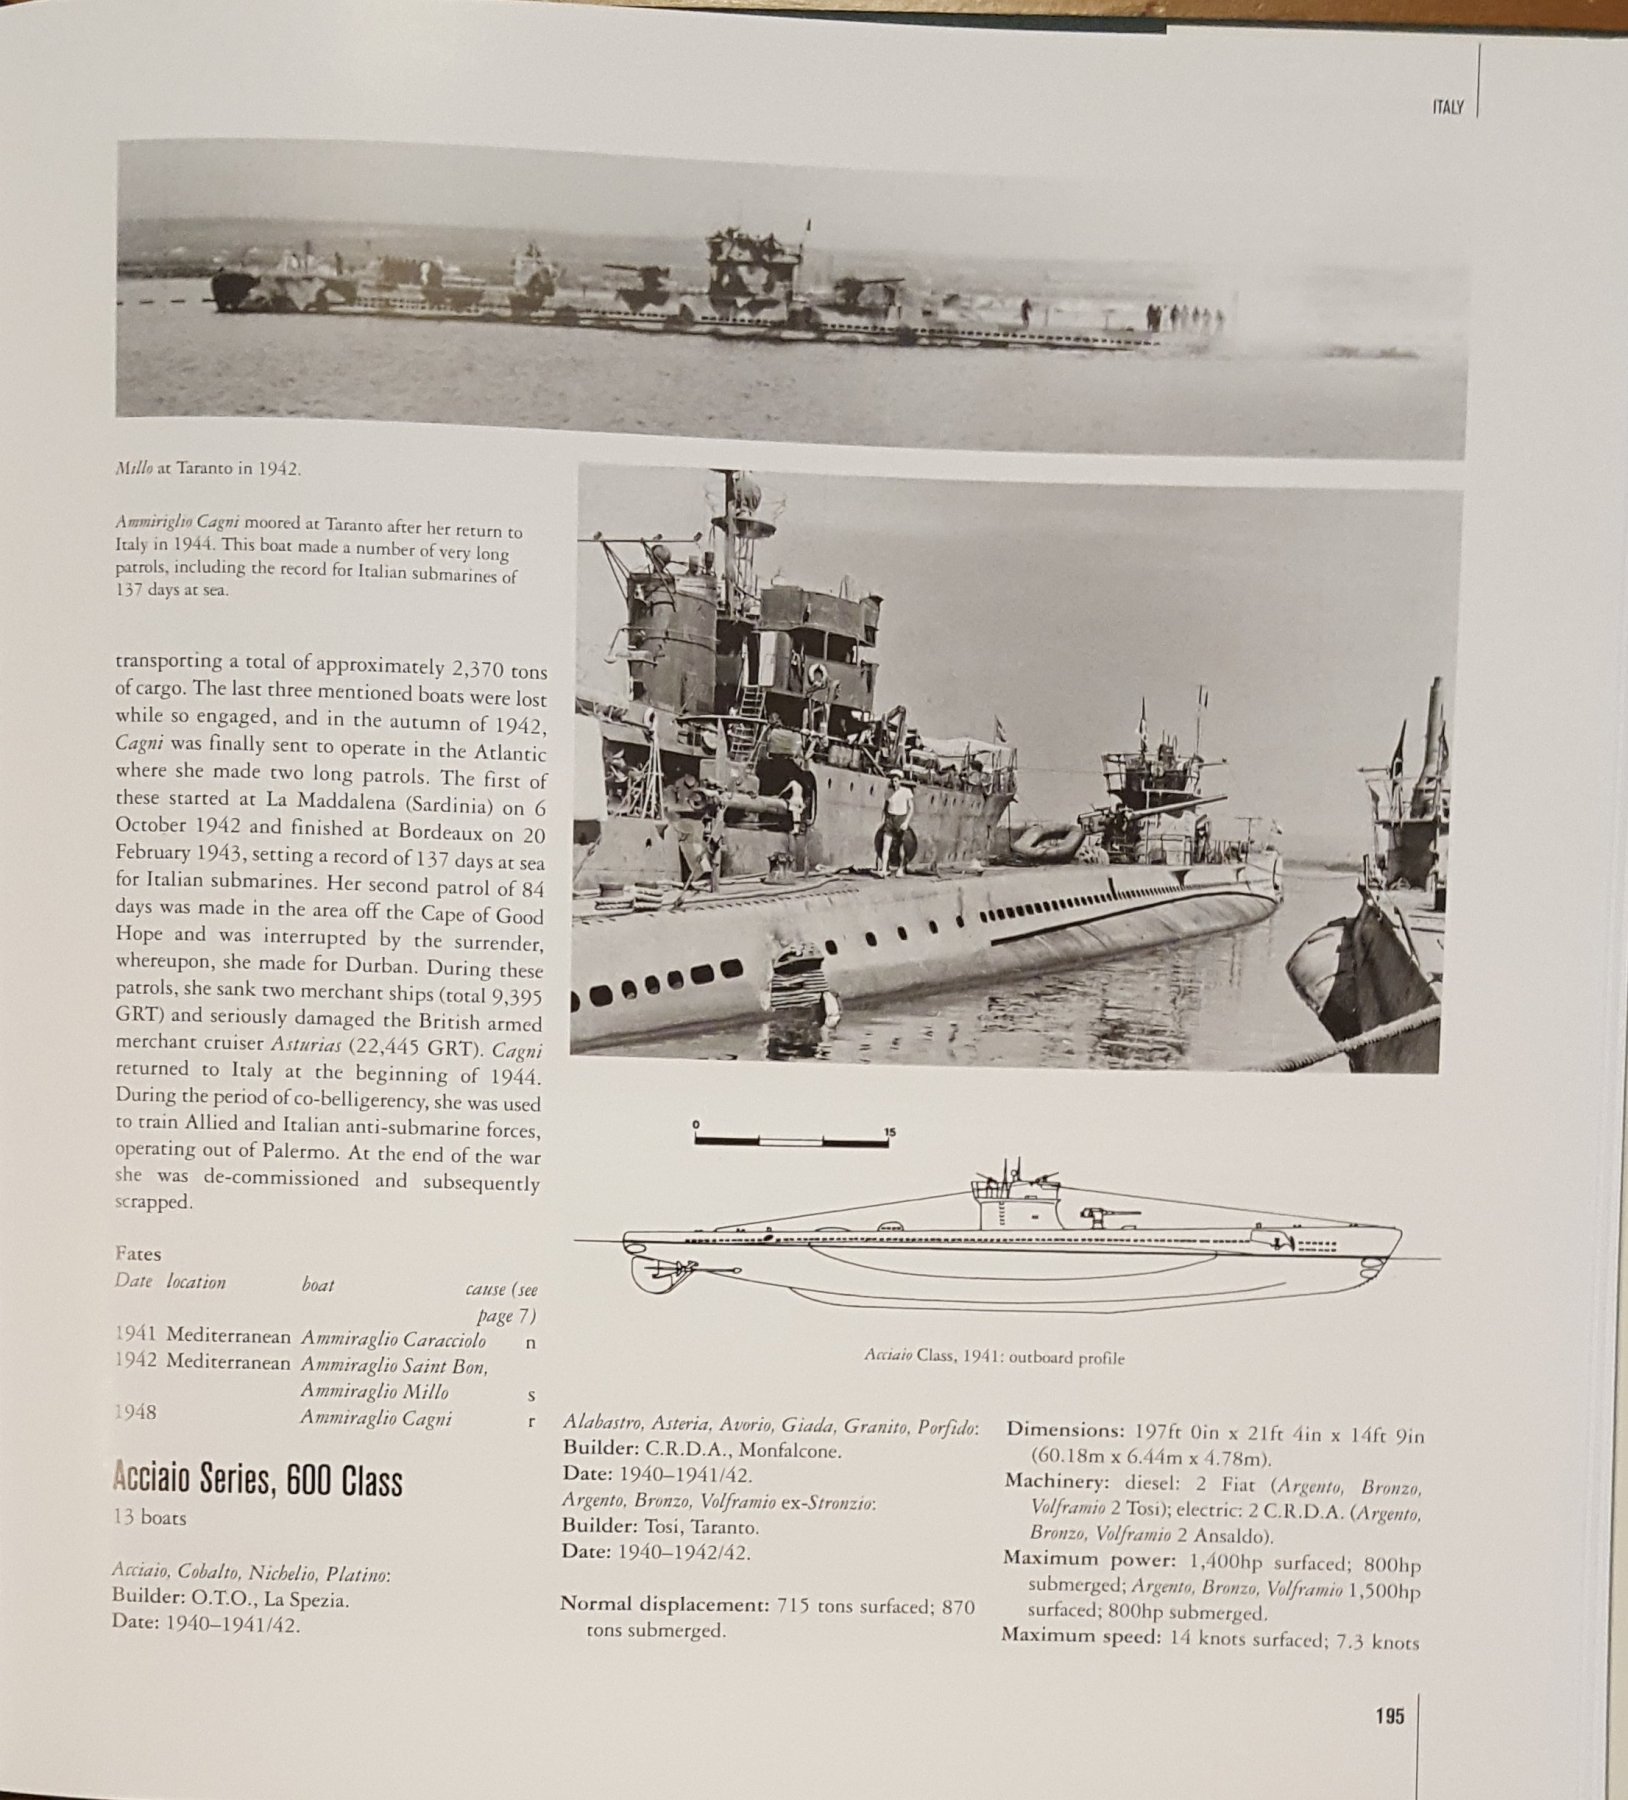
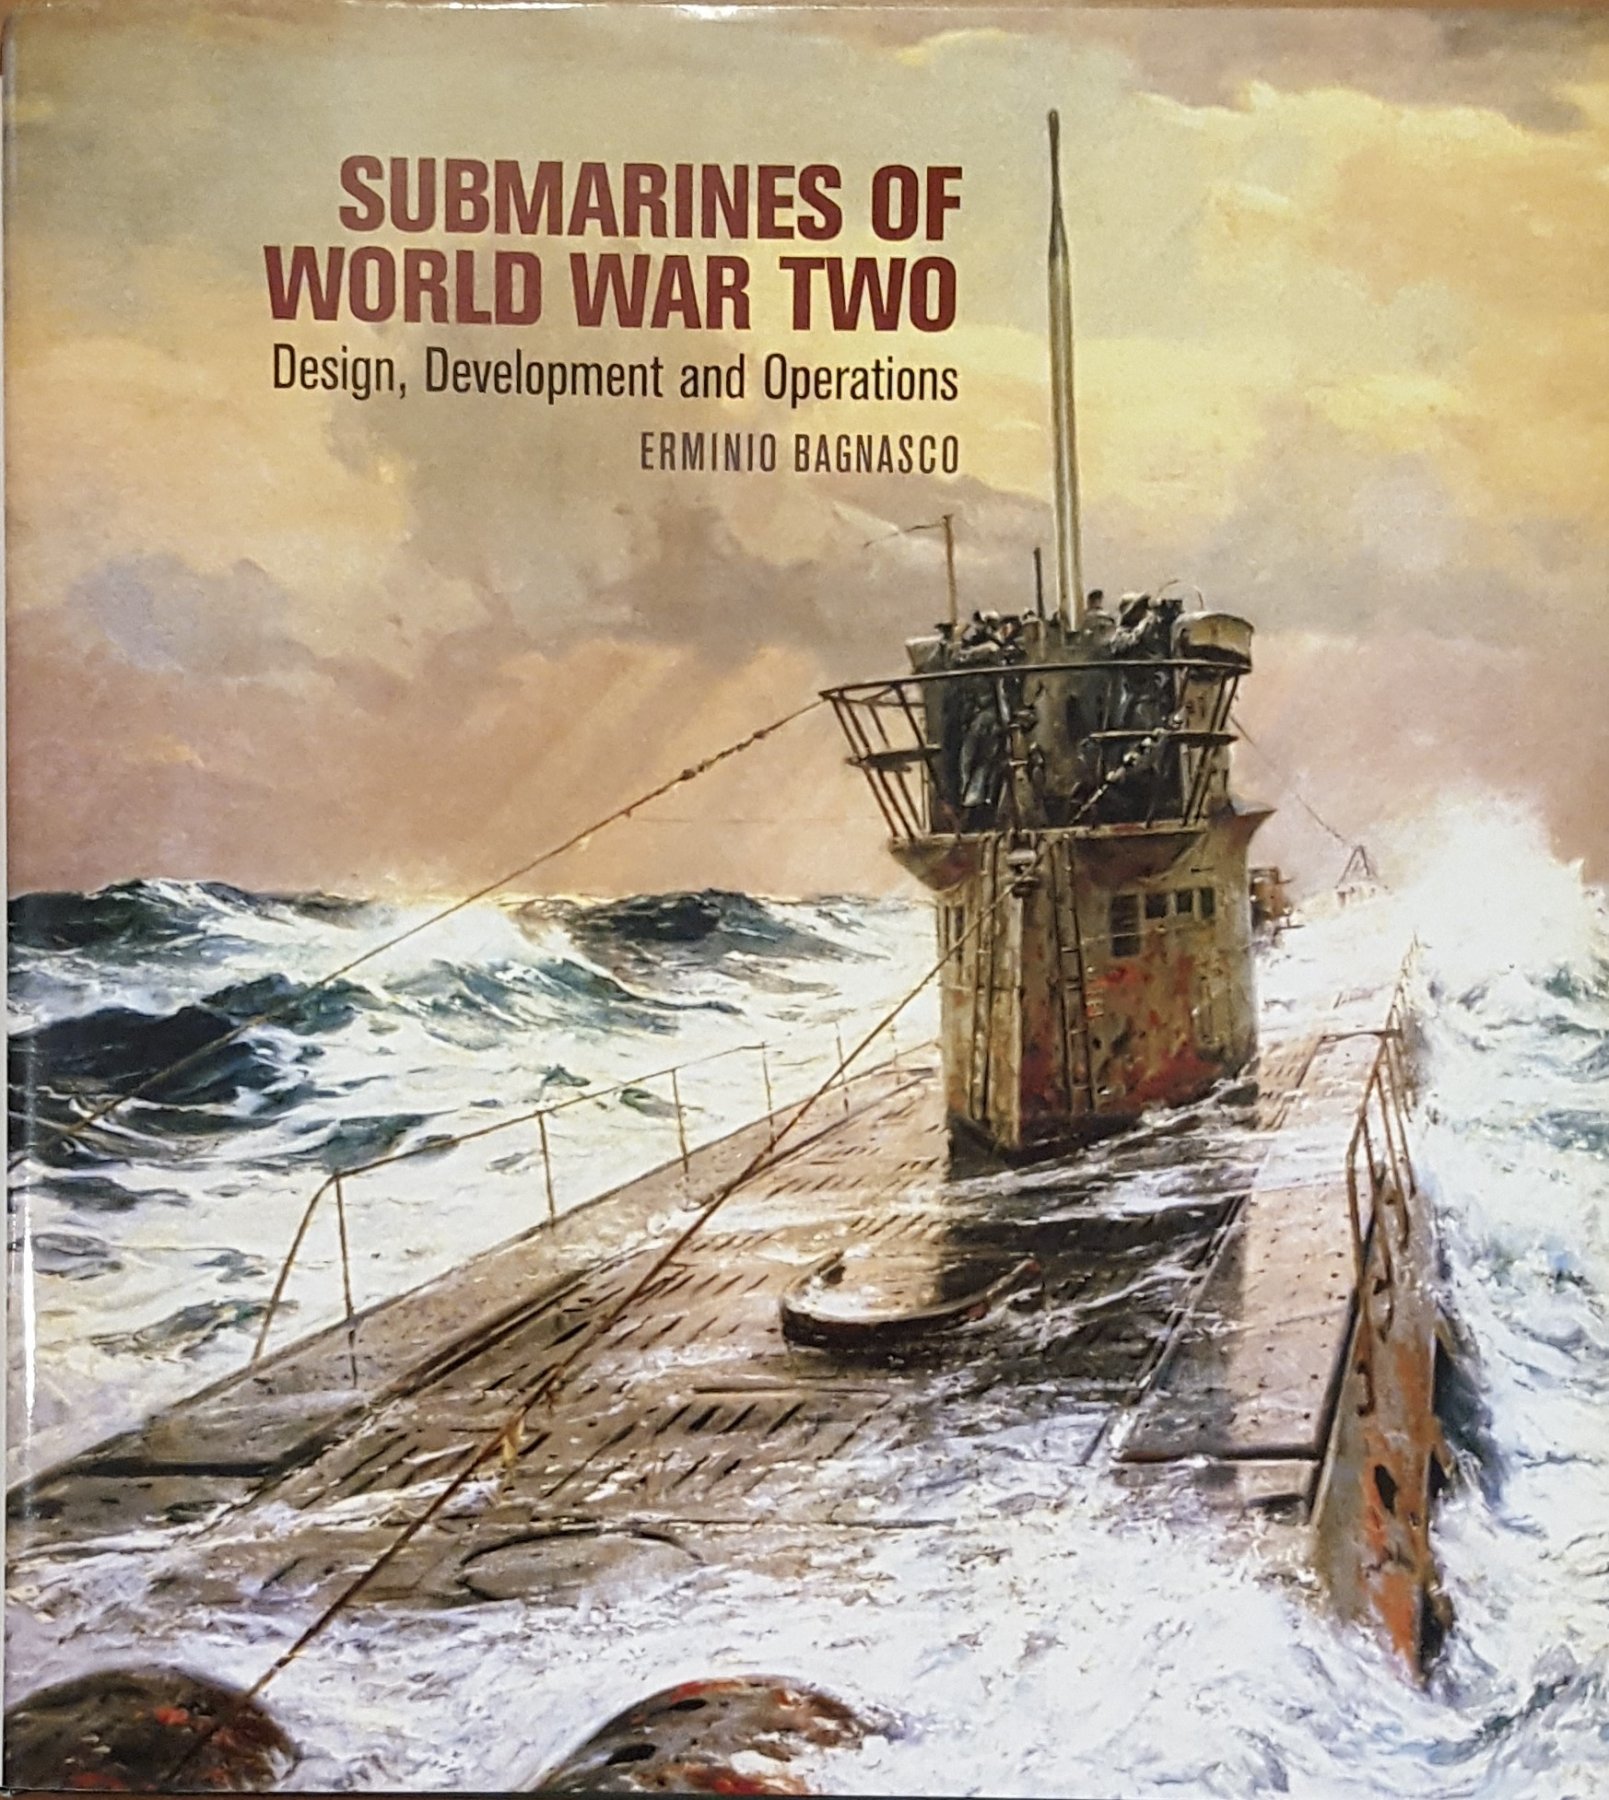
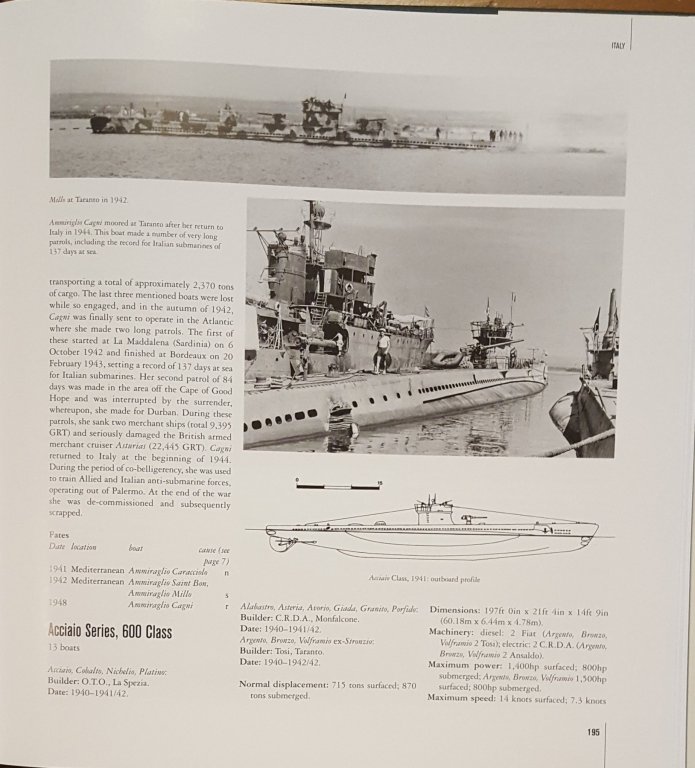
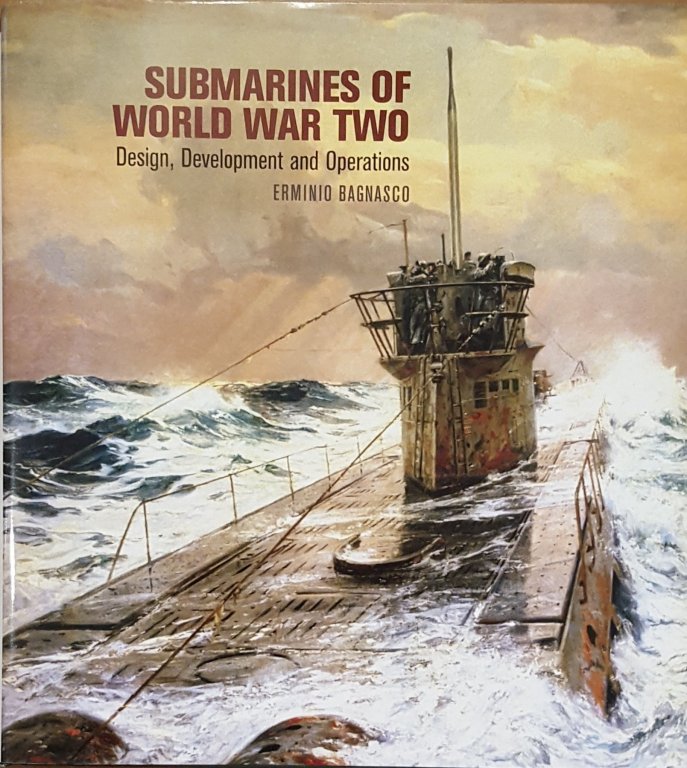
SUBMARINES OF WORLD WAR TWO: Design, Development, and Operations Erminio Bagnasco Seaforth Books, 2018 288 pages, 24.5 cm x 26.5 cm Suggested Retail: GBP40.00 When I was in middle school, way back in the day, some of my favorite books to check out from the library were books about military hardware -- planes, ships, etc. -- that were broad surveys of different types and included lots of pictures. I still enjoy such books today. Submarines of World War Two fits that description nicely, although it is (happily) more detailed in its descriptions than a middle-school book. Originally published in 1973, this book is literally a survey of just about every class and variant of submarine deployed by every WWII combatant, from major powers like Germany right on down to the smaller fleets of lesser combatants such as Latvia. Neutral countries are covered, too. First written in Italian, the English edition is very readable and gives very few hints of being a translated work. The book begins with a 32-page introduction that covers the origins of submarines, their subsequent development, and their coming of age as significant weapons of war during WWI. This portion of the book is well-written and worth reading in its own right, so don't skip the introduction in this work! The main portion of the book is divided into two sections, the first and necessarily larger section covering the major combatants, and the second devoted to lesser and neutral powers. Within each section, countries are presented in alphabetical order, and the various classes of boats are presented in the order in which they were first built. Each country is introduced with a short overview that cover various aspects of its development of submarines and use of them during the war. The description of each class of submarine begins with a wealth of statistical data, including number of boats in the class, names, dates and locations of builds, dimensions, complement, and performance data. The design and development of each class is discussed and its significant contributions are covered. The final disposition of every boat in the class is listed, and, if lost, the means by which it was lost is given. In some cases, as for instance with Germany's Type VII boats, these lists can be very lengthy -- a grim reminder of the appalling human cost of WWII submarine warfare. Submarines of World War Two is printed on glossy stock and profusely illustrated with line drawings (in the form of cross-sections and outboard and inboard profiles) and black-and-white photographs. It rewards the casual page-turner as well as the serious student of naval history. I think that I can safely say that the casual fan of WWII naval operations is broadly familiar with Kriegsmarine submarine efforts during the Battle of the Atlantic, and possibly to a lesser extent with U.S. operations in the Pacific. This book was, for me at least, a real treat in that it describes the not inconsiderable submarine operations of the other combatants, who don't generally get nearly as much ink in big-picture descriptions of the larger conflict. For this focused treatment alone, Submarines of World War Two is a worthy addition to the libraries of submarine fans everywhere.
-
- 4
-
-
tool review Photo Etched Parts Bender
ccoyle replied to James H's topic in REVIEWS: Model Shipwrighting Tools, Parts and fittings
I've never actually seen how one of these tools works and would be interested in seeing a demonstration. -
Hello from a California ex-pat! There's some good folks in the San Diego club, and of course their venue can't be beat in regards to nautical theme.