-
Posts
3,266 -
Joined
-
Last visited
Content Type
Profiles
Forums
Gallery
Events
Everything posted by KeithAug
-
Eberhard The gun carriage looks excellent in its barbette. But I have a question, where did the gun crew shelter when the gun fired. I'm guessing the muzzle blast would have been quite uncomfortable if they sheltered in the barbette but I can't see any other obvious options?
-
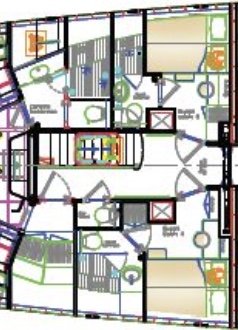
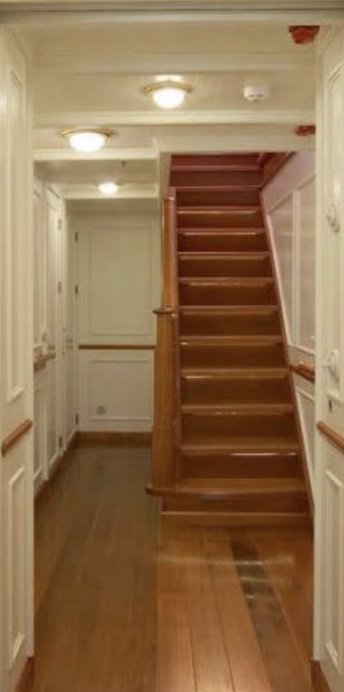
I am now setting off on a flight of fancy - building the below deck corridor that no one will ever see. The problem is I have detail which I am finding it impossible to ignore. I have a plan view of the area together with a good photo. The key feature of the area is the staircase so I started with that. It is 2.2" high and has a tread depth of .2". I cut the steps on the mill from a piece of pine and then clad the pine. Sides were made and drilled to tale the spindles. You can just about see the holes in the next photo. I cut the stairs off the block I had used for machining the steps and then milled the back of the stairs flat. I then clad the back of the stairs with mahogany planks (an exceptionally silly step because it is impossible to see this area even without the deck house in place). I then turned the bottom stair post and made the .060" spindles using a draw plate. The spindles were drilled either end to take the wire mounting spigots and the spindles were cut to length and installed together with the handrail. I then made a start on the corridor floor and walls. While I was at it I also made the floor for the deckhouse.
-
Great job on the frames, I thought the lack of restraint during fabrication might have resulted in distortion but clearly you pulled it off. Well Done.
- 58 replies
-
Yes but occasionally you have to sail in a different direction. I find the best way to find something is to make it again. It invariably turns up immediately I finish.
-
Keith Clock?????? It predates clocks - but it does have a sundial. My estimated run hour is 330 so you may be lucky soon.
-
Eberhard Re lawn tractor, it is a sit and ride mower - its just called a lawn tractor. The pedestals are 3/32 diameter. At full size they would be 3.375". I scaled them off a photo at about 3". On the original they are made of wood. I tried wood but they were very weak so I made them in brass.
-
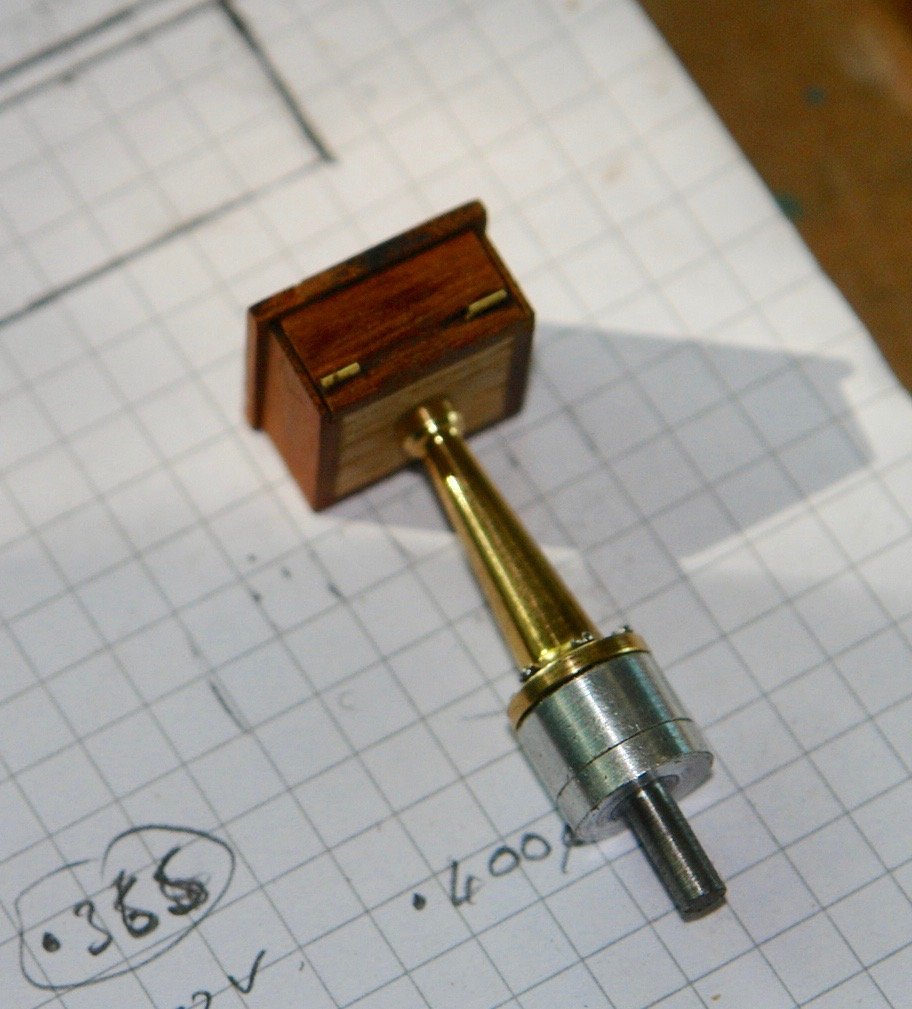
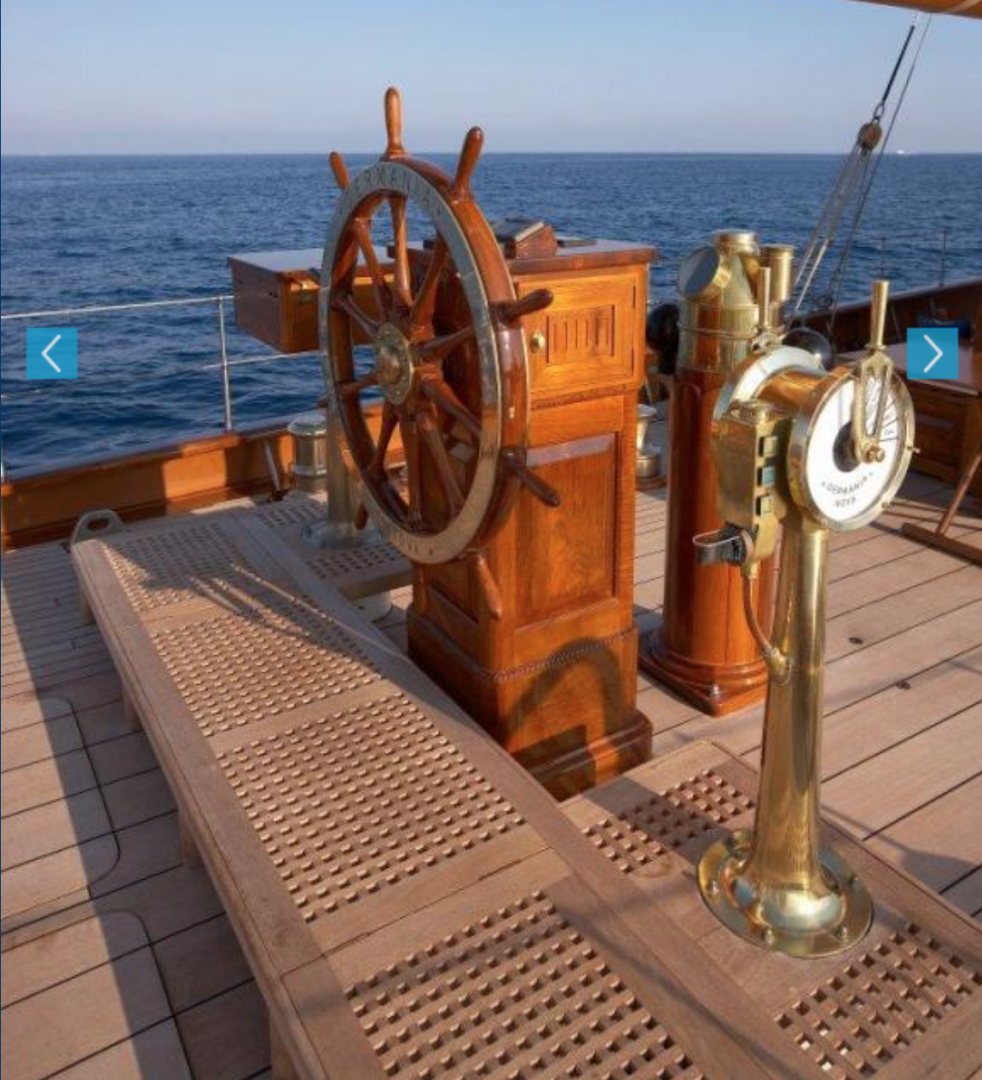
I had a bit of a slow time last week, distracted by the lawn tractor passing away at the age of 22 and an even older central heating zone valve going the same way. Anyway that is my excuse for not making better progress. To port of wheel is a pedestal mounted hinge topped and fronted box which houses the GPS screen, it is .62" square by .35" high. A simple item to make. Particularly as i had turned the stem some time back. I took a few shots with it temporarily in place. I also put the engine telegraph pedestal temporarily in place. I then moved on to start the main deck house and the below deck corridor below it. The floor of the deckhouse is .250" below deck level so I started by creating the support for this floor. This floor was cut from 3/8" ply cut to a square "U" shape. The cut out is sized to take the below deck corridor. The floor is constructed on a 1/16" sheet of ply which will be mahogany planked to create the finished floor surface. Not much to show for a week - but sometimes life is like that.
-
Hmmmm,--------- just catching up on my log after a few days off. You have been having fun. You are of course all welcome and I will get the wife on with the fruit scones, jam and clotted cream. I assume your bus has a decontamination bay and that you all have your PPE in good order. By the way I still have my hair, but in these times it is a bit of a double edged sword. The barbers have closed down and 4 months without a haircut has left me looking a bit like an inverted floor mop.
-
All very interesting Hellmuht. The irregularities in the hull design are quite amazing. The ancients seem to make life hard for themselves.
- 158 replies
-
- byblos ship
- Egyptian
-
(and 1 more)
Tagged with:
-
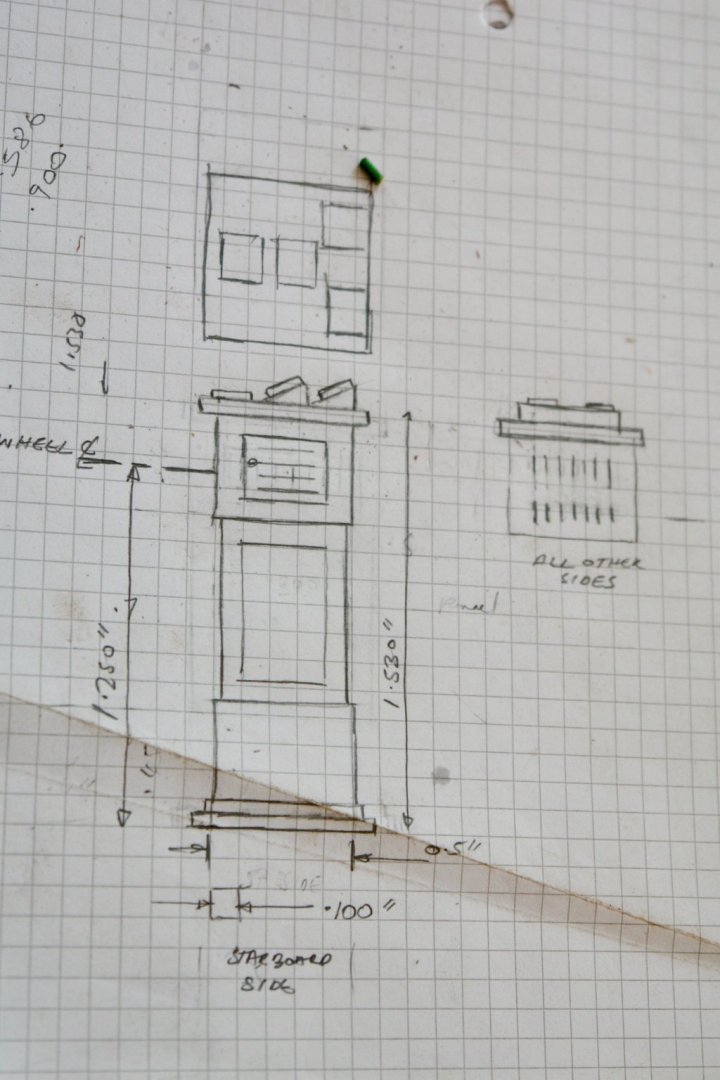
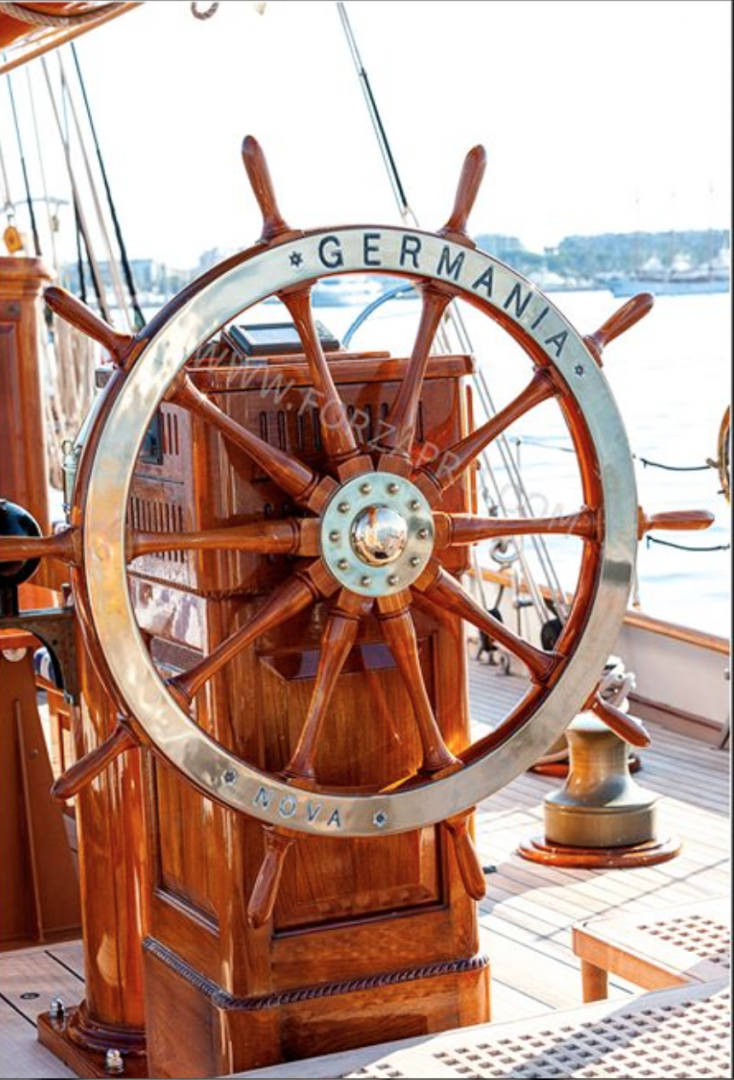
The next job was the wheel pedestal, Although it looks quite chunky in the photograph at model scale it is relatively small. The sketch was fairly easy as I had the basic dimensions from the plan and lots of detail from photos. The body is 0.5" square and the height is 1.53" I cut a core from oak and then clad it to crate the panels and decorative details. Around the top are decorative slats which I cut .020" wide on the table saw. A hole was drilled to take the wheel spindle and the wheel was temporarily mounted. Instruments are mounted on the top fo the pedestal. Earlier photographs of Germania feature less instruments. I based the instruments on later photos. The surrounds are cut from square aluminium tube, the faces are black card filled over with 2 part epoxy to simulate the screen. The pedestal hasn't been varnished as yet.
-
Vaddoc Reminds me of the end of a long days sail when the deck was festooned with lines in what we commonly called a rats nest. It all looks very realistic.
-
Amazing what you achieve with card, a pleasure to see your work.
- 23 replies
-
- new mexico
- battleship
-
(and 1 more)
Tagged with:
-

HMCSS Victoria 1855 by BANYAN - 1:72
KeithAug replied to BANYAN's topic in - Build logs for subjects built 1851 - 1900
The bow gun and carriage looks incredible Pat - excellent work.- 973 replies
-
- gun dispatch vessel
- victoria
-
(and 2 more)
Tagged with:
-
Eberhard, Keith, Michael, John, Richard, Steve, Vaddoc, Rob, Dale, Druey. Thank you all for taking an interest and commenting. Also thanks to everyone who has looked in. Ah, Pat you have caught me out taking short cuts. Thank you for commenting. Tom, it is just a bit of card. It is placed a few millimetres below the perspex of the window.
-
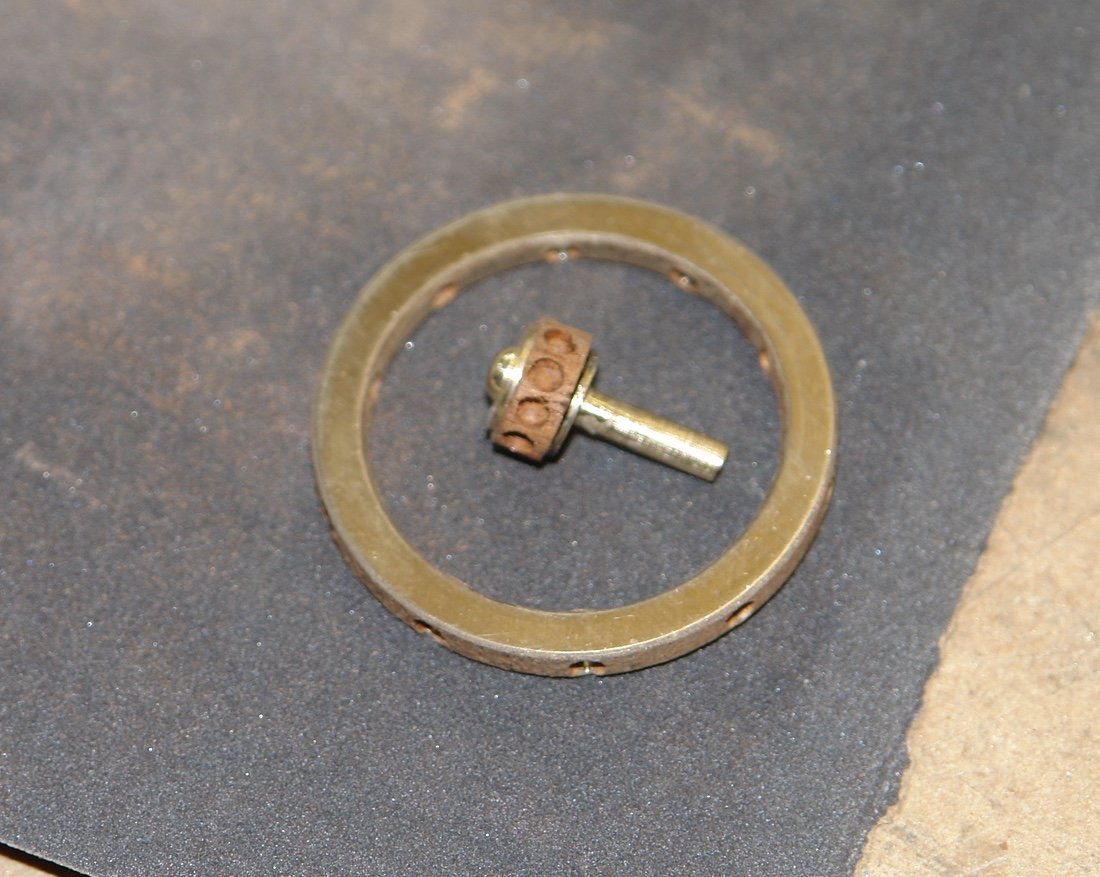
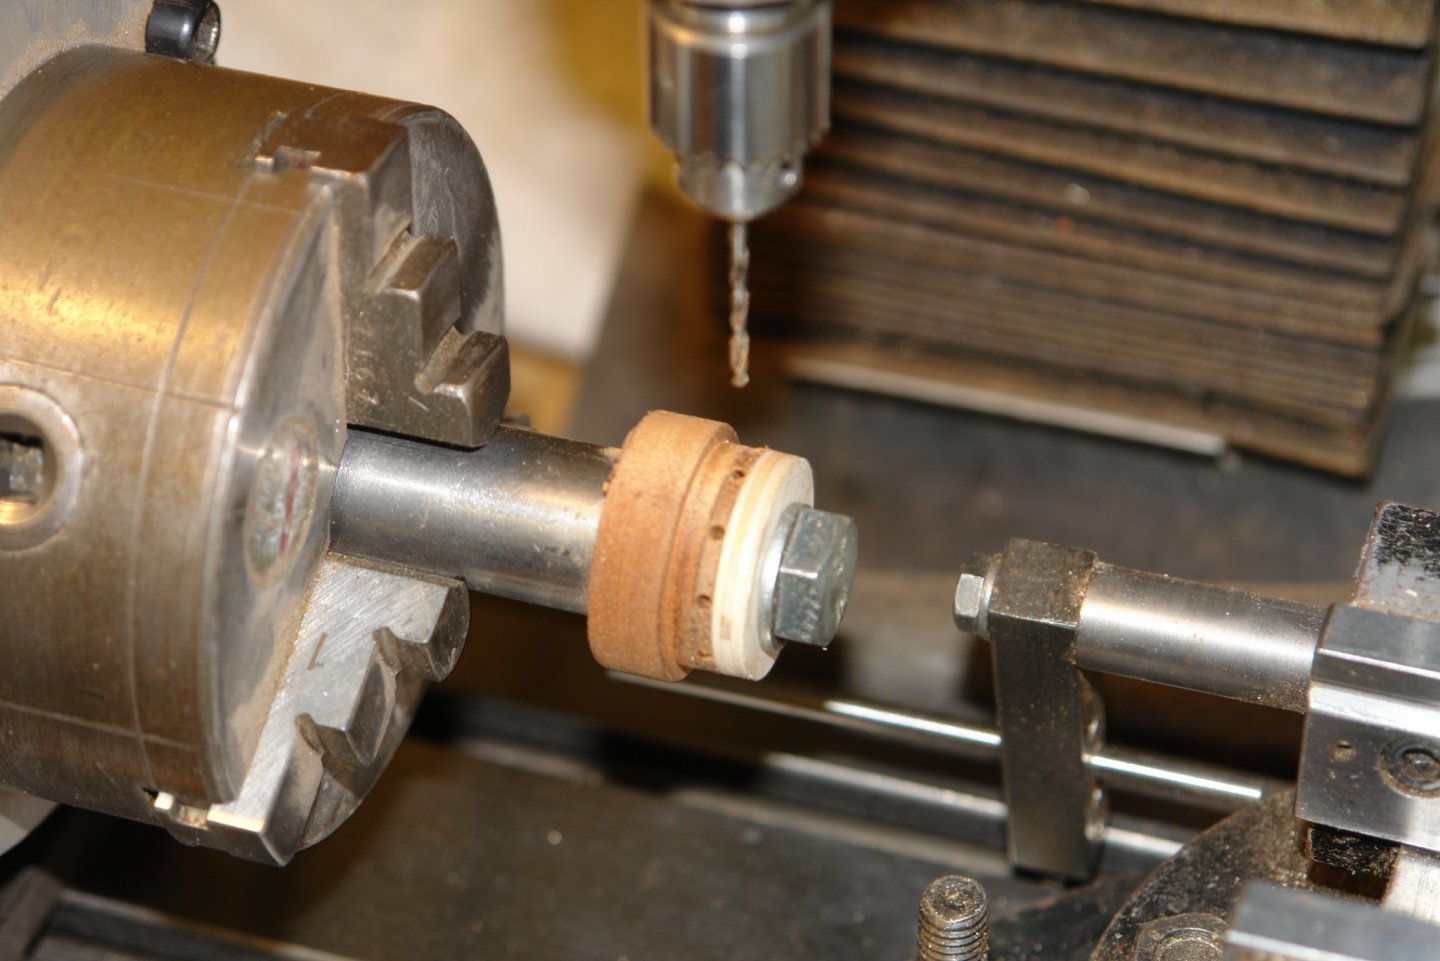
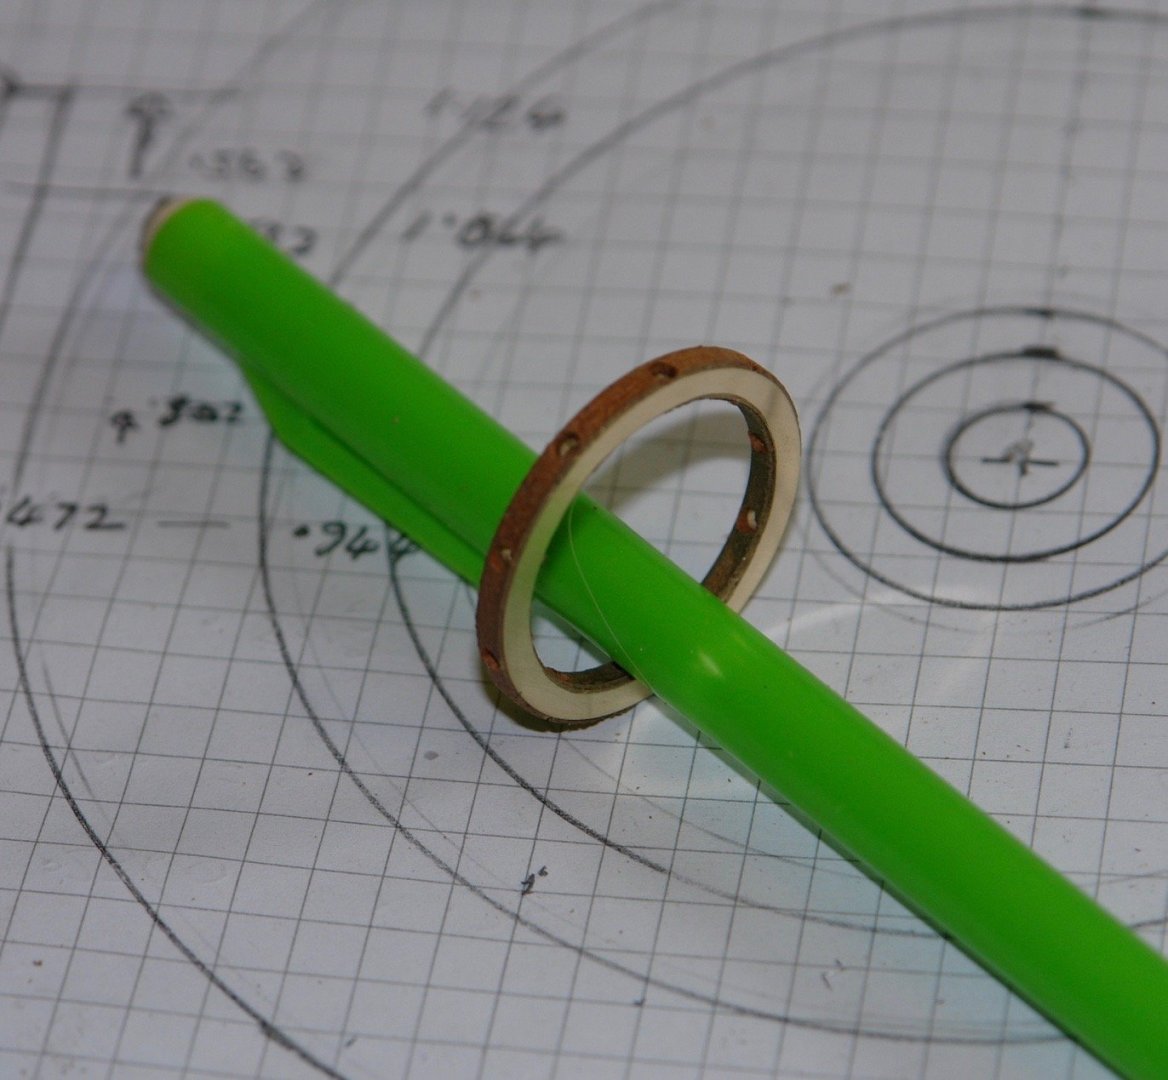
Thank you Steve, Chris and Michael, and thanks to everyone who has liked my build. I went on to finish the wheel. The brass faces and spindle for the hub were turned. I then turned a piece of mahogany and drilled the 10 radial holes to take the spokes. The drill is .080" diameter. It is quite difficult to tell that the grain on the rim does not follow the circumference. The hub was parted off and the spigot mounted. I made former from a brass tube to allow me to make the spindles. The spindles were installed and glued. I finished the wheel with a coat of poly. I then used the wrong end of a .020" drill to mark the positions of the rim screws. The wrong end was ground at an angle and the wheel was mounted on the mill rotary table to make the marks.
-
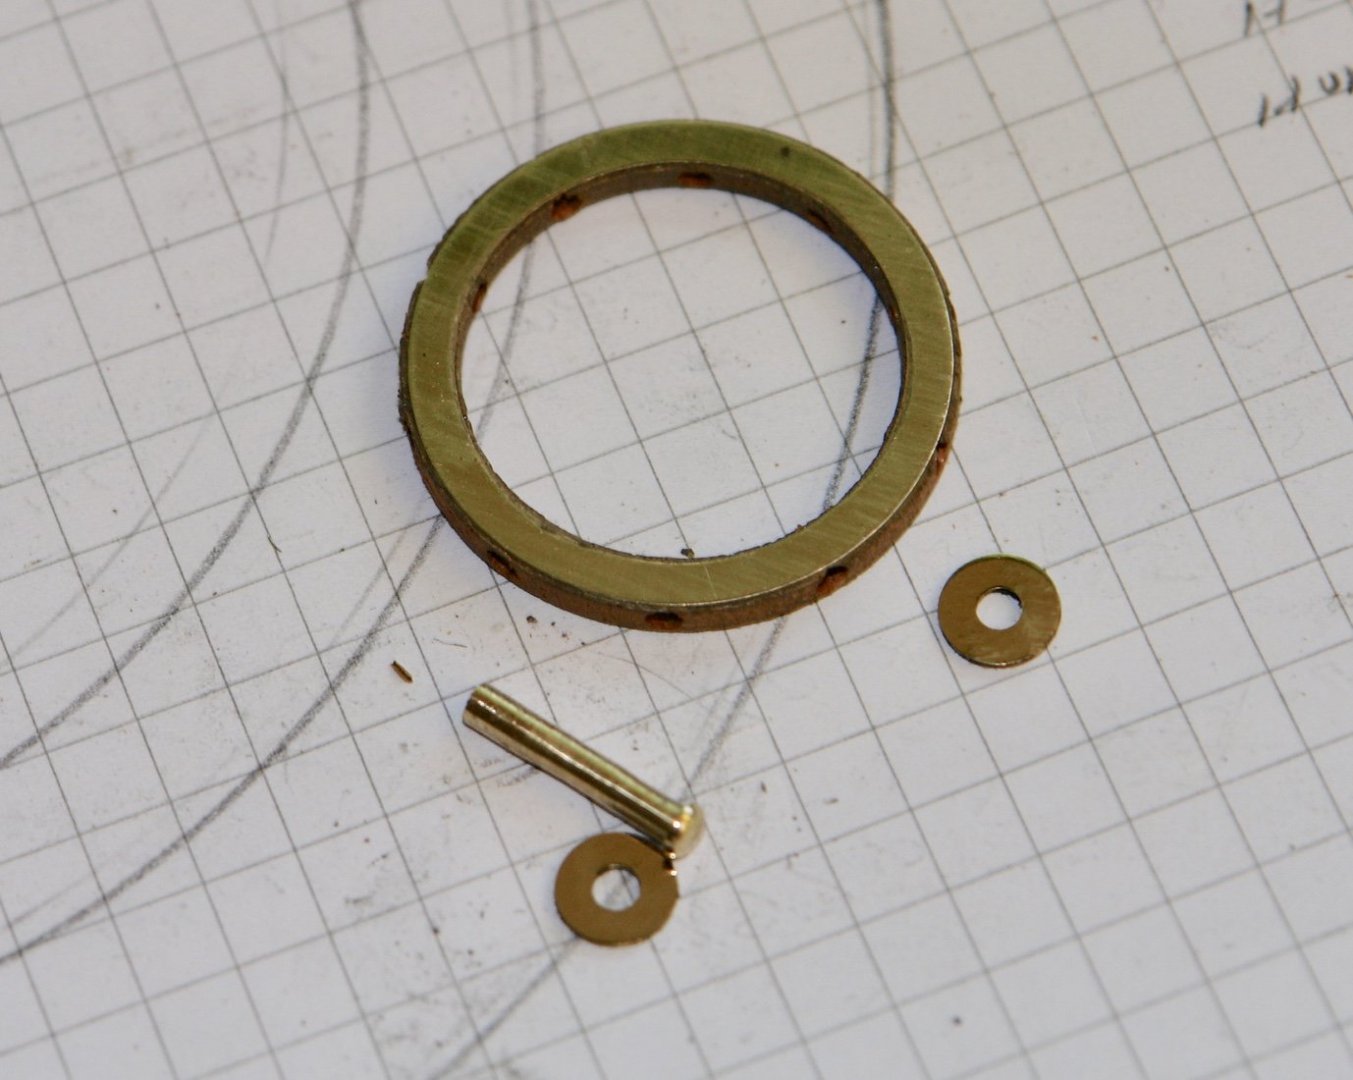
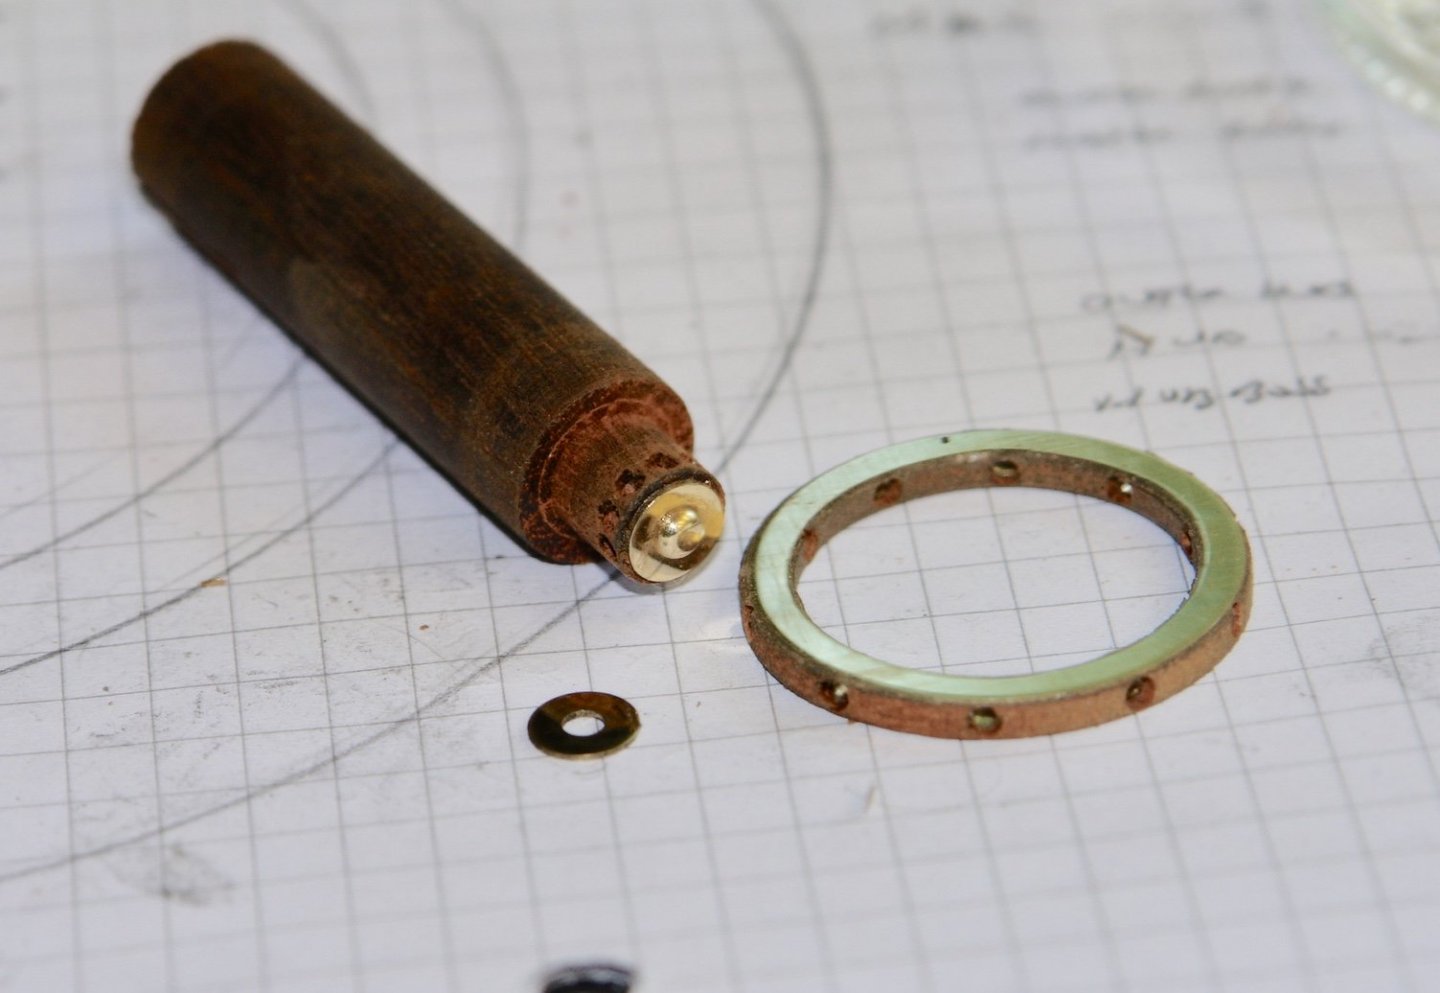
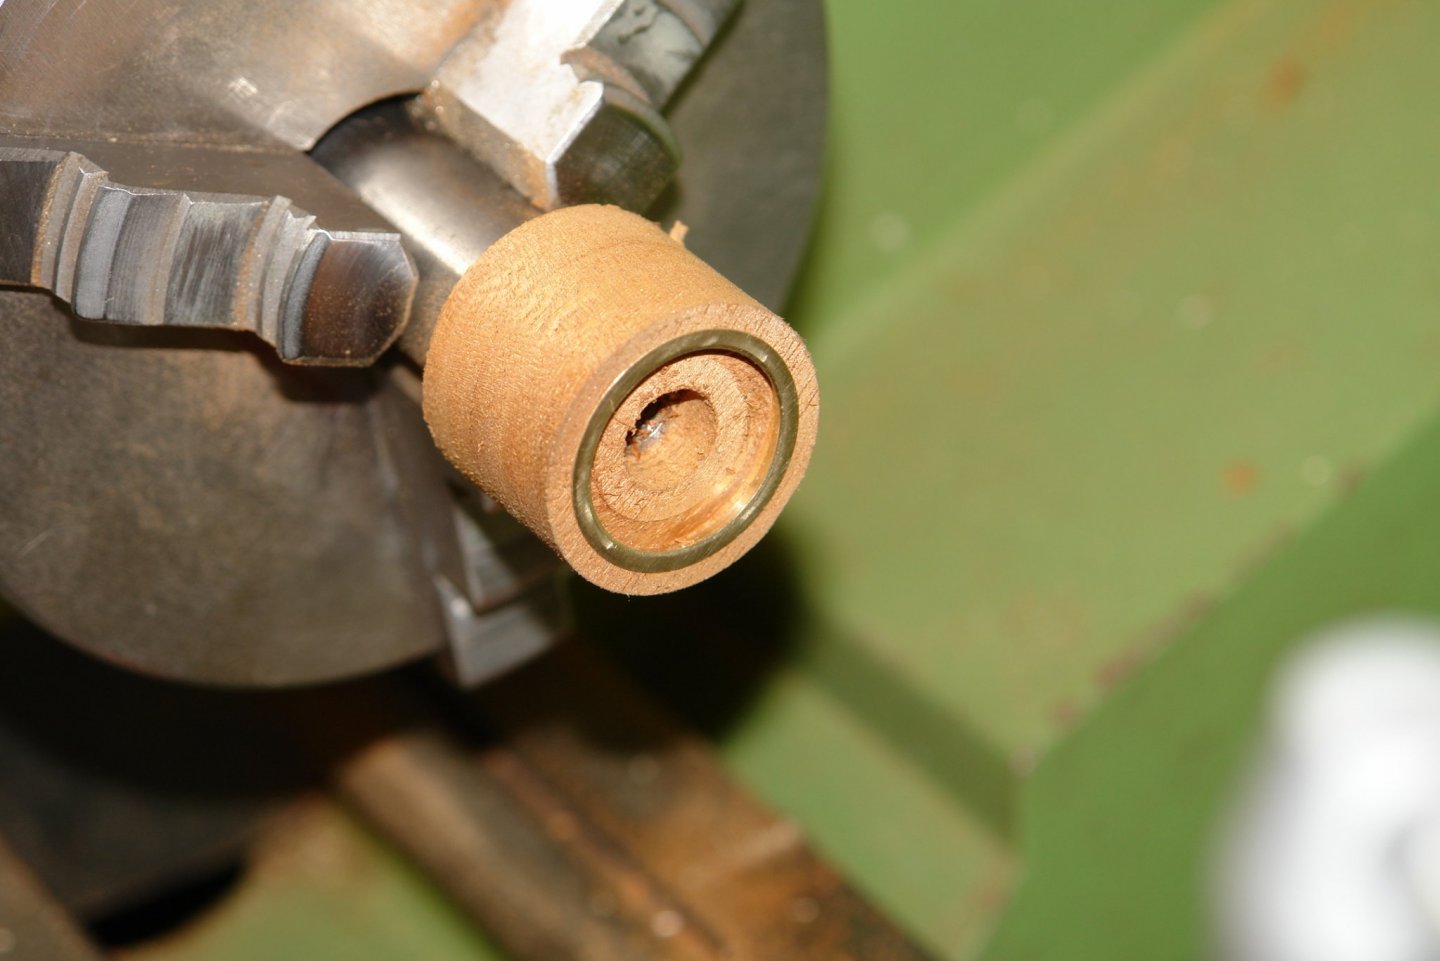
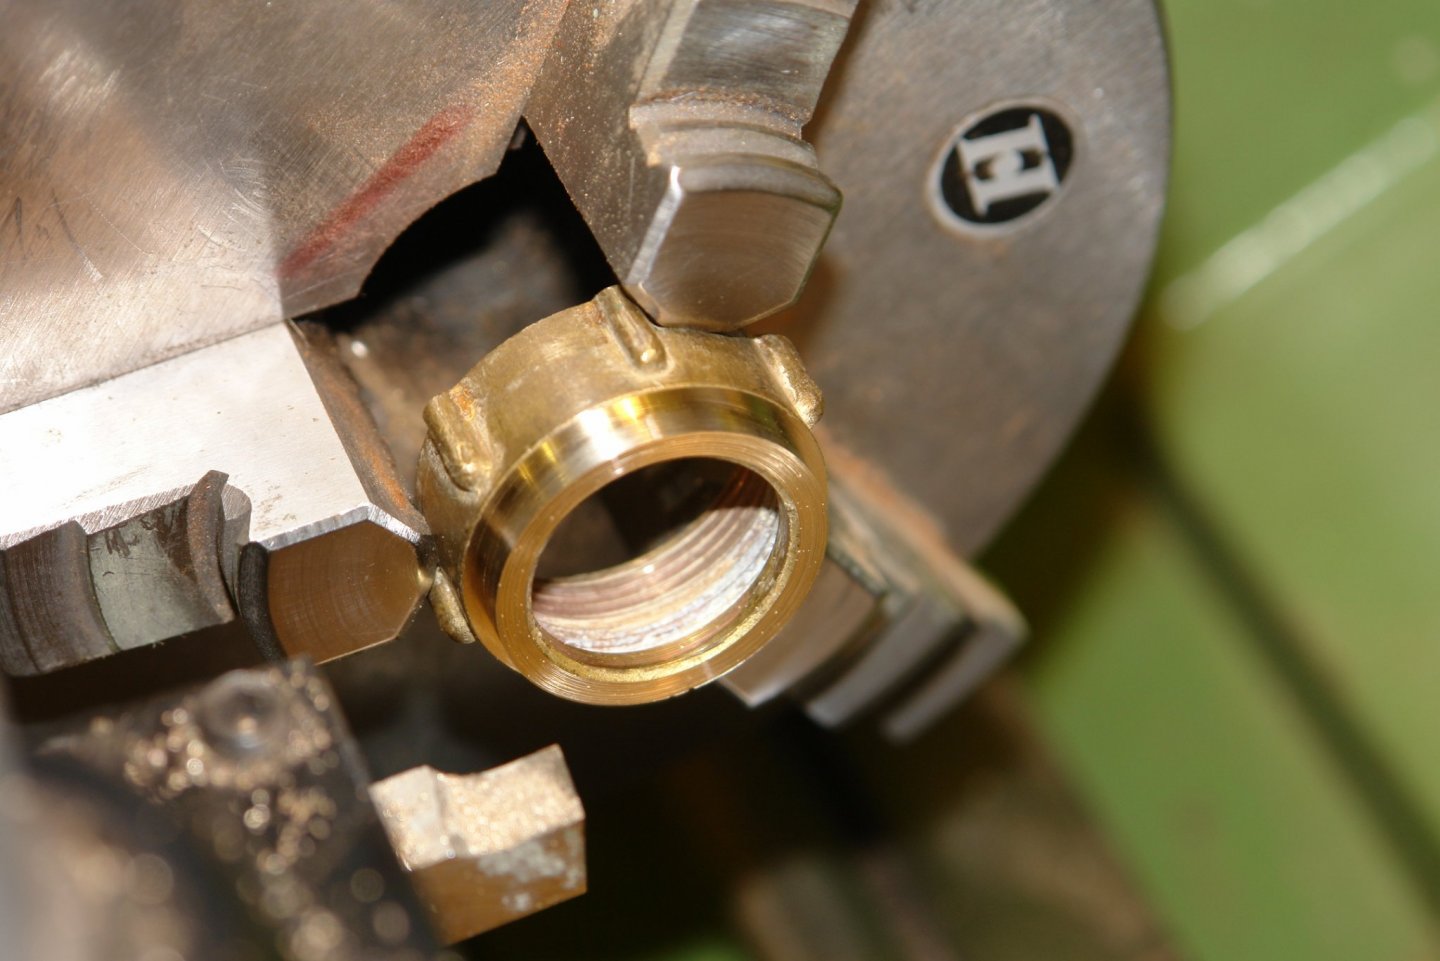
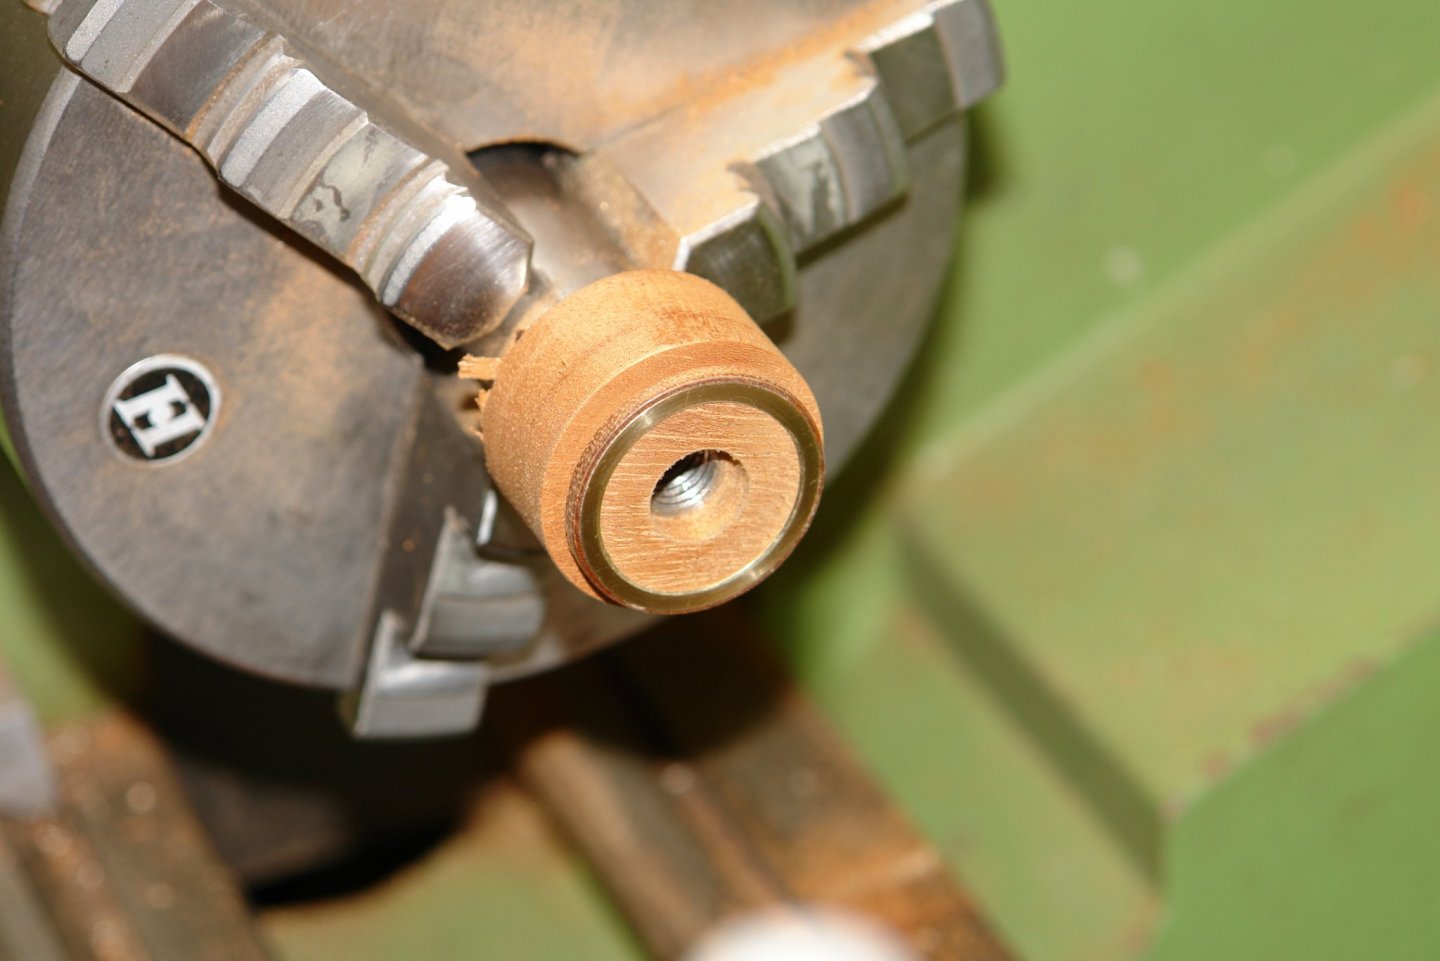
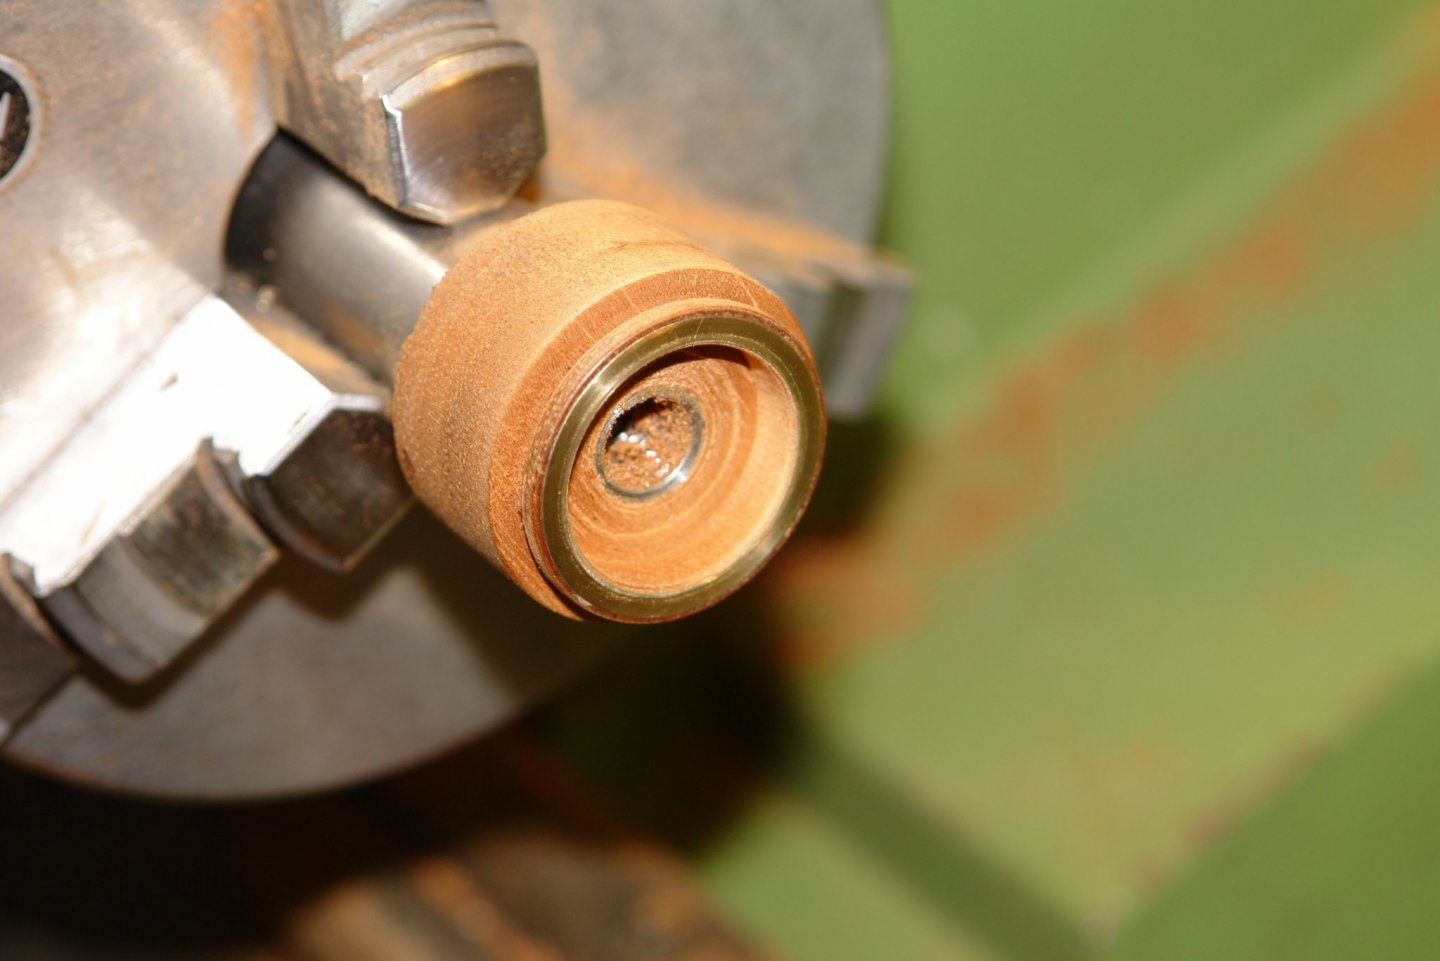
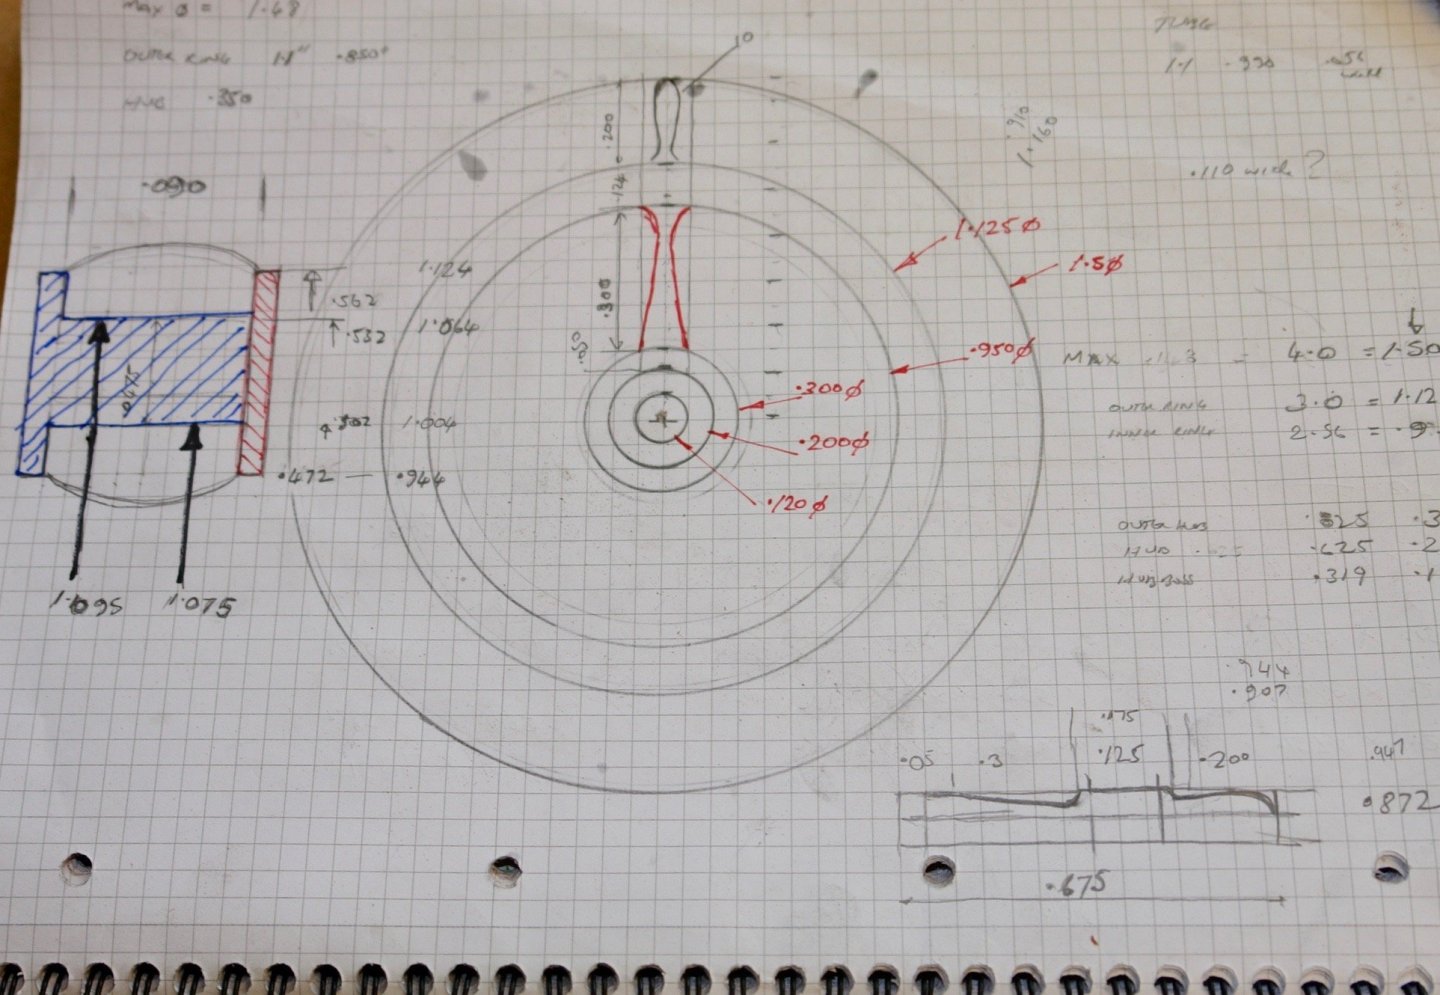
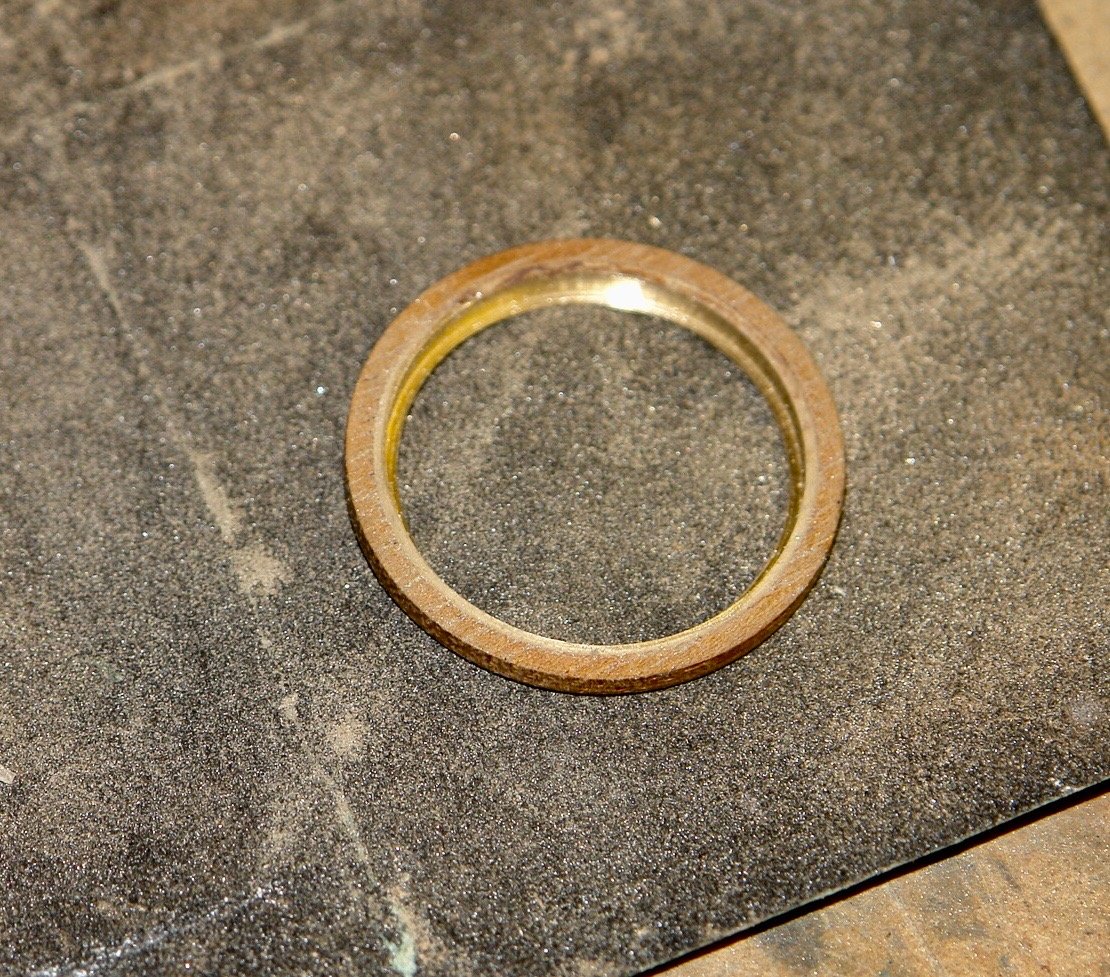
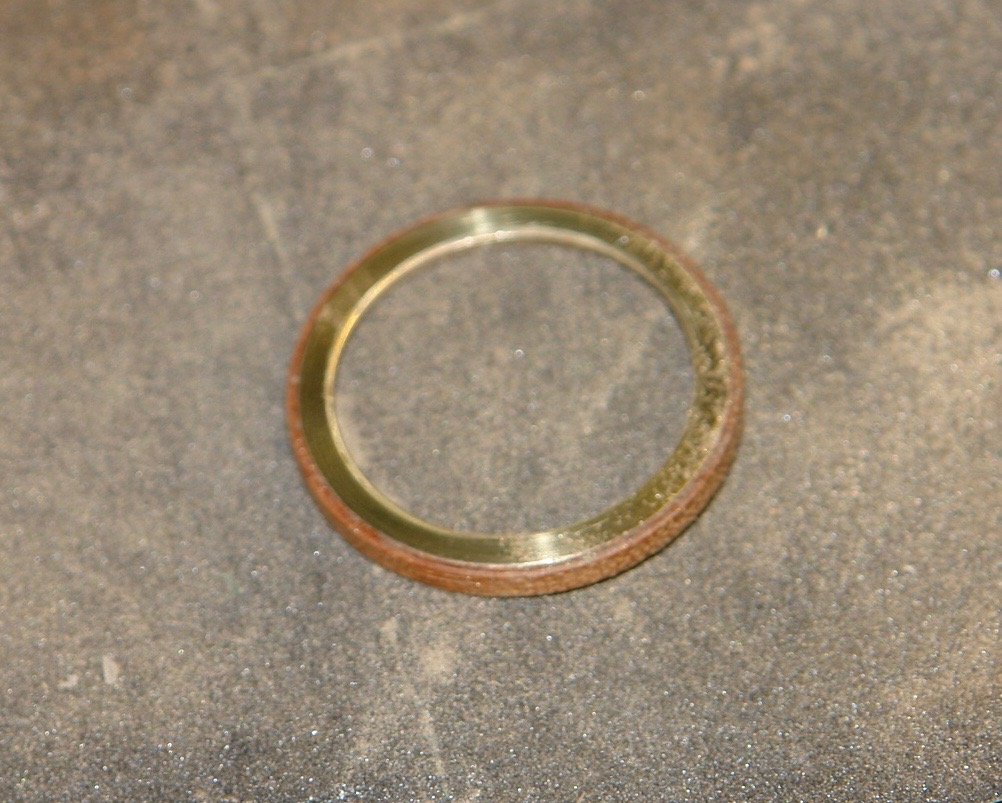
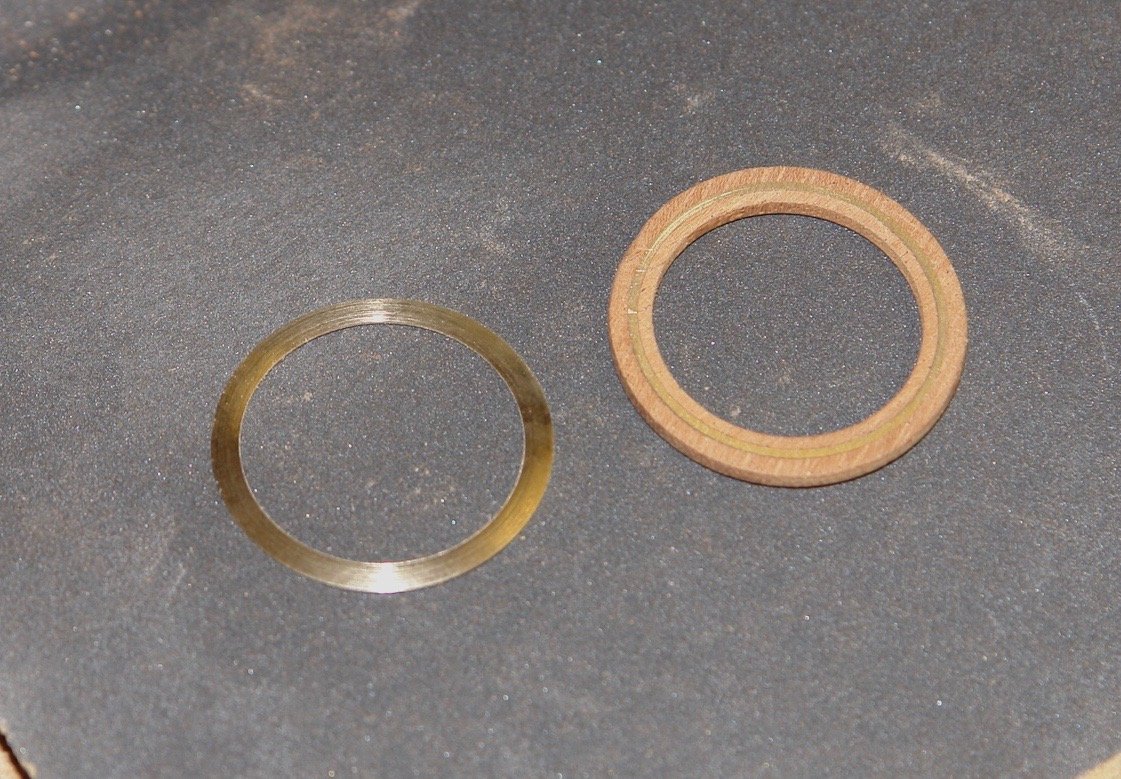
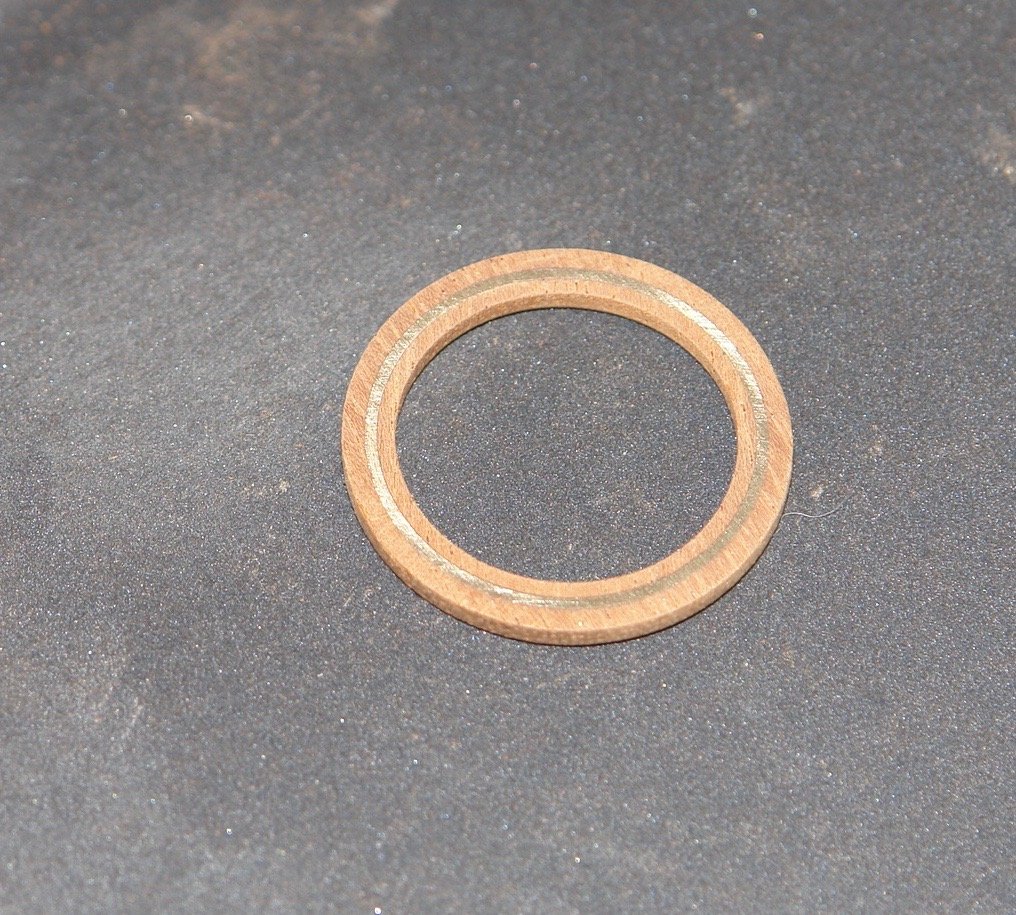
Thank you Michael - Good to see you back. I made a start on the wheel. I could scale the overall size from the plans and this coupled with a decent photograph allowed me to create a reasonable sketch. The rim is 1.125" OD and .950" ID. As can be seen the faces of there rim are predominantly brass mounted on a mahogany core. I am not sure why but I decided to make it in quite a complicated manner. I think strength was uppermost in my mind. On the left is a cross section of the rim. The blue and red areas areas represent the brass work. I started by finding brass of the right diameter, in this case an old plumbing fitting from the scrap box. I turned the Blue "T" shaped piece first and then parted off. I then mounted a lump of mahogany in the lathe and turned a bore to take the outside diameter of the "T" section (1.095" on the drawing). The brass was then glued in the bore with CA glue. The mahogany external diameter of the ring was then turned and rim was parted off. A spigot was then turned on the mahogany to mach the inside diameter of the "T" section (1.075" on the drawing). The parted off rim was then glued onto this spigot. The inside was then bored out to the required .950" diameter of the inside of the rim. I then parted off the rim which now consisted of the brass "T" section with inner and outer mahogany hoops. I then turned a hoop of brass for the opposite face and glued it on with CA. I then mounted the hoop on yet another spigot and drilled the 10 radial holes to take the spokes of the wheel. That took all day.
About us
Modelshipworld - Advancing Ship Modeling through Research
SSL Secured
Your security is important for us so this Website is SSL-Secured
NRG Mailing Address
Nautical Research Guild
237 South Lincoln Street
Westmont IL, 60559-1917
Model Ship World ® and the MSW logo are Registered Trademarks, and belong to the Nautical Research Guild (United States Patent and Trademark Office: No. 6,929,264 & No. 6,929,274, registered Dec. 20, 2022)
Helpful Links
About the NRG
If you enjoy building ship models that are historically accurate as well as beautiful, then The Nautical Research Guild (NRG) is just right for you.
The Guild is a non-profit educational organization whose mission is to “Advance Ship Modeling Through Research”. We provide support to our members in their efforts to raise the quality of their model ships.
The Nautical Research Guild has published our world-renowned quarterly magazine, The Nautical Research Journal, since 1955. The pages of the Journal are full of articles by accomplished ship modelers who show you how they create those exquisite details on their models, and by maritime historians who show you the correct details to build. The Journal is available in both print and digital editions. Go to the NRG web site (www.thenrg.org) to download a complimentary digital copy of the Journal. The NRG also publishes plan sets, books and compilations of back issues of the Journal and the former Ships in Scale and Model Ship Builder magazines.


