DONATION DRIVE - SUPPORT MSW - DO YOUR PART TO KEEP THIS GREAT FORUM GOING! (91 donations so far out of 49,000 members - C'mon guys!)
×


Remcohe
-
Posts
612 -
Joined
-
Last visited
Content Type
Profiles
Forums
Gallery
Events
Everything posted by Remcohe
-
 Congratulations Ben, this is a big milestone. You probably thought there would be no end to adding frames Remco
 -
Nice top masts Bob. I have a mill but I certainly don't use it to make my masts, just square stock and hand tools, just like you do, give a much better result (and satisfaction ) Remco
-
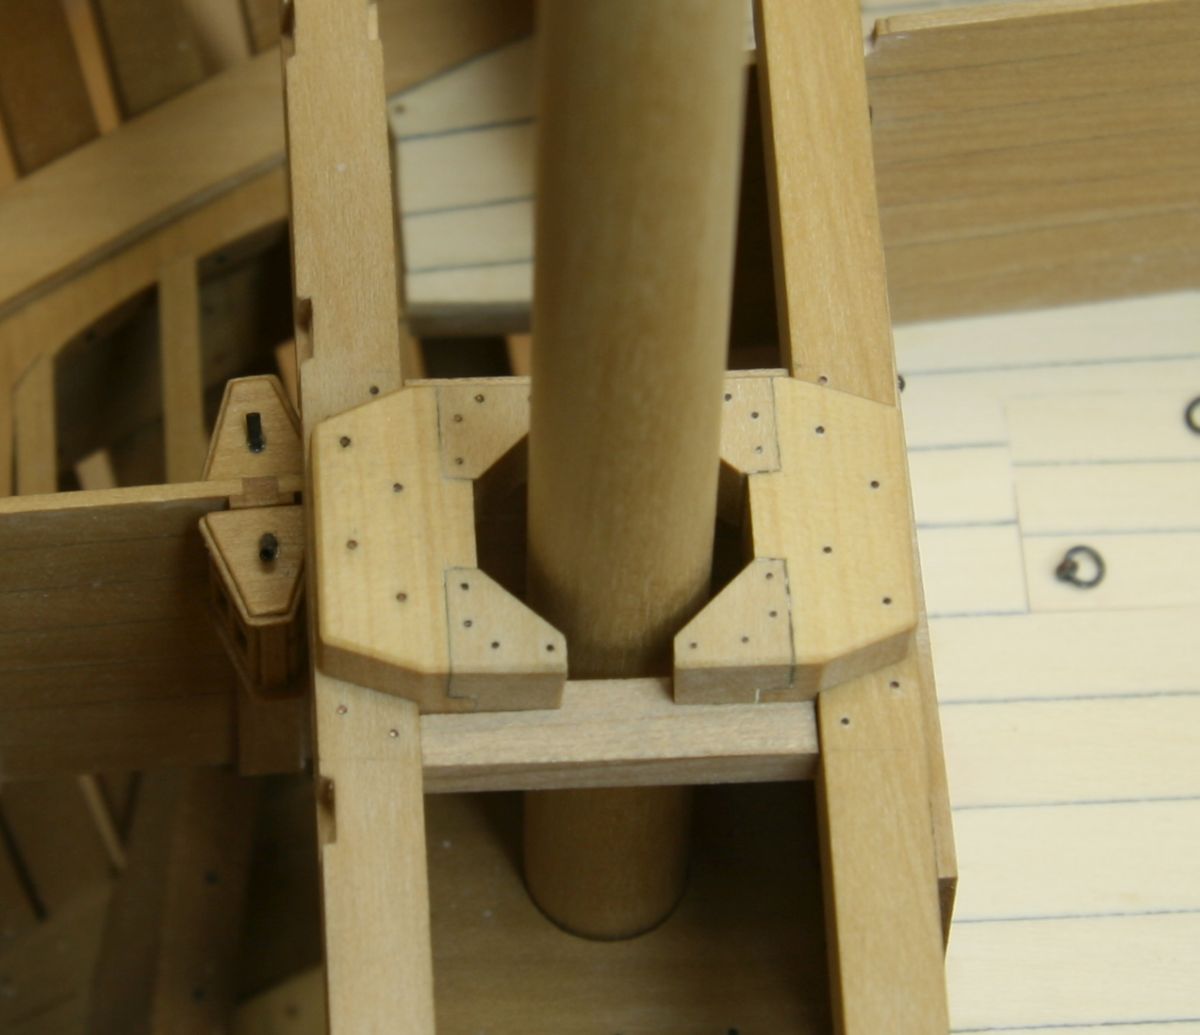
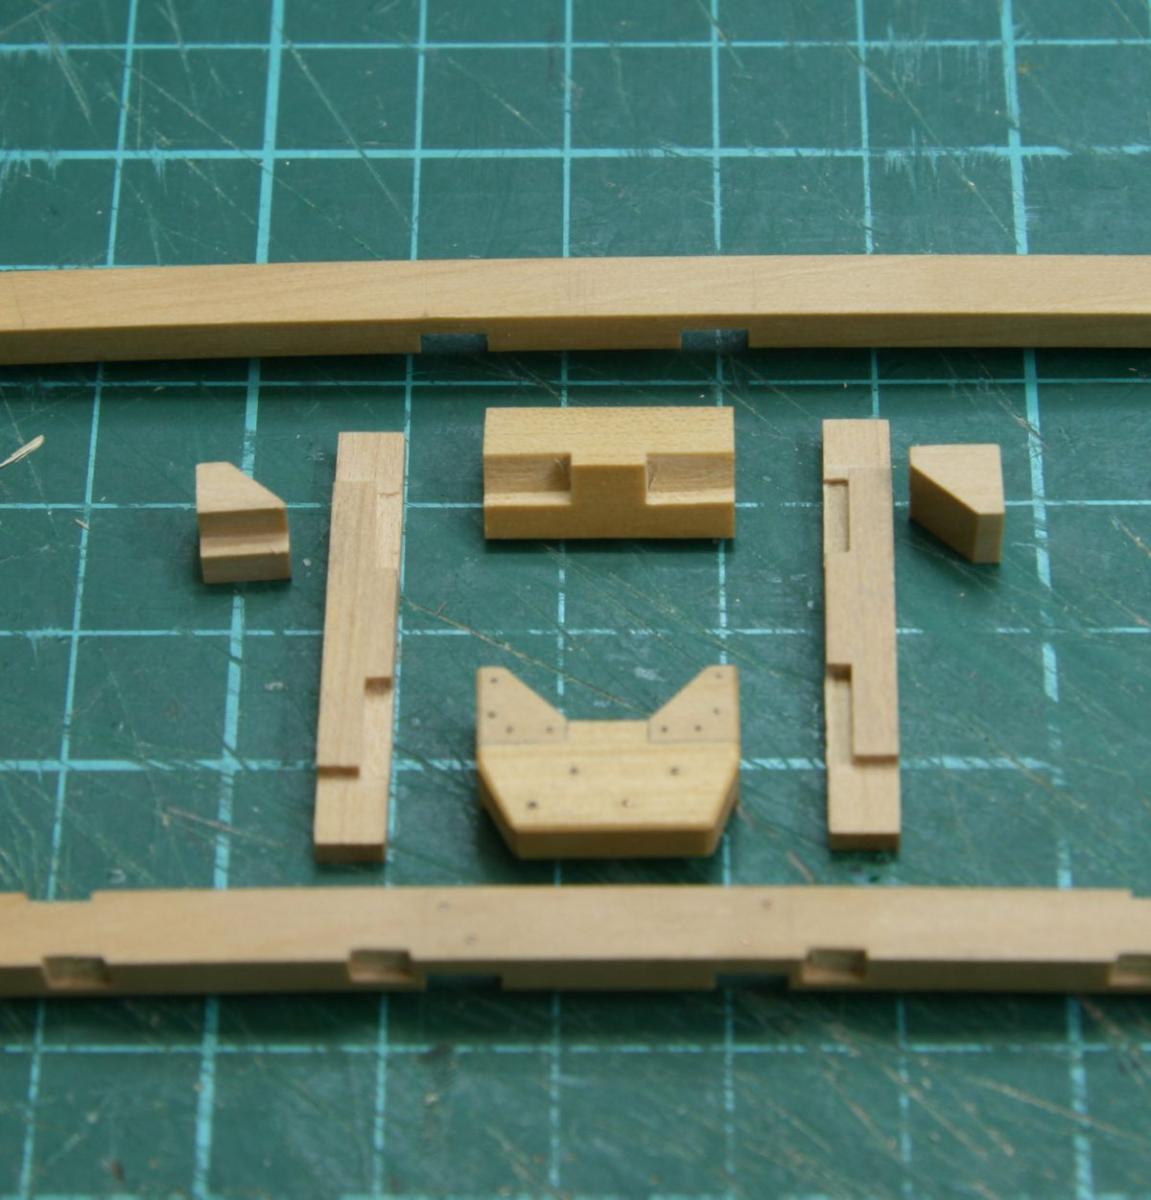
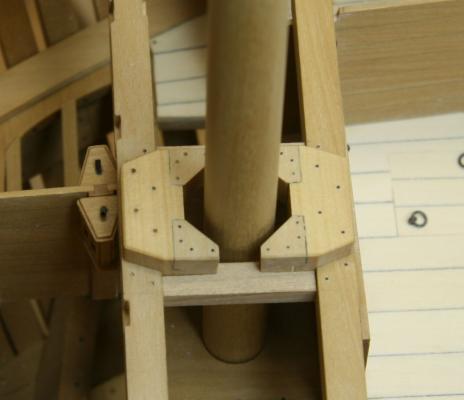
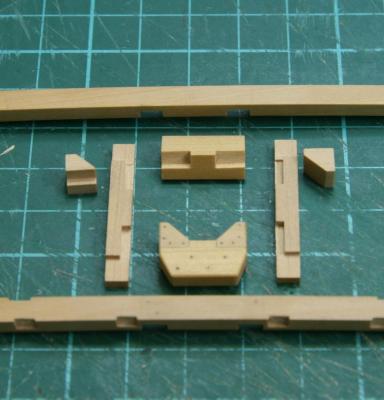
Thanks all for your kind comments. Nick, with diluted tung oil (applied sparingly ) it has no sheen and thats what I meant with dead flat. I have the mixture in a small jar and it will keep for at least 2 years, that is how long I kept is. Glue won't stick to well if the wood has been treated with tungoil or any other oil or wax based finish. So you'd better think ahead before applying it. The fore mast step, this is a nice little 3D jig saw puzzle. I realised I had to reposition the two deck beams that incorporate the mast step to properly align with the mast. No big deal but I felt pretty dumb when I noticed my mistake. Most straight forward cuts were made on the table saw that acted as router. The rest was cut with a chisel. Remco

- 1,215 replies
-
- 27
-

-
- sloop
- kingfisher
- (and 1 more)
-
Hi Piet, congratulations. Whoever buys it at the gathering has a fine model to display. Remco
- 176 replies
-
- 2
-
-
- muscongus bay lobster smack
- Midwest Products
- (and 1 more)
-
Just take your time on the metalwork, I dislike it too to work with it, takes more patience than wood... Remco
-
Nice to see the master at work, you make it look so easy. Remco
- 3,618 replies
-
- 1
-
-
- young america
- clipper
- (and 1 more)
-
Thanks all for the kind comments and likes! Tony, I stopped using minwax because it does not give a dead flat finish unless you sand it a little after applying. Not very practical in hard to reach spots. I really look for a flat finish and a finish that will bond the last traces of sanding dust as well (with boxwood you'll have very fine white dust accumulating in the wood grain). So after some experimenting with different finishes this is what I found out until now. Beeswax diluted with white spirit, it corrodes the brass and coper nails in the model Micro crystalline wax diluted with white spirit, no corrosion but traces of sanding dust remain visible Sanding sealer, nice flat finish but traces of sanding dust remain visible With Tungoil diluted with white spirit (50%) I have the best results, nearly a flat finish and all the sanding dust takes the color of the wood. Druxey, I saw that one coming who knows, if I can find some decent reference material I'll give it a shot. Greg, dry bending with hot air (the admirals hair dryer is a fine tool in the shipwright) Piet, no need to bring tools, you can use mine to examine the Kingfisher. Everything except for the magazine is still very visible with my optivisor. Once the upper deck goes in that will change. But no worries, no way I will be that far when you get here :-) Remco
- 1,215 replies
-
- 8
-
-
- sloop
- kingfisher
- (and 1 more)
-
Not bad at all for a first cast! Remco
-
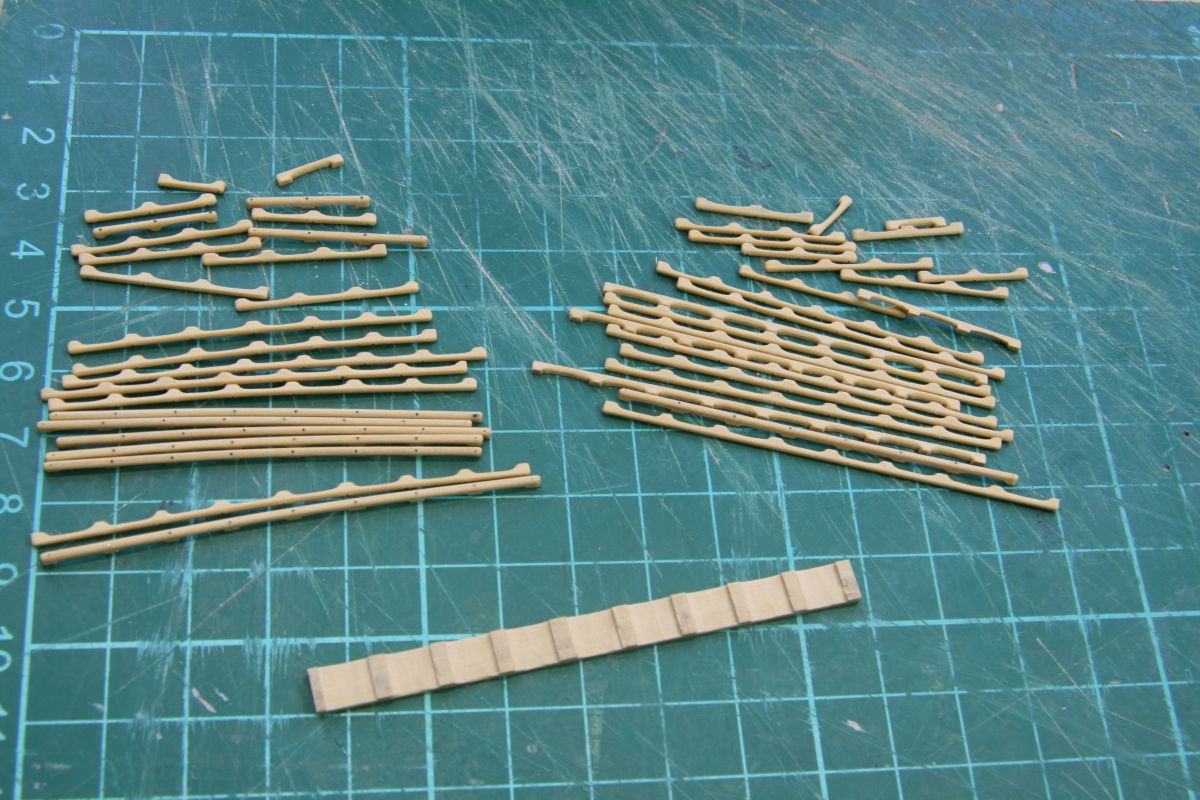
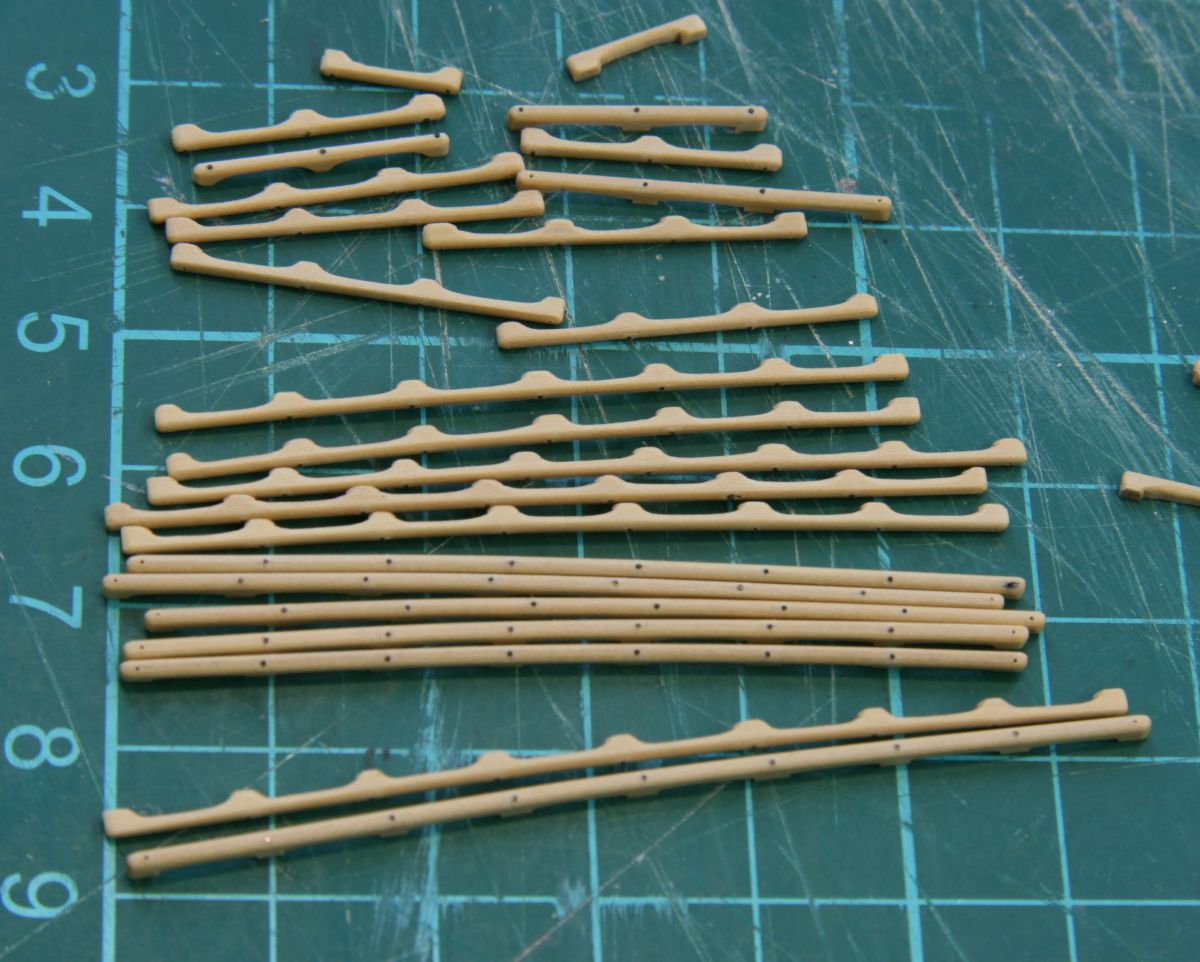
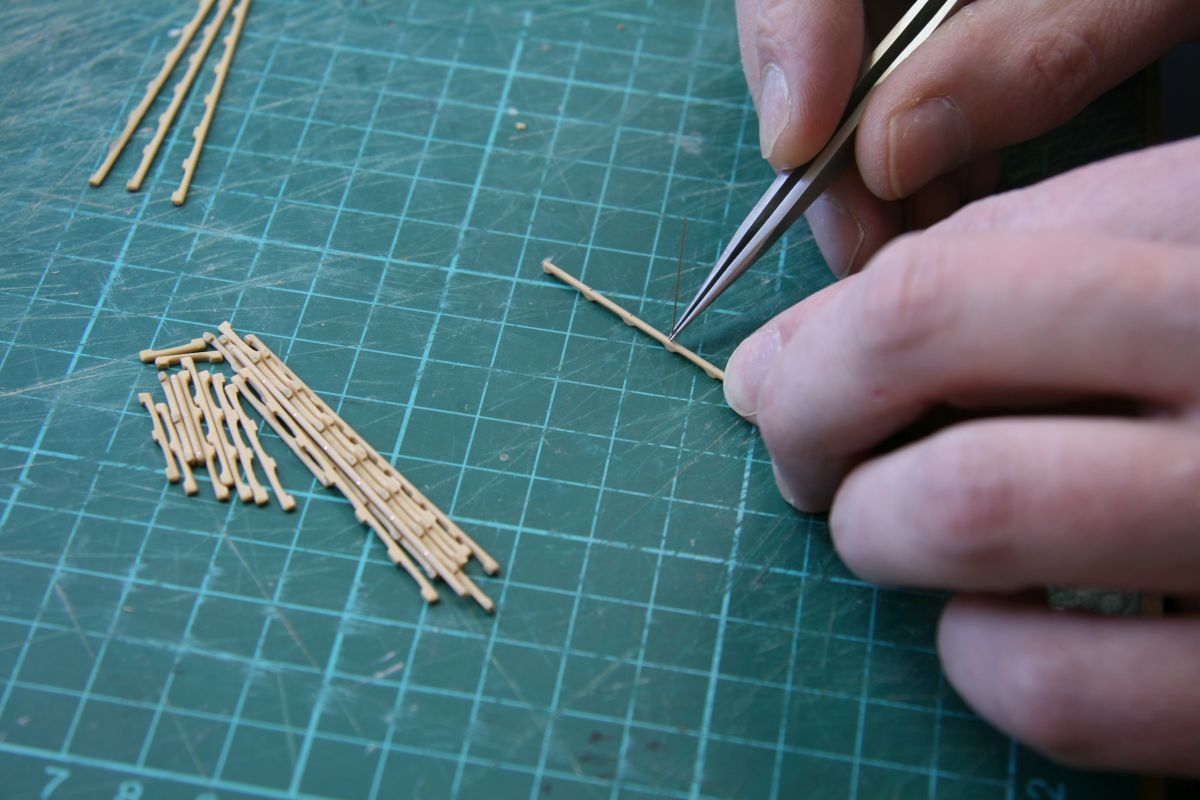
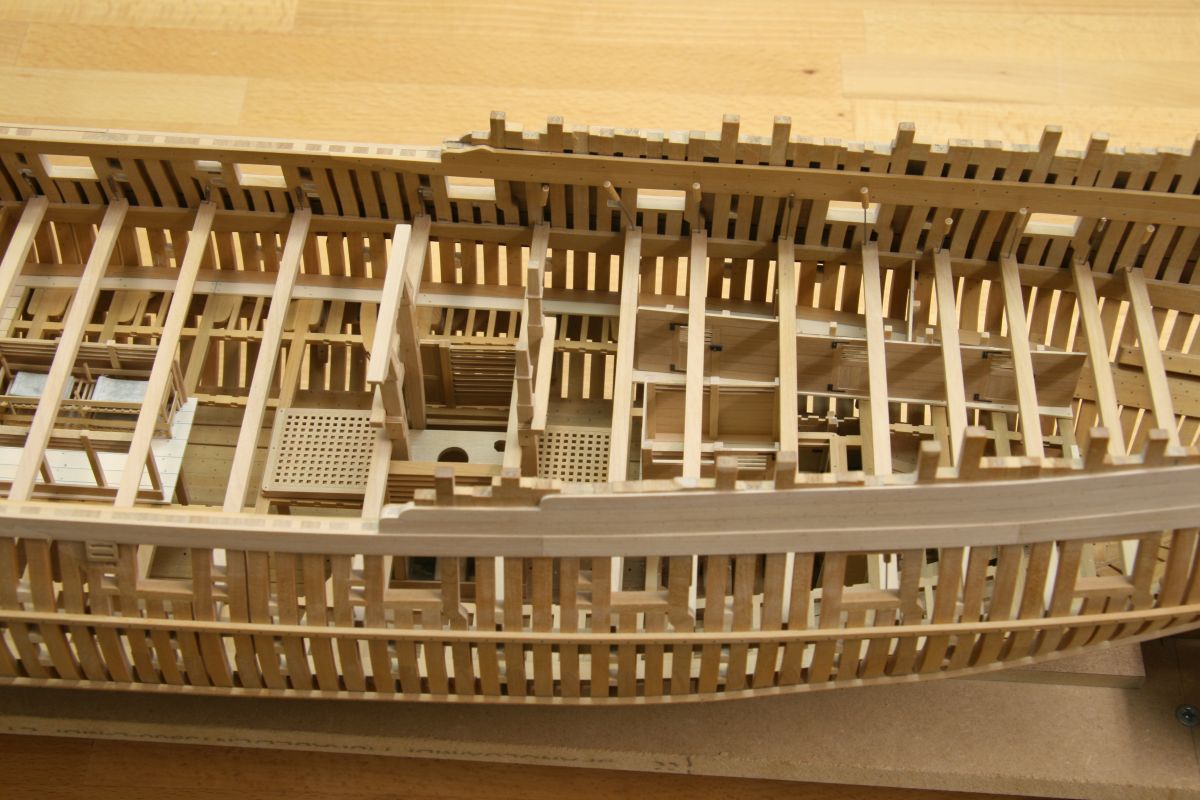
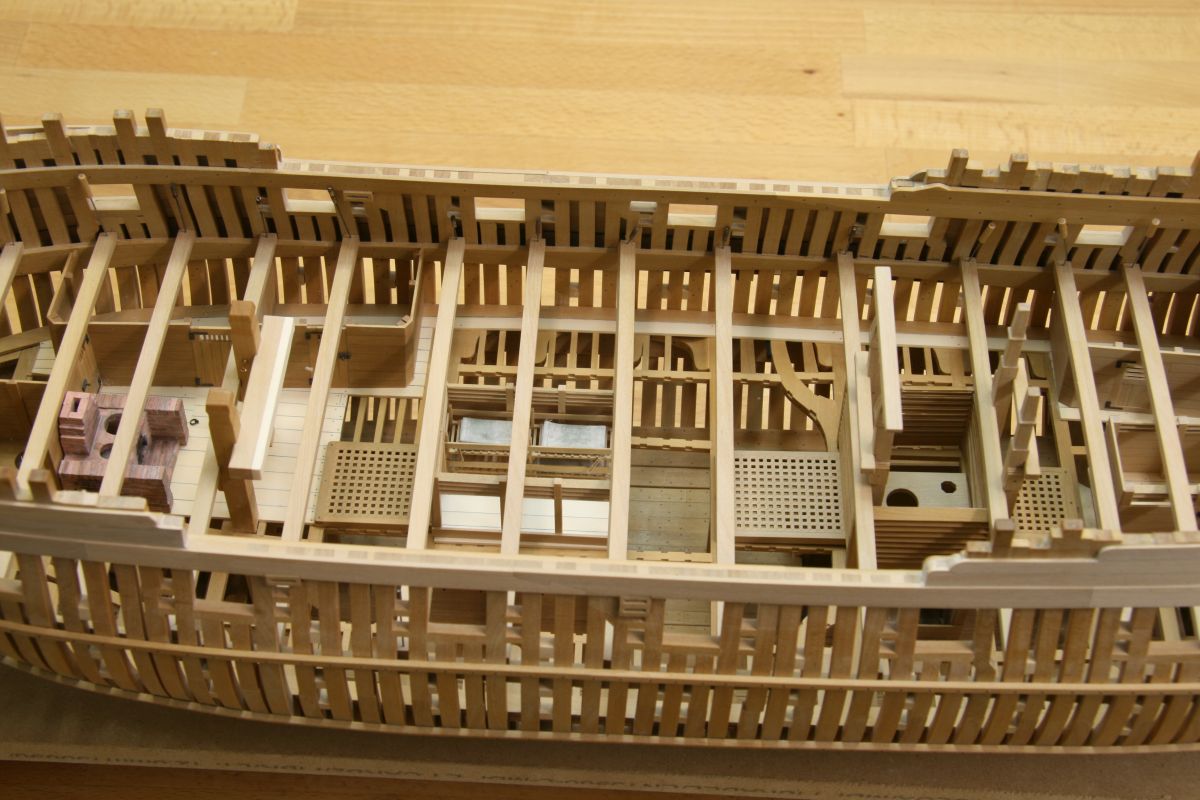
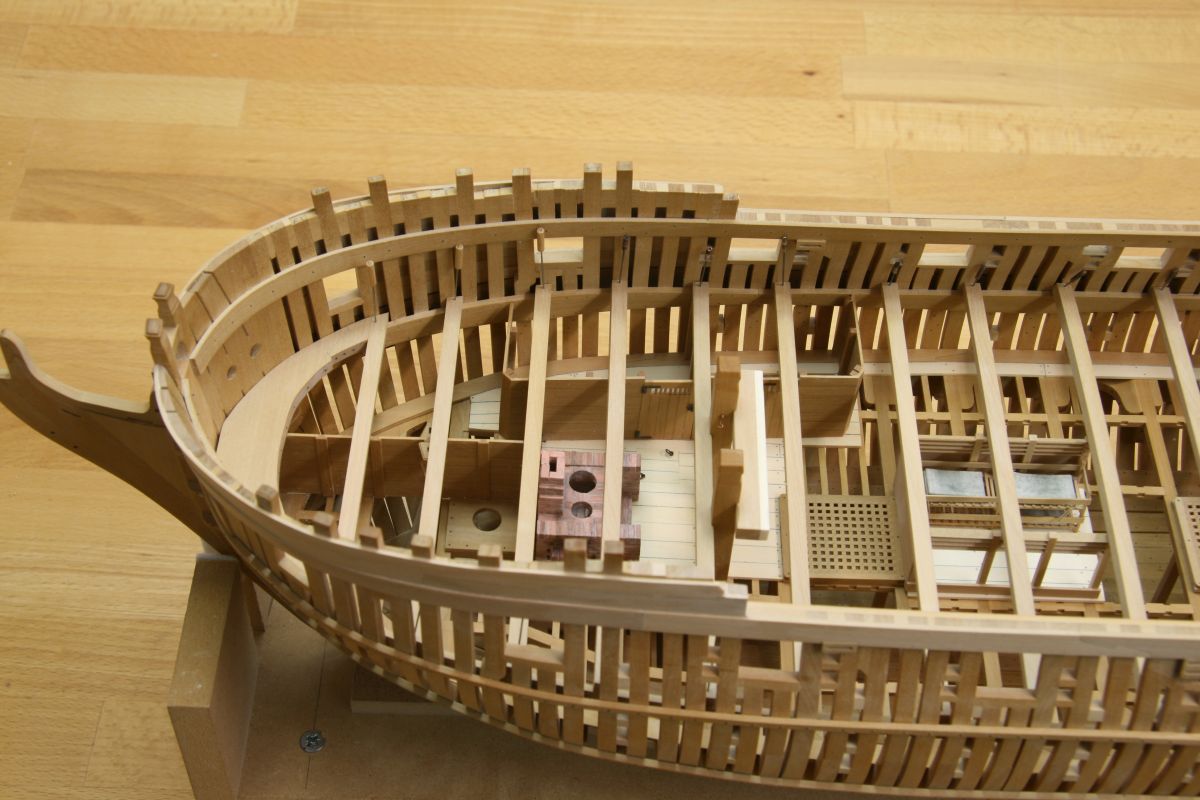
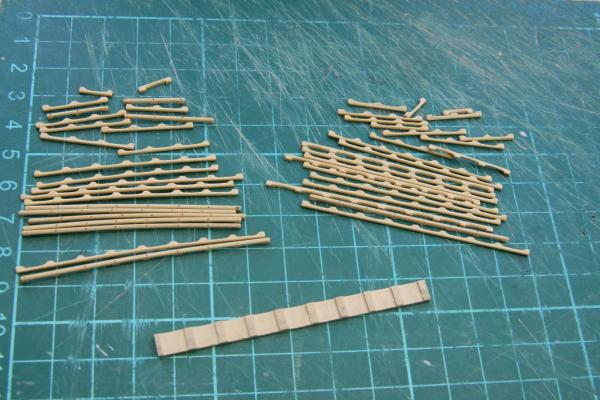
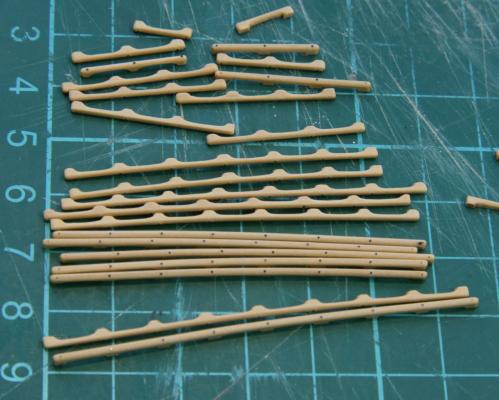
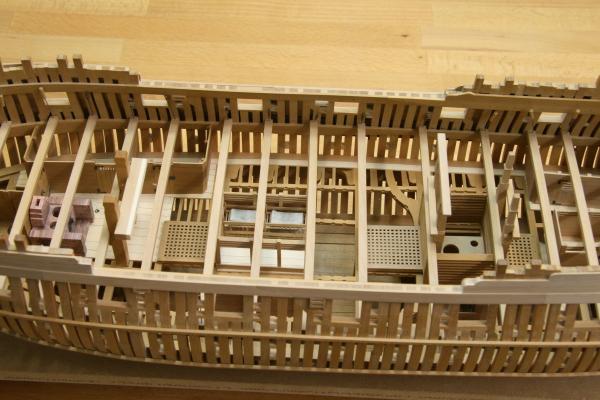
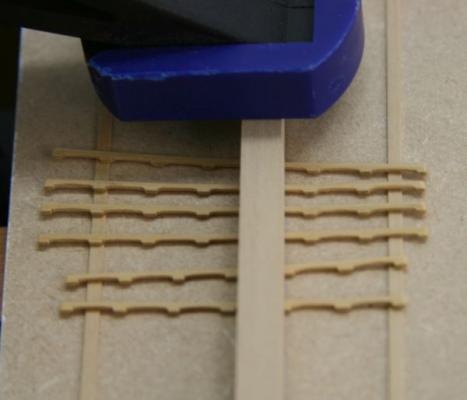
Thanks all for your very kind compliments and likes! So time to get back inside the hull. All beams were cut to size previously and here they are test fitted with all the lower deck details temporary in place. I'm not too pleased how the upper well discolored overtime. In the beginning I have used minwax and it made the wood a bit greenish. I also need to check the dimensions of the louvers as they look a bit thick to my eye compared to the other details. Ah well I'll just make an other one in due time. Before I proceed to install the carlings and ledges I made the hammock battens, al bit of mass production as there are quite a few to be made of different sizes. Preliminary shape (the last bit is in front of the pile af battens) was made on the table saw and then the battens were cut to size and further refined using files and sandpaper. The drilling and installing of the tiny bolts (0,3 mm) took some time. The last step was to bend the longer battens to conform with the curving of the deck beams. The outer bolts will be installed when the battens are fixed permanently in place and will help to pin the battens to the deck beams. Port side has been done starboard side is still in the clamping jig ... Remco


- 1,215 replies
-
- 34
-
-
- sloop
- kingfisher
- (and 1 more)
-
Very nice, and not one but three figures. Remco
-
yes but just barely... no just kidding it looks great Remco
- 3,618 replies
-
- 8
-
-
- young america
- clipper
- (and 1 more)
-
Mayflower by SawdustDave - Finished
Remcohe replied to SawdustDave's topic in - Build logs for subjects built 1751 - 1800
Ohh no I had not expect this!!! GREAT. Remco -
That turned out looking really great. You've already convinced me to try this on a piece of scrap before tackling the real hull. I might want to paint directly on to the hull...... Remco
-
ancre La Salamandre by tadheus - 1:24
Remcohe replied to tadheus's topic in - Build logs for subjects built 1751 - 1800
Nearly there Remco -
"cut the tread" = sick Remco
- 176 replies
-
- 3
-
-
- muscongus bay lobster smack
- Midwest Products
- (and 1 more)
-
Mayflower by SawdustDave - Finished
Remcohe replied to SawdustDave's topic in - Build logs for subjects built 1751 - 1800
Very nice but shouldn't it read Dave's shipyard, pokerroom aka mancave? Remco -
That is some fine display of crafmanship Remco
-
That is a nice set of masts! There goes the 'it's a beginners kit' out of the window..... Remco
- 176 replies
-
- 3
-
-
- muscongus bay lobster smack
- Midwest Products
- (and 1 more)
-
It looks great, the whole appearance of the planked hull changed. Remco
-
Those washers and nuts are insane.... I hope you haven't lost it Piet Remco
- 176 replies
-
- 3
-
-
- muscongus bay lobster smack
- Midwest Products
- (and 1 more)
-
In the end it just got better, it's only human to make a mistake once in a while. At least I do! Remco
-
Please stop posting such pictures, it makes me crave for a similar stash. Hobbymill's? Remco