

Remcohe
-
Posts
607 -
Joined
-
Last visited
Content Type
Profiles
Forums
Gallery
Events
Posts posted by Remcohe
-
-
Thanks all.
Mark, for delicate enhancing of the joints I use a pencil, but to simulate tarring like the joints on the rudder I use very thin paper (probably 0.1 mm thick). It comes in different colors but it's not water proof so I use the white one and tint it with a black Sharpy. All joints are lined on one side and after gluing the pieces together I used a plane to shape the rudder and trim the excess paper lining.
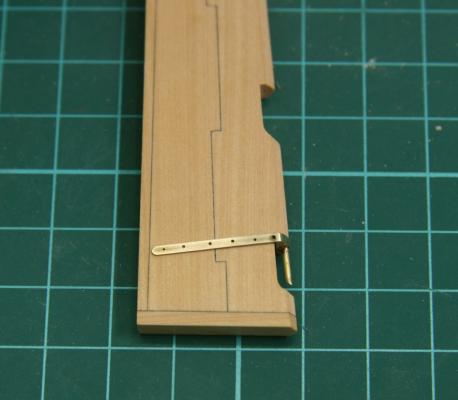
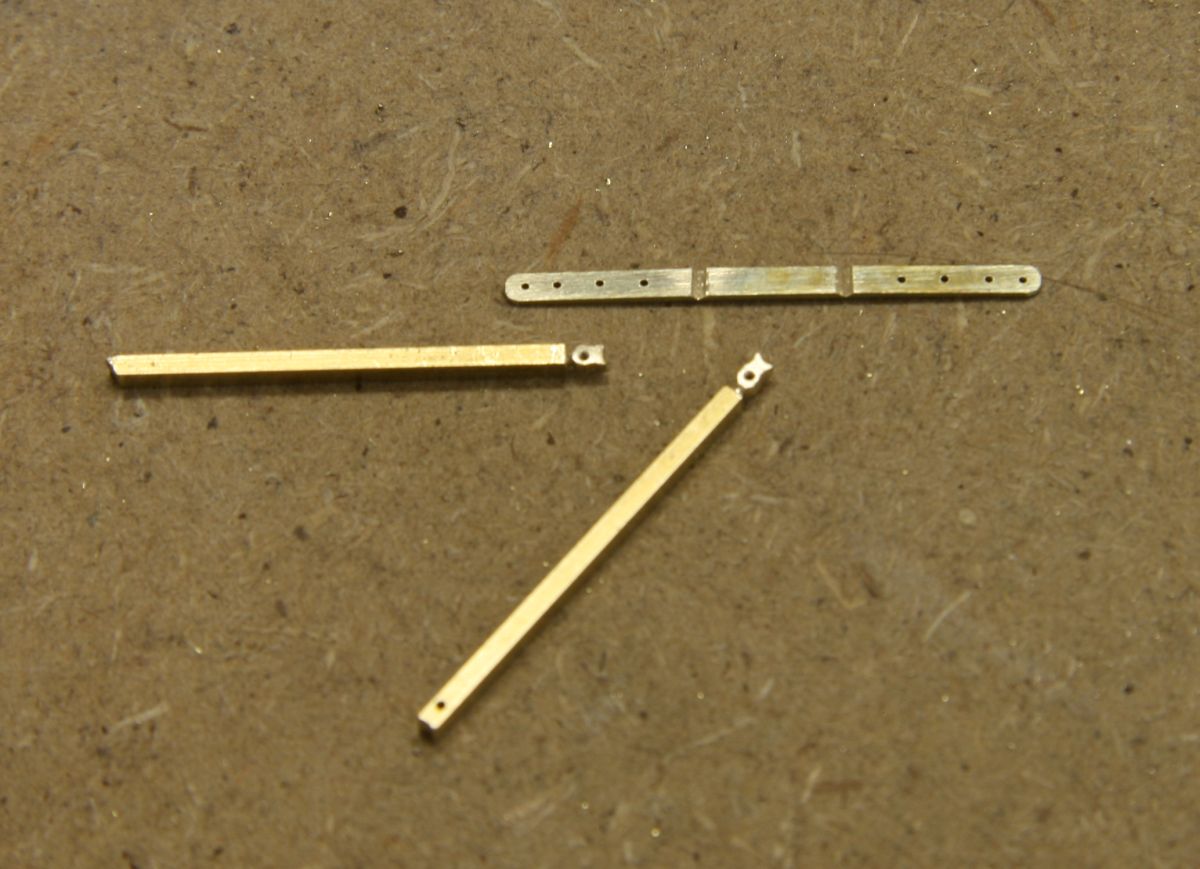
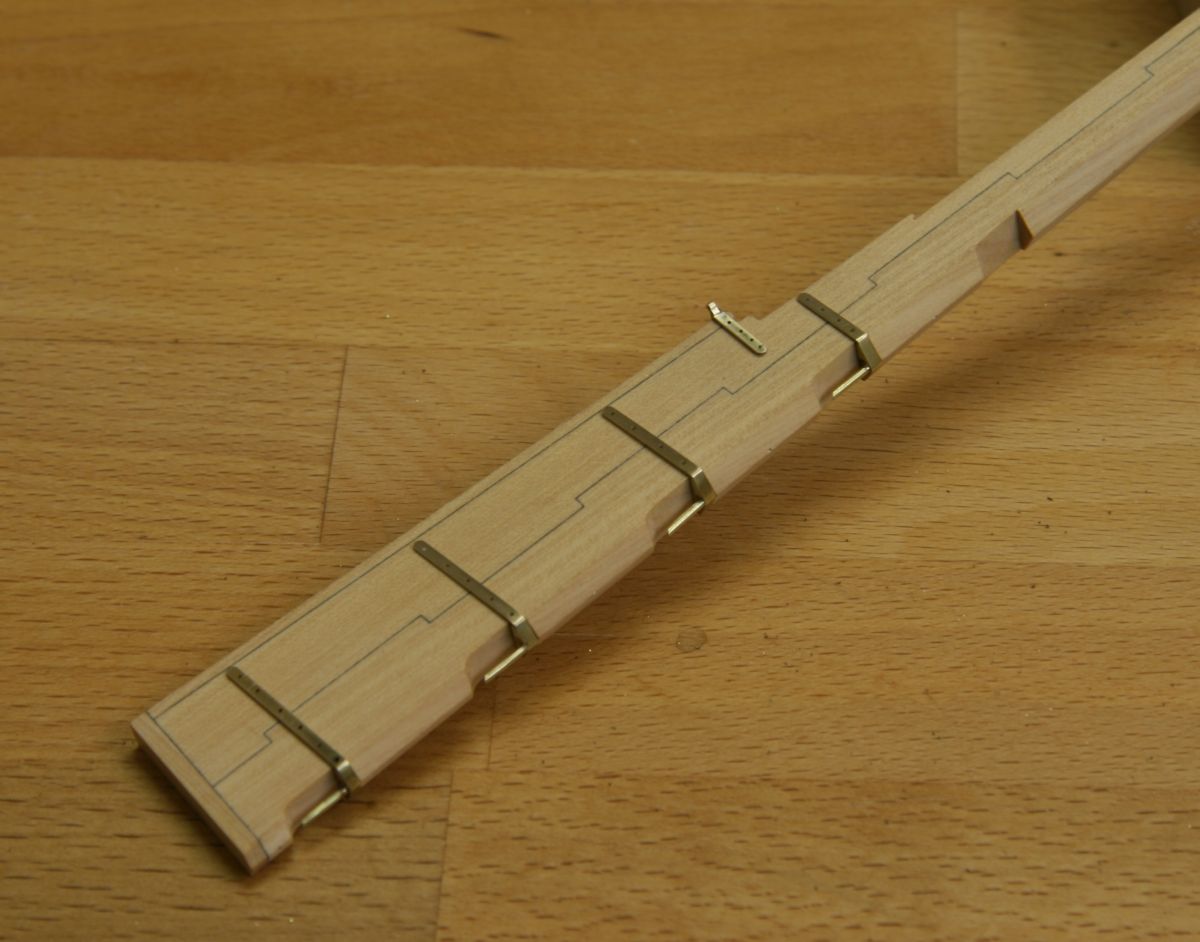
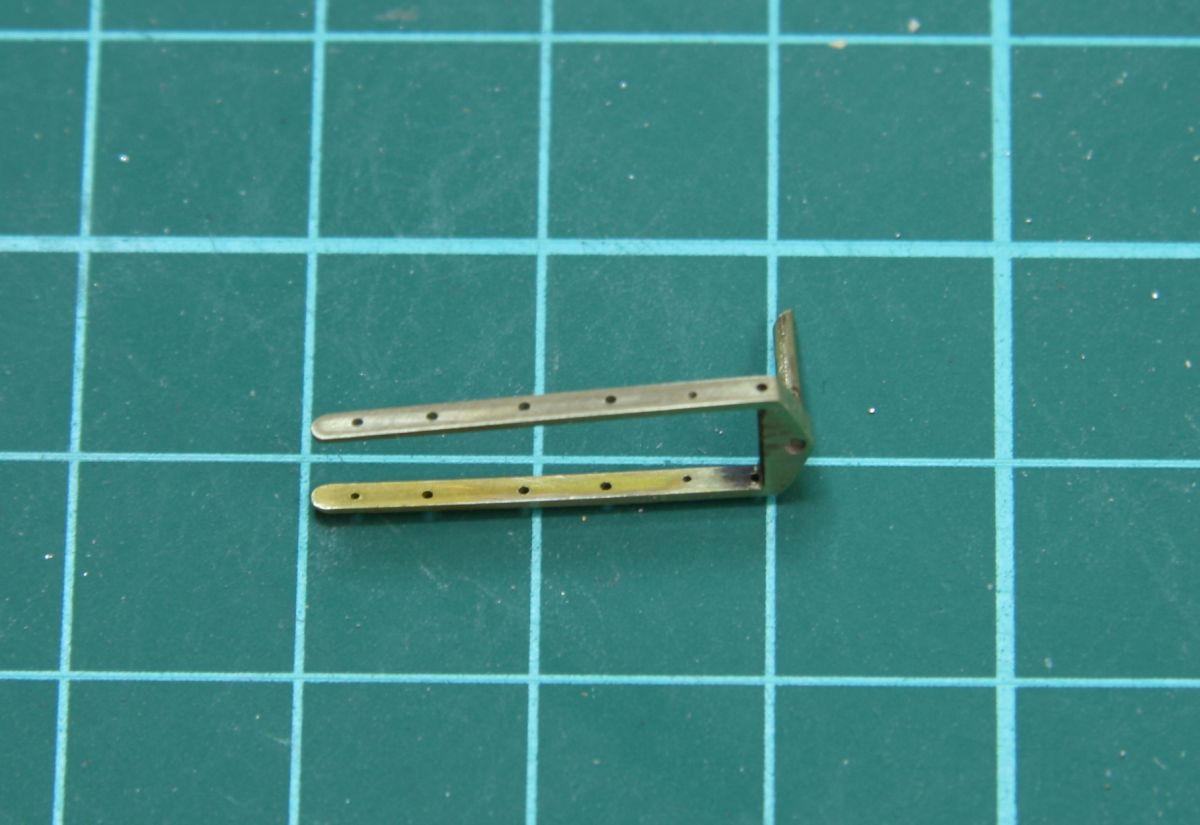
Meanwhile the metalwork on the rudder is continued, the pintles and spectacle plate are made from separate pieces silver soldered together. Piet, when all metal work is ready I will try to brown them (instead of blackening)
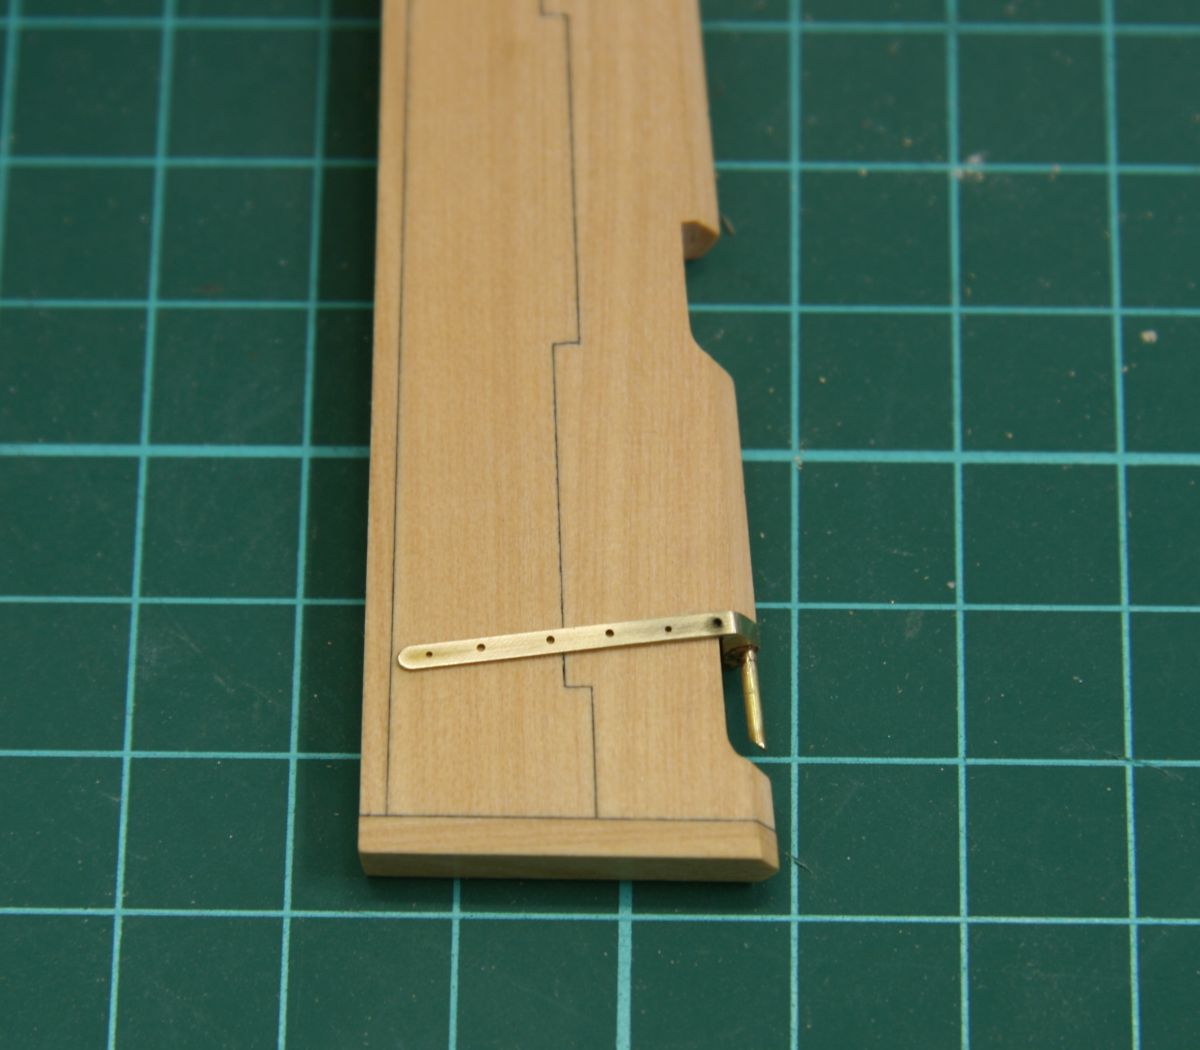
Here they are temporary fitted

I noticed the hole for the tiller sits to close to the top of rudder, In need to make a little fix to lower it

I'm not sure how that happened......
Remco
-
-
Thanks.
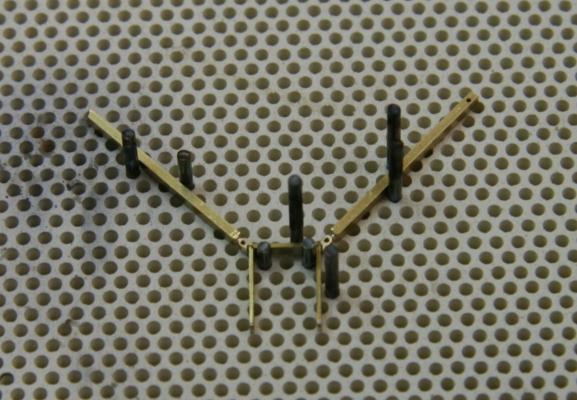
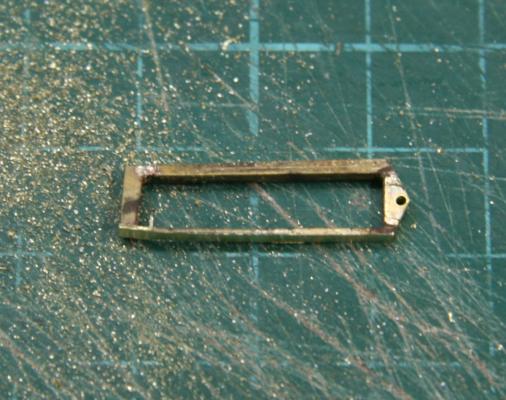
I went to the hobby shop and got a better strip of brass that closer matches the size I need. Less material to remove, easier to work with. Two holes are smaller to receive a bolt the rest will get simulated screws.....

Remco
- scratch, Landlocked123, fatih79 and 17 others
-
 20
20
-
Looking really good Danny. Can you explain how you serve your lines, they look really good. Homemade device?
Remco
-
David B, I use a Veritas MKII honing guide and several (400, 1000, 3000 & 6000 grid) Japanese waterstones. It's a big investment but the results are great every time.
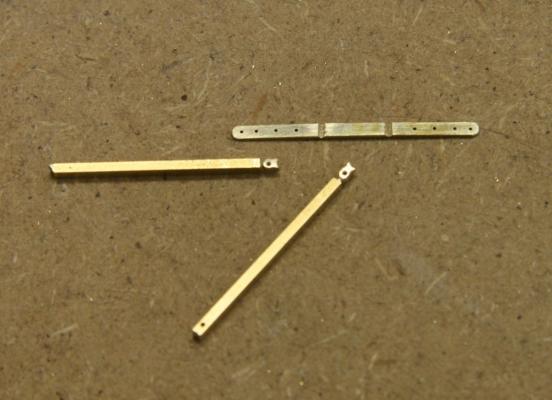
Meanwhile I'm struggling with the pintles, the brass bars I have are to thick and need to be thinned down a lot, it's not working this way. I need to visit the hobby store to get bars that better match the size of the pintle straps.
I not sure if I understand the TFFM correctly, are the straps let down into the keel? And is this over their full-length or partially?
Remco
- Elmer Cornish and fatih79
-
2
-
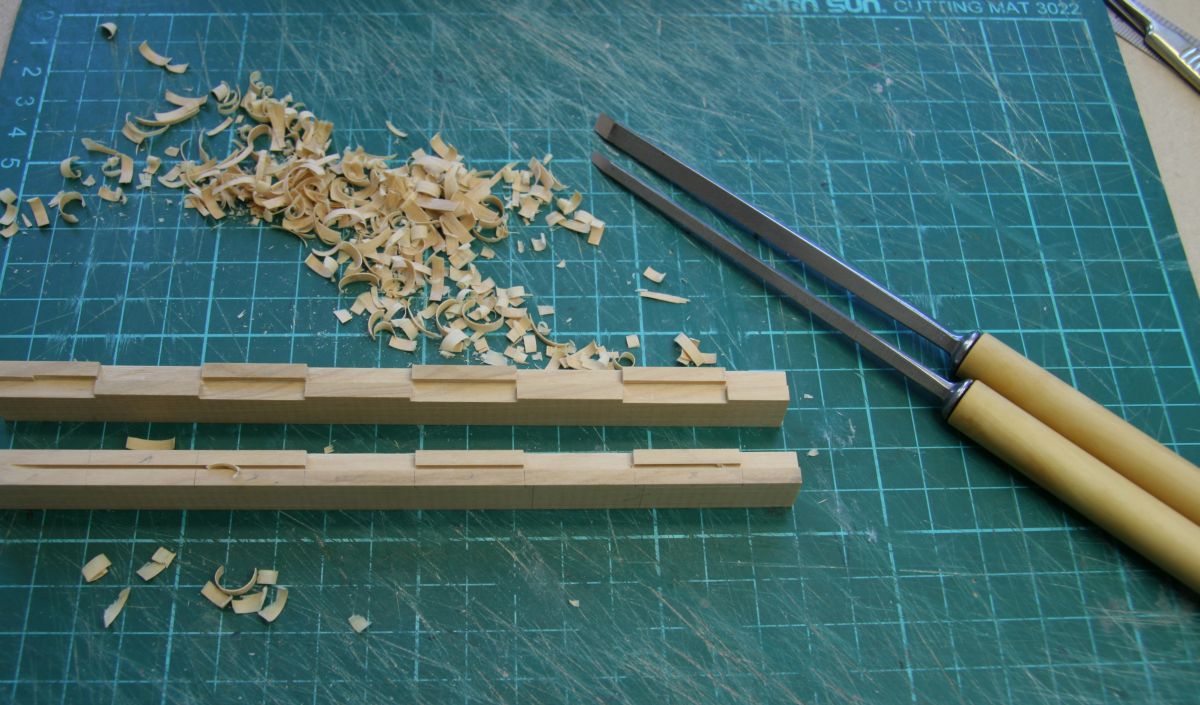
Thanks all, good quality chisels and keeping then very very sharp helps a lot...
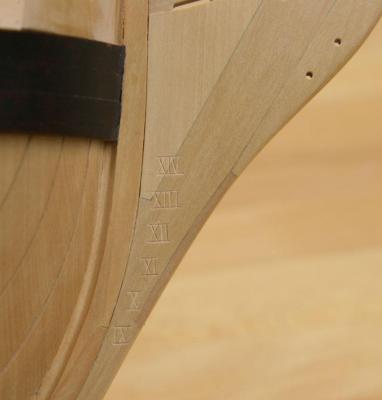
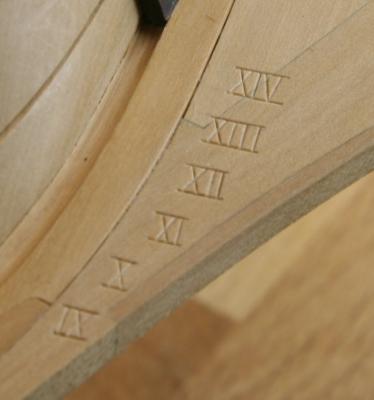
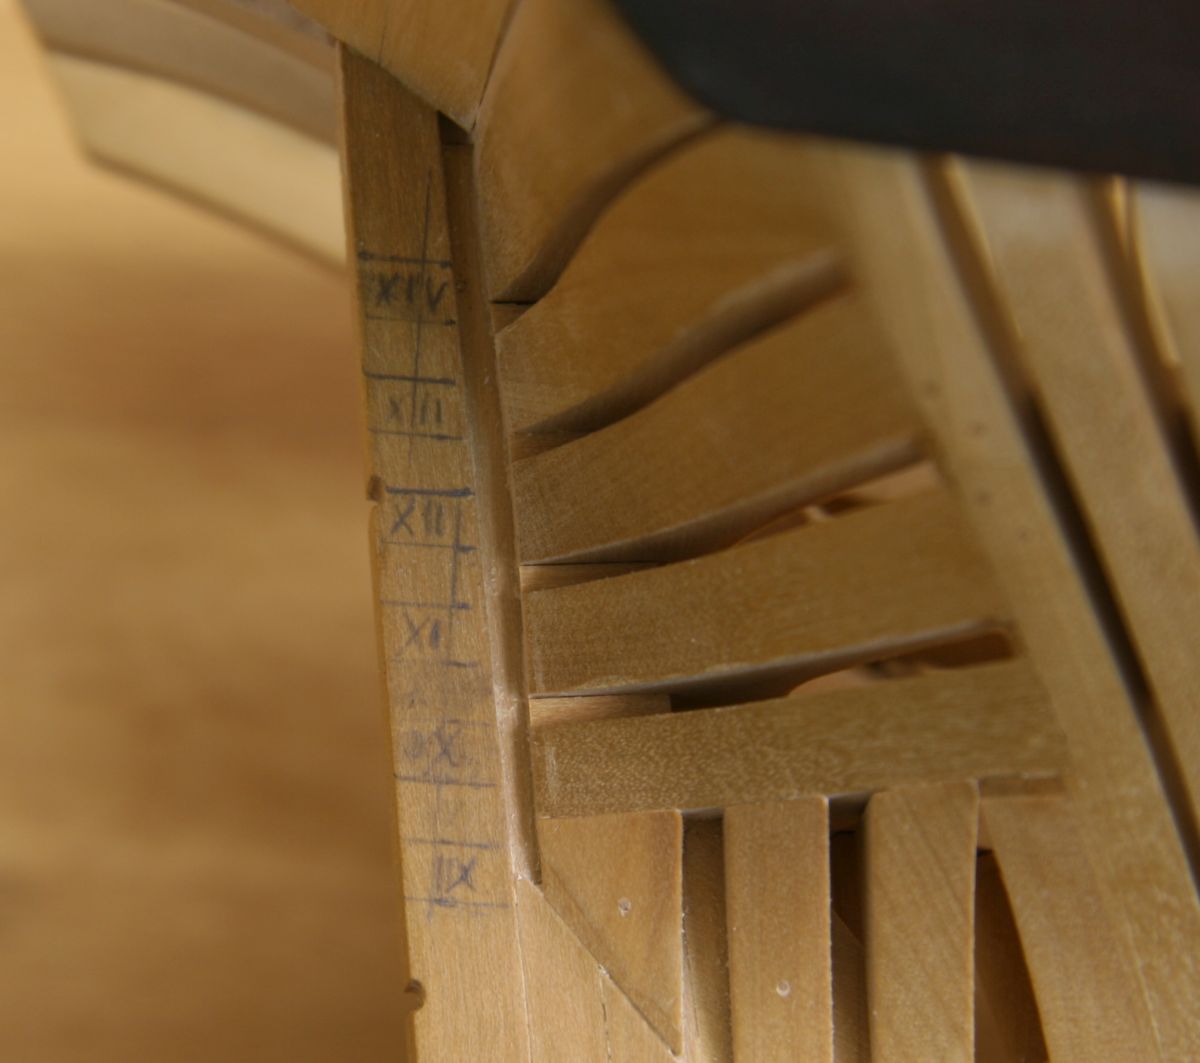
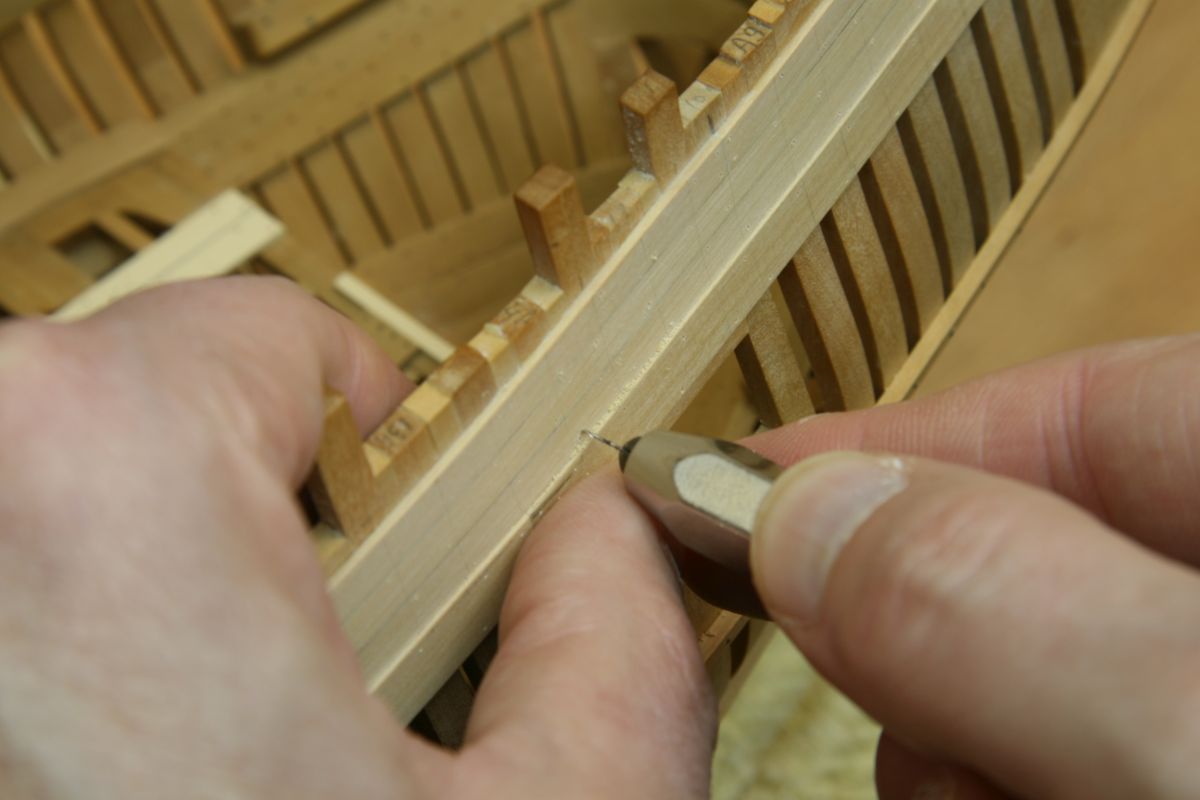
Robin I used the watering marking on my body plan to establish the position of the marks
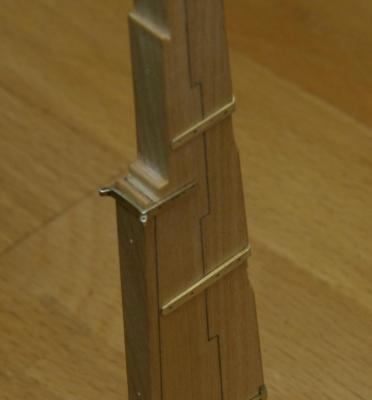
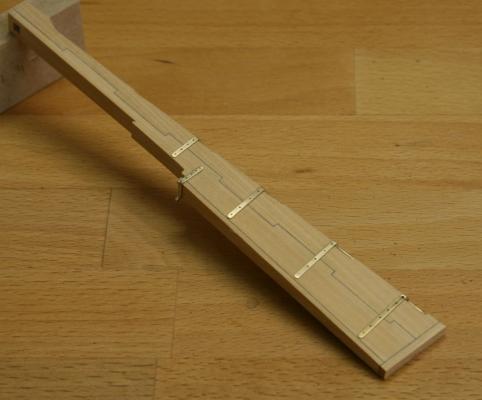
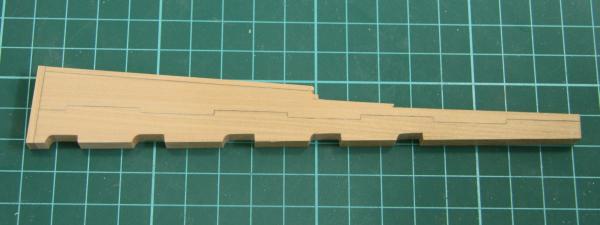
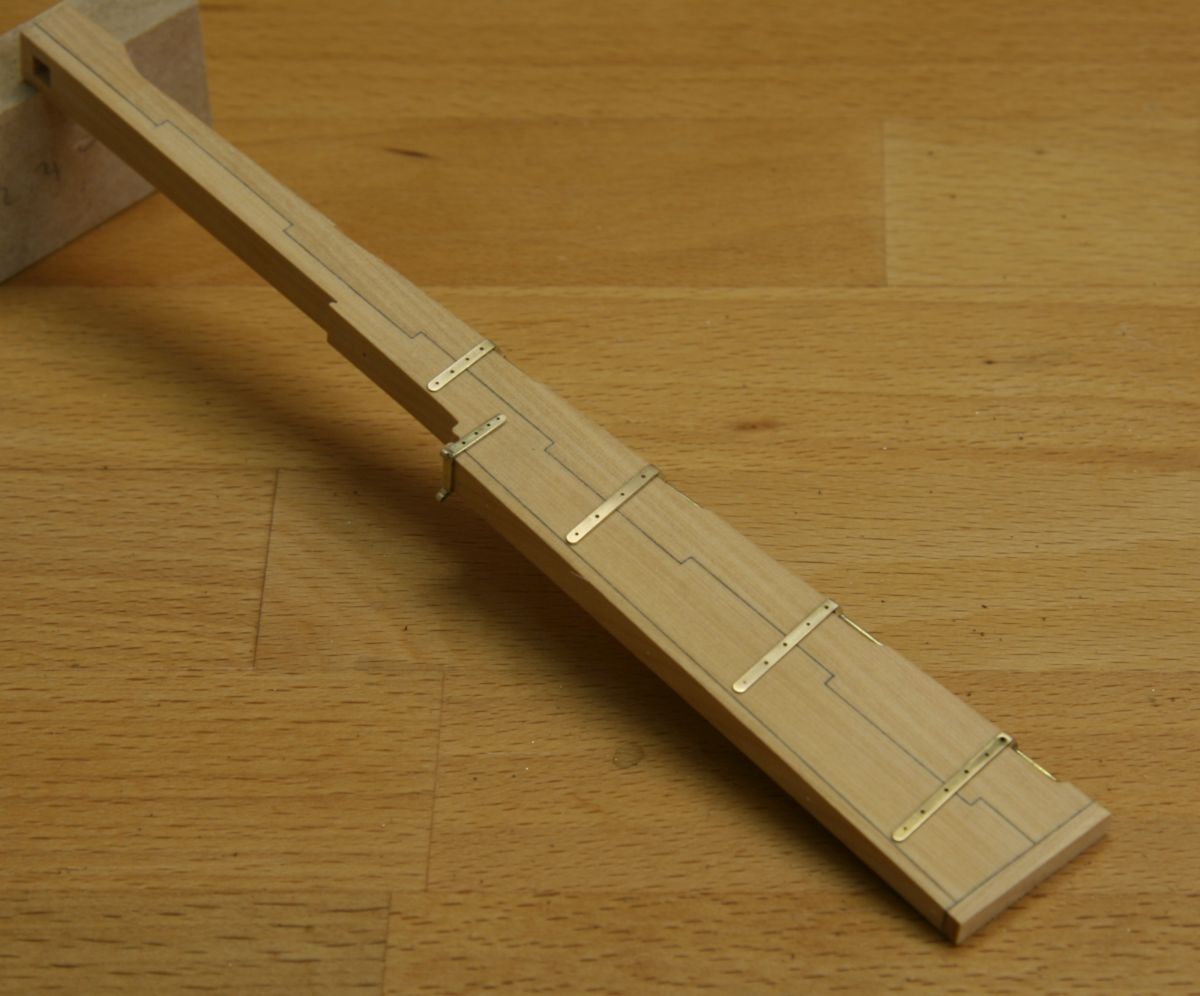
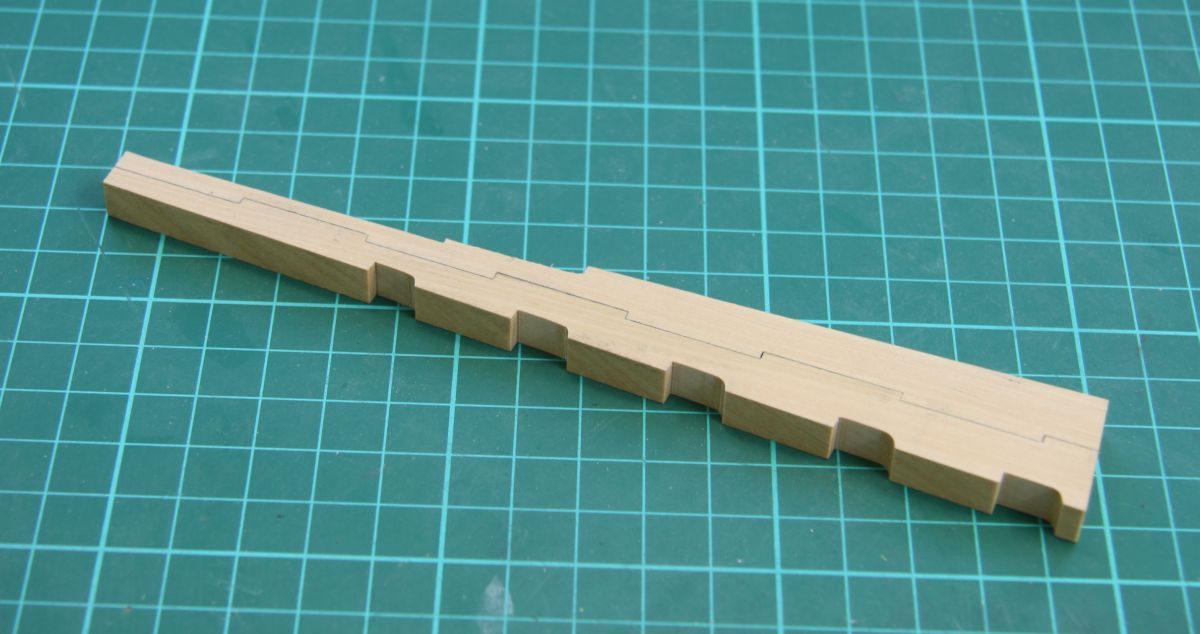
Next up the rudder, my first attempt to cut 'simple' tabs that go all the way from side to side failed. I had to much tear out from the mill, even with a backing piece of wood. So back to the chisels and I made the proper altering tabling.

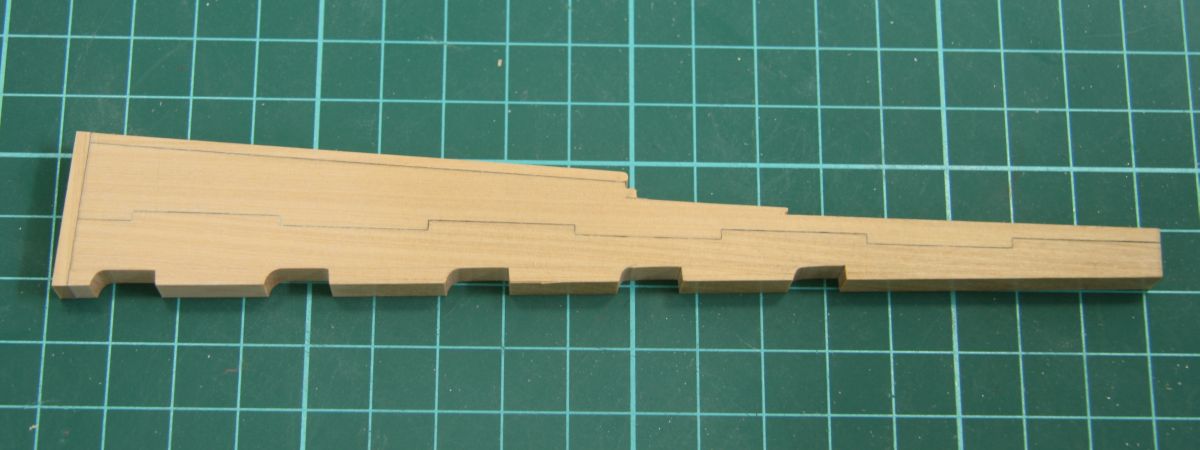
Cut to size with the table saw and scroll saw, tarring simulated with thin black paper

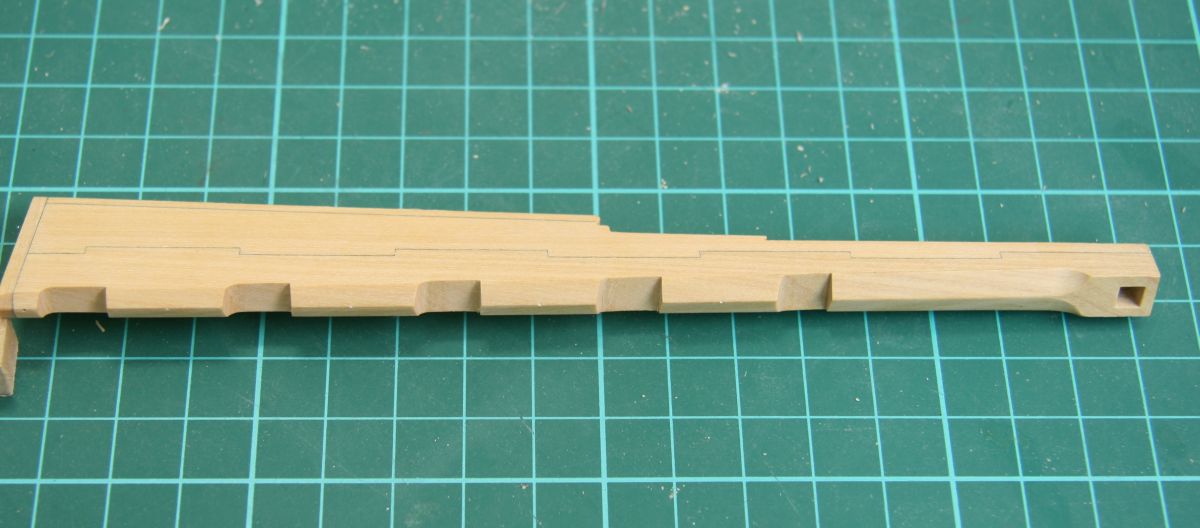
Tapered with a big bench plane

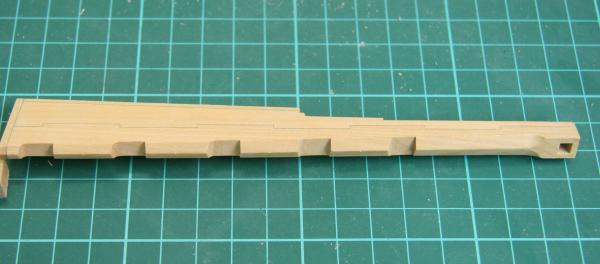
The square hole at the top tapers from fore to aft. Next up the pintles.
Remco
-
Ok, I added the marks on the sternpost by narrowing them down they fitted. I omitted one mark as the gudgeon will cover it. I'm not happy with how they turned out compared to the stempost marks. It was hard to maneuver being right handed, the hull got in the way

Making a new sternpost is out of the question I'm affright ,....
Remco
-
Thanks all.
Cog, I used a tripod and the timer to take that picture.
Dave, the carving was done with small chisels of different sizes.
Druxey, I was planning to tonight but ran into a problem. While marking their position I saw the stern post has the same with as the largest XIV and XIII marking. So adding them here will look odd. In the picture they are roughly penciled in but the final markings will take the full with of the stern post. I'd better leave them off


Remco
- Mirabell61, butch, archjofo and 14 others
-
17
-
Thanks Joe, Vivian & Mark. Indeed I used the knurling attachment from Shereline, it gives a good grip and a adds a nice touch.
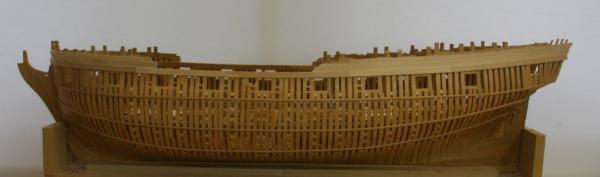
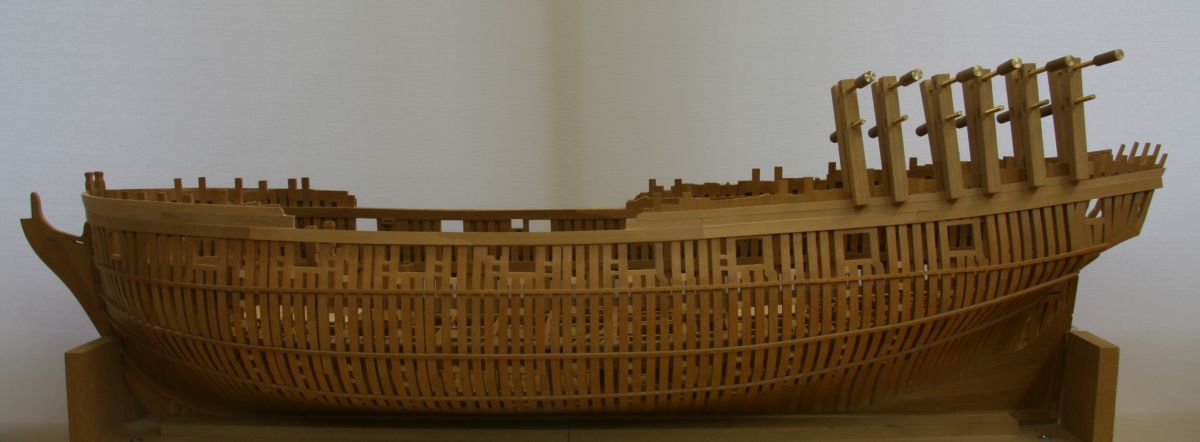
Port side treenailed

And draught marks added, they won't be painted red as they should as this might be to distracting. They are just 3 mm, 1/8" high
Remco
-
-
I like it
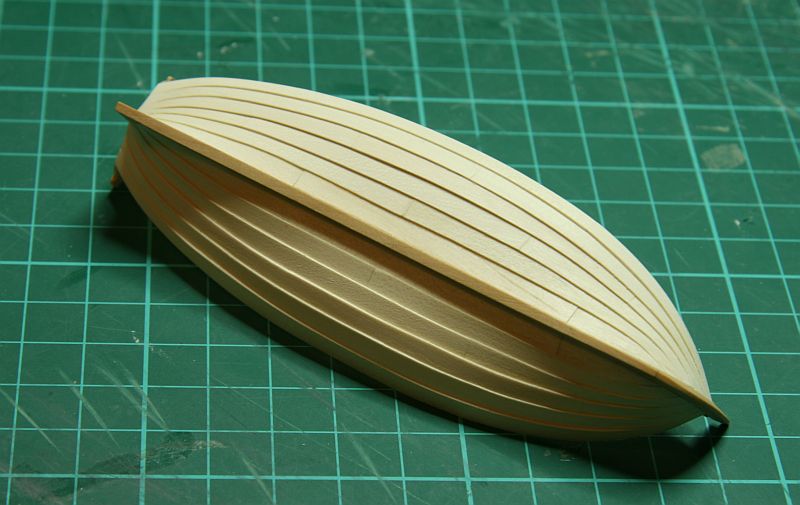
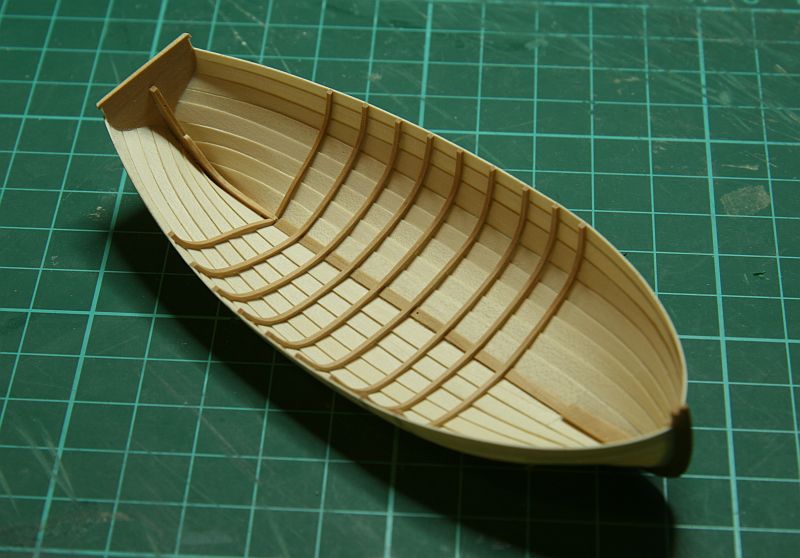
Maybe a little late with my advise, but at this scale you can heat bend small strips of boxwood into the shape of the frames. I used a plug and added the planks first and added the frames afterwards. Working with a plug gives a stable base to add those delicate parts on. Especially in the beginning there is not much structure to keep everything in place.


Remco
-
That is lovely
Remco
-
Alan, Cog, I turned the fittings on my lathe, added knurls to finish them off and soldered them to the bars.
Cabrapente, thats I nice little tool, I prefer to drill all holes manually as this gives far greater control and precision.

Remco
- WackoWolf, Elmer Cornish, druxey and 15 others
-
18
-
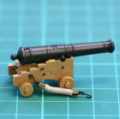
I hadn't realized the FM antenna would be so large...

Se sure looks great and ready to sail off
Remco
- Piet and harvey1847
-
2
-
A long overdue update....... I was too busy making decals and flags

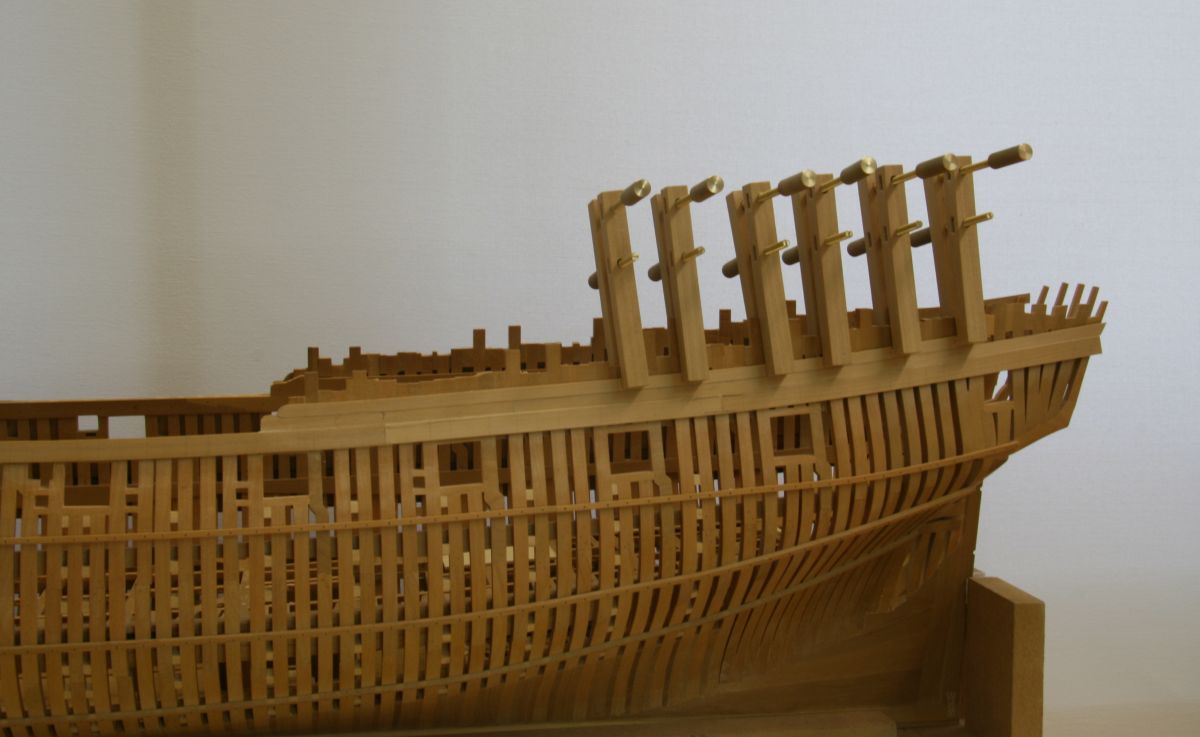
I planked the port side from the Sheer strake up, this is all the planking I will do on this side except some minor parts I need for the rigging. Next up tree nailing the lot....

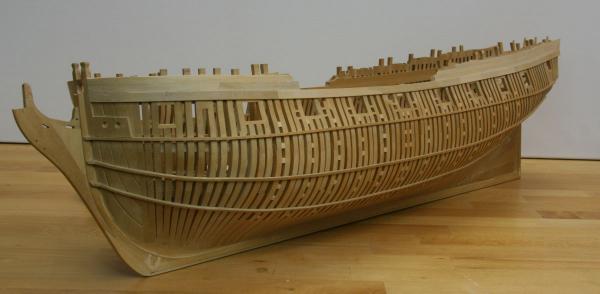
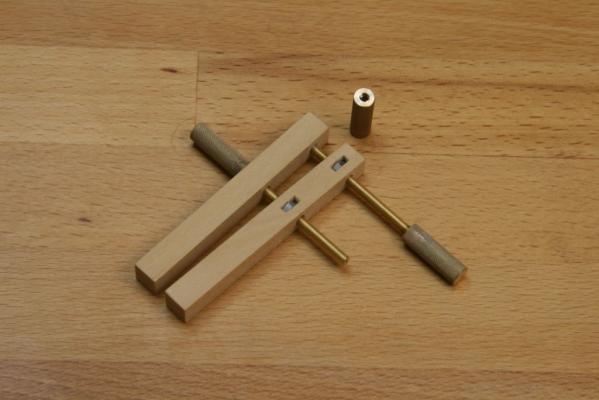
Also made new brass knobs on the clamps, as it turned out the wooden ones didn't hold up after I reenforced the bars with nuts.
Remco
-
Kuddo's for Daniel!
Now it's up to you Piet to make great Jol.Remco
- Piet, mtaylor, harvey1847 and 1 other
-
4
-
-
-
Ok, we'll be visiting Piet next spring, I'll aks the Admiral's permission if we can hit Lumberton during our tour of the South.
Remco
- SawdustDave and Piet
-
2
-
-
I might join next spring, but forgive me for not bringing my KF along. The cutter and longboat will fit in my luggage though
Remco
- SawdustDave and Piet
-
2
-
Bob,
For a long time I could not make a decent drawing of a person let alone make a sculpture of a face. Until I bought copy of this book and my results improved dramatically after I understood the concept of proportions. I still have to make the step from polymer clay to actually caving in wood but that is just a matter of time.
Remco
-
I see they are really challenging shapes to make, but you make it look like a walk in the park
My hands are itching to continue with my masts......
Remco
-
Yes do keep boring us Piet
Popeye, I found a guy in North Dakota and he has an Alps printer and was willing to do a one of print job. It's a dye sublimation printer that has white ink, ideal to print decals with.
Remco
- Piet, popeye the sailor and cog
-
3


Beavers Prize 1777 by Mike Y - 1:48 - POF - Hahn style
in - Build logs for subjects built 1751 - 1800
Posted
A sharp tool is a necessity, not only for draught marks
Remco