HOLIDAY DONATION DRIVE - SUPPORT MSW - DO YOUR PART TO KEEP THIS GREAT FORUM GOING! (Only 64 donations so far out of 49,000 members - C'mon guys!)
×


Trussben
-
Posts
2,001 -
Joined
-
Last visited
Content Type
Profiles
Forums
Gallery
Events
Everything posted by Trussben
-
 Hey Jeff, you got a build at the moment? Or is Naiad in the distance?
- 399 replies
-
- 1
-

-
- winchelsea
- Syren Ship Model Company
- (and 1 more)
-
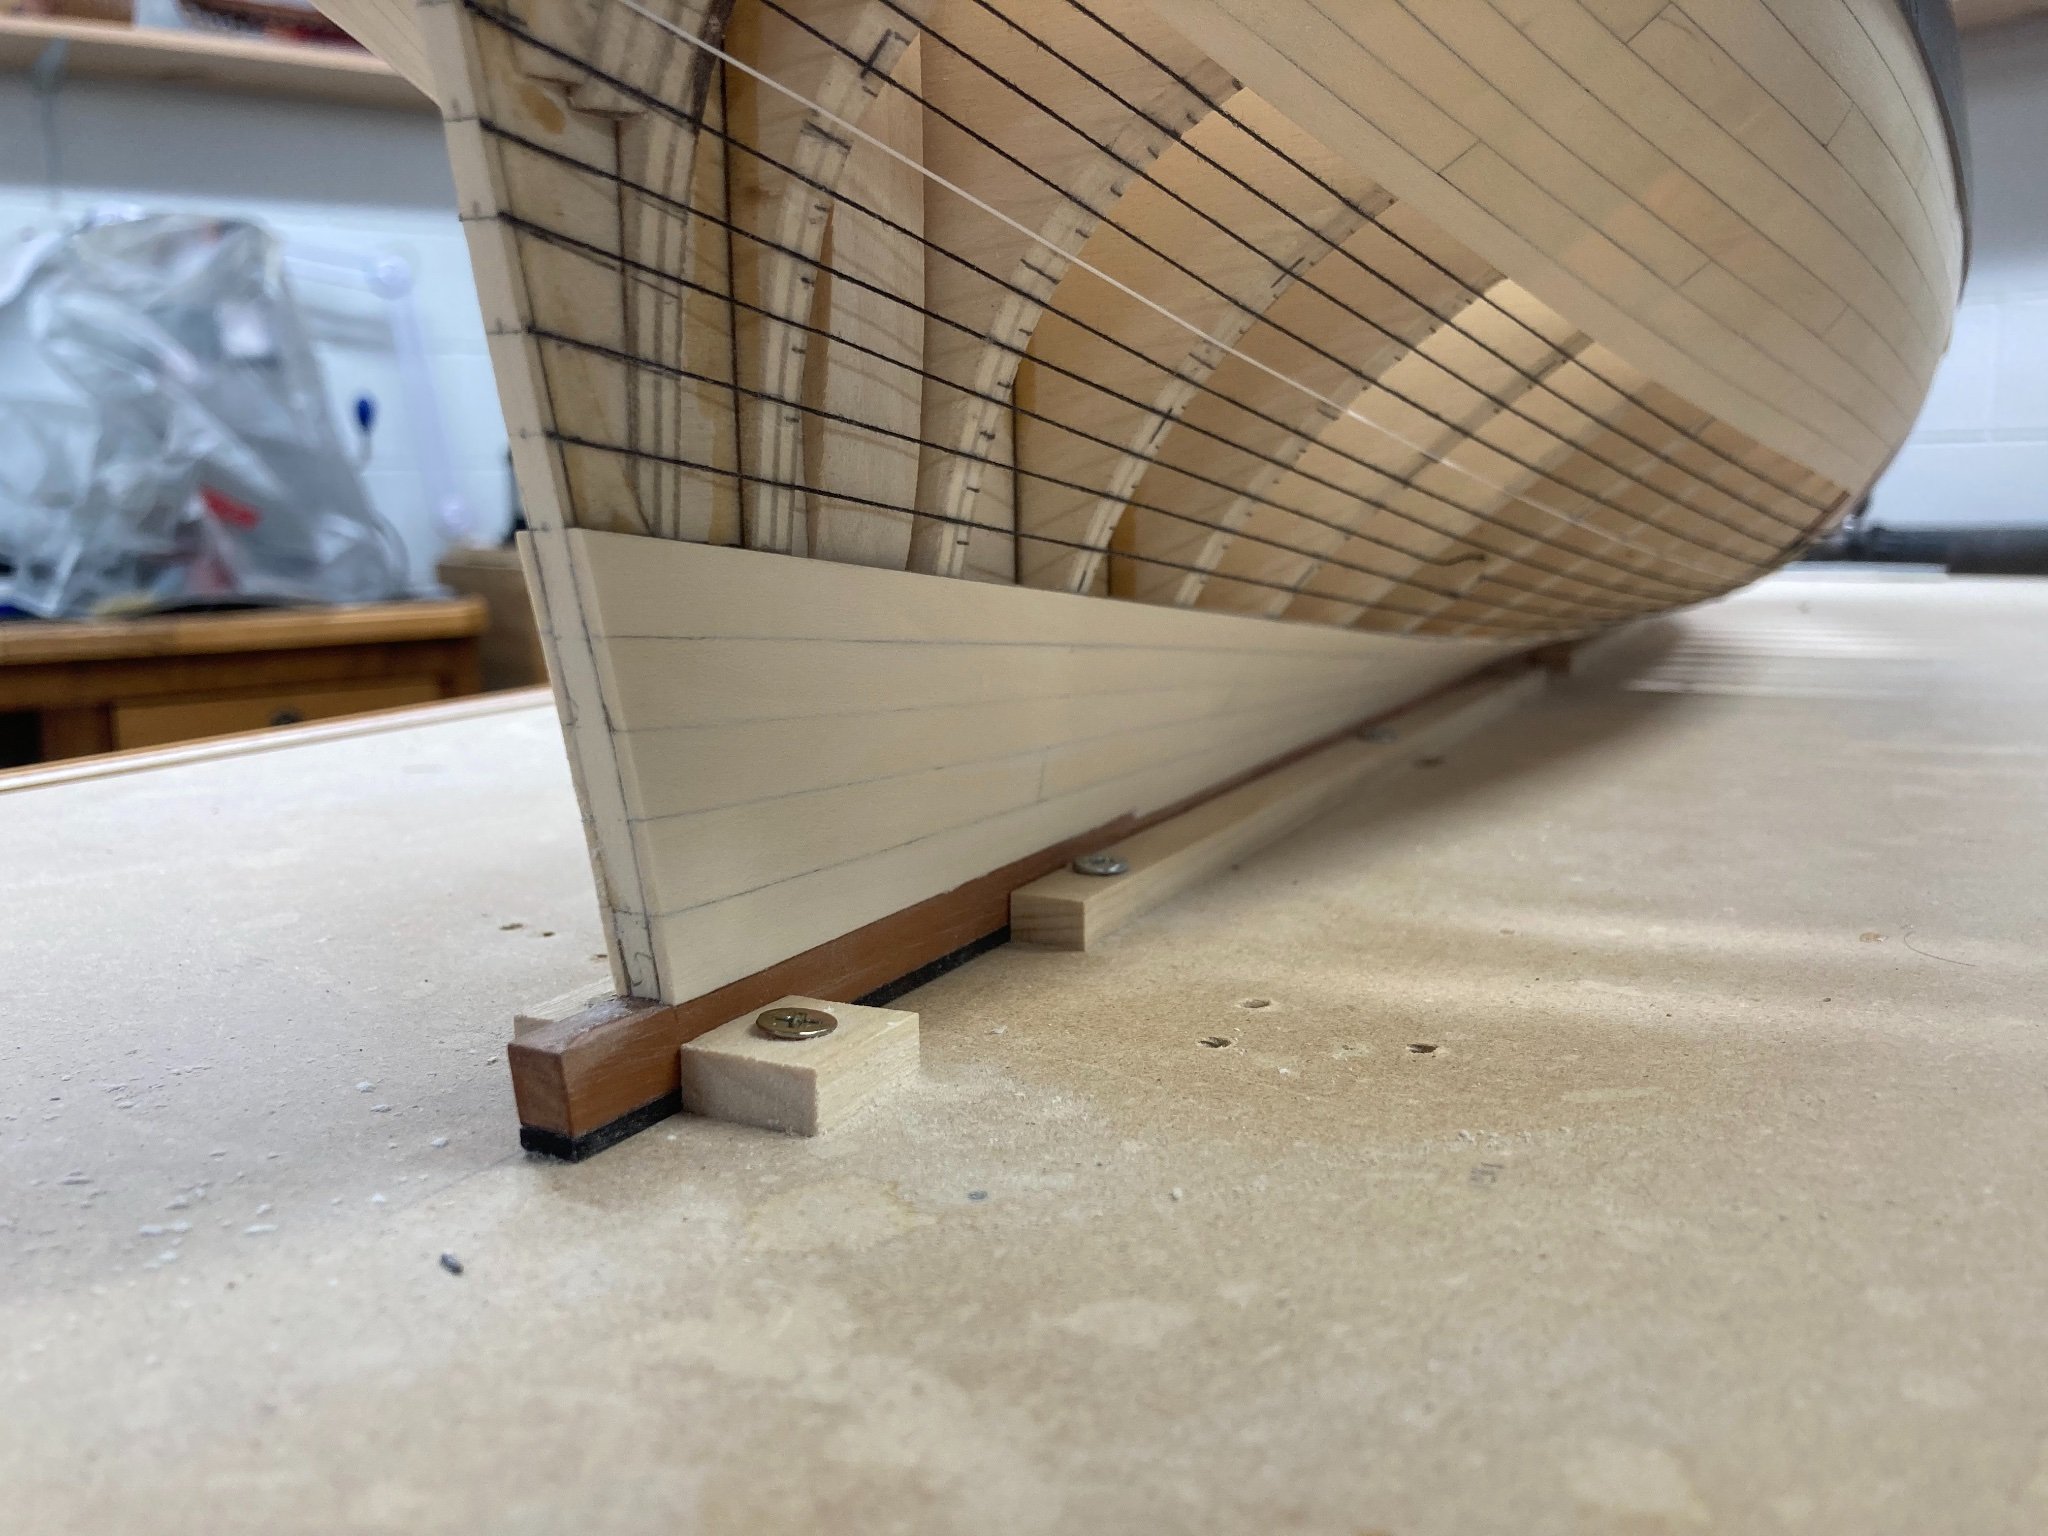
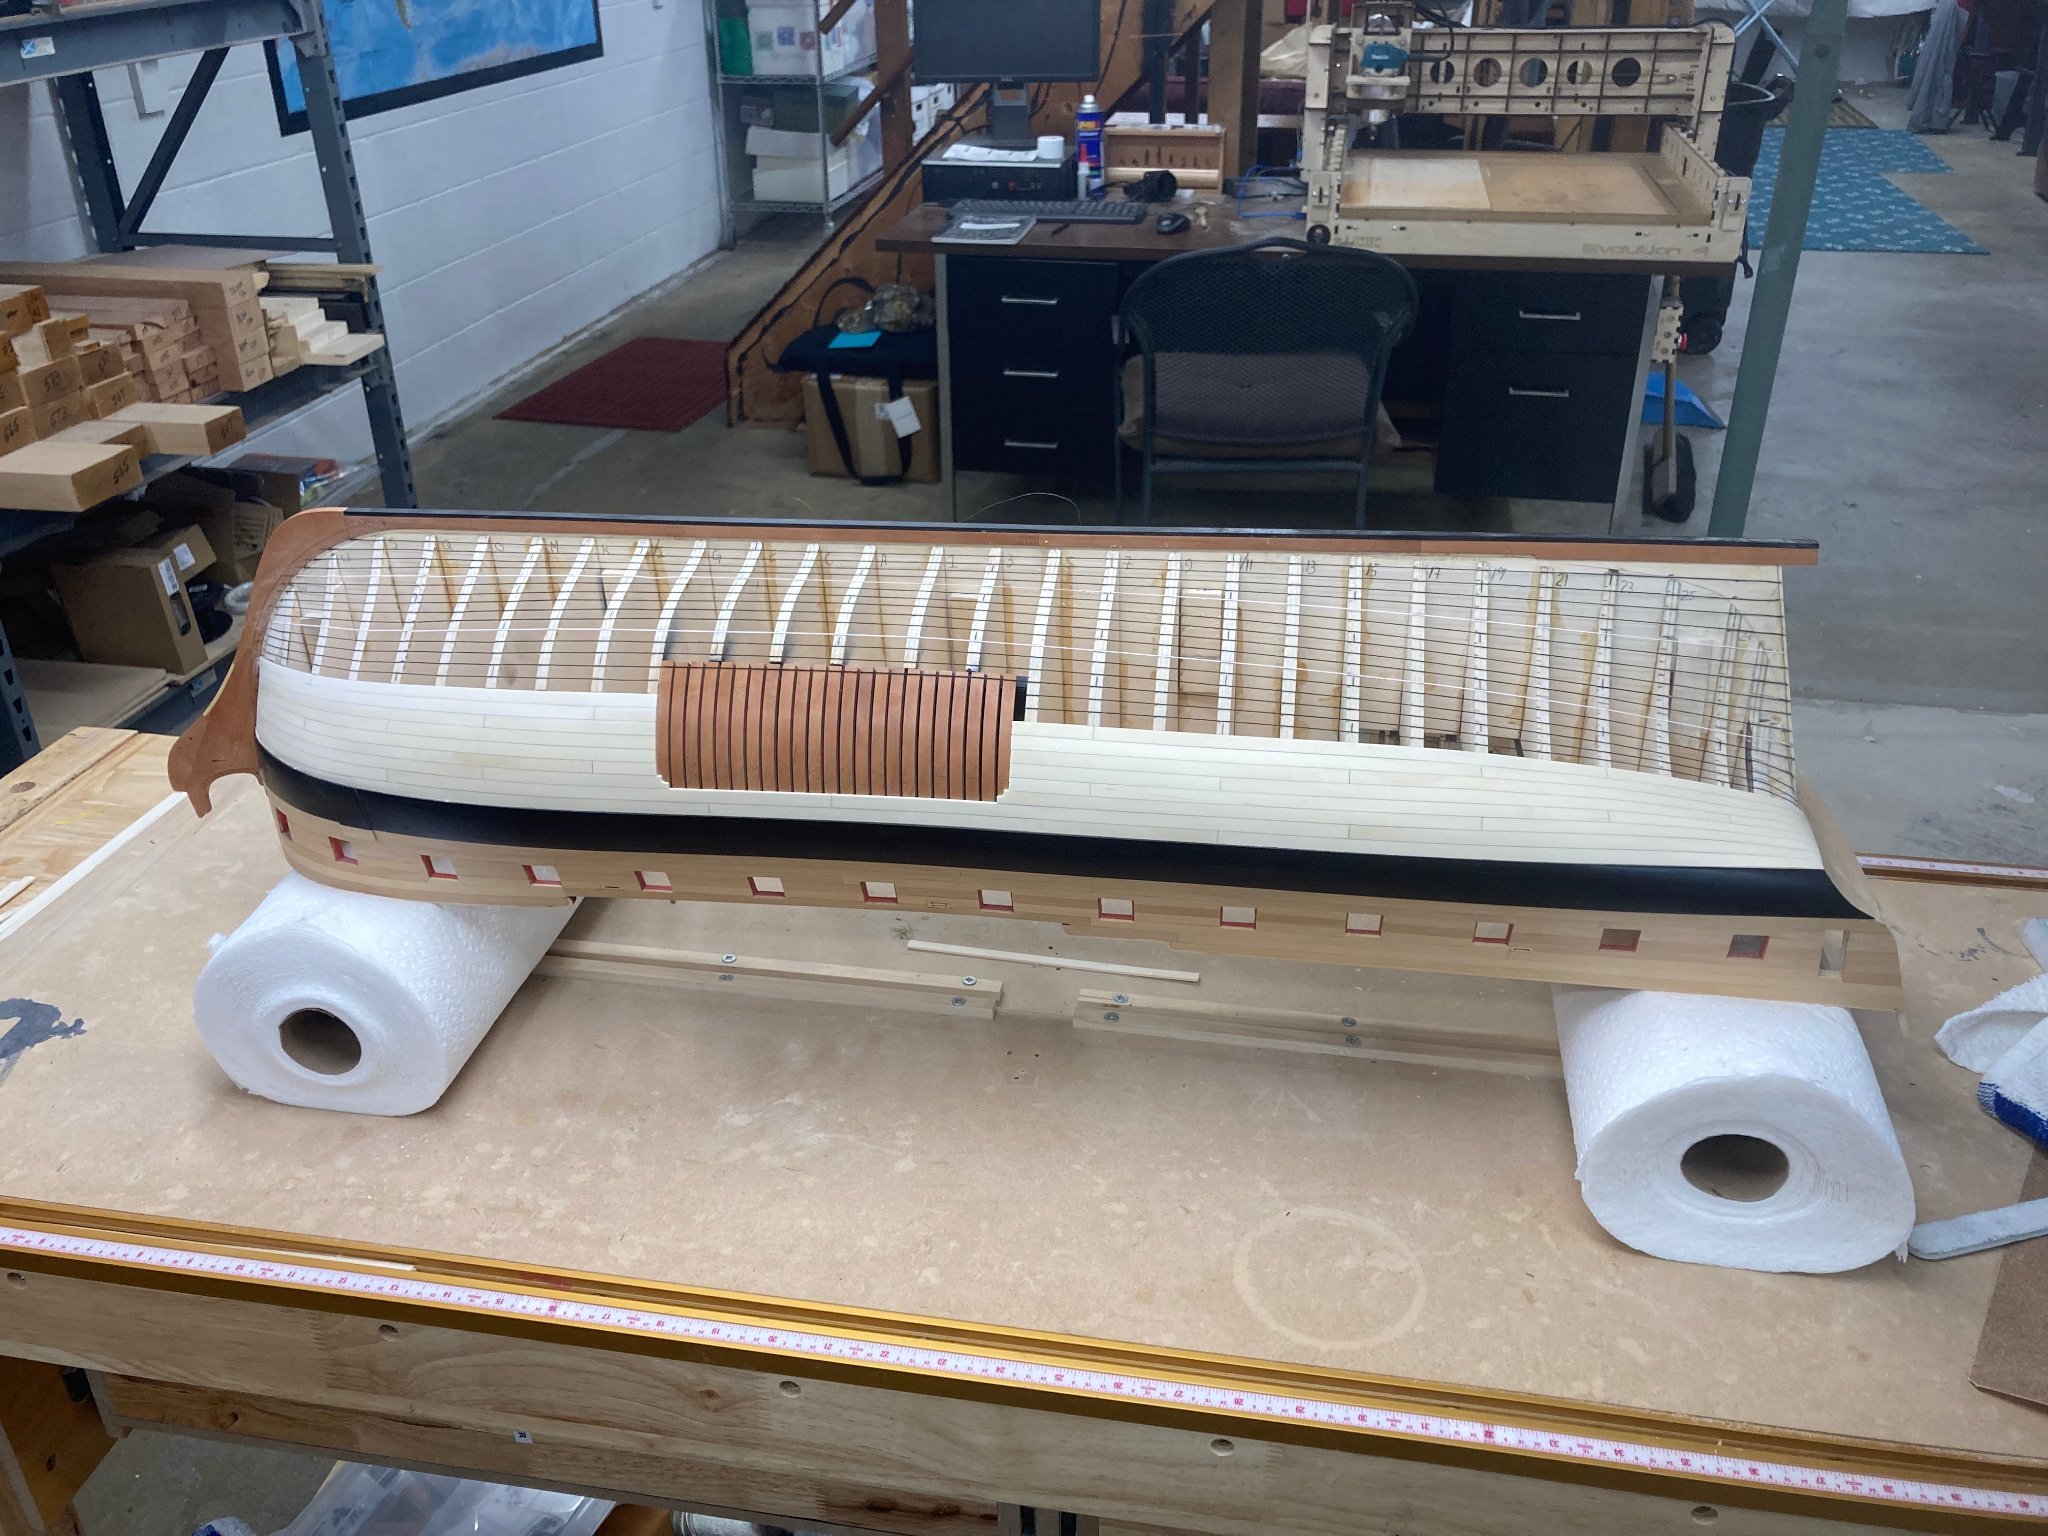
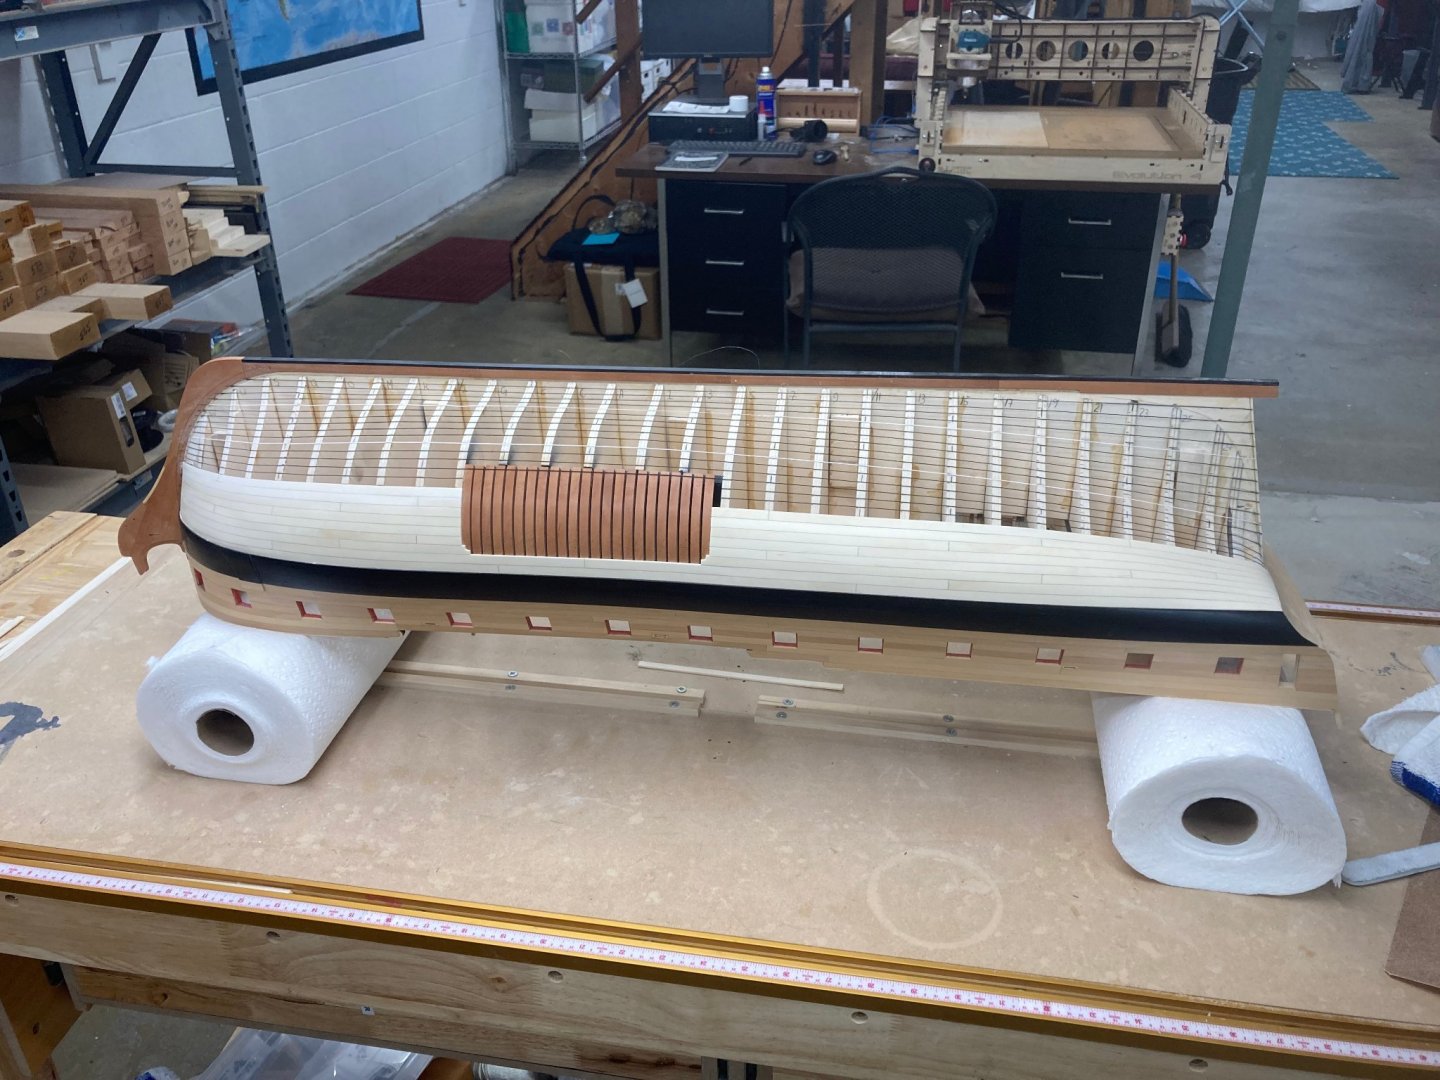
It’s called a frame reveal, used to simulate what the real ships framing would look like when building a POB model.
- 399 replies
-
- 5
-
-
- winchelsea
- Syren Ship Model Company
- (and 1 more)
-
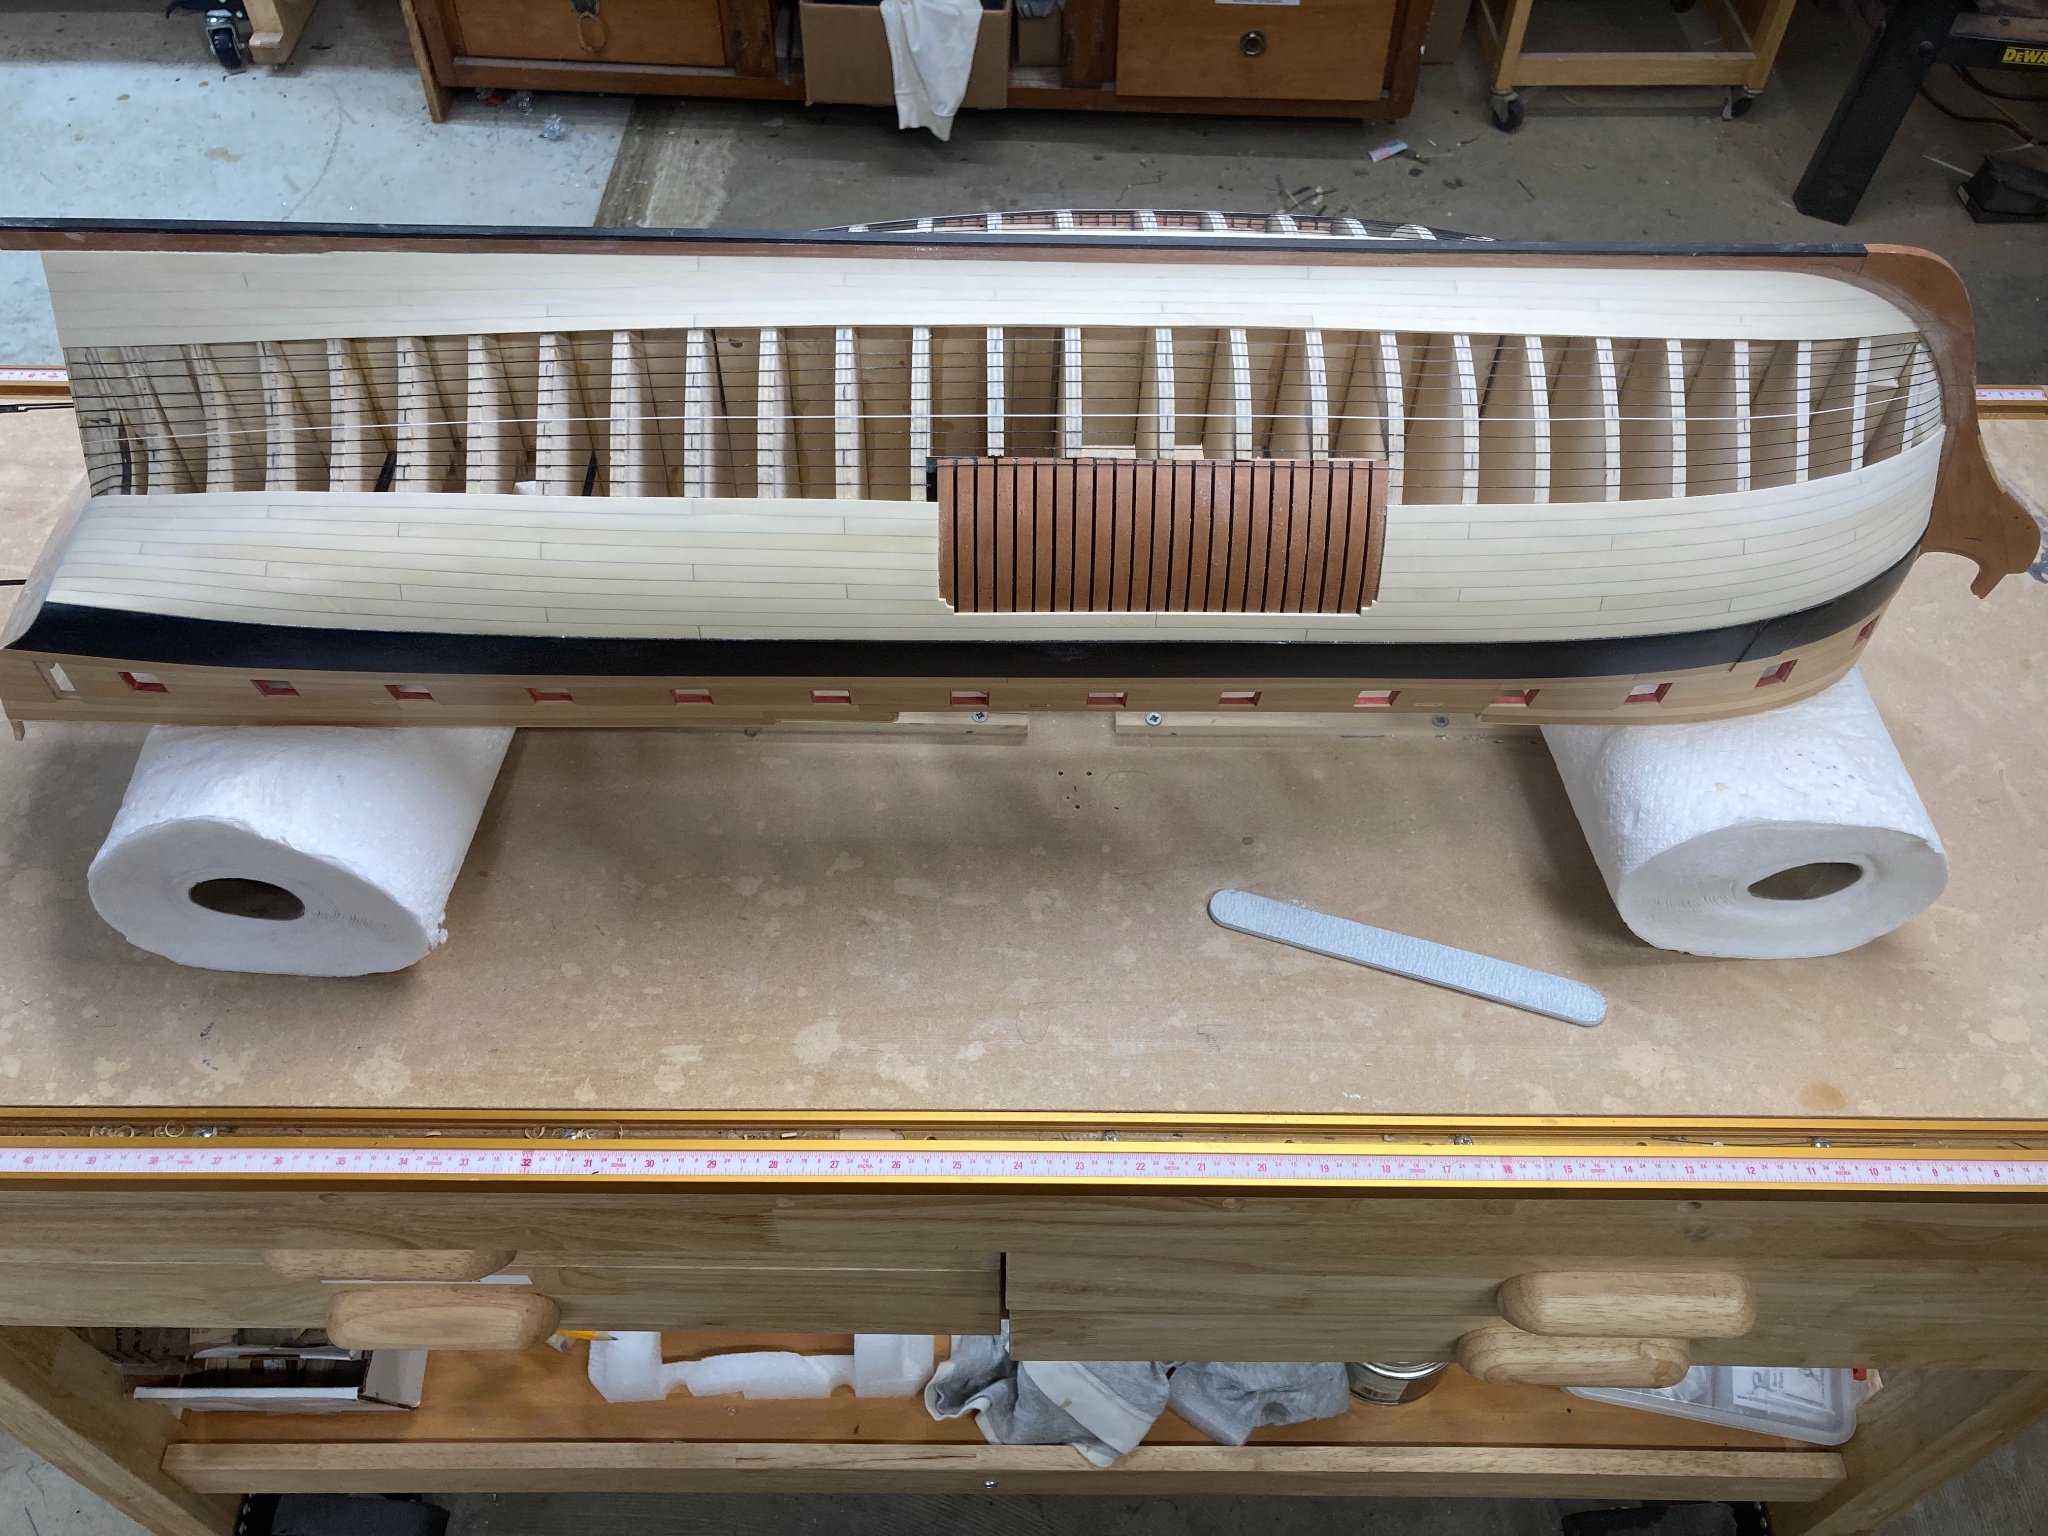
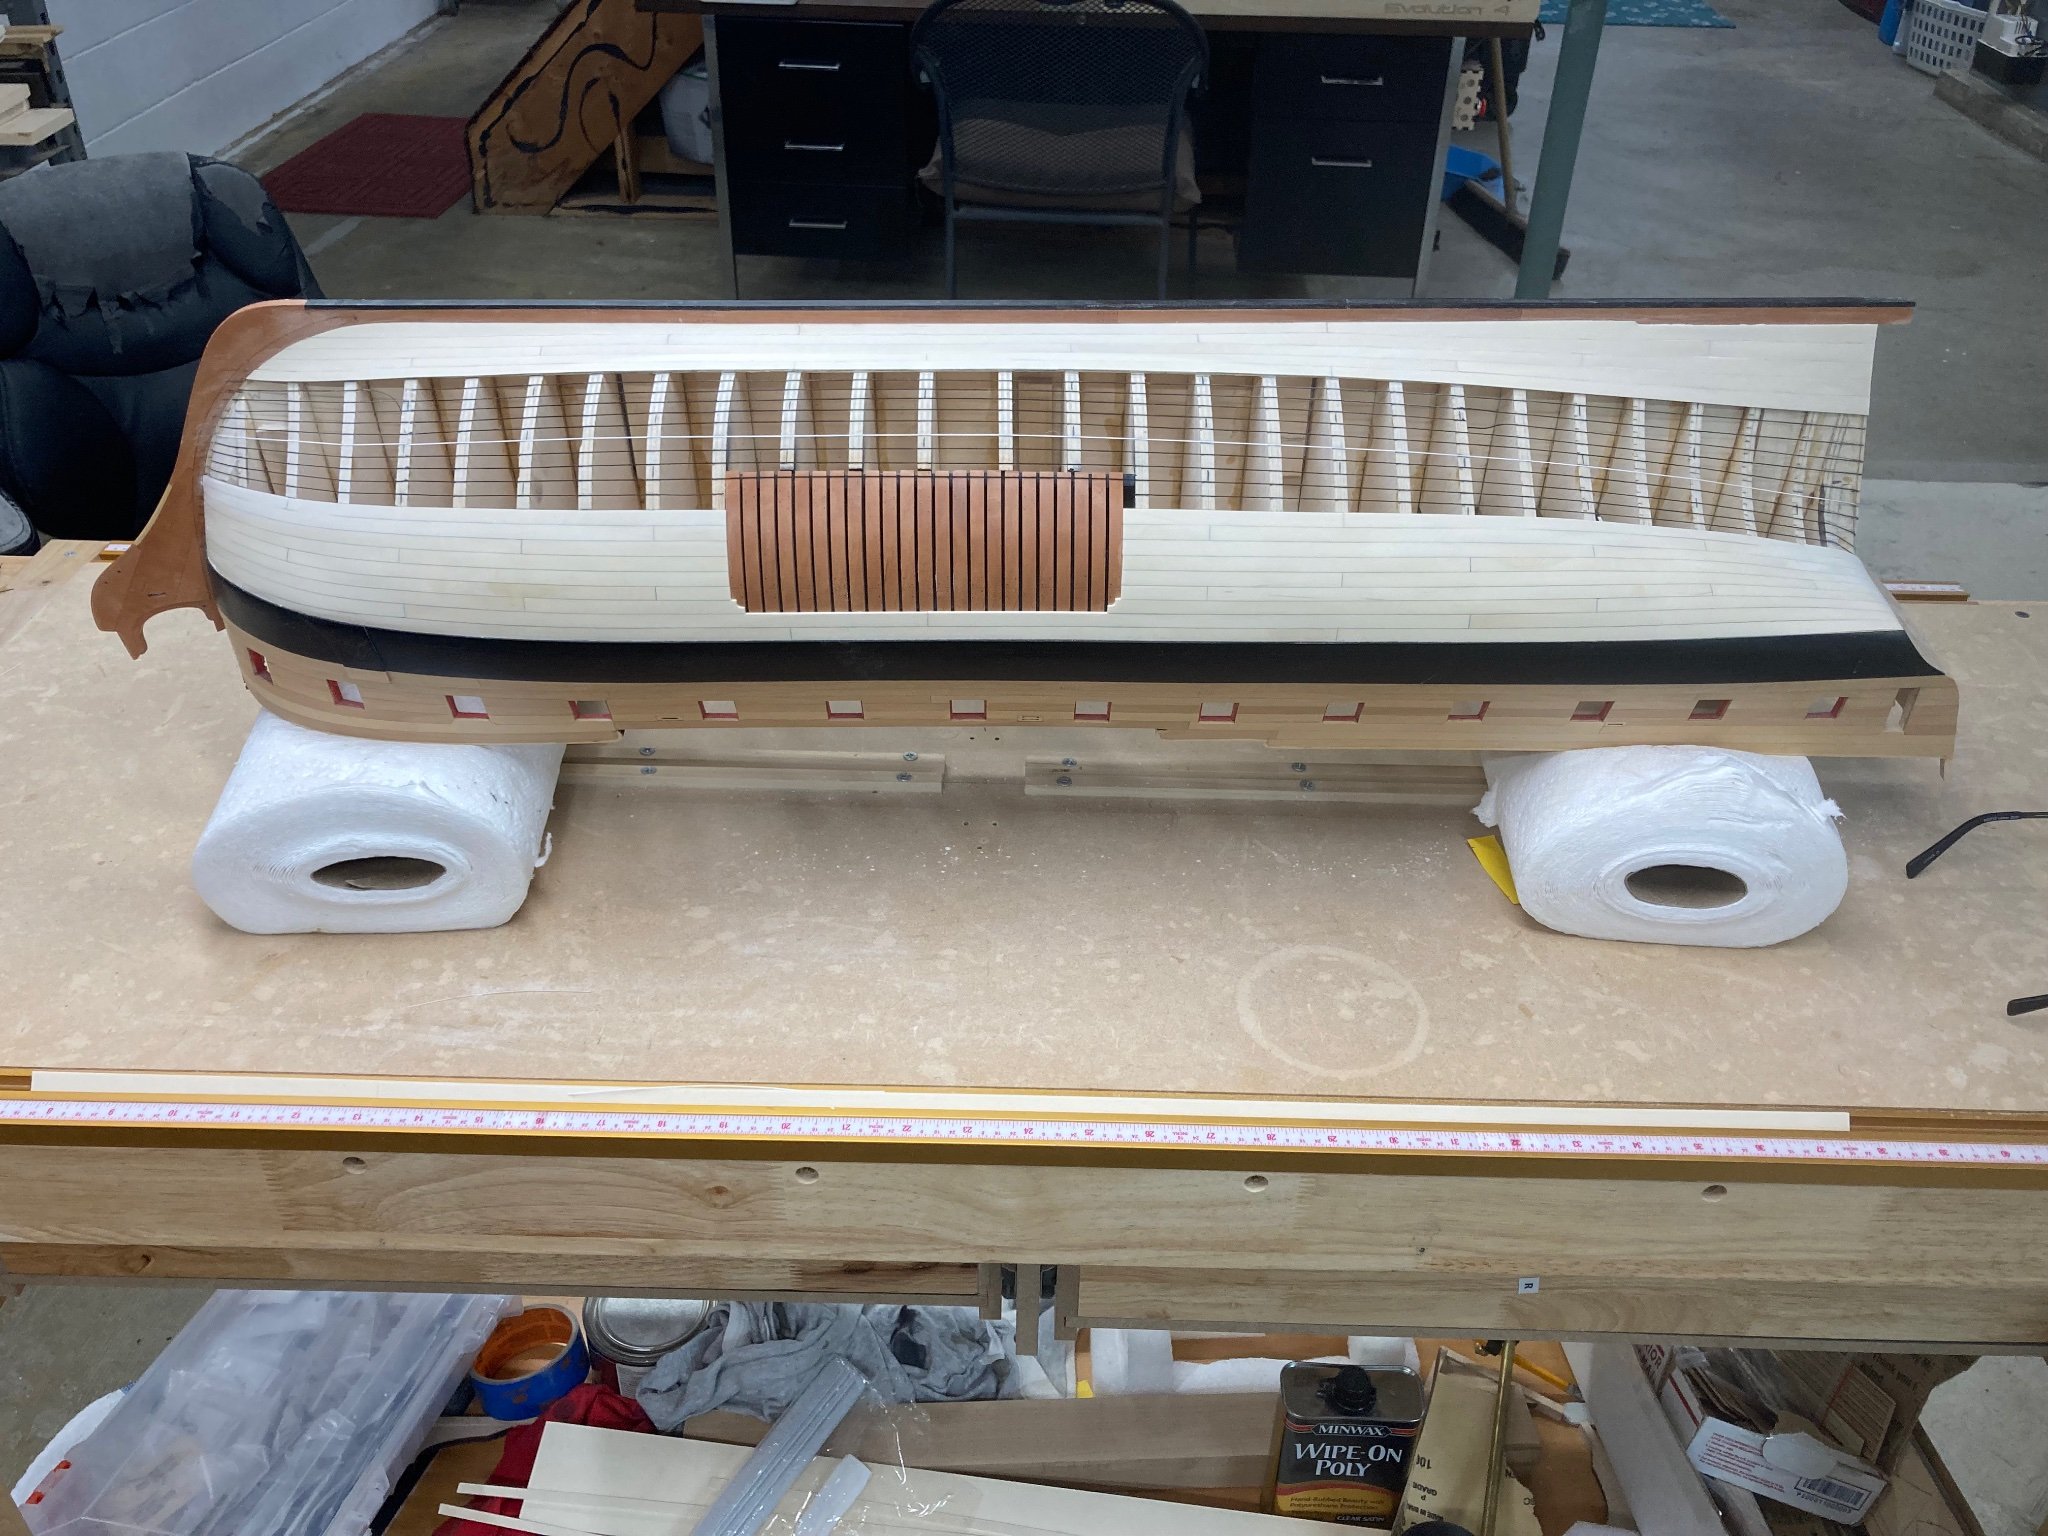
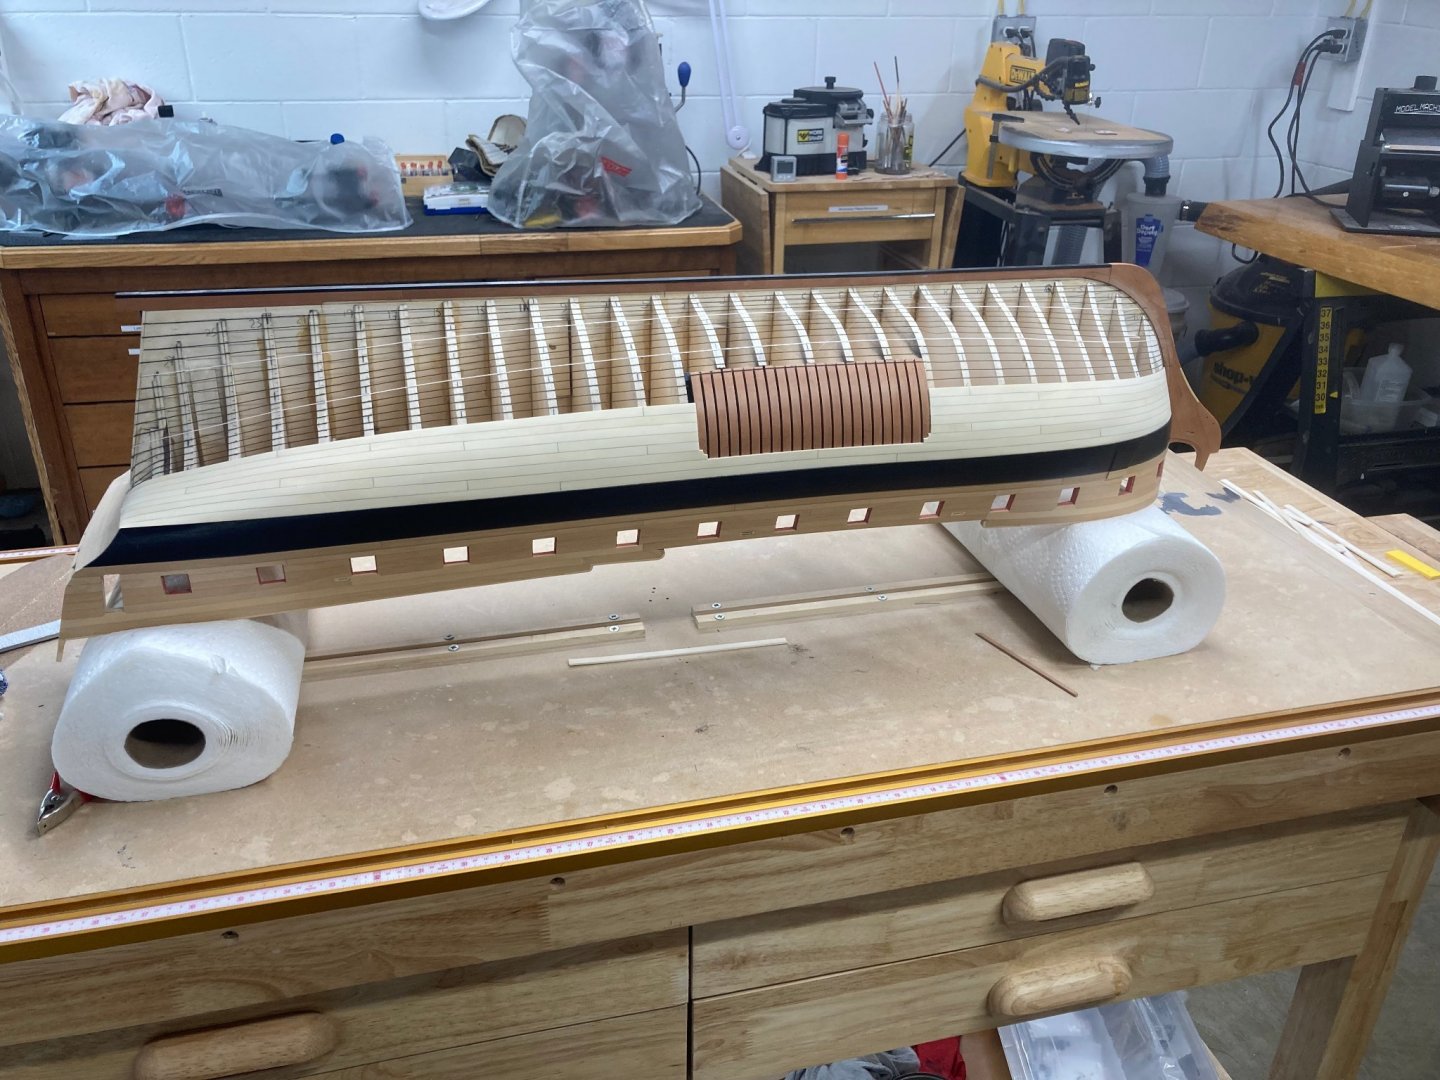
Another belt of planking has been completed but Ive yet to even rough sand it so pardon the messy look, 2 more to go but vacation week comes first.


- 399 replies
-
- 21
-
-
- winchelsea
- Syren Ship Model Company
- (and 1 more)
-
HMS Euryalus 1803 by rlb - 1:48 scale
Trussben replied to rlb's topic in - Build logs for subjects built 1801 - 1850
Hey Ron, I just spotted your new build log, very nice subject you chose. I was thinking about building her after Pegasus but I changed my mind and decided on something french for a change. I will watch this log with interest and your doing great so far.- 122 replies
-
- 3
-
-
- Euryalus
- Plank-on-frame
- (and 4 more)
-
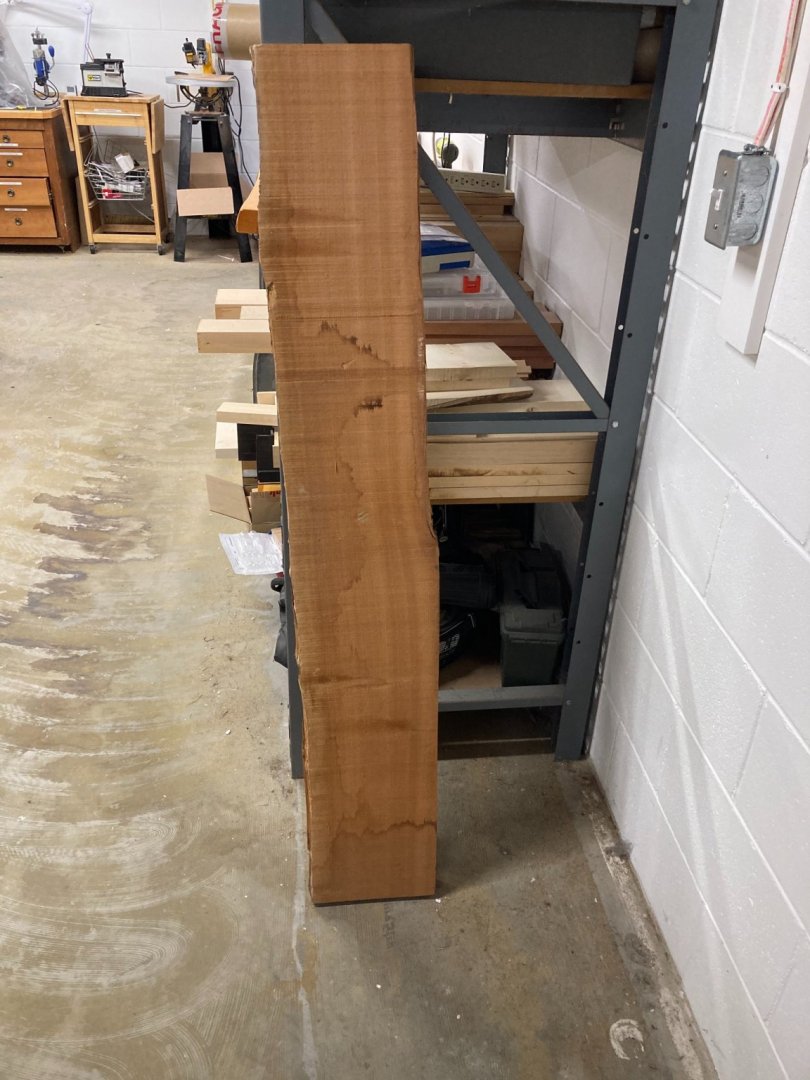
Hey Jeff, Great to see you still around, Holly is great that I got off you, wish I could get some more of that really pink Swiss pear though, last piece of pear I bought is very nice with straight grain, but it’s not pink at all.
- 399 replies
-
- 3
-
-
- winchelsea
- Syren Ship Model Company
- (and 1 more)
-
Hi and Thanks everyone, JJ - Lower hull planking is in Holly.
- 399 replies
-
- 2
-
-
- winchelsea
- Syren Ship Model Company
- (and 1 more)
-
Seems like forever since I had any modelling time available for the Winnie or Pegasus due to work and another more pressing project, but I pushed myself to start the lower planking up again, even if I can install a strake on each side a week it is at least some progress. Here is the first belt on both sides completed now and you can begin to see the frame window taking shape. Hopefully it wont be another 10 months before the next update.
- 399 replies
-
- 19
-
-
- winchelsea
- Syren Ship Model Company
- (and 1 more)
-
Hey Chuck, Yeh, I plan to start modelling again this fall, Ive been so busy with work and other projects ( TR6 restoration ) that both Pegasus and Winnie have been covered up for a long time. Maybe I will find some time during the summer to get the Winnie hull planking completed.
- 1,784 replies
-
- 5
-
-
- winchelsea
- Syren Ship Model Company
- (and 1 more)
-
Wow Chuck, you are making great progress on this beautiful model.
- 1,784 replies
-
- 1
-
-
- winchelsea
- Syren Ship Model Company
- (and 1 more)
-
Vlad - You can commission a work of art like that here. http://www.admiraltymodels.com/index.html
- 399 replies
-
- 5
-
-
- winchelsea
- Syren Ship Model Company
- (and 1 more)
-
Hi Tom, You can find the hold downs on Amazon. E-TING 4Pcs Hand Tool Toggle Clamp 201B Antislip Red Horizontal Clamp 201-B Quick Release Tool
- 399 replies
-
- 2
-
-
- winchelsea
- Syren Ship Model Company
- (and 1 more)
-
Look at the frames from the side, OUTSIDE of the building jig through the windows, the tapering will then make sense. The tapering of those pieces makes it flow correctly with the run of the planks. Contemporary POF models when faired do look like this from the ones I’ve seen, I assume it didn’t matter on real ships as who would care. Maybe one of the gurus will shed some light.
-
Hey Greg, Very generous of you two, hopefully it will get more people to build a fully framed Swan, but good for people to know that the plans were based by David on Atalanta.
-
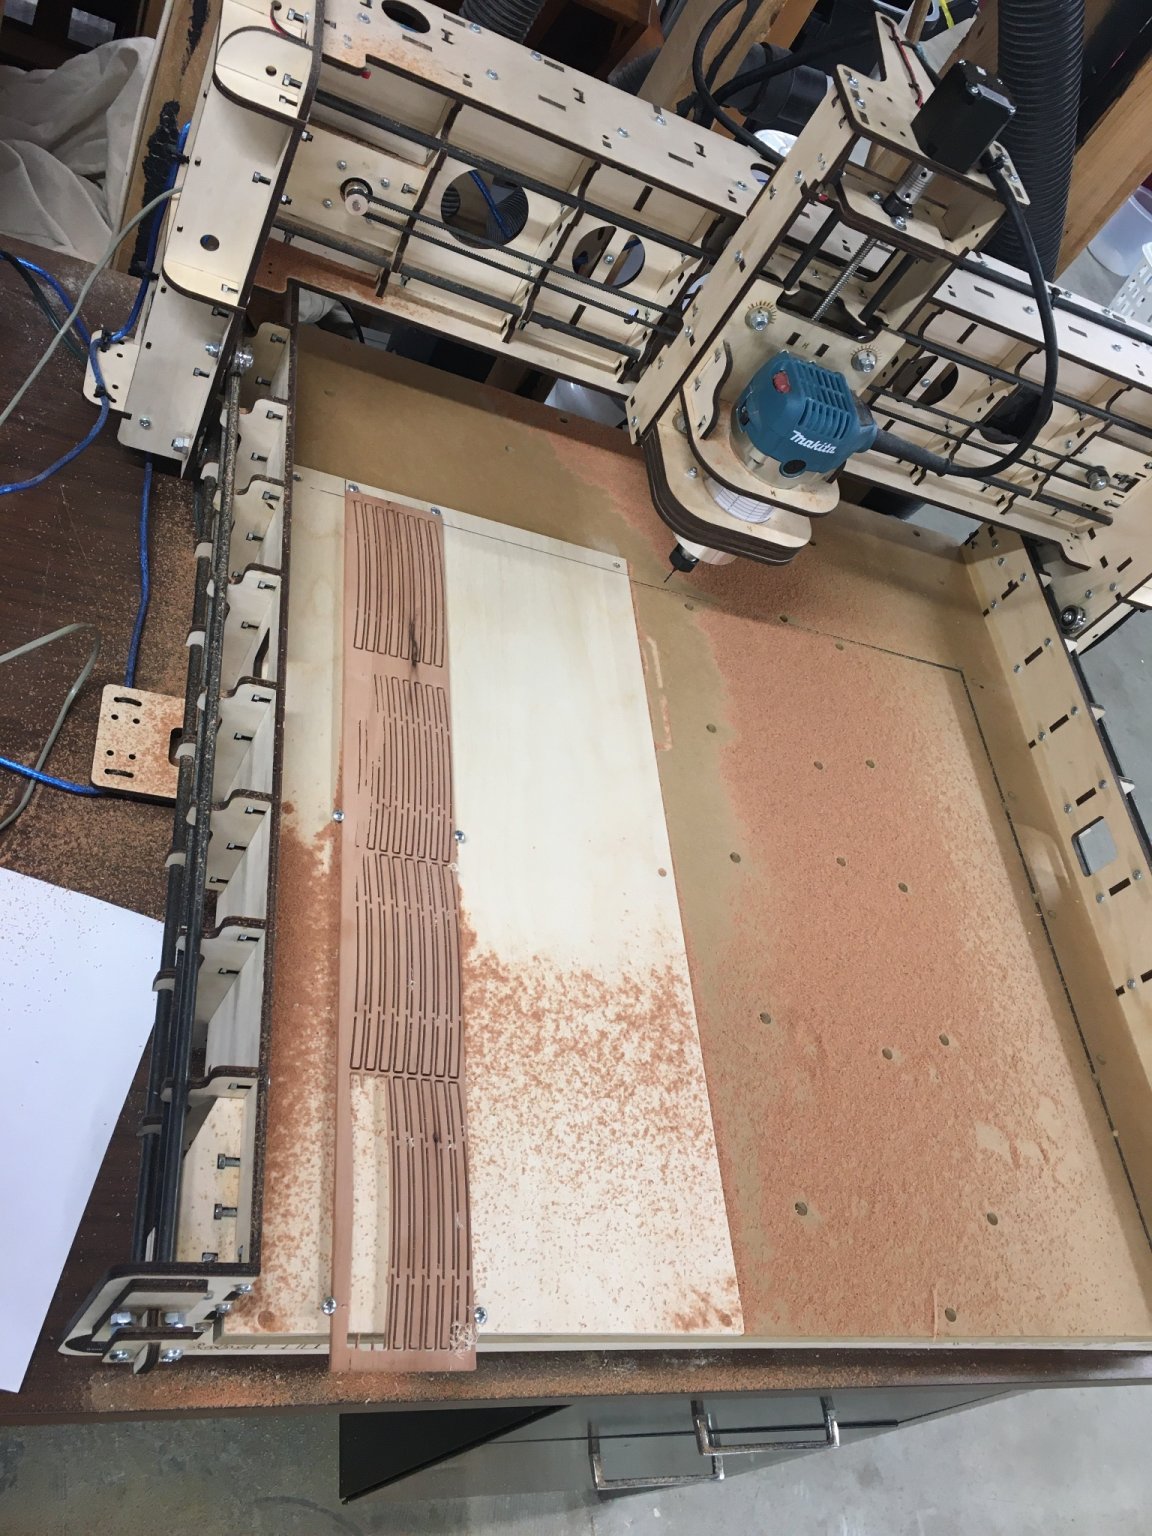
Thanks J - it’s a BobsCNC EVO4 and yes you have to assemble it which takes a few days to do it right.
-
I’m still working on the upper deck framing but I need to start thinking about the forecastle and Quarter deck beams and hooks, so using a new tool in the workshop that I have been learning, I cut all the beams out of some pear stock.

- 889 replies
-
- 18
-
-
Import into a CAD program using "insert raster image", trace the lines, splines etc, then delete the image and check if everything looks good before saving as a .dxf file which a CAM software can then open.